It was such a beautiful Spring day and I wanted to reflect the coming of Spring in my meal as well. Cooking with fresh herbs is always a good way to bring in the Spring. I made an herbed chicken cooked in a wine sauce that was a perfect way to ring in the Spring season. I used fresh tarragon, oregano and thyme in my sauce. I had a recipe that I was using as a guide, but of course, I changed it up to make it my own. The recipe I was following called for tarragon only. I did not have enough fresh tarragon, so I added the other herbs as well, and I am really glad I did too. I think the recipe would have been way to over powering with all that tarragon. Tarragon has a very strong licorice and anise flavor, so if you are not a fan of either of these, which I am not, tarragon may not be your herb of choice, or if using, use it sparingly.
Tarragon is thought to originate from Siberia and Mongolia, but it is used a lot in French cooking. In France, tarragon as known as the herbe au dragon or the little dragon herb. Part of the reason the tarragon plant was called the little dragon is because of the serpentine like root system it has. It was also thought to be a cure for dog bites and bites from other rabid animals. Tarragon has only been cultivated for around 600 years. It is thought to have been brought to Italy around the tenth century by invading Mongols who used it as a sleep aid, breath freshener and seasoning. It is believed St. Catherine, on a visit to Pope Clement VI, brought tarragon to France in the 14th century.
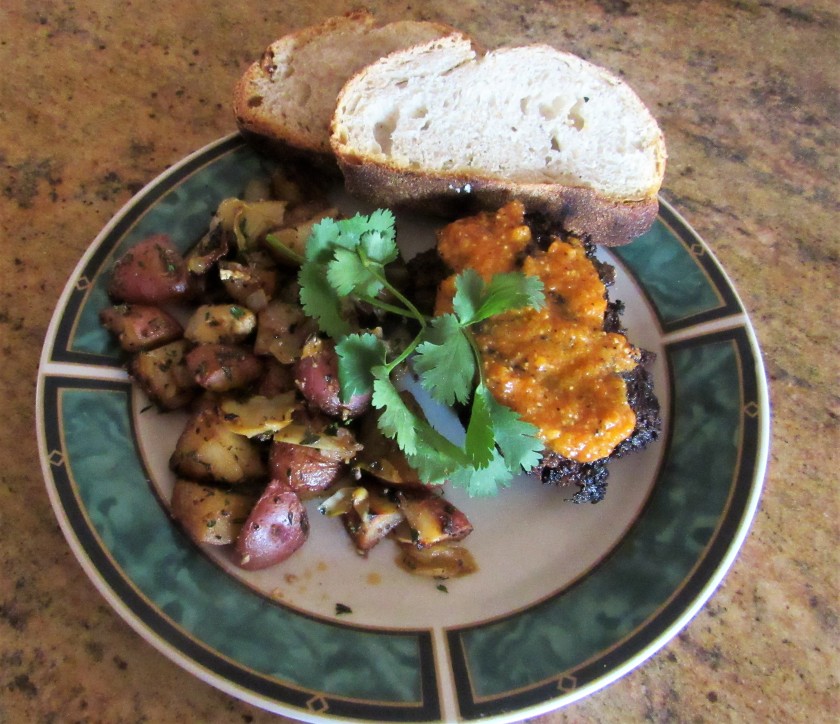
Herbed Chicken in Wine Sauce
As per usual, I get an idea in my head, and then make as many changes as I need to along the way, until I get the results I am looking for and hoping to taste. So you are only seeing a “rough draft” what the final recipe will look like.
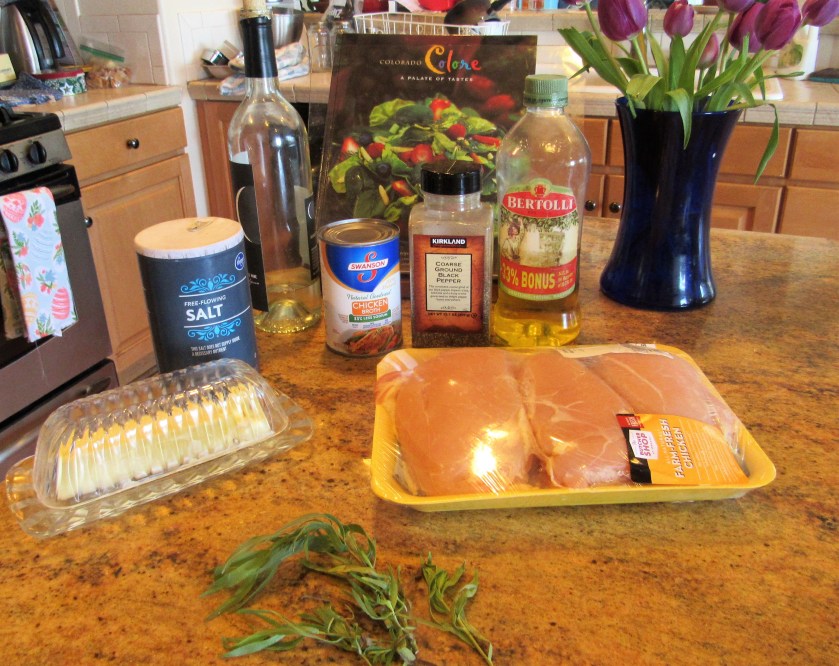
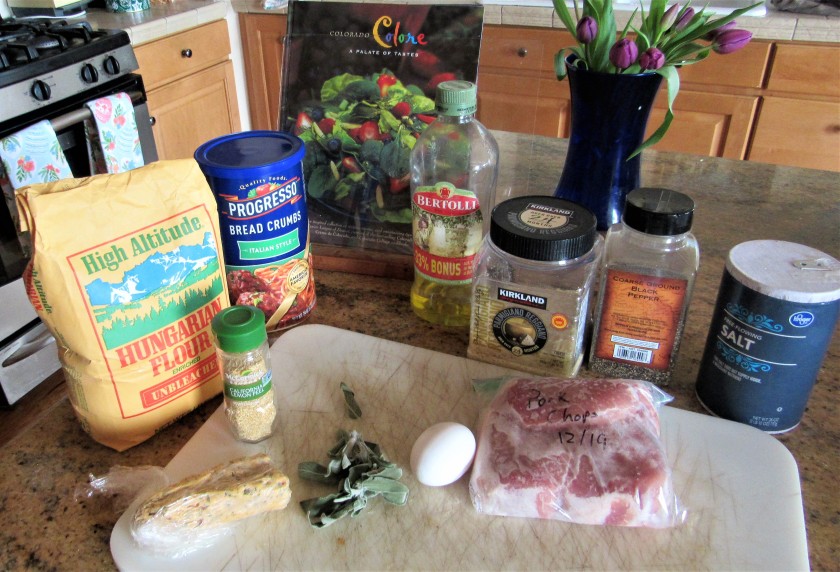
2 lbs chicken – either pieces of breasts. I used breasts.
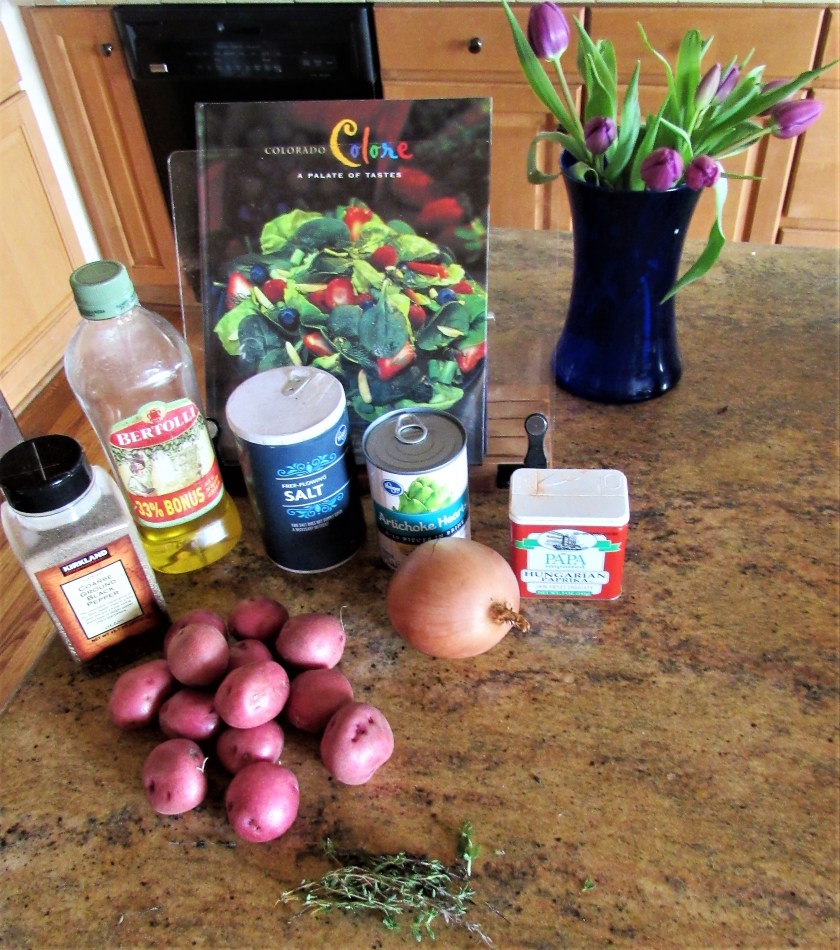
salt & pepper to taste
4 TBSP butter, divided
3 TBSP olive oil
1 TBSP each, fresh tarragon, oregano and thyme, chopped
1 TBSP garlic
1/2 onion, medium dice
1 cup dry white wine
1 can chicken broth
1/2 cup heavy whipping cream
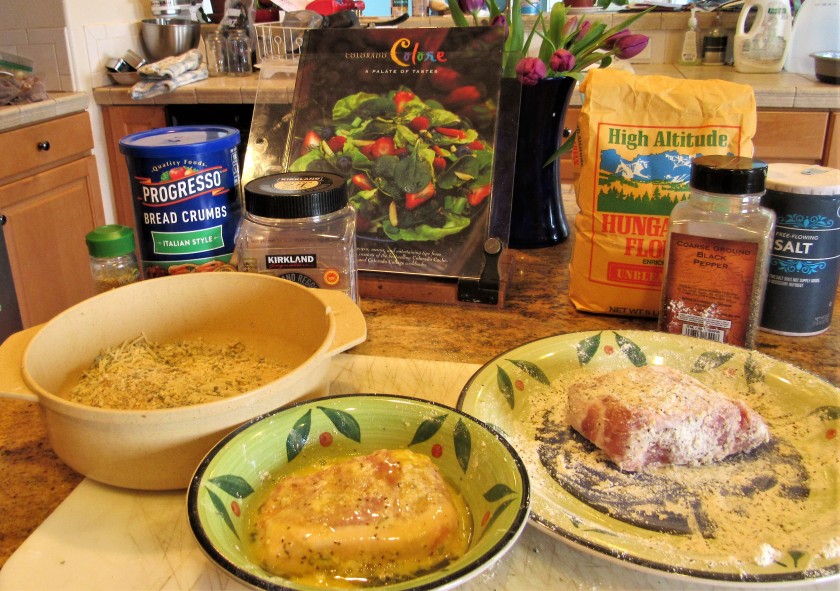
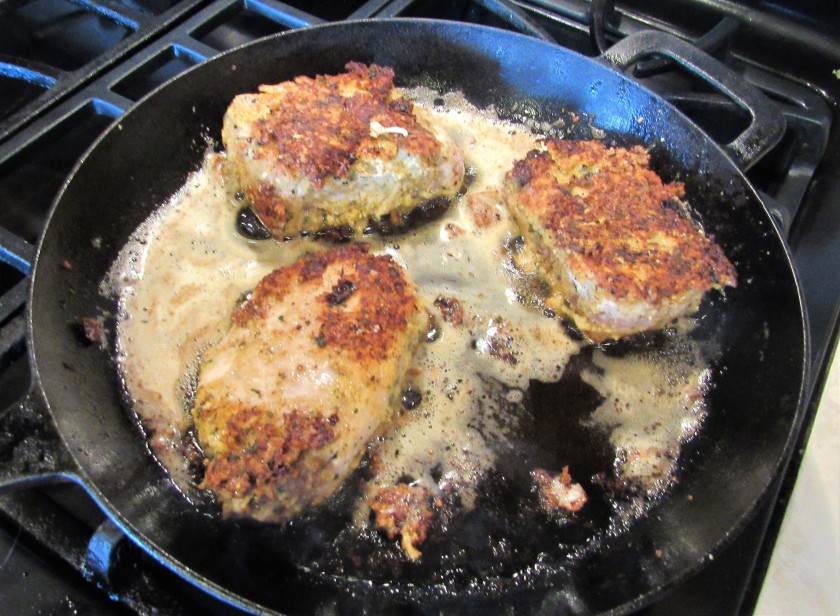
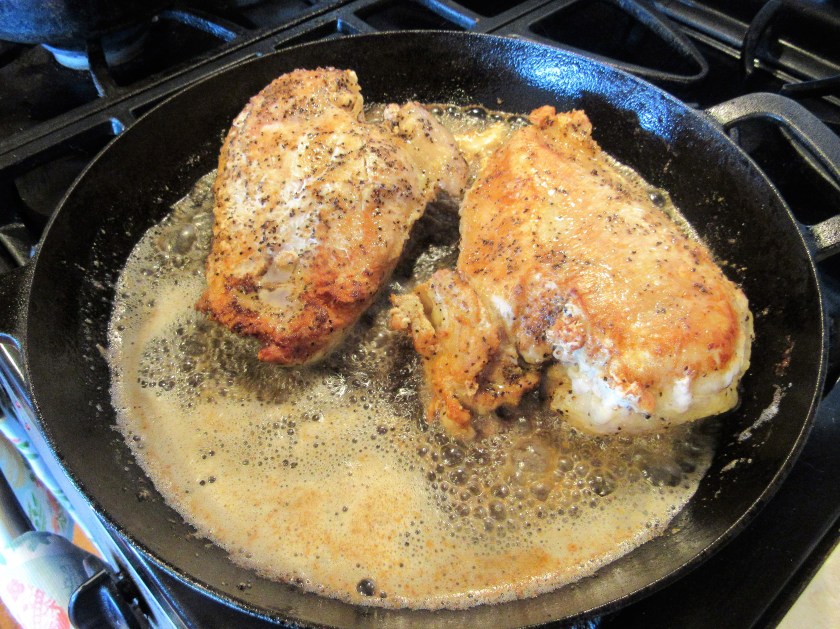
Completely coat the chicken with the salt, pepper and some olive oil. In a hot skillet, combine the 2 TBSP of butter with the remaining olive oil. Add the chicken and brown on both sides, cooking for about 5-7 minutes per side.
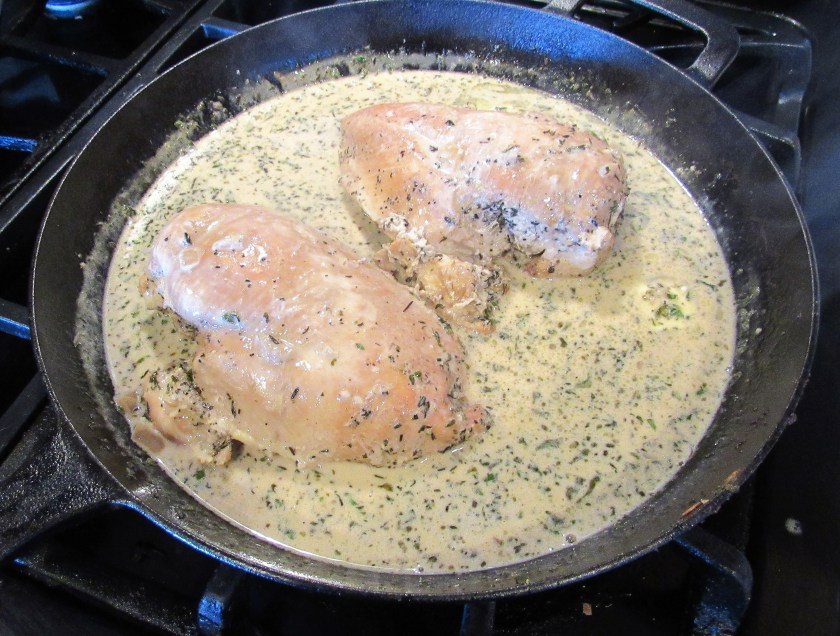
When the chicken is browned, remove it and keep it warm. Drain the oil and butter then add the wine, chicken broth and herbs to the pan. Stir everything together, making sure to get all the scrapings from the bottom. Add the garlic and onions and mix together. Add the chicken back to the skillet, bring the mixture to a boil, then reduce the heat and cover. Continue to cook at a simmer for about 30 minutes. Once again, remove the chicken and keep warm. Add the cream and the fresh herbs and mix everything together well. Add the remaining butter and twirl it around in the skillet.

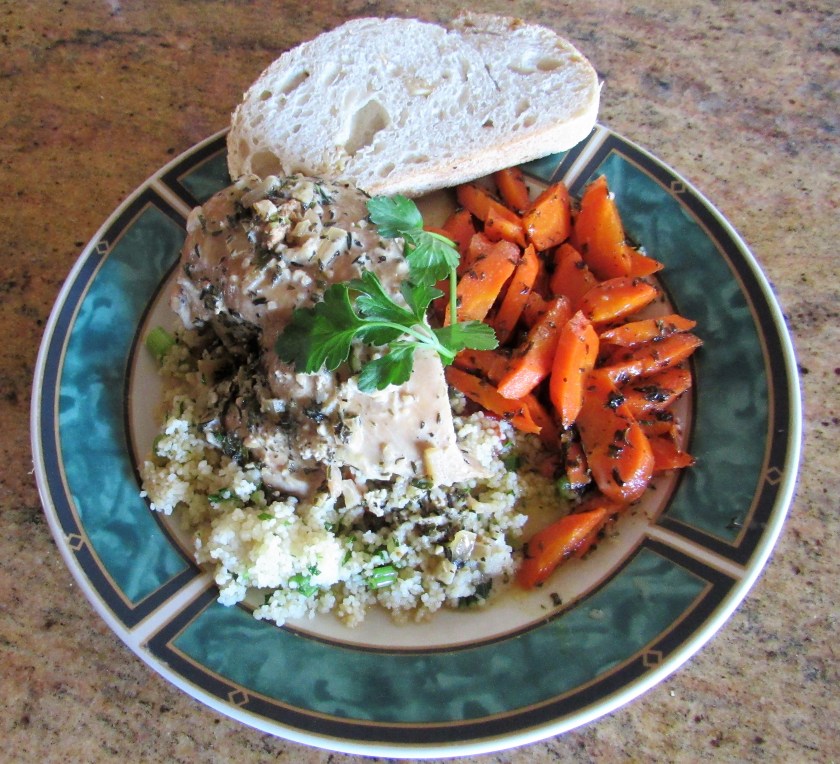
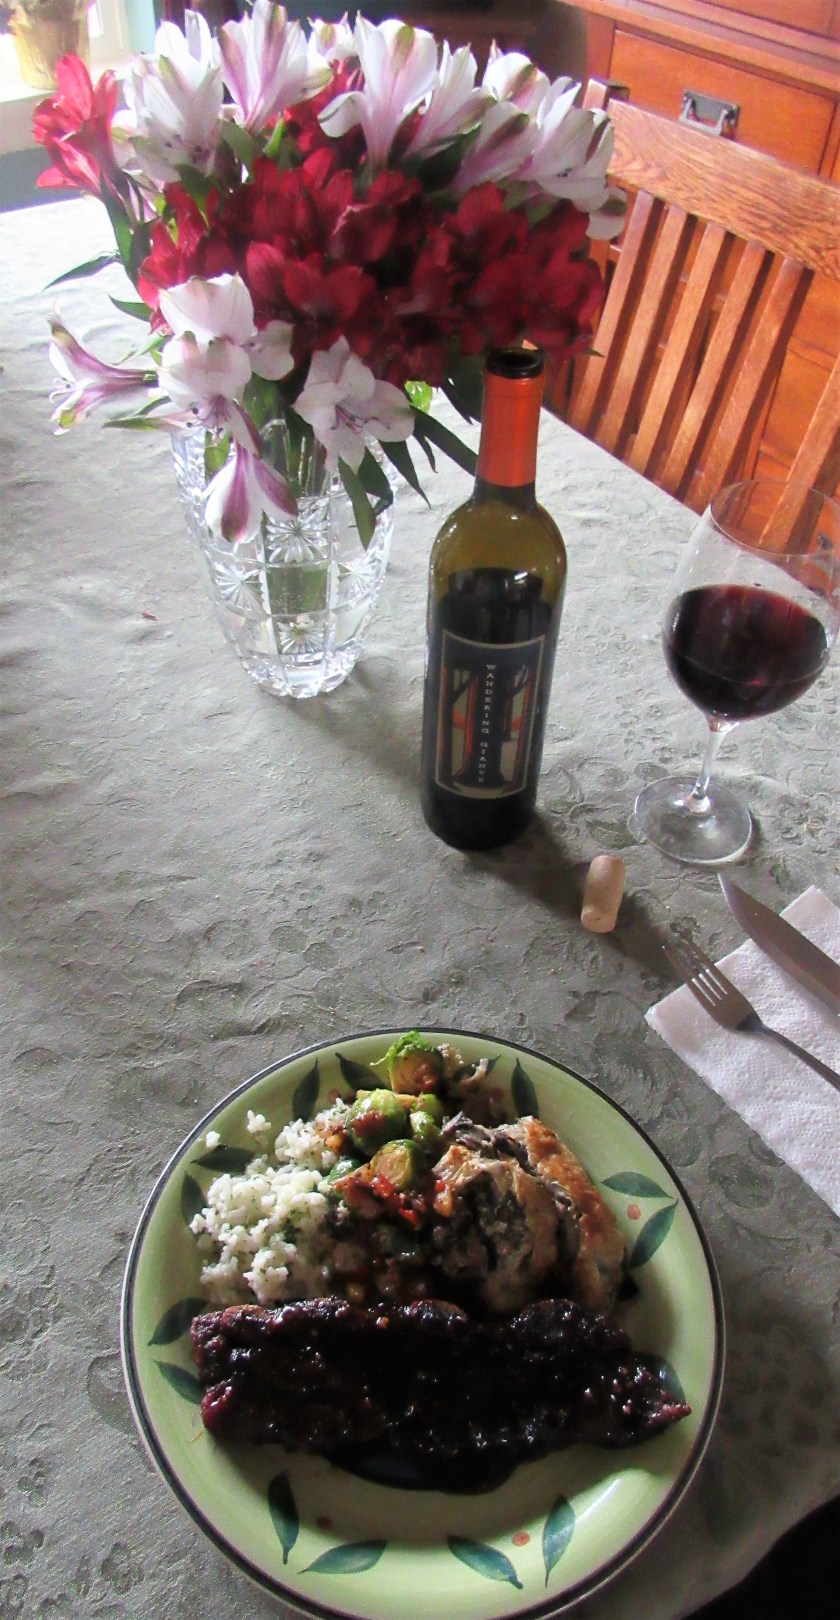
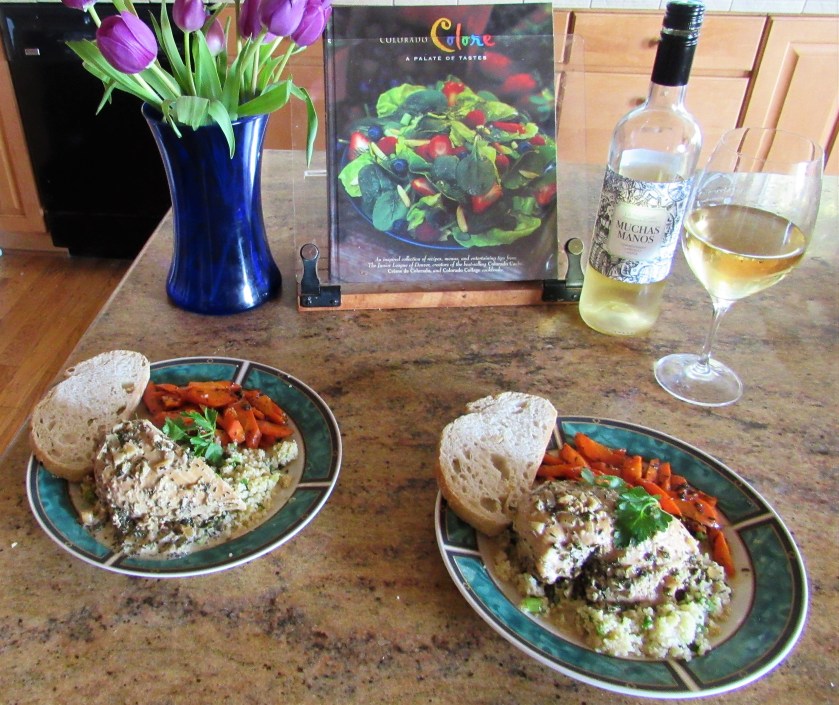
 Add the chicken back to the sauce to heat it up and to coat it in the sauce. Then serve. Plate it up and top the chicken with the sauce.
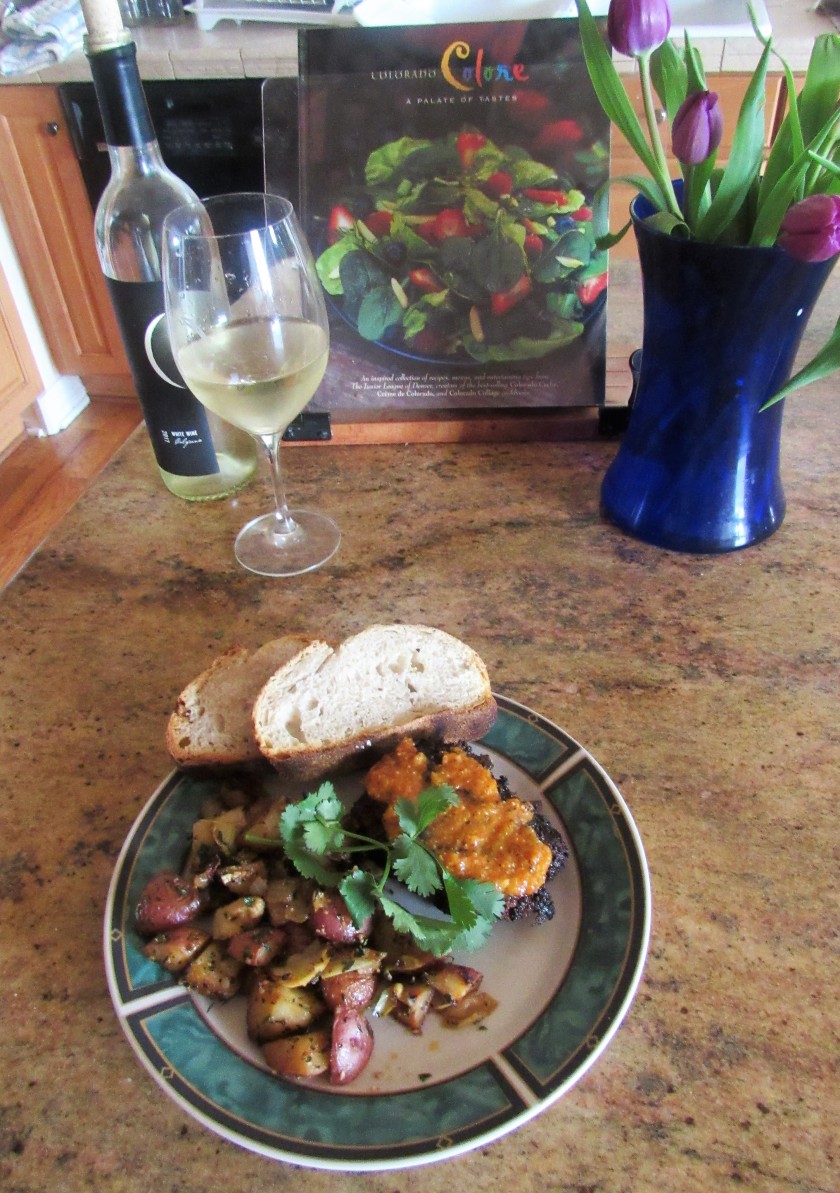
To make my meal truly Mediterranean, I served it over couscous mixed with tomatoes, green onions and parsley and carrots sauteed in butter, honey and mint and roasted garlic bread. I served it all alongside a light white blend from Spain to make it truly Mediterranean.