Orange Brownies

We all know brownies are great on their own, but sometimes, they need a little something else to elevate their status a bit more. Chocolate is one of those delicious flavors that goes well with many other great flavors, like cherries, raspberries, peanut butter, to name a few. And oranges, especially with dark chocolate.

The combination of oranges and chocolate is one that has been around for centuries. It has been a popular combination since the 1400’s. In China, people would dip orange segments in chocolate and give them to their lovers. From there, chocolate oranges travelled across established trade routes heading west. By 1400 it found its way to Sicily, and spread from there. Today the combination of dark chocolate and oranges is popular all over the world.

The combination of dark chocolate and oranges is just magical. Chocolate and orange bring out the best in each other. The natural sweetness in the orange complements the bitterness of the chocolate, and the darker the chocolate, the better the flavor. These two flavors go so great together because of the contrast between the citrusy, tart fruit and the sweet, rich chocolate. It’s an obvious example that opposites attract. I paired these two great flavors together to make some chocolate and orange brownies.
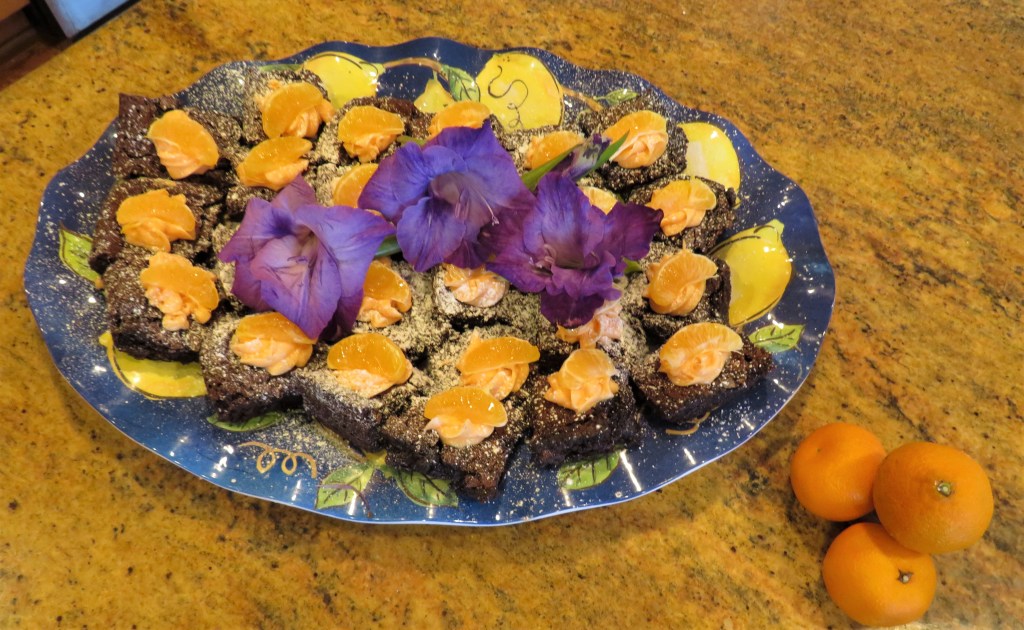
Every week I offer a wide variety of goodies for my church coffee cart. I usually have 3 or 4 different kinds of baked goods, and often have fruit as well. Unfortunately, fruit on its own has a very limited shelf life, but that shelf life is extended by cooking with the fruit. I had some small Clementine or Mandarin oranges and I decided to mix them with my brownies, turning them from good comfort food to something WOW!

I started with my Ghirardelli Brownie Mix and just made a few simple adjustments to transform them. I was inspired by craving something sweet the other day, and while rummaging through my pantry, saw some chocolate orange candy (still unopened, by the way). And I already had the Clemintines, so, I though let’s just see what happens when I combine them together. I LIKE it!!!
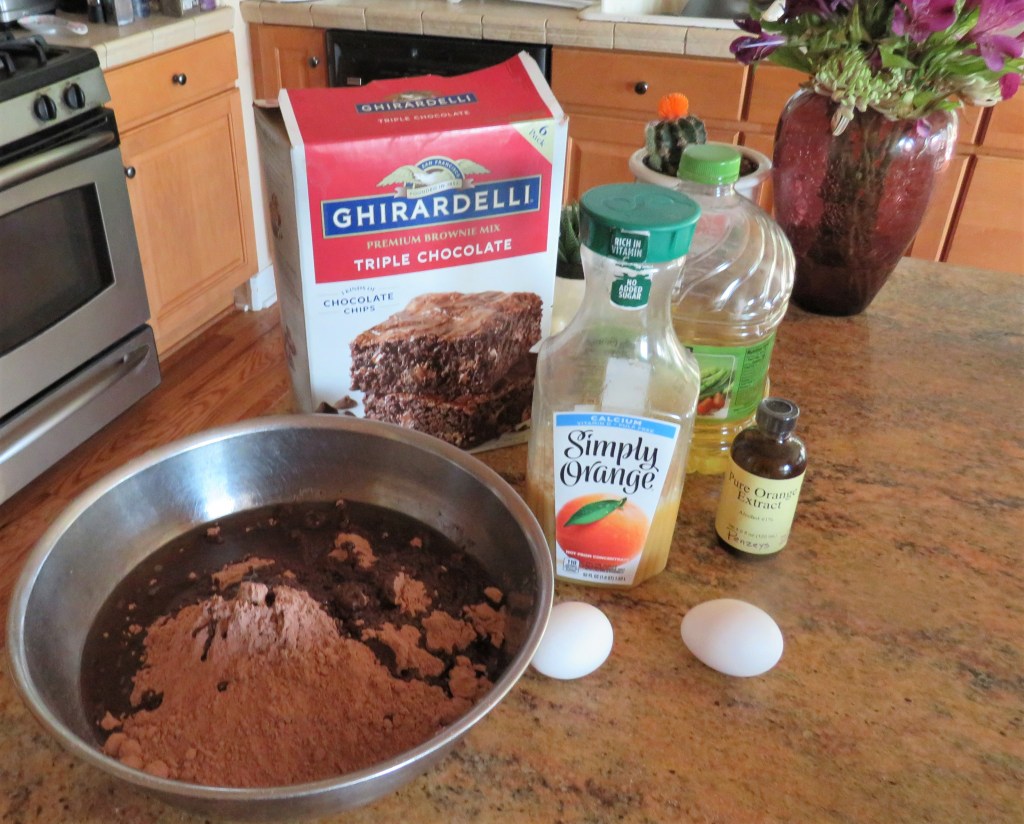
Instead of using water in the mix, I substituted orange juice. I also added some orange extract to the mix as well. Then I just baked them as I would normally.
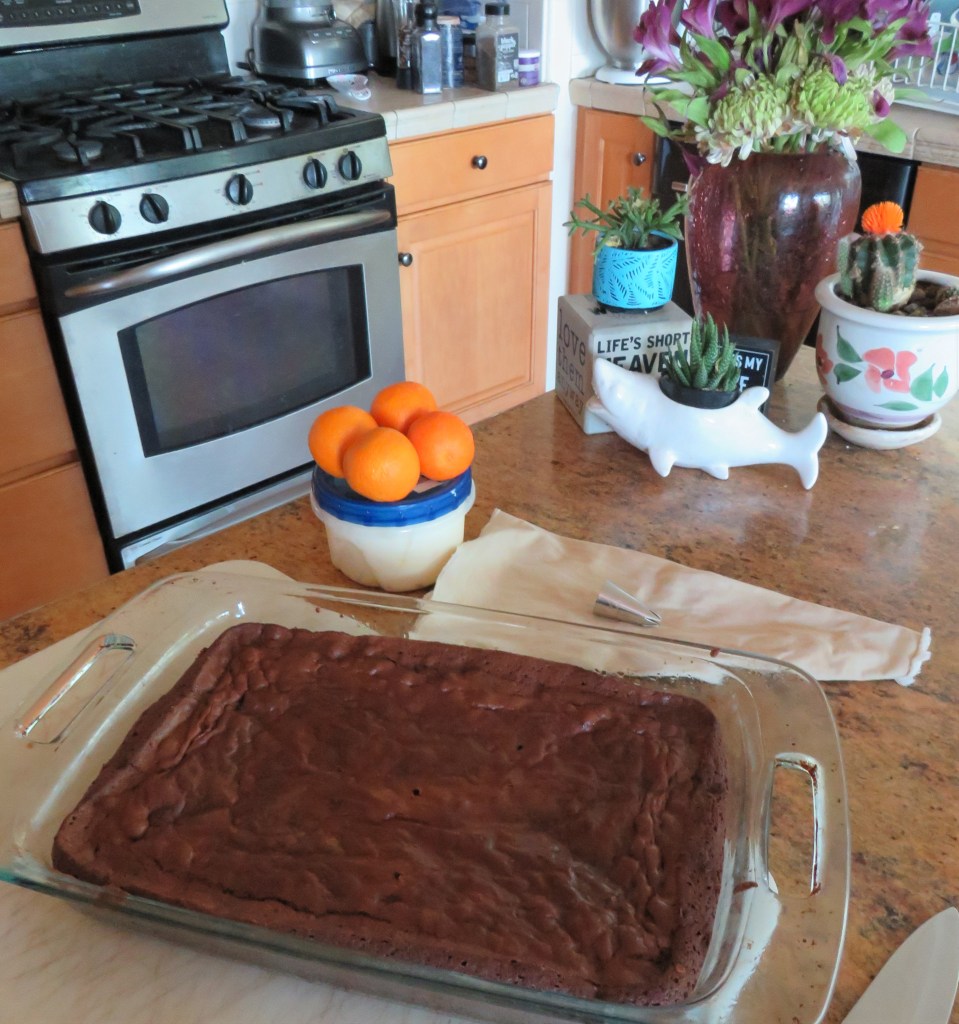
I also had some leftover frosting that I added some orange food coloring and orange extract to. I piped a little dollop onto each brownie and added an orange segment on top. Simple changes that had a dramatic effect. 🙂
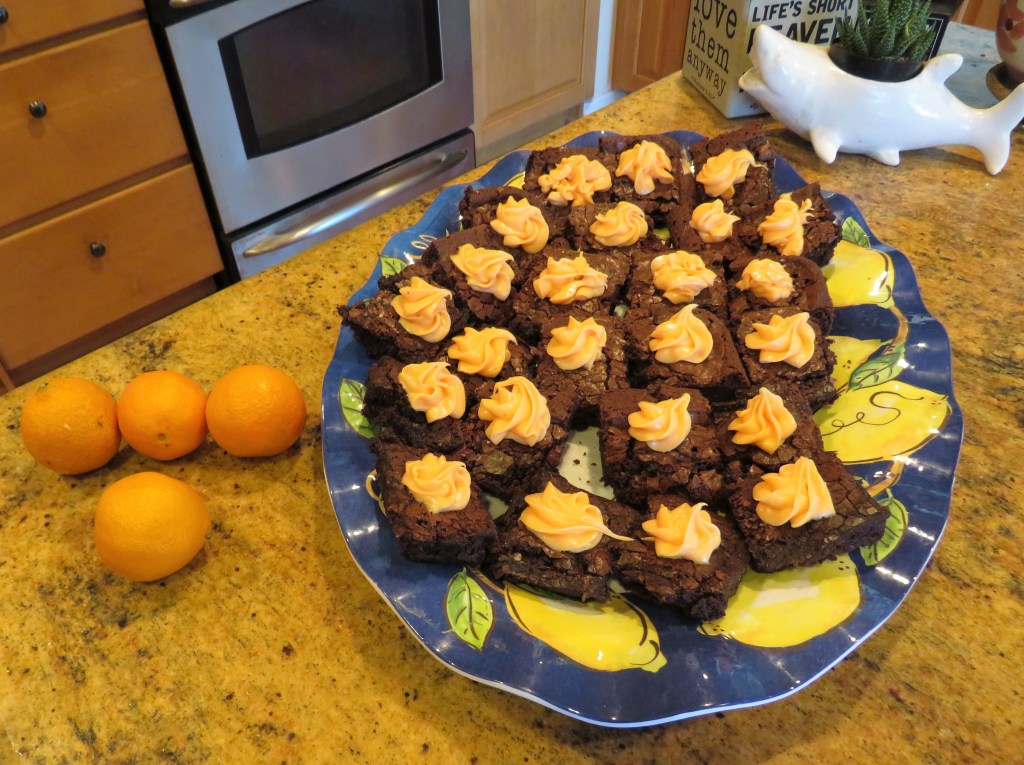
Not only did this bring my brownies to a new level, but I got to use up some of my leftovers as well, which you all know makes “The Queen” (of leftovers) and I both very happy.

Have fun. Be creative and play with your food. 🙂 Have a great day and make everyday great. Stay safe and stay well. ‘Til next time.


It’s Not Too Late

Mel is still accepting photos and recipes for the Annual Great Blogger’s Bake-Off-2023.

It is so so so exciting to see the variety of baking creations pouring in. How in the world it is that everyone thinks up completely different bakes – I love it. That is the wonderful thing about creativity – there is nobody else quite like you.

Not long to go….

Send your photos and recipes to Mel at crushedcaramel@gmail.com

In just over a week from now, WordPress is going to be flooded with baking contributions and special features from the incredible creative talents who inspire and encourage us. So…if you know other WordPressers who are lovely and who can bake (or who can’t bake but are willing to give it a go!) we welcome you to invite them along!

Nature Walks – Giant Sunflowers

Our sunflowers are in full in bloom and glory right now. We have many different varieties of sunflowers too. They are everywhere. Ours in our backyard are in proud display as well. But these giant sunflowers really caught my eye. They must be about 12 feet tall, and just look so happy. Sunflowers are always such happy flowers. 🙂

These flowers were looking at the world over the fence, just saying hi. These are not my sunflowers, just some I saw on my adventures.

Brighten your day and follow the sun like the sunflowers. Don’t worry, be happy. Have a great day and make everyday great. 🙂

Chicken With Artichokes and Spinach

We eat a lot of chicken. And I try my best to vary our chicken dishes as much as possible. Thankfully chicken is one of the most versatile proteins around, and lends itself beautifully to so many wonderful recipes. There is always a new recipe to try and the supply is endless. 🙂

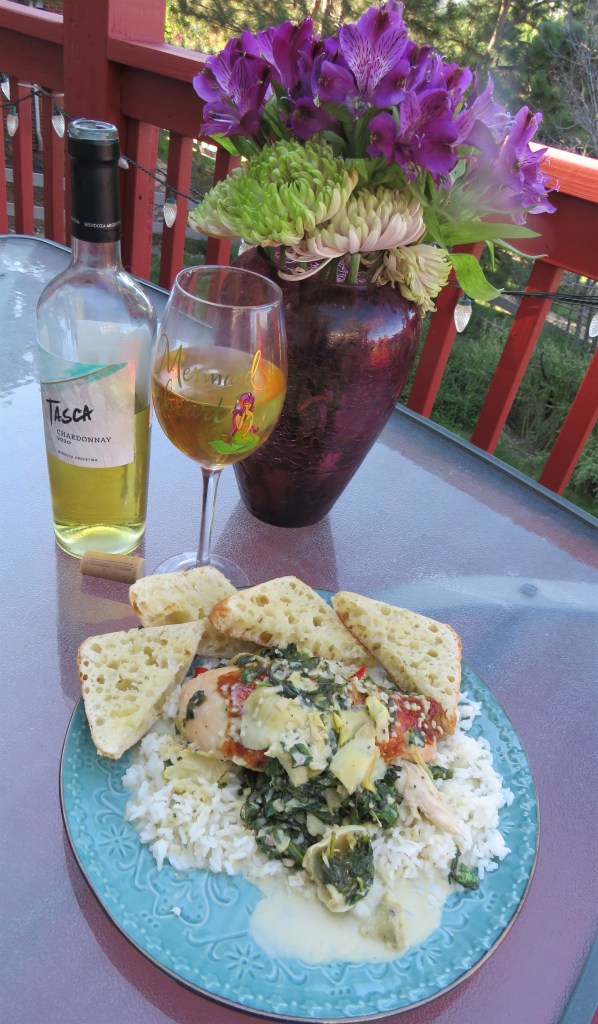
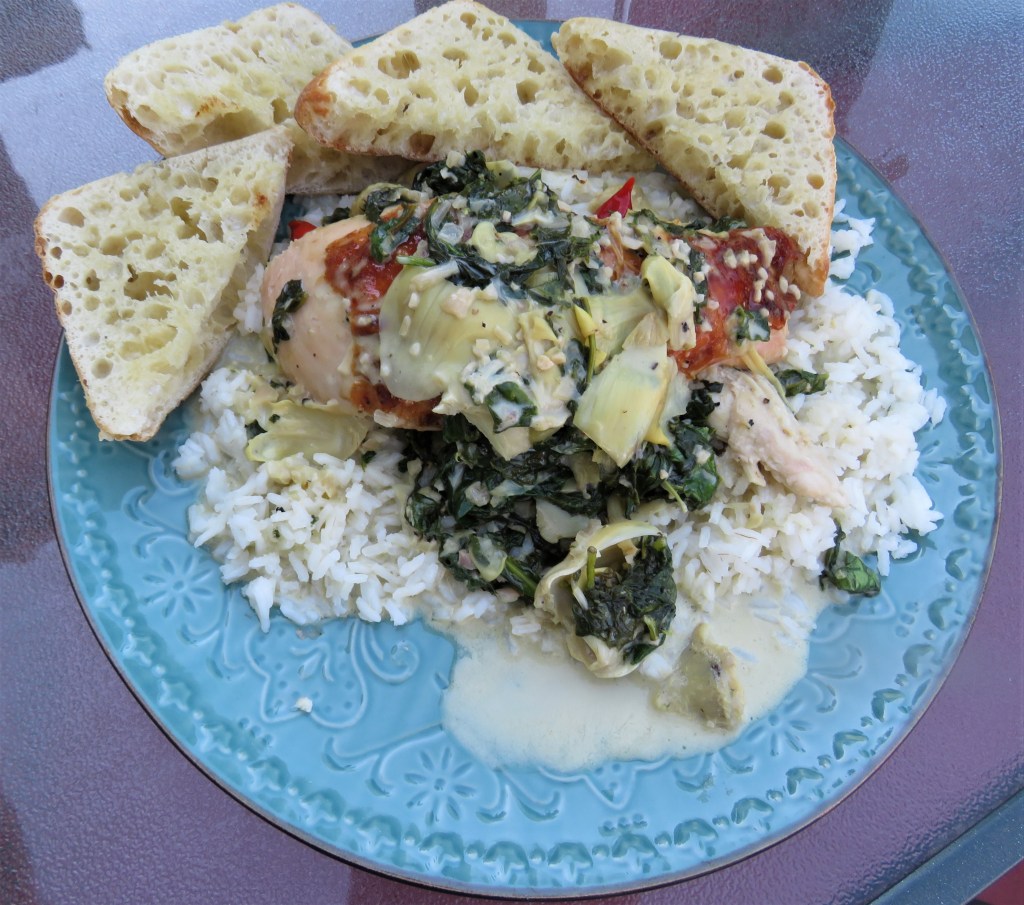
This time I made chicken with creamy spinach and artichokes. I served it all over rice with a delicious crisp chardonnay to complete the meal.

You can cook your own chicken, or you can cheat like I did, and start with a cooked rotisserie chicken. I tend to cook my own more in the cooler months, and cheat more often in the hot summer months. I mean, how can you go wrong when Costco’s rotisserie chicken is so good and so reasonably priced, right?! You pay $4.99 for a whole cooked chicken, and for just the two of us, we can get quite a few meals from that. It’s much cheaper than buying and cooking a chicken, and just as good too.

Chicken with Spinach and Artichokes

If you are cooking your own chicken, season it with salt, pepper and thyme, and brown it in a very hot skillet with butter and olive oil. Or you can cheat and use cooked chicken, and just put it in the mixture later to heat up.

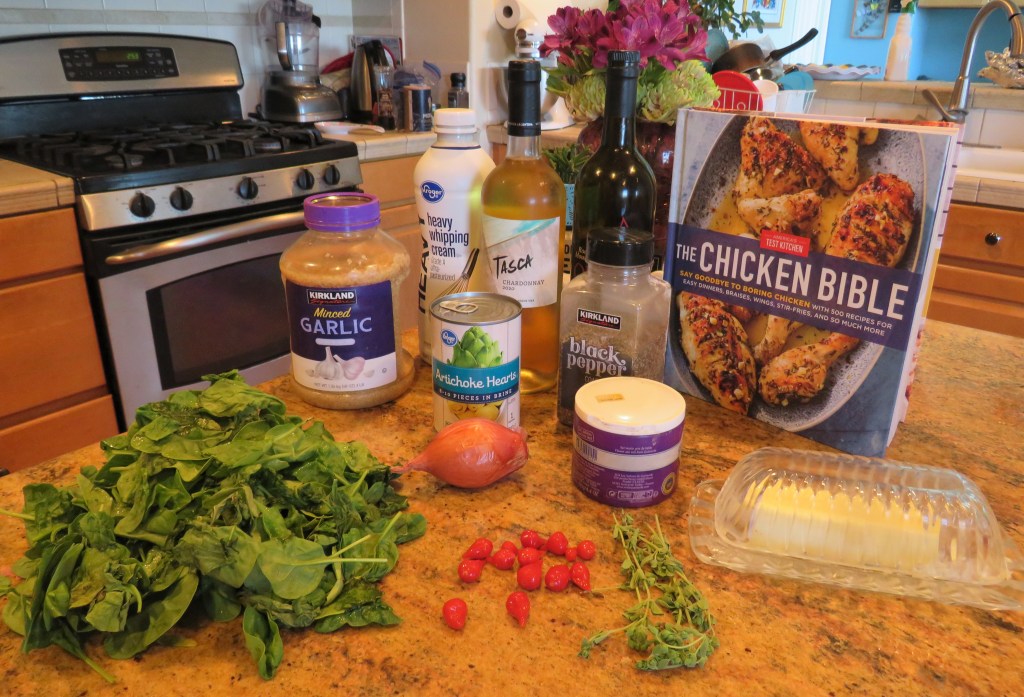
4 6-8 oz chicken breasts

2 tsp fresh thyme

salt & pepper to taste

1 shallot, minced

1 TBSP garlic

10 oz fresh baby spinach, stems removed

2 cans artichoke hearts, drained

1/4 cup Peruvian peppers, optional

1/3 cup dry white wine

1 TBSP lemon zest

1/2 cup heavy whipping cream

butter and olive oil for cooking

If you are cooking your own chicken, brown it first. Once it is browned, removed it from the heat and set aside.

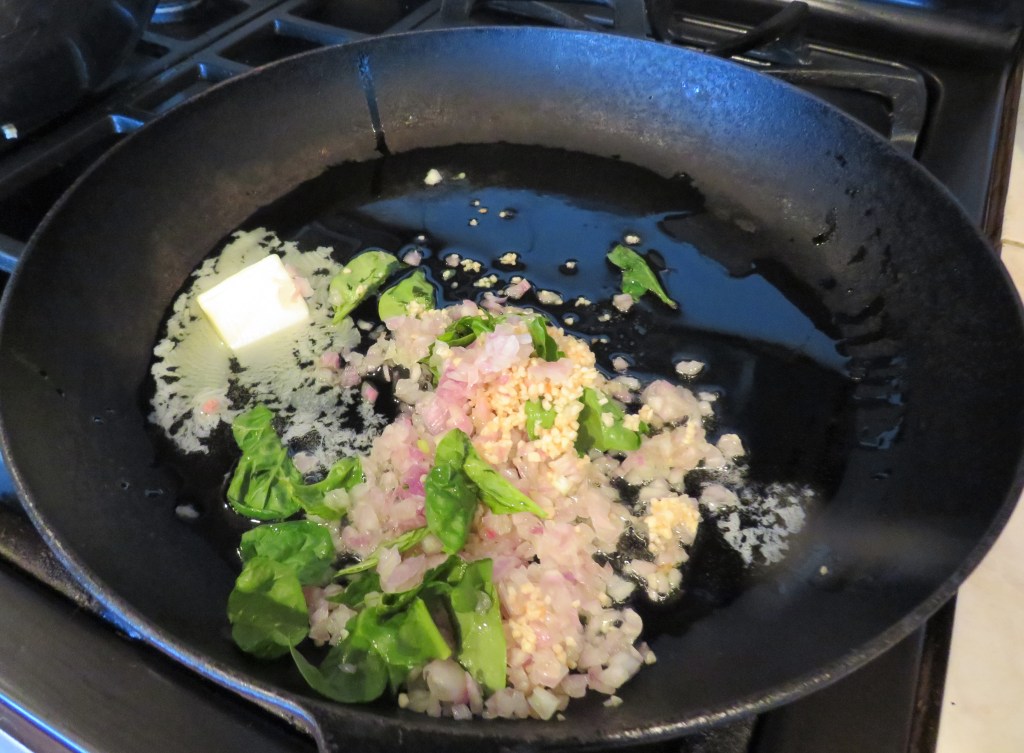
Get a skillet very hot, then add the butter and olive oil. Cook the shallots and garlic and cook for about 2-3 minutes.

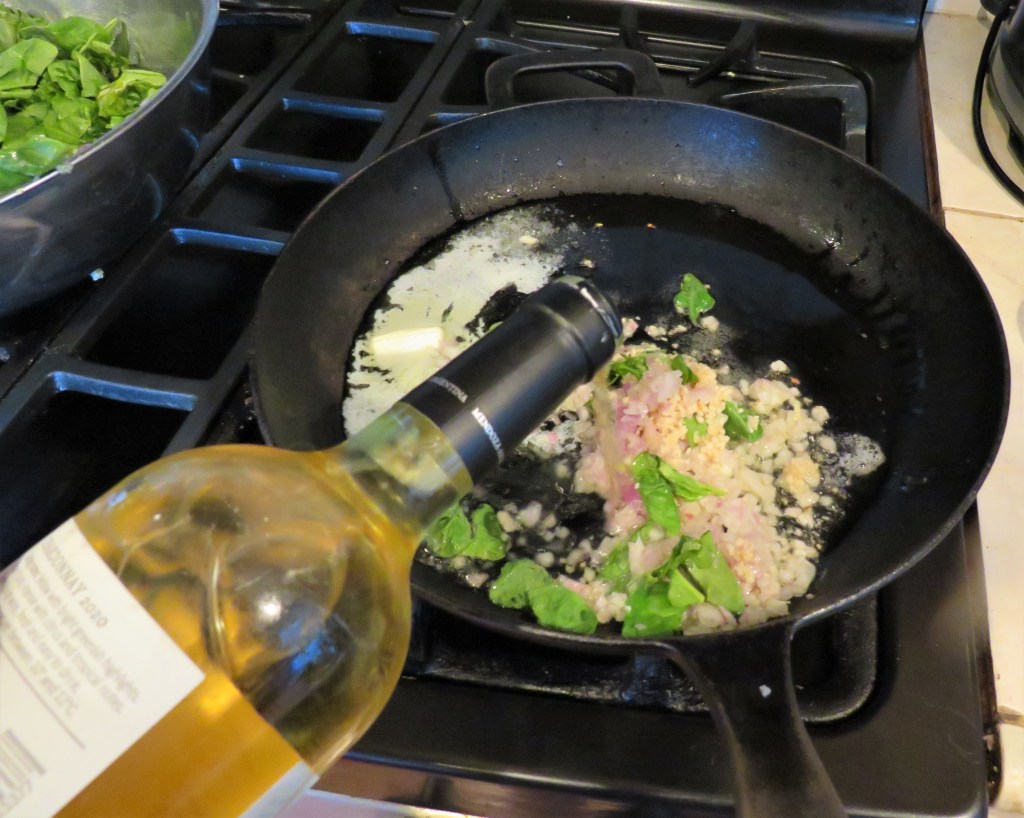
Add the wine and cook for a couple of minutes until most of the liquid has evaporated.

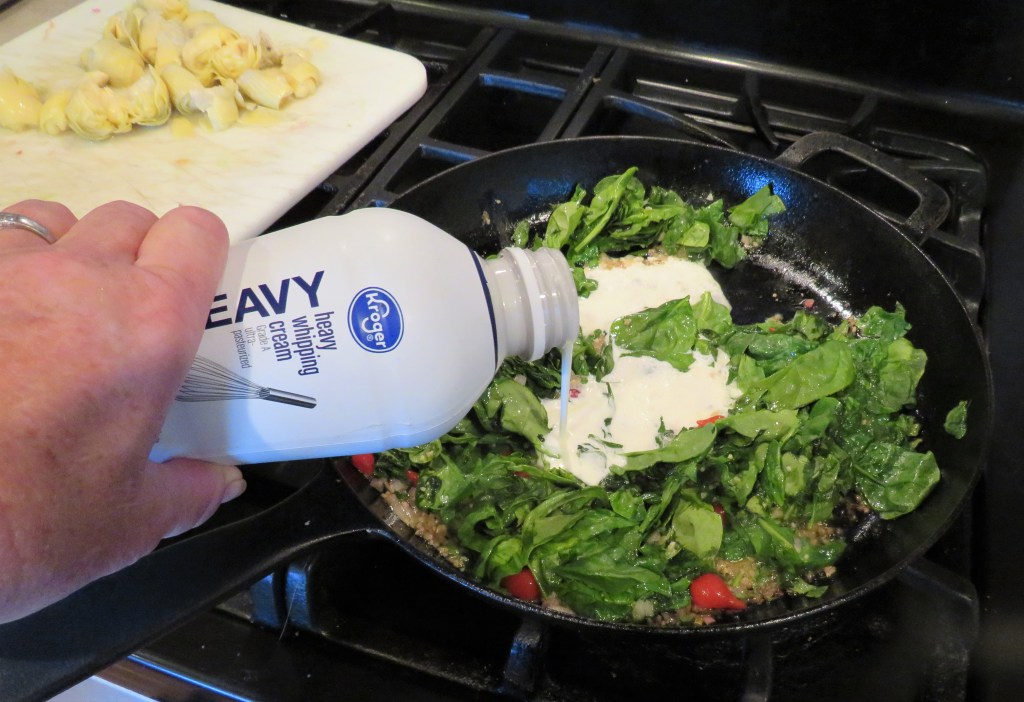
Add the spinach and seasonings. Then add the cream and mix thoroughly.

Add the artichoke hearts and Peruvian peppers and re-add the chicken. Bring to a boil, then reduce the heat to a simmer and continue to cook for about 5-7 minutes, or until most of the liquid has evaporated and everything is heated through.

Serve it over rice or pasta and enjoy. I like to spoon a bit of the sauce over the rice or pasta then add the chicken, and top it off with more sauce.

I know you will enjoy this quick and easy meal just as much as we did.

Have a great day and make everyday great. Stay safe and stay well. ‘Til next time.

Good Wine Doesn’t Have To Be Expensive

I LOVE my wines, as you all know. I prefer dry white wines, especially in the summer, but I drink a lot of red wines too. I like many different kinds of wines, red and white, from all over the world. But good wines don’t have to be expensive wines. “Good” can mean many things, and can mean something different to everyone. But for me, a good wine is something I enjoy drinking, with or with out accompanying foods.

The other day we were at Costco, our favorite place to shop, and we saw this special case sale of this Portuguese wine. The whole case was only $57. That breaks down to under $5 per bottle. We were reluctant to try it, knowing absolutely nothing about this wine, but we did buy a case. I actually really like it a lot too. In fact, I liked it so much, we went back and bought another case the next day, just because we have no idea how long this sale and/or this wine will be available.

This is a dark, ruby red blend. It has a very fruity forward, with hints of cherries and plums, and has a velvety, smooth finish. I was very pleasantly surprised. It will go with most dishes that would go well with red wines too.

When we were in Spain last time, we had similar experiences as well. We could buy some delicious Spanish wines for 4-6 Euros per bottle. Of course we indulged in this guilty pleasure.

So, next time you are buying wines, and you see something different offered at a discounted price, take a chance. You just never know. You may really like it, and you may end up liking it a lot. And if not, it still won’t be wasted. You can use it for cooking wine too. I cook with wine all the time. 🙂

You can wine or you can whine. The choice is yours. I prefer to wine. Cheers!

From Baked Beans to Chili

When I made my Southwestern baked beans, Southwestern Baked Beans, I made a lot, as usual, which means I had a lot left over. HMMMMM! I know. This is SOOOOO unlike me. 🙂 So I took all the leftover beans out of the freezer and turned them into chili con carne. Then I served the chili over a baked potato, topped with sour cream and cheese for Larry, and Fritos. I like my chili topped with Fritos too, which is a very Southern way of eating chili. I served it with a very smooth, red velvety blend on the side to make the meal complete.

I had to laugh at Larry last night when he said “[I] don’t eat leftovers”. What do you mean??? I eat leftovers ALL the time AND I reinvent them into something completely different than what they were before. He seems to enjoy my recreations all the time, but I guess my re-creative efforts are going unnoticed.

From baked beans to chili con carne. Con carne means with meat, and to me, that’s the only way to eat chili. Chili con carne is the official state dish of Texas, and as most of you already know, I am 1/2 Texan. My mother was born and raised in Southeast Texas. Chili is classic American comfort food. Even though it varies from place to place — namely in the Southwest and Midwest — people everywhere agree that this hearty dish isn’t just a stew, topping, or bulky soup: It’s chili. As purists would have it, traditional red (chili con carne) hasn’t changed much over the years. It still consists of meat, red chili peppers, and spices—no beans, rice, pasta, or other fillers, aside from vegetables, according to ICS criteria. I like it with beans too though. Beans and meat together with the different chilies just make the meal. The addition of beans makes the meal heartier and adds texture and flavor too.

The earliest description of chili comes from an 1828 journal. Recounting a visit to San Antonio, J. C. Clopper writes about it as “a kind of hash with nearly as many peppers as there are pieces of meat – this is all stewed together.” The International Chili Society, which holds the World Championship Chili Cook-off, divides chili into the following categories: traditional red, chili verde, homestyle chili, and veggie chili. I love green chili, or chili verde, and red chili, but veggie chili is chili without meat and/or beans is just soup to me.

Historians often cite Texas as the birthplace of chili con carne. But how did chili crop up in Texas? Chili became popular campfire fare among cowboys on the cattle trail (most of whom were Mexican) and gold-seekers (called forty-niners) on their way to California.  In short, beef, fat, chile peppers, and seasoning were combined into blocks, dubbed “chili bricks,” which were stored in saddlebags. Plunging part of a chili block into a pot of boiling water transformed it into a convenient, filling meal.

Southwestern Chili Con Carne

Since EVERY chili recipe is different, I am not going to give you an actual recipe this time. I am just going to tell you how I made it – this time. 🙂

4 cups cooked Southwestern baked beans

1-1 1/2 lbs cubed steak

flour

2 large tomatoes, diced

1 red bell pepper, diced

1 yellow bell pepper, diced

1 onion, diced

1-2 TBSP garlic

salt & pepper to taste

1 cup red wine

1 cup broth

olive oil and butter

Coat the beef cubes with flour and salt & pepper. Get a large skillet or pot very hot, add the butter and olive oil, then brown the meat.

Add the peppers and onions and continue to cook until softened. You may need to add more olive oil.

Deglaze the pan with the wine, then add the rest of the ingredients. Mix together thoroughly, bring to a boil, then cover and reduce the heat to a simmer. Continue to cook for about 30-40 minutes, or until most of the liquid has evaporate

Toffee Oat Cookies

I know the Great Blogger’s Bake-Off 2023 is coming up, and I just posted a reminder for everyone to send in their best baking recipes, The Great Blogger’s Bake-Off 2023, however, I am ineligible to participate. I am the judge, and that would definitely be a little suspicious, and a conflict of interest, although to be truthful, there are many of you who are far better bakers than me. 🙂

But as you all know, I LOVE to bake and I bake a variety of goodies every week. My latest baking adventure led me to make some toffee oat cookies.

These were all gobbled up in minutes, and yet again, I missed my opportunity to eat some. That’s perfectly OK though, I make all my goodies to share with others, and the more everyone else eats, the less I eat. Trust me, I certainly DO NOT need the calories. 🙂 I can enjoy them vicariously through others.

Toffee Oat Cookies

Preheat the oven to 375* F or 191 * C.

3/4 cup or 1 1/2 sticks softened butter

1 cup firmly packed brown sugar

3/4 cup sugar

2 eggs

1 1/2 tsp vanilla

1 1/2 tsp chocolate extract, optional

2 1/4 cups flour

2 1/4 cups old fashioned oats, uncooked

1 tsp baking soda

1 tsp baking powder

1/2 tsp salt

1 package English toffee bits

Combine the dry ingredients together and set aside.

Mix the butter and sugars together until creamy, then add the eggs 1 at a time, mixing in between. Add the vanilla and chocolate extract if using. If you are not using chocolate extract, use 3 tsp of vanilla instead. Add the flour mixture and mix just until everything is blended together.

Fold in the toffee bits.

Drop about 1 TBSP of cookie dough onto an ungreased cookie sheet and bake for about 15 minutes, or until the cookies are set and the edges are lightly golden.

These cookies are going to disappear very quickly, so eat them while you can, before it’s too late.

Have a great day and make everyday great. Stay safe and stay well. ‘Til next time.

The Great Blogger’s Bake-Off 2023

Guess what Everyone? It’s that time of year again to show off all your great baking skills once more. It’s time for our annual Great Blogger’s Bake-Off , hosted by Mel over at https://crushedcaramel.wordpress.com/author/crushedcaramel/

We love that you are picking a bake that suits you! That is what this year’s theme is all about. Be you!!! Pick a bake that tells us something about you and what you love.

We have just two weeks until THE 2023 “EXPRESS YOURSELF” GREAT BLOGGERS’ BAKE OFF, which will be held:

26 & 27th August 2023

So please send a baking photograph (or any questions you have) to:

crushedcaramel@gmail.com

This is open to EVERYONE. Anything goes. We love to see all of your fantastic and creative baking skills. I will be judging this year’s contest once again. I LOVE judging the contest and I LOVE seeing all of your beautiful and fun creations. So Everyone, let’s get baking!!!!! 🙂

Ungrateful People

Once again, I am writing on something completely different today. I apologize for this little deviation and rant, and break from my norm. I had planned on writing something else for today, but something happened that really pissed me off and got my ire up. I am not one to be bullied or to be taken advantage of. I had just have to vent and get this off my chest.

I am so sick and tired of this ungrateful society we live in! I am so sick and tired of all these people who think they are entitled to things, and if they don’t get exactly what they want, when they want it, then they rant and scream and throw a temper tantrum and expect others to cave in to their demands. What has happened to common curtesy? What has happened to “thank you”? What has happened to our society? What has happened to our world?

Last week I posted something as a favor to someone, to help them out, or so I thought. Despite the technical difficulties on my end, I could not publish it exactly the way this person expected, but the post received a lot of positive feedback and comments, which I would think would still be considered a successful post. I even mentioned it in my post it that I could not get it to come out exactly how it was intended, and I apologized for it, but left the links so people could go to it if they wanted. This morning I received an email from this person expressing how unhappy they were about my post and demanded that I take it down because “a lot of effort had gone into it and [I ] should have posted it exactly the way [they] wanted it to be”. Too bad, so sad. I did my best. Grow up! If my best isn’t good enough, well then so be it. Find some else to help you out. But DO NOT be so ungrateful for a favor and then demand that I take it down just because it wasn’t what you were expecting or hoping for! This person is just being a bully and acting like a spoiled and entitled brat, and I WON’T stand for it, especially on my own blog, on my own platform! So, sorry, NOT SORRY! This person can kiss my A$$! I guarantee you, I AM NOT GOING TO REMOVE IT! Rarely do I get this riled up, but when I do, watch out! I have a temper and I have plenty of fight in me. When I am backed into a corner, I come out fighting, and I fight hard, and either I win or we both go down! Either way, someone will be bloodied in the end. And most of the time, it’s NOT ME!

OK! Now, I have that off my chest, I apologize once again for my rant, but sometimes it just has to happen. Let’s all try our best to enjoy the rest of the day and hopefully make it a good day, despite all the negativity that surrounds us. ‘Til next time.

Mix The Lime With The Coconut And Bake It All Up

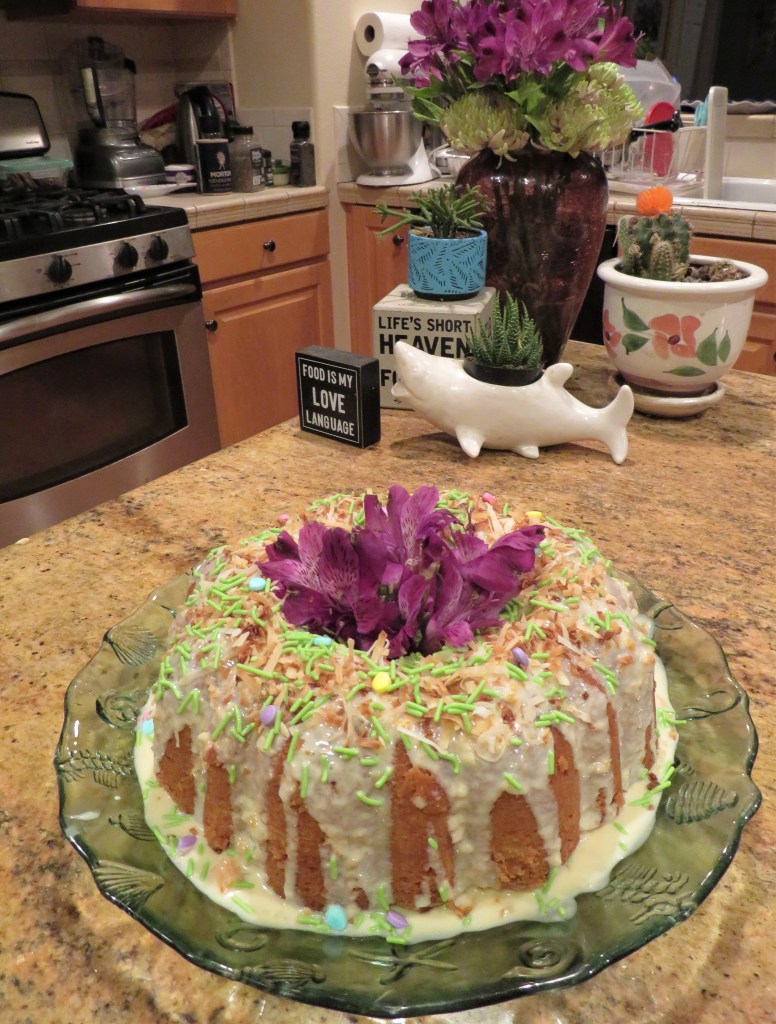
In case you haven’t noticed, sometimes I have a really quirky sense of humor. I made a lime and coconut cake, and I just couldn’t resist having a little fun with it, both with baking the cake and, as you can see, writing about it too. 🙂

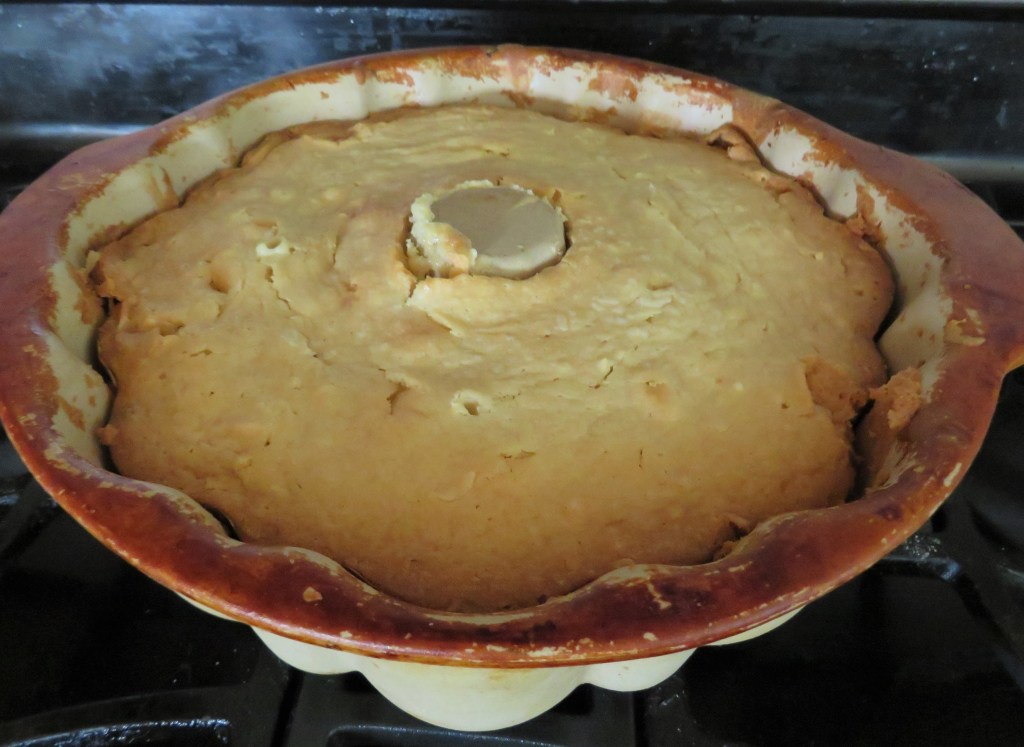
This deliciously tropical lime and coconut cake was a HUGE hit today. So many people commented on it and asked for the recipe. So, here it is. As you can see, I mixed the lime with the coconut and baked it all up.

Lime and Coconut Cake

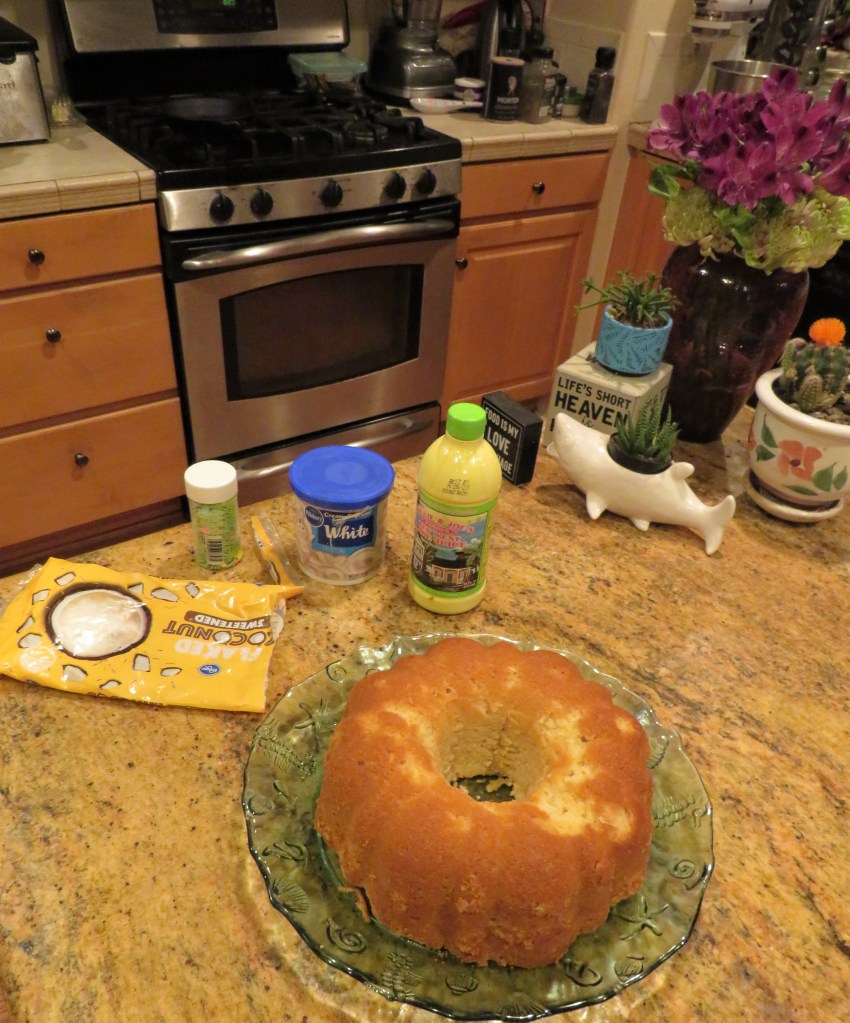
I used both plain dried coconut and toasted coconut and key lime juice. The key lime juice is a little sweeter than the Persian lime juice, and it also has a real distinct flavor.

Preheat the oven to 325* F or 163 * C.

Spray cooking spray into a bundt pan.

3 cups flour

1/4 tsp salt

1/2 tsp baking powder

1/2 cup shortening

1 cup butter, softened

3 cups sugar

6 large eggs

1/2 cup butter milk – I use the dried buttermilk that I mix with milk

5 oz of sour cream or yogurt

1/3 cup key lime juice

1 tsp vanilla

1 tsp lime extract

1/2 cup dried coconut flakes.

Combine all the dry ingredients and set aside.

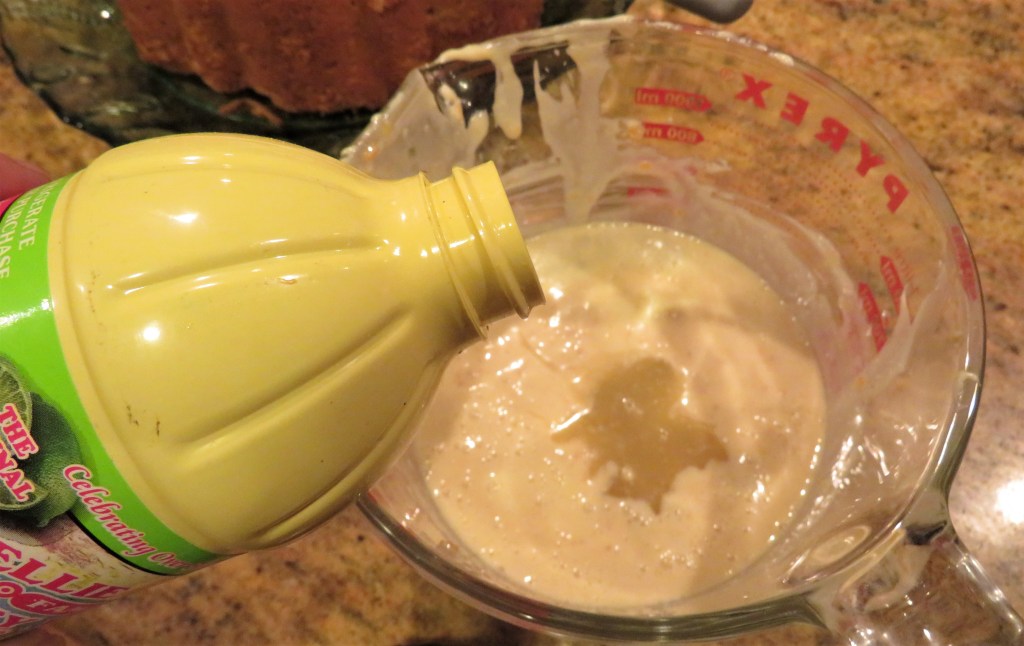
Mix the lime juice with the buttermilk.

Mix the shortening, butter and sugar together until creamy. Then add the eggs 1 at a time, beating in between each addition. Add the vanilla and the lime extract.

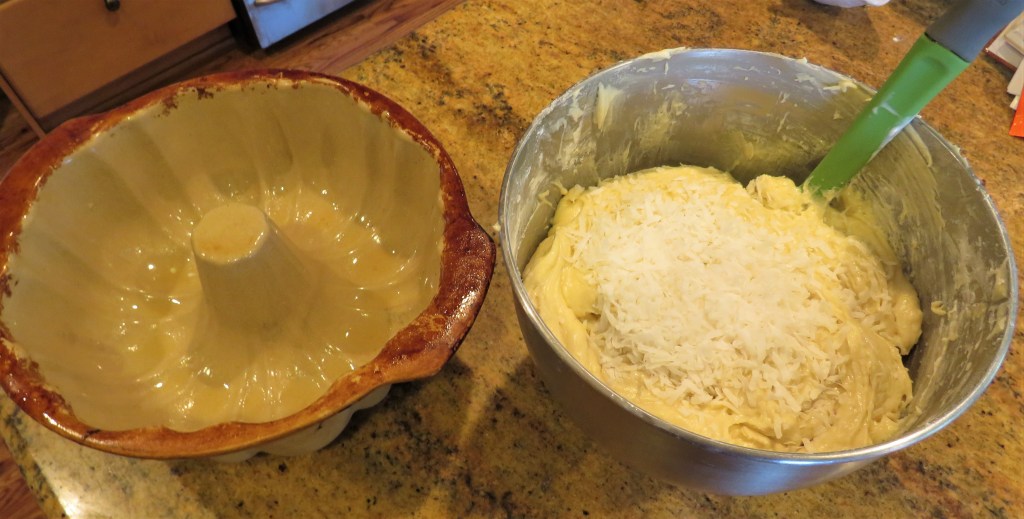
Add 1/2 of the flour mix, 1/2 of the sour cream or yogurt and 1/2 of the buttermilk and lime combination. Mix until everything is combined, then repeat until all the ingredients are mixed together thoroughly. Fold in the dried coconut.

Spoon the batter into the prepared pan and spread evenly.

Bake for about 1 1/2 hours or until the cake is set and a toothpick comes out clean when inserted in the middle.

Allow the cake to cool completely before taking it out of the pan and icing it.

Toast about 1/3 cup of coconut until just lightly golden. I usually do it in a dry pan directly on the stove top. It only takes a couple of minutes.

I had some prepared white icing mix that I mixed with 1/4 cup of lime juice, and poured it over the cake, but you can also make your icing too. I was going to, but I remembered I had the prepared icing leftover and used that instead. You should know by now, I am “the Queen of Leftovers” and waste not want not. 🙂

Pour the icing over the cake, allowing it to run down the sides. Sprinkle the toasted coconut all around the top and add colored sprinkles if you like, to make it more fun and festive.

The Icing

1 cup powdered sugar

1/4 cup key lime juice

1/2 tsp lime zest, optional

colored sprinkles, optional

Mix it all together then pour over the cake. Unless you are going to serve it right away, place the cake in the refrigerator to let the icing set. Then slice away.

All I heard this morning were a lot of oooh’s and awwww’s, as well as a lot of very nice compliments. Once you make this cake, I promise you, it is going to disappear very quickly. So if you want to enjoy it too, set your piece aside before slicing it up for others, otherwise, you will be like the coconut – toasted.

Have a great day and make everyday great. Stay safe and stay well. And always, mix the lime with the coconut and bake it all up. 🙂 ‘Til next time.