I have created this site to help people have fun in the kitchen. I write about enjoying life both in and out of my kitchen. Life is short! Make the most of it and enjoy!
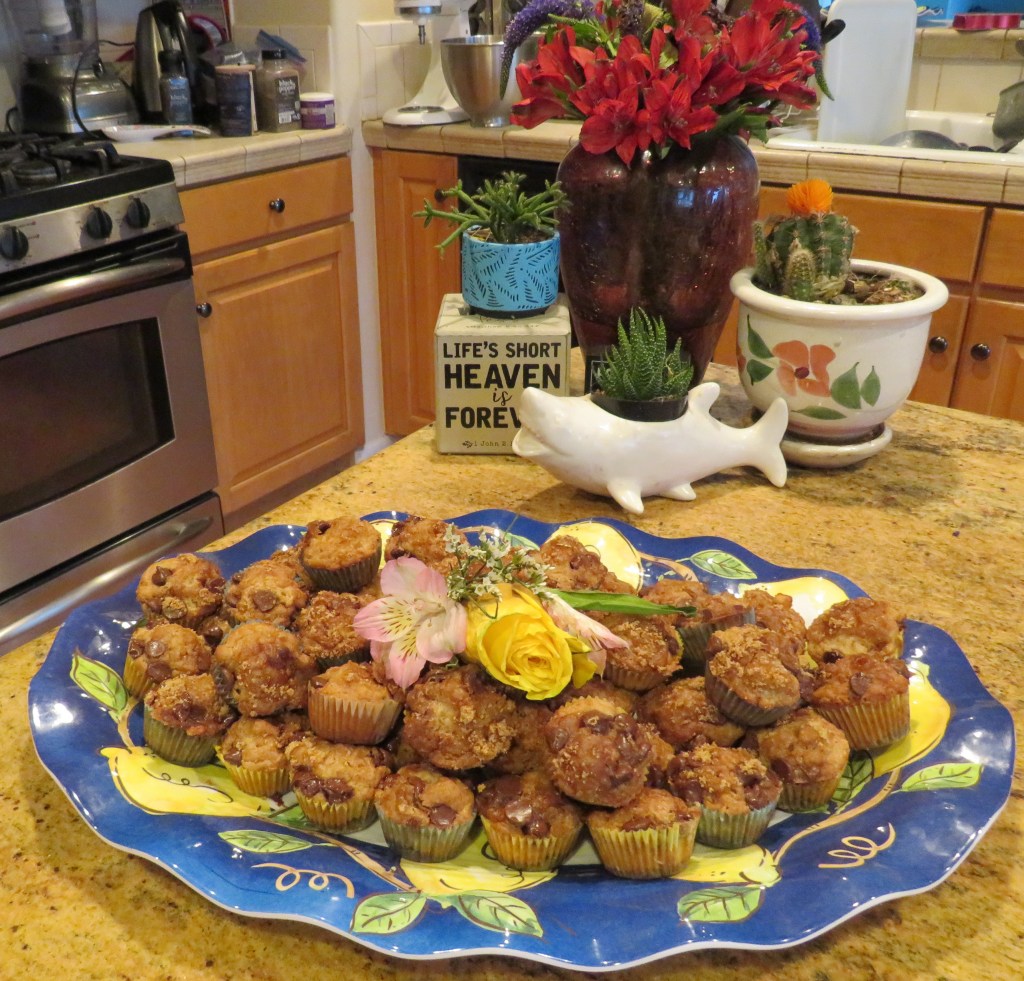
Thank you once again to both the Ohio Cook https://beatcancer2010.wordpress.com/ and Mimi from Good Eats By Mimi at https://goodeatsbymimi.blog/ for this delicious inspiration of the Chocolate Chip Banana Muffins. Please keep your good recipes coming. 🙂 The only things I did differently from your recipe was I added some banana extract and I made them as mini muffins. Other than that, I followed your lead. They were a big hit today.
I decided to make these as mini muffins 1) because I needed to get more to feed more people and 2) because I like to keep things on my coffee cart as bite-sized or small portions. These were perfect, especially since they were served alongside other goodies as well.
Cinnamon Chocolate Banana Muffins
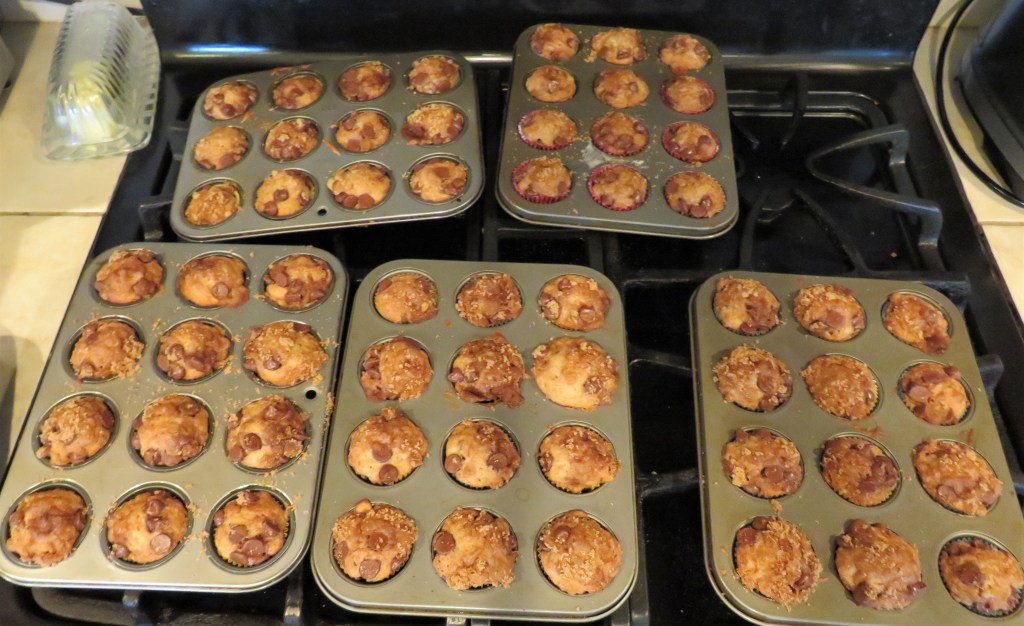
If you choose to make these as full sized muffins, you will get about 1 dozen. I made them as mini muffins, and I got 5 dozen. i did need to make more streusel topping though.
Preheat the oven to 425* F or 220* C.
Line your muffin pans with paper muffin cups.
The Streusel
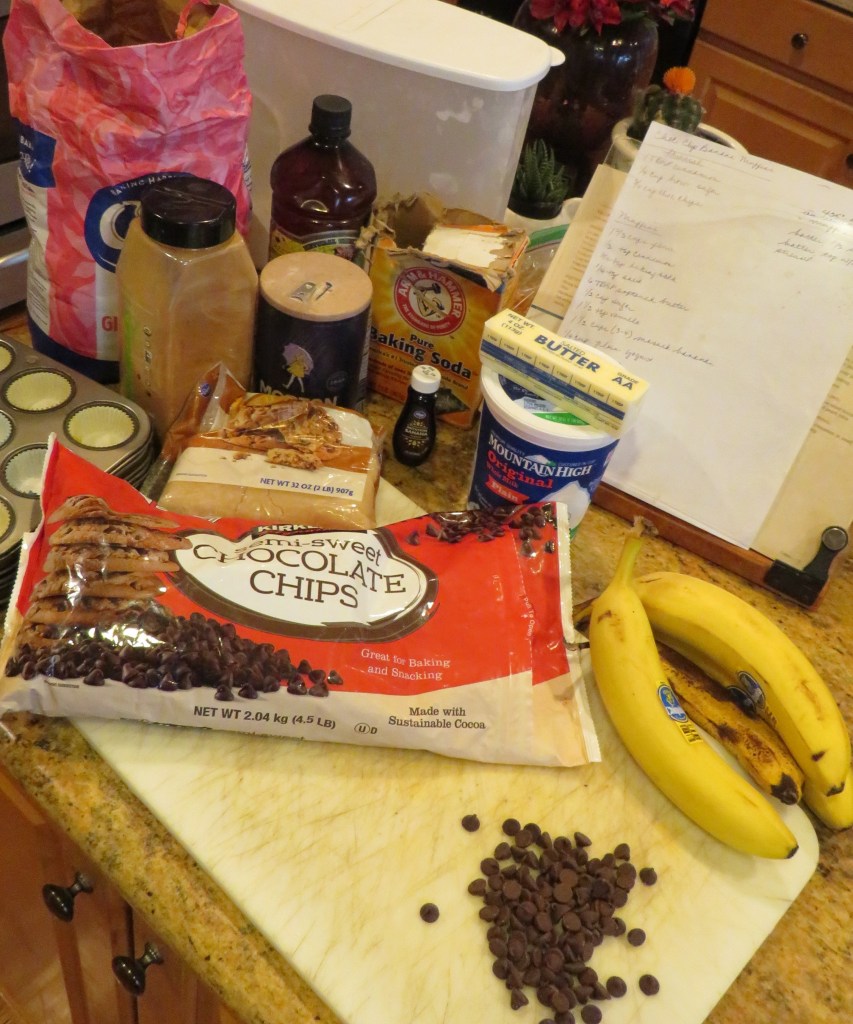
1 TBSP cinnamon
1/4 cup firmly packed brown sugar
1 cup chocolate chips
Mix everything together then place a little bit of the mixture on the bottom of the paper muffin cups. Save the rest for later.
The Muffins
1 2/3 cup flour
1/2 tsp cinnamon
3/4 tsp baking soda
1/4 tsp salt
1/2 cup sugar
6TBSP softened butter
1/2 cup sugar
1 tsp vanilla
1 tsp banana extract
1 1/2 cups or about 3-4 bananas, mashed
1/4 cup plain yogurt
Mix all the dry ingredients together and set aside.
Mix the butter and sugar together until creamy, then add the mashed bananas and the vanilla and banana extract and mix again . Add 1/2 the flour mixture and 1/2 of the yogurt and mix, then repeat until it is all mixed together.
Add the batter on top of the streusel mixture, then add the rest of the streusel mixture on top of the batter.
Bake for 5 minutes at 425* then reduce the heat to 375* F or 191*C and continue to bake for about 20 minutes, or until the muffins are set and are done on the inside.
Remove from the oven and cool before eating. Mine all disappeared very quickly, again. Yours will too. 🙂
Thank you ladies once again for this delicious inspiration and idea. Please keep them coming. 🙂
Have a great day and make everyday great. Stay safe and stay well. ‘Til next time.
I laughed so hard at Larry a few days ago when he said I needed to eat more leftovers. What????? Does he NOT realize I am the Queen of Leftovers??? I recreate with leftovers ALL THE TIME!!!! Oh well. Whatever! I guess he just doesn’t realize that. I’ll take that as a compliment. 🙂
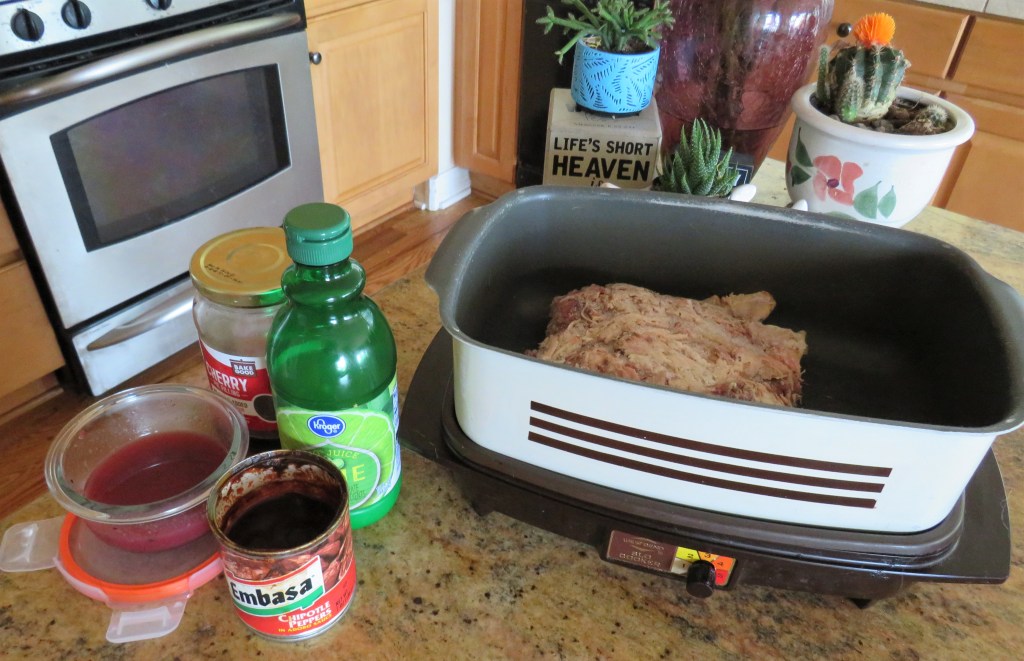
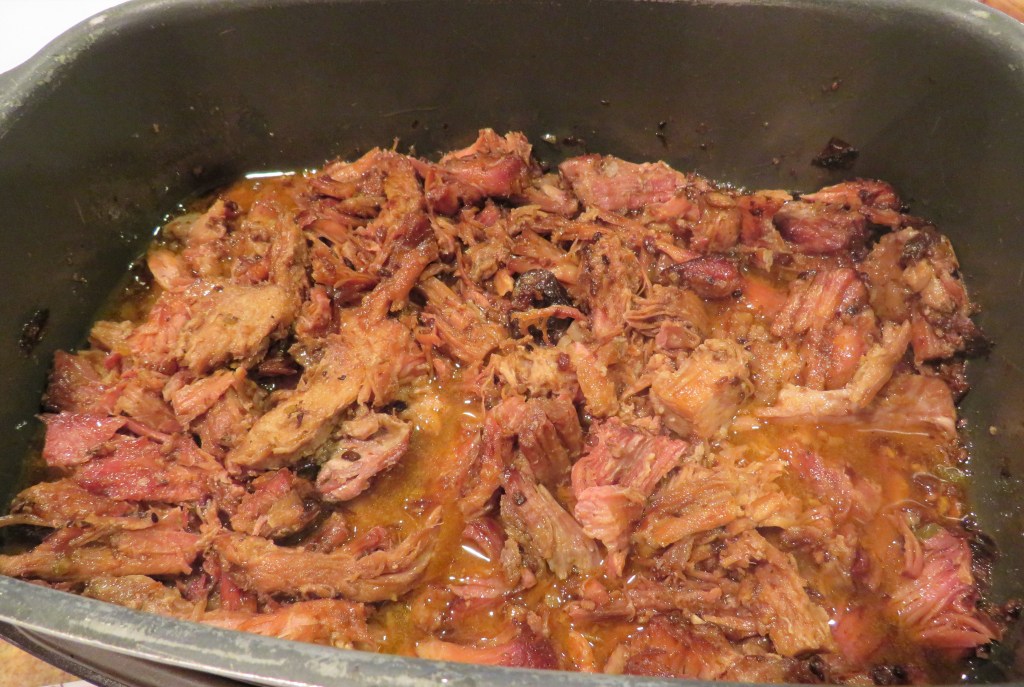
This time I had some leftover pulled pork that I took out of the freezer and mixed it with the leftover glaze I made from my cherry-lime-jalapeno chicken, From The Farmers’ Market and made it even spicier with some chipotle peppers. Then I slow cooked it all in the slow cooker for about 5 hours.
The pork, though cooked, was still tough, so slow cooking it was perfect. It came out so tender and was just full of flavor. All the flavors of the sauce just came together and went so well with the pork.
I didn’t measure anything, but then again, I never do. I just added a little bit of this and a little bit of that, and voila. Dinner was done. But since you want recipes, I will guestimate for you. 🙂
1/2 cup cherry-lime-jalapeno sauce
2-3 TBSP lime juice
1/2 cup water
2-3 chipotle peppers with sauce, chopped fine
I just mixed everything together and put it all in the slow cooker for about 5 hours. I walked away and forgot about it until it was ready to dish up and serve.
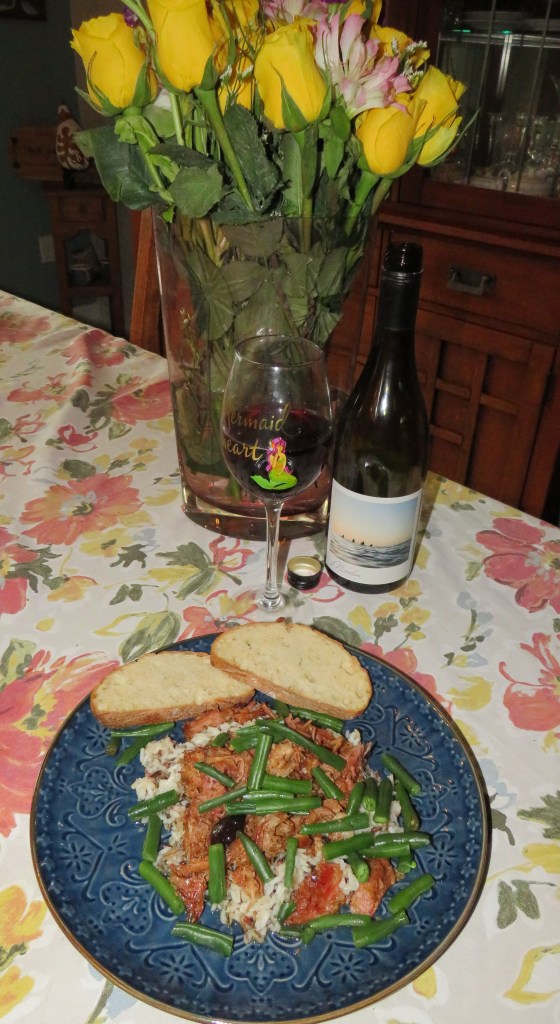
I served it all on top of some wild rice with some cooked green beans on top. And a red blend on the side.
So see, leftovers can be fun, especially if you recreate them into something totally different than what they were as firstovers. 🙂
As I always say, play with your food and be creative. Have a great day and make everyday great. Stay safe and stay well. ‘Til next time.
You all know I love my cookies. I will eat any kind of cookie that comes my way. Of course, I have my favorites, and that list is continuously growing. But I haven’t found a bad cookie yet. They’re all good to me.
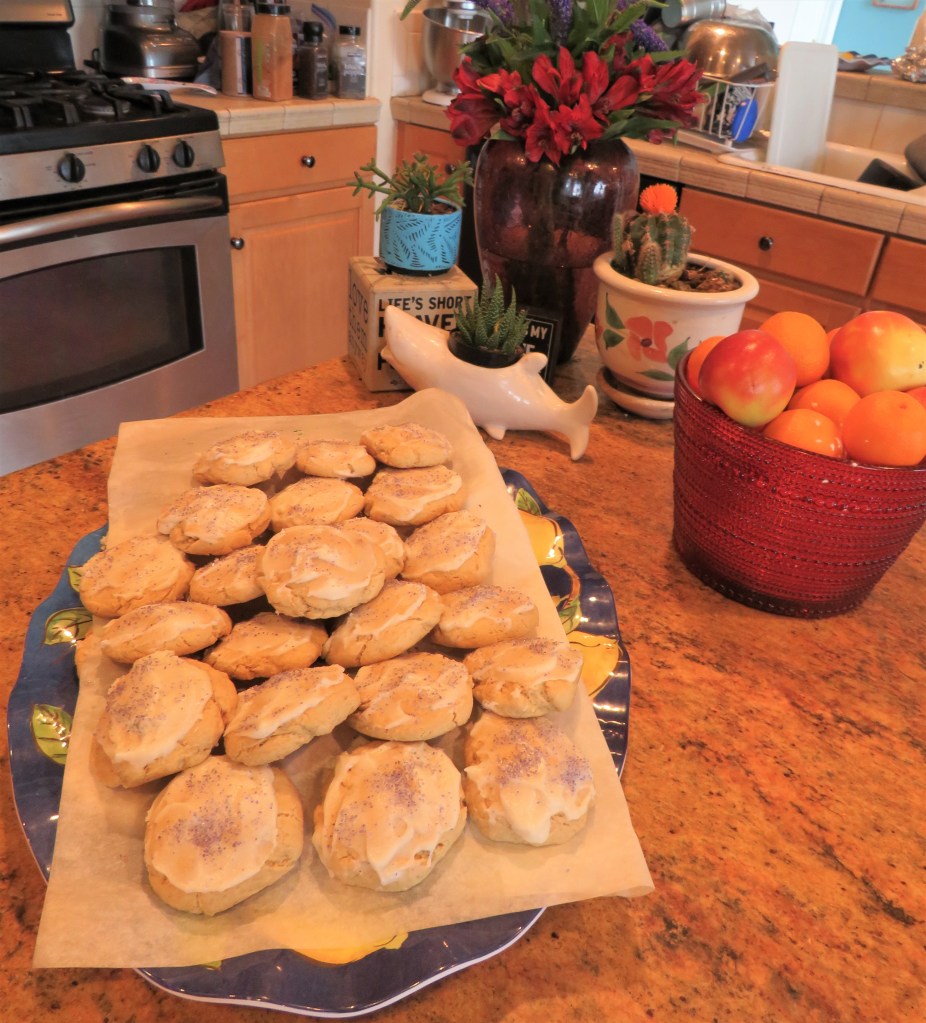
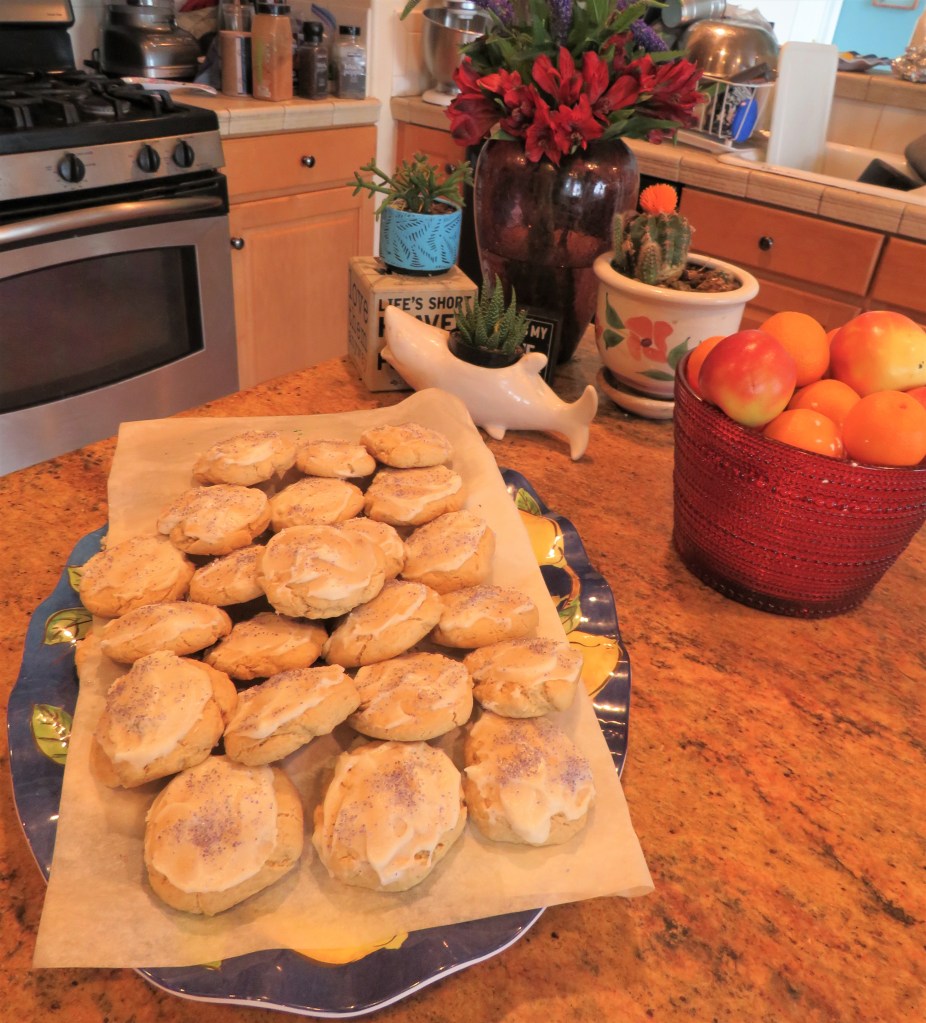
I made cookies with a light lemon glaze the other day. They just melted in my mouth. They only have a hint of lemon, but it is just enough to know there is a bit of a citrus accent to them.
Of course I changed the recipe. Originally they were supposed to maple flavored with nuts, but I changed everything maple to lemon instead and took out the nuts. With all the nut allergies today, I don’t make as many things with nuts as I would like, which is a shame, because I love nuts, and I was already offering my cinnamon roll cake that had nuts. Cinnamon Roll Cake Next time I might just have to make them with the maple and the nuts. 🙂
Lightly Lemon Glazed Cookies
Preheat the oven to 350* F or 180* C.
2 cups brown sugar
1 cup or 2 sticks softened butter
3 eggs
1 1/4 tsp lemon extract
3/4 cup milk
4 cups flour
2 tsp baking soda
1/4 tsp salt
As with most cookies, mix the sugar and butter together until creamy, then add the eggs one at a time, and the vanilla.
Combine all the dry ingredients and mix well, then add 1/2 at a time and mix, add the milk 1/2 at a time and mix, and repeat.
Drop into 1 TBSP sized portions, and lightly roll into a ball, then press gently if you like them a bit flatter. These cookies are going to be puffy cookies because of the eggs and the baking soda. I pressed them down a bit more at about the half-way point. I am not a big fan of puffy cookies. I like them flatter and a bit crunchier. But this just me. There is nothing wrong with puffy cookies if that’s what you like. They are just not my favorites.
Bake for about 10-15 minutes or until the cookies are are lightly golden around the edges. Remove from the oven and allow to cool completely before adding the glaze.
I had some lemon glaze from something else leftover, so I used that instead of making some more.
Lemon Glaze
1/4 cup softened butter
2 1/4 cups powdered sugar
1 egg, beaten
1 tsp lemon extract
2 tsp water
Mix everything together until it is spreadable, then spread a dabble on top of each cookie. I added some purple sprinkles on top just for some color and little pizzazz. These cookies are subtle, so I wanted the toppings to be subtle too.
Enjoy all the cookies and have a great day. Stay safe and stay well. ‘Til next time.
I love sunflowers. They are such happy flowers. Right now they are in full bloom all over the place. There are different varieties, different sizes, different colors, and all are beautiful.
This is my own sunflower patch in my backyard. I let them just completely take over and bloom to their heart’s content.
They were my inspiration for this.
I am still very much an amateur painter, but I enjoy painting, and I just felt like painting. This is what I created.
Sometimes you just have to play around and let your creative side come out. It doesn’t matter how good something is. Just do it for you. What matters is how does it make you feel when you do it. Do things that make you happy and give you joy. Just get those creative juices flowing. Who knows what the results will be, but have a good time and have fun creating. 🙂
Galettes are very popular free form pies. They can be either sweet or savory. You can fill them with anything you like. The possibilities are endless.
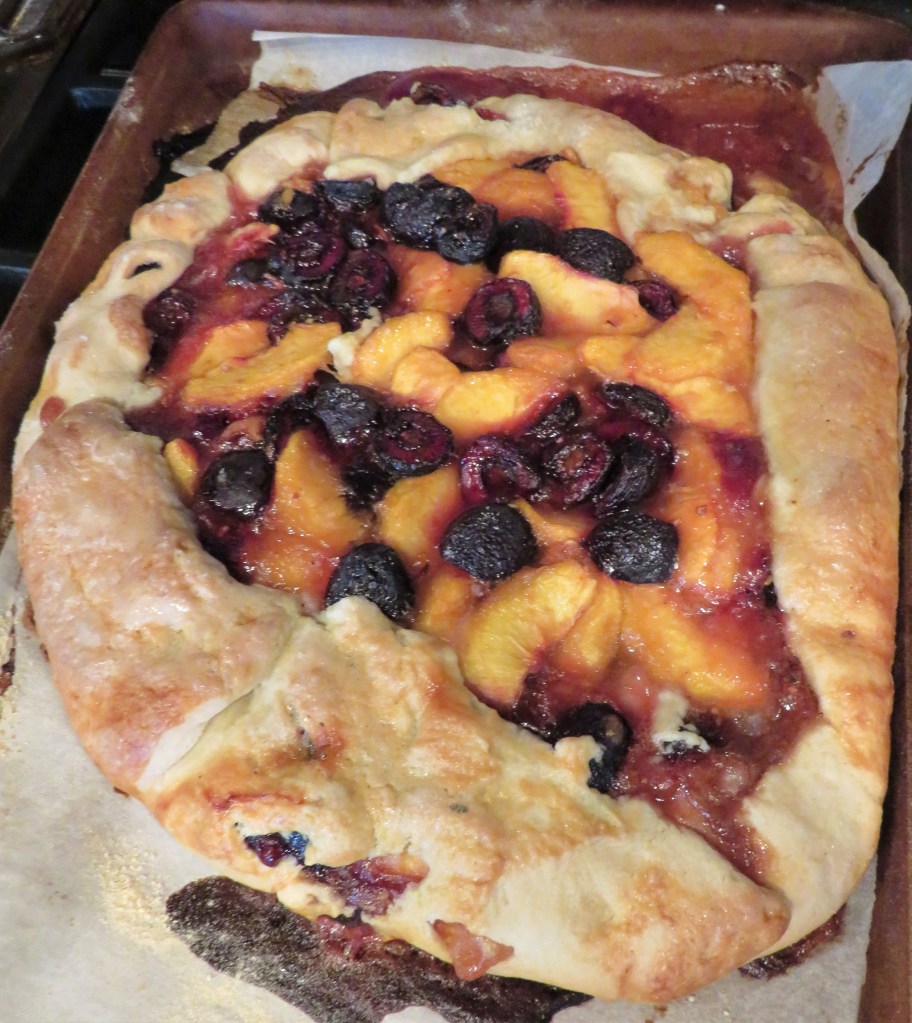
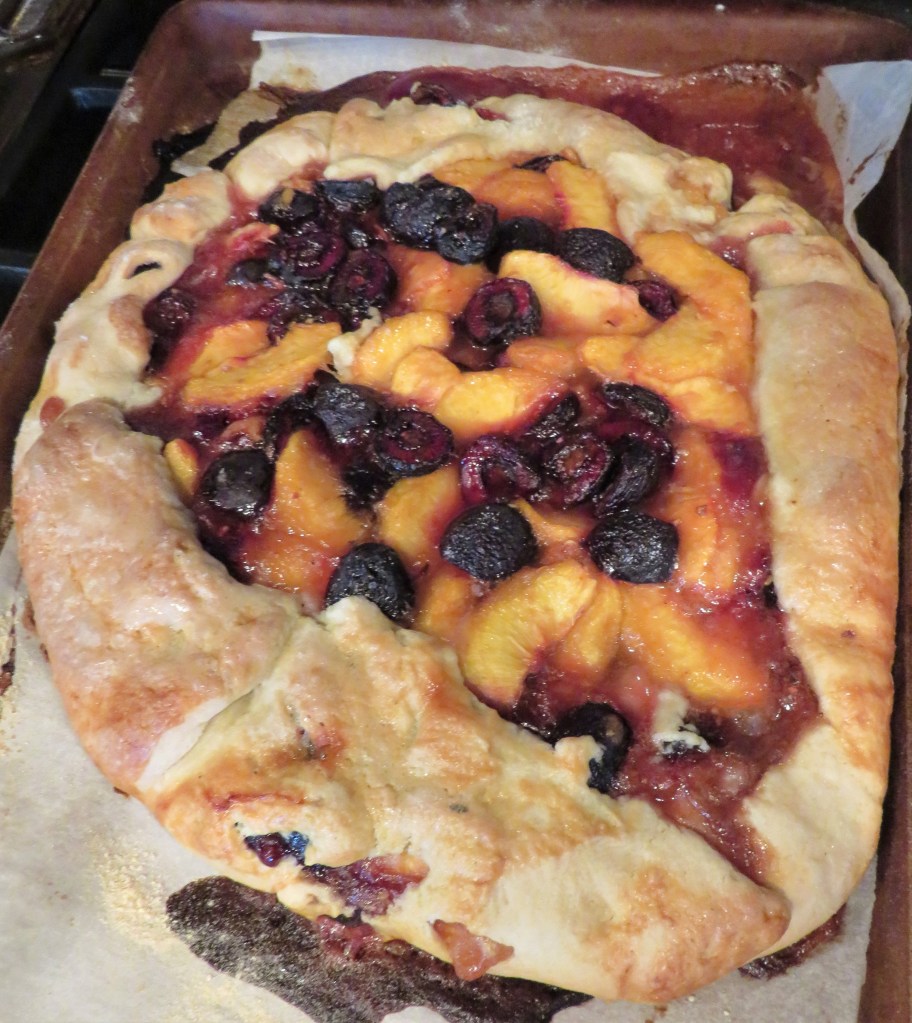
When Lauren and I went to the Farmers’ market the other day, I bought a 1/2 box of Palisade peaches. From The Farmers’ Market I will be using them again for something else this weekend, but the first thing I made with them was a peach and cherry galette.
Galettes, originally known as gales, have been around since the Ancient Norman times. Gales were flat cakes. They were first made in the regions of Normandy, Brittany and French Guiana. Italians also have a type of galette that they call crostada or galettas. They are the same thing under a different name. In Spanish, they are known as galetas.
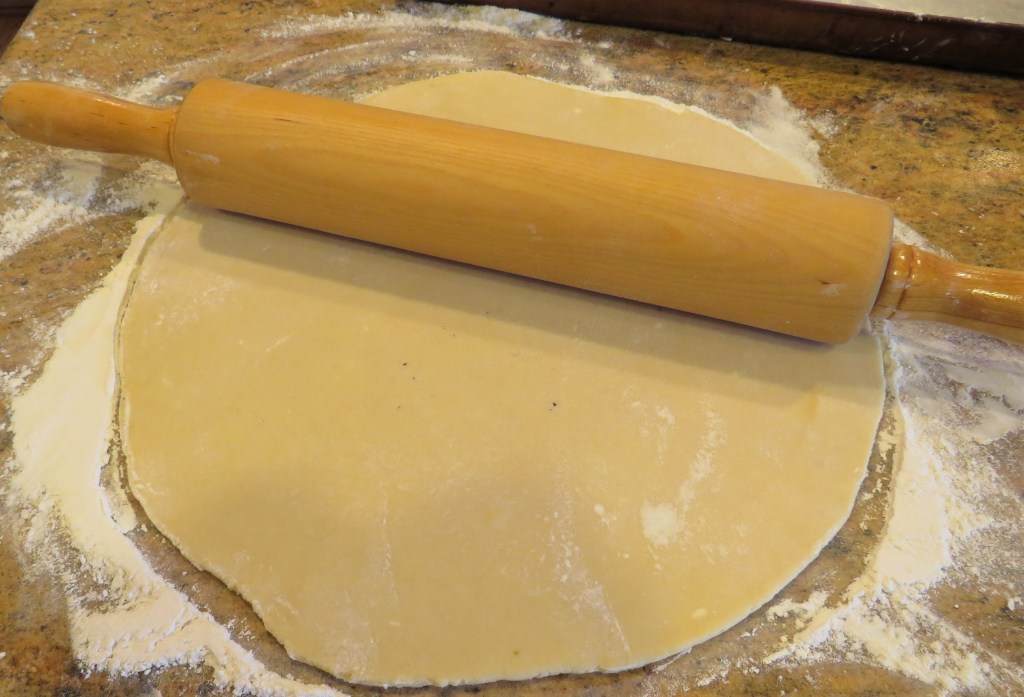
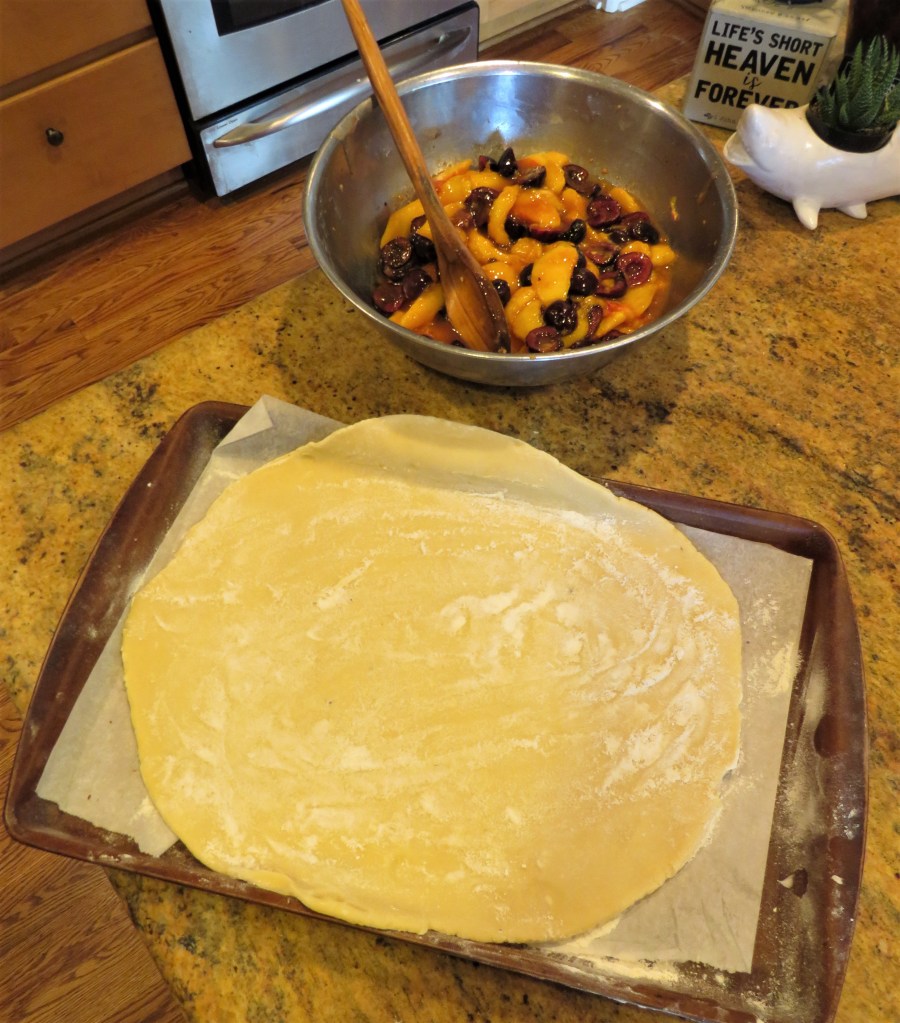
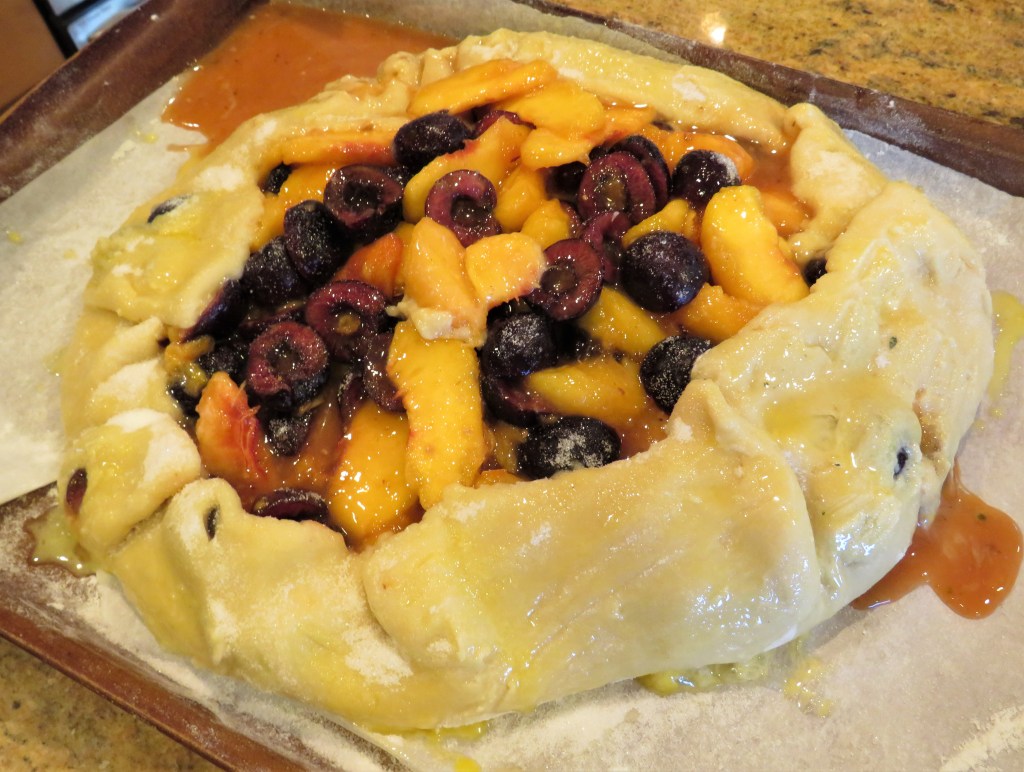
Galettes are made from a pie dough which is baked on a baking sheet rather than in a pie tin or pan. The dough is rolled out into a thin circle, then placed on the pan, filled with the filling, and the edges are folded over and pinched together. No two galettes are ever going to be exactly the same. And even when you pinch and and fold it over perfectly, they have a mind of their own, and often take different shapes.
Peach and Cherry Galette
I made my dough first, which is my basic go-to pate sucre, or sugar dough. Peach and Blueberry Galette Then I made the filling.
Preheat the oven to 400* F or 205* C
Line your baking pan with parchment paper
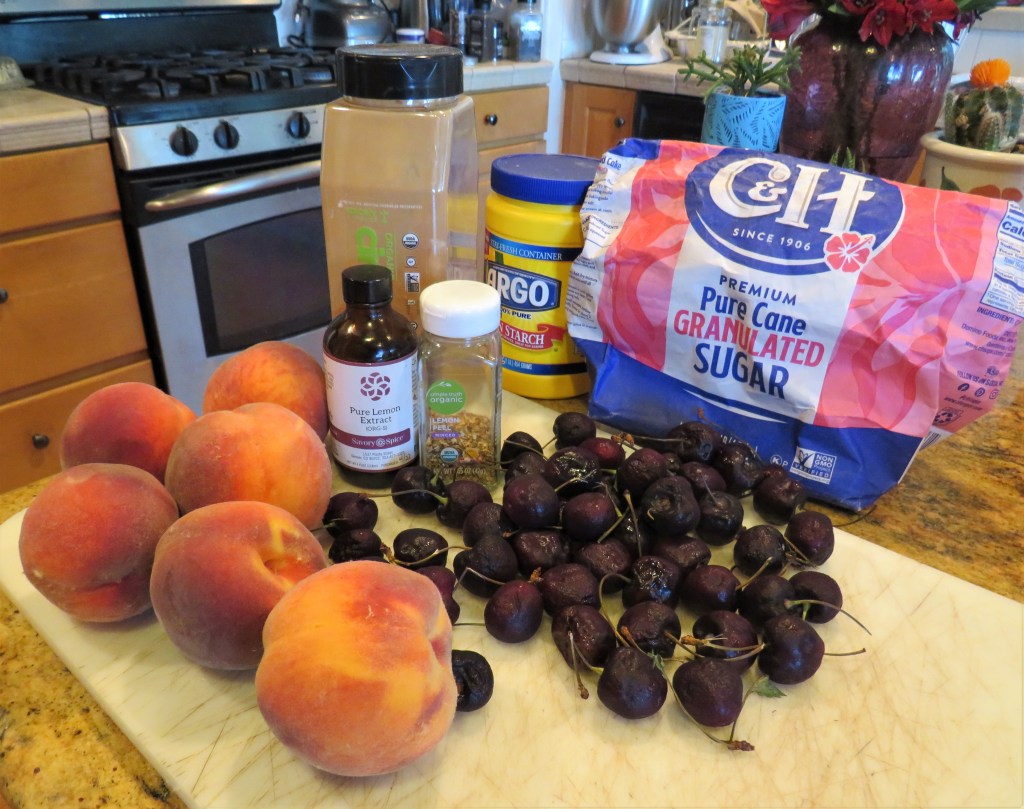
5-6 peaches, peeled and sliced
2 cups cherries, stems removed and pitted
1 tsp lemon extract
1/2 cup + 1 TBSP sugar
1/4 cup cold water
2 TBSP cornstarch
1 tsp cinnamon
1 tsp lemon zest
egg wash
sugar for topping
Let the dough set in the refrigerator for at least 30 minutes before rolling it out. Roll out the dough into a thin circle. Then place it on the prepared pan.
Mix everything together for the filling and place it all in a heavy saucepan. Bring to a boil until the sugar and cornstarch dissolves, and most of the liquid has evaporated. Then reduce the heat to a simmer and cook for about 2-3 minutes, stirring constantly.
Pour the fruit compote into the center of the dough, trying to leave the edges clear. Then work your way around the dough, lifting, folding and pinching it as you go. If the juice runs it, it runs out. No worries. That’s what the parchment paper is for.
Make and egg wash and brush it all over the top and sides of the dough, then sprinkle sugar all around the top.
Bake for about 40 minutes or until the crust is golden brown and set. Remove from the oven and let cool before serving. It is best when served warm, with either some ice cream or whipped cream on the side.
This is a delicious rustic dessert that you can make however you like. There are NO rules. Enjoy!
Have a great day and make everyday great. Stay cool, stay safe and stay well. ’til next time.
The other day Mike and Larry were out playing golf so Lauren and I went to one of our local farmers’ markets. It was a bustling event. We picked up some delicious fresh goodies that I turned into dinner and dessert for the four of us after.
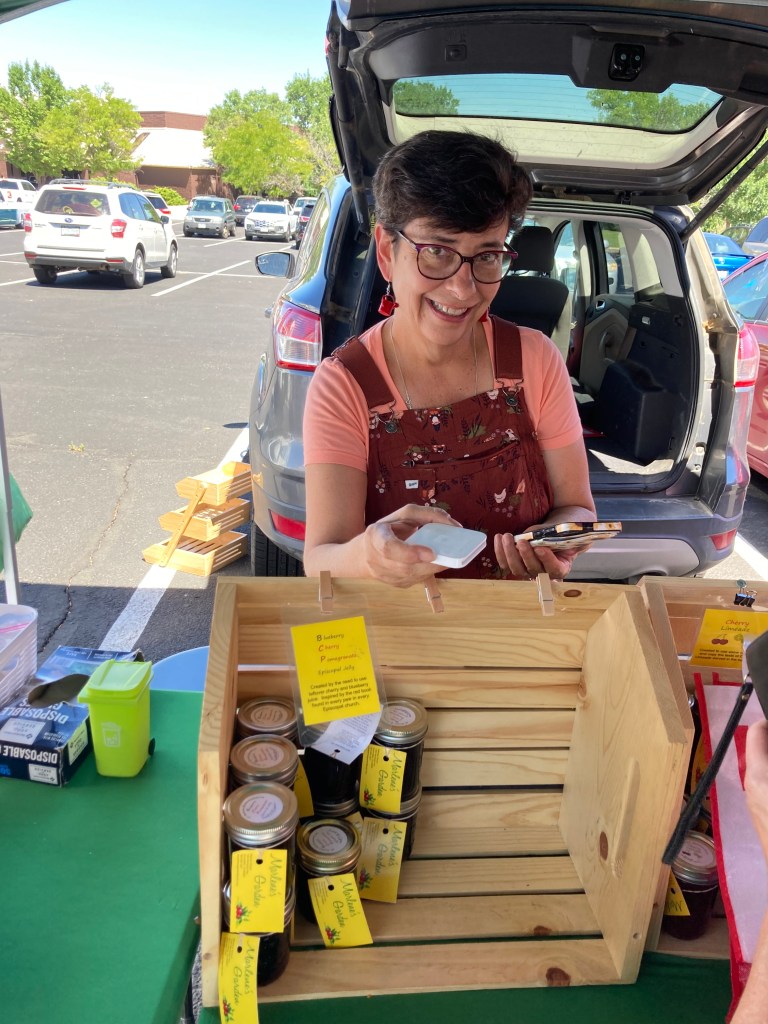
Lauren and I split a box of fresh, delicious Palisade peaches. I got some more farm fresh jalapenos, and some homemade jams. One was a cherry lime jam, that I turned into a sauce with one of the jalapenos for some chicken.
It was a simple, easy-peasy meal that I was mentally preparing while we were at the farmers’ market as I was talking to Marlene Stroud, from Marlene’s Garden at comarlensgarden@gmail.com, the producer of the fabulous homemade jams and jellies. Our discussion was my inspiration for dinner. I used the cherry lime jam she made as the sauce for my chicken. YUM! Her jams and jellies were so good, she was almost out. She said she had started the day with a wide selection of jams and her crates were full. When we got there she was almost sold out. WHOOOOO HOOOOO!!!!! I love it when small businesses flourish. 🙂
Cherry Lime Chicken
I made a simple reduction sauce as both my marinade and then the sauce for the cooked chicken after. It was cool and refreshing with just the right amount of heat.
4-6 chicken breasts
1 jar of cherry lime jam or a combination of both
1 jalapeno, roasted, peeled, seeded and diced fine
1/2 cup limeade
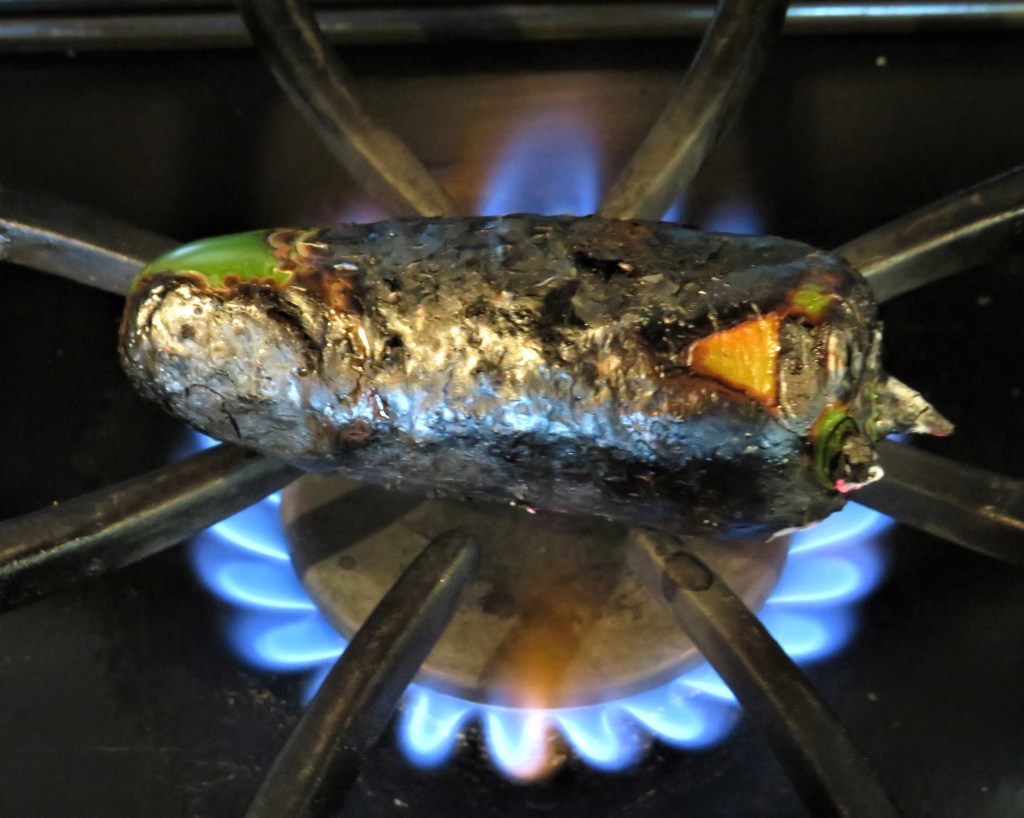
Roast the jalapeno over an open flame until it is completely charred on the outside. Let it sweat for about 20-30 minutes in a plastic bag, then remove the skin and the seeds, rinse and dice fine.
Place everything in a sauce pan or skillet and cook for about 5 minutes or until the jalapeno has softened a bit.
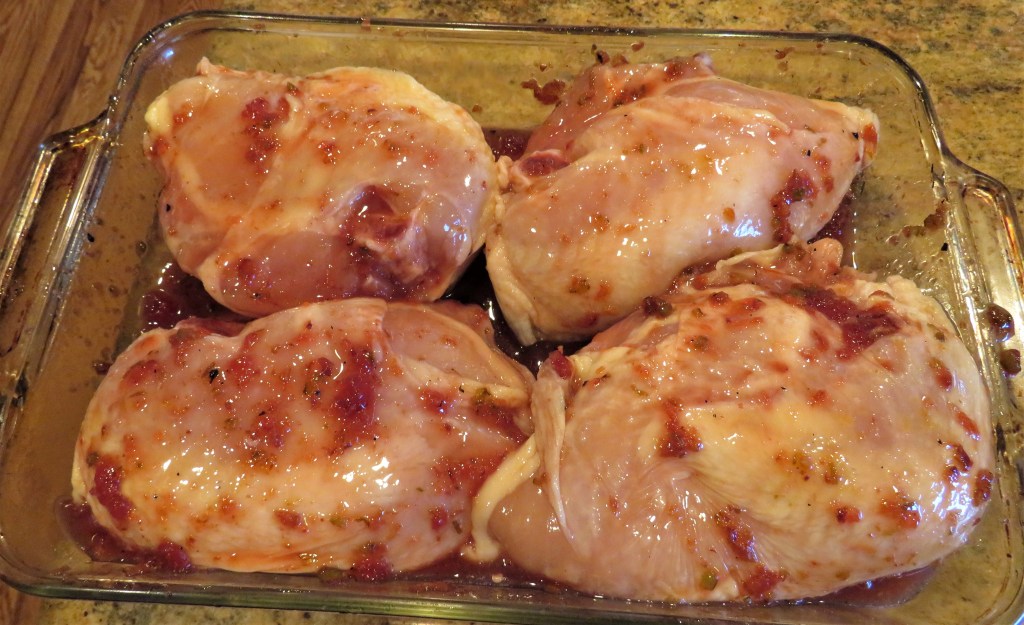
Then pour about 1/2-3/4 of the sauce over the chicken and let marinade for at least 2-3 hours in the refrigerator before grilling.
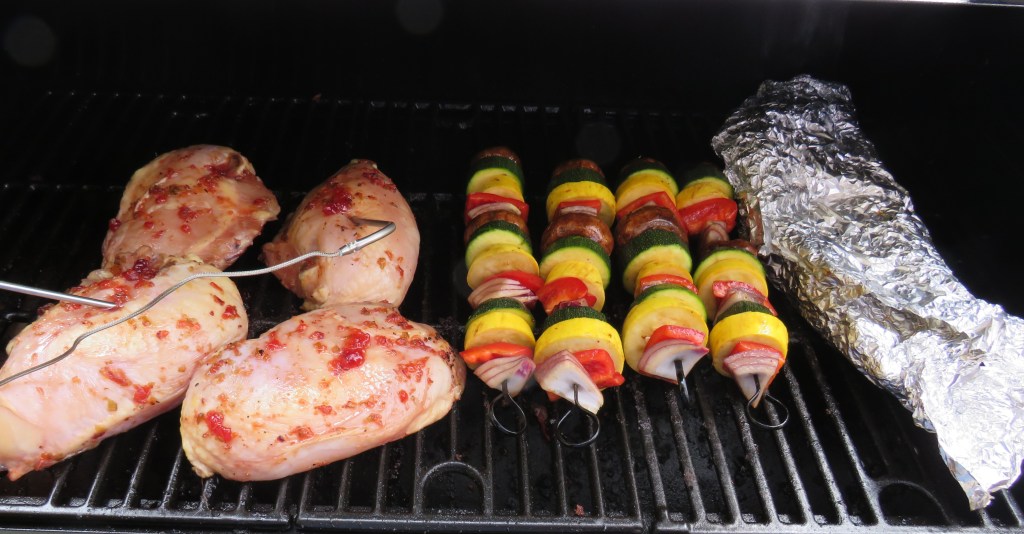
I also made some vegetable kebabs and ribs that we cooked up as well. Lauren made some couscous and that completed the meal. It was a perfect summer supper.
Cook the remainder of the sauce and reduce it until the liquid has evaporated by about 1/2 for your topping. When the chicken is cooked, pour some of the reduction sauce on top and enjoy. This is a perfect way to enjoy some of the summer freshness.
Things don’t have to complicated in order to be good. Keep it simple and enjoy the finer things in life, such as sharing a good meal with good friends. Life is good and I am definitely living the good life. I made a peach and cherry galette for dessert, using some of my fresh peaches, but more on that later. 🙂
Have a great day and make everyday great. Stay cool, stay safe and stay well. ‘Til next time.
There is something about cinnamon that just captivates us all. It is a very versatile spice that is used for both sweet and savory dishes around the world. It is also used in perfumes and as a digestive medicine. It is an old spice that has been around for 1000’s of years and was considered to be a luxurious spice that was coveted the world over.
Cinnamon is grown in many tropical parts of the world form Southeast Asia to South America. It comes from the several tree species in the Cinnamomum genus. Here are some fun facts about cinnamon that are certainly new to me, and I be they are to you too.
Cinnamon doesn’t have a sweet taste but does amplify the sweetness in other ingredients.
The better quality cinnamons are more breakable (fragile).
The average cinnamon tree grows to 60 feet in height.
Cinnamon acts as a natural preservative.
Cinnamon sticks are also called quills.
Just smelling the wonderful odor of cinnamon boosts brain activity.
So now that we all know a little more about cinnamon, it it is easy to see why it is such a popular spice, used in every culture around the world.
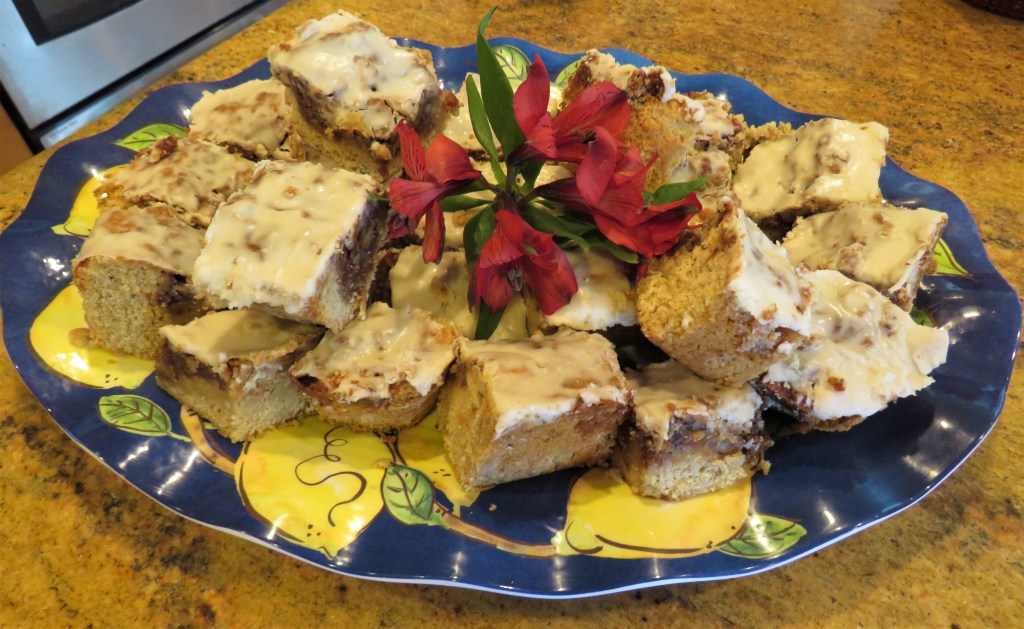
I use a lot of cinnamon. Mostly I use it in the European/American way, which is for sweets, cakes and cookies. Although I also use it a lot in different ethnic savory foods, such as when I am cooking Indian, or Thai or Middle Eastern dishes. This time I used it to make a cinnamon roll cake. Yep, it’s cinnamon rolls without the roll, and made like a cake instead. This is a much less time consuming way to make it since you are not using yeast, and the cake does not need any proofing time.
Once again, these were a big hit and were gone in an instant. Poor Larry. He loves cinnamon rolls and cakes, and he only got to try a little bit. I didn’t save any for him. But, he got more than I did. As usual, I make all these treats but rarely get a chance to have any myself, since I wait until everyone else has had their fill, which usually means there are none leftover for me. That’s OK though. I certainly DON’T need the additional calories and I can enjoy them vicariously through everyone else. 🙂
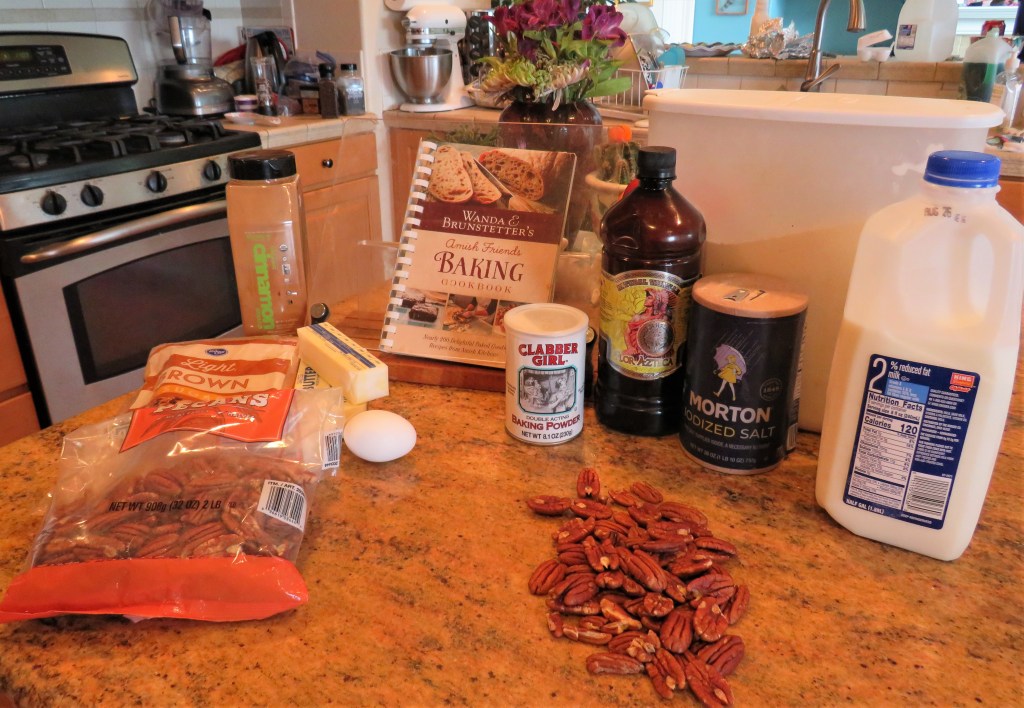
Cinnamon Roll Cake
Preheat the oven to 350* F or 190* C.
Spay a 9×13 baking sheet with cooking spray.
The Cake
1 1/2 cups firmly packed brown sugar
1 cup or 2 sticks softened butter
2 eggs
1 cup milk
2 tsp vanilla
3 cups flour
3 tsp baking powder
1 tsp salt
Combine all the dry ingredients and set set aside.
Mix the sugar and butter together until creamy, then add the eggs and beat in between each addition. Add the vanilla. Add 1/2 the flour and milk and mix, then repeat until it is all mixed together.
Spread the batter out evenly in the prepared pan.
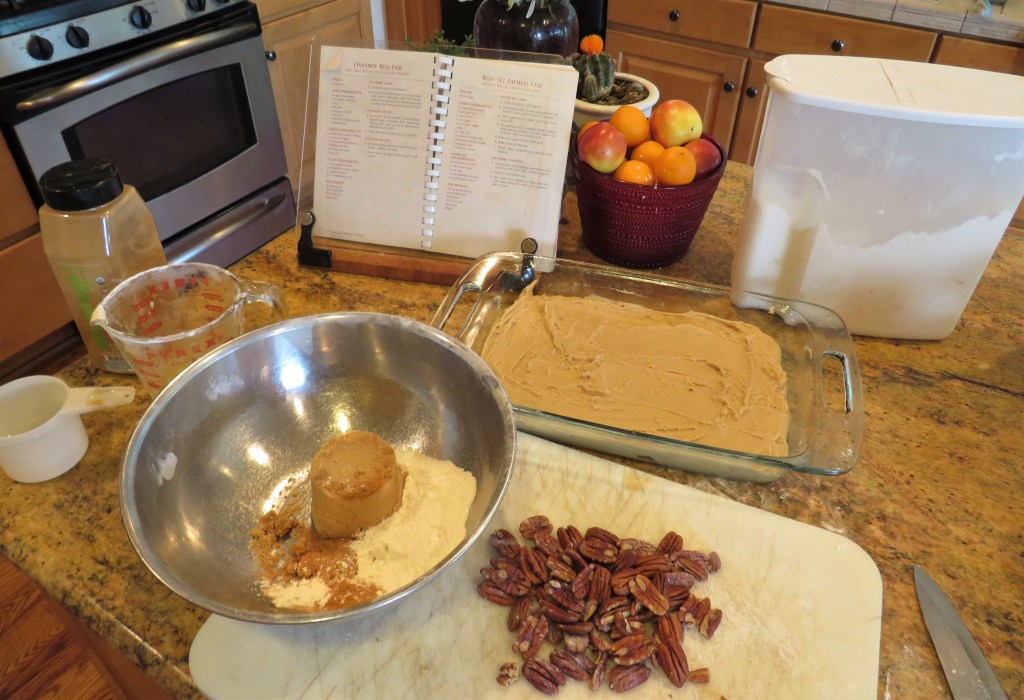
The Filling
4 TBSP melted butter
1 cup brown sugar
2-4 tsp cinnamon – of course I used the 4
4 TBSP flour
4 TBSP water
1 cup chopped nuts – I used pecans, but you can use whatever type of nuts you like.
Combine everything together until it forms into a thick paste. Then spread evenly on top of the cake batter.
Bake for about 40 minutes or until the cake is set and a toothpick that is inserted in the middle comes out clean.
Let the cake cool a little, but you want it to still be warm when you add the frosting on top.
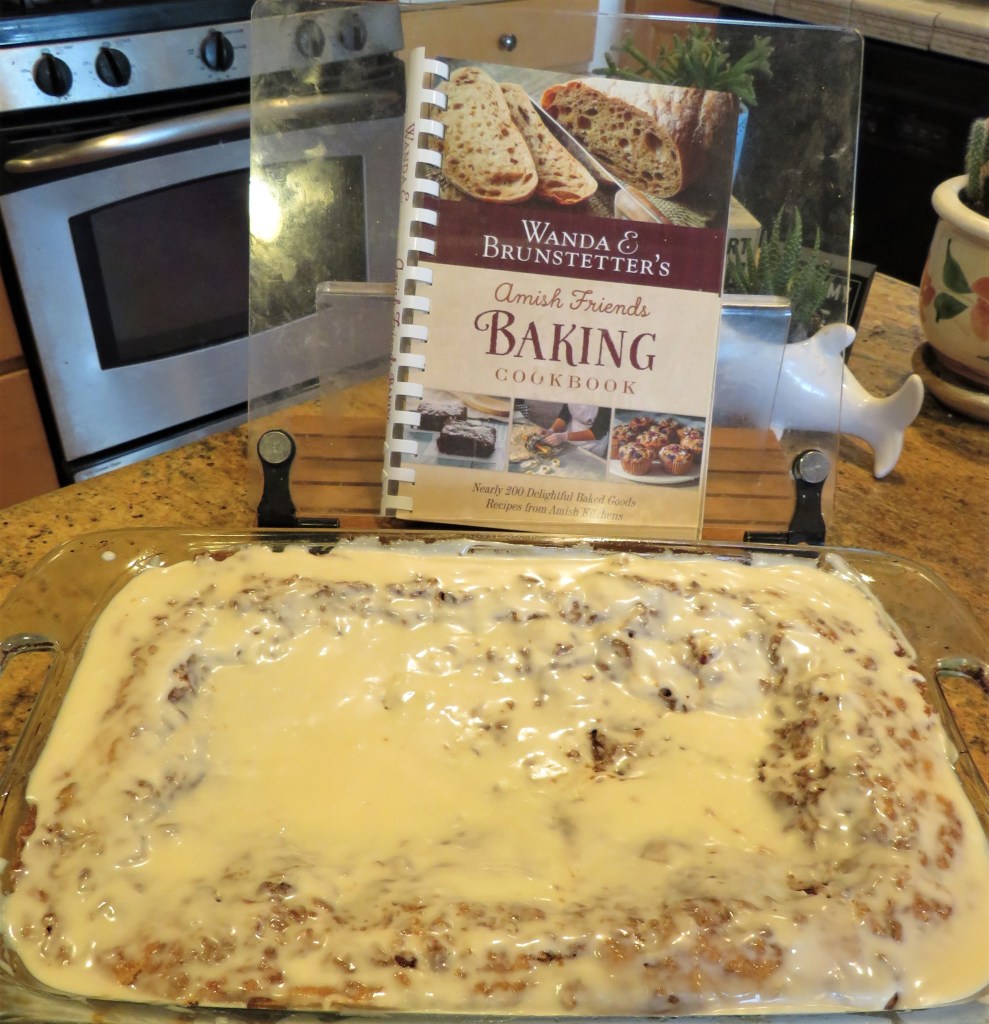
The Frosting
2 cups powdered sugar
2 TBSP melted butter
1 tsp vanilla
3-4 TBSP milk
Mix everything together until it is well blended and all the sugar has dissolved. Spread the frosting evenly over the cake and slice it up to share.
You can serve it warm or at room temperature. Either way, it will disappear in no time. In this case, much to Larry’s dismay. He was so hoping there would be some leftover. 🙂
Have a great day and make everyday great. Stay safe and stay well. ‘Til next time.
BLT’s are popular sandwiches that are comprised of bacon, lettuce and tomato on toast that is spread with mayonnaise. This is an iconic American sandwich, though it gets its roots from the British tea sandwiches that were popular around the Victorian era. It is believed to be a variation of the club sandwich, which includes turkey as well. Believe it or not, BLT’s are the 2nd most favorite sandwich in America. Personally, I don’t get it. I am NOT a fan, though I love and eat all the ingredients all the time. A BLT sandwich to me is just a teaser, and still leaves me hungry. But I do like club sandwiches.
However, that being said, if you take all the ingredients of a BLT sandwich and toss them together with chunks of cooked chicken, well, that’s a completely different story. I just need more stuff in it.
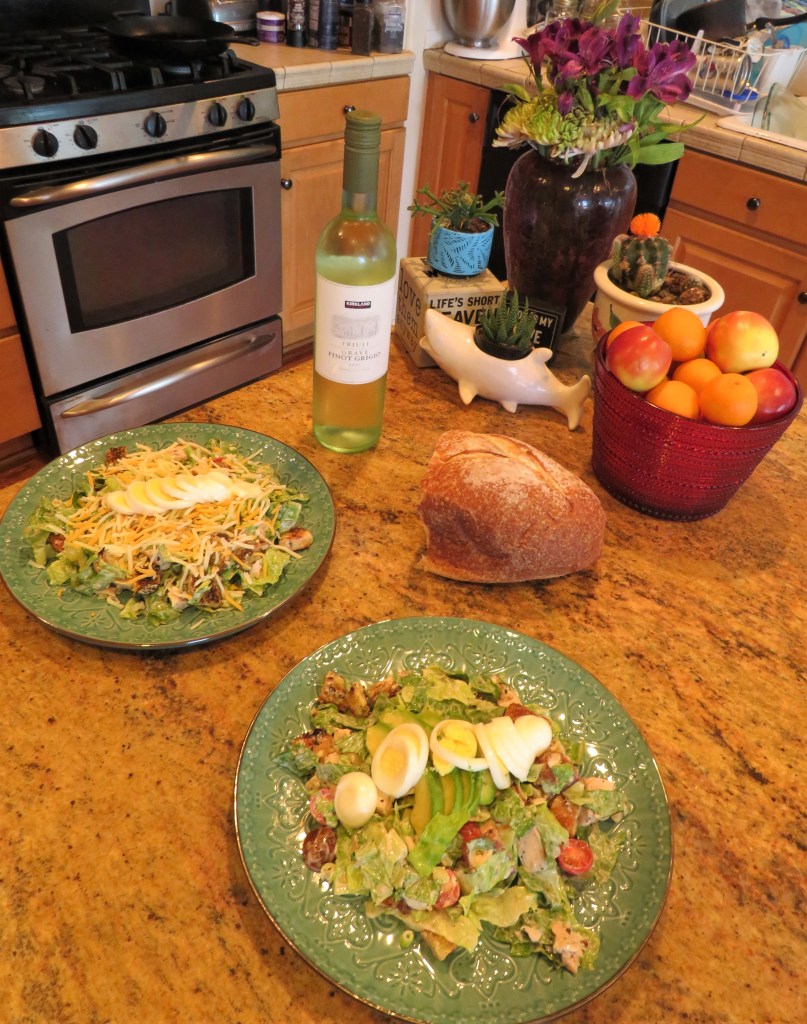
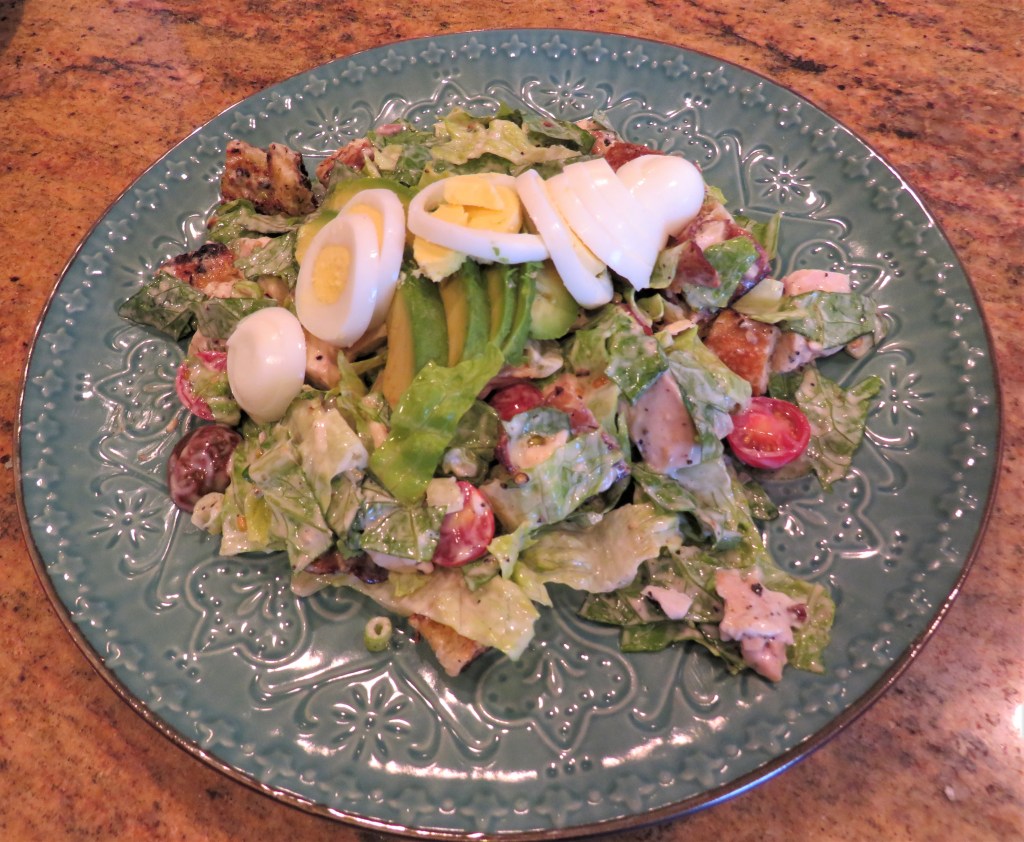
I made the salads more like a Cobb salad than a BLT, but they came out great and we gobbled them up. We tend to eat a lot of salads for dinner when the mercury soars and the temperature rises, meaning I am always on the lookout for something new and fresh.
Chicken BLT Salads
12 oz Romaine lettuce, chopped rough
1 lb chicken breast, cooked and cubed
1 lb bacon, cooked and cut into chunks.
1 lb cherry tomatoes, cut in 1/2
1/4 cup green onions, sliced
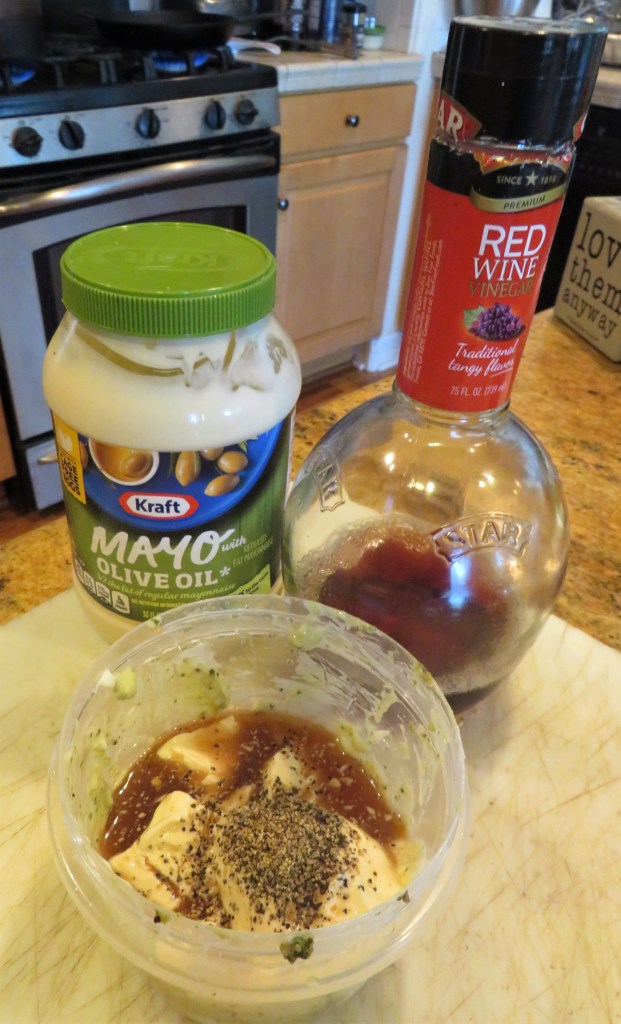
3/4 cup mayonnaise, divided
3-4 TBSP red wine vinegar
salt & pepper to taste
4 large slices of thick bread, cut into cubes
hard boiled eggs, sliced, optional
shredded cheddar cheese, optional
avocado chucks, optional
Cook the bacon and cut into large pieces and set aside.
Cook the chicken in the bacon grease until done.
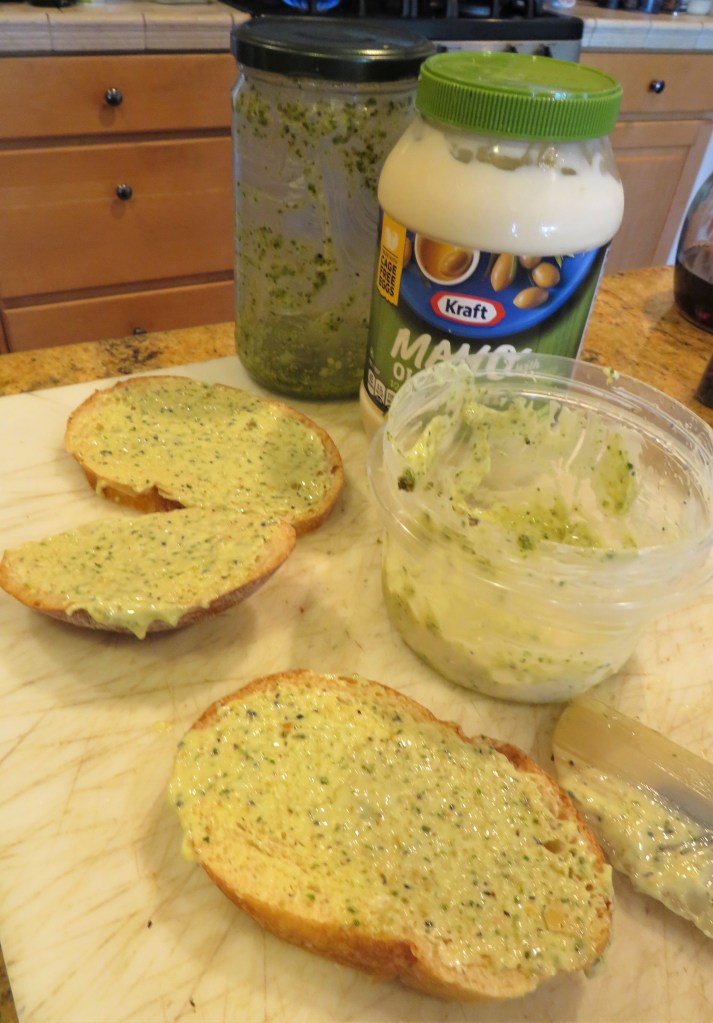
Spread some of the mayonnaise on both sides of the bread slices and either grill or bake until lightly browned and crispy. Then cut into chunks. I had a little leftover pesto sauce that I added to the mayonnaise to make pesto croutons.
Combine the rest of the mayonnaise, salt, pepper and red wine vinegar to make your dressing.
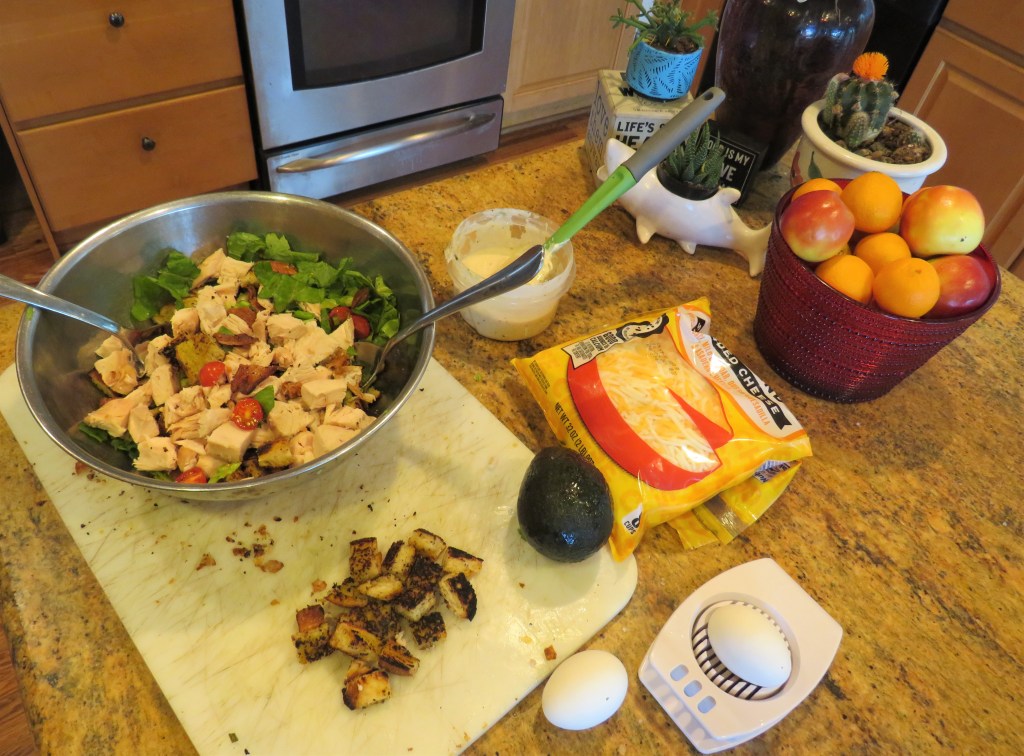
Toss everything together, right before you are ready to serve, and you now have a chicken BLT salad. You can toss everything else together, and hold the croutons and dressing out until just ready to serve too.
Larry and I both like hard boiled eggs on our salads, and he likes cheese and I like avocados, so those were all added at the end as toppers for the salads.
These are delicious, easy-peasy salads that are also quick to make and healthy to eat. So even though I will pass on a BLT sandwich, when it comes to a salad, I will always say yes to “tossing the BLT”. 🙂
Have a great day and make everyday great. Stay safe and stay well. ‘Til next time.
Because today is Sunday, and Sundays are supposed to be the day of rest, I am going to take it easy today and just let someone else do the talking for a change. I don’t feel like thinking today. So, I am going to give you more thoughts on food from a few famous chefs instead. 🙂
This is so true. Taste should always be the reason why foods is placed on the menu.
Again, very true. Jamie Oliver is so right on this.
Remember the K.I.S.S rule – keep it simple (stupid).
Yes indeed! This is what keeps cooking fun.
The more colors you eat, the healthier the dish. Plus we eat with our eyes long before we taste what’s on the plate.
Truer words were never spoken. How can things be bad when eating a cookie , or better yet, two?! 🙂
Have a great day and make everyday great. Stay safe and stay well. ‘Til next time.
Meatloaf is a traditional all American meal that has been around for ages. Or is it? It’s roots really hail from Germany, Belgium and Scandinavia and is a cousin of the Dutch meatball. It became a popular American dish from the immigrants of these countries back in the 1800’s, though it is also believed to have been around In Medieval Europe since around the 5th century, or even longer, perhaps dating back to the Ancient Romans.
Meatloaf was originally a hodge podge of different meat scraps cooked together, like many other casseroles and shepherd’s pie. It was a way to stretch protein. It was a way to use up excess vegetables. It was a ragtag orchestra of ingredients on the verge of expiration. And it made music more uplifting than anyone could have anticipated.
Americans embraced meatloaf with more fondness and fervor than perhaps anyone else, to a point where it’s often mentioned alongside hot dogs and hamburgers as one of the country’s iconic dishes and essential comfort foods. Its narrative in this country includes an early chapter set in colonial times, when German immigrants made scrapple, an amalgam of ground pork and cornmeal that established the meat-starch union at the core of most meatloaves. The first recorded recipe for the modern American meatloaf is from the late 1870s, according to the food historian Andrew Smith, who told us that it instructed the cook to finely chop “whatever cold meat you have.” That meat, he said, would likely be beef, because New Englanders killed their cows before winter, when feeding them would prove more difficult, and tried to take full advantage of every last bit of the meat, looking for uses for the cheap cuts. Meatloaf was such a use. To the chopped beef they added pepper, salt, onion, slices of milk-soaked bread and egg. You’ll find these very ingredients and steps in many a meatloaf recipe today. But back then, Smith said, meatloaf wasn’t for dinner. It was for breakfast.
Meatloaf became a staple of many Americans’ diets during the Depression, because it helped home cooks extend precious protein farther than it might otherwise go, so that more people could be fed with less meat. By then meat grinders were common and meat grinding less difficult, two developments that helped to popularize meatloaf. In the 1940s meatloaf was an emblem of wartime ingenuity; this was the era of Penny Prudence’s “Vitality Loaf,” made with beef, pork and liver. The Culinary Arts Institute published a recipe for Savory Meat Loaf that called for beef, vegetable soup and cereal. And it has been a staple to the American diet ever since.
Traditionally Americans serve meatloaf topped with some kind of a tomato sauce, like ketch-up, though many different kinds of sauces are used to top it. I like all kinds of sauces on mine, at different times if course. These tomato based sauces are used to caramelize the mixture when it bakes and takes on a smooth texture. As with anything that has been around for a long period of time, there is always more than one way to make a meatloaf, and everyone thinks their own particular way is best.
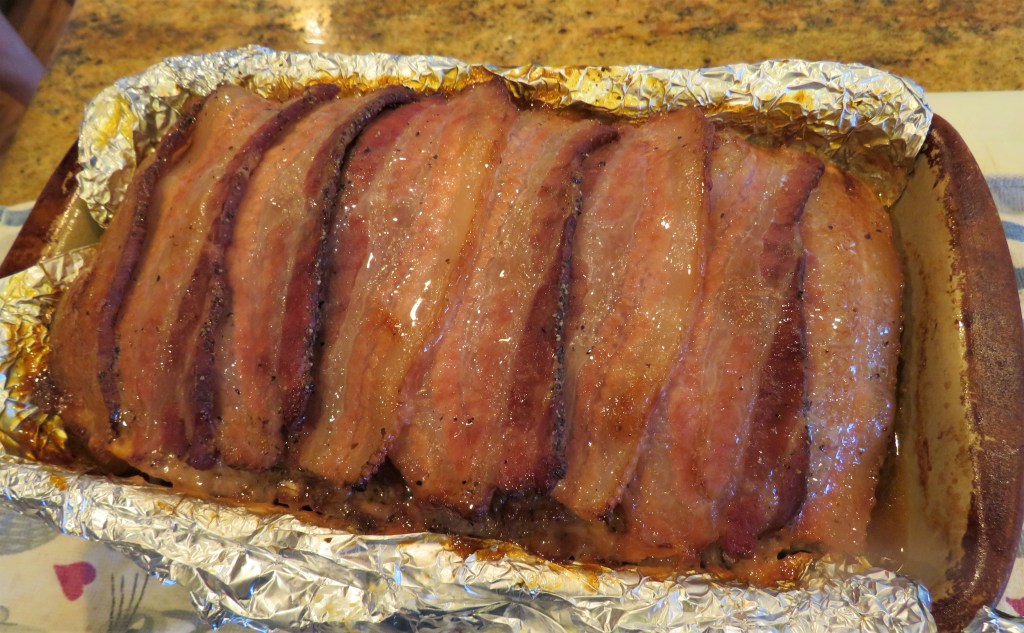
Larry was hungry for meatloaf the other day, and I hadn’t made it in a while, so it was long over due. But again, I am always looking for more fun and adventurous ways of cooking things, especially when it comes to tweaking the classics. 🙂 I used to get in trouble for this all the time while in culinary school, but my favorite Chef Instructor, Chef Andre Aversein, would usually support me in the end with his comments of “Jeanne,(pronunced jan, the French way) dis is good”, in his very heavily French accent. I made the meatloaf bacon wrapped this time, with a brown sugar-Heinz 57 glaze. And as Chef Andre would say, “dis is good”.
Wrapping the meatloaf in bacon was about the only real difference to how I normally make my meatloaf. It is an addition I like, and I will continue to make, that is until I find something I like better. 🙂
Bacon Wrapped Meatloaf with A Brown Sugar Heinz 57 Sauce Glaze
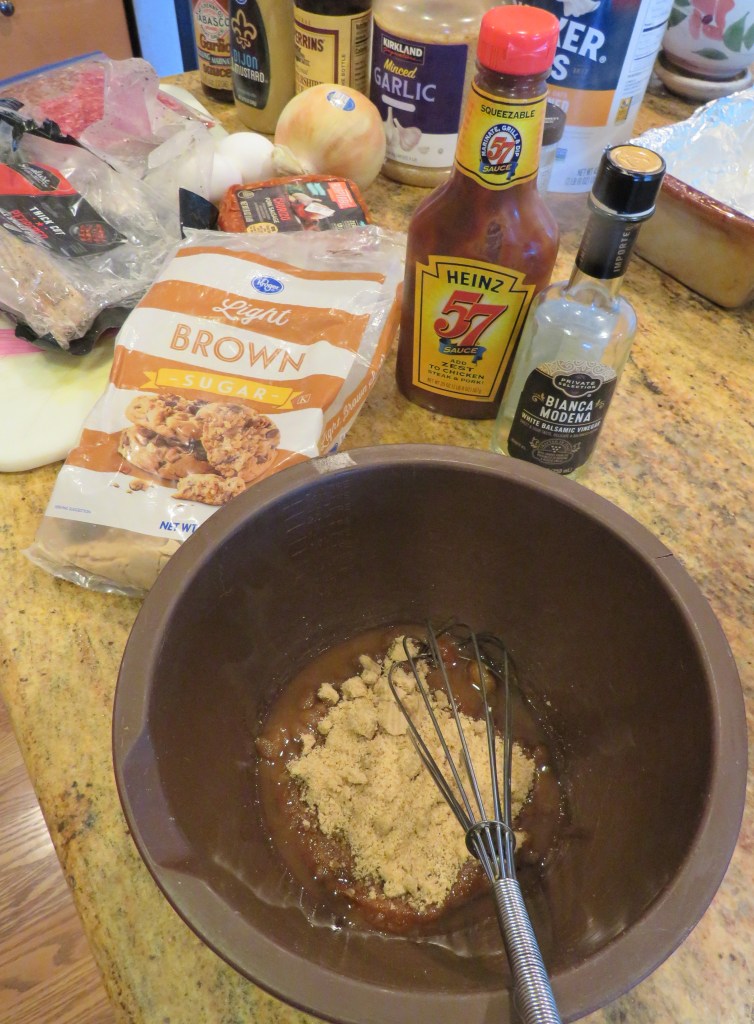
Make the glaze first then set aside.
Preheat the oven to 350* F or 190* C.
Spray a 9×5 loaf pan well with cooking spray, then line it with aluminum foil.
The Glaze
You can use either ketchup or Heinz 57 sauce. I didn’t have enough ketchup opened, and I was too lazy to go downstairs and pick up another bottle, so I used Heinze 57 sauce, which I actually prefer over ketchup anyway.
1/2 cup Heinz 57 sauce
1/4 cup firmly packed brown sugar
4 TBSP white balsamic or white vinegar
Mix together thoroughly and set aside.
The Meatloaf
1 lb ground beef
1 lb ground chorizo
1 onion, diced
1 TBSP garlic
2 large eggs
2 tsp Dijon mustard
1/2 cup milk or yogurt
salt & pepper to taste
1 tsp Tabasco sauce or hot sauce, or to taste
1 cup either crushed saltines, breadcrumbs or uncooked oats
8-12 slices bacon
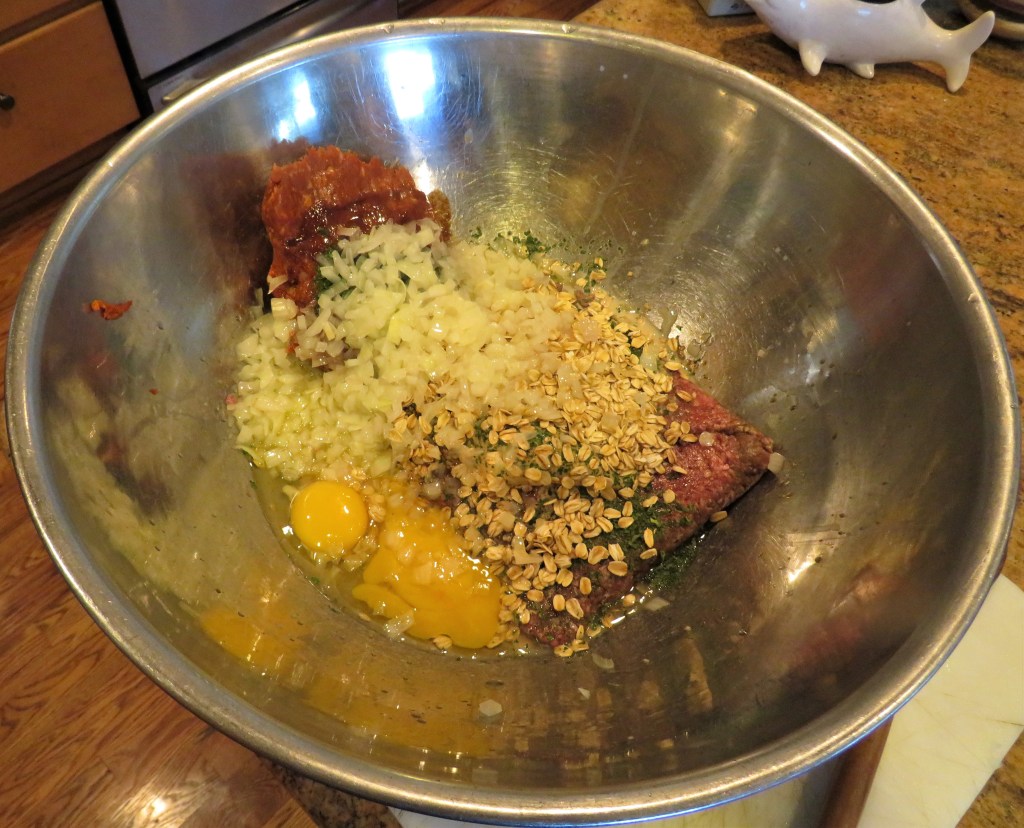
Cook the onions in butter and olive oil for about 5 minutes, or until the onions are softened. Add the cooked onions to the meat mixture. I have used both breadcrumbs and oats, and I like them both equally, so it comes down to your own preference.
Combine all the ingredients together and mix well with your hands.
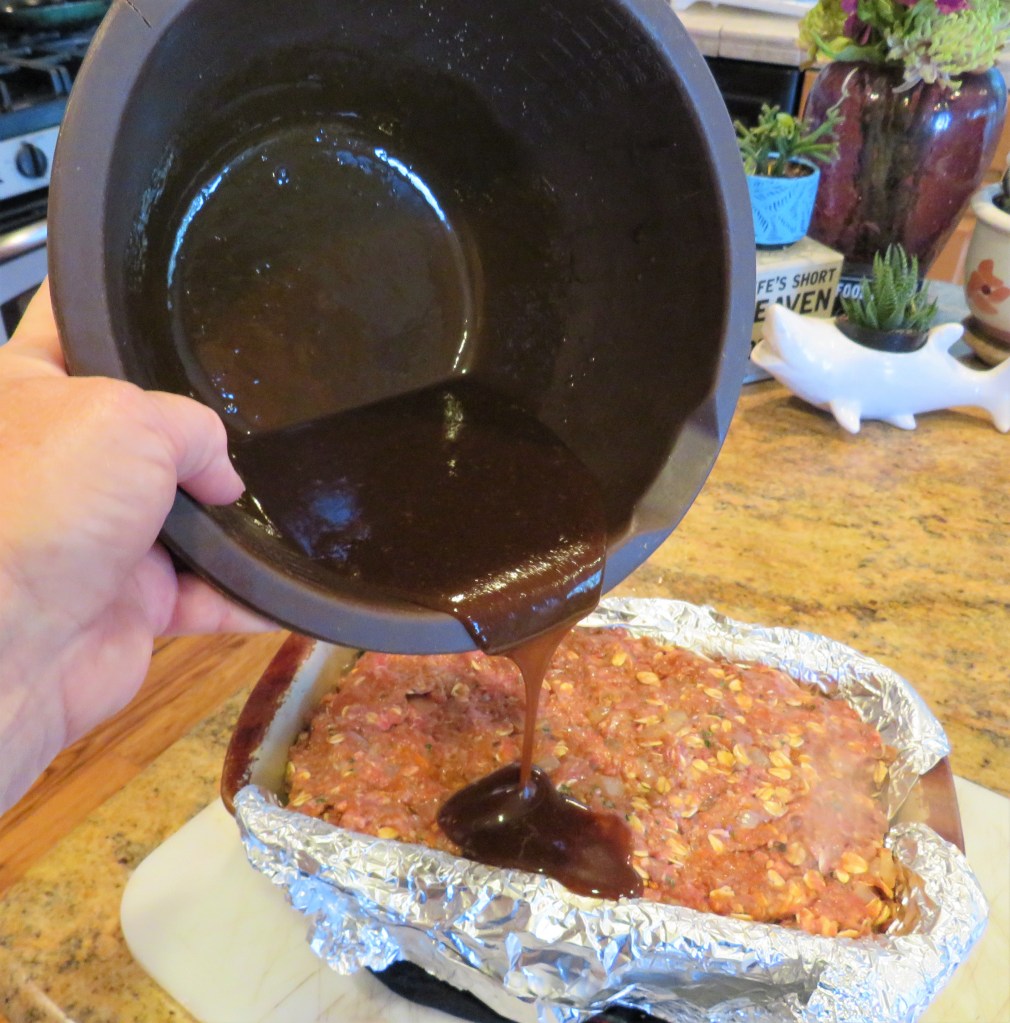
Add it all to the prepared loaf pan and spread it out evenly. Add about 1/2 the sauce to the top of the meat loaf.
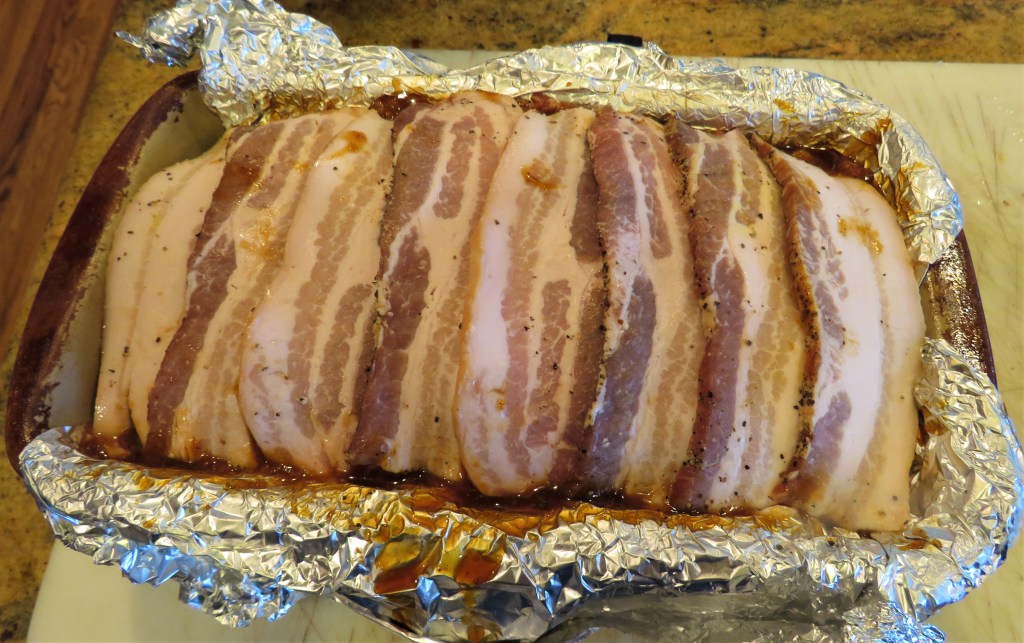
Layer the bacon on top of the meatloaf.
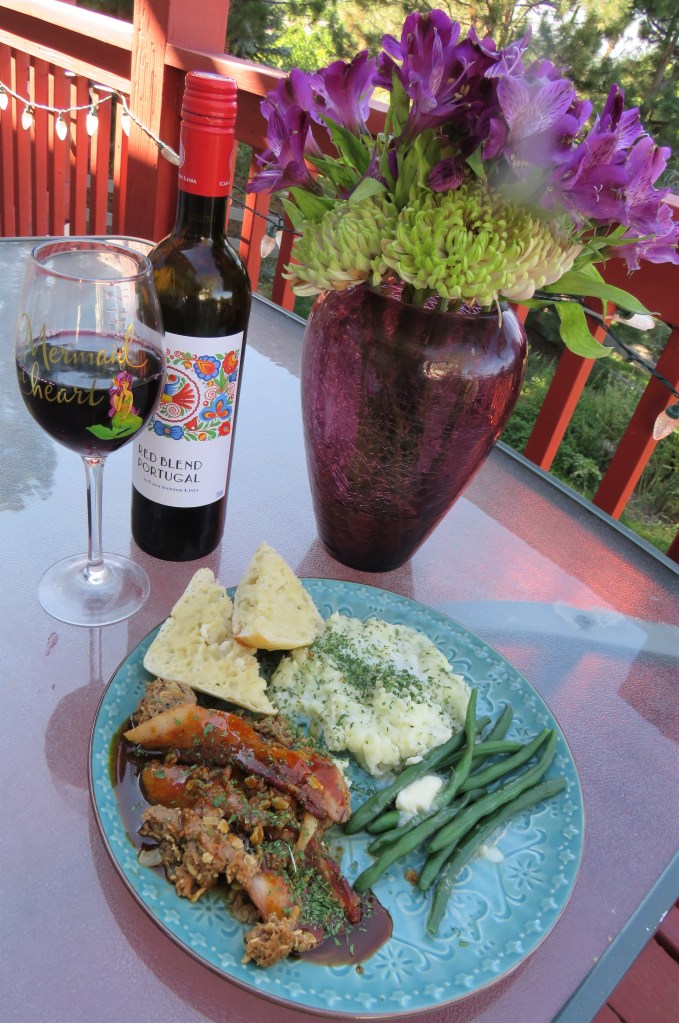
Place in the oven to bake for about 1 hour, or until the internal temperature reaches 160*F or 71*C. Then let it cool for about 20 minutes to set before slicing it. Top with more of the sauce before serving. Then serve with your favorite side dishes. I served it with traditional American side dishes, mashed potatoes and green beans warmed bread and with a red blend on the side.
Meatloaf is good comfort food that is good at all times. Have a great day and make everyday great. Stay safe and stay well. ‘Til next time.



















 A Jeanne in the Kitchen