Cheesy Onion And Bacon Bread

Fall is quickly changing into winter and the temperatures are dropping fast. As I write this, I am looking out my office window to a blanket of fresh white snow, about 2-3 inches thick that dropped from the skies last night. The trees that not so long ago were dressed in beautifully colored leaves are now wearing their winter coats and are covered in snow. I love the changing of the seasons. With these cooler temperatures comes the time to turn the oven back on for long periods of time, not only for the much needed warmth but also for the delightful aromas and tastes that come from the oven while baking. It is time for baking breads once again.

This time I made a cheesy onion and bacon bread that helped take the chill out of the air. The oven was on for over an hour and the house smelled Heavenly. The bread was delicious too. πŸ™‚

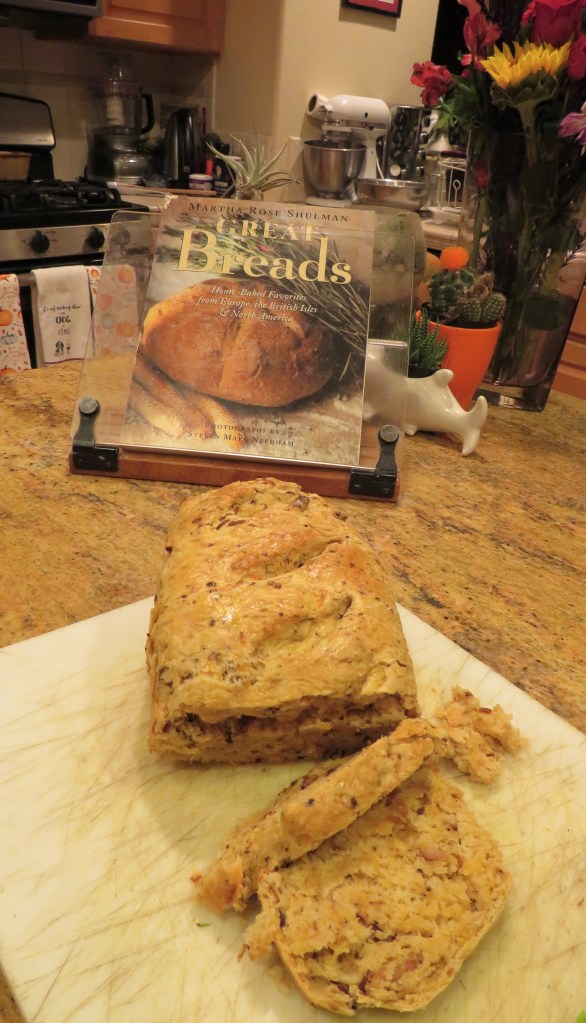
As usual, I started with a recipe and then it grew from there. I added peppered bacon and jalapenos to the mix and the flavors of the bread just popped and really came to life. It warmed us up from the inside out.

Cheesy Onion And Bacon Bread

2 1/2 tsp dry active yeast

1/2 cup lukewarm water

1/2 cup lukewarm milk

1 TBSP honey

1 TBSP olive oil

1 egg

1/3 cup Dijon mustard

3-4 slices peppered bacon, diced, optional

1-2 jalapenos, diced fine, optional

1 TBSP onion, diced fine or dried onion

1 cup shredded cheddar cheese

3-3 1/2 cups flour

1 1/2 tsp salt

Mix the yeast and the water together and let sit for about 10 minutes, or until frothy.

Combine the milk, honey and the egg and beat slightly. Then add the mustard.

Combine all the dry ingredients, including the cheese, together and mix well.

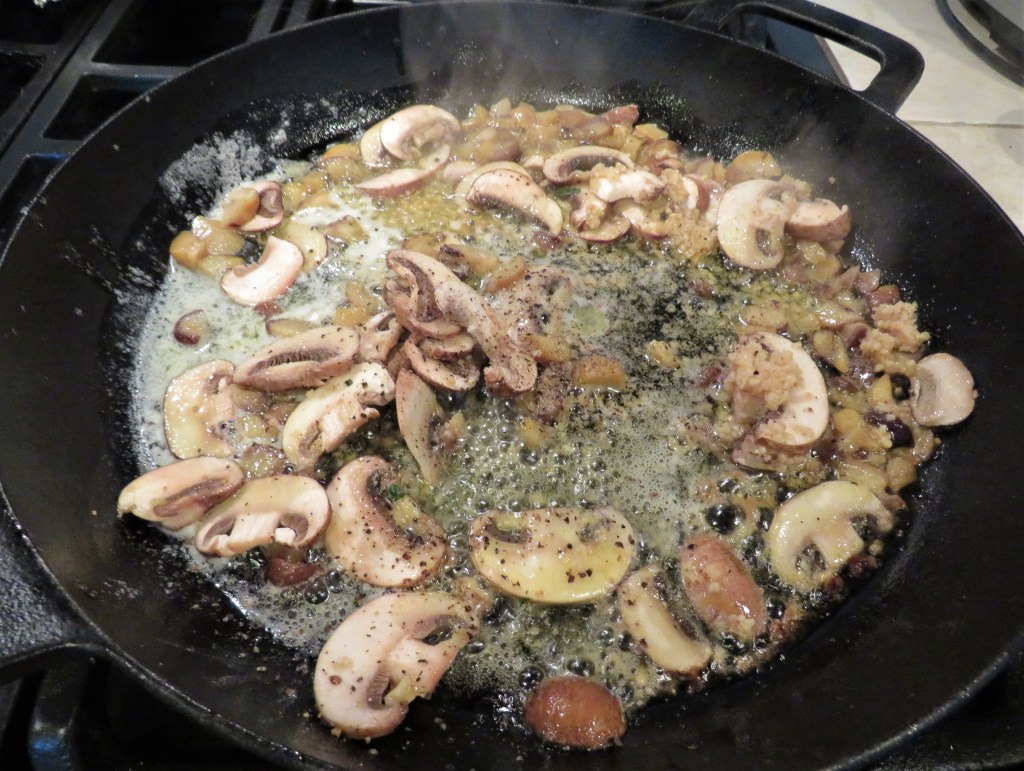
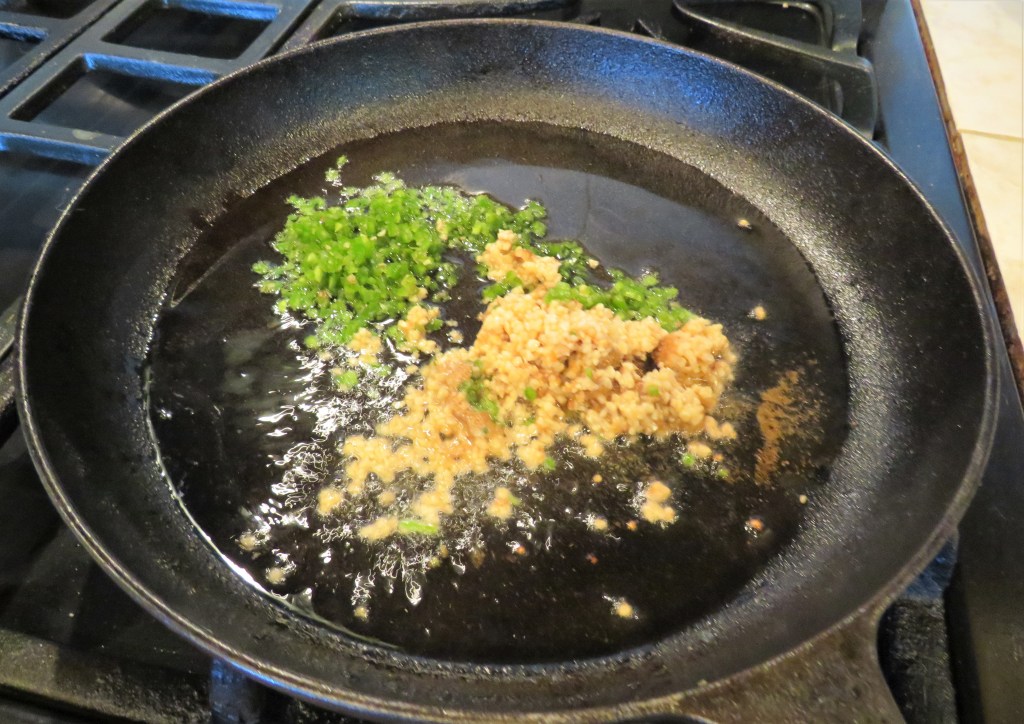
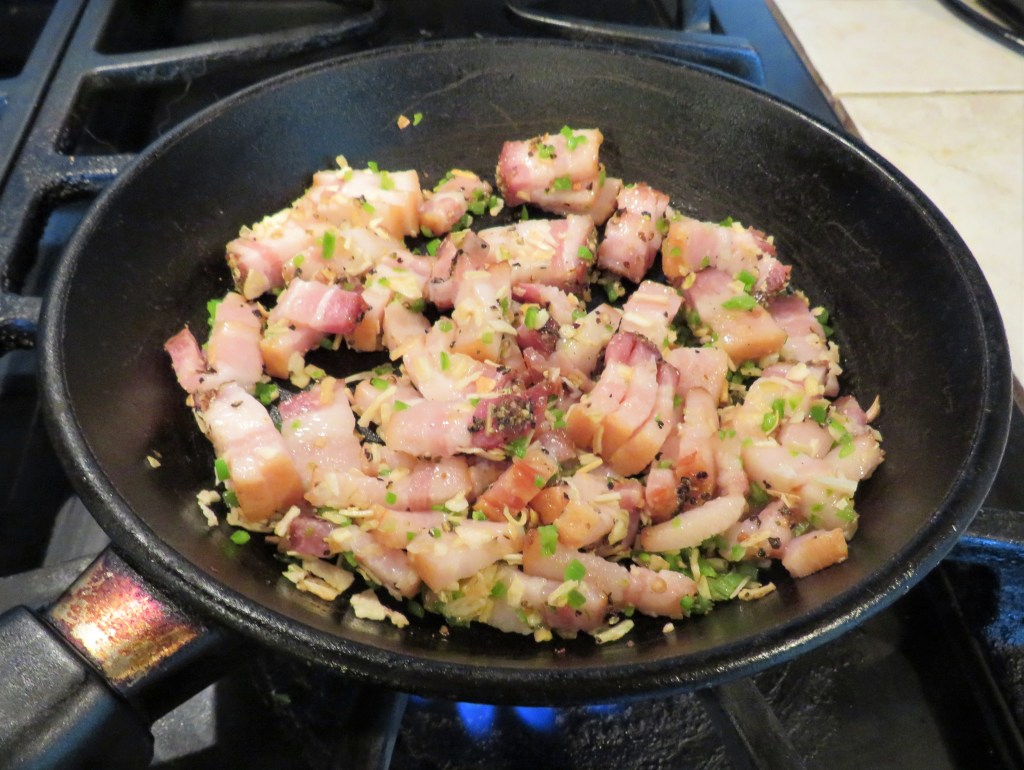
Cook the bacon, jalapenos and onion until the bacon is done.

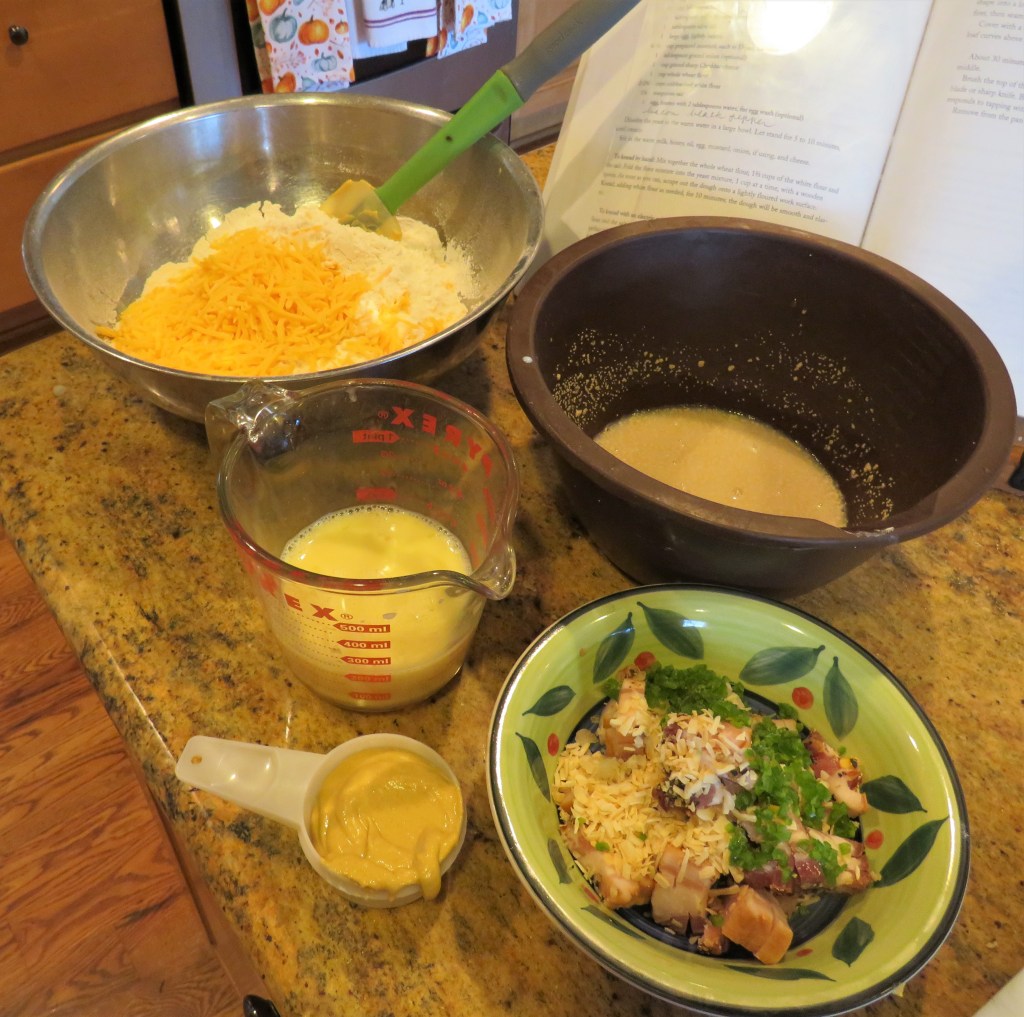
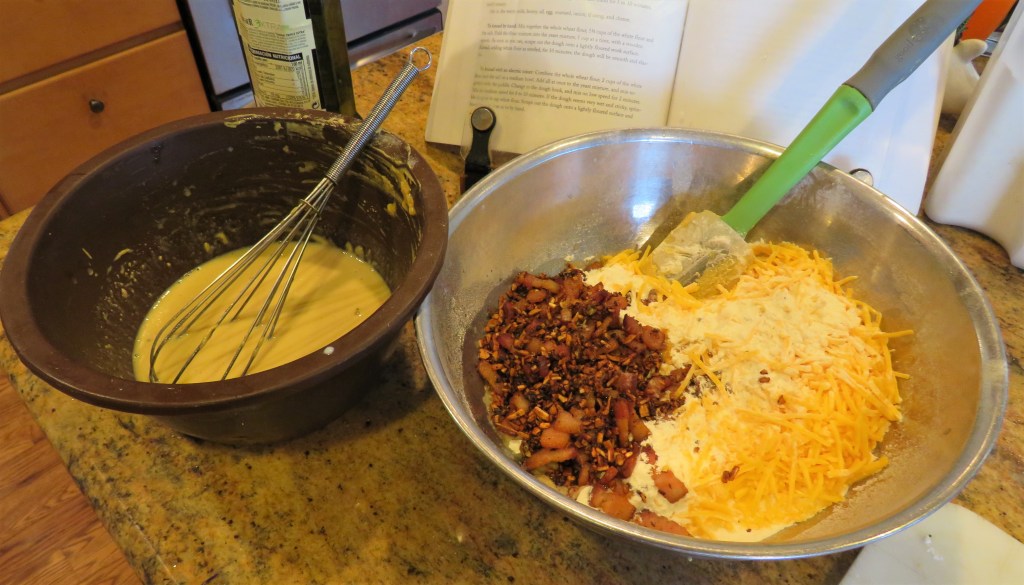
Add the cooked bacon and jalapeno mixture to the dry ingredients and combine well. Make a well in the center and add the egg, milk and mustard mixture. Start mixing it all together with a wooded spoon or a spatula.

Once all the ingredients are combined, dump the dough onto a lightly floured surface and start kneading it all together for about 8-10 minutes, or until it forms into a soft, elastic ball.

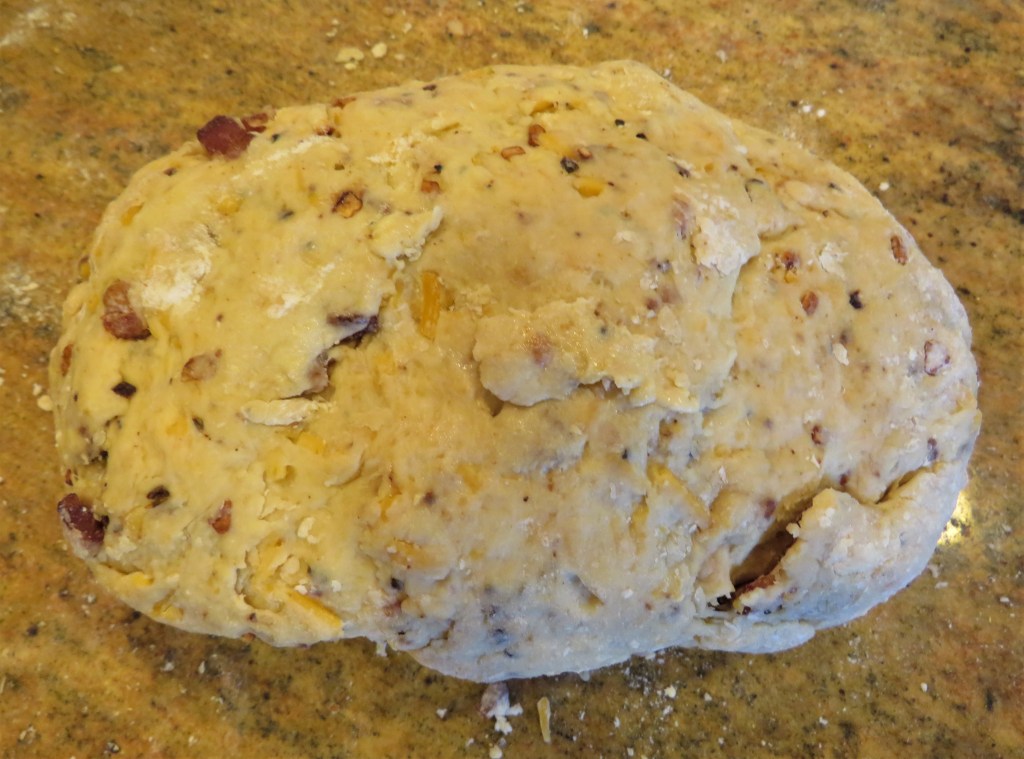
Rub the olive oil into a big bowl, coating the whole bowl and place the dough in the bowl and cover. Place in a warm area and let the dough rise for about 1 1/2 hours, or until doubled in size.

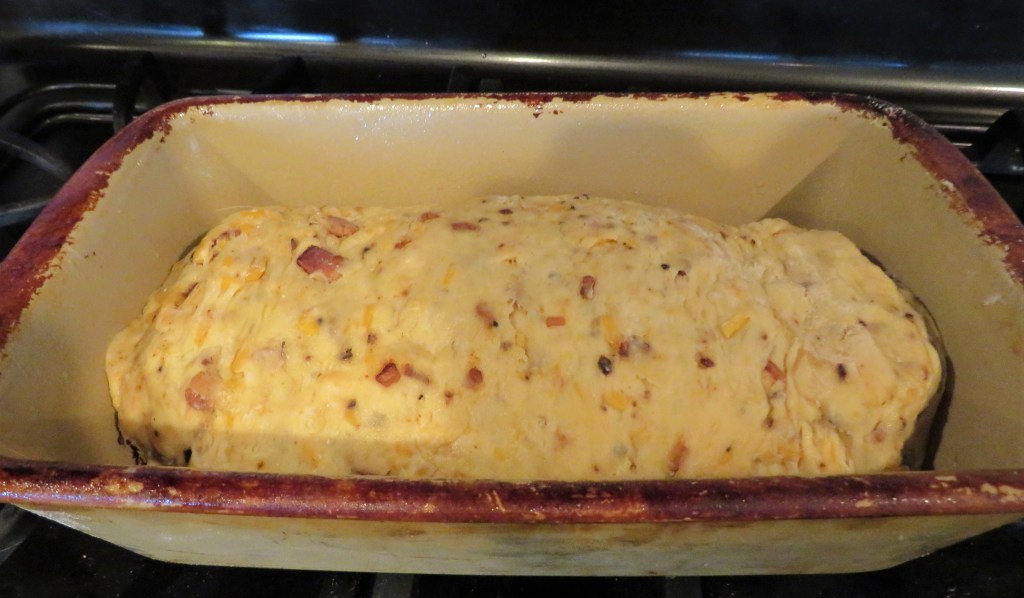
Once the dough has risen, again, turn it onto a lightly floured surface, punch it down and shape into a log. Place the log into a loaf pan that has been sprayed with cooking spray. Place the dough seam side down. Cover and let rise again for about another hour, or until the dough has risen to the top of the pan.

Preheat the oven to 350* F.

Make an egg wash and brush the top and sides of the bread.

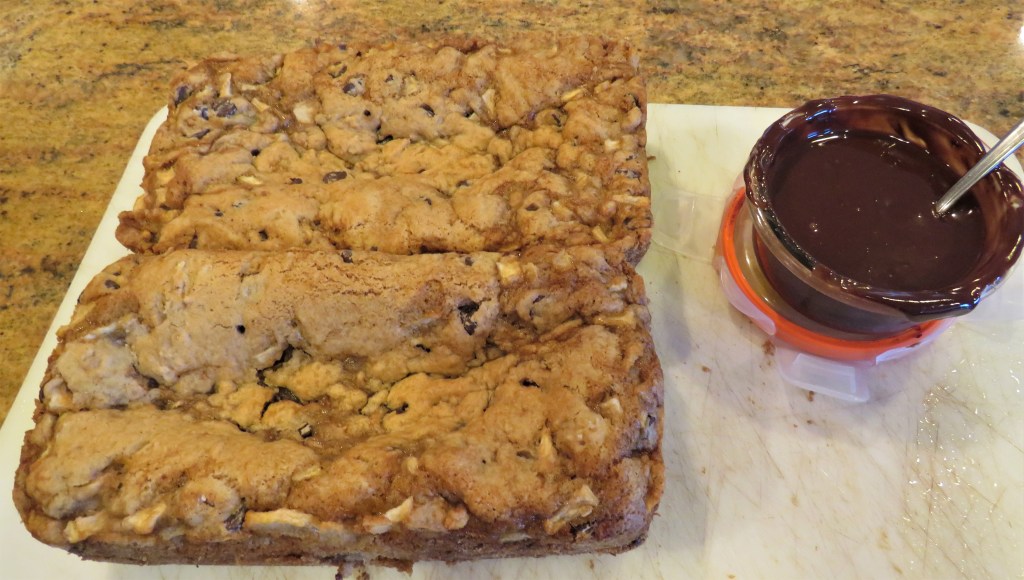
Bake for about 1 hour, or until the bread is golden brown and hollow when tapped. Let it cool for a few minutes before slicing it and then enjoy. You’re going to love this flavorful bread.

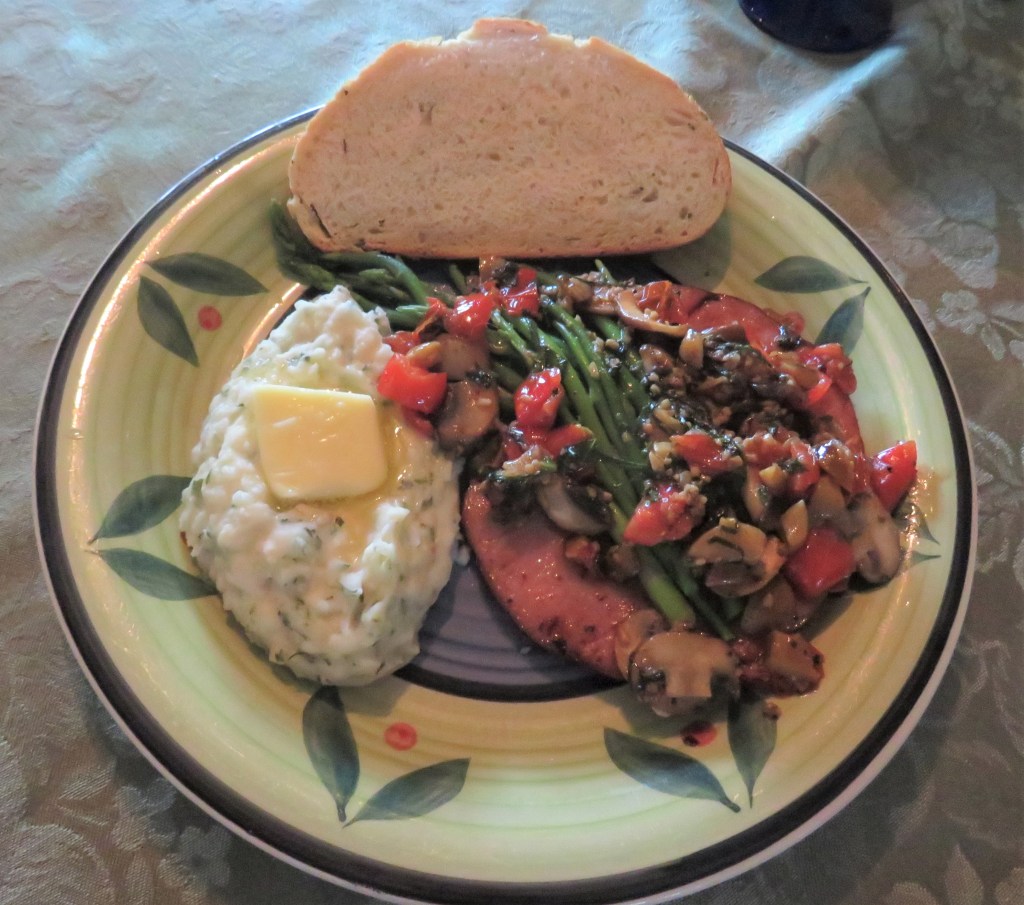
We had some chili in the freezer that we took down, and I served the chili over a baked potato with his delicious cheesy onion bread on the side, along with a glass or two of a rich, full-bodied red wine. I think it was a cab. It was a perfect way to warm up on a cold, chilly night, or should I say “chili” night. πŸ™‚

Stay warm, stay safe and stay well Everyone. ‘Til next time.

White Chocolate Oatmeal Cookies

There is something very comforting about oatmeal cookies. They just kind of remind me of my mom and life in more simple times. As with anything, there are many different variations too.

Oatmeal cookies are one of the most popular cookies in the world, coming in at 32.91%. Oatmeal raisin cookies are a close second, with 32.12% and chocolate chip cookies come in at a distant third, with 7.09%. In the United States, however, chocolate chip cookies reign supreme, coming in at 40%.

Oatmeal cookies originally came from England, and have been around since the early 1800’s. When first created, however, they were not the cookies as we know them today, but were instead made into oatcakes that soldiers would carry with them for quick energy boosts during battle. Americans call these sweet little flat cakes cookies, whereas in the UK and its “colonies”, cookies are known as biscuits. The word “cookie” is derived from the Dutch word koekje or “little cake,” which is a diminutive of “koek” (“cake”), which came from the Middle Dutch word “koke”.

Oatmeal cookies became popular in the United States by a lady named Fannie Merritt Farmer, but really gained in popularity when Quaker Oats decided to print the recipe on their boxes of oats.

I found an interesting new recipe for oatmeal chocolate cookies and just had to try it. They are white chocolate oatmeal cookies, but not with white chocolate chips. Instead they are made with melted white chocolate that is poured into the batter to make these cookies smooth and creamy. They are almost like velvet and just melted in my mouth. Fortunately though, I made them for the church so there weren’t any left for me to munch on. Having a lot of cookies around the house can be very dangerous for me, since they are my absolute favorite dessert. πŸ™‚

White Chocolate Oatmeal Cookies

Once again, I followed the recipe exactly, as I do when I am baking, and once again, I found the recipe needed some tweaking. The original recipe only called for 1 1/4 cups of flour, but I found it made the cookies too soft and they spread out too thin, so next time I make these, and there definitely will be a next time, I will add more flour. I am giving you the adjusted recipe.

Preheat the oven to 350* F or 190* C.

1 cup or 2 sticks of softened butter

1/2 cup sugar

1/2 cup packed brown sugar

1 egg

3 tsp vanilla

1 tsp orange or coconut extract

6 oz of melted white chocolate

1 3/4-2 cups flour

1 tsp salt

1 tsp baking soda

1 1/2 cups oats

Combine all the dry ingredients except for the oats, and set a side.

Mix the butter and sugars together until creamy, then add the egg, vanilla and orange or coconut extract. I didn’t have coconut extract, so I used orange instead. I liked them with the hint of orange. Add the melted white chocolate and blend everything together well, then add the flour mixture, 1/2 at a time, mixing in between. Fold in the oats.

Once everything is blended together, drop about 1 TBSP of dough onto the ungreased cookie sheets, about 2 inches apart. Bake for about 10-13 minutes or until lightly golden in color.

When done, invite a bunch of friends over to share, because this batch will make a lot of cookies. It makes between 4-5 dozen.

Have a great day Everyone. Stay safe and stay well. ‘Til next time.

Pumpkin Nutella Pinwheels

We all know life gets crazy, hectic and chaotic at times. When you still are looking for tasty things to make, even in these crazy times, there is absolutely nothing wrong with keeping things simple; you know, that K.I.S.S. rule that I am so fond of.

I just made some deliciously fun and easy-peasy pumpkin Nutella pinwheels that definitely fall into the K.I.S.S. category. There are only four simple ingredients, but by looking at them, and definitely by eating them, you would never know. You would think they took hours to make and needed a lot of ingredients. Just goes to show, looks can be deceiving. πŸ™‚

Pumpkin Nutella Pinwheels

As I mentioned above, these delicious pinwheels only require four basic ingredients. I made more because I needed more for the church coffee cart.

1/2 cup pumpkin puree

1/2 cup Nutella spread

2 cans premade crescent roll dough

powdered sugar

Combine the pumpkin puree and the Nutella mix and set aside.

Roll out the crescent dough to a rectangle and flatten slightly. Spread the Nutella pumpkin mix over the dough.

Roll the dough into a tight spiral, starting at the small side. Place on a baking sheet lined with parchment paper and freeze for at least 10 minutes for the dough to set.

Once you are ready to cut the dough, preheat the oven to 425* F or about 210*C. With a sharp serrated knife, slice the dough and place each pinwheel on a parchment lined baking sheet, about 2 inches apart.

Bake for about 10-12 minutes or until they are lightly golden.

Cool completely before dusting with powdered sugar. Simple, easy-peasy and delicious! Baking doesn’t get much better than than.

Have a great day Everyone. Stay safe and stay well. ‘Til next time.

Nature Walks – Mallards and Mergansers

My lakes are slowly coming back to life with all of our late fall/winter residents. I am seeing a lot of ducks and geese, as well as a lot more mergansers too. I love them all. They are always welcome.

A pair of Hooded Mergansers swimming along.

Just the boys for now.

And the Mallards

The boys

and the girls.

I hope your day is just ducky, today and everyday.

Pear Chocolate Bread

As you know, I get my recipes from all over the place, including a lot of them from following fellow bloggers just like you. Some of you have some amazing recipes. I like to say I am inspired by your recipes, rather than just using your recipes, because, inevitably, I always change them around a bit to make them my own. My latest borrow was from our very own Mia Kouppa at https://miakouppa.com/ for her Pear Chocolate Bread. Thank you for this wonderful and tasty idea. The only things I did differently this time were that I used semi-sweet chocolate chips instead of chopped chocolate pieces and I added a chocolate ganache as a topping once the breads were cooled. So see. I can actually follow directions; for the most part. πŸ™‚

Pear & Chocolate Bread

Preheat the oven to 350* F or 190* C.

Spray two loaf pans with cooking spray.

3 eggs

1 1 /2 cups sugar

3/4 cup vegetable or canola oil

1/2 tsp vanilla

2 tsp baking powder

1 tsp baking soda

2 tsp cinnamon

1 tsp ginger

1 tsp salt

3 cups flour

4 cups pears, peeled and chopped

1-1 1/2 cups chocolate morsels or chopped chocolate pieces

equal portions chocolate pieces and heavy whipping cream for chocolate ganache, optional

Combine all the dry ingredients and set aside.

Mix the oil, eggs and sugar together until smooth and creamy. Add the vanilla. Then slowly add the dry ingredients 1/2 at a time, mixing in between each addition. Mix until just blended together.

Add the chopped pears and chocolate pieces and fold into the mix.

Once everything is mixed together, evenly divide the batter into the prepared pans.

Bake for about 55-60 minutes, or until it is golden brown and a toothpick that has been inserted in the middle comes out clean.

Allow the breads to cool completely before removing them from the pans and topping them with the chocolate ganache, if using. Then slice and share with friends and family. Chocolate ganache is so easy-peasy to make. it is equal portions of chocolate and heavy whipping cream cooked together until it is all smooth and creamy. Stir constantly so the chocolate does not burn over a medium heat. You can also use the microwave too, just stir it after every minute to make sure it doesn’t burn.

Thank you once again Mia for this deliciously moist treat. I had to try some of the broken pieces, you know, for quality assurance of course. It passed with flying colors. πŸ™‚

Have a great day. Stay safe and stay well Everyone. ‘Til next time.

Ham With Lemon-Butter Chestnut Tomato and Mushroom Sauce

I love ham, but we don’t eat it all that often, because usually when I buy a ham, I buy a HUGE ham and we serve it for holidays and/or special occasions. Every now and then though, I just get a hankering for it and buy a smaller ham. That’s what I did this time. You know I couldn’t just serve it plain. Of course I doctored it up and served it with a delicious sauce. The sauce was the perfect accompaniment for both the ham and the asparagus, so it was a delicious two-for-one sauce. My kind of sauce!

My ham was just a ham, but it was the sauce that made it special. Once again, I had a recipe, but I just kept adding to it and improving as I went along. The tomatoes and mushrooms were a last minute addition, as was the lemon balsamic vinegar. This sauce would go well with any kind of pork or ham as well as with chicken, and as you can see, asparagus too. It is a light and tasty versatile sauce.

Lemon-Butter Chestnut and Tomato Sauce

2 TBSP olive oil

1-2 TBSP lemon olive oil, optional

salt & ground black pepper to taste

8 TBSP butter

1 TBSP garlic

1/2 cup peeled and roasted chestnuts

3 TBSP fresh basil, chiffonade

1 cup fresh tomatoes, diced small

1 TBSP lemon juice

1 TBSP lemon balsamic vinegar, optional

In a hot skillet, add the oils and butter, then add the chestnuts, mushrooms, garlic and seasonings. Cook for about 5-7 minutes, stirring often.

Add the tomatoes, basil, lemon juice and lemon balsamic vinegar and continue to cook just until everything is heated, about 1-2 more minutes.

When it is ready, serve it over your favorite meats and/or vegetables and enjoy. Once again, I am proving that things don’t need to be complicated to be good. Often times, the KISS rule – Keep It Simple (Stupid), or some other kinder versions, Keep It Super Simple or Keep it Simple and Smart, is the best rule. πŸ™‚

Have a great day Everyone. Stay warm, stay safe and stay well. ‘Til next time.

Thank You Veterans – 11/11/25

Sometimes, the best way to honor those who served, and to those we lost is to remember the past.

Thank you to all the brave men and women who served and continue to serve today. You are all heroes in my eyes and in my heart.

This is my daddy in his Australian Army uniform, circa 1940. He was a very young lad when he was shipped off to fight in North Africa, and returned home a man.

In Flanders Fields

BY JOHN MCCRAE

In Flanders fields the poppies blow

Between the crosses, row on row,

That mark our place; and in the sky

The larks, still bravely singing, fly

Scarce heard amid the guns below.

We are the Dead. Short days ago

We lived, felt dawn, saw sunset glow,

Loved and were loved, and now we lie,

In Flanders fields.

Take up our quarrel with the foe:

To you from failing hands we throw

The torch; be yours to hold it high.

If ye break faith with us who die

We shall not sleep, though poppies grow

In Flanders fields.

May we never forget those who fought for our freedoms. May we always honor those who sacrificed and those who gave their all.

Nature Walks – Robin, Red Robin

It must be Robin season. I have seen so many robins all about today. I LOVE it!!!! Keep them coming my way.

I am insatiably curious about most things, so I looked up whether or not Robins have a spiritual meaning, especially since I have seen 100’s just today alone. It turns out they do. Robins are commonly utilized as angels’ messengers to reassure us that we’re not alone and that someone is looking out for us.Β Seeing a robin as an angel’s omen reminds us to have faith in our future and to have hope. Many people believe that a visit from a Robin isΒ a sign that a lost relative is visiting them, in the spiritual world Robins are viewed as a symbol of visits from our deceased loved ones. The Robin also symbolizes new beginnings and life, and is also looked upon by many as a sign of fortune and good luck. I guess good luck and good things are coming my way. So there you go.

Indonesian Chicken And Vegetables with Peanut Butter Sauce

Janet and Bob are just as adventurous when it comes to foods and eating as we are, so it is fun to make and try new things with them. I already shared our mushroom and leek spring rolls with you Mushroom and Leek SpringΒ Rolls, so now I am going to share what our main meal was. The main part of our meal was Indonesian chicken and vegetables with a peanut butter sauce over rice. I served it with some green onion pancakes on the side as well, with a crisp, cool white wine. Green Onion Pancakes

The sauce was originally supposed to be as a marinade, but silly me, I didn’t see that part until too late, which means I totally created my own recipe yet again. What can I say? I guess not following directions is just a gift, though many would say it’s a curse. At least it is creative though. πŸ™‚ Not only was it creative, but it was creatively delicious. Bob said it was one of the best peanut sauces he had ever tasted. WHOOOOO HOOOOOO!!!!!!

Indonesian Chicken and Vegetables with Peanut Sauce

Peanut sauce is an Indonesian creation that found its way to Indonesia via Portugal and Spain through Mexico in the 16th century. It is also known as a satay sauce or in Indonesian, bumbu kacang. I have to admit, I always thought of a peanut sauce, or bumbu kacang, as a Thai dish, but it really is an Indonesian or Malaysian dish. It is an honest mistake though, since there are so many delicious Thai recipes that use peanuts in many various ways, such as for flavorings, thickening agents and garnishes, just to name a few. Thai foods and Indonesian foods are all about balancing the salty, sweet, spicy, sour and creamy flavors together. These five flavors compose the essence of the Thai flavors in their foods. When cooking Thai, or Indonesian foods, balance is key and if the flavors are out of proportion, the whole dish will be “off”. A basic peanut sauce is made of peanut butter, soy sauce, ginger, a sweetener, rice wine vinegar, sesame seeds, a spice and water, or in some more traditional versions, coconut milk is used instead of water. And that is exactly how I made my sauce too. I used water this time, but I usually use coconut milk. As you all know, I like to change things up a bit. Well. OK, quite a bit. πŸ™‚

2-3 carrots, peeled and sliced “Asian” style or at an angle

1 cup snap peas

1 red pepper, sliced thin

1- 1 1/2 cups broccoli florets

1/2 onion, sliced very thin

1 TBSP garlic

1 TBSP ginger

2 lbs chicken breasts, cut into strips

1 cup peanut butter

1/3 cup packed brown sugar

3 TBSP lime juice

1/4 cup soy sauce

black pepper to taste

1 tsp red pepper flakes

3/4 cup water or coconut milk

1/4 cup rice vinegar

chopped peanuts for topping

chopped cilantro for topping

Combine the peanut butter, soy sauce, brown sugar, lime juice and water or coconut milk and set aside.

In a very hot skillet or wok, add some cooking oil, usually peanut or canola oil is use for Asian dishes, then add the vegetables, garlic and ginger and cook for about 5-7 minutes, stirring constantly. Cook until mostly tender.

Add the chicken and continue to cook until the chicken and vegetables are done.

Add the sauce and mix in thoroughly. Bring to a boil, then reduce the heat to a simmer and continue to cook for about 7-10 minutes, stirring often.

Serve over either noodles or rice and enjoy. A crisp, cool white wine, and even a slightly sweeter wine like a Riesling or a GewΓΌrztraminer, will pair very nicely with this dish. The sweetness of the wine will balance out the spiciness of the sauce. Again, it is all about the balance of the flavors that make the meal really come together. Enjoy.

Stay safe and stay well Everyone. ‘Til next time.

Mushroom and Leek Spring Rolls

Bob helped Larry blow out the sprinklers for the season so I made dinner for everyone as “payment”. It was really just an excuse to get together and enjoy each other’s company, but then good friends never need an excuse to get together. Dinner was an Asian theme and it was a big hit with everyone. After dinner, we played a couple of rounds of Farkle. Bob won both rounds.

One of the menu items was mushroom and leek spring rolls. I made a mint soy sauce to go with them. These ended up being mini spring rolls because I could not find the larger egg roll wrappers, but they were a delicious hit all the same.

Mushroom and Leek Spring Rolls

2 TBSP canola oil, plus more for frying

1 TBSP garlic

1 TBSP ginger

2 serrano chilies, seeded and chopped very fine

1/2 cup hoisin sauce

2 cups shiitake mushroom caps, sliced very thin

2 large leeks, white parts only, rinsed and sliced very thin

salt & pepper to taste

1/2 cup fresh cilantro, chopped

1 cup green onions, sliced thin

1 package wonton or egg roll wrappers

egg wash

Get a skillet very hot and add the canola oil. Them add the ginger, garlic and chilies and cook for about 2 minutes, or until nice and aromatic.

Reduce the heat to a medium heat and add the hoisin sauce. Cook for about 3 minutes.

Add the mushrooms leeks and seasonings and cook for about 6 minutes, or until most of the liquid has evaporated, stirring constantly.

When the mushroom mixture is done, combine it with the green onions and cilantro.

Make an egg wash and separate the egg roll wrappers. Add enough filling, pressing out the moisture, to fill the wrappers, regardless of the size. My egg roll wrappers were small, so I wrapped them at an angle, and only used about a heaping tsp of filling for each one. Then roll the egg rolls nice and tight, adding just a smidge of egg wash on the ends to seal the spring rolls.

I let my spring rolls chill in the refrigerator before frying them up, which helped set them too. When you are ready to fry the spring rolls, get the oil to 350* F or about 190* C first, then add a few spring rolls at a time, making sure not to crowd them. Cook for about 2-3 minutes, or until light and crispy and golden brown.

Serve with a mint soy dipping sauce on the side.

Mint Soy Dipping Sauce

1/4 cup fresh mint, chiffonade or cut into very thin strips

2 tsp sugar

1/4 cup soy sauce

about 2-3 TBSP lemon juice

Mix everything together and serve.

All these flavors compliment each other very well to make a unique fusion of flavors. Your taste buds are truly going to love these delicious and unique spring rolls. Enjoy or qing xiangyong.

Have a great day Everyone. Stay safe and stay well. ‘Til next time.