Chocolate Mint Bundt Cake

The history of chocolate can be traced back more than 3,000 years to the Maya, Toltec, and Aztec people who prepared a beverage from the fruit of the cocoa bean. The Maya considered chocolate to be the food of the gods, held the cacao tree to be sacred, and buried dignitaries with bowls of chocolate. It was originally used as a drink, that was often bitter, so when the Europeans brought chocolate back from South America, they often sweetened it with sugars and other flavors, including mint.

The combination of chocolate and mint is a favored combination that dates back to the 16h century Europeans. You get the flavors of rich chocolate blended together with the cool and refreshing flavors of mint. Just perfect. It has always been one of my favorites too. Today, the combination of chocolate and mint is used for many sweets and treats.

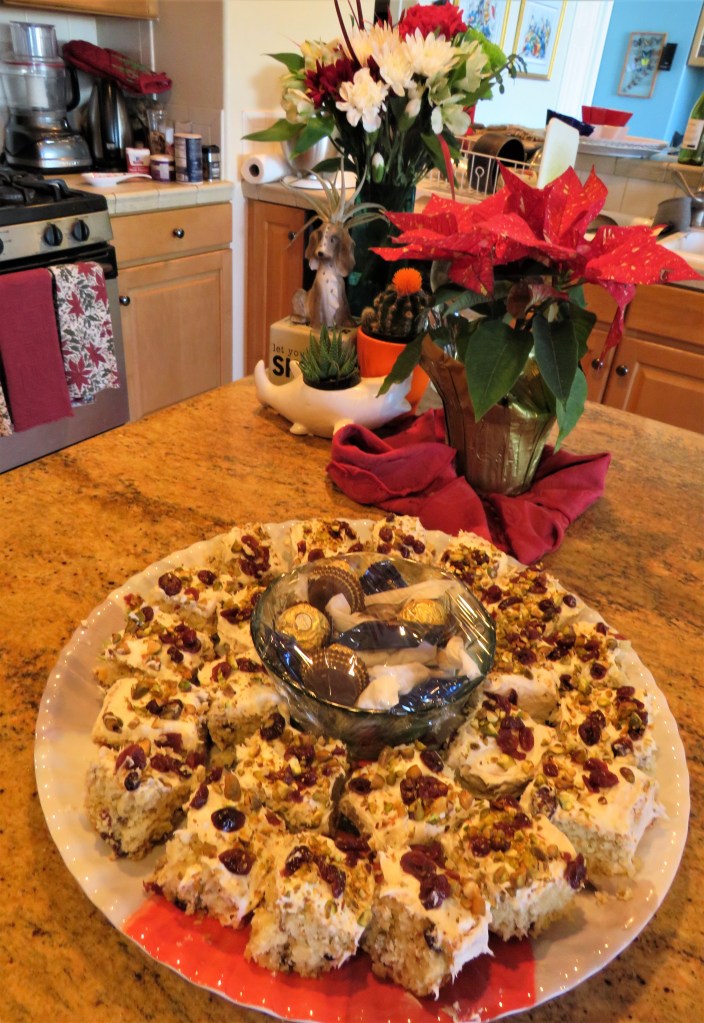
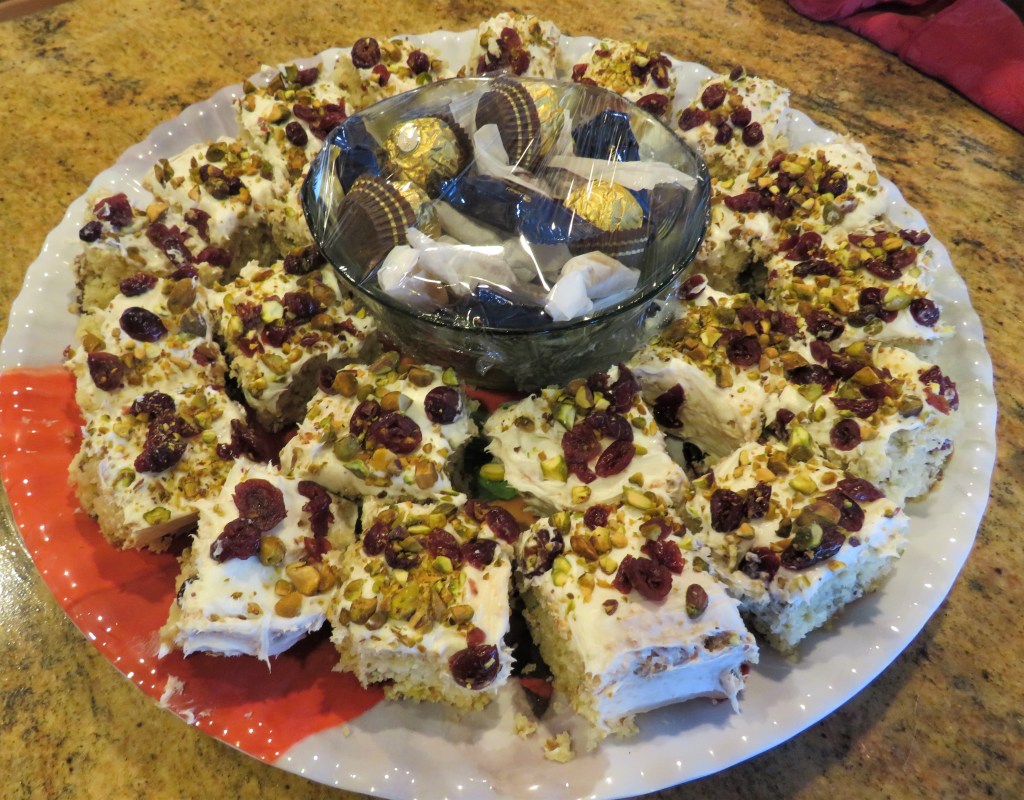
Chocolate and mint is often a holiday favorite as well. So for the upcoming Christmas holidays, I made a chocolate mint bundt cake. I love making bundt cakes for a lot of reasons. I think they are prettier and more festive, plus they also tend to feed a few more people than just a regular round cake.

Mint Chocolate Bundt Cake

I started off with a basic chocolate bundt cake recipe then added the minty flavors and toppings to make it more festive and special.

3 cups flour

1 cup unsweetened cocoa

1/2 tsp baking powder

1 1/2 cups or 3 sticks softened butter

2 3/4 cups sugar

1 tsp vanilla

1 tsp mint extract

5 large eggs

1 1/2 cups milk

2 oz chopped chocolate chocolate morsels – I used mint M & M’s.

Chocolate ganache, optional

Preheat the oven to 350* F or 180* C.

Spray a bundt cake pan with cooking spray and then add a light dusting of flour to coat the pan.

Combine the dry ingredients together and set aside.

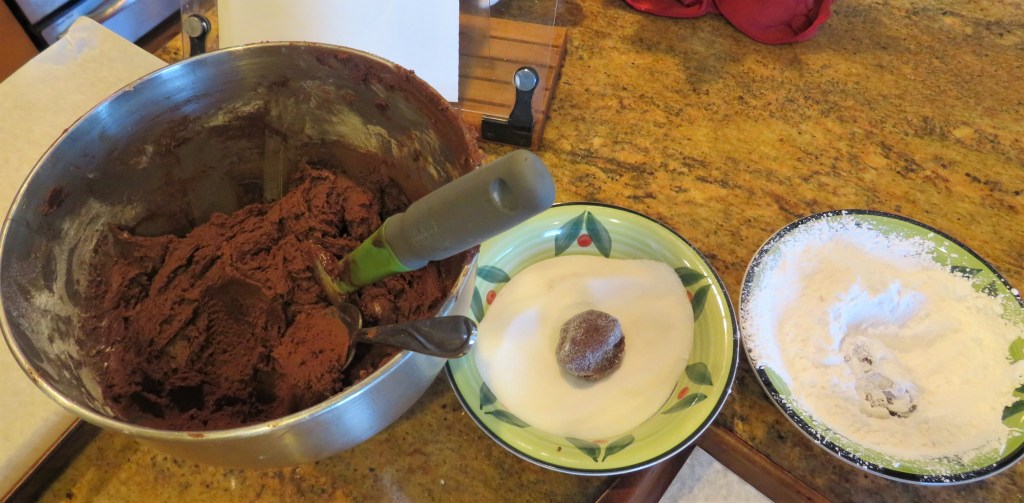
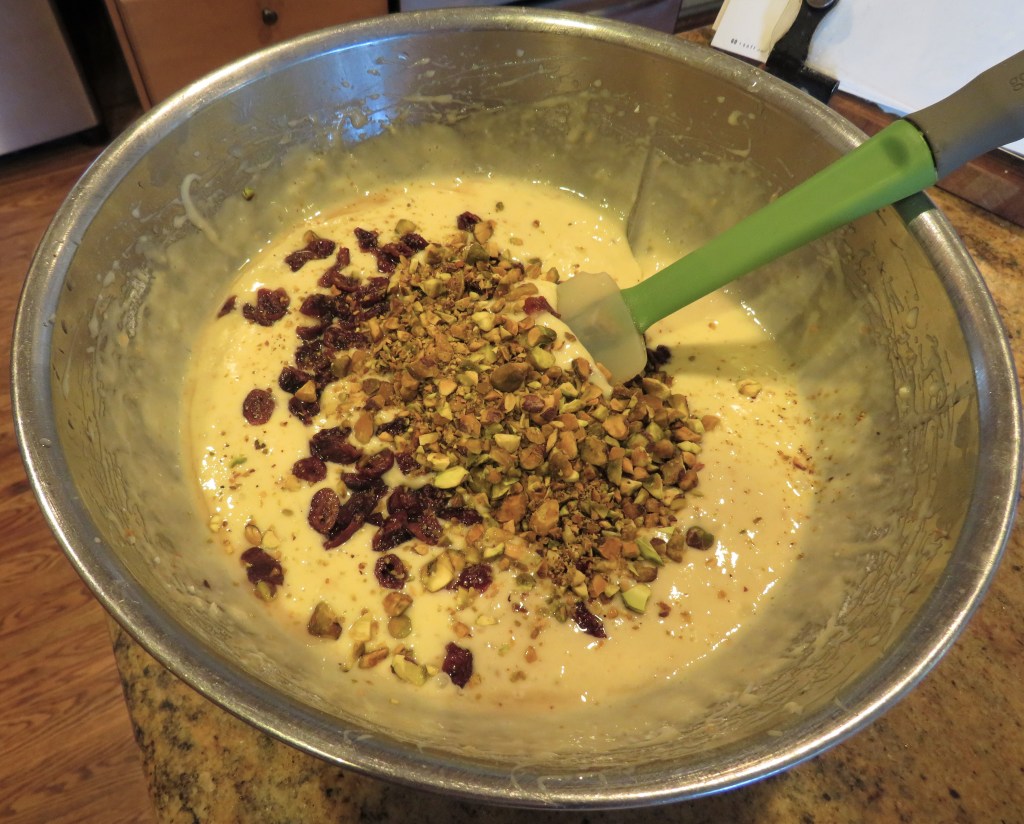
Mix the butter and sugar together until creamy, then add the eggs, 1 at a time, blending in between each addition. Add the vanilla and mint. Alternate the flour and milk, adding 1/2 at a time and mixing in between each addition.

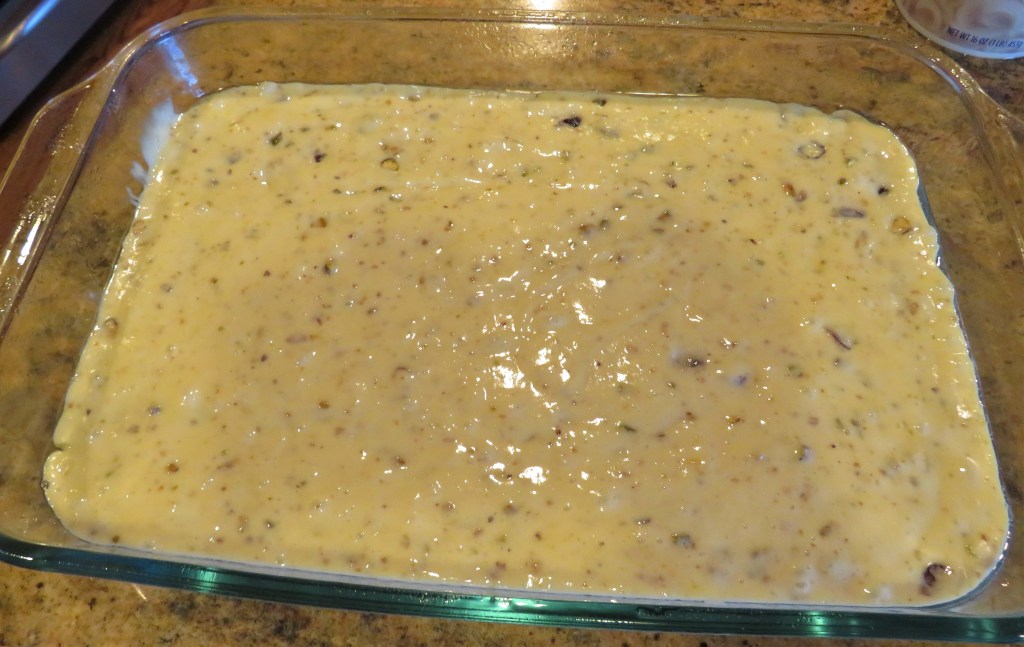
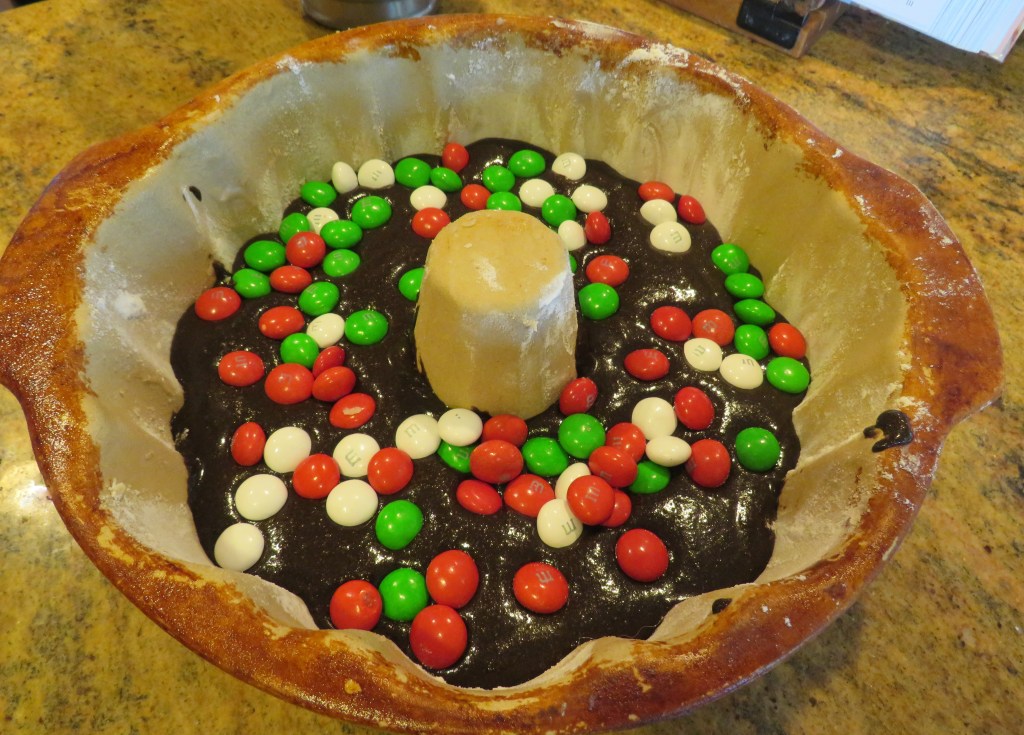
Pour 1/2 the batter into the prepared bundt pan then add your chocolate around the middle. Add the remaining batter on top. You can also incorporate the chocolate into the batter so it is not jus in the center. But because I was adding the mint M & M’s, I chose to just have them in the center. Hopefully the center will have a colorful ribbon around it.

Bake for about 1 1/2 hours, or until a toothpick inserted in the middle comes out clean. Let the cake cool completely before topping.

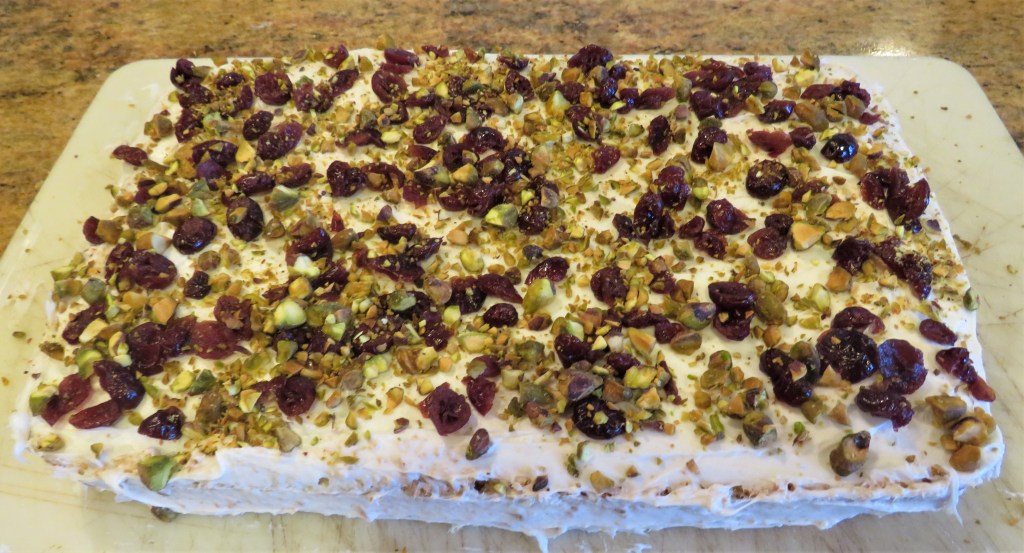
I drizzled some chocolate ganache on my cake then added the rest of my mint M & M’s around the top tp make it more festive. They kept sliding off at first, so some of my M & M’s got a little more chocolaty from their slide down the cake. 🙂

If you start with the basics, you can make slight variations and changes that will completely change the whole personality of the original. Have fun with it and be creative. 🙂

Merry Christmas and Happy Holidays to all. Stay safe and stay well. ‘Til next time.

Nature Walks – Here’s Looking At You

This year I have seen more Robins than I ever remember seeing. I love it too. This one was taken from my deck. He was just sitting in the tree looking right at me and my camera. He was just waiting to be discovered.

Pumpkin Nutella Snickerdoodles

I know that pumpkin season has pretty much ended, however, pumpkin is always associated with the holidays here in the United States. So, with the holiday season still in full swing, there are still a few more pumpkin recipes in store.

Snickerdoodle cookies are a popular favorite here in the States. They were originated by the Dutch and German immigrants who came to the United States in the late 19th century. Cinnamon is a main ingredient used in both German and Dutch baking. They are also particularly popular in the Amish and Mennonite cultures, which are also both Dutch and German in origin. The word snickerdoodle comes from the German word Schneckennudel, meaning snail noodles, though they don’t have anything to do with snails or noodles, but are instead a German cinnamon roll. The word snickerdoodle is really just a fun word that we all like to say, and better yet, a type of cinnamon cookie that we all love to eat too. The addition of pumpkin to the recipe is a relatively new addition, but it is delicious all the same. And adding Nutella, or other ingredients, is an even newer idea to an old classic.

I did both. I added pumpkin and Nutella to my latest snickerdoodle adventure.

Pumpkin Nutella Snickerdoodles

1/2 cup softened butter

3/4 cup firmly packed brown sugar

2 TBSP molasses

1 egg

1 tsp vanilla

1 cup pureed pumpkin

2 1/2 cups flour

2 tsp baking powder

1/2 tsp baking soda

1 tsp salt

1 tsp cinnamon

1/4 granulated sugar

1 tsp nutmeg

1/2 tsp ginger

1/2 tsp allspice or pumpkin pie spice

Nutella

Preheat the oven to 350* F or 180* C.

Combine all the dry ingredients together and mix well, except for the sugar and spices. Combine those separately and set aside.

Mix the butter and brown sugar together until creamy. Add the egg and mix again. Then add the molasses and vanilla and mix once more. Add the flour mixture 1/2 at a time and mix in between each addition.

When everything is mixed together, form the dough into balls about 1 TBSP in size and roll into the sugar and spice mixture, then place on a baking sheet lined with parchment paper.

Press slightly and bake for about 18 minutes or until set. You can also roll your cookies in more of the sugar and spice mixture when they are still hot too, and then let the cool completely before adding the Nutella. While the cookies are still hot, make a slight impression in the center of each cookie with your thumb.

I tried to pipe the Nutella onto the cookies, but I guess it was too sticky. All I did was to make a big gooey mess. So instead, I just spooned a dollop of Nutella into the center of each cookie well. To make them look more festive, I added some holiday sprinkles to them as well.

Every bite is a perfect mouthful of spicy pumpkin cookie and Nutella. YUM!

Happy Holidays and happy baking Everyone. Stay safe and stay well. ‘Til next time.

Ham, Leek and Vegetable Chowder

Winter weather is here. It is cold and gloomy out, which means it is perfect weather for a thick, warm, chunky chowder. I love chowders too. All kinds. They are probably my favorite types of soups.

What is the difference between a soup and a chowder? While soups can be thin and light, a chowder is characterized by being rich and thick. Like stew, it contains large chunks of meat or seafood and vegetables, notably potatoes. It also almost always has either bacon, ham or pork added as well. What is the difference between a chowder and a stew? They are both filled with big chunks of meats or fish and/or vegetables, but a chowder, for the most part has a milky or creamy base with butter and is often thickened by a roux, whereas most stews do not and do not contain thickeners either. And lastly, what is the difference between a chowder and a bisque? They are both creamy, but a bisque is usually smooth and silky and is a lighter soup, whereas a chowder is chunky and meaty (or fishy) and can often be a meal in and of itself.

The word chowder is a corruption of the French word chaudière (“cauldron”), and chowder may have originated among Breton fishermen who brought the custom to Newfoundland, whence it spread to Nova Scotia, New Brunswick, and New England.

Larry wanted a ham for his birthday dinner, so I cooked a big ham. Well, there are only the two of us, so a big ham goes a long way, and many other things are made with the leftovers. This time, it was a big pot of ham, leek and vegetable chowder. I served it with my roasted vegetable galette and it was perfect for a cold night. Roasted Vegetable Galette

I loaded this delicious chowder with ham, leeks, potatoes and vegetables. I like to cut them all into nice, big bite-sized chunks too so you can see what you are getting in every spoonful.

Ham, Leek and Vegetable Chowder

Look at this carrot. It looks like it’s alive.

4-5 cups cooked ham, diced medium

2 large potatoes, diced

4-5 carrots, diced

1 large onion, diced

2 cups broccoli florets

4-5 celery stalks, diced

1-1 1/2 cups leeks, sliced thin

2 TBSP garlic

salt & pepper to taste

6 TBSP butter

olive oil

1 cup flour

6-8 cups ham or chicken stock

2 cups heavy whipping cream

Make a roux in a large pot with the butter, oil and flour. You want the roux to be a fairly light colored roux. Do not burn it or get it too dark. Stir constantly until it thickens.

Cook for about 2-3 minutes, or until the roux is the color and consistency you want, then add the onions, celery and carrots and continue to cook, stirring frequently, for an additional 5 minutes or until the vegetables are tender.

Add the ham, broccoli, stock and seasonings, cover and bring to a boil, then reduce the heat to a simmer and add the cream and the leeks. Continue to cook for an additional 30-40 minutes, stirring often. Adjust the seasonings as needed.

When it is ready, you can make a meal of it all on its own, or pair it up with something else on the side. A galette or your favorite bread is a perfect accompaniment to this delicious chowder. It will definitely stick to your ribs and help warm you up from the inside out. It is the perfect comfort food for a cold winter’s night.

Stay warm, stay safe and stay well Everyone. ‘Til next time.

Roasted Vegetable Galette

It’s been awhile since I last made a roasted vegetable galette. In fact, it was long over due. So it was definitely time to make one again. YouTube Video #3 – Making a Vegetable Galette

We had our friend Bryan over for a simple dinner, and I remembered how much he liked this he last time he was over for dinner, so I thought I would surprise him with one of his many favorites of mine. 🙂

A galette is an open pie or tart that can be either sweet or savory. It is a close cousin of the tart, but like with any similar dishes, there are differences too. A tart only has a thick bottom crust and is made in a tart pan, just like a pie is made in a specific pie dish. A galette, though similar, is also different.

A galette is a free form tart that does not use a special pan or dish. All it requires is a flat baking surface. The dough is rolled out to a circle then is wrapped or folded over the sides to hold in whatever filling is used. They can also be used with any kind of pastry dough, which makes them very versatile. I usually use my basic go-to dough. It is so light and flaky and just melts in your mouth.

Usually galettes are filled with either fruits or meats and/or vegetables. You can use any kind of vegetable that will hold up to be being roasted in the oven. This time I used yellow crookneck squash, zucchini, shallots, garlic, bell peppers, dried oregano and dried basil, salt & pepper and some baby tomatoes.

I sauteed the vegetables first in olive oil and butter just until they were tender.

Preheat the oven to about 375* F or 190* C.

Next I rolled the dough into as much of a circle as I could, about 1/4 inch in thickness. Then added a generous sprinkling of mozzarella cheese, followed by the vegetables. I added the tomatoes and the pine nuts at the very end, and did not cook them first. Leave about an inch around the edges to fold over. To fold the dough, I folded it in little waves and pinched them together, all the way around. Then I brushed the sides with a simple egg wash and put it in the oven for about 30-40 minutes or until the dough was a nice golden brown.

When the galette is done, let it cool for a few minutes before slicing, then slice like you would a tart or a piece of pie. I served it with a big bowl of delicious soup and a glass or two of chardonnay for a simple, rustic meal. You will hear about the soup later. 🙂

There is nothing wrong with having a simple meal. Simple can still be delicious. Stay well and stay safe Everyone. ‘Til next time.

Nature Walks – A Heron From The Deck

I was bringing the dogs in and to my great surprise, I saw this guy flying in. So I rushed to get my camera in hopes of capturing him before he flew away. This is my second very late season Heron I’ve seen in my ponds this season. I’m not sure why I am seeing late season herons, but they are always welcome anytime they choose to visit. These pictures were taken from my deck, and he must been about 150 yards or more away from me. I think they still turned out pretty good, all things considering.

Have a great day Everyone. Always be prepared for the unexpected. Life is full of so many great surprises. Enjoy as many as you can.

Chocolate Crackle Cookies

Cookies! My absolute favorite sweet to eat. My problem is that there are too many great cookies out there and not nearly enough time to eat them all. In a perfect world, where calories didn’t count, I would eat cookies all the time.

My latest cookie tray featured the classic chocolate crinkle cookies. They are always a favorite, no matter what time of year, but especially during the holidays. Maybe it’s because they look like they are covered in snow, and those of us who live in the northern hemisphere always associate snow with the holidays. I don’t know, but they just seem like perfect holiday cookies. They were certainly a HUGE hit with everyone at church. One minute they were there, the next minute they were gone. That is always a good sign that they were thoroughly enjoyed. 🙂

Chocolate Crinkle Cookies

These cookies came from my Martha Stewart Cookie Book. You can tell it is one of my favorites because it is becoming tattered and torn and all the pages are beginning to fall out. Now I have to treat the book with a lot of TLC so I don’t loose any of the treasured recipes.

8 oz of finely chopped bittersweet chocolate, or chocolate chips, melted

3 cups flour

1/2 cup Dutch processed cocoa powder

2 tsp baking powder

1/4 tsp salt

1/2 cup or 1 stick softened butter

1 1/2 cups firmly packed brown sugar

2 eggs

1 tsp vanilla

1/2 cup milk

1 cup granulated sugar

1 cup powdered sugar

Mix the dry ingredients together and set aside.

Mix the butter and sugar together until creamy. Then add the eggs, beating in between each addition. Add the melted chocolate and vanilla. Add 1/2 the flour and chocolate mixture and mix, then add the milk, mix again, then add the remaining flour and chocolate mixture and mix just until everything is blended together. Wrap the dough in plastic wrap and refrigerate for abut 2 hours before baking.

Preheat the oven to 350* F or 190* C.

Line your baking sheets with parchment paper.

Form the dough into balls about 1 TBSP each. Completely roll the dough ball into the granulated sugar, completely coating it, then roll and completely coat in the powdered sugar. Slightly press the dough ball to flatten just a bit on the baking pan. Rolling the dough balls into the granulated sugar first will enable the powdered sugar to stick ore efficiently onto the cookie dough. Once again, the yield was completely off. The recipe states you will get about 5 dozen. I got 4. Best guestimate, you will get somewhere between 4-5 dozen cookies.

Place the cookies about 2 inches apart on the baking pan.

Bake for about 15 minutes or until the surfaces crack and the cookies are set.

After my cookies were completely cooled, I added a dusting of more powdered sugar too, but this is optional. All that is left to do is to share with friends and enjoy. And to try to not eat them all at once. For me, that’s the hard part. 🙂

Have a great Everyone. Stay safe and stay well. ‘Til next time.

The Hockey Party

Larry celebrated another birthday this weekend and to celebrate, he wanted friends and family to watch him play hockey with his team, The Slapshots. It was a special birthday after all, ending in a 5.

I apologize for the poor quality of these pictures. They were taken behind a very dirty and beaten up shield around the ice, and at a distance at that. I love my zoom.

Larry in action.

We had a good time and cheered for the Boys in Blue, and especially #4, Larry.

And Larry taking one for the team, in the box.

A team meeting.

Bryan, the team Captain, showing the Boys how it’s done.

They put up a good fight, and it was a fun time and a good game, but The Slapshots still lost, 5-3. I always love seeing this at the end of every game. Win or lose, both teams do a skate-by and congratulate each other on a game well played.

After the game, we went out to dinner, where the fun and good times continued.

Lauren even made some hockey themed cupcakes. They disappeared quickly.

Wendy thoroughly enjoyed the cupcakes too.

Happy Birthday Larry, from your #1 fan. Love you always and forever.

Santa Clause Cake

Tis the season for all kinds of parties and fun holidays foods. I love both; fun parties and fun festive foods. In the spirit of the season, I came across this idea for a Santa Claus cake that I just couldn’t wait to try. Of course I changed it from the original recipe. Would expect anything less?

The original recipe called for walnuts, but I am not a big walnut fan, so I changed it to pistachios instead, which I think are far more festive anyway. 🙂 Also, because I was making the cake for a large group of people, and wanted the highest yield possible, I turned it into a sheet cake rather than a round cake. But obviously, you can make it whatever size you like. The cooking times may need to be adjusted though. I also cheated on the frosting, since I had white frosting that needed to be used, instead of making a cream cheese frosting that the recipe called for. Maybe next time. 🙂

There is absolutely nothing wrong with saving time and using a cake mix. Today, most of the mixes are pretty perfect, and don’t require a lot of time or effort, and the cakes come out delicious.

Santa Clause Cake

1 box of white cake mix

2 eggs

1 cup water

1/2 cup cooking oil

1 TBSP orange zest

2 cups dried cranberries, reconstituted in water

1-1 1/2 cup pistachios, chopped

Preheat the oven to 350* F or 190* C.

Spray your cake pan, whatever pan you are using, with cooking spray.

Make the cake according to the directions on the package and then fold in about 1/2 of the cranberries (discard the water) and the chopped pistachios. Reserve the rest for the topping.

Evenly spread the batter into your pan(s) and bake. If you are using a 9×13 baking pan, it will take about 30-35 minutes, or until it is golden brown and a toothpick that is inserted in the middle comes out clean.

Let the cake cool completely before adding the frosting. Then generously sprinkle the remaining pistachios and cranberries on the top of the frosting.

Slice and serve.

Tis the season to be jolly and merry, and to share the holiday cheer with everyone you meet. Have a great holiday season. Stay safe and stay well. ‘Til next time.

Nature Walks – Red-Breasted Nuthatch

I didn’t have to go very far for this little gem of a bird. We were watching TV and I was distracted by a beautiful new little bird that was twittering around in the tree just out by our big window. In fact, there were quite a few of these little Red Breasted Nuthatches playing around in the tree. I had never seen them before, but I am sure glad I have discovered them now. They are beautiful little birds.

These pictures are not the greatest quality since they were literally taken by looking through the window. And the little nuthatches twitted around so fast that it was hard to get them too. So I apologize for the poor quality of the shots. Sometimes you just have to go with what you can get. 🙂

I am always prepared for the unexpected. Sometimes, that’s all we get. Have a great day.