I know you all probably think we eat fancy meals all the time. But in reality, we don’t. We eat a lot of leftovers, and I recreate a lot of those leftovers into something completely different all the time. And a lot of times, we eat simple things, like Costco rotisserie chicken, which we love. There is absolutely nothing wrong with the Costco rotisserie chicken as is. It’s perfectly delicious all on its own. But I don’t want to eat it the same way all the time, so I add new sauces and different side dishes to it to change things up. If I am not creating the main dish, then at least I can be creative with the side dishes, right?! 🙂
It was one of those Costco chicken nights, and I needed a good side dish to go with it. We hadn’t had sweet potatoes in awhile and they just sounded really good. Sweet potatoes is was. I mashed them with lots of butter, a little maple syrup and topped them with some chopped toasted pecans. Simple, but delicious. The chicken was very good too, and of course, I dressed that up a bit as well.

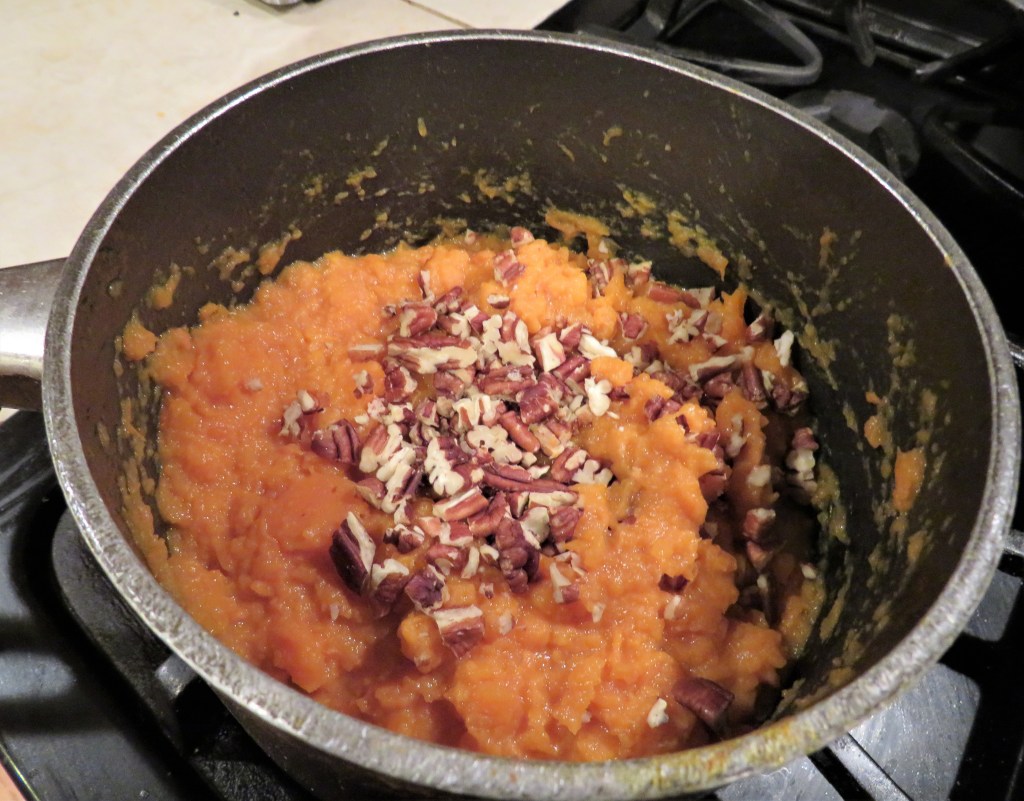
Mashed Sweet Potatoes
These tasty sweet potatoes are just as easy to make as regular mashed potatoes, but they are more festive for the fall and holiday seasons. These are actually a lot less caloric than regular mashed potatoes too, or at least my mashed potatoes. All it takes is a few sweet potatoes, butter, a little milk, salt and a small amount of maple syrup.
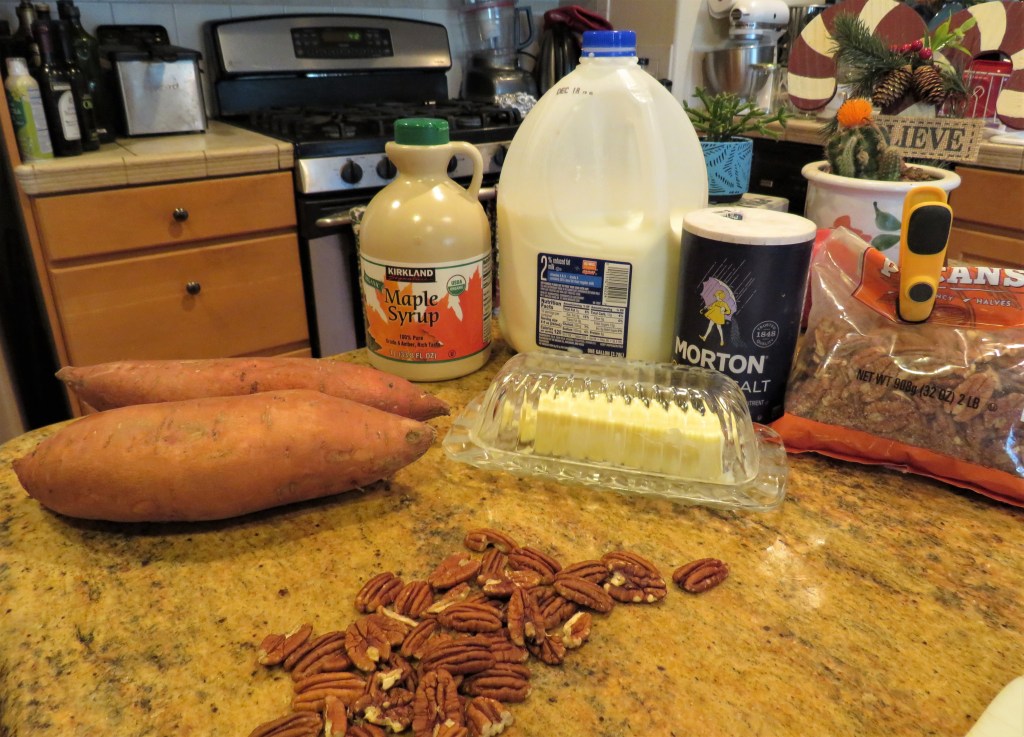
2-3 large sweet potatoes, peeled and cubed
2-3 TBSP milk
3-4 TBSP butter
2 TBSP maple syrup
1 tsp salt
1/4 cup toasted, chopped pecans
Cube the sweet potatoes and boil them in enough water to completely cover them. Boil them at a rapid boil for about 15-20 minutes, or until they are tender enough to mash easily. Drain off the water when they are done. Then add the butter, salt, milk and maple syrup and mash away until they are the consistency of creamy mashed potatoes.


When they are done and ready to serve, top them with the toasted pecans.
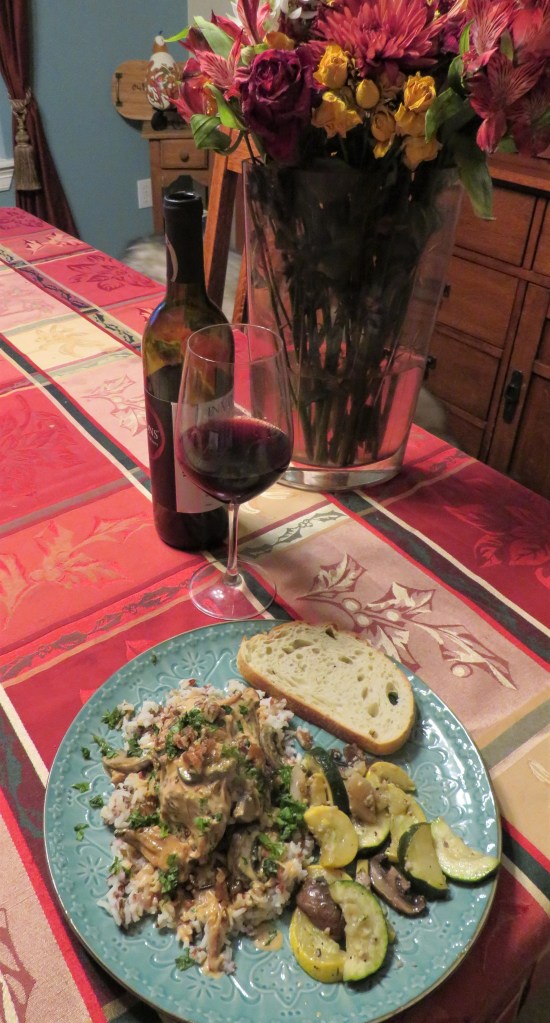
it doesn’t get much easier than that, but they taste divine. I served them with chicken that I topped with a light citrus reduction sauce. The combination of the sweetness from the potatoes and the light citrus flavors from the chicken was perfect.

I cooked the chicken breasts in a light, citrusy, slightly spicy reduction sauce. All I did was combine about 2 TBSP of Mike’s Hot Honey with 2 TBSP of white balsamic vinegar, 1/2 cup or orange juice and about 2 TBSP of blood orange olive oil.

I cooked it for about 10 minutes on a medium-low temperature and added the chicken to it after about 5-7 minutes, just to heat thoroughly and to soak up some of the flavors. Again, very easy-peasy, but oh so delicious. I added the sauce on top of the chicken, with some chopped parsley and a few more of the toasted pecans, and voila. The meal went from simple leftovers to something fancy in no time at all, with very little extra effort needed.

With a little creativity and imagination you can easily transform simple meals into extraordinary meals. People will think you slaved away in the kitchen for hours. Let them think that, but you’ll know the truth. 🙂
We are having company coming in from Canada tonight, and will be staying with us for a few days. So once again, more than likely, I will be off the computer and out of touch. We will be taking them to see and do as much as we can in the few short days they will be here, but we are also having our big Christmas party on Saturday. Maureen and I will be busy cooking away to get ready for that on Saturday morning too. But have no fear, I will be back again before you even have a chance to really miss me. 🙂
Have a great day and make every day great. Stay safe and stay well. ‘Til next time.