Baked Beans for the BBQ

My husband’s work had a fundraising BBQ yesterday, and I got “volunteered” to make baked beans for the event.  I made them last year too, so I guess they liked them and wanted me to make them again this year.  No problem.  Easy-peasy.  Besides, it was for a good cause.  The charity was to help dogs in need, and that is always going to be something special to me.  I made 6 quarts of beans, and my husband said they all disappeared pretty quickly.  I’ll take this as a sign that everyone liked them.

The beans are still cooking and simmering.  They won’t be ready for quite a few more hours yet.

IMG_2744

I used great Northern beans, but you can use any kind of beans you like. Because I knew I was cooking for a large crowd, I used 1 whole 4 lb bag of beans.  You can either soak them overnight or you can bring them to a rapid boil and let them boil for about 3-5 minutes, then let them rest in the same hot water for at least about 2-3 hours.  Drain them and add fresh, clean water before starting the real cook.  This is to loosen up the beans and to help release all those gassy agents we all know to be associated with eating beans.  Then cook them according to the package directions and your recipe you are following.  For baked beans, you can use any kind of beans you want, but the smaller beans are best because they will take on the flavors of your sauce more than large beans will.  If you use large beans, just increase the cooking time and make sure you have enough liquid for cooking.  It’s perfectly OK to add more liquid as needed during the cooking process.

IMG_2737

Making the beans.  I also added about 1 cup of bourbon to my mixture as well, since my husband kept telling everyone they were bourbon baked beans.  The bourbon added a little extra kick to the beans and made the sauce a little richer.  Originally, I was going to cook them in my slow cooker, however, there were too many beans and they would not all fit in my slow cooker once I added the water and sauce, so I slow cooked them on the stove in a large Dutch oven or cooking pan with a tight fitting lid.   I transferred them to the slow cooker once they were completely cooked to make it easier for my husband to take them into work and to keep them warm until they were ready to be eaten.

IMG_2740

After about 10-11 hours at a low simmer, the beans are finally ready.  Yes, I turned them off at 9:59 PM, as you can see on my clock on my stove, right before going to bed.  Once my husband got into work, he let them cook a bit more in the slow cooker until they were ready to serve at the BBQ.  Total cooking time was maybe about 12 hours.  As you can see, my beans almost tripled in size from their original size.

IMG_2750

Maple-Bourbon Baked Beans

(I am giving the recipe for a much smaller quantity than what I cooked)

6 cups cooked beans.  I used Great Northern beans, but you can use whatever beans you like.  Kidney beans are fine too.

1/2 onion, diced fine

1/2 cup maple syrup – I used pure maple syrup

1/3 cup bourbon (optional)

2 TBSP sugar

2 TBSP molasses

2 TBSP Dijon mustard

2 TBSP tomato paste

1 heaping TBSP garlic

cayenne pepper to taste

salt and pepper to taste

4 slices of bacon, uncooked, and cut into small pieces


If you are cooking your own beans, soak and pre-cook them according to the package directions.  If you are using canned beans, just rinse and drain them before adding to the mixture.  Mix all the ingredients together then incorporate into the beans and mix well.  Pour the mixture into a large saucepan and cover with water.  Bring to a rapid boil, then reduce the heat to a low, slow simmer and let cook for at least 5 hours, or until the beans are cooked and are tender.  Don’t be surprised if your cooking time is much, much longer, especially if you are cooking your own beans rather than using canned beans.  You want the beans to be tender, and that takes awhile.  Large  beans take longer than smaller beans too.  Stir the beans occasionally to make sure they don’t burn and add more liquid to the pot as needed.  The beans will take on the rich caramel color and all the flavors of the sauce.  You can make this vegetarian/vegan too, by just eliminating the bacon.


Peach-Almond Pound Cake

You would think that only buying a 1/2 case of peaches would not be so much to go through.  I LOVE peaches, as I do most fruits and vegetables, but a 1/2 case is still a lot of peaches.  Fortunately, there are many, many delicious peach recipes out there that will help me make the most out of all my beautiful, tasty Palisade peaches.   One such recipe I came across was for a peach and almond pound cake.   It is so moist and light.  It almost melts in your mouth.  In one word – YUM!

IMG_2700

Peach-Almond Pound Cake

3 cups flour

1/2 tsp salt

1/2 tsp cinnamon

1/4 tsp baking soda

2 1/2 cups sugar

1 1/2 cups softened butter (3 sticks)

6 eggs

1 cup sour cream

1 tsp vanilla

1 tsp almond extract

2 cups peaches, peeled and chopped (about 3 peaches)


Glaze and Topping

1 1/2-2 cups powdered sugar + more for dusting

2 TBSP milk

1/2 tsp almond extract

1/2 cup toasted almond slivers


Preheat oven to 325* F

Spray a bundt cake pan with cooking spray.

Mix together all the dry ingredients and set aside.  Then mix the butter and sugar together until light and fluffy.  Add the eggs 1 at a time, and mix well with the addition of each egg.  Then add the vanilla and almond extract and mix again.  Alternate between adding the flour mixture and the sour cream, ending with the flour mixture, mixing in between.  Do not over mix or your cake will turn out tough.  Once the batter is all mixed together, gently fold in the peaches and incorporate well.  Then spoon the batter into your bundt pan, making sure it is evenly distributed.

Bake for about 1 1/2-2 hours or until the cake is golden brown and a toothpick comes out clean once inserted into the middle of the cake.  Remove from the oven and let cool completely before removing from the pan.

Once the cake has completely cooled, make your glaze by mixing the powdered sugar, milk and almond extract together.  You can make the glaze a little thicker by adding a little more powdered sugar.  Pour over the cake evenly.  Sprinkle the toasted almonds around the top of the cake and then dust with powdered sugar.

IMG_2690

Once the batter is made, gently fold in the peaches and incorporate well.

IMG_2691

Make sure the batter is evenly distributed in the pan, then bake for about 1 1/2-2 hours at 325*F.

IMG_2692

Once the cake is completely cooled, make your glaze.  This is all you need.  Once the glaze is made, pour it evenly over the top of the cake, then top with toasted almond slivers and dust with powdered sugar.

IMG_2694

Now it’s time to “let them eat cake”.

IMG_2701


Peaches from Palisade

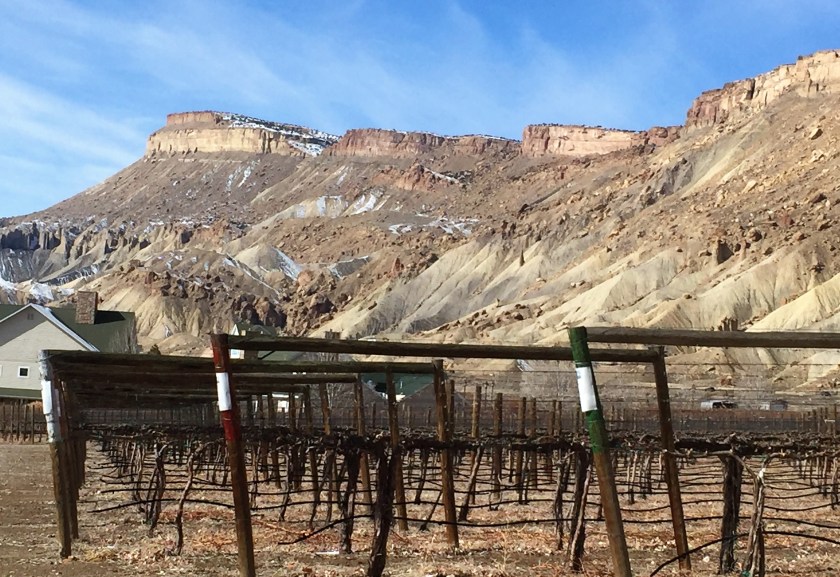
Palisade is a little farm community located on the Western Slope of Colorado.  It is part of the Grand Junction Metro area with a tiny population of only about 2600 people.   It is nestled between the Grand Mesa National Forest and the Colorado River that emerges from the DeBeque Canyon and is surrounded by mountains and beautiful views.  Palisade has a very temperate climate that is perfect for agriculture.  It has an average of 182-day growing season and 78% sunshine rate.  It gets about 14″ of snow per year and about 10″ of precipitation.  This is just perfect for peaches.  August is the prime peach season in Palisade, as they are all fully ripened and ready to eat and to cook with.  These growing conditions are perfect for agriculture in general, but especially perfect for both peaches and grapes.  Palisade is known as the the peach and wine capital of Colorado.  So aside from growing some of the best peaches I have ever eaten, Palisade also grows most of the grapes for all the Colorado wines.  Needless to say, I am very grateful for the fruits of all kinds from the Palisade region of Colorado.

I split a case of peaches with a friend of mine.  They are so sweet and juicy.  They are just perfect, whether you eat them as is or cook or bake your favorite peach recipes with them.   So far, I have made some spicy, zesty peach salsa and a delicious, moist peach cake with mine.  And I still have a lot of peaches left.  I will be coming up with some other delectable dishes very soon.  I may even just slice the peaches I have left and freeze them so I can use them later.

IMG_2612

Making my peach salsa.   Making peach salsa is the same as making pico de gallo, only I add a lot of sweet peaches as well..  This gives you a bold, spicy sweet salsa that is perfect with pork or chicken, or served on top of baked brie or alongside goat cheese with crackers.   Yesterday, I made an appetizer tray for a small get together with goat cheese, salami, crackers and my peach salsa.  The sweet and spicy combination of the peach salsa was just perfect for the creaminess of the goat cheese and the saltiness of the salami.

IMG_2711

I love hot & spicy foods.  I don’t care for foods that are just pure fire, where you loose the taste of the ingredients, but I do love a good heat that wakes up the taste buds and makes them come to life.  I used both hatch green chilies and jalapenos for my salsa.  I roasted them all on an open flame until they turned completely black on the outside, then I let them sweat in a plastic bag for about 30 minutes before rubbing all the black charred bits away.  Then I diced them and added them to my salsa.  These delightful grape tomatoes were from my friend’s garden.  You can eat them like candy (they are certainly a lot healthier for you than candy).

IMG_2708

IMG_2709

Mixing it all together.

IMG_2713

I just made a small batch of peach salsa this time around.  My husband does not eat much fruit at all, so it is left to me to eat or to give away.  I can only eat so much.  I still used 9 peaches though.

IMG_2719

Jeanne’s Spicy Peach Salsa

9 ripe peaches, skinned and diced small

1 bunch green onions, sliced thin

1 red onion, diced small

1/2 cup tomatoes, diced small – any kind of tomatoes are fine

3 hatch green chilies, roasted and peeled, diced small – or to taste

4 jalapenos, roasted and peeled, diced fine – or to taste

1 1/2 tsp cinnamon

1 1/2 tsp cumin

salt & pepper to taste

1 tsp cayenne pepper or to taste

1 1/2 heaping TBSP garlic

2-3 TBSP cilantro, chopped fine

2-3 TBSP olive oil


Mix everything together and chill before serving.  It goes great with chicken and pork as well as baked brie or goat cheese.  I also put a little on top of my chicken kebabs that I marinated in Edith’s Best Triple A Sauce.  It was a perfect compliment to the sauce. Sauce It Up with Edith’s Best


Sauce It Up with Edith’s Best

I think by now, it is very obvious that I love to cook and I also love to try new things.  I am very adventurous, both in and out of the kitchen.   Recently, an acquaintance of mine reached out to me and asked if I would like to sample a product for him and give him my feed back.   I am honored to do so.  What a privilege that he thought of me to sample his product.  His product is Edith’s Best – Triple A Sauce.

IMG_2687

I received the sauce on Friday, and I used it on chicken for last night’s dinner.  This sauce is SOOOOOOO delicious!  It is a spicy, tangy sauce, with just a hint of sweetness.   I used it as a marinade for chicken that I made into kebabs and then grilled up.  I cubed the chicken in pieces that were about 1 1/2″ x 1 1/2″ and marinated it in Edith’s Best Triple A Sauce for about 5 hours, so it was nice and tender and full of flavor.

IMG_2706

After letting the chicken marinate, I skewered it up and poured the remaining sauce on top of the chicken, then put it on the grill.  I wanted to make sure that I used all of my remaining sauce.  I did not want to let any of the flavors escape.

IMG_2729

I grilled the chicken kebabs for bout 5-7 minutes, then flipped them over to continue cooking for about another 5-7 minutes.  Cook until your chicken is thoroughly cooked.  We topped our kebabs off with another splash of Edith’s Best – Triple A Sauce before serving.  The end result was delicious, tender chicken that just melted in our mouths.

IMG_2734

I used Edith’s Best – Triple A Sauce on chicken, but it would also be very good on vegetables or pork or beef as well.  Next time you reach for the BBQ Sauce, try Edith’s Best instead.   I promise you are going to be deliciously delighted.

Unless you live in Winter Park, FL, where you can purchase Edith’s Best – Triple A Sauce directly from the source, the best way to get some is to go to the website and order directly from there.  The website and contact information are:

Jerrell Watson

Jerrell@EdithsBest.com

EdithsBest.Com

(407) 850-8706

127 West Fairbanks Avenue, Suite 181, Winter Park, FL 32789


For more information, you can follow Edith’s Best at EdithsBest.com on Facebook, Twitter or Instagram.


Blackberry-Sage Thumbprint Cookies

The weather is quickly changing and fall is in the air.  It’s right around the corner, and I am more than ready for the fall season to begin.  I just love fall.  I love all the colors and the cool crispness in the air.  But mostly, I love baking and cooking all the warm comforting foods of fall.   I especially love baking cookies.  And I just love eating them too.  The oven comes on much more frequently as the temperatures start to drop.  I have already started doing some fall baking and cooking in anticipation of my favorite season, that is quickly coming upon us.  I just made some blackberry-sage thumbprint cookies in honor of the upcoming fall season.  I made them for my Mermaid end of season party. The End of Our Mermaid Season  They were a big hit.  They are full of color and bursting with flavor.  The sage really compliments the blackberries very well.  The blackberries are in season at the moment, and the ones I used were HUGE and very sweet.  They are so juicy and delicious.   I have to really refrain from not eating these cookies one after the other.  It’s very hard to stop at just one, because they are just that good.

IMG_2624

Blackberry-Sage Thumbprint Cookies

2 cups flour

2/3 cup yellow cornmeal

1 TBSP sage, either fresh, chopped fine.  Dried is fine too – I used fresh

1/4 tsp baking powder

1 cup or 2 sticks of softened butter

1 cup, firmly packed brown sugar

2 egg yolks

2 tsp lemon zest

1 1/2 tsp vanilla

3/4 cup blackberry preserves

fresh blackberries

powdered sugar for dusting (optional)


Preheat the oven to 350*F

Mix together all the dry ingredients, including the sage and set aside.  Then mix the butter and brown sugar together in a mixer until well mixed and it is light and fluffy.  Add the egg yolks, vanilla and lemon zest and mix again.  Add the flour mixture in batches, mixing in between each addition.  Do not over mix or the dough will become tough.

Form the dough into balls that are about 3/4″ in diameter and place them about 1″ apart on an ungreased baking sheet.   With your thumb, gently press down into the center of each dough ball to make an indentation or a well.  Add about 1/2 tsp of blackberry preserve into each well then place int the oven to bake.  Bake for about 10-15 minutes, or until the cookies are are lightly browned.  Remove from the oven and place one blackberry in the center of each cookie.  Let cool completely.  Once the cookies are cooled, you can dust the cookies with powdered sugar if you choose.

Mixing all the dry ingredients together, including the sage.

IMG_2617

Making the dough balls.

IMG_2619

Adding the blackberry preserves.  You want to add just enough to fill the wells without filling them too much.  Anything that spills over is just going to burn and stick to your baking sheet.

IMG_2621

The end results are a delicate cookie, with a light crispiness to them.  They are bursting with color and flavor.  They just melt in your mouth.  Delicious!

IMG_2625


The End of Our Mermaid Season

As much as I am in the kitchen, believe it or not, I am actually in the water much, much more.  I am only half human and chef.  The other half is a combination of dolphin and mermaid.  I have been teaching water aerobics all over the Denver Metro area for many, many years, and I just love it.  I get paid to play in the water and meet fantastic people everyday.  How good is that?!  All of my classes are very special to me, but sometimes you just get with a group of people and the chemistry is pure magic.  This was my “Mermaid Club” of Wheat Ridge.  The ladies who took my outside class this summer are a group of very strong, beautiful, very loving ladies, all of whom have big, huge hearts of gold.  Today was the end of our mermaid season for 2018, so we had a little end of season party, that was of course, mermaid themed.  Everyone brought something yummy, and we all had a great time.  Usually we work out hard, but today, it was more of a fun, party day than a work out day.  Needless to say, we were all a little distracted.  I always try to bring something healthy, but I love my sweets too.  So today, I brought both; a broccoli salad with a honey-poppy seed dressing as well as some blackberry-sage thumbprint cookies (still kind of healthy); something healthy and something sweet to eat.

IMG_2641

The food is only starting to come to the table.

IMG_2643

Not all of my Mermaids were able to join us, but here I am with some of my beautiful Mermaids.  I just love all these fabulous ladies.  (I am in the back, on the right).

39283933_637404863309381_1669658241283391488_n


Broccoli Salad with Honey-Poppy Seed Dressing

IMG_2631

broccoli, cut into florets, as well as part of the stems, cut into a small dice (I cut away the bottom parts of the stems and threw those away)

grapes, cut in half

red onion, diced small

green onions, sliced thin

toasted almond slivers

shredded carrots

cranberries, reconstituted in warm water


I did not measure anything for my salad.  I actually made enough for two salads because my husband and I are going to a BBQ on Saturday, and I am taking the same salad.  As with most things I make, I just kind of eyeball it for my amounts.


Honey-Poppy Seed Dressing

1/3 cup apple cider vinegar

1/4 cup honey

2 TBSP Dijon Mustard

1 TBSP poppy seeds

salt & pepper to taste

1/3 cup olive oil


Whisk everything together and pour over the salad right before serving.

Blanche the broccoli florets in boiling water for about 5 minutes, then immediately remove and place in ice cold water so the broccoli does not continue to cook.  If you over cook the broccoli if will turn mushy and will loose its vibrant green color.  Then toss everything together and add your honey-poppy seed dressing right before serving to prevent the vegetables from getting soggy and limp.  The salad is best when served chilled.

IMG_2629

Making the dressing.

IMG_2635

Tossing everything together.

IMG_2633


Garlic Cheddar Buttermilk Biscuits

If you are from the South, or if you have ever traveled to the South, you know the Southerners love their biscuits and cornbread.  They eat either one of these all the time, with almost every meal.  There are almost as many different recipes for each as there are people eating them too.  Everyone has their own secret or family tradition for making them, and often times these traditions have been handed down through the family for generations.  Don’t mess with someone’s recipe for either biscuits or cornbread unless you know it can stand the test of time and tradition.   My mother was from Southeast Texas.  She was not a particularly good cook, and could only cook a few things well, but she did know how to make her biscuits.   When my mom and dad first got married, my dad wanted her to make scones.  He was from Australia, and scones were their version of biscuits.  My mom tried and tried to make his scones the way he wanted them, but they just never turned out quite right.  One day, she finally gave up and just made biscuits instead.  My dad was elated, telling her “that’s what he had been asking for all along”.    It just goes to show, one man’s scone is another man’s biscuit.

I made garlic cheddar biscuits and served them with my Cajun Style Spaghetti Squash with Chicken.  Cajun Style Spaghetti Squash with Chicken  The smooth flavors or the biscuits complimented the spiciness of the Cajun Spaghetti Squash very well.  It was almost like they were meant to be paired up with each other.   With a little butter on the biscuits, because we all know everything is much better with butter, we had quite a sumptuous meal.

IMG_2582

I HATE regular buttermilk, and I do not use it often enough in recipes to buy the “real” stuff, so I buy the powdered buttermilk and mix it with regular milk (or water) when I need it.  It lasts a lot longer and you use and make just what you need.  Also, I did not use self-rising flour, so I added 1 tsp of baking powder to my regular flour.

IMG_2571

I made my biscuit batter just like I made my basic-go-to-dough.  I mixed the flour, and all the dry ingredients with COLD butter cubes in my food processor until everything was crumbled together.  You can also do it by hand with a a pastry cutter, but it is so much faster and easier just to put it all in the food processor.  Then I add my cheese and pulsed it all together again until it was once more very light and crumbly, and everything was all incorporated together.  You can see my Sous Chef, Lucie in the background, seeing how she can help.

IMG_2573

Once everything is blended together, dump it all into a large mixing bowl and make a well in the center of the dry ingredients.  Add the buttermilk into the center of the well, and then start mixing it in with the dry ingredients.  Only mix until everything is just mixed in.  DO NOT over mix or your biscuits will turn our very tough.

IMG_2574

Once everything is mixed together, use a 4 oz ice cream scoop and scoop the batter into your baking pan to make your biscuits.  You can put them all in a cast iron skillet that is oven safe or you can use a muffin pan like I did.  Either way is fine, just a little different presentation.  The taste is just the same either way.  Right before baking, melt some butter and add chopped parsley and garlic powder.  I normally do not use garlic powder, however, I made an exception here, since I was using it as a spread.

IMG_2578


IMG_2607

Garlic Cheddar Buttermilk Biscuits

3 cups flour

1 tsp garlic powder (I used garlic herb powder)

1 tsp baking powder

1/2 tsp dried minced onion or onion powder

1/2 cup or 1 stick of COLD butter, cubed + 3 TBSP melted butter

2 cups shredded cheddar cheese

1 cup buttermilk

1 tsp chopped parsley

1/4 tsp garlic powder


Preheat the oven t 425* F

Use butter or cooking spray on the bottom of your baking pan or skillet.

Mix together all the dry ingredients and COLD butter together until crumbly, then add your cheese and continue to mix again.  Once everything is mixed together well, pour the mixture into a large mixing bowl and make a well in the center of the mix.  Add the buttermilk, and incorporate it into the mixture.   Mix just until everything is incorporated.  Do not over mix the batter.  it will make your biscuits turn out tough.

Once everything is mixed together, scoop the batter into your baking pan to make your biscuits.  You can put them all in a cast iron skillet that is oven safe or you can use a muffin pan like I did.   Melt the remaining butter and mix with the parsley and remaining garlic powder.  Brush over the tops of the biscuits and bake for about 20-25 minutes, or until light and fluffy and lightly golden in color.  Serve hot or warm, with  butter.  Delicious!  You’re going to love it.  I gar-un-tee it!


Cajun Style Spaghetti Squash with Chicken

I am very lucky to have so many friends with green thumbs.  I have been given so many wonderful, home grown vegetables that are so full of flavor and so fresh.  Once I get them, I can’t wait to come up with a tasty recipe and cook them right up.  The other day, a good friend of mine presented me with a delicious, fresh-from-the-garden spaghetti squash.  Like the name says, it is often used as a substitute for spaghetti and other pastas because of it’s spaghetti-like qualities when it is cooked.   This is a delicious, lighter and healthier version of “pasta”.  I use it this way quite frequently too.  The spaghetti squash was a good-sized one, and since I am only cooking for my husband and myself, I only used half of it.   I have some other really good ideas on how to cook the other half.  You’ll just have to wait and see what I come up with.  🙂  This time though, I cooked it Cajun style, with chicken (next time, I am going to add Andouille sausage as well).  I served it with some Southern cheddar and garlic biscuits and a cool crisp chardonnay.  Because it is spicy, and has a little bit of a tomato base, I could have easily served a light-bodied red too, like a Beaujolais, but I chose chardonnay instead.

IMG_2610

Cooking this dish was a layered process.  My first step was to prepare the squash with a little salt & pepper and olive oil and then bake the it for a half hour.  While that was baking, I prepared and cooked all the rest of the ingredients.  Once the squash is done, remove it from the oven and let it cool.

IMG_2589

Step #2 – I cubed the chicken and tossed it in Cajun spices, then cooked it in olive oil until the chicken was browned and completely cooked, for about 7 minutes.  Next time, I will also add some Andouille sausage as well.

IMG_2593

Step #3 – Once the chicken is cooked, remove it from the pan, and in the same oil, cook your onions, peppers and garlic until soft and translucent, or about 3 minutes.   Then add the tomatoes and cheese and toss everything together.  Mix with the chicken and sausage (if using) and set aside.

IMG_2596

IMG_2597

Step #4 – Once the squash has cooled, take a fork and scrape all the insides out into the bowl with the chicken and vegetables.  Mix everything together and then pour everything into a baking dish sprayed with cooking spray.  Top with additional cheese and bake again for about 20-25 minutes or until the edges are a little crispy and the cheese on top has melted.

IMG_2602

IMG_2604

Voila!  Dinner is served.

IMG_2607

Cajun Style Spaghetti Squash with Chicken

2 medium spaghetti squash, cut in half

salt and pepper

olive oil

2 lbs chicken, cubed

1-1 1/2 lbs of Andouille sausage, cooked and sliced (optional)

2 TBSP Cajun spice

3/4 onion, diced

1-1 1/2 heaping TBSP garlic

1 each, red and green bell pepper, diced fine

1 jalapeno, diced fine

3 Roma tomatoes, diced

5 oz of Jack or Mozzarella cheese

Parmagiano Cheese, shredded

parsley, chopped fine


Preheat oven to 350* F

Cut the squash in half and sprinkle with olive oil, salt & pepper.  Bake for 30 minutes.  While the squash is cooking, prepare and cook the rest of the ingredients, separately.

Coat the chicken with the Cajun spices and cook in olive oil for about 5-7 minutes, or until browned and cooked completely.  Once the chicken is cooked, remove it from the heat and set aside.  In the same pan, with the same oil, cook the peppers, onions and garlic for about 3 minutes, or until soft and translucent, then add the tomatoes and some of the soft cheese.   Toss everything together and add to the chicken.

Once the squash is cooked and has cooled, scrape out the insides with a fork and add to the chicken and vegetables.  Spray a baking dish with cooking spray and add the chicken and squash mixture to the dish.  Top with the rest of the soft cheese and bake again for an additional 20-25 minutes, or until the edges start to crisp and brown and the top cheese is melted.  Remove from the oven and top with shredded Parmagiano cheese and chopped parsley.


Food is Meant To Be Shared

One of the best things about cooking is how it brings people together.  There is nothing better than gathering together with good friends and family and sharing a good meal.  That is one of the best things in life.  We do that quite often too.  I have a big house that is meant for entertaining, and I take full advantage of it.  I love to entertain.  It doesn’t matter if I am hosting a small, intimate dinner party or opening my house up to many for a big party.  I just love to entertain.  In large part, I think this is because of my background in catering.  I love to cook for people.  It brings me great joy to feed people and to bring a small bit of happiness to them, one bite at a time.

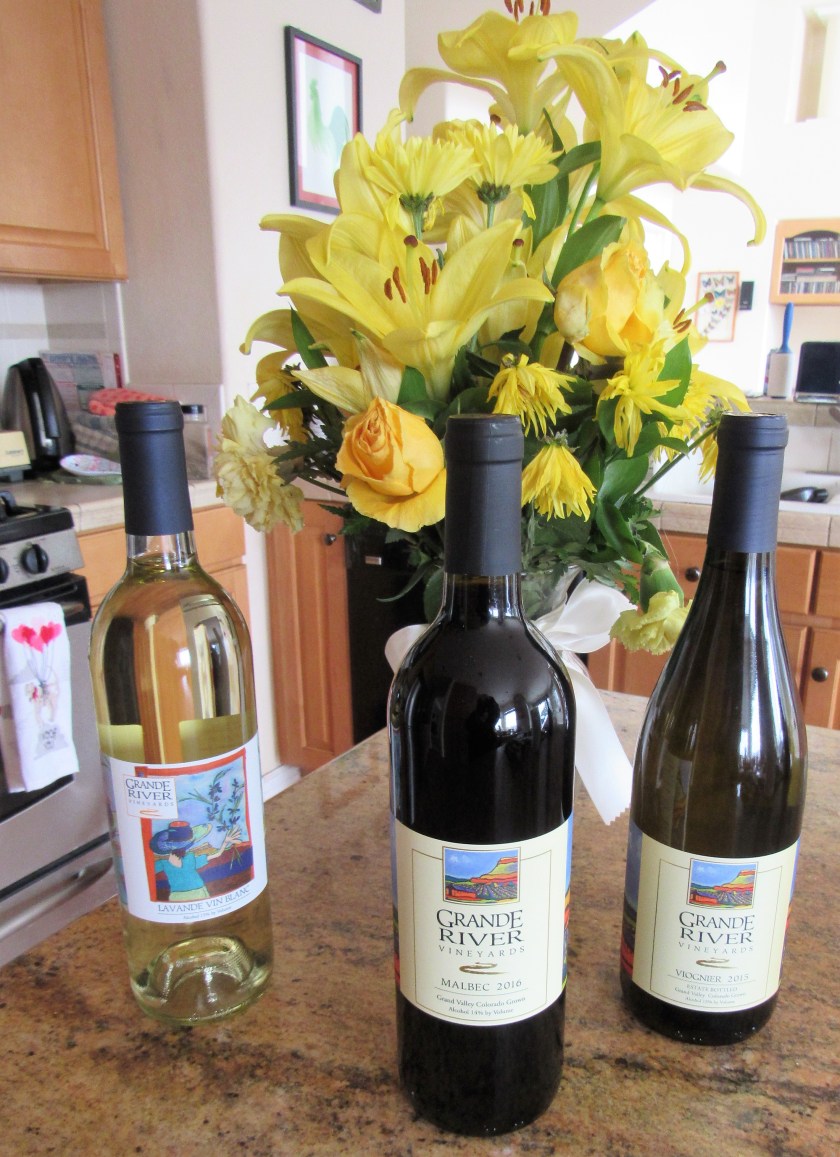
The other day we had some friends over for dinner, and had a great time, as we always do when we get together.  We had a dinner of “simple elegance” as I like to call it.  Dinner was the mussels steamed with white wine, garlic and shallots, Mussels Steamed in White Wine and Shallots with my focaccia and caramleized onion marmalade as an appetizer Focaccia with Caramelized Onion Marmalade ; Steak Oscar for the main course, Steak Oscar and for dessert, it was a joint effort.  My friend Priscilla made some delicious profiteroles filled with ice cream and topped with chocolate, and I made my maple butter cake with cinnamon pumpkin whipped cream, There is More To Maple Syrup Than Pancakes .   And of course, there was wine.  I served a cool, crisp chardonnay with the mussels and a smooth Mossafiotta Rossa red with the steak.  We enjoyed dinner out on our deck with a beautiful view and great conversations.  Dinner was delicious and the company even better.  We were all completely stuffed at the end of the evening, but it was well worth every calorie.  Life is good!

The first course – Mussels in White Wine with Garlic and Shallots and Focaccia with Caramelized Onion Marmalade.

IMG_2550

The main course – Steak Oscar served over mashed garlic mashed potatoes and topped with asparagus, hollandaise sauce and crab (this is where my leftover hollandaise sauce and crab came from to make my crab and asparagus quiche). Quiche Is Only Partly French

IMG_2556

IMG_2553

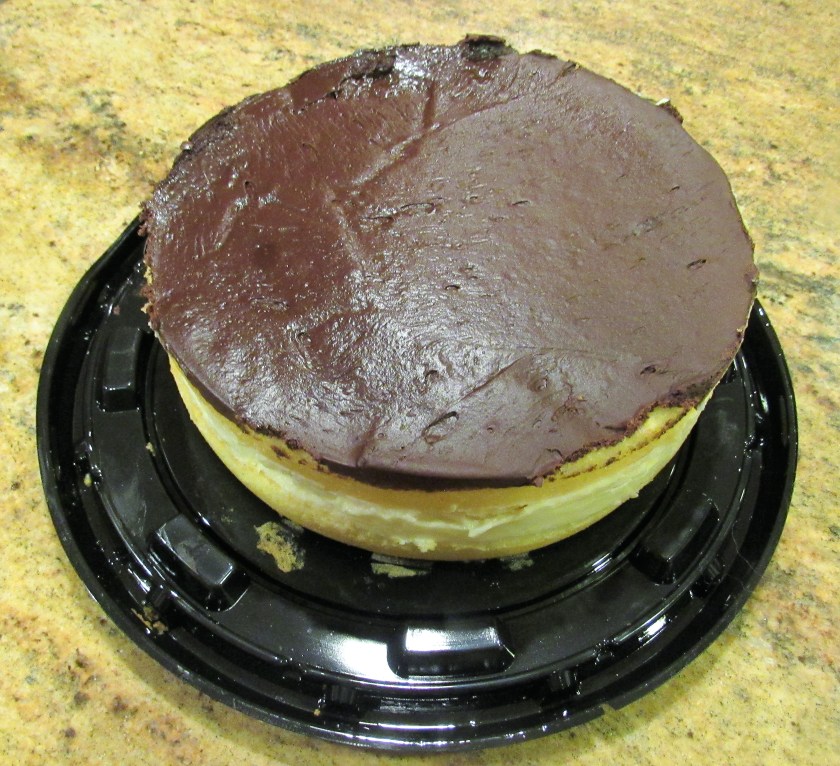
And Dessert – Rich Maple Butter Cake with cinnamon-pumpkin whipped cream and Profiteroles dipped in chocolate.

IMG_2557


Quiche Is Only Partly French

When we think of quiche, we automatically think of it being French.  We think of it originating in France.   This is only partly true.   France did not officially claim quiche as part of their own cuisine until 1805.  Quiche, which is a savory open flan made from eggs, cream or milk and any combination of meat, seafood, vegetables and cheese made in a pastry crust, has been around in various European countries, such as Italy, Germany and England, since at least the 13th and 14th centuries.   These savory flans were known as Crustardes of Flesh or just Crustardes.  They are believed to have been first created in the medieval times, in the Kingdom of Lothringen, which was under German rule at the time.  The name quiche is a derivative of the German word “kuchen”, which means cake.  The Kingdom of Lothringen is now known as Lorriane, which is now part of France.  This region has switched back and forth from French and German reign for centuries.    Lorraine, was a small village at the time, that often did not have much in the way of food, as was the case for many small villages all throughout Europe.  The foods people ate were simple foods that used simple ingredients from the local ‘terroir” or products from the farms and villages.  Many people were farmers and they all had chickens and cows, meaning eggs, milk and cream were plentiful.   People ate what they had.   Each region added it’s own personality based on what foods that were readily available and plentiful.  Originally, quiches were made without cheese.  It was not until much later when cheeses were added to the crust.  Today, no one would even think of making a quiche without cheese.

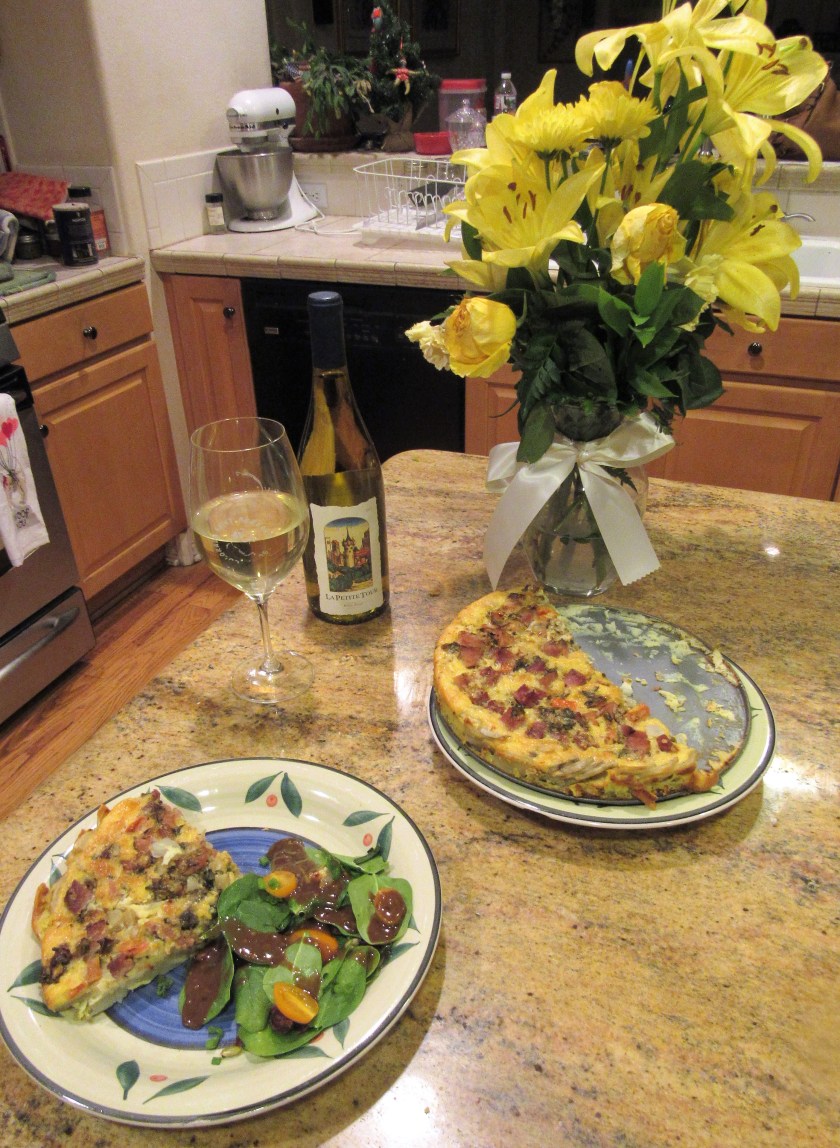
Quiches are found all over the world now, in many different varieties.  They can be eaten hot or cold and are eaten for meals and snacks at any time of the day.   You can fill them with whatever fillings you like.  The possibilities are endless.  I make quiche quite often, and I make many different varieties.  In keeping with its tradition, I usually make it with whatever ingredients I have on hand at the time.  This time, I made a quiche with crab, asparagus and mushrooms.

IMG_2568

I used my basic go-to dough Lemony Tomato Zucchini Tart  and added jalapeno jack cheese on the bottom, before adding my crab and vegetables.  Usually a mild cheese is best for making quiches, because you do not want the flavors of the cheese to overpower the subtle and delicate flavors of the fillings and the dish in general.

IMG_2561

I cooked my asparagus first.  I wanted it still a little crisp, then I sauteed mushrooms, garlic and shallots in olive oil and a little butter, with salt & pepper, and added my asparagus to that.  I layer my quiches, but you can mix everything together if you prefer.

IMG_2562

IMG_2565

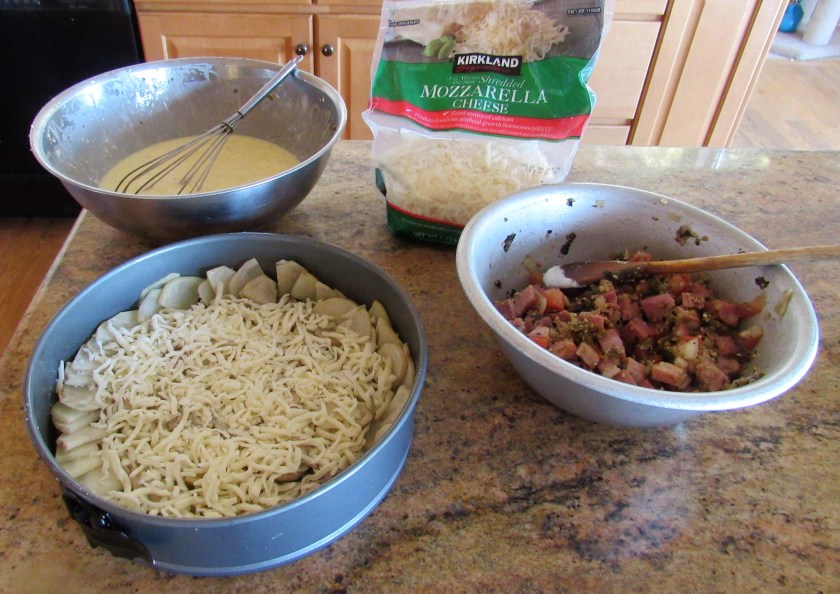
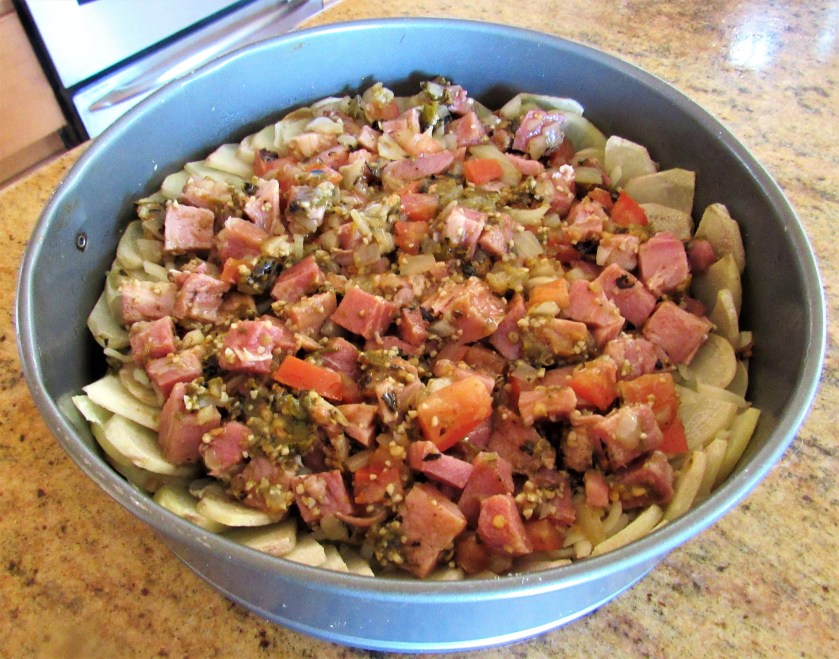
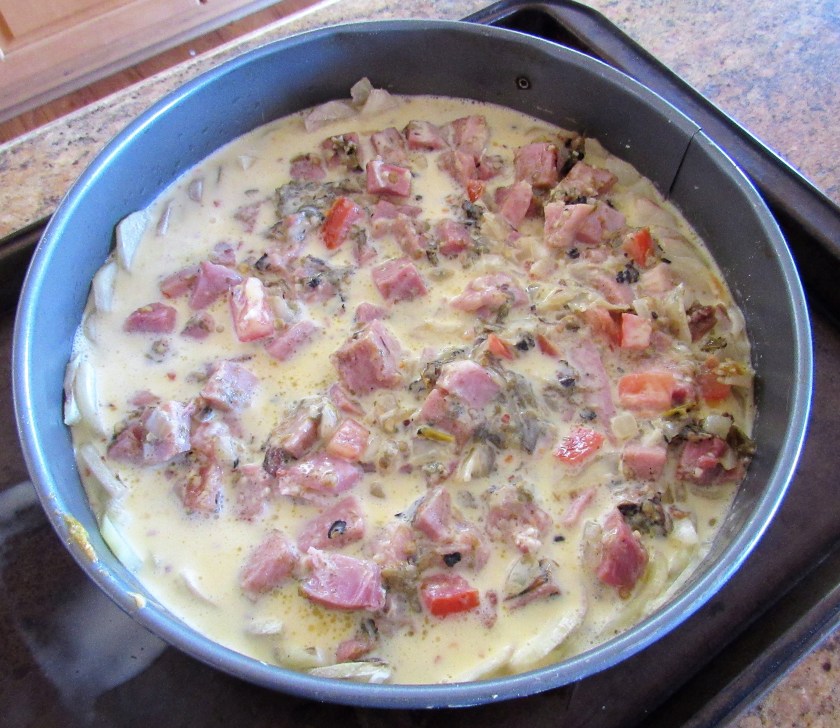
After my layers of crab and my asparagus-mushroom saute, I added the eggs and cream.  This was a bit of experiment for me, since I had some leftover hollandaise sauce that I added to my egg mixture.  I wasn’t sure if it would work or not, but it did.  After all, a hollandaise is just eggs, butter and little bit of Dijon mustard.   (My crab has some tomatoes added as well.  Both my crab and my hollandaise sauce were leftovers from another meal.  This will be another post).

IMG_2568

Quiche with Crab, Asparagus and Mushrooms

1 lb crab

your favorite light cheese

1/2 lb cooked asparagus – cook for about 5 minutes in boiling water, then remove.  You want the asparagus to have a slight snap to it.  After the asparagus has cooled, cut it into small pieces that are about 1/2 ” in size.

4-5 mushrooms, sliced thin

1 shallot, chopped fine

1 TBSP garlic

salt & pepper to taste

4-5 eggs

1/4 cup either heavy whipping cream or milk

dash of nutmeg

dash of Tobasco sauce


Jeanne’s Master Dough

1 1/2 cups flour

6 TBSP COLD butter, cubed

a pinch of salt

1 egg

about 6 TBSP heavy whipping cream


Mix together the flour, butter and salt in a food processor until everything is well incorporated.  Then add the egg and the cream and mix everything together until the dough forms into a ball.  Remove from the food processor and wrap in plastic wrap.  Let the dough chill in the refrigerator for at least 30 minutes before using.  The dough will keep up to about 3 days in the refrigerator.  When you are ready to use your dough, let it come to room temperature before rolling it out on a lightly floured surface.  I usually add a little flour to my rolling pin as well.  Then roll to your desired thickness and and shape it however you like.  I use this same recipe for my tarts as well.  If I am making a sweet tart or dough, the only difference is that I also add about 3 TBSP of powdered sugar.  This is called a pate sucre.  Sometimes, when I am making a savory dough, I add black and/or lemon pepper and other spices to my dough as well.  Again, be creative and use your imagination.

Once your dough is ready, add your crab, then the cooked vegetables.  Whisk the eggs and milk together, with a dash of nutmeg and Tobasco sauce, then pour over the quiche filling, filling it all the way to the rim of the baking dish.  Bake uncovered at 350* F for about 45 minutes or until done and the quiche is set.  If the edges start to get to brown, cover the tart with aluminum foil until done.  The eggs will  rise and will fluff up at first, but once the quiche cools for a few minutes, they will settle down again.  Wait a few minutes before cutting the quiche.  The quiche can be eaten hot, warm or cold.   Bon Appetit!