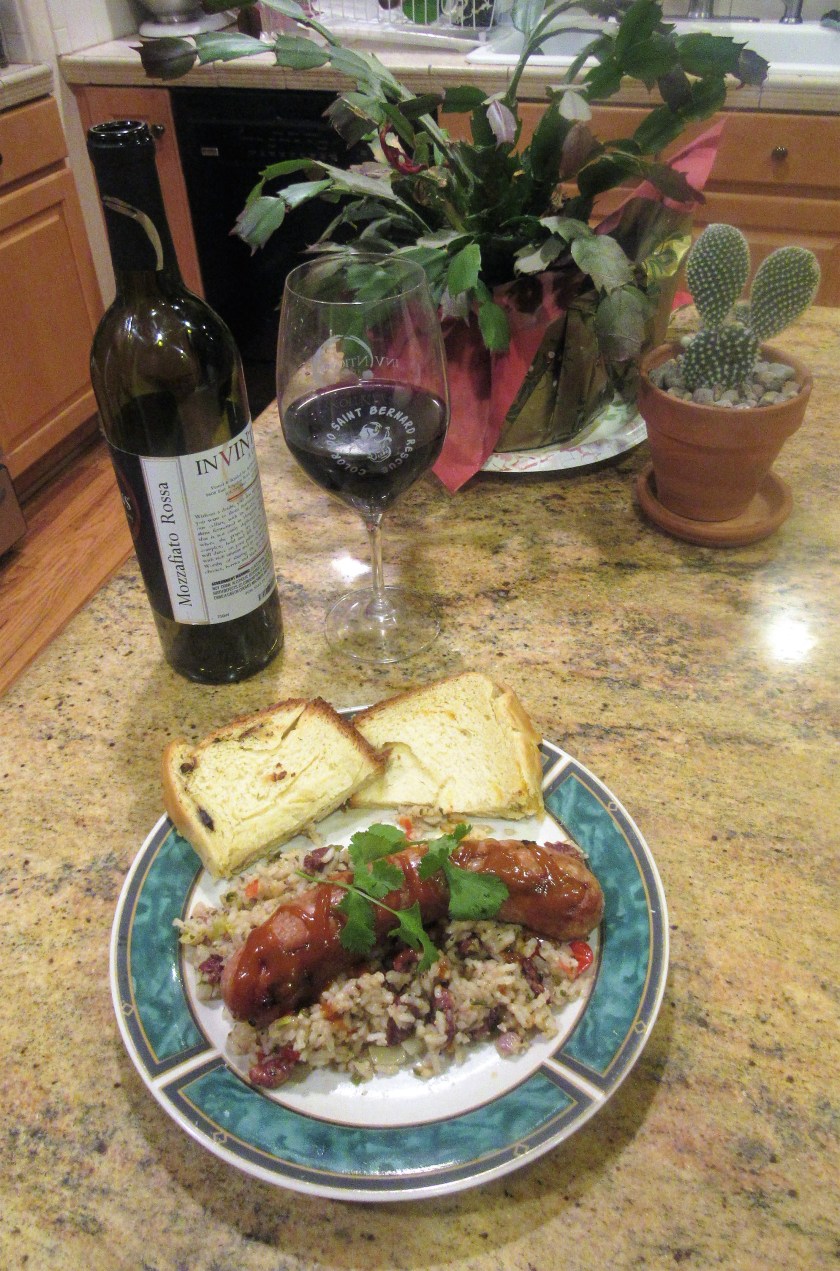
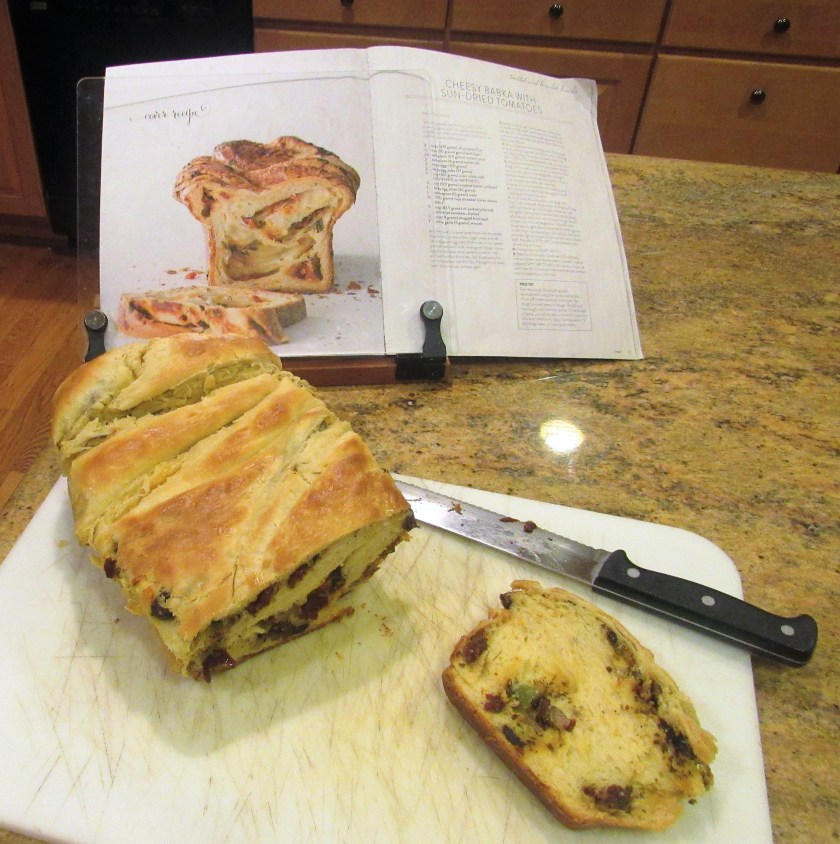
I apologize for being a bit remiss in the kitchen as of late. I have been SUPER busy with work. My real jobs, the ones that pay me, take precedence, which means I have not had a lot of time to be in my 2nd favorite place, the kitchen. I picked up 9 extra classes per week while one of our other instructors recuperates from a broken ankle. We also have been busier than usual with more swim meets too. As much as I LOVE being in the kitchen, I am truly in my element when in the water, whether it be teaching, swimming, coaching or my real passion, scuba diving. With that being said, we still have to eat, we are just not eating anything fancy or things that take a lot of time to prepare at the moment. Dinner last night was a simple meal of Andouille Sausage, vegan dirty rice and the last of the Mediterranean babka, Babka with a Mediterranean Twist and a glass of one of my favorite red wines, Mozzafiato Rossa, from one of my favorite local wineries, InVINtions, A Creative Winery. Mozzifiato Rossa is a smooth, velvety red wine with a light spiciness and hints of chocolate. Let’s Make Wine

I purposely did not add sausage to the dirty rice because I knew I would be serving it with sausage. I didn’t think we needed sausage with more sausage. I drizzled my sausage with Heinz 57 Sauce, although I really wish I had more Edith’s Best Triple A Sauce instead. Sauce It Up with Edith’s Best
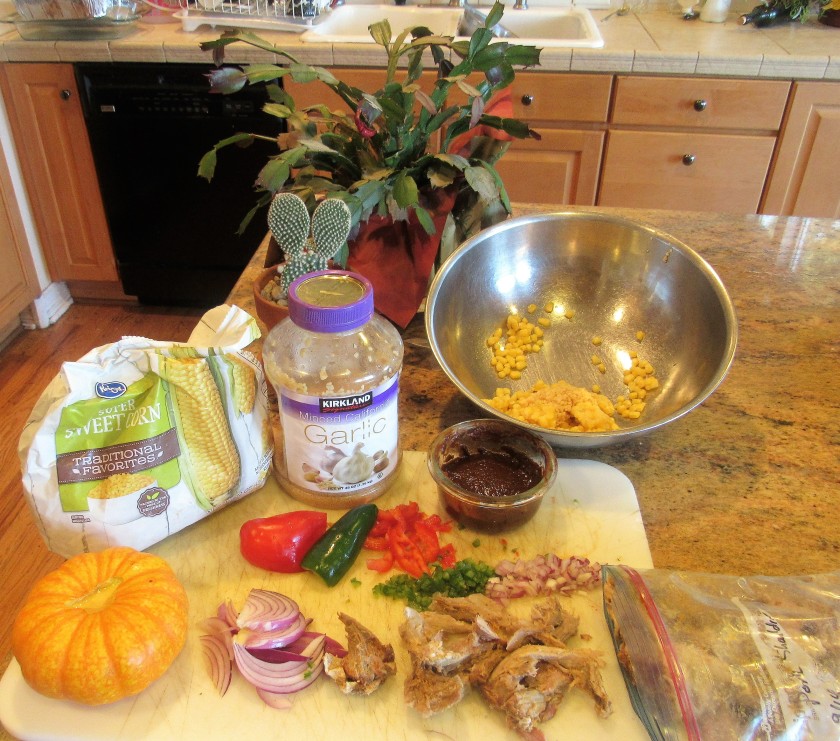
Vegan Dirty Rice

1 1/2 cups cooked rice
2 jalapeno peppers, diced fine
1/2 red bell pepper, diced fine
1/4 red onion, diced fine
2-3 stalks celery, diced fine
1-2 TBSP sweet Spanish peppers (optional since they can be hard to find)
1 TBSP garlic
1 can kidney beans, drained
salt & pepper to taste
Tobasco sauce to taste
1 tsp cumin
2 tsp oregano
olive oil
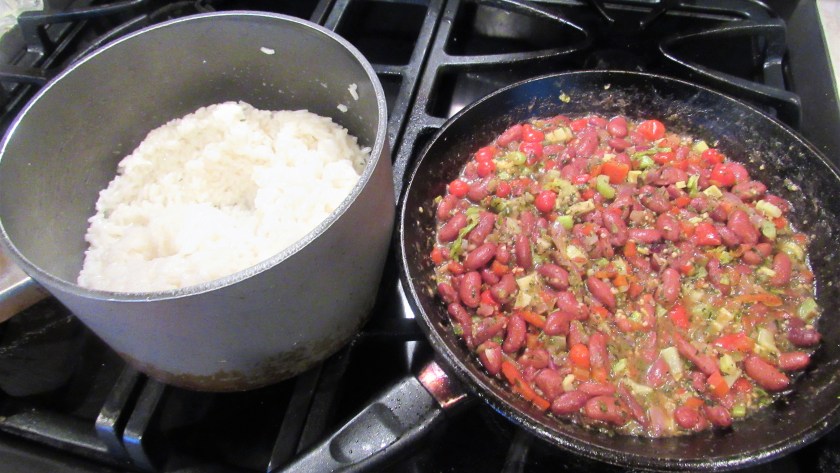
Cook the rice according to the package directions.
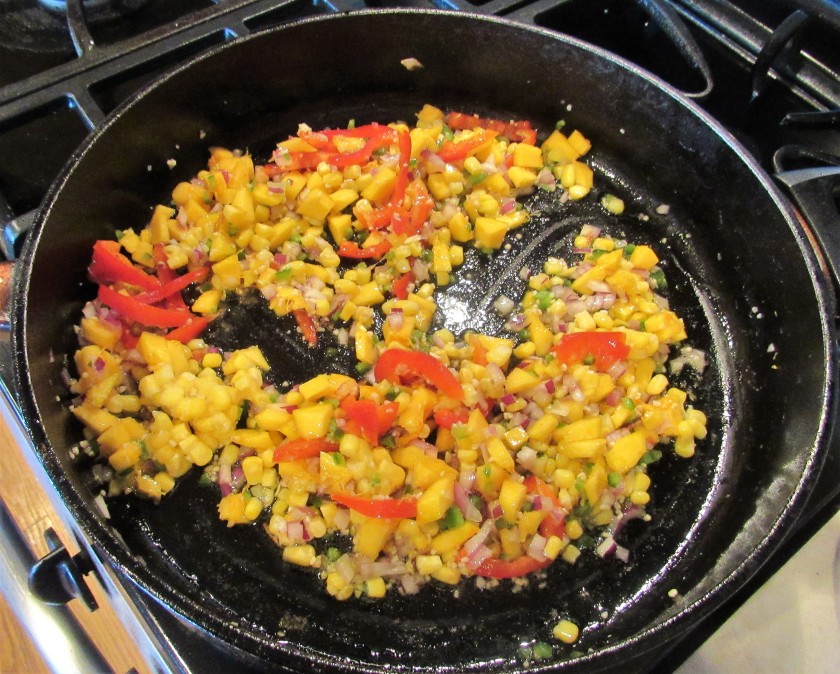
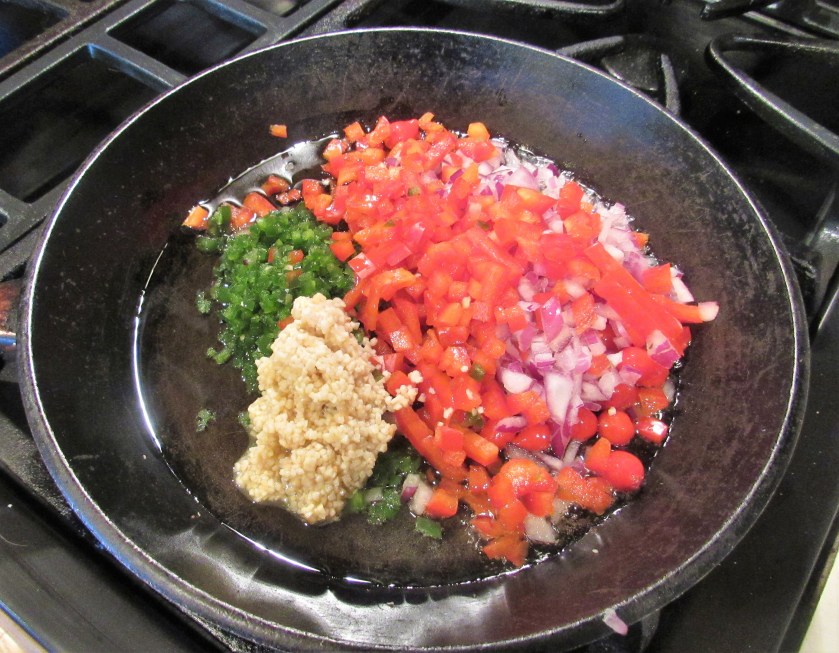
Saute all the vegetables, except the Spanish peppers, and garlic together until they are soft and the onions are translucent.
Once the vegetables are cooked, add the kidney beans and the Spanish peppers and the seasonings, then combine well. Cook for an additional 5 minutes. Mix everything together with the cooked rice and blend together well.

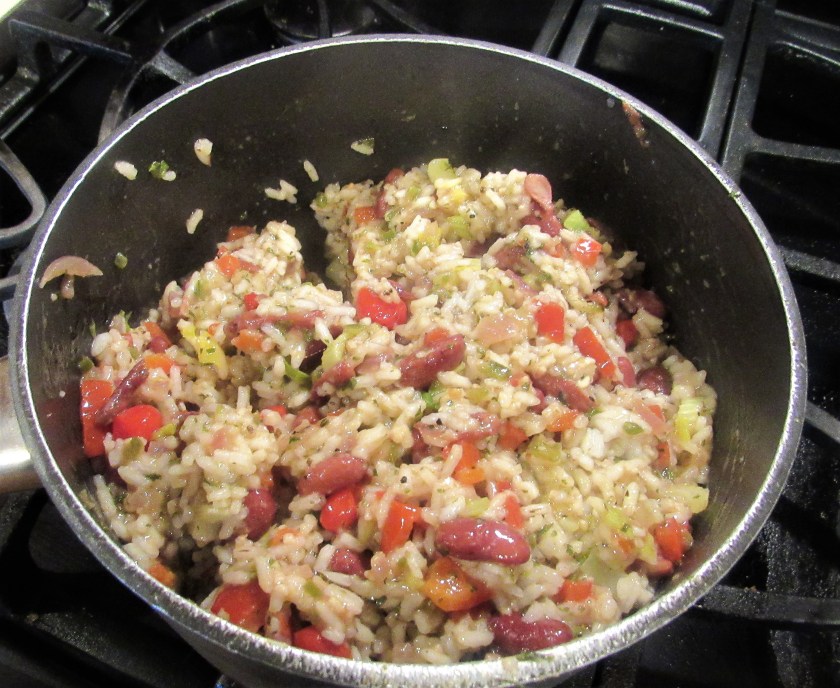
Serve the rice along side your favorite meats and/or vegetables, and it’s time to eat.