Ports from Portugal

Port, or porto, is a sweet wine, enjoyed mostly enjoyed as a dessert wine around the world.  Port is made from a blend of different grapes and because it is made from different grapes, it has a very complex character.  To be considered a true port, the wines have to be made in the Douro River Valley of Portugal.  Ports are also regulated by the Instituto dos Vinhos do Douros do Porto.

Image result for images of douro valley

The grapes used to make ports are grown on very steep hillsides all throughout the valley.  The summers in this area are very hot and the terrain is extremely difficult, but these difficult conditions are the perfect conditions to grow all the different varieties of grapes used to make port wines.

Image result for images of douro valley

Wines have been a part of Portugal’s history since at least 2000 BC.  Vineyards were originally planted in Portugal when the Tartessians planted vines in the Sudo and Tagus Valleys.

Port wine was originally made to preserve the wines as they were transported from country to country, particularly the wines coming from Portugal and going to England.  The English have had a love affair with wines from around the world since their beginnings, but we all know England and the UK do not have the right weather conditions to grow grapes.  Thus, their wines all had to be imported.  At first, most of the wines were imported from France to England, but this changed during all the English -French wars.  The English had to find other sources for their beloved wines.  They imported many wines from various countries, but the ports from Portugal became a favorite.  In the beginnings, the wines were fortified with brandy after the fermentation process and during the aging process.  Today, it is mostly fortified during the fermentation process.

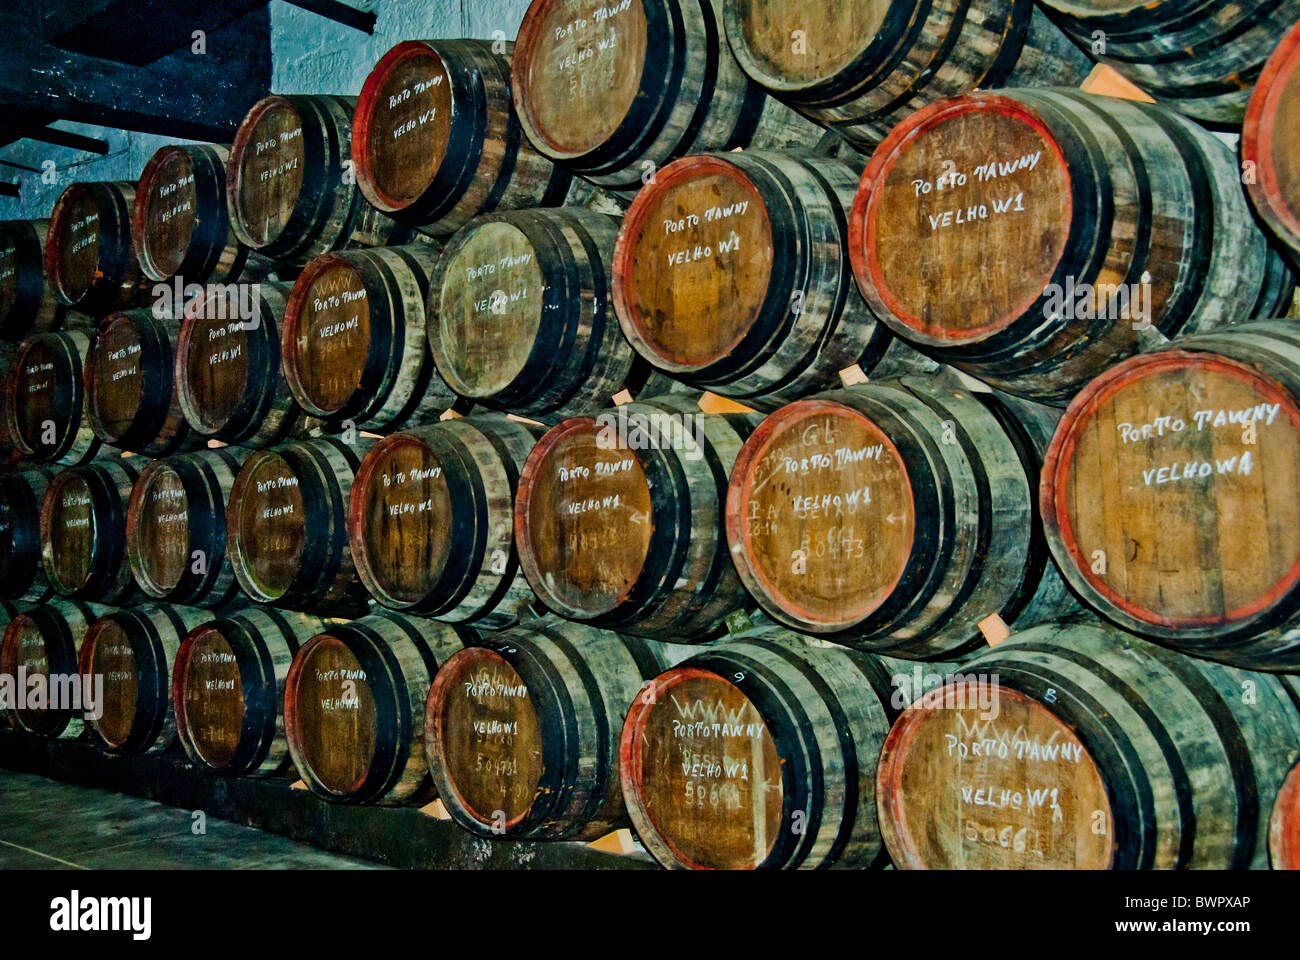
There are different types and styles of port wines too.   A tawny port is made mostly from red grapes and is aged in wooden barrels.  Barrel aging refines the wine and makes it smoother than bottle aging.  Another advantage of barrel aging is that it reduces the amounts of tannins in the wine.  Tawny ports are aged for 10 years, 20 years, 30 years or 40 years before they are ready for bottling and consumption.  The longer a tawny port ages, the more smooth and refined it becomes, and the more expensive it is to purchase.  The most popular tawny ports are those that have been barrel aged for 20 years.  Wooden barrels expose the grapes to a gradual oxidation and evaporation, which gives the port a smooth nutty flavor.

Image result for images of barrel aging ports

Image result for images of barrel aging ports

Another style of port is a Reserve port.  Reserve ports are blended from several vintages of high quality wines that have aged for about 5 years.

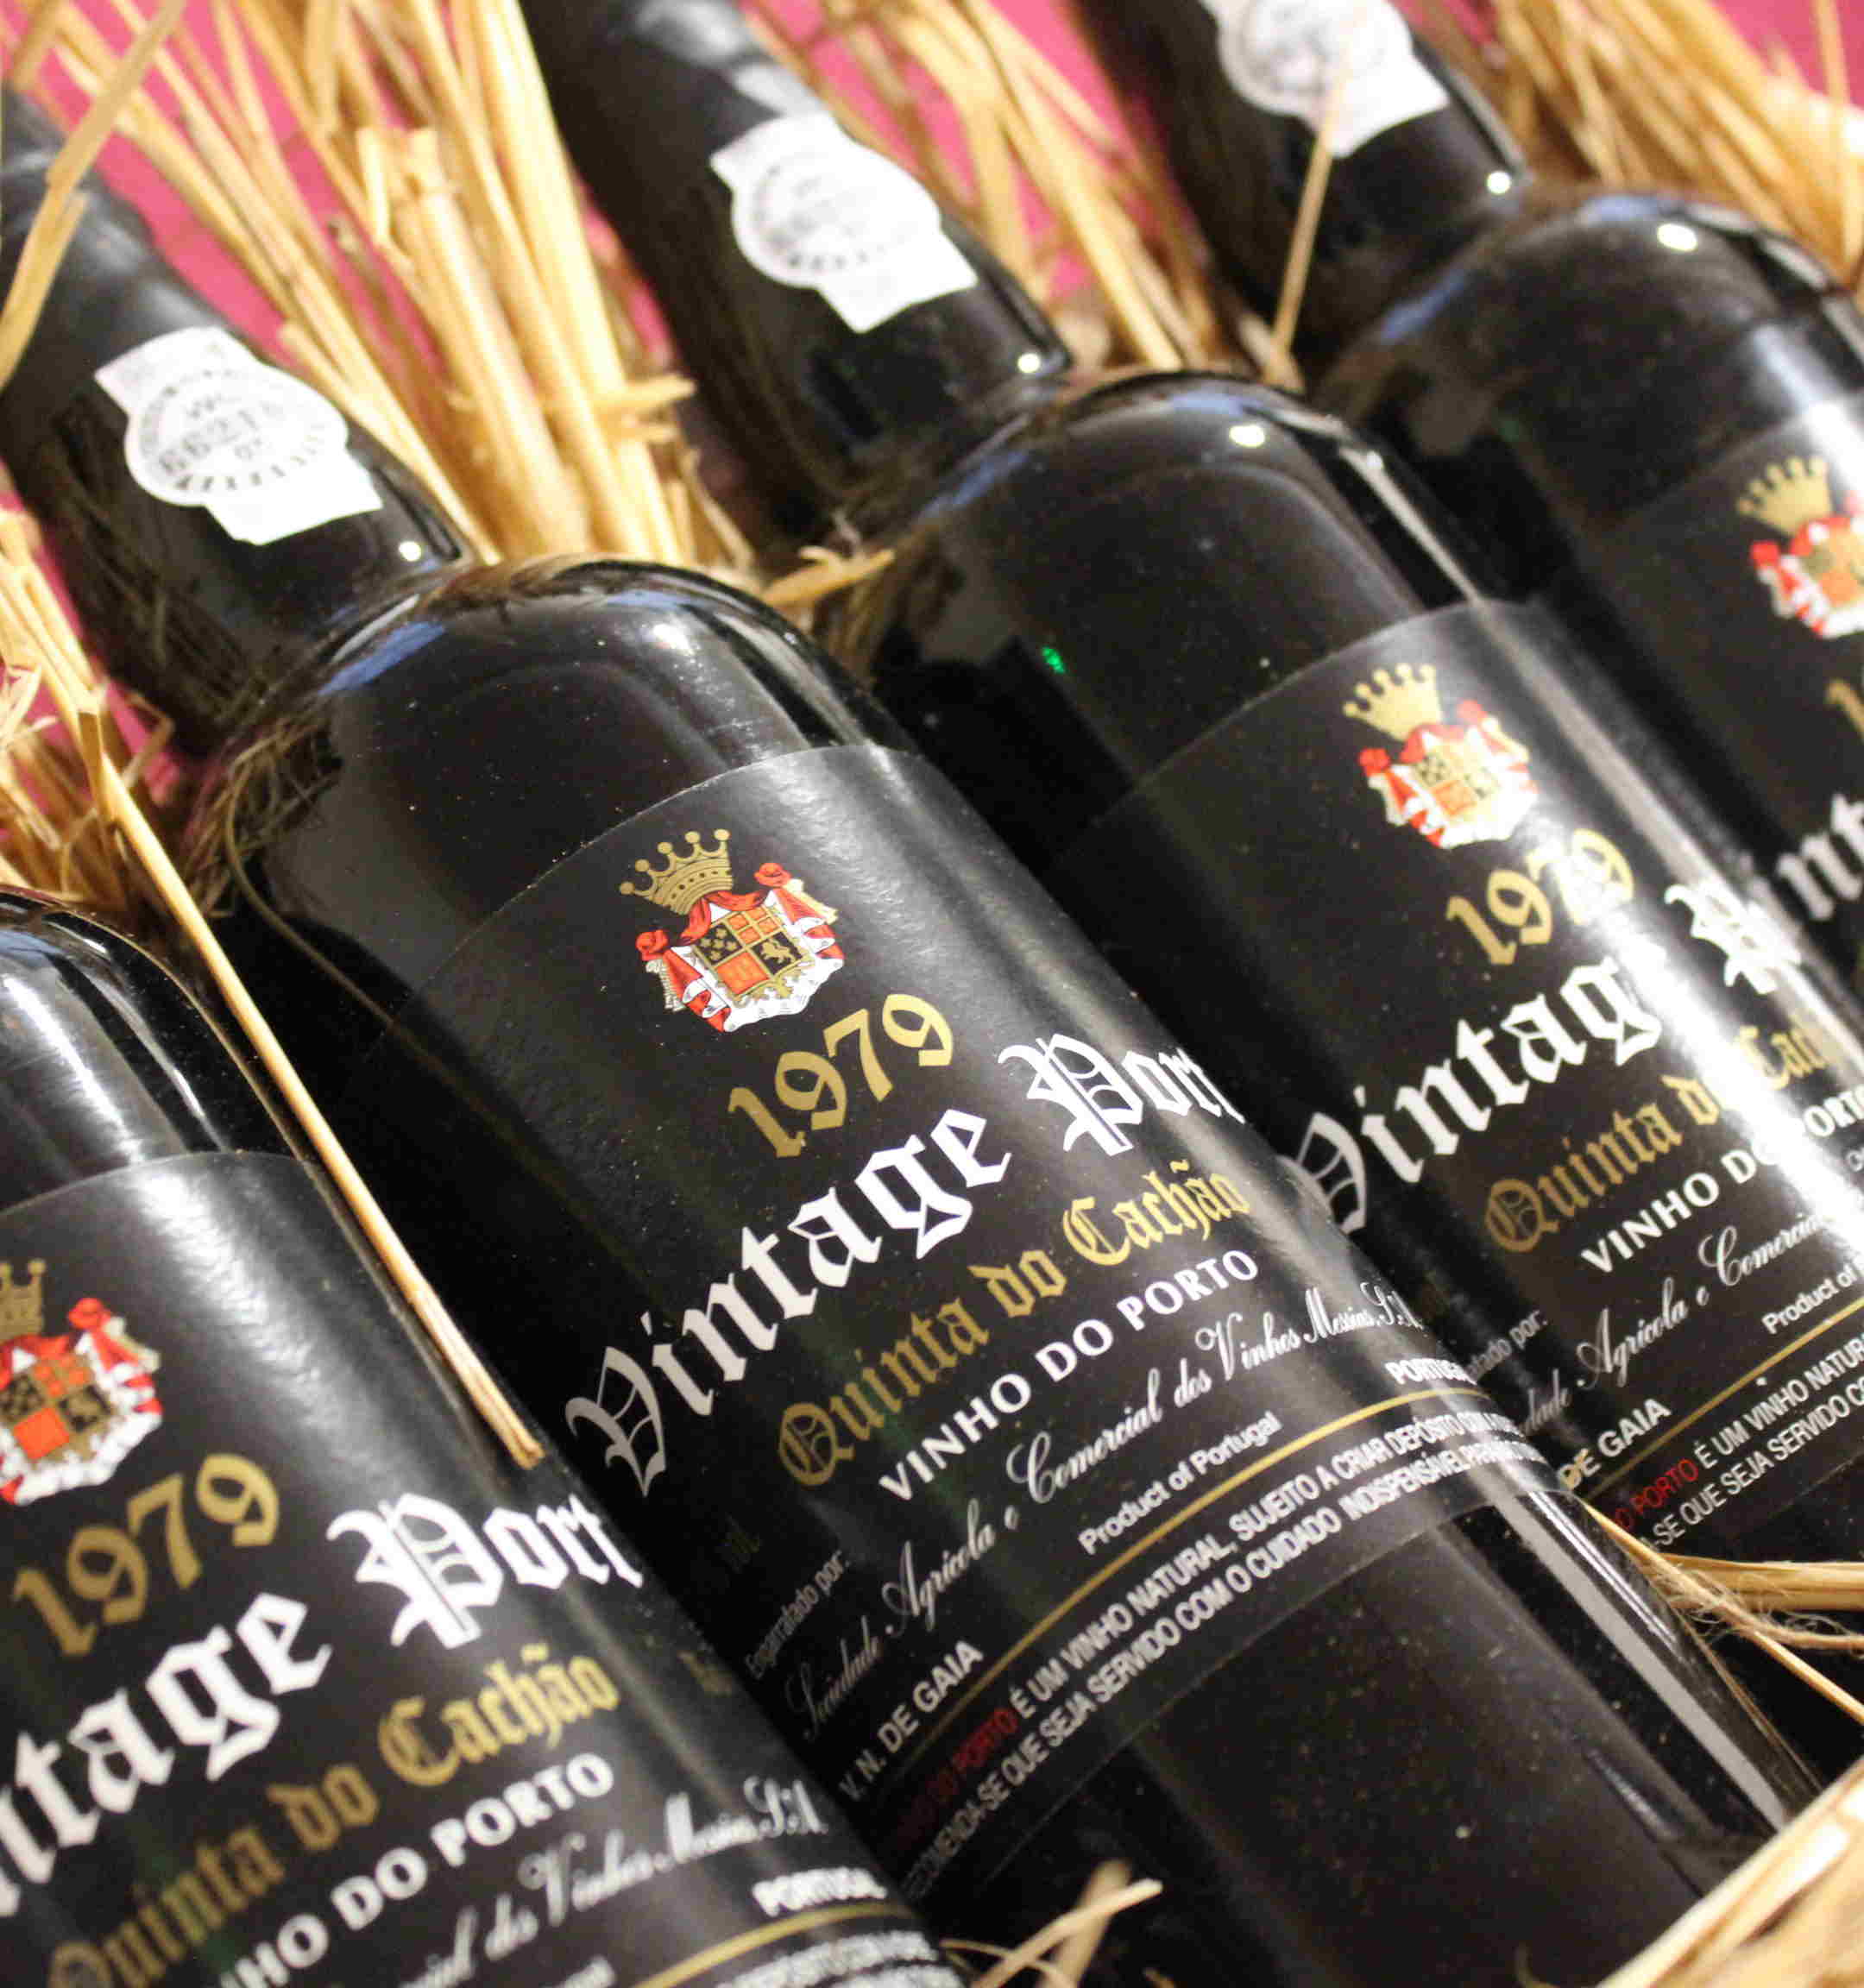
Vintage port is yet another style.  It is a port that has aged in wooden barrels from 4-6 years, but it is made from a specific vintage only, which according to the rules of the Instituto dos Vinhos do Douros do Porto, has to be specified on the label.  Anyone who is a wine lover knows that many wines need to age and mature before they are ready for consumption.  Ports are no exception, however, a vintage port is the only type of port that is matured in the bottle rather than in the barrel.  The best vintage ports are those that have aged for about 20 years.

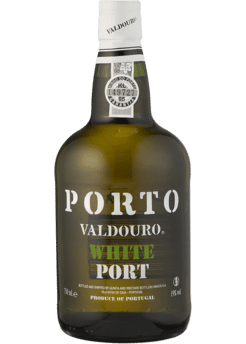
There is also a white port, which can be made in any of the above mentioned ways, only it is made by using white grapes only, rather than red grapes.

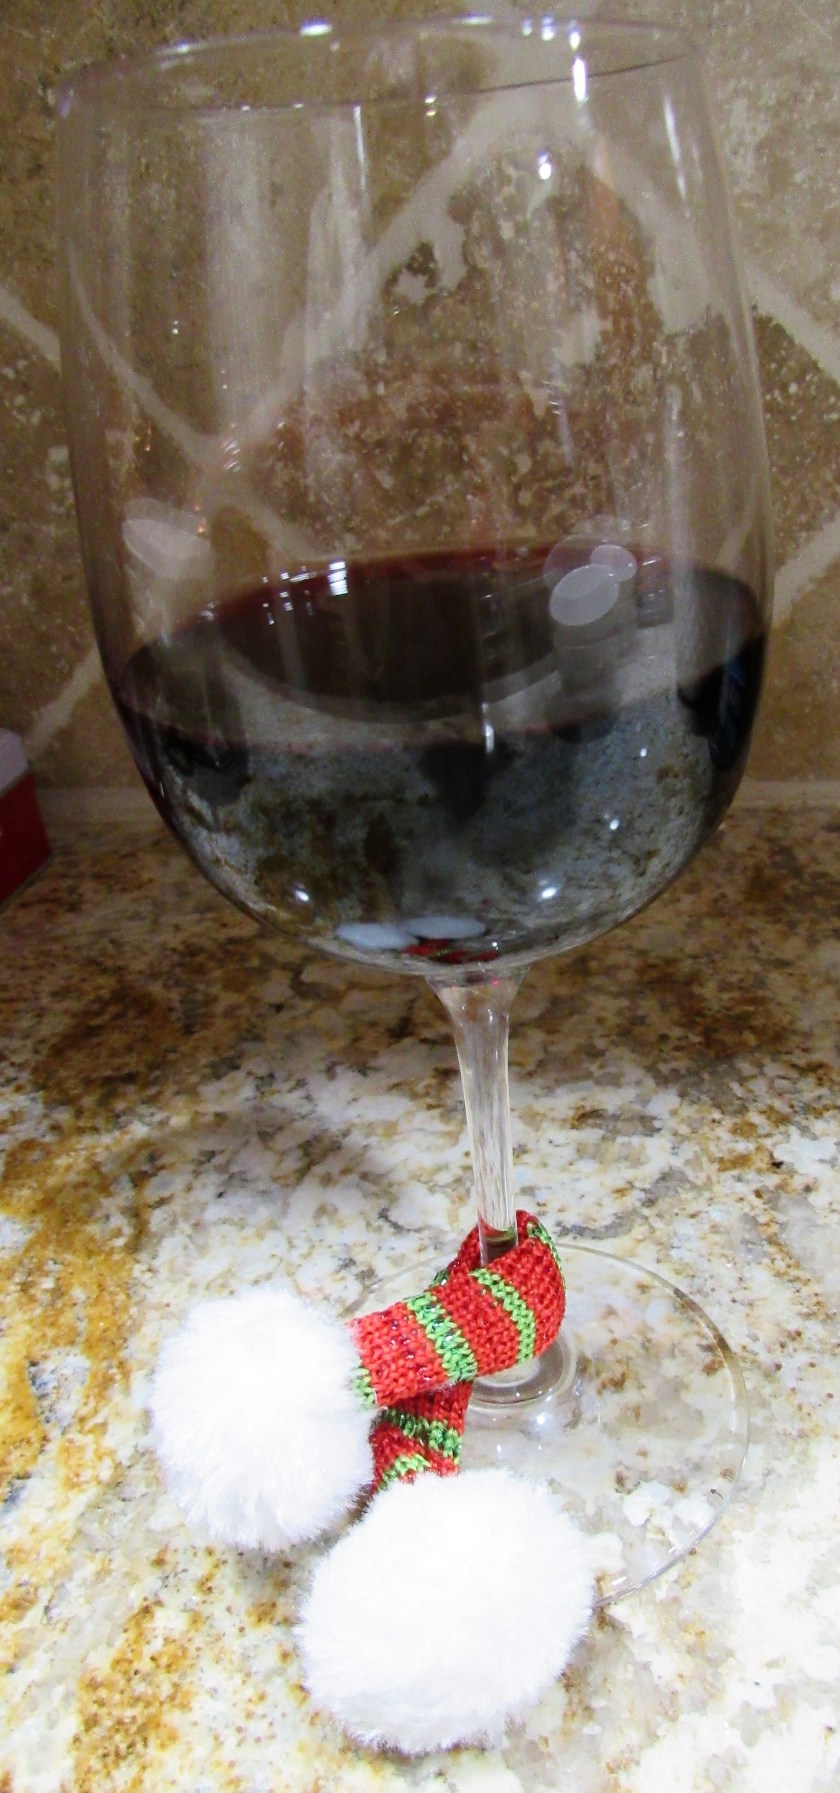
Serving port at the just the right temperature is an art form.  You do not want to serve it too warm, over 70* F, or it will taste flat, and dull, and the taste of the alcohol will be very prevalent, rather the taste of the grapes.  You do not want to serve it too cold either though.  The best temperature to serve port is when it is slightly cooler than room temperature.  This will bring out all the delicious complexities and flavors of the port.  Port is delicious at any time of the year, but it is often thought of as a good wine to enjoy in the cooler months of the winter season.

To your health!  Cheers!  A votre sante!  Salud!


Falafels and Tahini Sauce

The other day a friend of mine asked me if I had any good recipes for falafels.  So I started looking through my library and found some really good recipes.  My quest got me hungry for falafels too, so I decided to make them for dinner.  Falafels are a great dish for vegetarians or vegans because they are so high in protein.  You can easily eat them on their own, or as a side dish to go with something else.  They are almost always served in either a pita or with a flatbread, and tahini sauce.

About the only thing people agree upon about the origins of falafels is that they originated somewhere in the Middle East and are typical Middle Eastern foods.  Other than that, who knows.  All of the countries in the Middle East claim them as their own.  One of the most accepted theories, however, is that they originated in Egypt about 1000 years ago.  Falafels are made from either dried, ground fava beans or chickpeas, also known as garbanzo beans.  They originated as foods to eat on the go, so are most often found in either round balls, flat patties, or doughnut shaped balls.  Once they are formed, they are fried until they are crispy.  The name falafel is believed to have come from two sources.  The first is the word falafil, which is Arabic for crunchy, and the second is from the Egyptian word ful, which means fava bean.  Falafels are the second most popular dish made from chickpeas, following another Middle Eastern/Mediterranean favorite, hummus.


This dish is super easy and quick to make, and only requires a few ingredients.  As I have said many times, simple is often best.

Falafels with Tahini Sauce

IMG_0156

1/2 white onion

1 TBSP garlic

1 can garbanzo beans, drained, or 2 cups cooked chickpeas, drained

1 cup parsley

1 cup cilantro

1 tsp salt

1/2 tsp chili powder

2 tsp cumin

3/4-1 cup flour

2 tsp baking powder

canola oil for cooking

pita bread or flatbread


In a food processor, pulse the onion and garlic until they are finely minced, then remove them from the bowl and set aside.

IMG_0157

Next, add the chickpeas and all the rest of the ingredients and pulse until it makes a paste.

IMG_0158

Add the garlic and onions back into the mixture, and pulse once again until everything is well blended.  Then form the mixture into either balls or patties and place them on a piece of parchment paper on a baking sheet.  Let them set in the refrigerator for at least 1 hour before frying them.

IMG_0160

While the falafels are setting, make the tahini sauce.  Again, this is a very easy sauce to make, and only takes a couple of seconds in the food processor.

Tahini Sauce

1 1/4 cups plain yogurt or a combination of yogurt and mayonnaise

1/4 cup tahini or sesame paste

2-3 TBSP lemon juice

IMG_0162

Mix everything together in the food processor until you have a smooth creamy sauce.  I did not have enough yogurt, so I mixed the yogurt I had with some mayonnaise and it came out just perfect.  I interchange yogurt and mayonnaise quite often.  I also like my sauce a bit more lemony, so I made it with 3 TBSP of lemon juice.  Chill the sauce until ready to use.

Once the falafels are ready, fry them up.  You can deep fry them or pan fry them until they are golden brown and crispy.  I prefer to pan-fry things if I can, since it is usually slightly less fattening because things are not completely saturated in the fat.  But it is really just a personal preference.

IMG_0167

I chose to have my falafels as a side dish, and served with some pork chops marinated in lemon juice, garlic, herbs and olive oil, with some asparagus topped with tomatoes, mushrooms and garlic and pita bread.  And of course there was wine.  I served it all with a cool, crisp Verdicchio.  I felt like I was dining in the middle of the Mediterranean or somewhere exotic in the Middle East.

IMG_0166


Teriyaki Scallops

I have been hungry for scallops for awhile now, especially since Bernice, from Supper Plate has been posting so many wonderful looking dishes with scallops.  I have also been wanting something a little different as well, and decided to make some teriyaki scallops for a change.  We love teriyaki sauce, but for whatever reason, I don’t tend to make teriyaki dishes too often.  Maybe with a new year and a new decade ahead of us that will change.  Who knows?

Teriyaki, as we know it today, was born in the Hawaiian Islands during the 17th century, from the Japanese migrants who settled into the islands.  It is a fusion from the traditional Japanese recipe and the new Hawaiian version.  Traditionally, teriyaki sauce was made from only 4 ingredients, mirin, which is a sweet Japanese cooking wine, sugar, soy sauce and sake, which is another Japanese wine or spirit.  When the Japanese people migrated to the Hawaiian Islands, they fell in love with the pineapples that were so prevalent in the islands, and incorporated some pineapple juice, ginger, garlic, and often sesame seeds to their original marinade, and the result was the sauce we so love today.

The word teriyaki is a combination of two Japanese words, teri or tare, and yaki.  Teri means something that has luster or shines and yaki is a cooking method referring to something that is grilled or broiled over hot coals.  In the western world, when we hear the word teriyaki, we know it as something that has been marinated in teriyaki sauce.  It can be any kind of meat or vegetables that have been marinated in this particular type of sauce.

As you all know, normally I pride myself in making everything from scratch as much as possible, but with all the hustle and bustle of the holiday season, I have cut time a little and actually used some store bought items instead.  Such was the case for this dish.  I used a bottled teriyaki sauce rather than making my own.  Will you ever forgive me?  🙂  of course, I did “doctor” it up so it wasn’t exactly the same as it was coming straight out of the bottle.  The sauce was good, but a little too salty for our taste.  So, when I make my own the next time, I will cut down on some of the soy or at least use a low sodium soy sauce.  Other than that, it was very good.  We like spicy much more so that we like salty, so I added more ginger and more garlic, cooking them both with my vegetables.  I thought I had potstickers or wantons to use a side dish, but did not have either, so I used naan bread as an accompaniment instead.  My philosophy is to “use what you have and don’t worry about the rest”.  Indian is still considered to be Asian, so they kind of go together, right?!  🙂  Normally, with a spicy sauce, a good Gerwertztraminer or Riesling would be perfect, because their sweetness will balance out the spiciness of the dish.  I went with a dryer white wine though, and chose a Verdicchio instead, to offset the sweetness of the sauce, as well as the spice.

IMG_0154

You can use any kind of vegetables you like, but I stayed with an Asian theme and used carrots, mushrooms, snow peas and shallots, along with garlic and ginger.  Then I topped everything with green onions, a dash of sesame seeds and some orange peel to really make all the flavors come to life.

IMG_0148

Teriyaki Scallops with Vegetables

1-2 lbs sea scallops

1 cup mushrooms, sliced

1 large shallot, sliced very thin

2 carrots, sliced at an angle of Asian style

1 TBSP ginger

1 TBSP garlic

4 TBSP olive oil or peanut oil for cooking

1-1 1/2 cups teriyaki sauce

1-2 tsp arrowroot or cornstarch, optional

green onions, sliced Asian style for garnish

sesame seeds – optional for topping

orange peel optional for topping


Add your oil to a hot skillet or wok and then add the vegetables, ginger and garlic and cook until the carrots are tender and the shallots are translucent.  When the vegetables are cooked, remove them and set them aside.

IMG_0149

In the same oil, adding more if necessary, add the scallops and cook for about 3 minutes per side, or until they are browned and cooked.

IMG_0150

When the scallops are cooked, add the sauce, and a little arrowroot or cornstarch if you prefer a slightly thicker sauce.  Mix everything together well and bring to a boil, then reduce the heat to a simmer and continue to cook for about 2-3 minutes or until the sauce thickens.

IMG_0151

When the sauce is to your desired consistency, add the vegetables and combine everything together well.  Then serve over rice or noodles.  I used rice this time.  Top with green onions, sesame seeds and orange peel.

IMG_0153

Dinner is ready.

IMG_0155


Painting with Perri

My friend Perri and I decided we needed a little break from the pool and headed down to go paint some lilacs instead.  Perri is one of the other coaches I work with.  We have a lot of fun together.

82110262_536617540399925_6601856499117457408_n

IMG_0134

After I got home, Larry and I started taking down all the Christmas decorations.  It is time to put them away until next time.  Sadly, the Holidays are now officially over.


Thai Chicken Curry

The two main types of curried dishes are either from India or from Thailand.  An Indian Curry  Both are delicious and we eat both quite often.  I do not really have a preference to either, it really just kind of depends on my mood at the time of cooking.  Indian curries are usually less saucy than Thai curries, and are more paste-like.  Indian curries almost always contain turmeric, cumin and coriander.  Thai curries are most often made with coconut milk, are lighter, and are more soup-like than Indian curries.  They are often made with ingredients that are more traditional from the Asian parts of the world, such as cilantro, lemon grass and tamarind.  Usually the Thai curries are a little sweeter too.  Both range from mild to spicy, depending on how much heat you like.  And both styles can be made with any combination of meats, seafood, and/or vegetables, or vegetables only if you prefer them to be vegetarian.  There is no right or wrong way to make a curry.

IMG_0064

Curries, whether they are Indian or Thai, can be made with a lot of ingredients or just a few.  I tend to make mine with a lot of ingredients, since I “like stuff in my stuff”.  I tend to make them with a lot of different vegetables.  In this particular curry, I added some pumpkin, broccoli, red peppers, jalapenos, onion, basil and cilantro to really make it full of flavor.  You can use a wide variety of vegetables.

IMG_0055

Thai Chicken Curry

1 1/2- 2 lb chicken, cut into thin strips

1 cup broccoli florets

1/2 red bell pepper, cut into thin strips

1 cup pumpkin, cubed

1/2 onion, sliced very thin

1 jalapeno, diced fine

1 TBSP fresh basil, chiffonade or cut into thin strips

2 TBSP cilantro, chopped fine

1 TBSP garlic

1 TBSP ginger, fresh or dried is fine

1 can coconut milk

1 TBSP lime juice

1 TBSP honey – I used ginger honey

salt & red pepper to taste

2-3 tsp curry, or to taste

olive oil or peanut oil

toasted coconut, optional for topping

cilantro for topping


IMG_0056

Cook the vegetables in the oil and the salt & pepper until the onions, broccoli and peppers are translucent and tender.

IMG_0058

Once the vegetables are done, remove them from the skillet and set aside.  In the same oil, adding more if necessary, cook the chicken.

IMG_0059

While the chicken is cooking, mix the coconut milk, lime juice, honey and all the spices together.  I used my ginger honey that I received for Christmas A Box of Honey which really made the flavors pop and come to life.


Add the vegetables back into the chicken and mix together, then add the liquid mixture and combine well.  Add the basil and half the cilantro and mix well.  Bring the dish to a boil, then reduce the heat to a simmer and continue to cook for about 7 minutes, stirring frequently.

IMG_0063

Curries, but especially Thai curries, are very accommodating to being served with either rice or noodles.  This time I served it over angel hair pasta.  I topped it with toasted coconut and cilantro and served it with Indian naan bread, along with a crisp buttery chardonnay.  It just hit the spot and was perfect for dinner.

IMG_0065


Dreaming of the Circus

We have a tradition of taking our younger nieces and nephews for adventures or shows rather than buying them a lot of presents for their birthdays, especially since it is always so hard to figure out what they want or need.  Often the things we do are not on their actual birthdays, but are at later dates and times.  They are fine with this though, since we usually come up with some pretty awesome and neat adventures.  They’ve learned it is better to wait for the cool stuff.  This year, we took Nahila and Tehvia to the Cirque Dreams Holidaze.  This was our first event for the first day of the new decade of 2020.  Cirque Dreams is like Cirque du Soleil, only it is put on by a different theater group.

IMG_0089

Cirque Dreams Holidaze was at the new event center in Aurora, CO, The Gaylord of the Rockies.  We had never been there before.  It is a HUGE complex and from what we could see, a beautiful hotel, that was beautifully decorated for the holidays too.

IMG_0112

We let the girls pick out a present from the holiday shop.  Tehvia picked out this cute little teddy bear, that she held with her for the rest of the evening.

IMG_0087

This orb illusionist was very gifted at magically controlling the movements of his crystal orb.

IMG_0092

IMG_0095

The show was filled with so many talented artists, gymnasts, acrobats, and much, much more.  If you have ever been to a Cirque du Soleil show, this was the same, with all the fun, colorful costumes, and performances set to live music.  It was truly breathtaking and awe inspiring.  It was a festive way to continue the Holidaze tradition.  It is perfect for kids of all ages, “from 1 to 92” (Nat King Cole) .  It was great family entertainment and we all had a fantastic time.

Chicago Theater CIRQUE DREAMS HOLIDAZE

Chicago Theater CIRQUE DREAMS HOLIDAZE

Chicago Theater CIRQUE DREAMS HOLIDAZE

It is probably already come and gone for this Holiday or Holidaze season, but if it comes back to town next year, it is definitely a family fun, entertaining production.

A Simple Celebration

Happy New Year Everyone!  I hope you all enjoyed the evening’s festivities and brought in the new year safely.  We celebrated with our friends Priscilla and Jonathon.  We had a quiet evening, with great food and great friends.  It was a perfect way to ring in the new year.

Priscilla and I both lead very busy lives, so more so than not, we both make parts of the menu and combine it all together to make one delicious meal.  And as always, Priscilla had the house looking very festive.  We had a simple meal and a simple celebration.  Priscilla made a delicious Italian meatball soup, some wonderful savory Parmigiano cookies, and a plateful of fabulous, festive cookies.  My contributions were a ham, spinach and mushroom quiche and crab cakes with a roasted yellow pepper coulis.  As expected, it all came together perfectly.

Two chefs, one great meal.

IMG_0075

A simple New Year’s Eve dinner; Italian meatball soup, ham, mushroom and spinach quiche, crab cakes and savory Parmigiano cookies.

IMG_0082


IMG_0083

Even the wine got dressed up for the occasion.

IMG_0079

And the cookies.  There is ALWAYS room for cookies.

IMG_0085

Happy New Year everyone!  May you all have a Happy, Healthy, Prosperous 2020.


A New Year, A New Decade

It is now officially 2020.  Not only was last night the last night of 2019, but it was also the last night of a decade.  Let’s hope we can learn from our past mistakes and pave the way for a better future in this new decade.  Out with the old, and in with the new!  Start the new decade with a clean slate.

Image may contain: text


Out with the Old and In with the New – Goodbye 2019, Hello 2020

HAPPY NEW YEAR Everyone!  Can you believe 2019 is over and done with?  At the stroke of midnight it will not only be a new year, but a new decade.  Our friends on the other side of the world have already rung in the New Year, and have already welcomed in the year 2020.

The celebration of the new year is one of the world’s oldest celebrations and is celebrated around the world, in every country and culture that measures the passages of time by a yearly calendar.  Celebrating the incoming, new year is a celebration that has been going on since 4000 BC.  It is believed to have started with the Ancient Babylonians, only then it was celebrated in March, at the beginning of the Spring season and the vernal equinox, rather than on January 1.  The Ancient Babylonians celebrated the new year for 12 days as a series of religious festivities for Akitu.  This was a time of new beginnings.  New kings were often crowned or renewed loyalty to the reigning kings were reaffirmed.  Promises were made to the gods to repay debts and to bring back things that were borrowed.  If one kept their promises, the gods bestowed their favors to the people.  If, however, those promises were not kept, the people were punished by the gods.  It is believed these are the beginnings of New Year’s resolutions too.

The New Year’s celebration on January 1st was started by Pope Gregory XIII, in 1582, with the invention of the Gregorian calendar.  The name “January” came from the Roman god Janus.  Janus was believed to have had 2 faces, one at his front and one at his back.   These faces were also known as “doors”, which signified openings or new beginnings.

For the early Christians and the Evangelical Christians, New Year’s Eve was a time of reflection and a time for a renewed faith.  It became a time to reflect on one’s mistakes and to resolve to make things better in the new year ahead.  For these people, New Year’s Eve was, and still is, known as “watch night services”.

In many parts of the world, and even in many parts of the United States, it is believed that whatever one eats or does on the 1st day of the New Year will be shown in their lives for the rest of the year.  There are many cultural traditions around the world that people engage in, with the hopes of prosperity and good health for the upcoming year.  For instance, in the South, black eyed peas are eaten on New Year’s Day to bring good fortune and good luck.  New Year’s Good Luck with Black-Eyed Peas and Ham Soup

This year, we are celebrating the New Year in a quiet fashion, with our friends Priscilla and Jonathon.  The days of partying all night are long gone.  I much prefer the quiet, more subdued celebrations these days.  The days where I can stay in my pajamas and celebrate with all my 4-legged fur babies are the best.  🙂

49077036_2047371618676885_9161403832096260096_n

Whether you choose to celebrate with champagne and fireworks or if you choose to celebrate at home with family and friends, enjoy your festivities, be safe and Happy New Year.


A Peary Christmas Salad

Apparently, or should I say “appearantly”, I love pear salads at Christmas.  This is the second year in a row where I have made similar pear salads for Christmas.  Pear and Pecan Salad with a Ginger Dressing.  But I am not alone in cooking with pears during the holidays.  Pears have been a part of holiday traditions since the 1800’s.  Maybe one of the reasons pears are so popular around the holidays is because they are a hearty fruit that has a long shelf-life, especially in cooler climates.  Or perhaps because of their versatility.  Or could it be just because they taste so darned good?  Who knows, but pears and Christmas just seem to go together.

Pears are some of the world’s oldest cultivated fruits.  They have been around since about 5000 B.C.  They were a highly sought after and valuable commodity along the ancient trading routes due to their hardiness, versatility and long shelf-life.  There are many different varieties of pears, and they are grown all over the world, in temperate climates.  The Greek poet laureate Homer called pears “the gift of the Gods”.  I think he was on to something.

Pear and Green Bean Salad with Champagne Vinaigrette

IMG_9965

4-5 cups fresh baby spinach, stems removed

2 pears, peeled and sliced thin

1 cup green beans, blanched

1/2 cup red pepper, diced fine

1 shallot, sliced thin

1 1/2 cups candied pecans

3-4 oz crumbled goat cheese

champagne vinaigrette


Arrange all the ingredients over the bed of spinach and top with the vinaigrette right before serving.


Candied Pecans

4 oz butter

3-4 TBSP brown sugar

2 tsp honey

1 1/2 -2 cups pecans

optional – cinnamon and/or cayenne pepper


Melt the butter, brown sugar and honey together in a hot skillet.  When the sugar is completely melted, add the pecans and completely coat them in the mixture.  Cook for about 2-3 minutes, and spread them out on a baking sheet with parchment paper.  Let them cool completely, then break them apart and chop.  I used my cinnamon honey that was part of my Christmas honey package from Blue Sage Honey Company.  A Box of Honey

IMG_9959

IMG_9960

IMG_9961

IMG_9962

Champagne Vinaigrette

IMG_9963

1 TBSP Dijon mustard

1 TBSP garlic

1 tsp fresh chives, sliced/chopped very thin

1/4 cup champagne vinegar

1/3-1/2 cup olive oil

black pepper to taste

1-2 tsp honey – I used lavender honey


Whisk all the ingredients together and set aside.  Pour over the salad right before serving so nothing gets drenched or wilted.  Once again, I used some of my honey that I received for Christmas from Blue Sage Honey Company.  This time, I used some of the lavender honey.

This salad can be made with or without the goat cheese.  I am not a big cheese person at all, so I only put the cheese in the middle for all those who are cheese eaters.  We all enjoyed the salad, and there was none left over; always a good sign.

IMG_9966