He’s Smokin’ Again

Larry has been busy smokin’ out in the yard again.  NO, NO, NO!  It’s not what you think.  He was smoking meat, and lots of it too.  He did a 10 lb pork roast, some ribs, a beef roast and some chicken breasts.  When he uses the smoker, he likes to make it worthwhile and does a big batch of meat all at once.  Believe me, we will not be going hungry anytime soon.  🙂

The pork roast was first in the smoker.  It took about 10 hours for this to smoke up just right.

IMG_1757

Then Larry added the ribs, chicken and beef to the smoker.

IMG_1739

IMG_1741

IMG_1754

This smoke job was Larry’s best effort yet.  Everything came out so good.  It was all full of flavor and very tender.  To really enjoy these bold smoked meats, we needed some bold and hearty side dishes to go with them.  We chose to eat the beef roast for dinner.   I sauteed some peppers and mushrooms and made some delicious, crispy onion rings  and my lemon pepper corn bread Lemon and Pepper Cornbread to go with the meal, finished with a fruity red grenache-syrah blend.

IMG_1750

The meal was a smoker’s delight.

IMG_1755

Stay safe and stay well Everyone!  ‘Til next time.

Heart of Wine

I have said many times, there is much more to me than just cooking.  Although cooking and food have always been passions of mine, I have many other things I am passionate about as well.  Photography, guitar and music in general, SCUBA DIVING and swimming and … WINE!!!!!! With having wine as a passion, and there is always a ton of wine in our house, that means there is also a ton of wine corks too.  I love to repurpose things as much as possible, and I have always had a very creative side to me as well.  I have made many things with wine corks in the past.  They are fun, unique and challenging to work with.  My latest creation was a heart of wine (corks).  This presented a few challenges and took more time than I expected, but right now, time is all we have.  The corks just did not want to cooperate, but in the end, we came to an agreement, and things worked out.  It actually came out pretty good, if I do say so myself.  In fact, I liked it so much that once I figured it all out, I made another one to give as a gift.

As you see, I have plenty of corks.  This was the practice run.

IMG_1519

Making the pattern and determining how many corks I needed.  Corks come in many different styles.  Some are decorated and labeled, while others are plain.  For this one, I used only the plain ones that were similar.

IMG_1520

The most challenging part of this project was that the corks did not want to stick together.  I used wood glue, since after all corks are made from wood, but the glue took much longer to dry than expected and the corks kept shifting around.  I finally found that I had to firmly, but gently hold the corks together for a bit before adding another one. Then I repeated until I filled my heart.

IMG_1522

After fighting with the corks to stay in place and the glue to stick, I finally won the battle and got everything to fit and lock in place.  You want as tight a fit as you can get in order to hold the corks in place.

IMG_1523

After fitting everything together, I sealed it all once more with Mod Podge, which is another type of glue that also makes it shine and adds luster.  I covered the entire top with the Mod Podge glue.  With the new layer of glue on, now I just had to let it sit and dry.  Because it was so fragile at first, I didn’t touch it for about 2 days, just to make sure the glue was completely dried.  The glue dries clear.

IMG_1525

Now that it was dry, I needed to figure out a way to hang it.  I found some cute, heart decorated ribbon that was a perfect addition.  I had two very small nails that I carefully hammered into the ribbon and the corks.  You do not need a lot of ribbon; just enough to make a loop.

IMG_1660

IMG_1661

And now, my heart of wine hangs on the wall in my kitchen nook.   This one was full of trial and error, but after working out the kinks, I quickly made another one that I will be giving as a gift.

IMG_1662

Stay safe and stay well Everyone.  ‘Til next time.


Lemon and Pepper Cornbread

Leftovers were the menu choice for dinner, but I didn’t not have any bread to go with the meal, and I am most definitely a bread eater, and like having some kind of bread with my dinner.  I found a really interesting and different recipe for cornbread that was a perfect match for our leftover scallops with ham.  Spanish Scallops with Ham and Ahi Tuna

I love cornbread, but I never thought about adding lemon to it.  Now that I have though, it is a definite do-over.  You can even mix it up a bit and add orange or tangerine instead of the lemon, if you like.  These have a fresh lemony and peppery kick.

Lemon and Pepper Cornbread

IMG_1701

3 cups milk

4 tsp black pepper or 3 tsp black pepper and 1 tsp cayenne pepper

3 eggs

1/2 cup sugar

1 1 /2 sticks butter, melted

1 TBSP lemon zest

2 TBSP lemon juice

3 1/2 cups flour

2 1/2 cups cornmeal

2 TBSP baking powder

1 TBSP salt

1 1/2 cups corn kernels


I did not realize HOW much this recipe was going to make, so I ended up giving some of it away to Priscilla.  Besides, it gave us a chance to meet up for a bit too.  If you do not want to make this much, cut the recipe in half.  It makes 18-20 servings.

Preheat the oven to 375* or 190* C.

Spray your pans with cooking spray.  I had a fun cornstick cast iron pan that I used, as well as a 12 muffin pan and 2 mini loaves.

Mix all the dry ingredients, except for the sugar and the lemon zest, and the corn together and set aside.

Beat the eggs and sugar together until they form soft peaks, for about 4-5 minutes and set aside.

Add the milk and the butter to a saucepan and bring to a simmer.  Cook long enough for the butter to melt completely.

IMG_1704

After the milk and butter cool a bit, add then add the lemon juice and lemon zest and about 1/3 of the dry mixture and mix well.  Then add about 1/3 of the egg mixture and fold in.  Continue until all the ingredients are mixed together thoroughly.  You are going to have a very thick dough.  Add the dough to your pans and spread evenly.  I used a combination of pans and you can too.

IMG_1707

Bake for about 20 minutes, or until your bread is golden and a toothpick comes out clean.  These are best when served hot with either butter or honey butter.  YUMMY!!!!!

IMG_1708

Stay safe and stay well Everyone.  ‘Til next time.


Calzanadas or Empazones?

Empanadas and calzones are very similar.  One is Spanish in origin, the other Italian.  The only real differences that I know of are the sizes and the type of dough that is used for each one.  They both can be either sweet or savory, and you can fill them with anything you like.  Empanadas tend to be a little smaller than calzones and are usually made with a dough that does not contain yeast, which makes them less doughy or bready and flakier.  When I made these, I just didn’t feel like making a yeast dough for the calzones, so I made them with a my basic empanada dough instead.  So … Are they calzanadas or empazones?

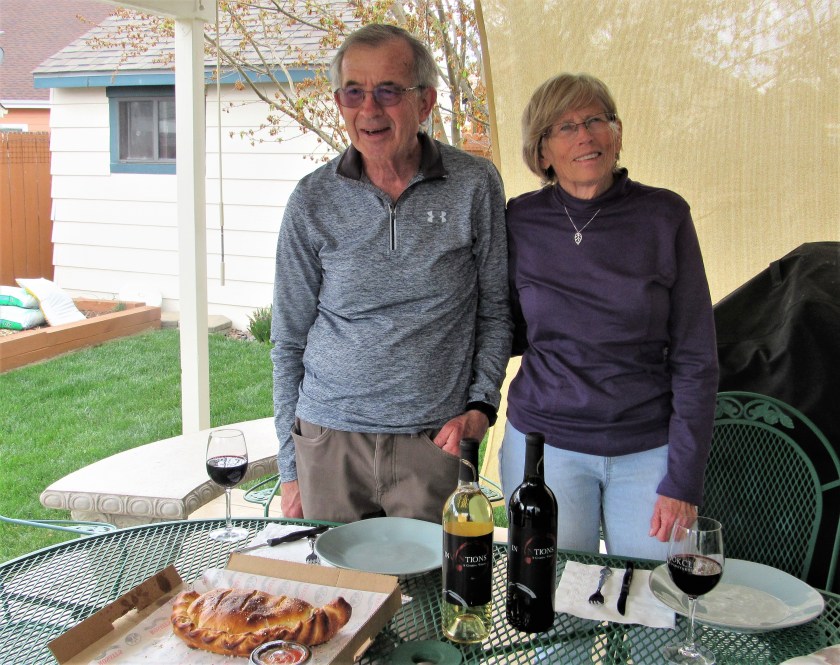
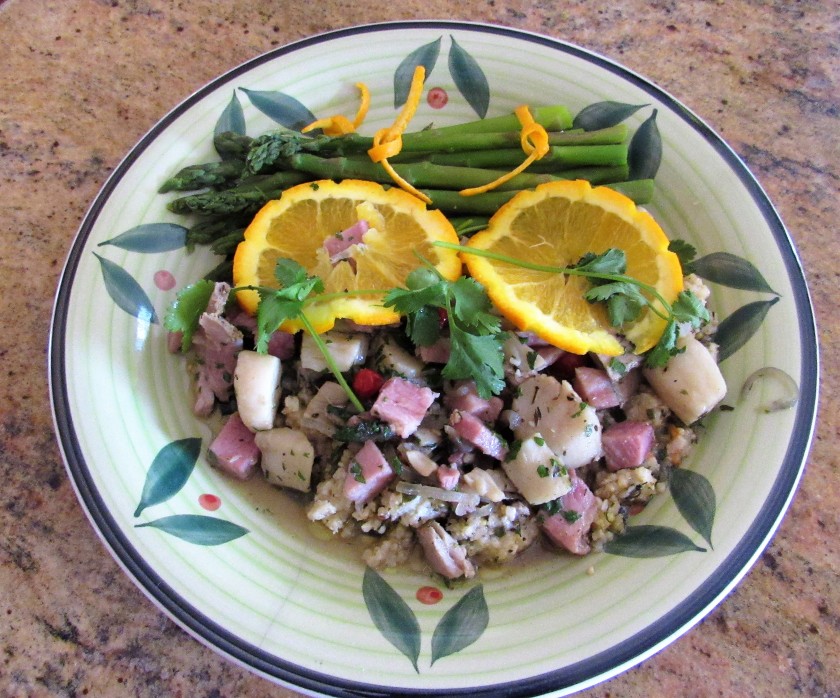
I made some pesto, cooked up a chicken breast, used up some leftover vegetables and added some mozzarella cheese to make these tasty calzanadas/empazones.  Then I served them with a little additional pesto sauce on the side and a cool, crisp barrel aged chenin blanc to make for a perfect spring meal out on the deck.

IMG_1693

Pesto Chicken and Vegetable Calzanadas

IMG_1687

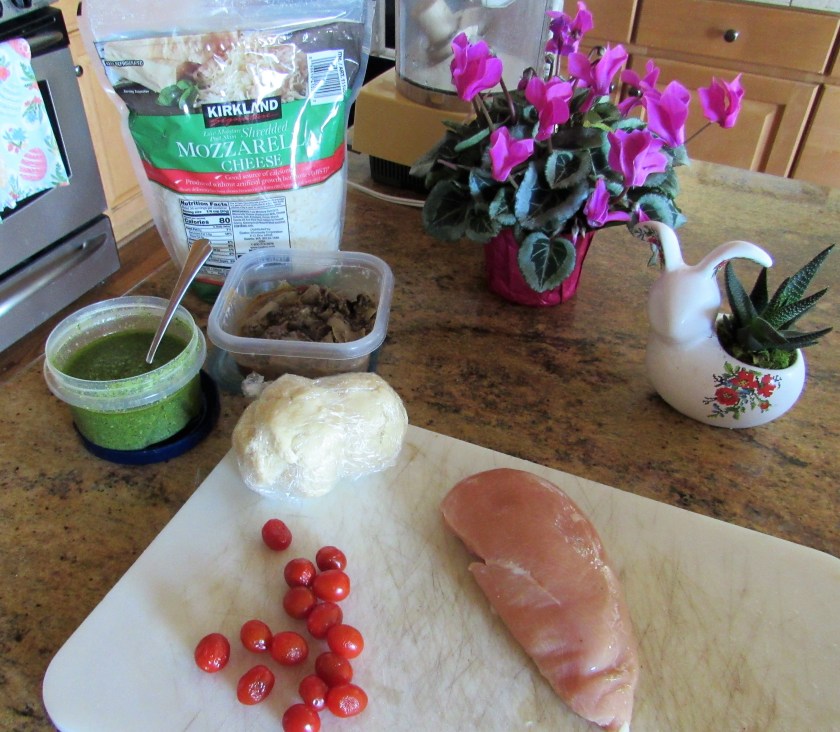
This time when I made my pesto, I used some toasted pepitas instead of pine nuts for my pesto sauce.  Presto Pesto Chicken  You can use any kind of vegetables you like.  I used my leftover artichoke hearts, mushrooms, onions and then I added some grape tomatoes cut in half as well.


My Basic Dough

1 1/2 cups flour

6 TBSP cold butter, cubed

1 tsp salt

1 egg

5-6 TBSP heavy whipping cream


Mix the flour, butter and salt in a food processor until everything is crumbly.  Then add the egg and cream and continue to process until it forms into a dough ball.  Wrap the dough ball in plastic wrap and refrigerate for at least 30 minutes before rolling out and using.

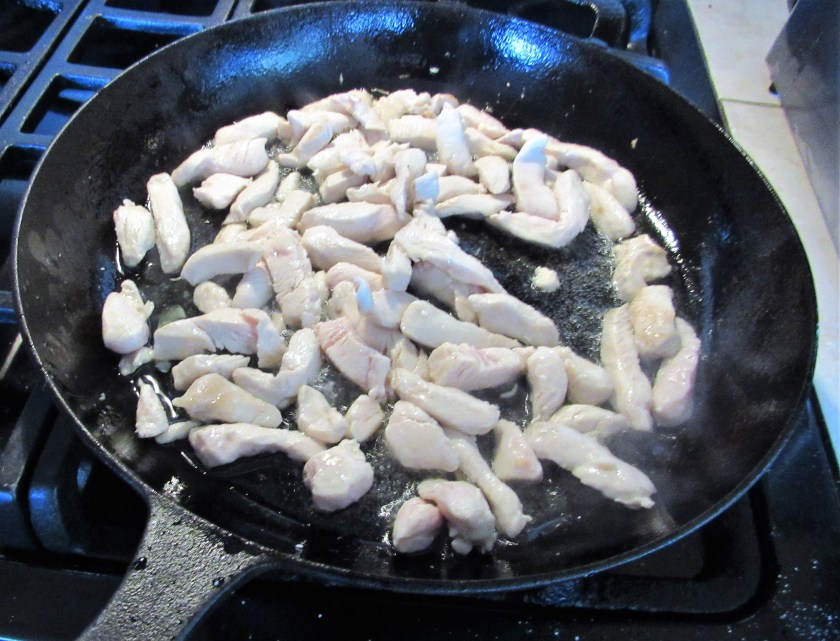
Cut the chicken into thin strips and cook in olive oil.

IMG_1688

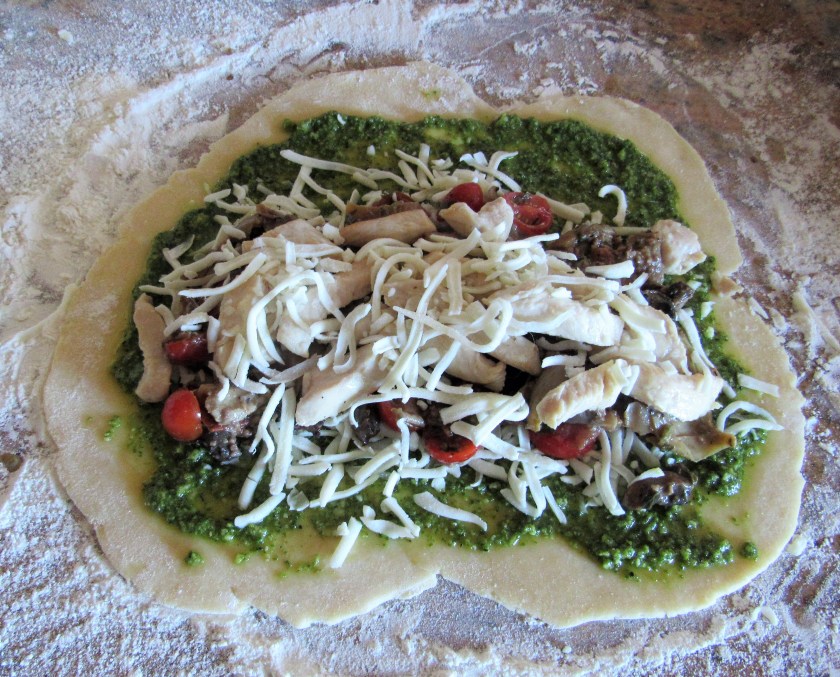
Cut the dough either in half or in quarters, depending on how large you want to make your calzones.  On a lightly floured surface, roll the dough out to about 1/4 ” in thickness, then spread the pesto sauce over the dough, leaving about 1″ around the edges.

IMG_1689

Top with mozzarella cheese, then the vegetables, followed by the chicken, with more cheese on top.

IMG_1690

Preheat the over to 375* F or about 185-190* C.

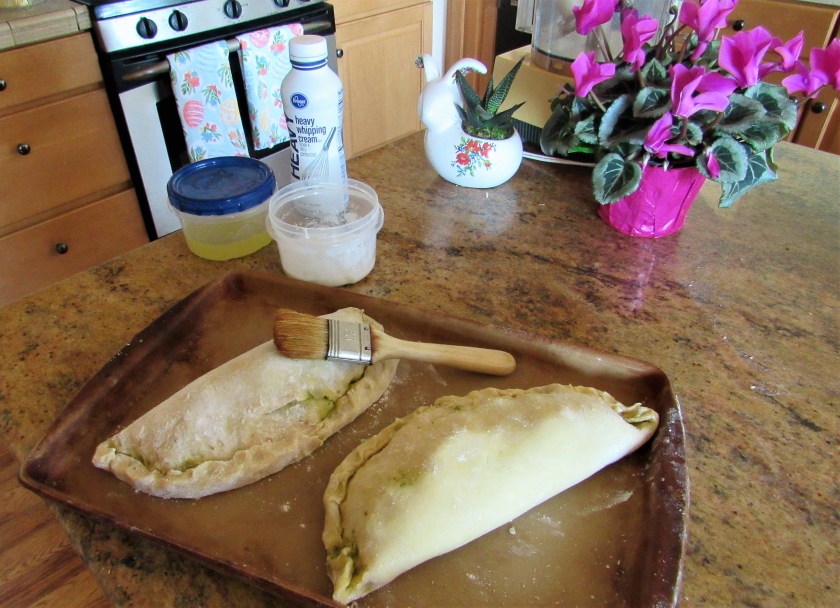
Carefully fold the dough over the filling and make a tight seal around the edges.  Then crimp the edges to seal them even more.  Once your pockets are made, make an egg wash and brush over the and around the calzone pockets.

IMG_1691

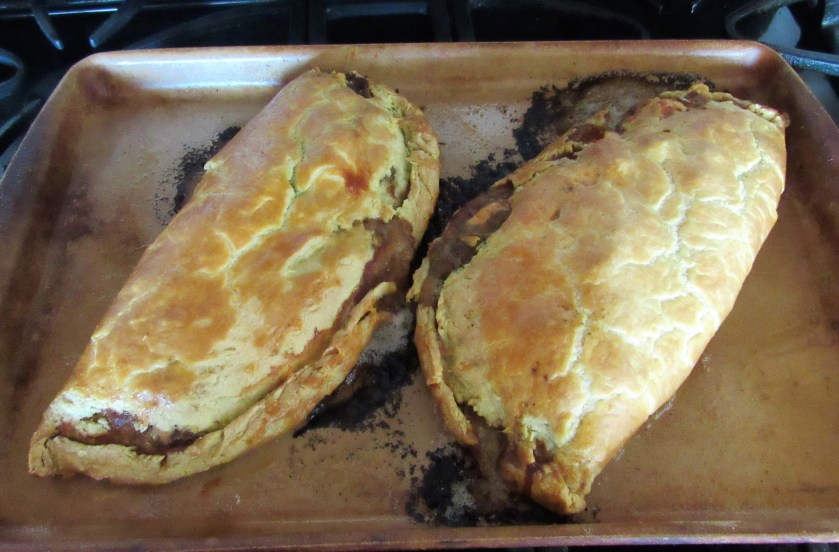
Bake for about 45 minutes or until the dough is golden brown and done.

IMG_1692

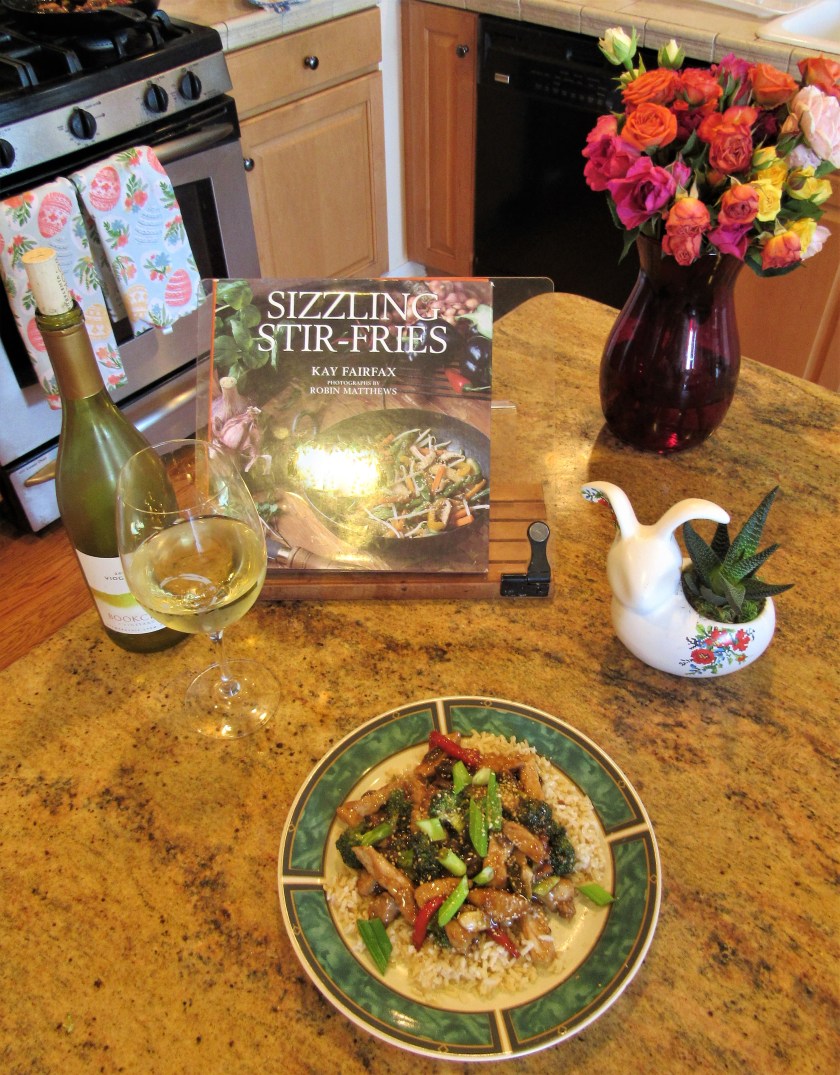
Now, mangia!  Serve them with a little extra pesto on the side and a good, crisp white wine.  Perfect.

IMG_1694

Stay safe and stay well Everyone!  ‘Til next time.


Steak with Spicy Orange Sauce

It was another steak night and I wanted to make something simple because my friend Kathy came over for a visit and I did not have a lot of time to think about dinner.  This sauce was perfect.  It was simple and delicious.  This simple sauce can also be used for pork, chicken or veal too if you prefer.

IMG_1682

Spicy Orange Sauce

IMG_1678

1 cup orange juice

4 TBSP honey

2 TBSP red wine vinegar

1 TBSP garlic

2 TBSP ketchup

1 TBSP Grand Marnier

1 tsp paprika

2 tsp Tabasco sauce

1 tsp black pepper

salt to taste

1-2 tsp cornstarch, optional


Mix everything together and pour over the meat to marinate for at least 3-4 hours before cooking.

IMG_1679

When ready, grill the steak to your liking.

IMG_1680

Reserve the sauce.  Heat the sauce before serving.  If you like it a little thicker, add some cornstarch to the sauce, bring to a boil, then reduce to a simmer and cook for about 5 minutes.  Once your steak is cooked, top with the sauce.  It’s now ready to enjoy.  I served this with some mashed sweet potatoes, made with maple syrup and green beans.  My wine choice was a smooth, fruity red blend.  This was a perfectly easy and delicious spring meal that we enjoyed out on the deck.

IMG_1683

Stay well and stay safe Everyone!  ‘Til next time.


Italian Chocolate Almond Torte

I have been so good since the start of Lent, and have not made any sweets, cookies or desserts …. until today, although I was tempted many times.  I was going to make this dessert the other day to celebrate being able to get together with Janet and Bob, but Janet beat me to it and made her delicious rum cake instead.  Dinner at a Distance  But I got together with my friend Kathy today, which was still a fun celebration, so we needed some nice sweet treat for the occasion.  I made an Italian chocolate almond torte.

In Italy, almonds and dessert are a common theme.  Italians love using almonds in their desserts, and the possibilities are endless.  This Italian chocolate almond torte originally hails from Southern Italy, from La Pigna, in Capri.  It is rich and dense, very full of flavor, and very simple to make too, with only a few simple ingredients.

IMG_1675

Italian Chocolate Almond Torte

IMG_1664

2 cups slivered almonds + more for the topping, optional

1 1/4-1 1/2 cups semi sweet chocolate chips

7 egg yolks

1 cup sugar

5 TBSP butter at room temperature

powdered sugar


Preheat the oven to 350* F or 165* C.

Spray a 8–9 inch cake pan with cooking spray.


Place the almonds and chocolate in a food processor and process until they are ground to a medium fine texture.

IMG_1665

IMG_1666

Beat the eggs and sugar together at a medium-high speed for about 3 minutes, or until it is light and fluffy.  Then add the butter and beat again for another 3 minutes.  Next add the chocolate almond mixture and beat once for more 2 minutes.  You will have a thick, very dense batter.

IMG_1668

Once the batter is all mixed, pour it into the prepared pan and spread the batter evenly.

IMG_1671

Bake for about 45 minutes or until a toothpick comes out clean and the center is completely cooked.

Toast some more almond slivers, if you like.  When the torte is completely cooled, remove it from the pan.  Sprinkle the toasted almonds on top and then dust with powdered sugar.

IMG_1674

This torte is best when served slightly warmed with either a bit of ice cream or Zabaglione (Italian custard), but it is very good just on its own too.

IMG_1677 - Copy

Stay safe and stay well Everyone. ‘Til Next time.


Dinner at a Distance

Yesterday was supposed to be the first day of “freedom” for Colorado, but for many counties the “get out of jail free card” has still not been issued.  We are still in jail.  We were not released for good behavior yet.  But our jail sentence has been reduced and relaxed a bit.  At the moment, we will not be “fully released” into society until May 10.

We have celebrated virtual happy hours and game night with Janet and Bob, but we have not seen them in person since all this began.  Yesterday, we actual got together for dinner, but it was dinner at a distance.  It was definitely a step in the right direction though.

We all ordered from Rosati’s.  Rosati’s is another family owned and operated local restaurant that serves mostly pizzas and calzones, but they do have some other dishes as well.  They have been in business for 56+ years, though not at their current Broomfield location for that long.  We all are still trying our best to do our part to help small, local businesses out as much as we can.  Janet and Bob ordered a huge calzone, and Larry and I ordered pizza.  Larry and I picked everything up before heading over to their house for dinner.

IMG_1644

IMG_1645

IMG_1646

IMG_1650

IMG_1647

IMG_1653

Janet and Bob had everything all set up for a comfortable dinner that still allowed us to visit and catch up with each other yet still stay a safe distance apart.  They had 2 tables set up in their backyard.  They sat at one table and Larry and I sat at the other table.

IMG_1655

IMG_1656

After pizza and cazlones, we made room for Janet’s delicious rum cake topped with strawberries and whipped cream and a “cuppa”.

IMG_1659

After yet another fun evening and very full tummies, we called it a day.  It was definitely nice to actually be able to get together again.  It feels like it’s been an eternity since we could actually see our friends face-to-face vs. SKYPE.  I think I am beginning to see the light at the end of the tunnel after all.

IMG_1657

Rosati’s is a local Broomfield restaurant that specializes in Chicago-style pizza and calzones.  Just like so many other businesses at the moment, they are only open for pick up and delivery until further notice.  You can contact Rosati’s by Facebook, online or by phone.  Their Facebook contact information is Facebook.com/MyRosatis.  To order online, you can reach them at MyRosatis.com/Broomfield.  If you prefer to call them, their number is (720) 547-0200.  Their address is 2055 W. 136th Avenue, Broomfiled, CO 

Stay safe and stay well Everyone!  ‘Til next time.


Nature Walks – The Pelican Parade

The other day we saw our first pelican for the season.   White Birds of the Lakes  The pelicans are always a very welcomed visitors and we never get tired of seeing them.  They are so beautiful.  This time, our pelican friend brought along some of his friends too.  There are a few names for a gathering of pelicans.  They are known as a brief, pod, pouch, scoop, or a squadron of pelicans.  Whatever name you choose to use, it was really cool to see them all swimming in line, putting on quite the parade, not just for us, but for some other feathered and furry friends as well.

The Spectators

A very shy and reluctant, large turtle.

IMG_1598

Mr. Blackbird perched up high in the grandstands.

IMG_1629

A curious bunny.

IMG_1633

The spectators await in anticipation.  And then … the parade begins.

IMG_1610

IMG_1611

IMG_1614

IMG_1623

The parade was met with cheers and applause.  Here is the crowd’s reaction to the show.

IMG_1627

IMG_1626

And the star of the show, the Squadron Leader, taking his bows to the crowd.

IMG_1594

Stay safe and stay well Everyone.  ‘Til next time.


Stir-Fried Honeyed Pork and Vegetables

Stir fries are super easy to do and always taste great.  They are very versatile and you can use just about anything.  They are also perfect for when you only have small amounts of certain things, especially when you do like I do and throw in little bits of lots of things.  They are also a great way to use up leftovers.  The only leftovers I used this time though, were my brown rice and some ginger soy marinade; other than that, it was all first-overs.  🙂

IMG_1641

Stir-Fried Honeyed Pork and Vegetables

1-1 1/2 lbs pork, cut into thin strips

1 TBSP garlic

1 TBSP ginger

2 TBSP honey

2 TBSP soy sauce

2 tsp Worcestershire sauce

1 TBSP sherry

1 tsp cornstarch

1-2 TBSP each peanut oil and sesame oil for cooking

2 cups broccoli florets

1 cup sliced mushrooms

1 cup red bell pepper, cut in thin strips

green onions, sliced Asian style or at an angle

toasted sesame seeds


Mix all the wet ingredients and the cornstarch together and set aside.

IMG_1635

Add the oils to a hot skillet or wok, then add the vegetables, garlic and ginger and saute for about 4 minutes, stirring constantly.  When the vegetables are cooked, remove them from the pan and set aside.

IMG_1636

Add the pork, adding more oil if needed.  Cook until the pork is completely cooked through.

IMG_0772

When the pork is cooked, add the vegetables and the sauce and combine thoroughly.  Continue to cook for about 3-5 minutes, or until the sauce thickens a bit.

IMG_1638

IMG_1640

This is ready to serve.  You can serve it over rice or noodles.  Either way is fine.  I served it over some leftover brown rice.  Top with green onions and sesame seeds before serving.  My wine choice was a crisp, citrusy viognier.   Quick, easy, and delicious!  It doesn’t get much better than that.

IMG_1642

Stay well and stay safe Everyone.  ‘Til next time.


Spanish Scallops with Ham and Ahi Tuna

Once again, I was looking forward to scallops for dinner.  I eagerly went to “my library” upstairs to do my research and poured through my cookbooks to search for something new and something different.  I found a great recipe, that took me once again back to Spain; the Galacia region this time.  The recipe is definitely a do-over.  It was very tasty, with delicious hints of orange.  The only thing I was not so happy about was that once again, when I opened my package of scallops, I had scallop pieces rather than big, giant sea scallops, like what the package lead me to believe they were.  And Larry wonders why he is not allowed to go shopping anymore.  HMMMMMM!

IMG_1607

Spanish Scallops with Ham and Ahi Tuna

The tuna is optional.  I had a little left over, but not nearly enough for a meal, so it got added to the mix.  It was a great addition too.  Tuscan Tuna

The Scallop Marinade

2 lbs scallops, preferably sea scallops, though bay scallops will work too

1/2 cup sherry

4 TBSP olive oil

1 TBSP Peruvian peppers, or pimentos

1/2 cup orange juice

2 tsp dried thyme

2 tsp cumin

salt & pepper to taste

1 shallot, sliced thin

3 cups ham or sausage, cooked

3-4 oz cooked Ahi tuna – optional


Mix everything together, except the ham and the tuna, and let the scallops marinade for at least 1 hour in the refrigerator before cooking.

IMG_1601

Add some olive oil to a hot skillet, then add the scallop mixture and cook for about 5 minutes at a medium heat.

IMG_1602

Then add the ham and combine well.  Continue to cook for an additional 5 minutes.

IMG_1604

Add the cooked Ahi tuna and additional cilantro if you would like, and cook just long enough for the tuna to heat up.  You do not want to over cook it and make it tough.

IMG_1606

Whatever you serve it with, mix it with the sherry vinaigrette to really bring out the flavors.  You can serve this over lentils, rice, couscous or pasta.  You can serve it as an appetizer or as a man dish.  I chose to make it as a main dish and served it over my leftover couscous.  Sundried Tomato Crepes with Chicken, Corn and Red Peppers


Sherry Vinaigrette

1/4 sherry vinegar

2 TBSP red wine vinegar

2 TBSP honey

2 tsp dried thyme

1 TBSP garlic

1 tsp orange zest

2/3 cup olive oil

1/4 cup fresh cilantro, chopped fine

salt & pepper to taste


Mix everything together well.  When ready to serve, mix the vinaigrette into your grains or pasta.  Add your scallop mixture, with the sauce, and serve over your grains or pasta.  Enjoy this delicious Spanish meal with a cool, crisp Albarino, or other Spanish white wine of your choice.  This is a perfect dinner for a beautiful spring day.  !Desfruitas!

IMG_1608

Stay well and stay safe everyone.  ‘Til next time.