Citrus-Brined Pork Loin with Peach Mustard

We ate quite a bit of very good, very fresh seafood while on vacation.   And we loved every bite of it too.  But we are now craving something other than seafood.  Now that the weather is getting a little cooler, and it is certainly cooler than it was in the tropics, it is time for something a little hardier than either salads or seafood.  I thought a spicy pork loin would be just perfect.  I found a recipe that really brought the pork loin to life and gave it a saucy kick as well.  And it still had just enough of an island taste to make us feel we were still somewhat on vacation, and not really at home yet, getting back into our daily routines.  I served it with garlic roasted red potatoes that I wrapped in foil and  grilled, (we do this a lot) and a pepper and onion salad, along with a crisp chardonnay that had hints of citrus and apples.

IMG_2868Citrus Brine 

1/2 onion, chopped

1 TBSP garlic

1-2 bay leaves

1/3 cup salt, kosher salt if you like.  I tend not to use a lot of Kosher salt because I find it too “salty” for my tastes, but that is just a personal preference. _

1/4 cup firmly packed brown sugar

1 tsp coriander

1 tsp fennel – either whole or seeds.

1-2 tsp black pepper

1/3 cup orange juice – or juice from 1 orange

1/3 cup lemon juice – or juice from 1 lemon

4 sprigs of fresh thyme or about 1 1/2 tsp of dried thyme

2 cups water


Mix everything together in a saucepan and bring to a rapid boil.  Boil long enough for all the salt and sugar to completely dissolve.  Add 2 cups of cold water once and pour our the pork loin.  You can either put everything in a large plastic bag or a pan deep enough to hold the pork and all the liquid.  Let chill in the refrigerator for at least 6-7 hours, up to 24 hours.

IMG_2843

Once the pork has brined, dump the liquid and all it’s ingredients, then and pat the meat dry with a paper towel.  Then coat completely with the spicy dry rub.

IMG_2850

Spicy Dry Rub

1 TBSP coriander

1 TBSP fennel seeds

1/4 cup firmly packed brown sugar

2 TBSP salt

1 TBSP black pepper

1 TBSP paprika

Mix everything together well and completely coat the pork loin or chops on all sides and let rest until you are ready to cook it.  I cooked it as pork chops, so it does not need as long to cook as it would if I were cooking the whole pork loin.  I grilled it, but you can also sear it and then roast it too if you choose.  If you are cooking the whole pork loin, you want the internal temperature to be at least 145*F, and will take 45-60 minutes cooking, at a temperature of 400* on the grill or about 425* for 10 the first 10 minutes or so in the oven, then reduce the heat to 375* and continue cooking until it reaches the 145* internal temperature.

I topped my pork with a peach mustard, still using up some of my Palisade peaches Peaches from Palisade for the mustard.  This tangy, spicy, sweet mustard really perked up the pork, especially with the spicy rub.  All the flavors just blended together perfectly for a fabulous taste sensation.

Peach Mustard

1 large, ripe peach, peeled, seeded and cut into a small dice

2 TBSP sugar

1 tsp apple cider vinegar

1/2 tsp salt

1/3 cup Dijon mustard

1/3 cup whole grain mustard – I used garlic whole grain mustard

1 TBSP fresh chives or green onions, chopped fine

black pepper to taste

leftover spicy rub to taste – optional


Mix everything together and let chill.  Spoon it on top of your pork when ready to serve.  It will also go well with chicken too.

IMG_2852

IMG_2855IMG_2868 - Copy


Sunset Dinners in Grand Cayman

Because we were staying in a hotel, I did not have access to a kitchen I could cook in while on vacation, which means we ate out every night.  We usually just have simple stuff for breakfast, like muffins and/or bagels and fruit, and a real light lunch, if anything at all.  When traveling, we focus more on our dinners than we do breakfast or lunch.  When on a dive trip,  I am way too busy diving to think about food, or anything else for that matter.  Most of our dinners were simple meals, like pizza and fish or fish & chips.  We actually only ate out at nicer restaurants a few times, and ironically, two of those places had sunset or sunshine in their names.  They were located on different parts of the island, but apparently using the sun as a reference in the name of a restaurant is a good thing, and is a recipe for success too.  We also had nice sunset views at all of these restaurants as well.

On our first night, we ate at the Sunshine Grill, located in Seven Mile Beach.  We have eaten there before, and made a point to go back this trip too.  The food is amazing there.  My husband had shrimp tacos with a caesar salad and a spicy homemade salsa.  I had grilled wahoo with a lemon-basil sauce served atop fried tomatoes, with rice and black beans, a zesty Caribbean salad and grilled plantains.  As you can see, our plates were filled to the rims.  There was no way we could eat it all, but we sure did give it our best shot.  To drink, I had a peach-basil and rum drink that was really tasty and very refreshing.  I would have never thought of putting peach and basil together, but the flavors definitely work well together, and I will be using that combination a lot more in the future, that’s for sure.

IMG_2773

My peach-basil and rum drink.  It was so delicious!  I was on vacation.  I don’t even want to think about the calories it had.

IMG_2771

IMG_2767

Attention to detail is very important at The Sunset Grill.  This beautifully carved wood turtle is the door handle.

IMG_2770

Another restaurant we went to was Duke’s, also in Seven Mile Beach, and also another repeat location for us as well.  The food there is very good, and they too serve large portions.  We were definitely stuffed when we had finished dinner.

IMG_2787

One of my favorite things about traveling is trying out new things.  This has become my new favorite drink.  It’s called a “Dark & Stormy”.  It’s made from ginger beer and dark rum.  Yum, yum!

IMG_2790

In the Caribbean Islands, many things are closed on Sundays, because there are no cruise ships in port. The “cruisers” bring in a lot of revenue to the local businesses.  So often times, the places that are open on Sundays have really screaming deals and great specials to entice people to come in.  Duke’s has an all-you-can-eat BBQ special that Larry took full advantage of.  As you can see, he is thoroughly enjoying his meal.  They had a wide variety of items on the buffet BBQ buffet line.

IMG_2792

I chose fettuccine with mussels and shrimp in a creamy Alfredo sauce and garlic bread, which is always one of my favorites.

IMG_2795

On our last night, we went to The Sunset House, in Georgetown.  The place was really hoppin’ and we had this fantastic view of the blue Caribbean waters behind us.

IMG_2826

We try to eat as much seafood as possible while visiting places on the water.  We love fresh seafood, and it doesn’t get much fresher than this.  The local fisherman bring in their catch from the day, and the chefs cook it to perfection.  We split our seafood delights on this meal.  We had fried calimari with a spicy dipping sauce; bacon wrapped shrimp; and a seafood combination platter consisting of lobster, fried shrimp, grilled wahoo, fresh veggies, scalloped potatoes and a tropical fruit salad.  Yes, in the background, there is another Dark & Stormy too.  What a great way to end a great vacation.  Now back to reality, and trying my best to work off all those extra calories we consumed.  I guess it is time for me to just swim more and work out even harder.  My poor ladies.  When I have to work out harder, I make my classes harder too, so all my participants have to work out harder too.  Oh well, it’s good for all of us and will only make us stronger and more fit.   🙂

IMG_2828


A Trip to the Caymans

Greetings Everyone!  I’m back.  Did you miss me?  I hope so.   I am still getting used to my land legs again, and the kitchen will be open and back in business again tomorrow.  In the meantime, I thought I would share more of my dive experiences from Grand Cayman with you.  I hope you don’t mind too much.

Grand Cayman is the largest by far and most popular island of three islands known as the Cayman Islands.  The islands are located southwest of Cuba and east of what is known as the Mexican Riviera, in the Caribbean Ocean.  The other islands in this group are Little Cayman and Cayman Brac.  I have never been to either of those islands yet, but this is my third trip to Grand Cayman.  I hear the diving on the other two islands is phenomenal, so I hope to make it to those other islands one day soon as well.  The Cayman Islands are the tops of pinnacles that reach down from the Cayman Trench, which is one of the deepest sections of the ocean on Earth.  The Cayman Trench goes down about 25,000 feet.  Because the Cayman Islands are basically right on the equator, the weather is pretty temperate, and ranges from about 72-88* F all year round, with July and August being the hottest months.  Unfortunately, the Cayman Islands are also in the hurricane belt, and hurricane season is from June-November.  On our first trip to Grand Cayman 10 years ago, we were actually evacuated off the island because of Hurricane Gustav.

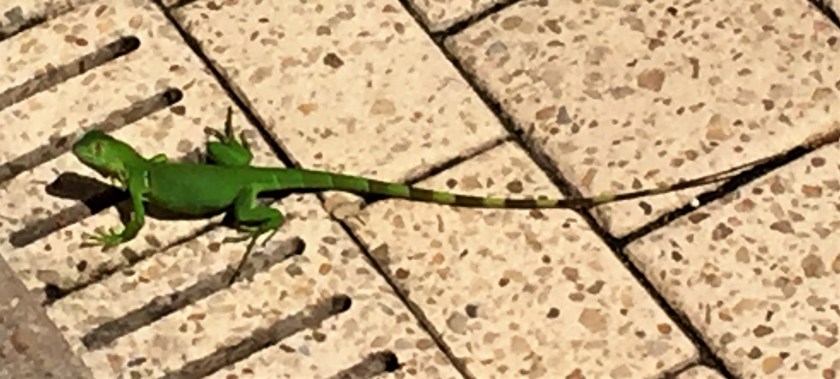
Christopher Columbus discovered the Cayman Islands on his fourth voyage to the New World in 1503.  In the days of the pirates, these islands were known as the Tortugas because of the abundance of turtles in the area.  The islands were primarily a base for the pirates, used to restock on fresh turtle meat and water, to make repairs to their ships, and mostly to lie in wait to attack the European galleons loaded with bounty.  Other than pirates, the islands were mostly uninhabited by humans until the 1660’s.  The only residents before that were turtles, alligators or the Caimans (where the name Cayman comes from), lizards, AND mosquitoes.  The mosquitoes were so bad that that people could rarely venture outside after dark.  There are also accounts of the mosquitoes being so numerous and thick that they would swarm in the nostrils of cattle and suffocate them.  Fortunately today, the mosquito population has been greatly controlled, and there is not nearly the problem as in the days if old.  I am a mosquito magnet though, and they will always find me and attack me viciously, no matter what controls they have in place.

During the 18th century, some of the most infamous pirates roamed these islands and the surrounding seas, including Blackbeard, Lowther and Henry Morgan.  The Treaty of Madrid, in 1607, officially decreed the Cayman Islands a British possession, but they were not permanently settled until the 1730’s.  The Cayman Islands are still a British Overseas Territory today, and there is still a lot of British influence throughout the islands.  They have a local governor who is responsible for the daily administration of the country and the creation of laws, but there is also a governor appointed by Britain who is in charge of internal security, external affairs, defense, police and the civil service.  Tourism is the largest industry in the Caymans today, with a strong focus on scuba diving.  It is a very good place to dive, but it is not our favorite place.

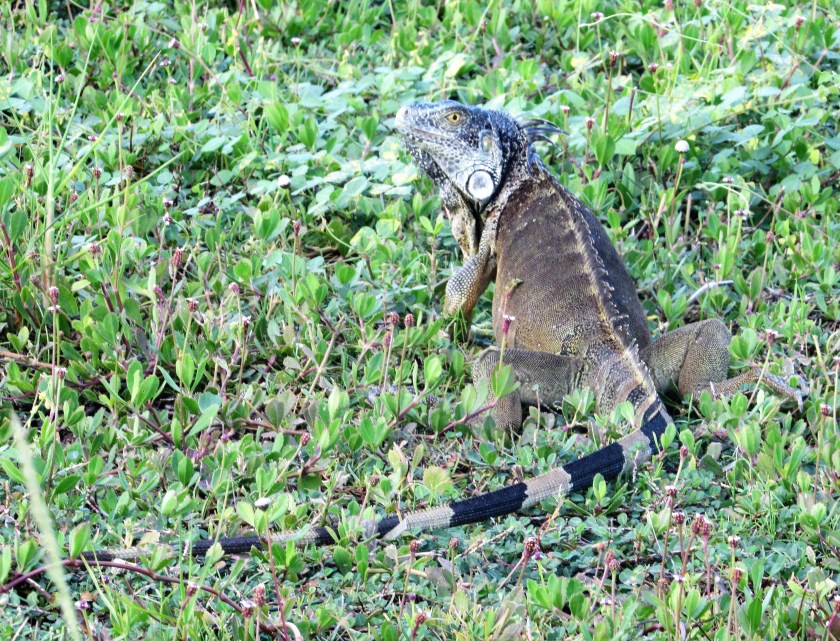
Most of these animals are still eaten as food today. BBQ’d Iguana is supposed to be great, I haven’t tried it yet, but will some day.  The locals still eat turtle meat too, although what they eat today, comes from the turtle farm, located on the North Western part of the island. It’s very tasty.

The locals who live above the sea.

IMG_2799

IMG_0201

IMG_2774

IMG_2830


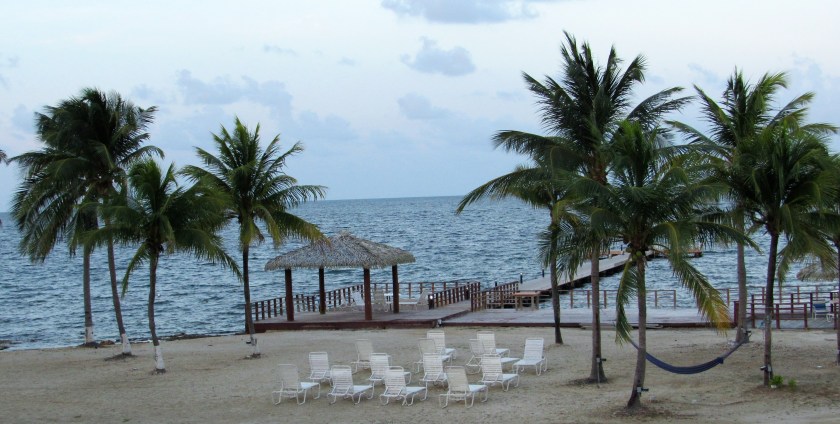
The view from our room.

IMG_2783

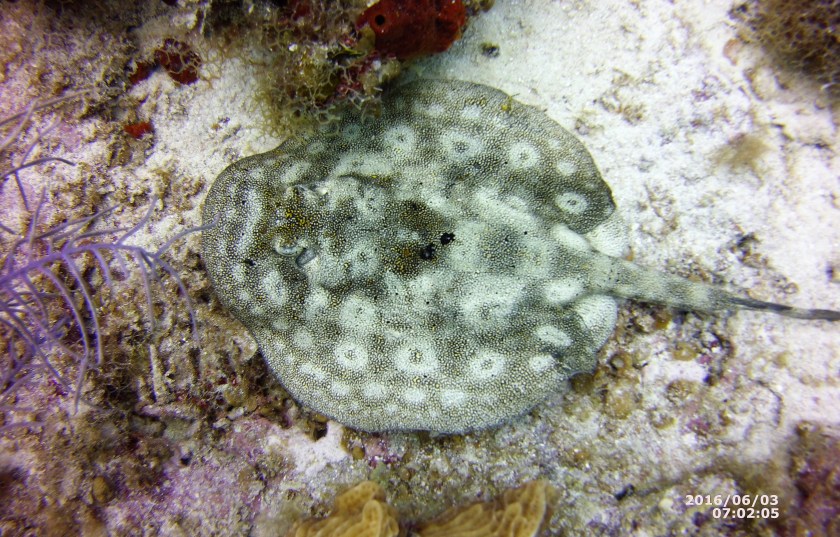
A lemon ray.

DCIM100MEDIA

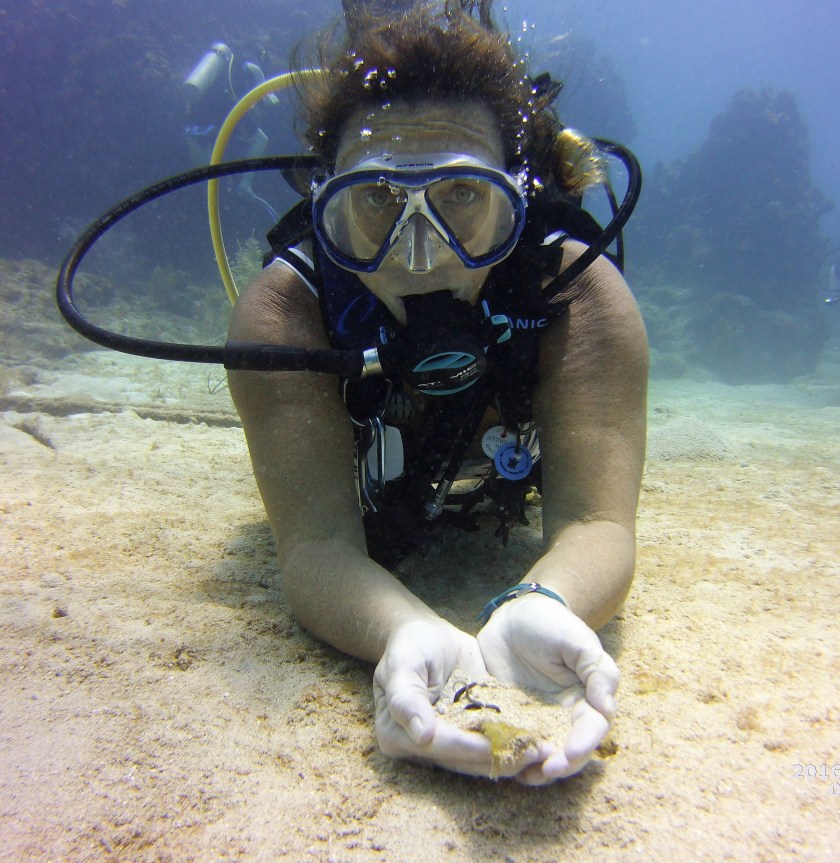
Me holding a tiny garden eel.  Considering I am deathly afraid of snakes, this is a big huge step for me.  My husband does not get it, and I really don’t either, but I know eels are fish, not snakes, even though they look just like snakes, which I guess makes it OK.  Strange, I know, but it is what it is.

DCIM100MEDIA

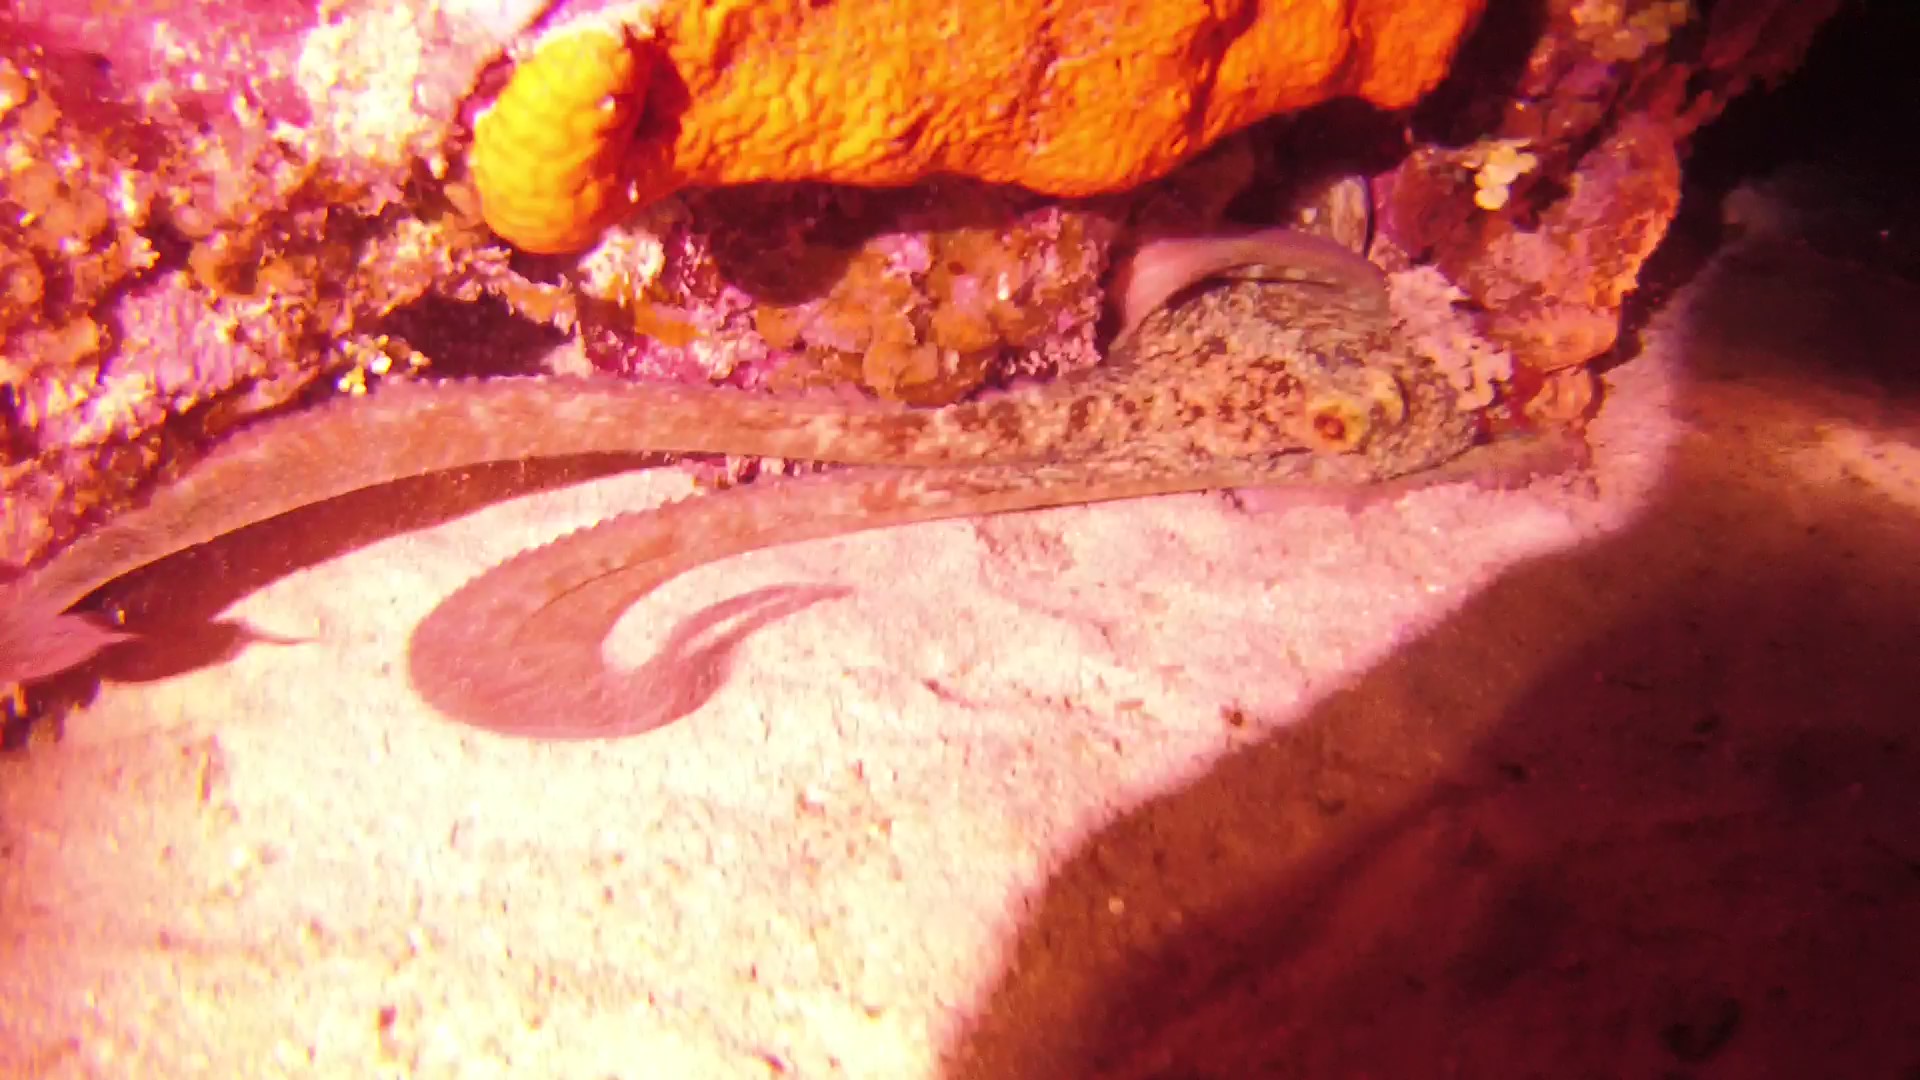
One of four octopuses we found on one of our night dives.

MICR0703_Moment

A Southern stingray.

PICT0028_Moment(5)

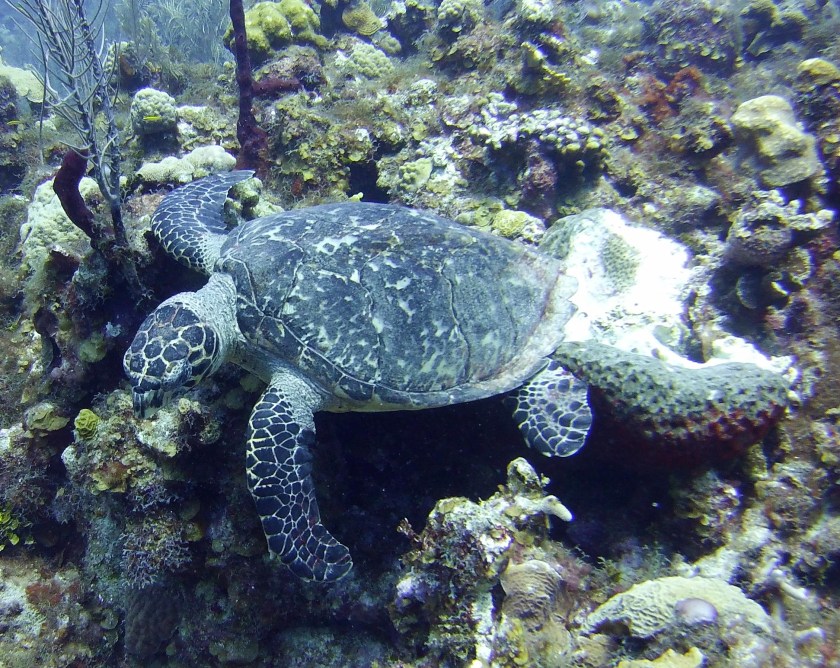
A green leatherback turtle.

DCIM100MEDIA

I hope you enjoy this little preview of Grand Cayman and some of it’s local residents on this special diving edition of my blog.  Tomorrow, we will be back in the kitchen with some more good eats.


Gone Diving

The kitchen will be closed for a bit.  The chef is following her other passion for a while.  She’s gone diving.  Diving is ALWAYS my #1 passion.  We dive all over the world, but we are in the warm, tropical waters of the Caribbean most of the time.   Don’t worry, I’ll be back sooner than you know.  In the meantime, enjoy some of my favorite shots from past dives.


Celebrating my 300th dive – Aruba, 1/18

DIGITAL CAMERA

A very large free swimming green moray eel – Aruba 1/18

DCIM100MEDIA

Sea horsin’ around – Aruba, 1/18

DCIM100MEDIA

I’m outta here – Belize, 10/17

DCIM100MEDIA

Boo – Belize, 10/17

DIGITAL CAMERA

Peace, love and dive – Belize, 10/17

DIGITAL CAMERA

Diving with the sharks – Roatan, 6/17

DSC09466

Giving Maya some love – Roatan, 6/17

DSC09761 (2)

Petting KC (a small nurse shark) – Grand Cayman, 6/16

DIGITAL CAMERA

Dive Cycling – Grand Cayman, 6/16

DIGITAL CAMERA

Stingray love – Grand Cayman, 6/16

DIGITAL CAMERA


Baked Beans for the BBQ

My husband’s work had a fundraising BBQ yesterday, and I got “volunteered” to make baked beans for the event.  I made them last year too, so I guess they liked them and wanted me to make them again this year.  No problem.  Easy-peasy.  Besides, it was for a good cause.  The charity was to help dogs in need, and that is always going to be something special to me.  I made 6 quarts of beans, and my husband said they all disappeared pretty quickly.  I’ll take this as a sign that everyone liked them.

The beans are still cooking and simmering.  They won’t be ready for quite a few more hours yet.

IMG_2744

I used great Northern beans, but you can use any kind of beans you like. Because I knew I was cooking for a large crowd, I used 1 whole 4 lb bag of beans.  You can either soak them overnight or you can bring them to a rapid boil and let them boil for about 3-5 minutes, then let them rest in the same hot water for at least about 2-3 hours.  Drain them and add fresh, clean water before starting the real cook.  This is to loosen up the beans and to help release all those gassy agents we all know to be associated with eating beans.  Then cook them according to the package directions and your recipe you are following.  For baked beans, you can use any kind of beans you want, but the smaller beans are best because they will take on the flavors of your sauce more than large beans will.  If you use large beans, just increase the cooking time and make sure you have enough liquid for cooking.  It’s perfectly OK to add more liquid as needed during the cooking process.

IMG_2737

Making the beans.  I also added about 1 cup of bourbon to my mixture as well, since my husband kept telling everyone they were bourbon baked beans.  The bourbon added a little extra kick to the beans and made the sauce a little richer.  Originally, I was going to cook them in my slow cooker, however, there were too many beans and they would not all fit in my slow cooker once I added the water and sauce, so I slow cooked them on the stove in a large Dutch oven or cooking pan with a tight fitting lid.   I transferred them to the slow cooker once they were completely cooked to make it easier for my husband to take them into work and to keep them warm until they were ready to be eaten.

IMG_2740

After about 10-11 hours at a low simmer, the beans are finally ready.  Yes, I turned them off at 9:59 PM, as you can see on my clock on my stove, right before going to bed.  Once my husband got into work, he let them cook a bit more in the slow cooker until they were ready to serve at the BBQ.  Total cooking time was maybe about 12 hours.  As you can see, my beans almost tripled in size from their original size.

IMG_2750

Maple-Bourbon Baked Beans

(I am giving the recipe for a much smaller quantity than what I cooked)

6 cups cooked beans.  I used Great Northern beans, but you can use whatever beans you like.  Kidney beans are fine too.

1/2 onion, diced fine

1/2 cup maple syrup – I used pure maple syrup

1/3 cup bourbon (optional)

2 TBSP sugar

2 TBSP molasses

2 TBSP Dijon mustard

2 TBSP tomato paste

1 heaping TBSP garlic

cayenne pepper to taste

salt and pepper to taste

4 slices of bacon, uncooked, and cut into small pieces


If you are cooking your own beans, soak and pre-cook them according to the package directions.  If you are using canned beans, just rinse and drain them before adding to the mixture.  Mix all the ingredients together then incorporate into the beans and mix well.  Pour the mixture into a large saucepan and cover with water.  Bring to a rapid boil, then reduce the heat to a low, slow simmer and let cook for at least 5 hours, or until the beans are cooked and are tender.  Don’t be surprised if your cooking time is much, much longer, especially if you are cooking your own beans rather than using canned beans.  You want the beans to be tender, and that takes awhile.  Large  beans take longer than smaller beans too.  Stir the beans occasionally to make sure they don’t burn and add more liquid to the pot as needed.  The beans will take on the rich caramel color and all the flavors of the sauce.  You can make this vegetarian/vegan too, by just eliminating the bacon.


Peach-Almond Pound Cake

You would think that only buying a 1/2 case of peaches would not be so much to go through.  I LOVE peaches, as I do most fruits and vegetables, but a 1/2 case is still a lot of peaches.  Fortunately, there are many, many delicious peach recipes out there that will help me make the most out of all my beautiful, tasty Palisade peaches.   One such recipe I came across was for a peach and almond pound cake.   It is so moist and light.  It almost melts in your mouth.  In one word – YUM!

IMG_2700

Peach-Almond Pound Cake

3 cups flour

1/2 tsp salt

1/2 tsp cinnamon

1/4 tsp baking soda

2 1/2 cups sugar

1 1/2 cups softened butter (3 sticks)

6 eggs

1 cup sour cream

1 tsp vanilla

1 tsp almond extract

2 cups peaches, peeled and chopped (about 3 peaches)


Glaze and Topping

1 1/2-2 cups powdered sugar + more for dusting

2 TBSP milk

1/2 tsp almond extract

1/2 cup toasted almond slivers


Preheat oven to 325* F

Spray a bundt cake pan with cooking spray.

Mix together all the dry ingredients and set aside.  Then mix the butter and sugar together until light and fluffy.  Add the eggs 1 at a time, and mix well with the addition of each egg.  Then add the vanilla and almond extract and mix again.  Alternate between adding the flour mixture and the sour cream, ending with the flour mixture, mixing in between.  Do not over mix or your cake will turn out tough.  Once the batter is all mixed together, gently fold in the peaches and incorporate well.  Then spoon the batter into your bundt pan, making sure it is evenly distributed.

Bake for about 1 1/2-2 hours or until the cake is golden brown and a toothpick comes out clean once inserted into the middle of the cake.  Remove from the oven and let cool completely before removing from the pan.

Once the cake has completely cooled, make your glaze by mixing the powdered sugar, milk and almond extract together.  You can make the glaze a little thicker by adding a little more powdered sugar.  Pour over the cake evenly.  Sprinkle the toasted almonds around the top of the cake and then dust with powdered sugar.

IMG_2690

Once the batter is made, gently fold in the peaches and incorporate well.

IMG_2691

Make sure the batter is evenly distributed in the pan, then bake for about 1 1/2-2 hours at 325*F.

IMG_2692

Once the cake is completely cooled, make your glaze.  This is all you need.  Once the glaze is made, pour it evenly over the top of the cake, then top with toasted almond slivers and dust with powdered sugar.

IMG_2694

Now it’s time to “let them eat cake”.

IMG_2701


Peaches from Palisade

Palisade is a little farm community located on the Western Slope of Colorado.  It is part of the Grand Junction Metro area with a tiny population of only about 2600 people.   It is nestled between the Grand Mesa National Forest and the Colorado River that emerges from the DeBeque Canyon and is surrounded by mountains and beautiful views.  Palisade has a very temperate climate that is perfect for agriculture.  It has an average of 182-day growing season and 78% sunshine rate.  It gets about 14″ of snow per year and about 10″ of precipitation.  This is just perfect for peaches.  August is the prime peach season in Palisade, as they are all fully ripened and ready to eat and to cook with.  These growing conditions are perfect for agriculture in general, but especially perfect for both peaches and grapes.  Palisade is known as the the peach and wine capital of Colorado.  So aside from growing some of the best peaches I have ever eaten, Palisade also grows most of the grapes for all the Colorado wines.  Needless to say, I am very grateful for the fruits of all kinds from the Palisade region of Colorado.

I split a case of peaches with a friend of mine.  They are so sweet and juicy.  They are just perfect, whether you eat them as is or cook or bake your favorite peach recipes with them.   So far, I have made some spicy, zesty peach salsa and a delicious, moist peach cake with mine.  And I still have a lot of peaches left.  I will be coming up with some other delectable dishes very soon.  I may even just slice the peaches I have left and freeze them so I can use them later.

IMG_2612

Making my peach salsa.   Making peach salsa is the same as making pico de gallo, only I add a lot of sweet peaches as well..  This gives you a bold, spicy sweet salsa that is perfect with pork or chicken, or served on top of baked brie or alongside goat cheese with crackers.   Yesterday, I made an appetizer tray for a small get together with goat cheese, salami, crackers and my peach salsa.  The sweet and spicy combination of the peach salsa was just perfect for the creaminess of the goat cheese and the saltiness of the salami.

IMG_2711

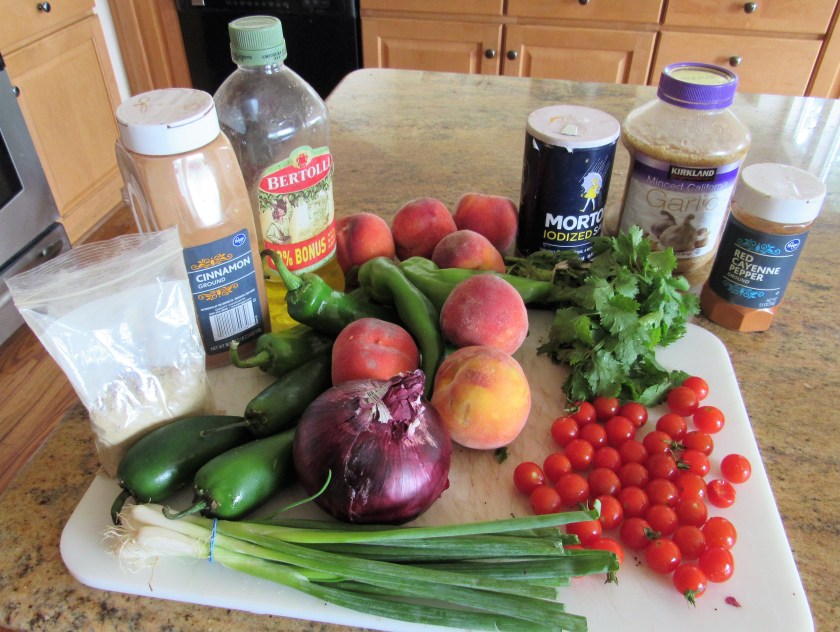
I love hot & spicy foods.  I don’t care for foods that are just pure fire, where you loose the taste of the ingredients, but I do love a good heat that wakes up the taste buds and makes them come to life.  I used both hatch green chilies and jalapenos for my salsa.  I roasted them all on an open flame until they turned completely black on the outside, then I let them sweat in a plastic bag for about 30 minutes before rubbing all the black charred bits away.  Then I diced them and added them to my salsa.  These delightful grape tomatoes were from my friend’s garden.  You can eat them like candy (they are certainly a lot healthier for you than candy).

IMG_2708

IMG_2709

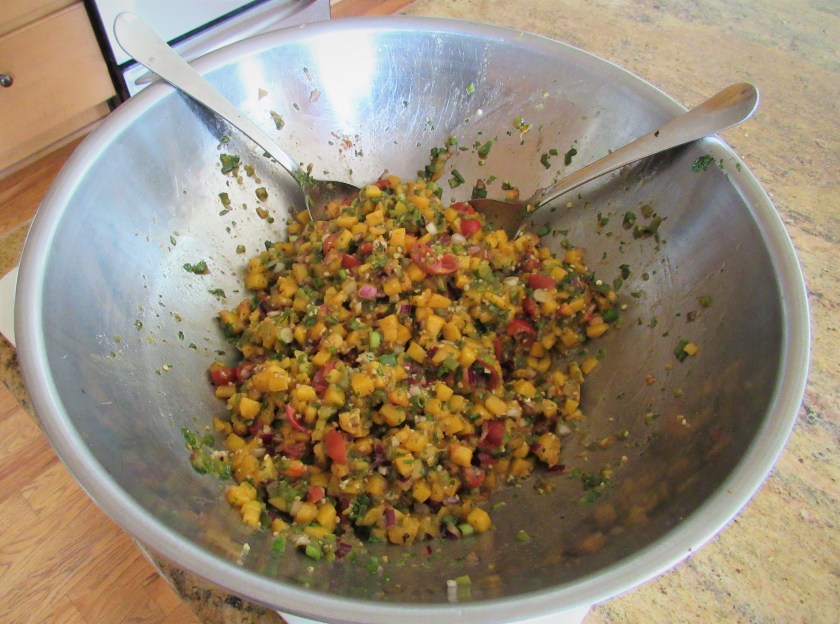
Mixing it all together.

IMG_2713

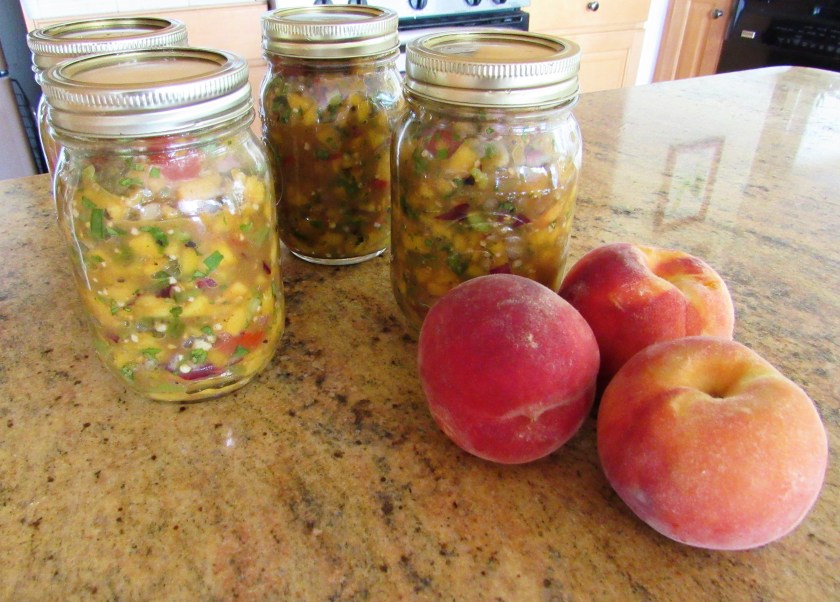
I just made a small batch of peach salsa this time around.  My husband does not eat much fruit at all, so it is left to me to eat or to give away.  I can only eat so much.  I still used 9 peaches though.

IMG_2719

Jeanne’s Spicy Peach Salsa

9 ripe peaches, skinned and diced small

1 bunch green onions, sliced thin

1 red onion, diced small

1/2 cup tomatoes, diced small – any kind of tomatoes are fine

3 hatch green chilies, roasted and peeled, diced small – or to taste

4 jalapenos, roasted and peeled, diced fine – or to taste

1 1/2 tsp cinnamon

1 1/2 tsp cumin

salt & pepper to taste

1 tsp cayenne pepper or to taste

1 1/2 heaping TBSP garlic

2-3 TBSP cilantro, chopped fine

2-3 TBSP olive oil


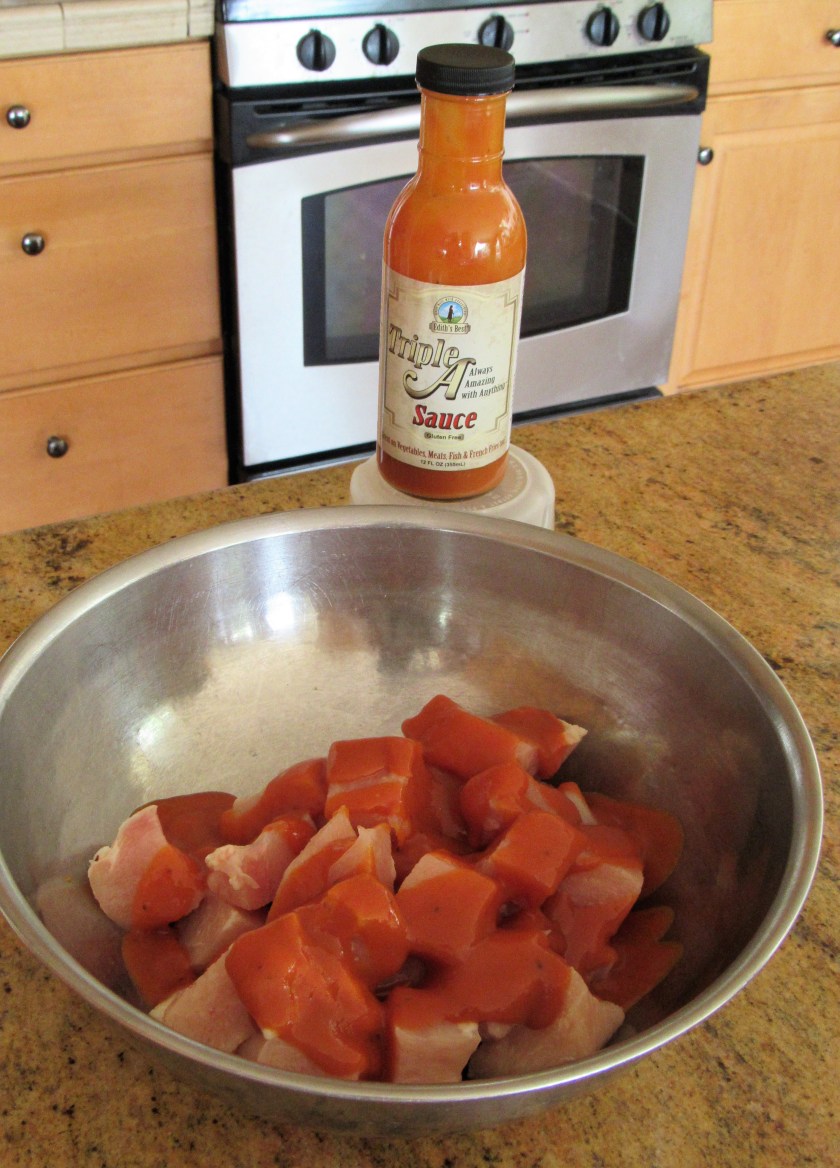
Mix everything together and chill before serving.  It goes great with chicken and pork as well as baked brie or goat cheese.  I also put a little on top of my chicken kebabs that I marinated in Edith’s Best Triple A Sauce.  It was a perfect compliment to the sauce. Sauce It Up with Edith’s Best


Sauce It Up with Edith’s Best

I think by now, it is very obvious that I love to cook and I also love to try new things.  I am very adventurous, both in and out of the kitchen.   Recently, an acquaintance of mine reached out to me and asked if I would like to sample a product for him and give him my feed back.   I am honored to do so.  What a privilege that he thought of me to sample his product.  His product is Edith’s Best – Triple A Sauce.

IMG_2687

I received the sauce on Friday, and I used it on chicken for last night’s dinner.  This sauce is SOOOOOOO delicious!  It is a spicy, tangy sauce, with just a hint of sweetness.   I used it as a marinade for chicken that I made into kebabs and then grilled up.  I cubed the chicken in pieces that were about 1 1/2″ x 1 1/2″ and marinated it in Edith’s Best Triple A Sauce for about 5 hours, so it was nice and tender and full of flavor.

IMG_2706

After letting the chicken marinate, I skewered it up and poured the remaining sauce on top of the chicken, then put it on the grill.  I wanted to make sure that I used all of my remaining sauce.  I did not want to let any of the flavors escape.

IMG_2729

I grilled the chicken kebabs for bout 5-7 minutes, then flipped them over to continue cooking for about another 5-7 minutes.  Cook until your chicken is thoroughly cooked.  We topped our kebabs off with another splash of Edith’s Best – Triple A Sauce before serving.  The end result was delicious, tender chicken that just melted in our mouths.

IMG_2734

I used Edith’s Best – Triple A Sauce on chicken, but it would also be very good on vegetables or pork or beef as well.  Next time you reach for the BBQ Sauce, try Edith’s Best instead.   I promise you are going to be deliciously delighted.

Unless you live in Winter Park, FL, where you can purchase Edith’s Best – Triple A Sauce directly from the source, the best way to get some is to go to the website and order directly from there.  The website and contact information are:

Jerrell Watson

Jerrell@EdithsBest.com

EdithsBest.Com

(407) 850-8706

127 West Fairbanks Avenue, Suite 181, Winter Park, FL 32789


For more information, you can follow Edith’s Best at EdithsBest.com on Facebook, Twitter or Instagram.


Blackberry-Sage Thumbprint Cookies

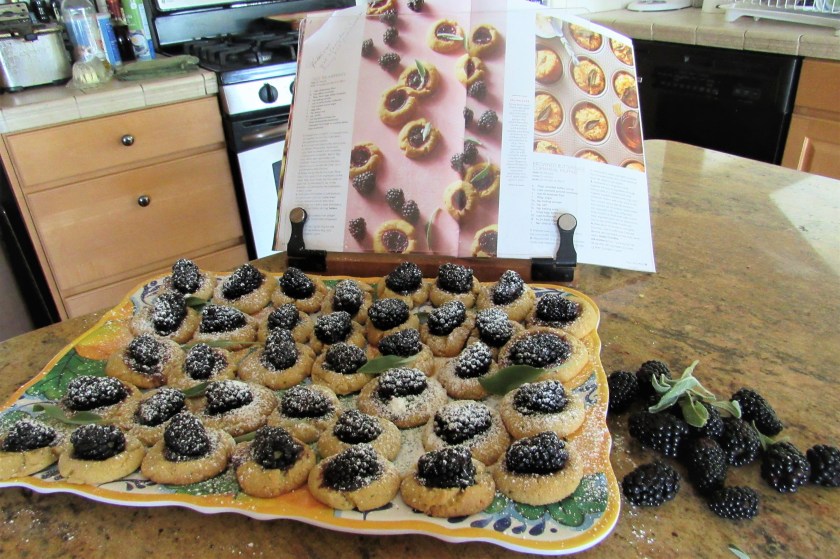
The weather is quickly changing and fall is in the air.  It’s right around the corner, and I am more than ready for the fall season to begin.  I just love fall.  I love all the colors and the cool crispness in the air.  But mostly, I love baking and cooking all the warm comforting foods of fall.   I especially love baking cookies.  And I just love eating them too.  The oven comes on much more frequently as the temperatures start to drop.  I have already started doing some fall baking and cooking in anticipation of my favorite season, that is quickly coming upon us.  I just made some blackberry-sage thumbprint cookies in honor of the upcoming fall season.  I made them for my Mermaid end of season party. The End of Our Mermaid Season  They were a big hit.  They are full of color and bursting with flavor.  The sage really compliments the blackberries very well.  The blackberries are in season at the moment, and the ones I used were HUGE and very sweet.  They are so juicy and delicious.   I have to really refrain from not eating these cookies one after the other.  It’s very hard to stop at just one, because they are just that good.

IMG_2624

Blackberry-Sage Thumbprint Cookies

2 cups flour

2/3 cup yellow cornmeal

1 TBSP sage, either fresh, chopped fine.  Dried is fine too – I used fresh

1/4 tsp baking powder

1 cup or 2 sticks of softened butter

1 cup, firmly packed brown sugar

2 egg yolks

2 tsp lemon zest

1 1/2 tsp vanilla

3/4 cup blackberry preserves

fresh blackberries

powdered sugar for dusting (optional)


Preheat the oven to 350*F

Mix together all the dry ingredients, including the sage and set aside.  Then mix the butter and brown sugar together in a mixer until well mixed and it is light and fluffy.  Add the egg yolks, vanilla and lemon zest and mix again.  Add the flour mixture in batches, mixing in between each addition.  Do not over mix or the dough will become tough.

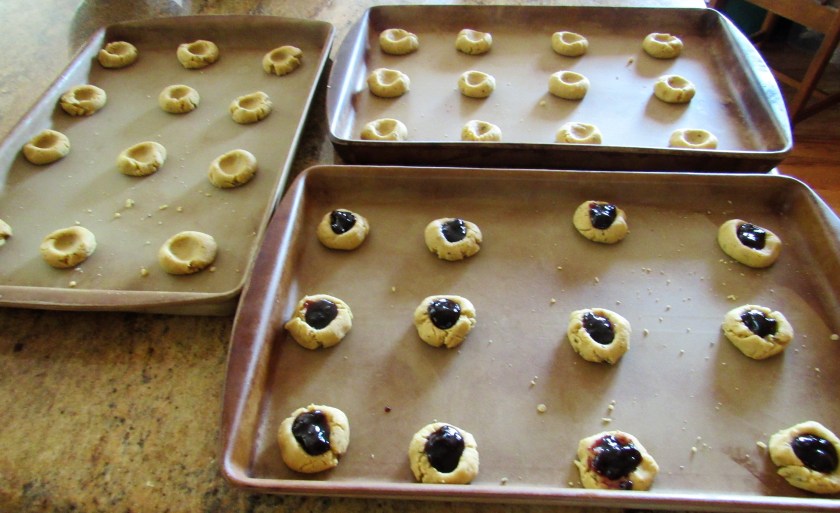
Form the dough into balls that are about 3/4″ in diameter and place them about 1″ apart on an ungreased baking sheet.   With your thumb, gently press down into the center of each dough ball to make an indentation or a well.  Add about 1/2 tsp of blackberry preserve into each well then place int the oven to bake.  Bake for about 10-15 minutes, or until the cookies are are lightly browned.  Remove from the oven and place one blackberry in the center of each cookie.  Let cool completely.  Once the cookies are cooled, you can dust the cookies with powdered sugar if you choose.

Mixing all the dry ingredients together, including the sage.

IMG_2617

Making the dough balls.

IMG_2619

Adding the blackberry preserves.  You want to add just enough to fill the wells without filling them too much.  Anything that spills over is just going to burn and stick to your baking sheet.

IMG_2621

The end results are a delicate cookie, with a light crispiness to them.  They are bursting with color and flavor.  They just melt in your mouth.  Delicious!

IMG_2625


The End of Our Mermaid Season

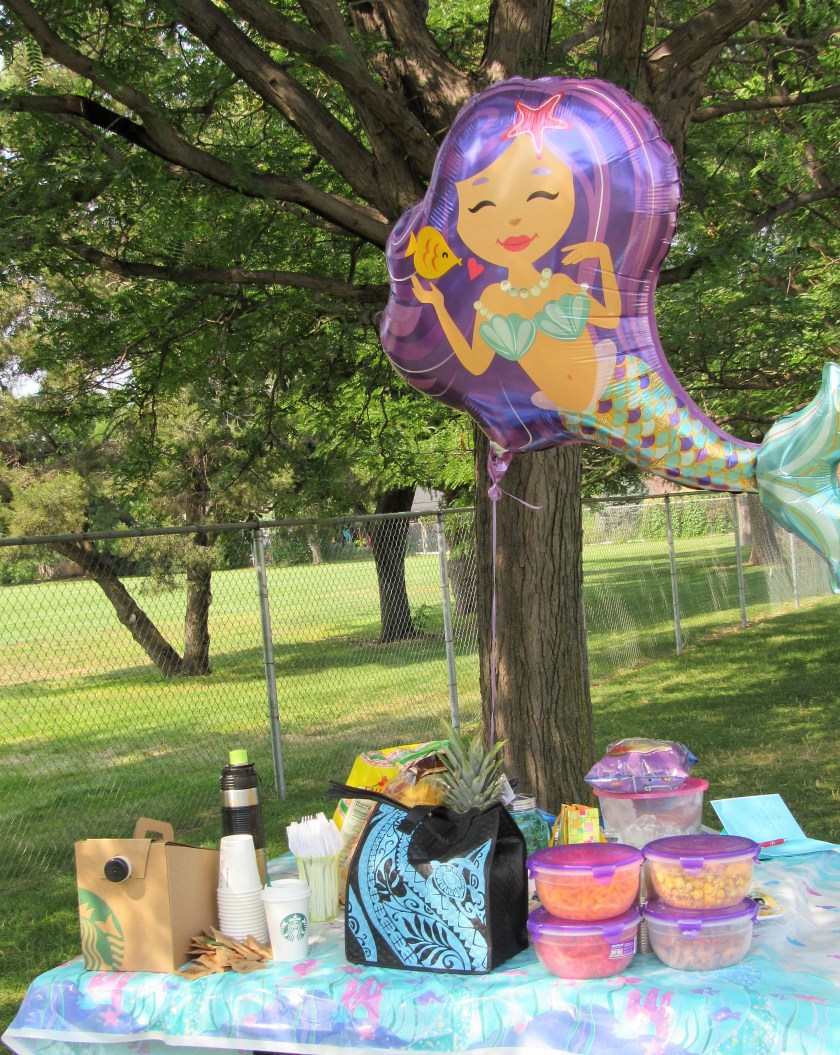
As much as I am in the kitchen, believe it or not, I am actually in the water much, much more.  I am only half human and chef.  The other half is a combination of dolphin and mermaid.  I have been teaching water aerobics all over the Denver Metro area for many, many years, and I just love it.  I get paid to play in the water and meet fantastic people everyday.  How good is that?!  All of my classes are very special to me, but sometimes you just get with a group of people and the chemistry is pure magic.  This was my “Mermaid Club” of Wheat Ridge.  The ladies who took my outside class this summer are a group of very strong, beautiful, very loving ladies, all of whom have big, huge hearts of gold.  Today was the end of our mermaid season for 2018, so we had a little end of season party, that was of course, mermaid themed.  Everyone brought something yummy, and we all had a great time.  Usually we work out hard, but today, it was more of a fun, party day than a work out day.  Needless to say, we were all a little distracted.  I always try to bring something healthy, but I love my sweets too.  So today, I brought both; a broccoli salad with a honey-poppy seed dressing as well as some blackberry-sage thumbprint cookies (still kind of healthy); something healthy and something sweet to eat.

IMG_2641

The food is only starting to come to the table.

IMG_2643

Not all of my Mermaids were able to join us, but here I am with some of my beautiful Mermaids.  I just love all these fabulous ladies.  (I am in the back, on the right).

39283933_637404863309381_1669658241283391488_n


Broccoli Salad with Honey-Poppy Seed Dressing

IMG_2631

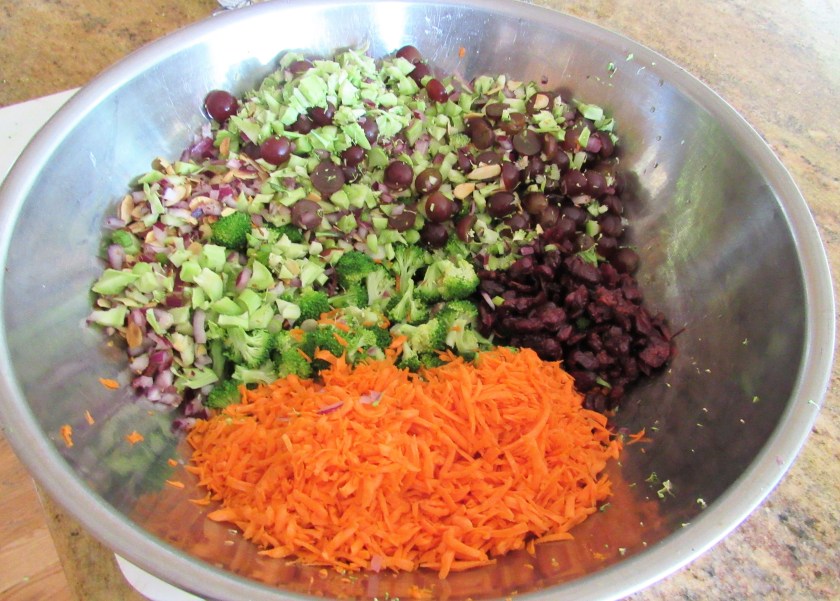
broccoli, cut into florets, as well as part of the stems, cut into a small dice (I cut away the bottom parts of the stems and threw those away)

grapes, cut in half

red onion, diced small

green onions, sliced thin

toasted almond slivers

shredded carrots

cranberries, reconstituted in warm water


I did not measure anything for my salad.  I actually made enough for two salads because my husband and I are going to a BBQ on Saturday, and I am taking the same salad.  As with most things I make, I just kind of eyeball it for my amounts.


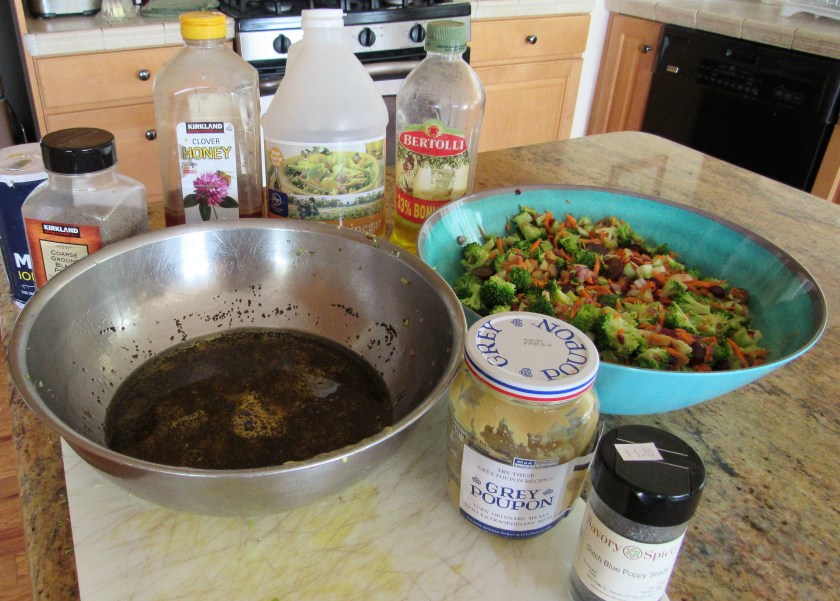
Honey-Poppy Seed Dressing

1/3 cup apple cider vinegar

1/4 cup honey

2 TBSP Dijon Mustard

1 TBSP poppy seeds

salt & pepper to taste

1/3 cup olive oil


Whisk everything together and pour over the salad right before serving.

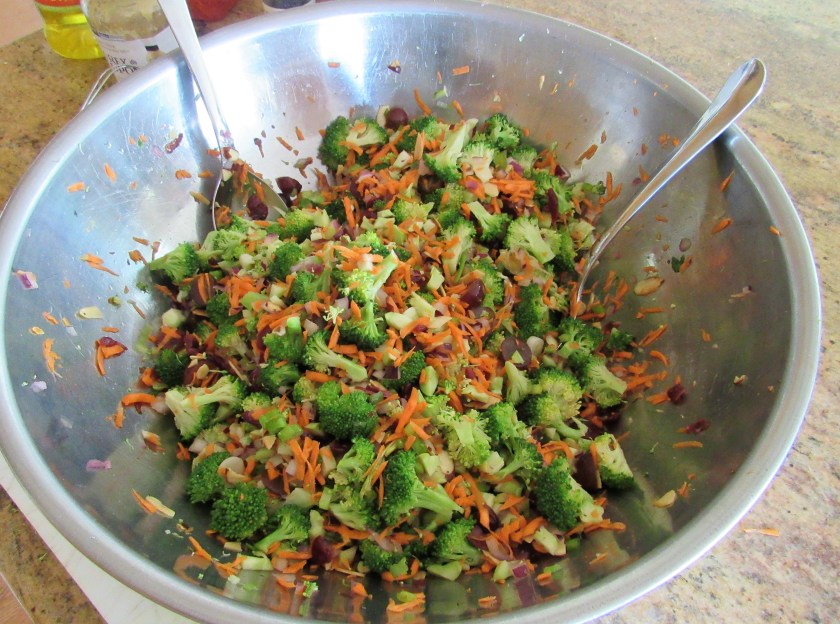
Blanche the broccoli florets in boiling water for about 5 minutes, then immediately remove and place in ice cold water so the broccoli does not continue to cook.  If you over cook the broccoli if will turn mushy and will loose its vibrant green color.  Then toss everything together and add your honey-poppy seed dressing right before serving to prevent the vegetables from getting soggy and limp.  The salad is best when served chilled.

IMG_2629

Making the dressing.

IMG_2635

Tossing everything together.

IMG_2633