When we think of quiche, we automatically think of it being French. We think of it originating in France. This is only partly true. France did not officially claim quiche as part of their own cuisine until 1805. Quiche, which is a savory open flan made from eggs, cream or milk and any combination of meat, seafood, vegetables and cheese made in a pastry crust, has been around in various European countries, such as Italy, Germany and England, since at least the 13th and 14th centuries. These savory flans were known as Crustardes of Flesh or just Crustardes. They are believed to have been first created in the medieval times, in the Kingdom of Lothringen, which was under German rule at the time. The name quiche is a derivative of the German word “kuchen”, which means cake. The Kingdom of Lothringen is now known as Lorriane, which is now part of France. This region has switched back and forth from French and German reign for centuries. Lorraine, was a small village at the time, that often did not have much in the way of food, as was the case for many small villages all throughout Europe. The foods people ate were simple foods that used simple ingredients from the local ‘terroir” or products from the farms and villages. Many people were farmers and they all had chickens and cows, meaning eggs, milk and cream were plentiful. People ate what they had. Each region added it’s own personality based on what foods that were readily available and plentiful. Originally, quiches were made without cheese. It was not until much later when cheeses were added to the crust. Today, no one would even think of making a quiche without cheese.
Quiches are found all over the world now, in many different varieties. They can be eaten hot or cold and are eaten for meals and snacks at any time of the day. You can fill them with whatever fillings you like. The possibilities are endless. I make quiche quite often, and I make many different varieties. In keeping with its tradition, I usually make it with whatever ingredients I have on hand at the time. This time, I made a quiche with crab, asparagus and mushrooms.
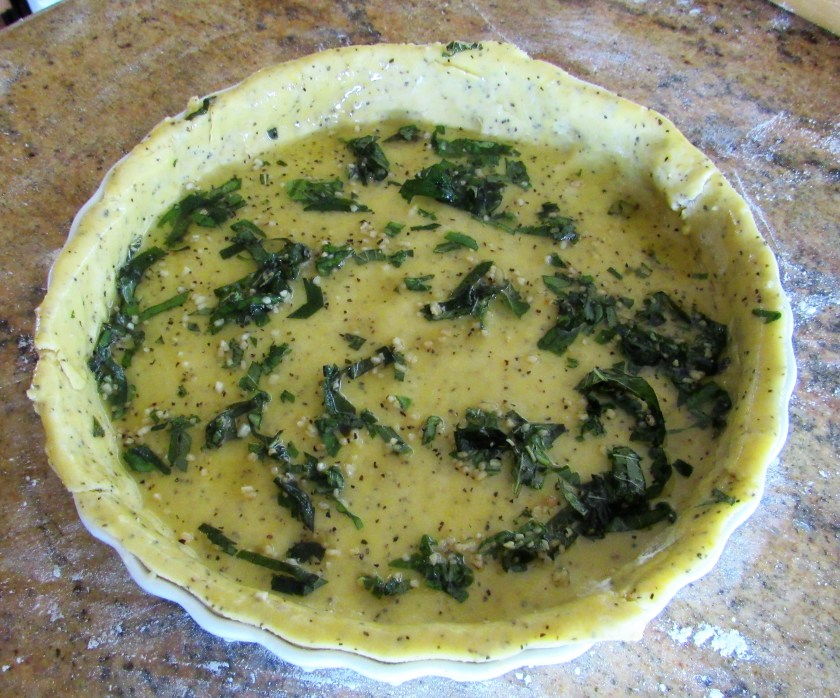
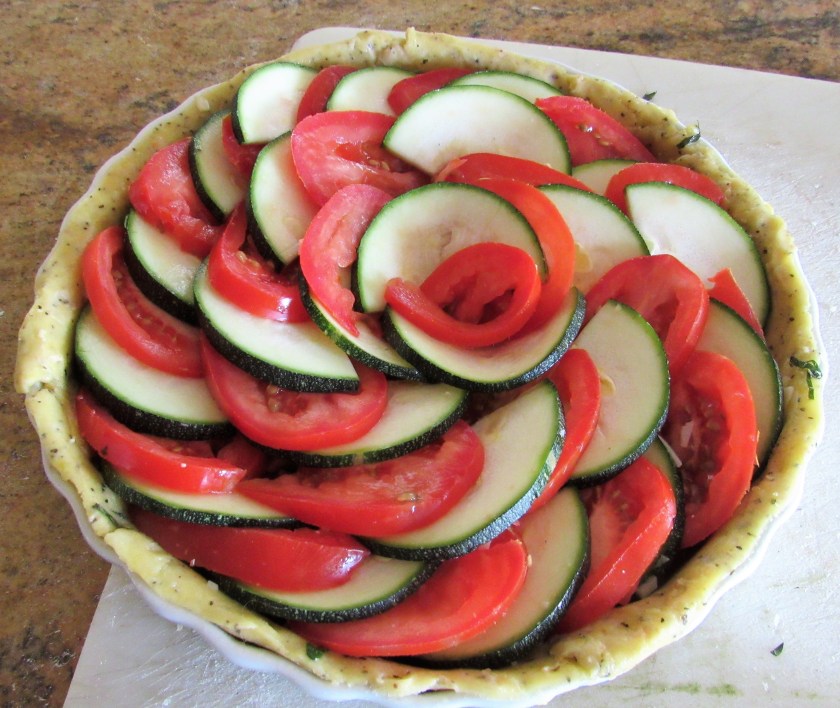
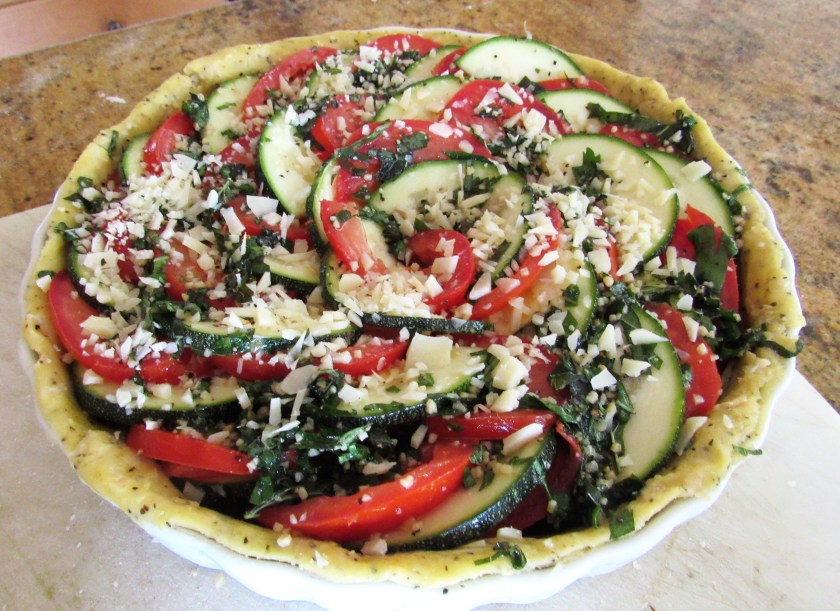
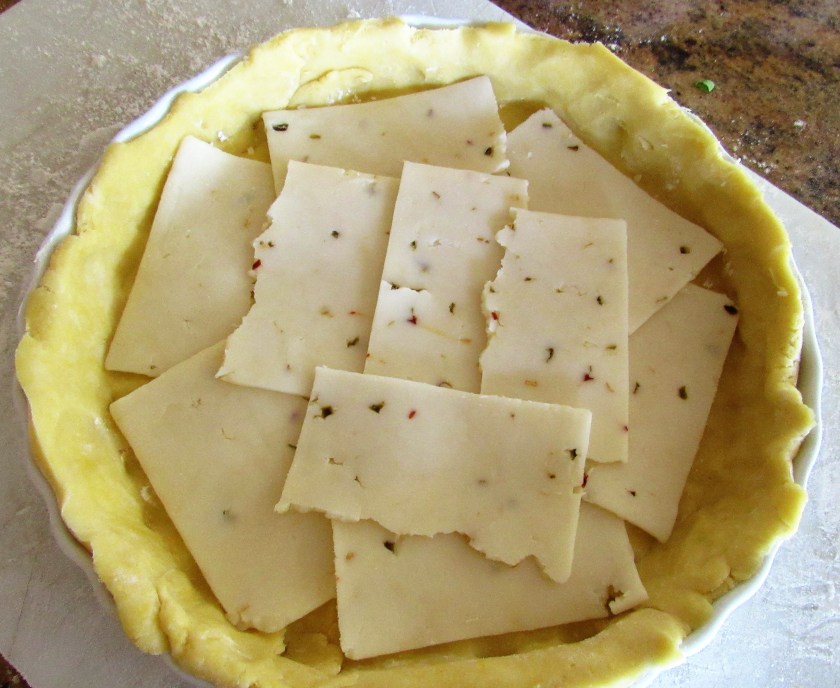
I used my basic go-to dough Lemony Tomato Zucchini Tart and added jalapeno jack cheese on the bottom, before adding my crab and vegetables. Usually a mild cheese is best for making quiches, because you do not want the flavors of the cheese to overpower the subtle and delicate flavors of the fillings and the dish in general.
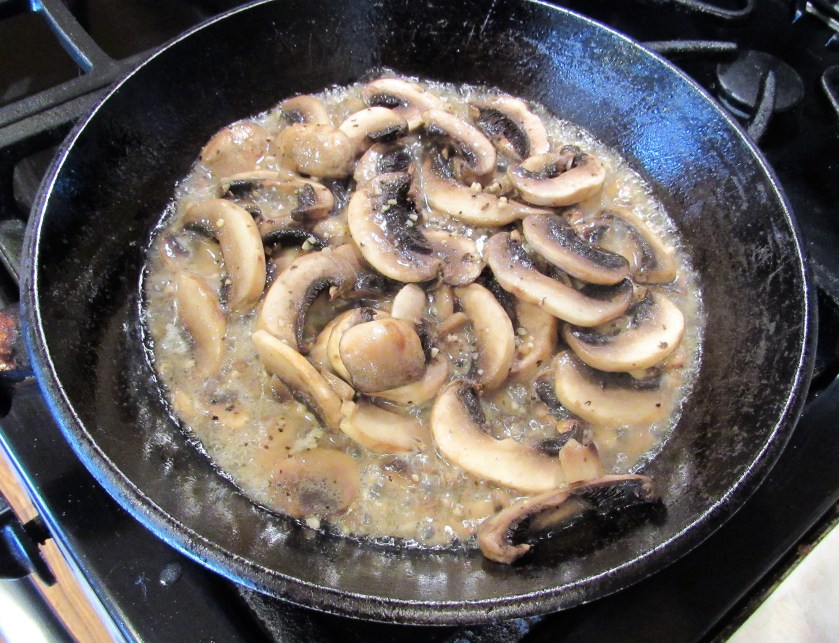
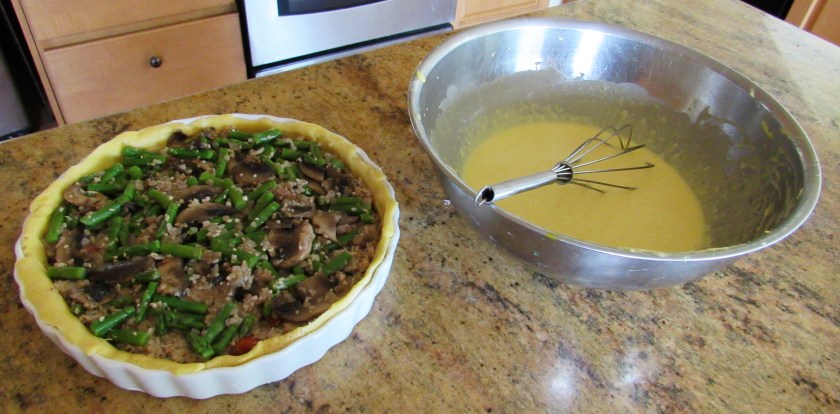
I cooked my asparagus first. I wanted it still a little crisp, then I sauteed mushrooms, garlic and shallots in olive oil and a little butter, with salt & pepper, and added my asparagus to that. I layer my quiches, but you can mix everything together if you prefer.
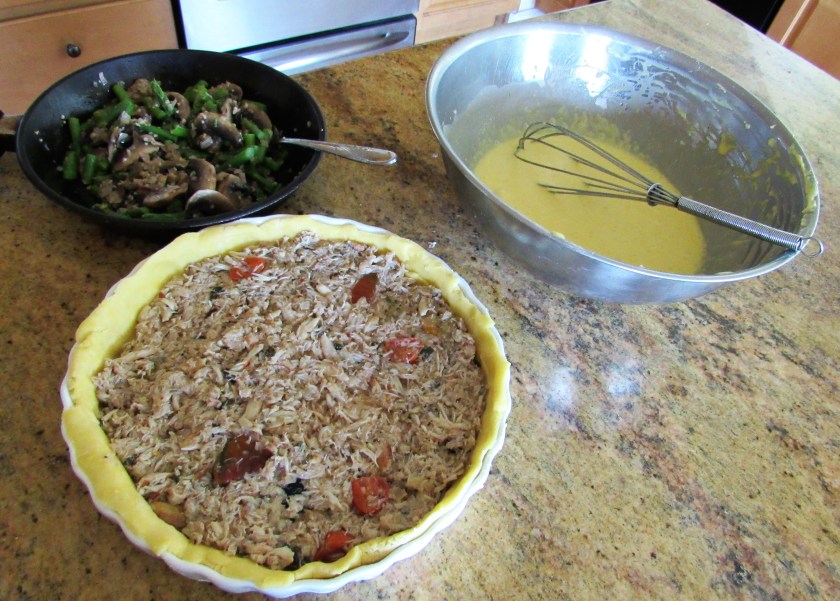
After my layers of crab and my asparagus-mushroom saute, I added the eggs and cream. This was a bit of experiment for me, since I had some leftover hollandaise sauce that I added to my egg mixture. I wasn’t sure if it would work or not, but it did. After all, a hollandaise is just eggs, butter and little bit of Dijon mustard. (My crab has some tomatoes added as well. Both my crab and my hollandaise sauce were leftovers from another meal. This will be another post).
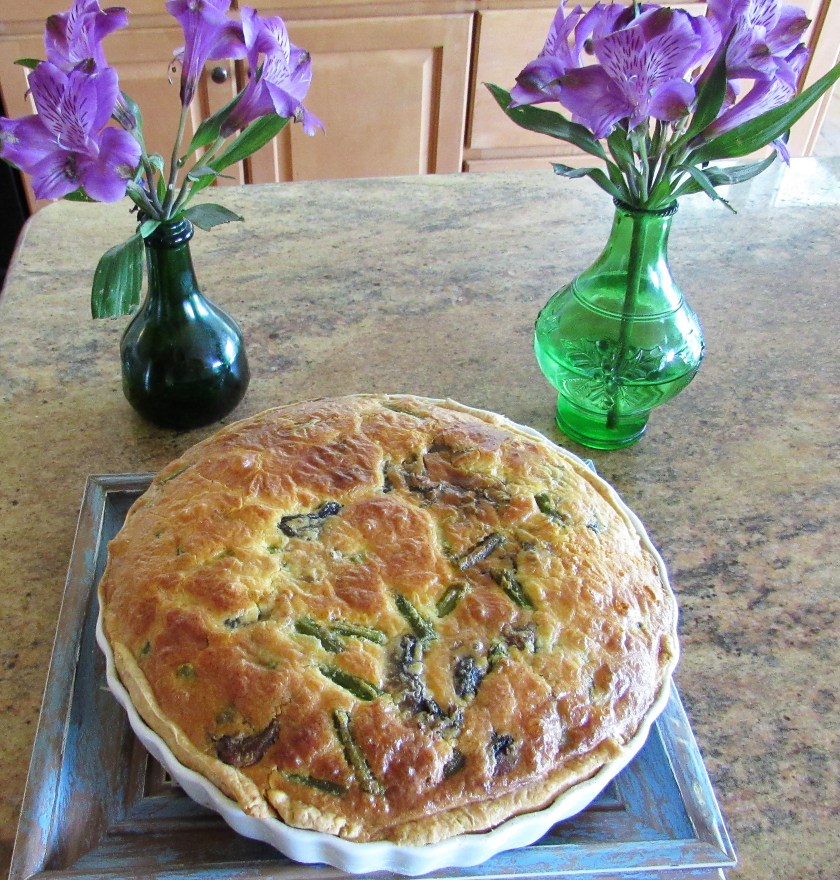
Quiche with Crab, Asparagus and Mushrooms
1 lb crab
your favorite light cheese
1/2 lb cooked asparagus – cook for about 5 minutes in boiling water, then remove. You want the asparagus to have a slight snap to it. After the asparagus has cooled, cut it into small pieces that are about 1/2 ” in size.
4-5 mushrooms, sliced thin
1 shallot, chopped fine
1 TBSP garlic
salt & pepper to taste
4-5 eggs
1/4 cup either heavy whipping cream or milk
dash of nutmeg
dash of Tobasco sauce
Jeanne’s Master Dough
1 1/2 cups flour
6 TBSP COLD butter, cubed
a pinch of salt
1 egg
about 6 TBSP heavy whipping cream
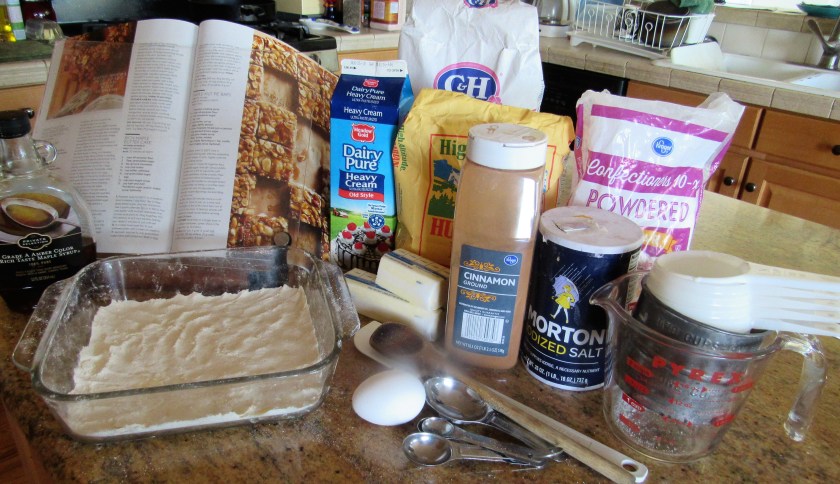
Mix together the flour, butter and salt in a food processor until everything is well incorporated. Then add the egg and the cream and mix everything together until the dough forms into a ball. Remove from the food processor and wrap in plastic wrap. Let the dough chill in the refrigerator for at least 30 minutes before using. The dough will keep up to about 3 days in the refrigerator. When you are ready to use your dough, let it come to room temperature before rolling it out on a lightly floured surface. I usually add a little flour to my rolling pin as well. Then roll to your desired thickness and and shape it however you like. I use this same recipe for my tarts as well. If I am making a sweet tart or dough, the only difference is that I also add about 3 TBSP of powdered sugar. This is called a pate sucre. Sometimes, when I am making a savory dough, I add black and/or lemon pepper and other spices to my dough as well. Again, be creative and use your imagination.
Once your dough is ready, add your crab, then the cooked vegetables. Whisk the eggs and milk together, with a dash of nutmeg and Tobasco sauce, then pour over the quiche filling, filling it all the way to the rim of the baking dish. Bake uncovered at 350* F for about 45 minutes or until done and the quiche is set. If the edges start to get to brown, cover the tart with aluminum foil until done. The eggs will rise and will fluff up at first, but once the quiche cools for a few minutes, they will settle down again. Wait a few minutes before cutting the quiche. The quiche can be eaten hot, warm or cold. Bon Appetit!