I love pumpkin. I love everything pumpkin. In the fall, I usually get into my pumpkin moods, and make a lot of dishes with some kind of pumpkin. Pumpkin is just the perfect fall food, I think. I love the taste of pumpkins, but they are also very healthy for you too. The Flavors of Fall
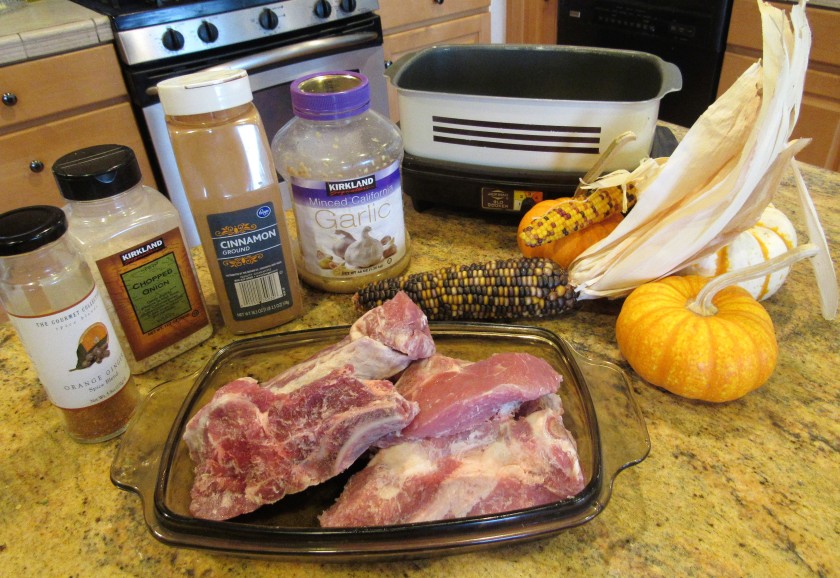
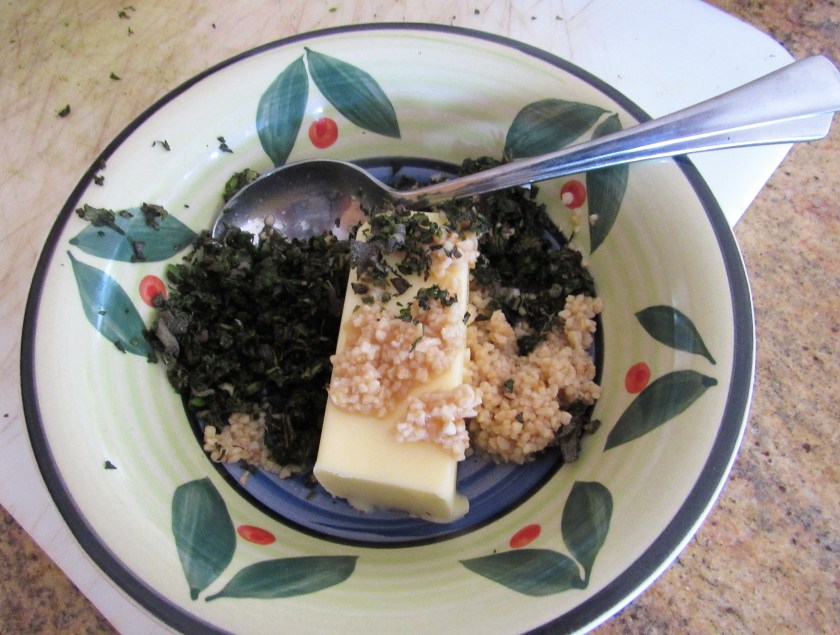
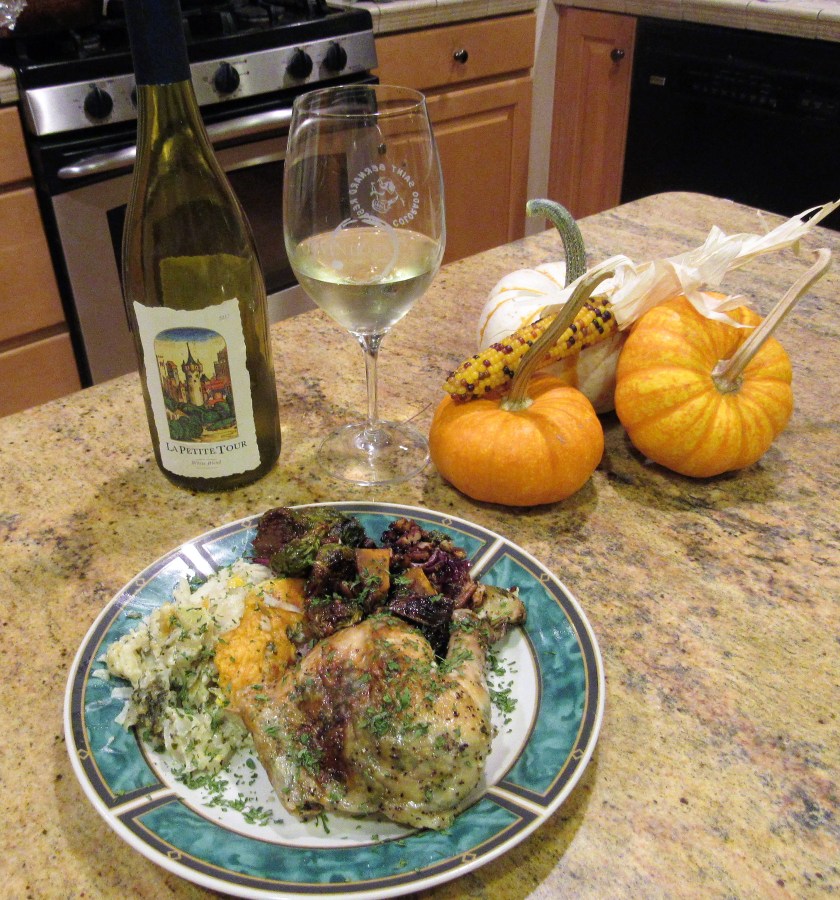
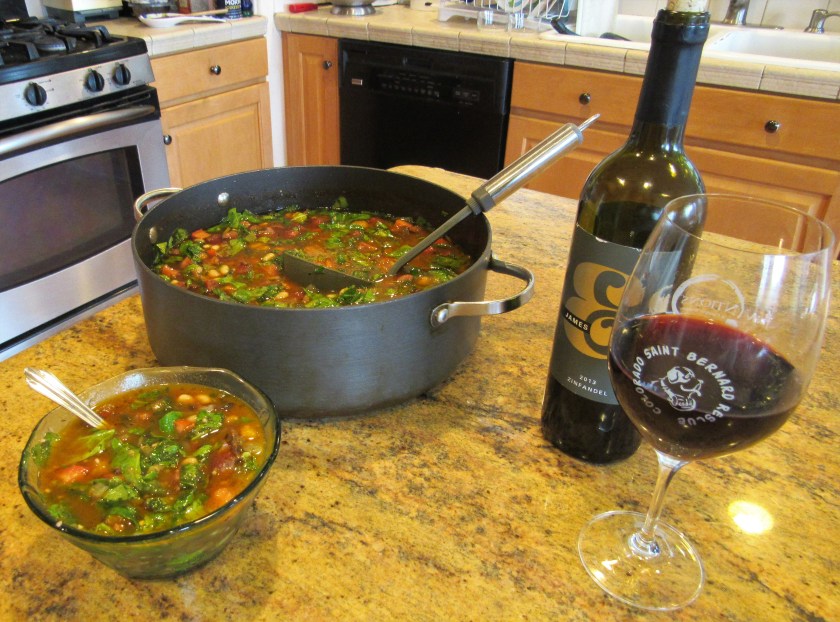
I am definitely a bread person, and love to have bread of some sort with my dinner. So when I came across this recipe for pumpkin-Parmesan bread, I was very excited to try it out. Boy, am I glad I did too. I love it! It is a little bit sweet, from the pumpkin and the sugar, but with the addition of the Parmesan cheese and sage, it makes it a bit more savory. The combinations of flavors work perfectly together. You can top it with a little butter or creme fraiche, whichever you prefer. I served it with my beef short ribs. It made for a perfect fall meal. A Simple Fall Feast
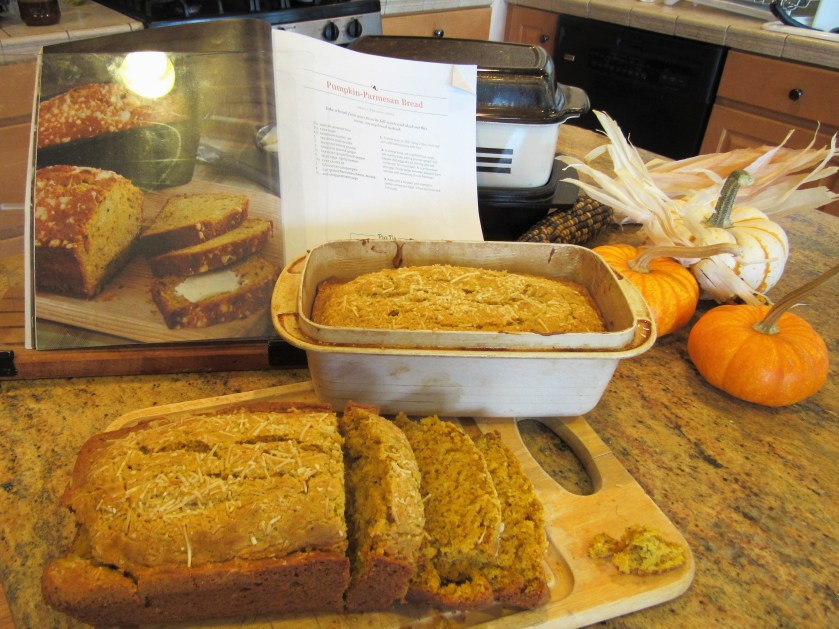
Pumpkin-Parmesan Bread
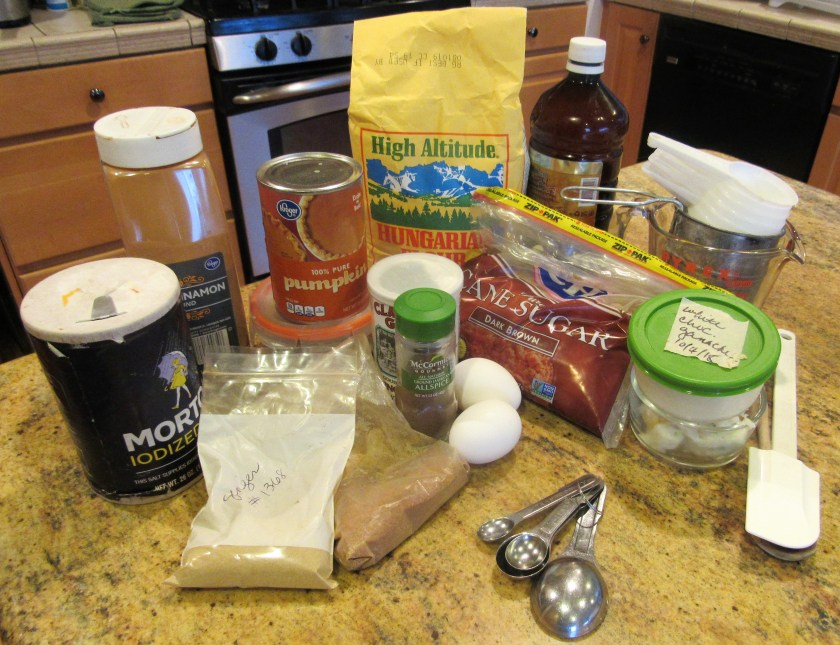
3 1/2 cups flour
1 1/3 cups sugar
1 1/2 tsp salt
1 tsp baking soda
1 tsp baking powder
1 tsp ginger
1/2 tsp black pepper
5 large eggs,
1 1/4 cup canola oil
1 15 oz can of pumpkin puree
1 cup Parmesan cheese, divided
1/3 cup fresh sage or rosemary, or a combination of both
Preheat the oven to 350*F
Spray 2 loaf pans with cooking spray
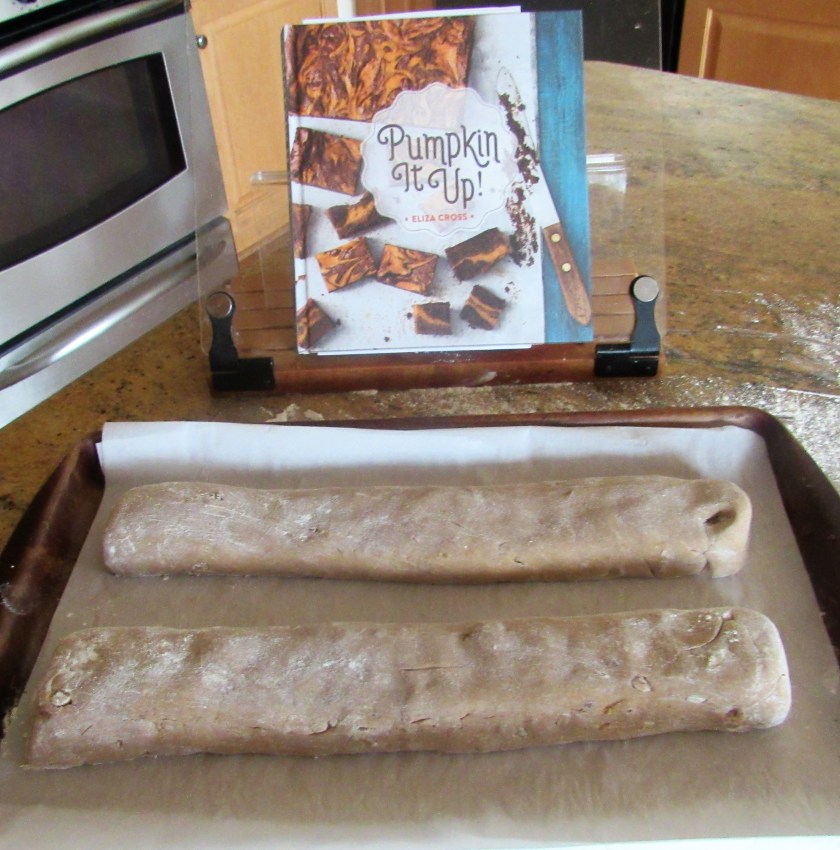
Mix the flour and all the dry ingredients together and set aside. Slightly beat the eggs, then mix with the canola oil and add to the flour mixture. Once those are combined well, add the pumpkin and about 3/4 cup of the Parmesan cheese, and mix well.

Divide the batter equally into the two loaf pans, and spread it evenly in the pans. Top with the remaining Parmesan cheese and bake for about 60-70 minutes, or until a toothpick that is inserted in the middle comes out clean. Let cool before eating. then sit back and enjoy the flavors of the season.

With all the eggs, it came out so light and fluffy. Delicious!