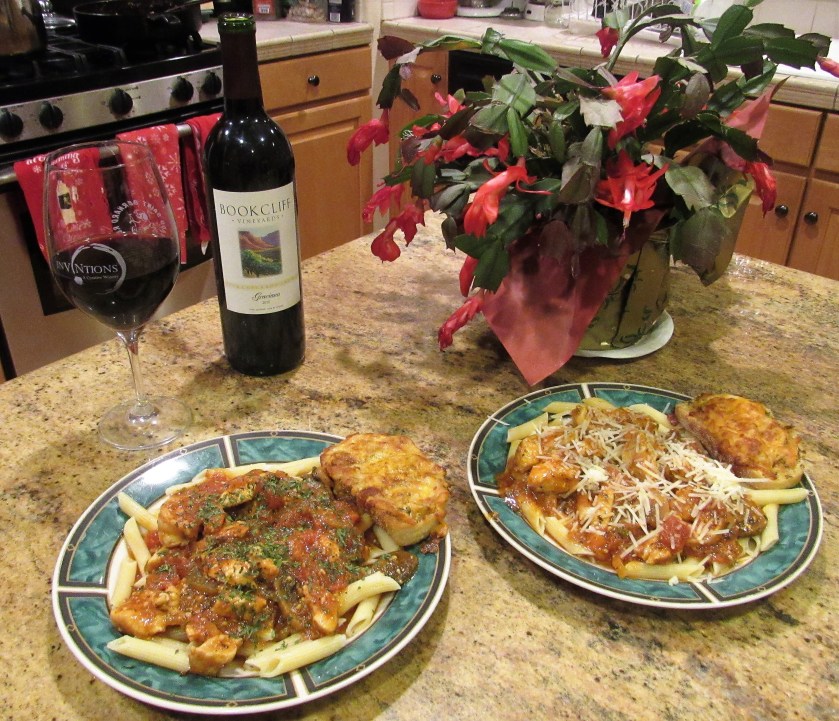
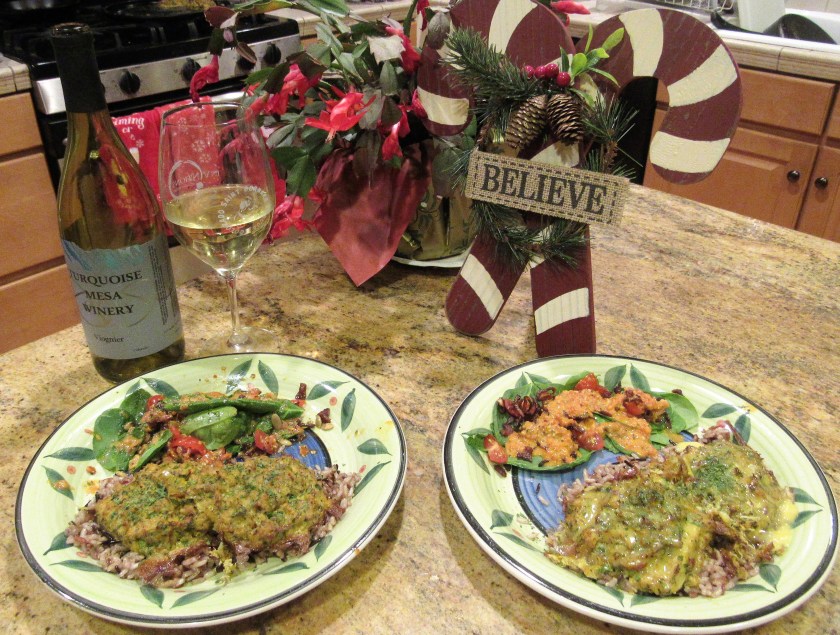
It wasn’t exactly the best weather for soup, since it has been unseasonably warm lately, but this soup was just calling out to me, so I had to make it. I am very glad I did too. It came out so good. Beef barley soup was always one of dad’s favorites, and I guess I was just subconsciously missing my dad, which is maybe why this recipe was just calling out to me. This beef barley soup though, was nothing like the beef barley soup my dad remembered. Aside from the usual ingredients you would expect to find in a beef barley soup, this one also had a few extra twists with the addition of both red wine and pesto. From here on out, those extra additions will always be a part of the soup recipe, that’s for sure. This soup was a meal in and of itself. All I added was some warm bread and a glass (or two) of a smooth red blend, and dinner was served. The wine I served was a Graciano, from yet another local winery, located in Boulder, Bookcliff Vineyards. You can find them at https://bookcliffvineyards.com.

Beef Barley Soup with Red Wine and Pesto
1-2 lbs of beef, cubed
salt & pepper to taste
olive oil for cooking
1 small onion, diced small
1 1/2 TBSP garlic
2 carrots, sliced
1 cup pumpkin, medium cubes (optional)
1/2 cup dry red wine
1 (14.5 oz) can of diced tomatoes, or 3 tomatoes cut in a medium dice
3 cups beef stock
1/4 cup pesto sauce + more for the topping
1/2 cup barley
2 cups fresh baby spinach, stemmed

Pat the beef dry with a paper towel and cut into bite sized cubes. Heat the olive oil in the skillet, and when the oil is hot add the beef and salt and pepper to taste. You may actually want to go a little heavier on both the salt and the pepper because these seasonings will help season the soup as well. Brown the meat on all sides, about 5-7 minutes. Once the meat is browned, transfer it to the slow cooker and set aside.

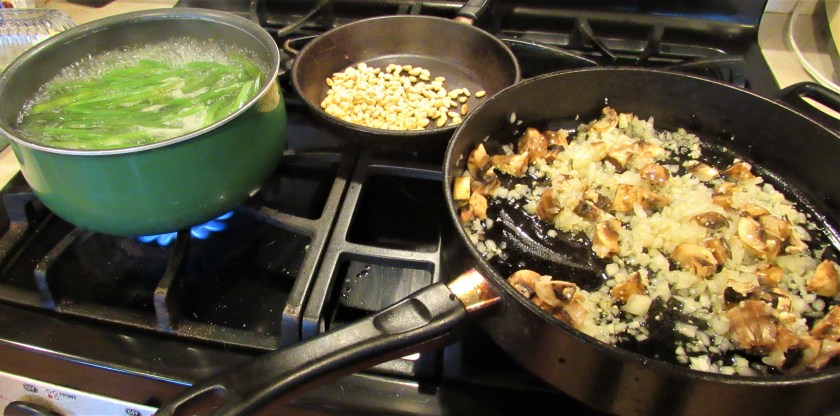
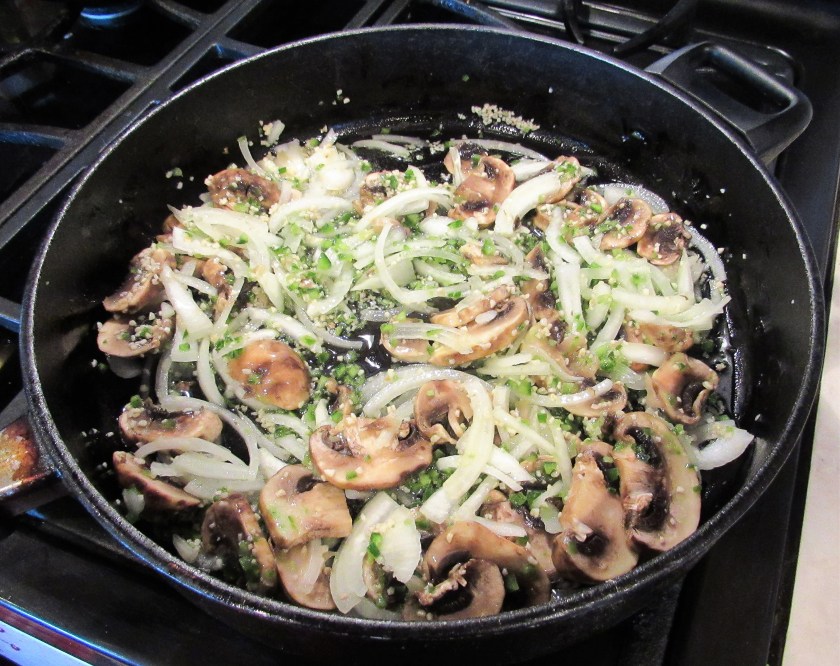
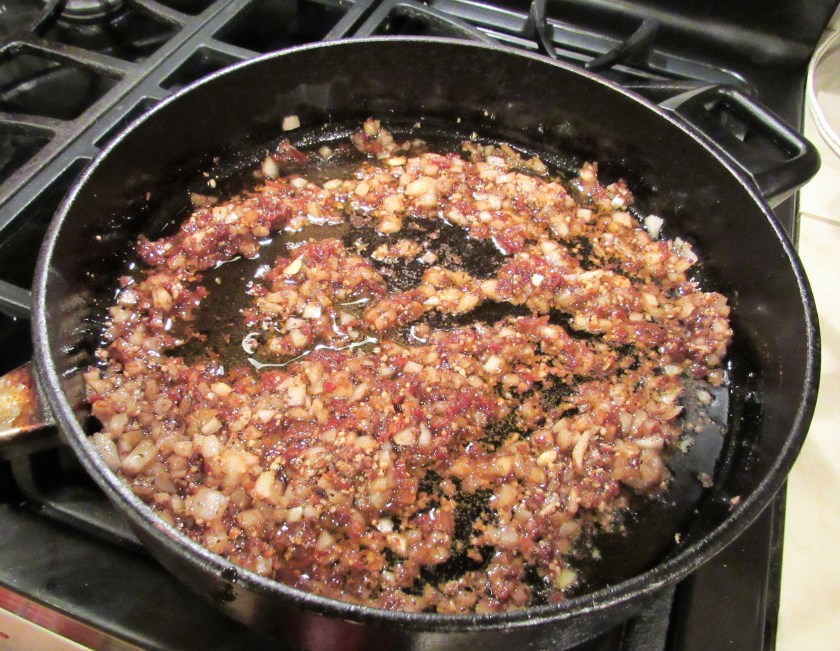
In the same oil and leftover seasonings, add the vegetables, and cook until the carrots are semi soft and tender and the onions are translucent. I still have a bunch of pumpkin I want to use, so I added some to my soup as well, but it is optional. As i have said many times, I love vegetables, and I love a very wide variety of them, so I add as many as I can to a dish, without over loading.
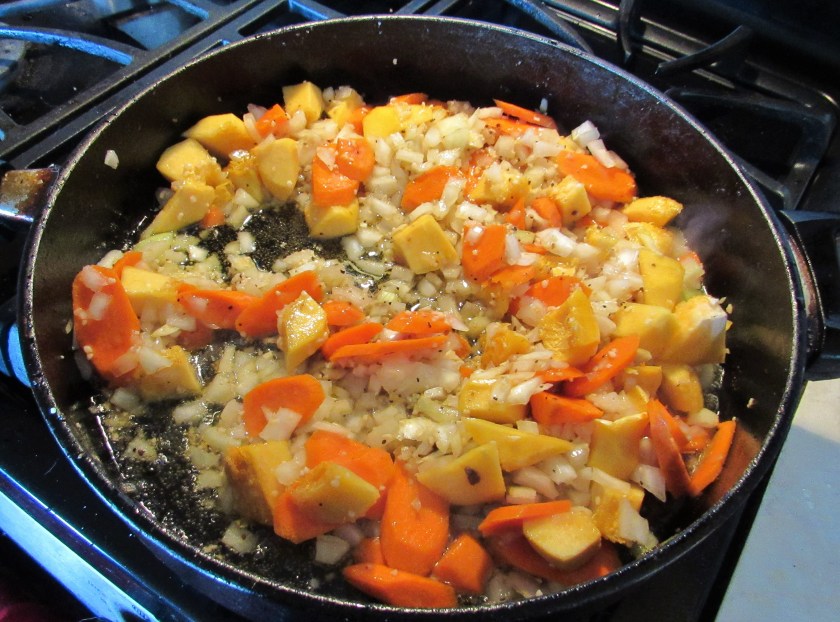
When the vegetables are cooked, add them to the top of the beef in the slow cooker and set aside again.
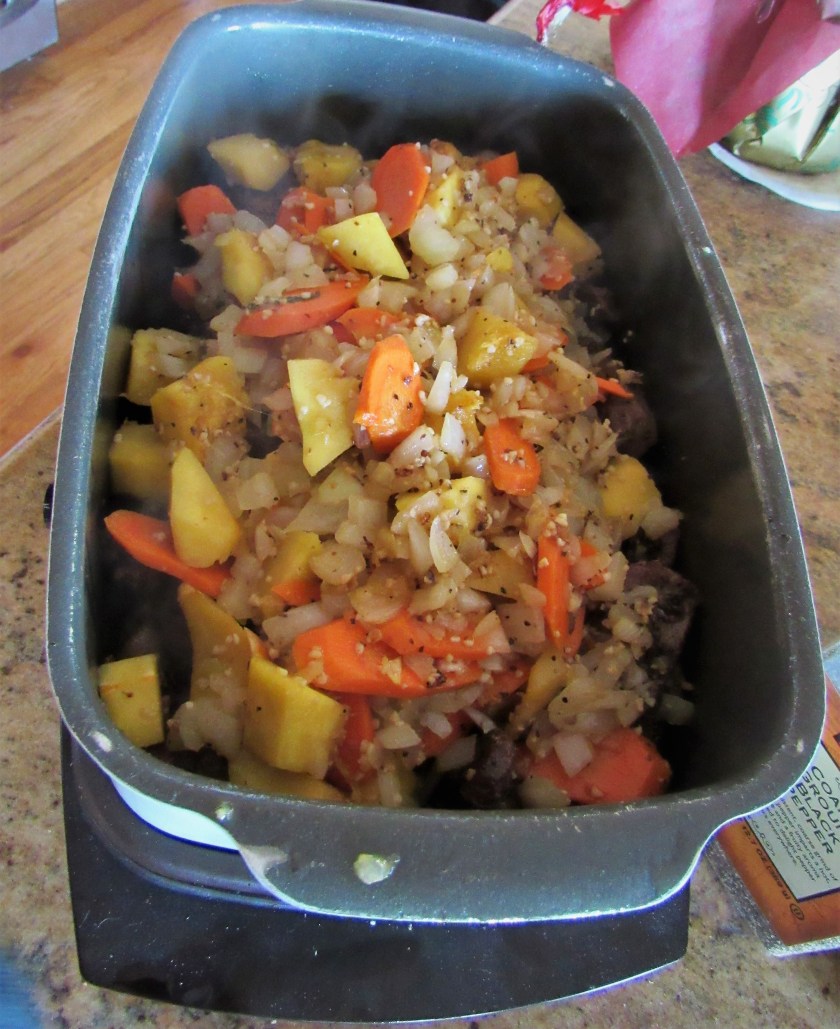
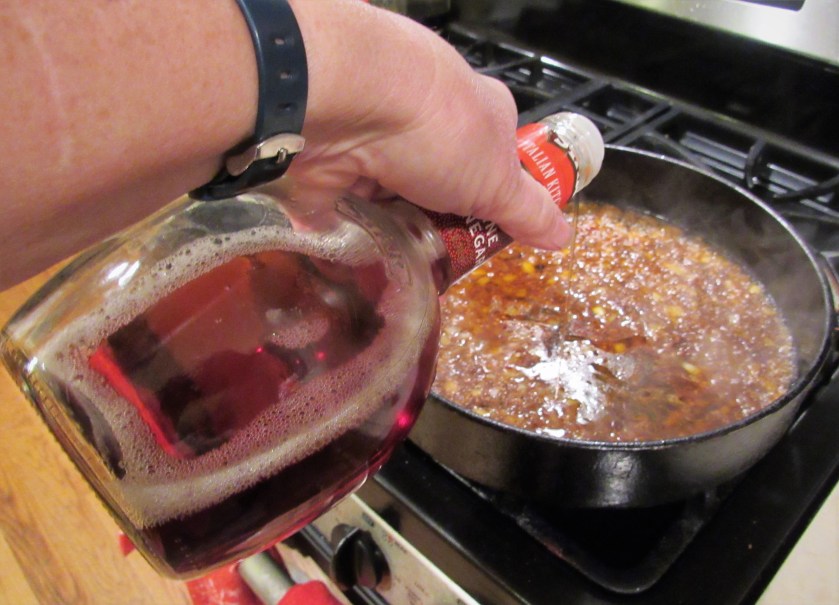
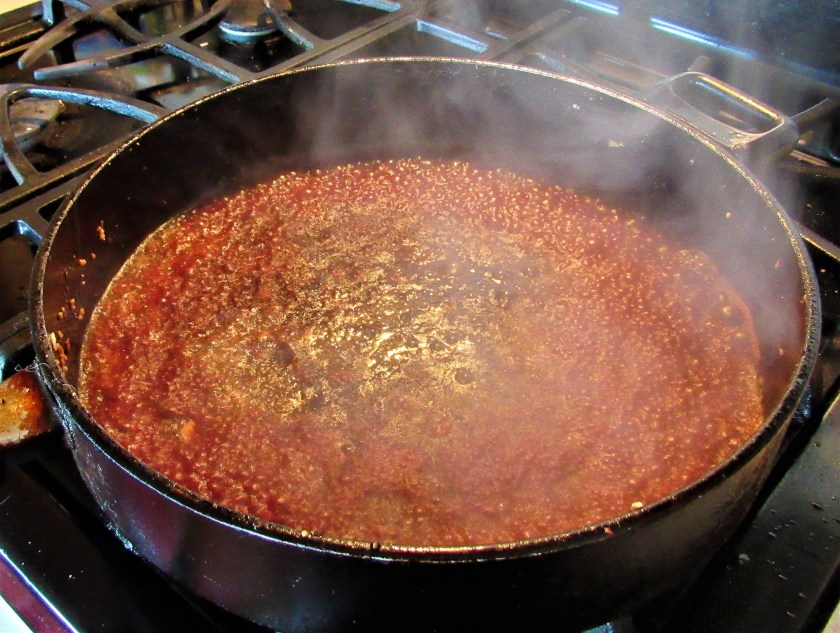
Pour the wine into the skillet, cook for about 1 minute and scrape all the drippings off the bottom of the skillet. Once it is done, add to the beef and vegetable mixture.
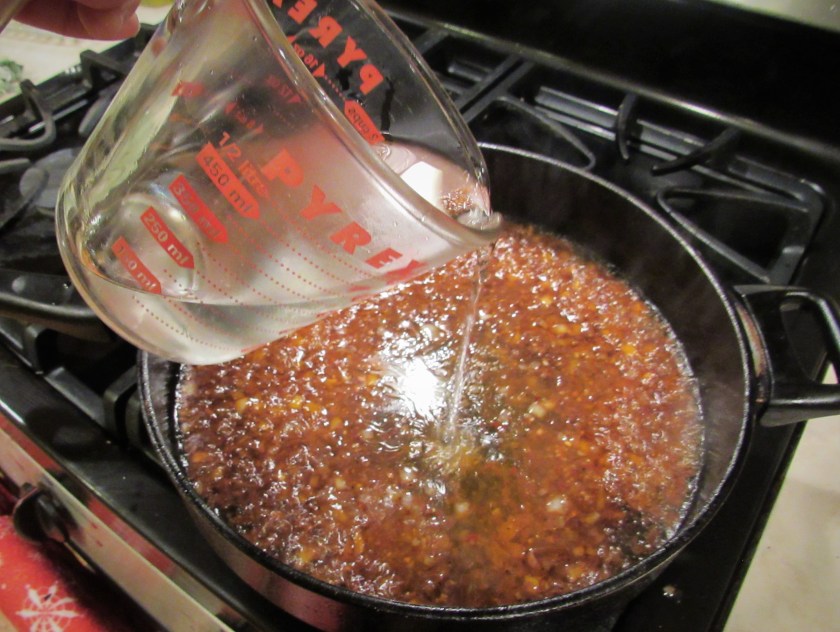
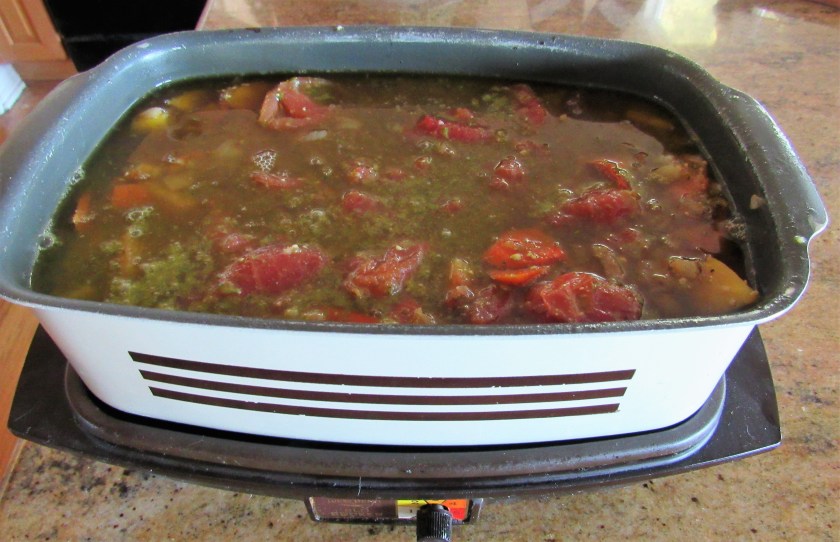
Mix together the beef broth, tomatoes and their juice and the pesto and pour over the beef and vegetable mixture. Now it is ready to start cooking. Turn the slow cooker on high and cook for about 2 hours.
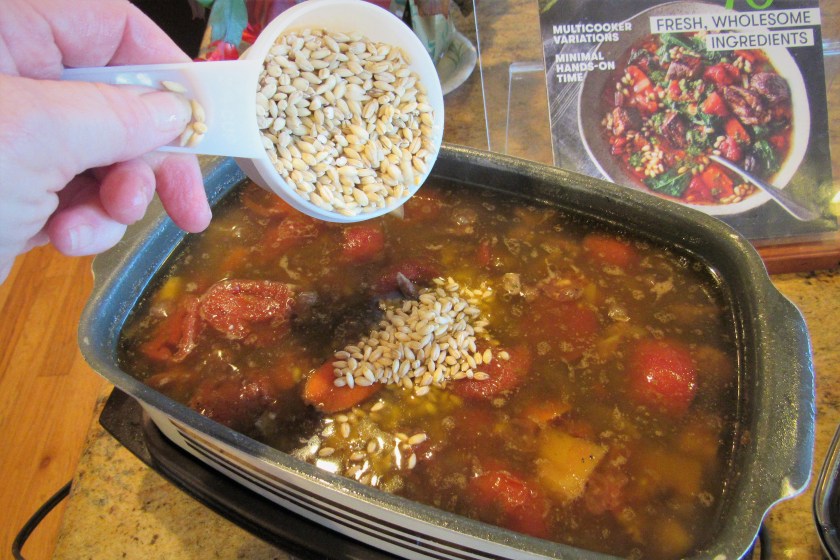
After the soup has cooked for 2 hours, it is time to add the barley. Mix everything together well. Once the barley has been added, continue to cook the soup for another 2 hours, with a slightly lowered temperature.
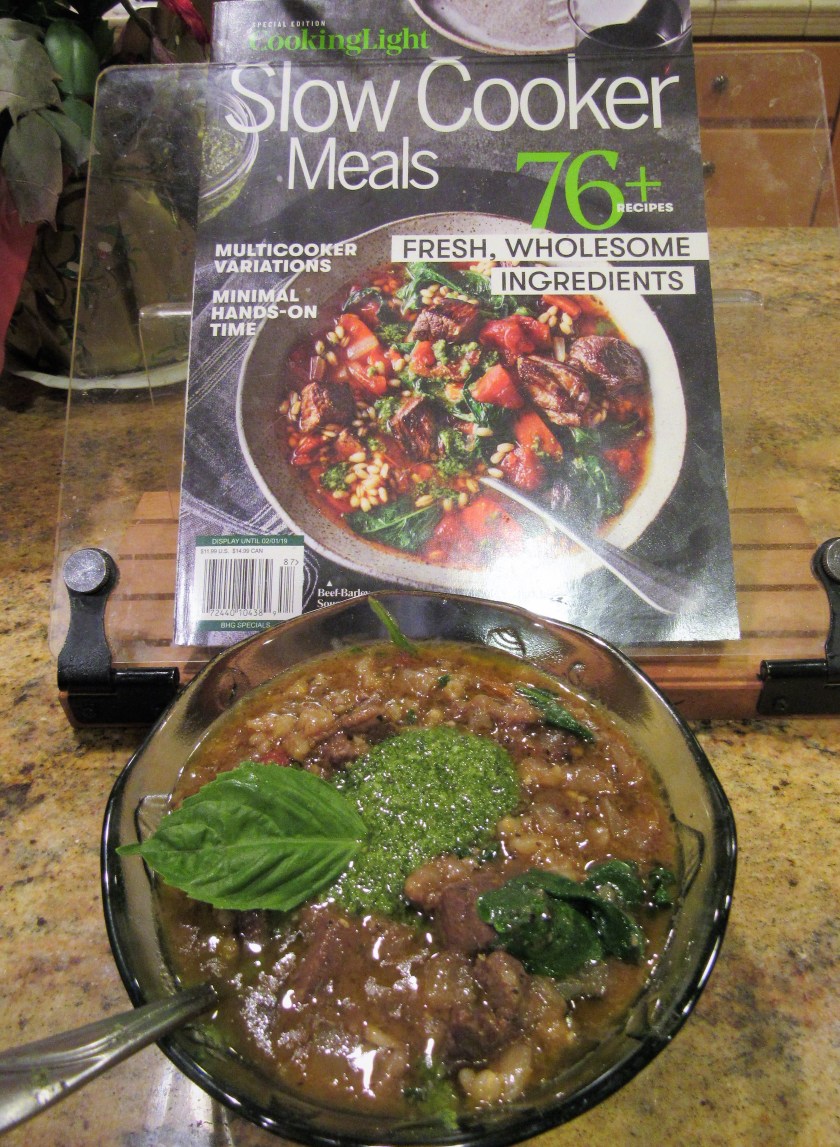
Right before serving the soup, add the spinach and incorporate well into the soup. Spoon it into your serving bowls and top with a little additional pesto. I had a little extra store bought pesto that I used for the soup base, but while the soup was cooking I made some more and I used the fresh pesto for my topping. Even though the weather has been unseasonably warm, you can’t go wrong with this soup; soup weather or not. Delicious!


 1 1/2 lbs fresh green beans