From Sesame Chicken to Stir-Fry Pork

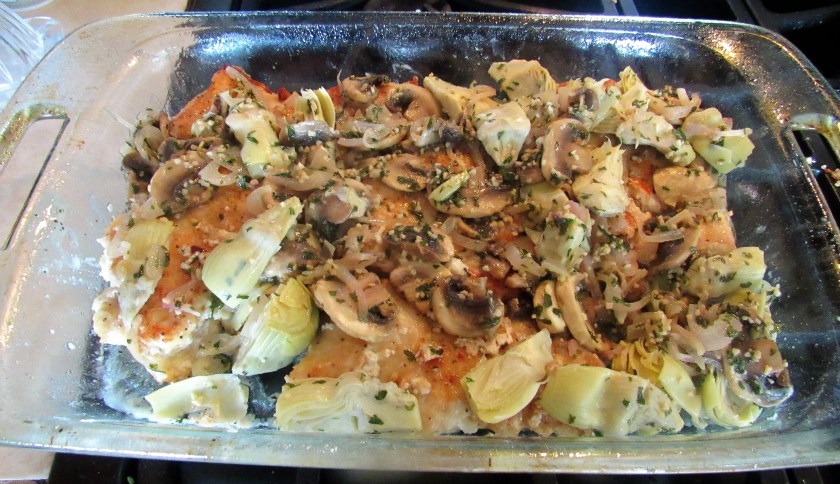
I know, you’re reading the title and thinking ??????? What is she up to now? Has she completely lost her mind?  Well maybe, but not for the reasons that you may think.  I may be crazy in all other aspects of my life, but in the kitchen I know exactly what I am doing (or at least I put on a good show so everyone is fooled into thinking that ).  🙂   By now, you all should know I hate throwing food away if I don’t have to, and that means waving my magic spoon and stirring with my magic whisk to re-create something completely different from leftovers that I already have.  I have nothing against eating leftovers just as they are, but as a creative person, I get bored easily, and I just have this burning desire from deep within that drives me to create, or in a lot of cases, re-create.  Hence my reigning title as “The Queen of Leftovers”; a title I have no intentions of surrendering anytime soon.  This time, I had a lot of sauce leftover from when I made my sesame chicken and I did not want to just throw it away if I didn’t have to, nor did I want to have the same exact dish all over again so soon.  Sesame Chicken  We had pork chops and a wide variety of vegetables, so an Asian pork stir-fry with vegetables it was.  All I needed to do was to add a few different ingredients, and voila, it was a new sauce and a new dish.  Don’t worry, it was extra sauce that was nowhere near the chicken.  I would never cross contaminate my foods like that.


IMG_3917

IMG_3906

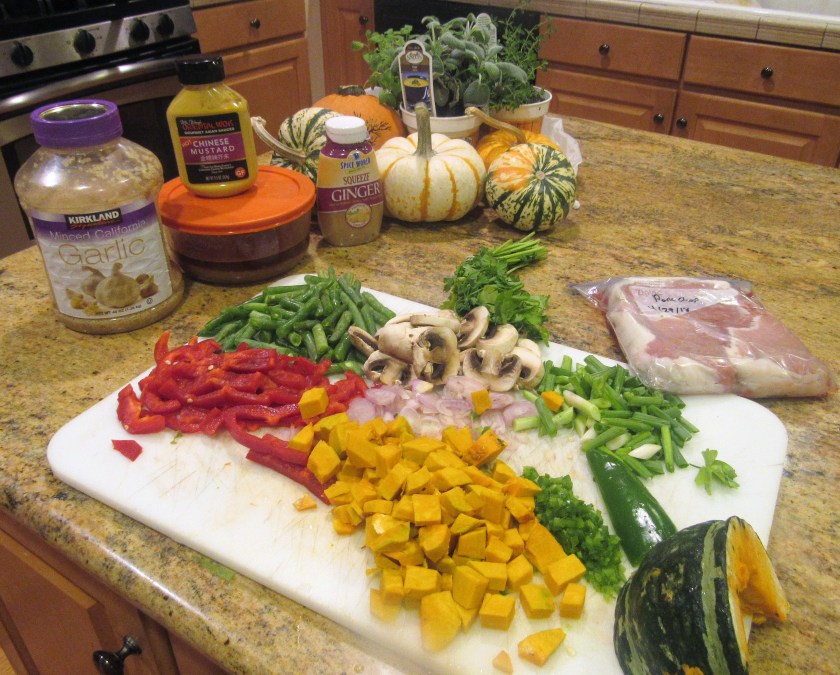
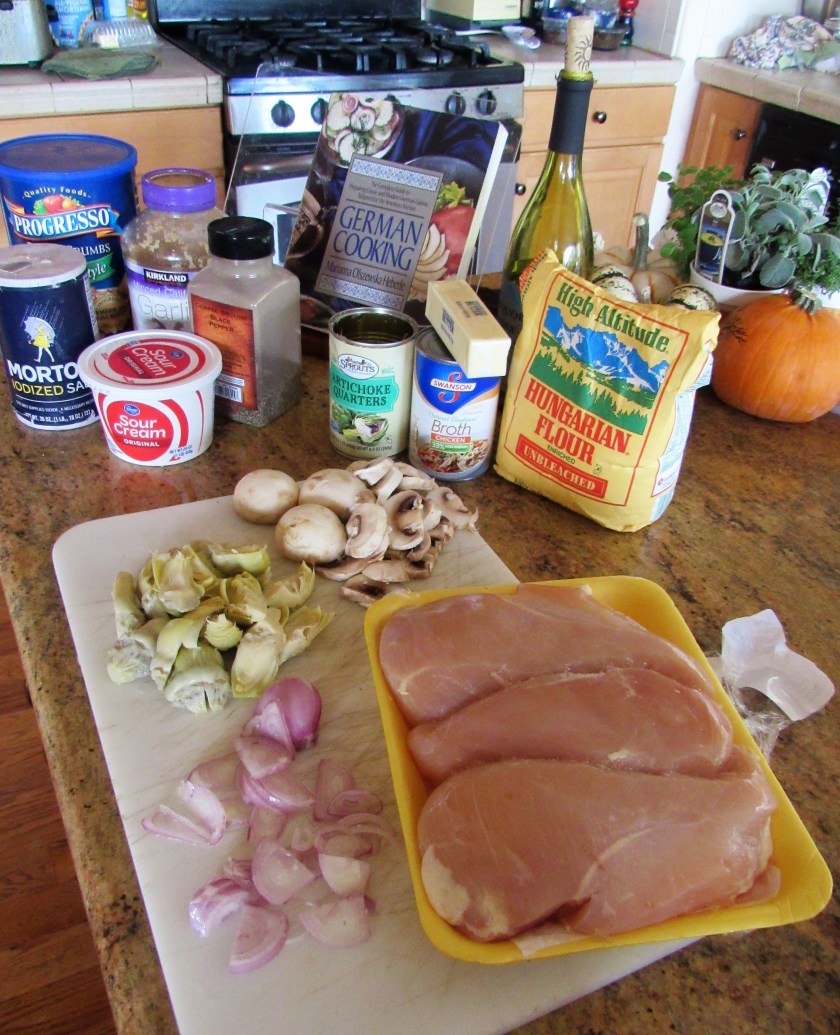
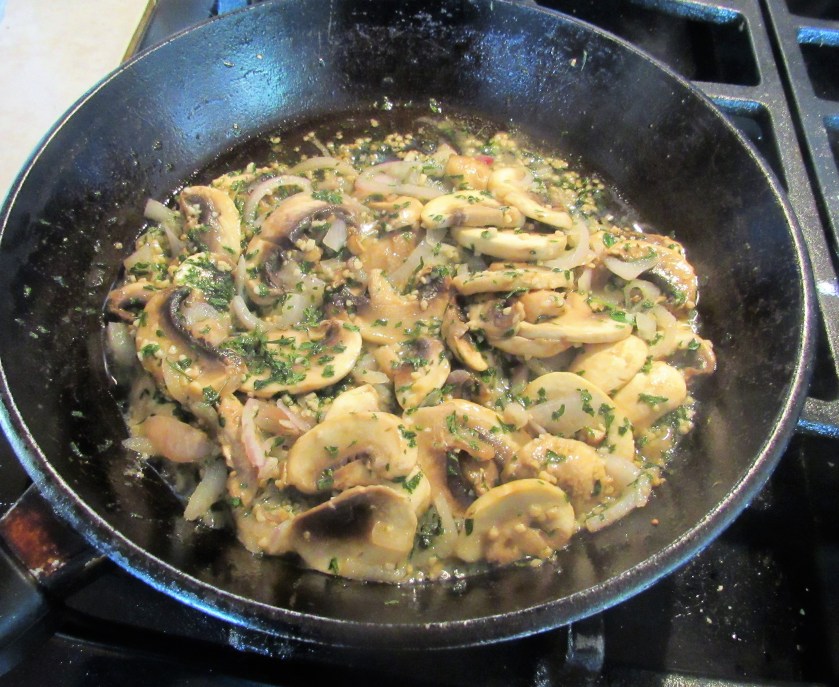
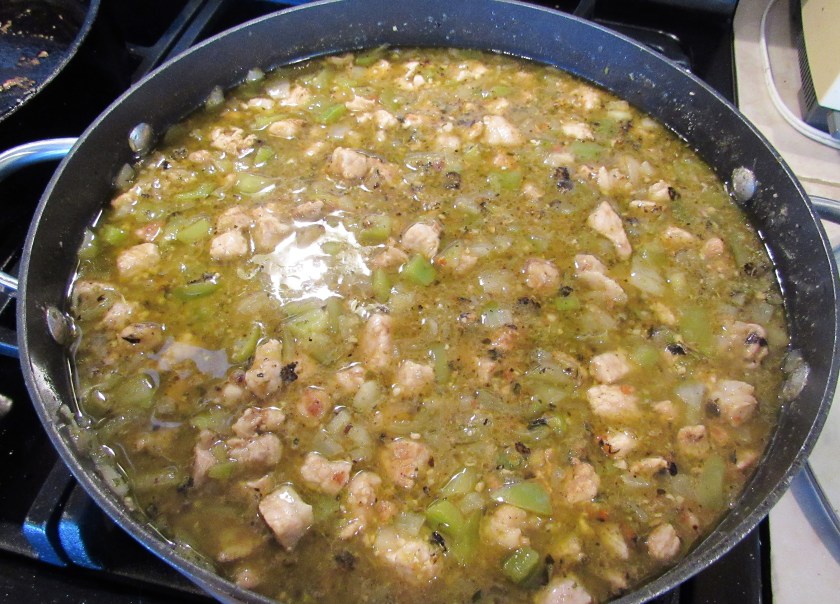
I love all vegetables and I always have a wide variety on hand at any given time.  We eat a lot of vegetables, and I am always mixing them up. We always have vegetables with more vegetables.   I love mixing up a whole bunch of colors and textures of my vegetables too.  So mix them up yourselves, and use what you like, in any combination you like.  There is no right or wrong types of vegetables to use.  This time I used, red bell peppers, fresh green beans, mushrooms, jalapenos, shallots, kobiashi squash or pumpkin and green onions (Yes, soon all those little mini pumpkins in the background will be cooked up and used as well).  If you are using both soft and hearty vegetables, saute your heartier ones first and add your softer ones towards the end of the cooking process.  I cooked them in a combination of both olive oil and sesame oil with chilies in a hot skillet.  If you have a wok, that’s fine too.  I have one, I just very rarely use it.  For whatever reason, I prefer using my large skillet.

IMG_3910

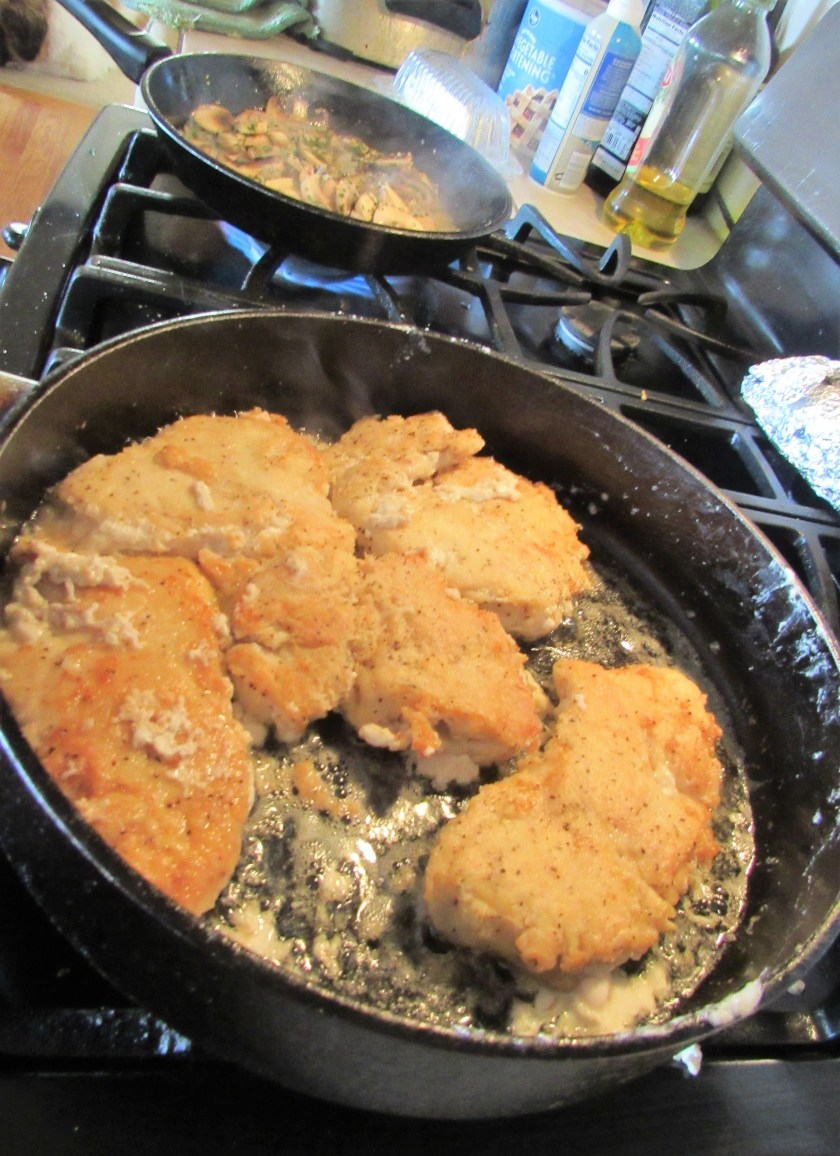
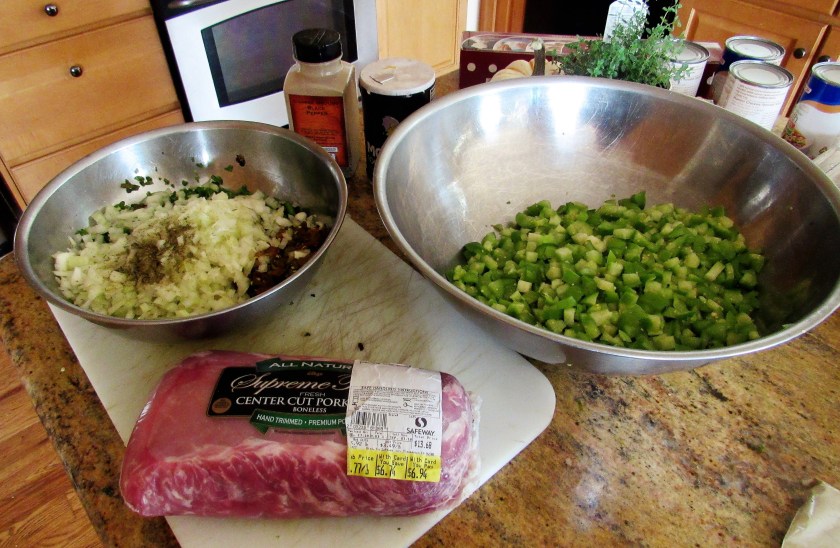
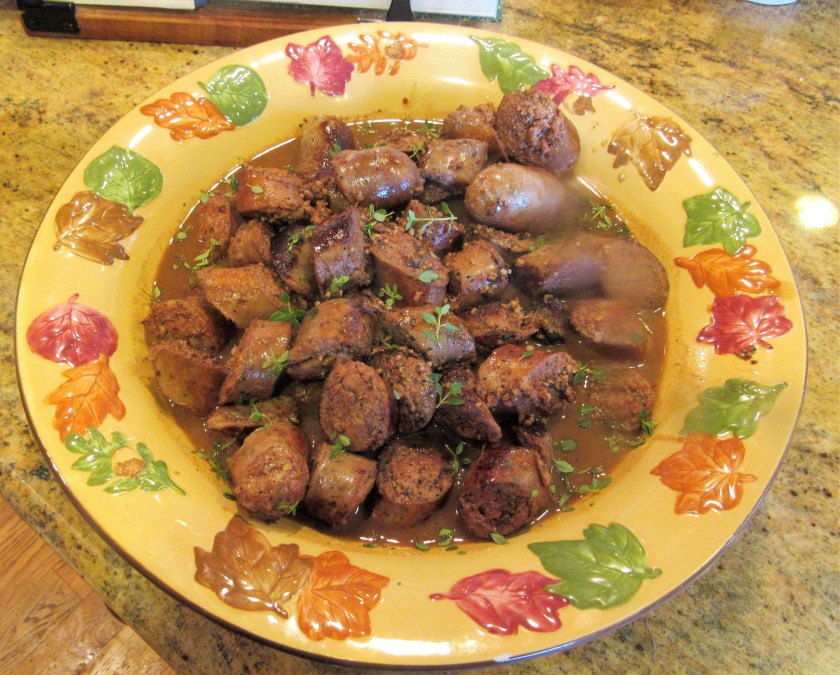
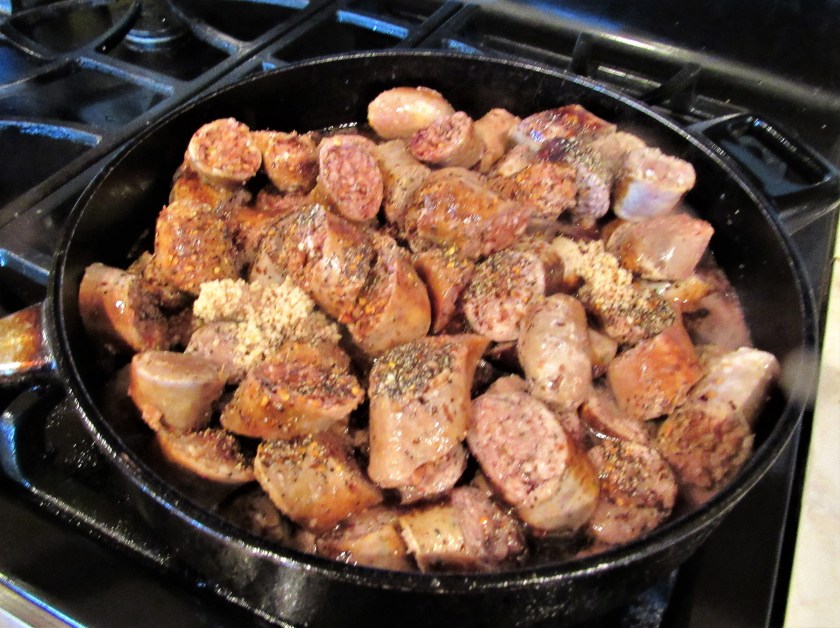
I sliced the pork into thin strips that were about 1 1/2″x 1/2′ in size.  Once the vegetables were cooked, I added the pork to the vegetables and continued cooking until the pork was completely cooked.  While everything is cooking.  I made the additions to my sauce.

IMG_3911

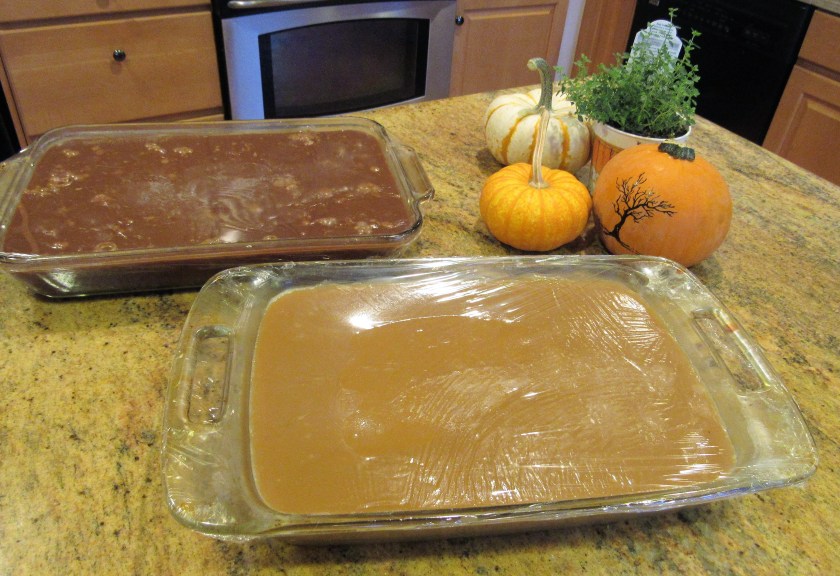
As I said above, I used my leftover sauce from my sesame chicken Sesame Chicken then I added about 1 heaping TBSP of each garlic, fresh ginger and hot Chinese spicy mustard.  To make the sauce a little thicker, if you want, you can add a little cornstarch mixed with water to the sauce.  I was going to use it, but the sauce did not need it this time.  It was fine just the way it was, so no cornstarch was needed.

IMG_3909

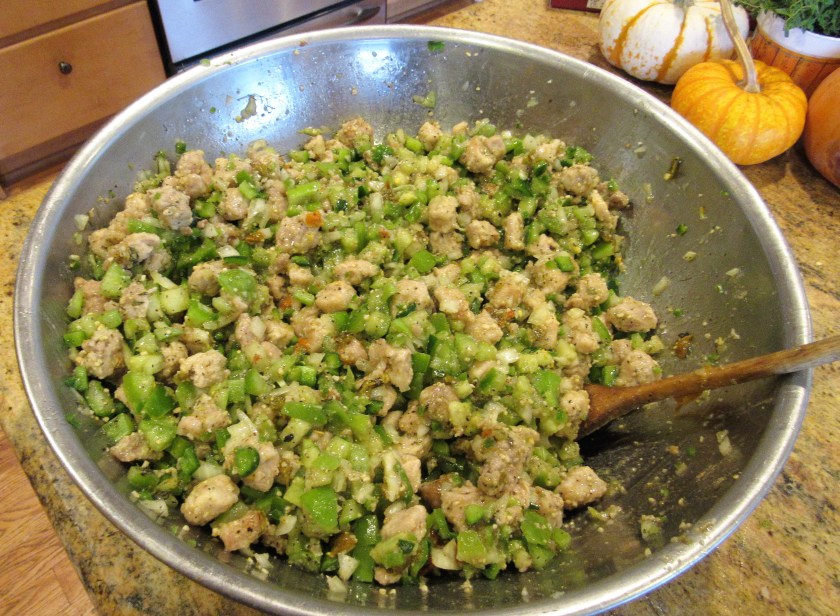
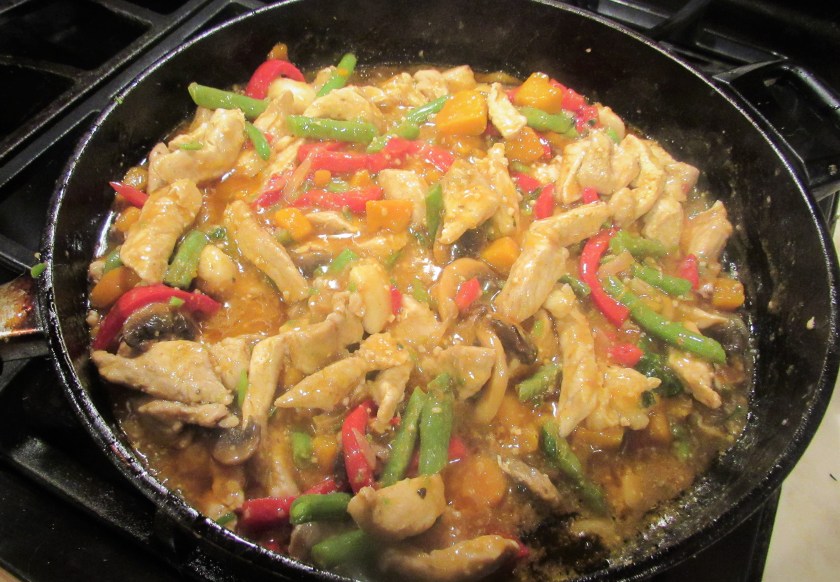
Once everything is completely cooked, add the sauce to the pork and vegetable mixture, and combine well.  Add sliced green onions right before serving.

IMG_3915

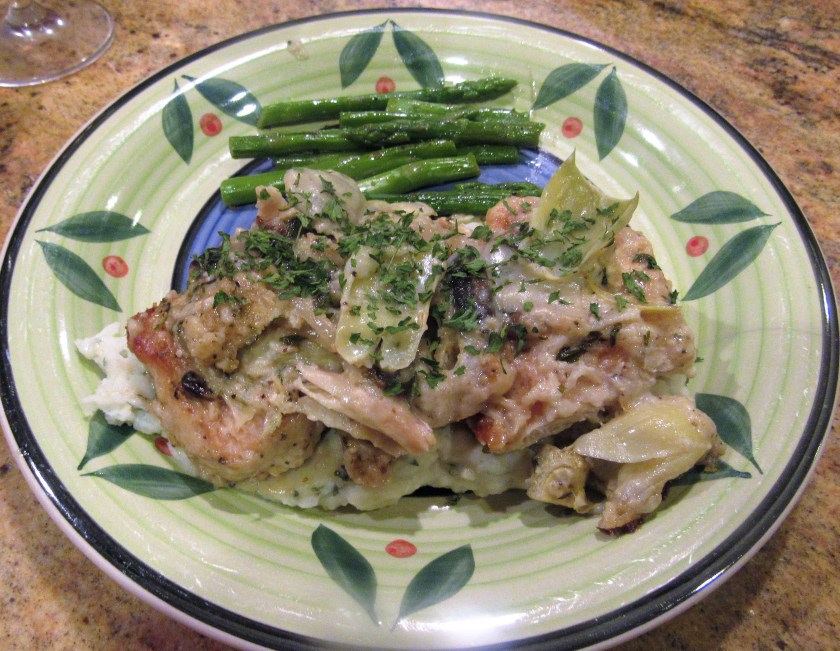
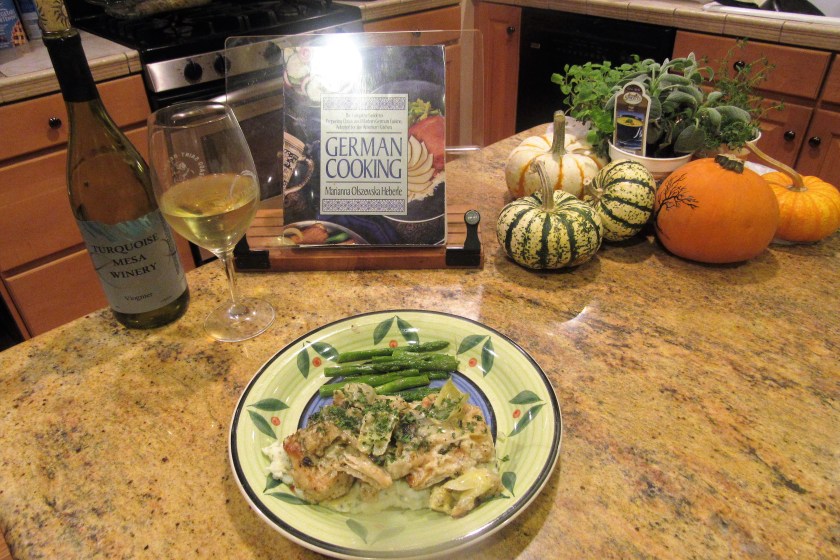
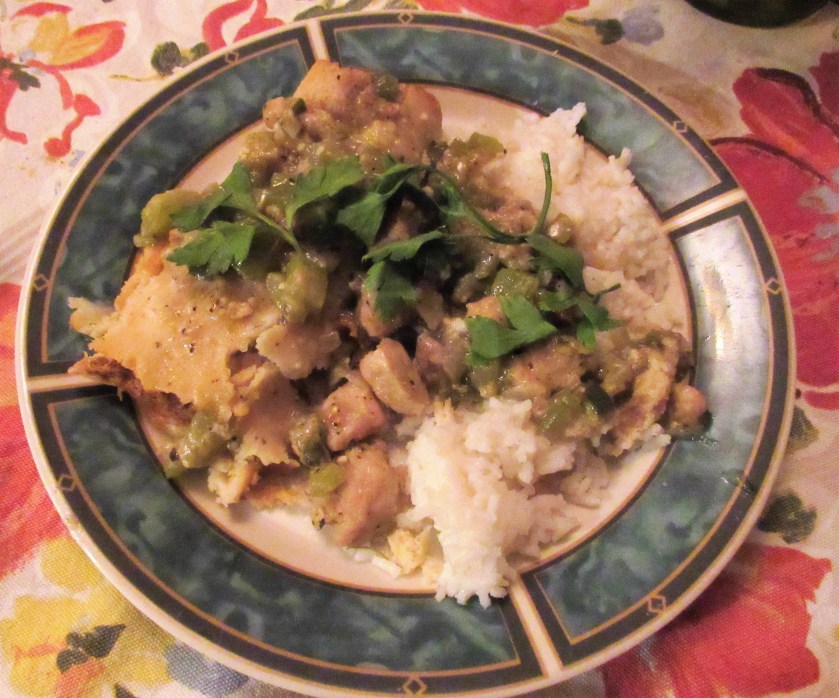
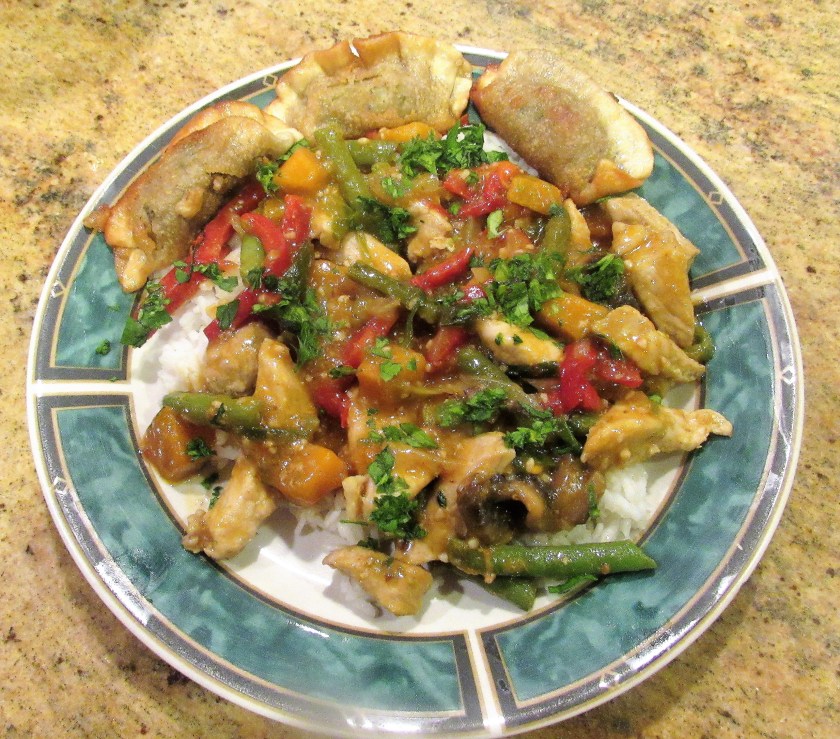
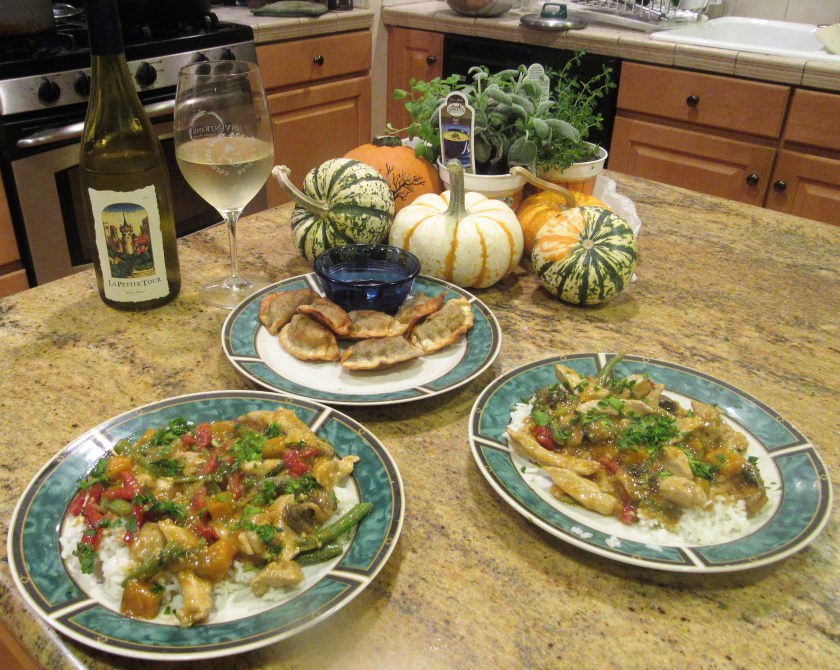
I served my stir-fry over white rice along with some crispy pan-fried dumplings and a crisp and fruity chardonnay, but a semi-sweet Riesling, Sauvignon Blanc or Gewertztrameiner would be nice wines to go with the meal as well.

IMG_3916

**** You can easily substitute chicken or shrimp, or a combination of chicken, shrimp and/or pork if you like.  You can also make it vegetarian and/or vegan simply by removing the meat and adding tofu and/or other vegan products.


Chicken with Mushrooms and Artichoke Hearts

Chicken is one of our staples.  We eat a lot of chicken, and we eat it in many, many different ways.  It is so versatile and just goes with everything.  When the weather gets cooler, I like baking it and roasting it, or baking it with delicious sauces.  This recipe for chicken with mushrooms and artichoke hearts is is a baked chicken with a creamy sauce.  This recipe is from one of my German cookbooks, and as always, I modify it and made it my own recipe.  The original version of this dish is called Gebackene Habnchenbrust mit Champignons, and does not have the artichoke hearts, garlic, shallots or thyme.  I added these ingredients, which I feel just made a good dish a much better dish.  In case you have not realized this yet, I am always”playing with my food”, making changes and tweaks wherever I feel they are needed.  That’s just what I do, and I encourage you to do the same.  That’s what makes cooking so much fun.  You are personalizing your recipes, making them how you like them, and making them your own.

Chicken with Mushrooms and Artichoke Hearts.  This is a very hearty dish and is best when served over with mashed potatoes, rice or noodles.  I had leftover mashed potatoes from when I made my steak with paprika vinaigrette, Steak with Paprika Vinaigrette so I served it over mashed potatoes here.

IMG_3900

Chicken with Mushrooms and Artichoke Hearts

2 lbs chicken breasts

1/4 cup flour + 1 TBSP

salt & pepper to taste

3 TBSP butter

olive oil

1 cup dry white wine

1 cup mushrooms, sliced

1 can artichoke hearts, reserve the liquid

1/2 cup sour cream

1 TBSP bread crumbs

1 TBSP garlic

1 shallot, sliced thin

1 tsp fresh thyme


IMG_3882

Preheat the oven to 350* F or 175* C

Mix the flour with the salt and pepper, then coat the chicken with the flour mixture.  The chicken breasts I used were HUGE, so I cut them in half, wrapped them in plastic wrap  and pounded them with a meat tenderizer, to make them both more tender and thinner.  This will also reduce the cooking time and will allow for more even cooking.

IMG_3886

When the chicken breasts are floured and prepared, place them in a hot skillet with butter and olive oil and pan fry them until they are browned on all sides.  This will take about 15-20 minutes.

IMG_3889

While the chicken breasts are cooking up, slice the mushrooms and shallot, then saute them with the garlic in a combination of butter and olive oil.  Add the artichoke hearts right at the very end.  They do not need to cook more.  For the sauce, mix together the breadcrumbs, 1 TBSP flour, sour cream, wine, reserved liquid from the can of artichoke hearts and thyme.

IMG_3893

Once the chicken is cooked, place it in a baking dish that has been sprayed with cooking spray.  Next add the mushroom and artichoke mixture.  Finish by pouring the sour cream and wine mixture on top.

IMG_3894

IMG_3896

Cover tightly with aluminum foil and bake for about 40-45 minutes.  Serve over mashed potatoes, rice or noodles.  I completed the meal with a nice, cold viognier that had hints of citrus and apples.  It was a perfect dinner for a cold and chilly night.

IMG_3898


Steak with Paprika Vinaigrette

We love steak and because we eat it quite often, I am always looking for new ways to prepare it.  Steak is one of those very versatile meats that can be fixed and enjoyed in many, many different ways, which is what makes it so much fun to prepare.  There is always something different to look forward to.  So far, I have not yet found any way that I do not like to eat it, except for when it is over cooked.  No matter how I prepare it, or what toppings I add, the best way for me is to have it nice and juicy and medium rare.  More so than not, we tend to grill our steaks, and we grill them year round.  The only time we really don’t grill steak is if the grill is buried under a thick blanket of snow.

No snow covering the grill this time around, so I rubbed salt, pepper, brown sugar and olive oil all over a thick and perfectly marbled T-bone and slapped it on the grill.  The brown sugar caramelized and made a little bit of a charred coating on the steak, which was perfect when served with the smokey flavorings of the paprika vinaigrette on top.  The result was a steak that was smokey, sweet and crusty, and came it just perfect.  It was also really tasty.

IMG_3848

IMG_3849

Paprika Vinaigrette

1 /2 cup olive oil

2 TBSP paprika

1 large shallot, minced fine

1/3 cup capers, plus some of the juice

1/4 cup chopped parsley, chopped fine

2 TBSP red wine vinegar

1 TBSP garlic

2 tsp brown sugar


Mix everything together and let rest before using.

IMG_3845

IMG_3847

I served the steak with garlic mashed potatoes and asparagus, along with a delicious, smooth and velvety cab franc.  This paprika vinaigrette would also be very good with either chicken or pork, or even mixed in with roasted potatoes.

IMG_3855

IMG_3856


Tomatillos Are Not Green Tomatoes

Green tomatoes and tomatillos may look similar, and are distant cousins from the nightshade or Solanaceae family, which also include tomatoes, eggplants and potatoes, and in Spanish they are called tomates verdes, but that is about all they have in common.  Green tomatoes are actually hard tomatoes that have not yet ripened or changed colors.  They are found mostly in the fall, when the temperatures are cooler and the tomatoes have not received enough heat to allow them to fully ripen and change colors.  They are always cooked and most often fried.  Tomatillos, on the other hand, are not tomatoes at all.  They are fruits from a completely different plant, and have a sticky pectin-like substance, as well as a husk that the fruit grows into, on the outside of the fruit.  They can be either green or purple, although, I have only seen the green tomatillos.   They are very popular in both Mexico and Guatemala, and were originally thought to have been introduced to the area by the Spanish conquistadors.  Although, fossils have been found in Argentina that have the tomatillos dating back as far as 16 million years.  Tomatillos are also known as jamberries.  They are very healthy for you, and their health benefits include being a great source of dietary fiber, as well as containing large amounts of niacin, potassium and manganese.  It is also believed they have anti-inflammatory and cancer fighting properties as well.  Tomatillos are very versatile, and can be eaten in many ways, however, they are most often used for either salsas or sauces.  I use a lot of tomatillos when I make green chili.  Tomatillos have a tangy flavor and are crisp and firm until cooked.  Time for Green Chili

The other day, I found these very large, beautiful tomatillos and just had to buy them and put them to good use.  That night, my husband told me about the chili contest for his work that was yesterday, on Halloween.  I was going to make a red chili, but made green chili instead.  Our chili did not win, but it was one of the finalists.  Maybe we will win next time.  It was very popular though, since there was none left over for us.  It’s a good thing we had some the night before.

IMG_3857

Tomatillos, green bell peppers, roasted hatch chilies, green bell peppers, Anaheim chilies, and jalapenos, mixed together with garlic, onions, cumin, sage, thyme, oregano, salt & pepper.  All that is needed is the pork and the chicken broth,and time, then in a few hours, it will be a delicious green chili.

IMG_3861

IMG_3862

We love a good, hearty, meaty green chili, so I used this whole pork loin.  I cubed it and coated it in flour, then browned it before adding it to the vegetable mixture and the chicken broth.

IMG_3863

i  mixed everything together, then put it in the slow cooker and cooked it for about 7 hours, at a low-medium temperature.

IMG_3866

This picture is from another batch of green chili that i made in April.  Time for Green Chili

IMG_0767

We love green chili, and it is a very popular dish here in Colorado, and in the Southwest in general.  We eat it quite often.  One of our favorite ways to eat it is served over tamales, with a nice, cold margarita especial to make the meal complete.  Esta mui delicioso!  Desfruitas!

IMG_3870


The Caramel Making Tradition Continues

My friend Priscilla and I have been getting together to make our famous caramels for quite some time now.  It has became an annual tradition.  We started out just making regular caramels, but last year we added chocolate pecan caramels as well.  Both are mouth watering delicacies.  Those who have tasted our caramels have even claimed these are “these best caramels in the whole world”.  I don’t know about that, but I will say they are really, really good.  I am not going to include the recipe for the caramels this time since I have already included it in a previous post, Making Caramels.  We were going to make a third type this year, but life happened, and we both got so busy that we just didn’t have time to do the research we needed to do to find out what type we wanted to make.  As it was, we had to scramble to make a date for this year because we have both been so busy.   In years past, it has always been just the two of us, but this year, we invited our friend Janet to the candy making factory as well.  She chose not to make caramels, but made sherried walnuts instead.  Those were very tasty too.  It was fun to add something different to our repertoire.  After the candies we all made, we sat down and enjoyed our tapas dinner.  A great time was had by all. This is the meal where we enjoyed the Greek cannellonies and the sausages cooked in red wine. Greek Crepe Cannelloni Stuffed with Beef and Sausage Cooked in Red Wine.

Janet and Bob making the first batch of sherried walnuts and Priscilla is making her first batch of caramels.  Priscilla’s mom, Ana is supervising.


IMG_3832

To make the caramels, you just add everything together, except the cream gets added in two batches.  Then, just stir and let it boil until it gets to between 230*-240*F before adding the second round of cream.

IMG_3841

Two dear friends whom have known each other a lifetime, just having fun in the kitchen.

IMG_3837

Once the second addition of cream has been added, and the temperature once again reaches between 230-240*F, the cooking process is done.  It is now time to pour the bubbling hot mixture into a prepared 9×13 baking pan.  Let it set and cool for at least 5 hours.

IMG_3842

Once the caramels have completely cooled and are set, they are ready to cut and wrap.

IMG_3843

The cutting and individual wrapping is the really time consuming part of making caramels.  You can cut them any size you like, but remember, they are pure sugar, so you don’t want them too big.  I usually try to keep mine about 1×1″ in size.

IMG_3850

I just finished cutting and wrapping all the plain caramels yesterday.  I have not even started on the chocolate pecan caramels yet.  I am hoping to get to these today.  These take awhile to do, so have patience; a lot of patience.  These also make great holiday gifts, which is one of the reasons why we always try to do them sometime in October.  Of course, I have to sample every now and then; for quality control purposes, you know.

IMG_3851


Follow-Up to the Hacker

Jeanne’s kitchen will be closed until we get this hacker mess cleared up and taken care of. I apologize for the inconvenience, but I think it is for the best. Hopefully this will not take too long to clear up, and then the kitchen will re open again, and everything will be business as usual once more.

We Have a Hacker Amongst Us

This is a very serious post to all my fans and readers out there. A Jeanne in the Kitchen has been hacked! I think by now you all will recognize my site and my style. There is someone out there though that thinks they can just attach themselves onto my website and benefit from all my hard work. All I can say is watch out! You have picked the WRONG PERSON to mess with! This link provided below IS NOT MY REAL LINK!!!!!! It is a fake and a fraud. I have already submitted it to WordPress Security. At first I thought it was some kind of an accident or a mistake, but it keeps happening. Every time I click onto this website, it takes me back to my own website. SO DO NOT CLICK ONTO IT! I think it is intentional. My website is purely my own website. I do not share it with anyone. The content is purely my own.

https://wordpress.com/post/nickbarryculinary.wordpress.com/42.

Sausage Cooked in Red Wine

We got together with friends for a fun, annual event (more on this in tomorrow’s blog), and we all brought parts of the meal.  I just love potlucks!  They are my favorite type of party.  Potlucks are so much fun and they are a good way to see everyone’s creativity and to try new dishes.   I know there are quite a few other people out there who love to cook as much as I do and I just love all the sharing that comes along with potluck get-togethers.  My contributions to the affair were my Greek cannelloni’s, Greek Crepe Cannelloni Stuffed with Beef  and sausages cooked in red wine that I served with my whole wheat potato bread. Whole Wheat Potato Bread .  Both were big hits and were very popular.  We had a light tapas meal.  We also dined on some fabulous sweet roasted pepper crostinis that my friend Priscilla made and finished the meal off with a delicious key lime pie made by my friend Janet.  And of course, we had wine.  We served a Spanish red that paired perfectly with our Spanish/Mediterranean tapas meal.

Ideally, I would have loved to use chorizo for my dish, but I could not find the type of chorizo I was looking for, so instead, I used two other types of sausage.  I used a combination of hot Italian pork sausage and chicken basil sausage.  No one even knew that I switched sausages and the dish was still a big success.

IMG_3830

Sausage Cooked in Red Wine

1 1/2-2 lbs sausage, chorizo or other sausage of your choice

olive oil for cooking

1 cup red wine of your choice

2 tsp black pepper

1 TBSP garlic

2 tsp red pepper flakes

fresh thyme


IMG_3825

Cook the sausage in a hot skillet with olive oil until browned on all sides.

IMG_3826

Once the sausages are browned, removed them from the pan and slice them into small bite-sized pieces.  Then return them to the skillet along with all the rest of the ingredients, except the fresh thyme.  Make sure you scrape all the sausage drippings from the pan, and incorporate them into your sauce.  That’s what will really make the sauce perk up.  You only need to continue cooking for about 5-7 more minutes or until the sausages are completely cooked.

IMG_3828

Once the sausages are completely cooked, your dish is done.  Add the fresh thyme right before serving and serve over warmed bread with the sauce.  When I made my whole wheat potato bread, the recipe made two loaves.  We ate one earlier and the other one I froze.  I used the second loaf for this dish.  The bread absorbed all the flavors and some of the spiciness of the dish.

IMG_3829