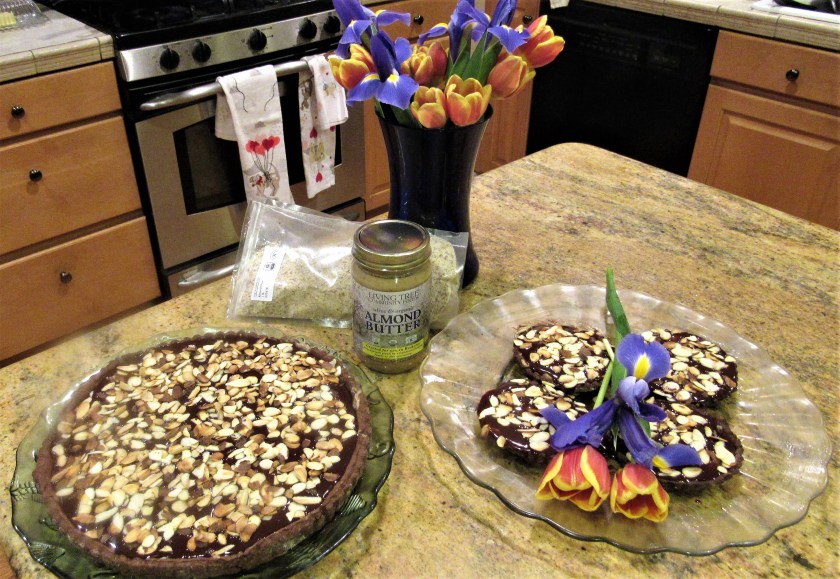
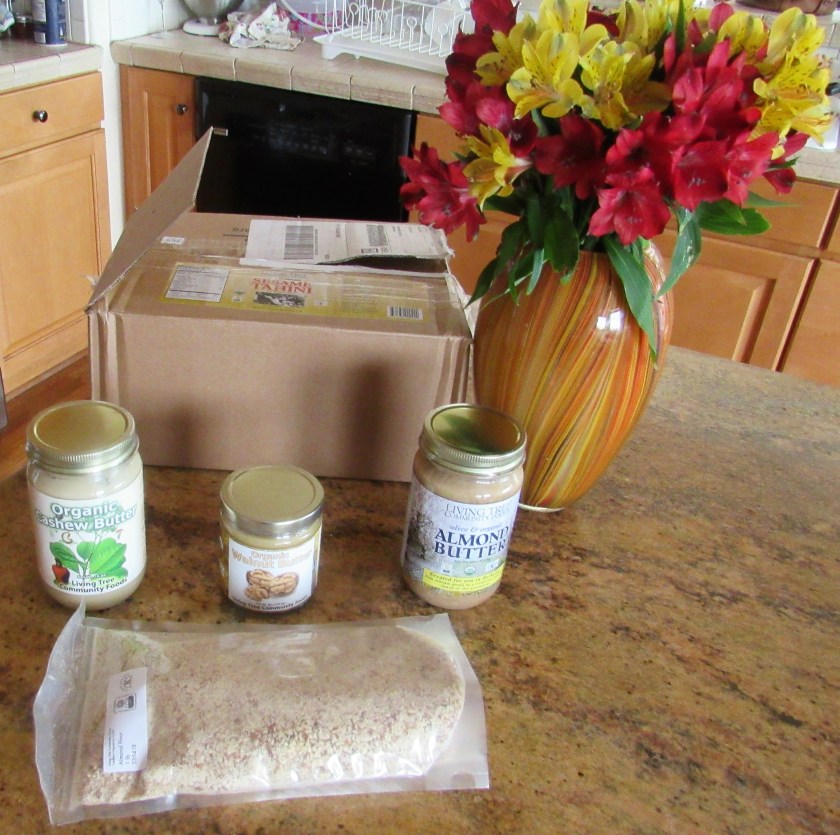
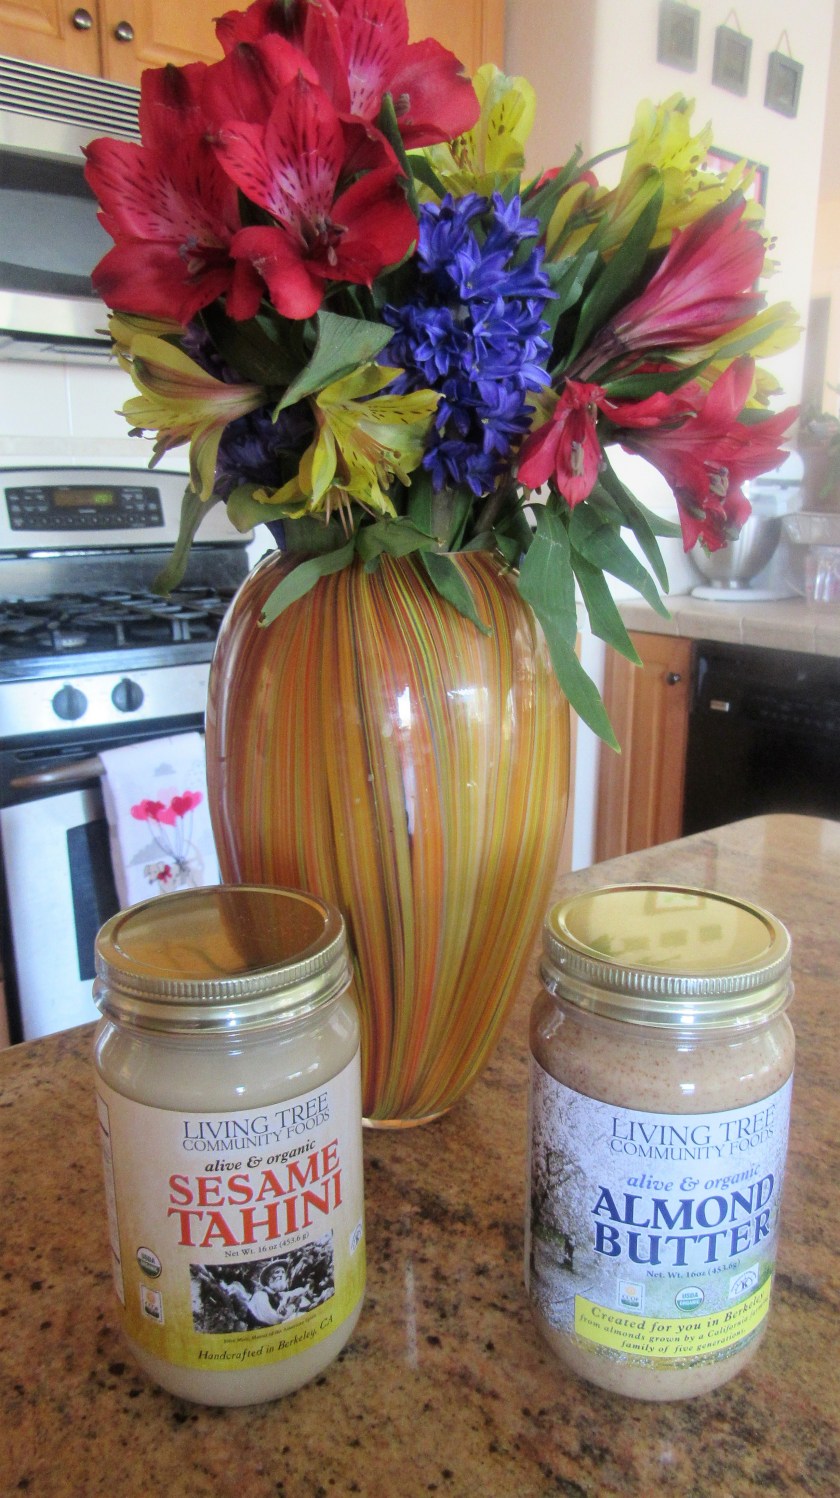
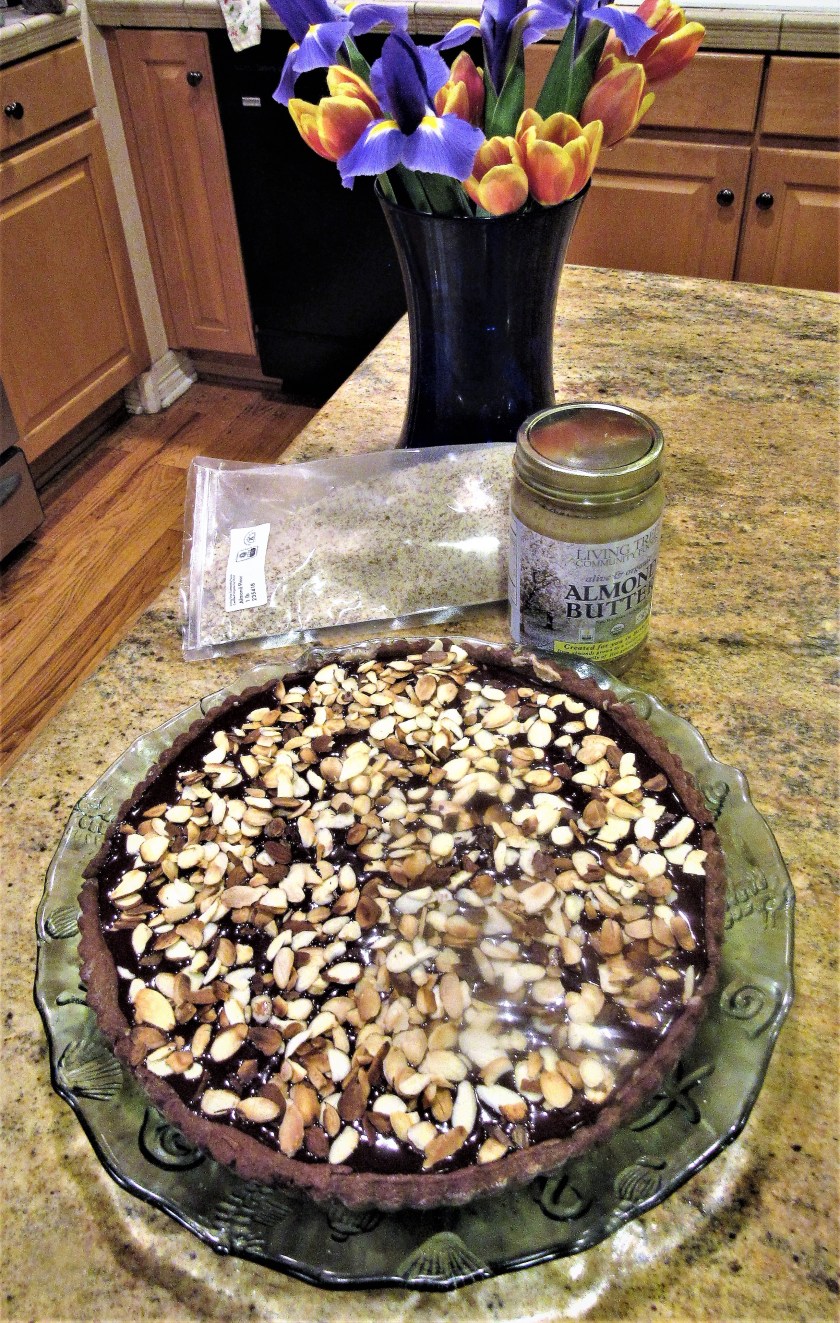
After a weekend-long swim meet and a very busy social calendar, I was finally able to get back into the kitchen to “play” with some of my new treats from Living Tree Community. More Treats from Living Tree Community Foods I used both the almond butter and the almond flour to make this decadently delicious chocolate almond tart. I found a recipe for a chocolate peanut butter tart, made a few changes and added my own touches to make it a rich and beautiful, and elegant dessert.
Chocolate Almond Butter Tart

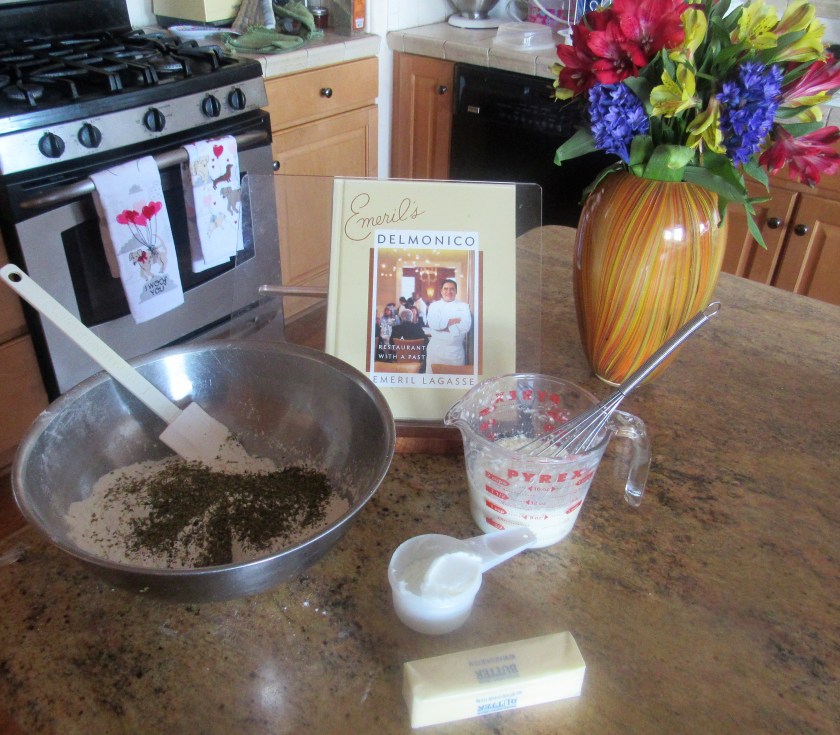
I made the dough just like I make my pate sucre, only I added more powdered sugar, cocoa powder and some of the almond flour as well.
The Dough
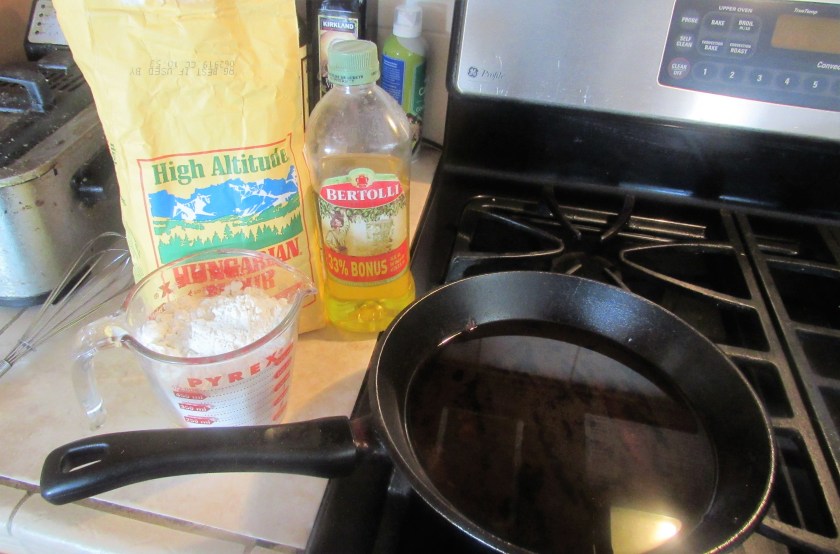
1 1/2 cups flour
6 TBSP cold butter, cubed
1 tsp salt
1/2 cup cocoa powder
1/2 cup powdered sugar
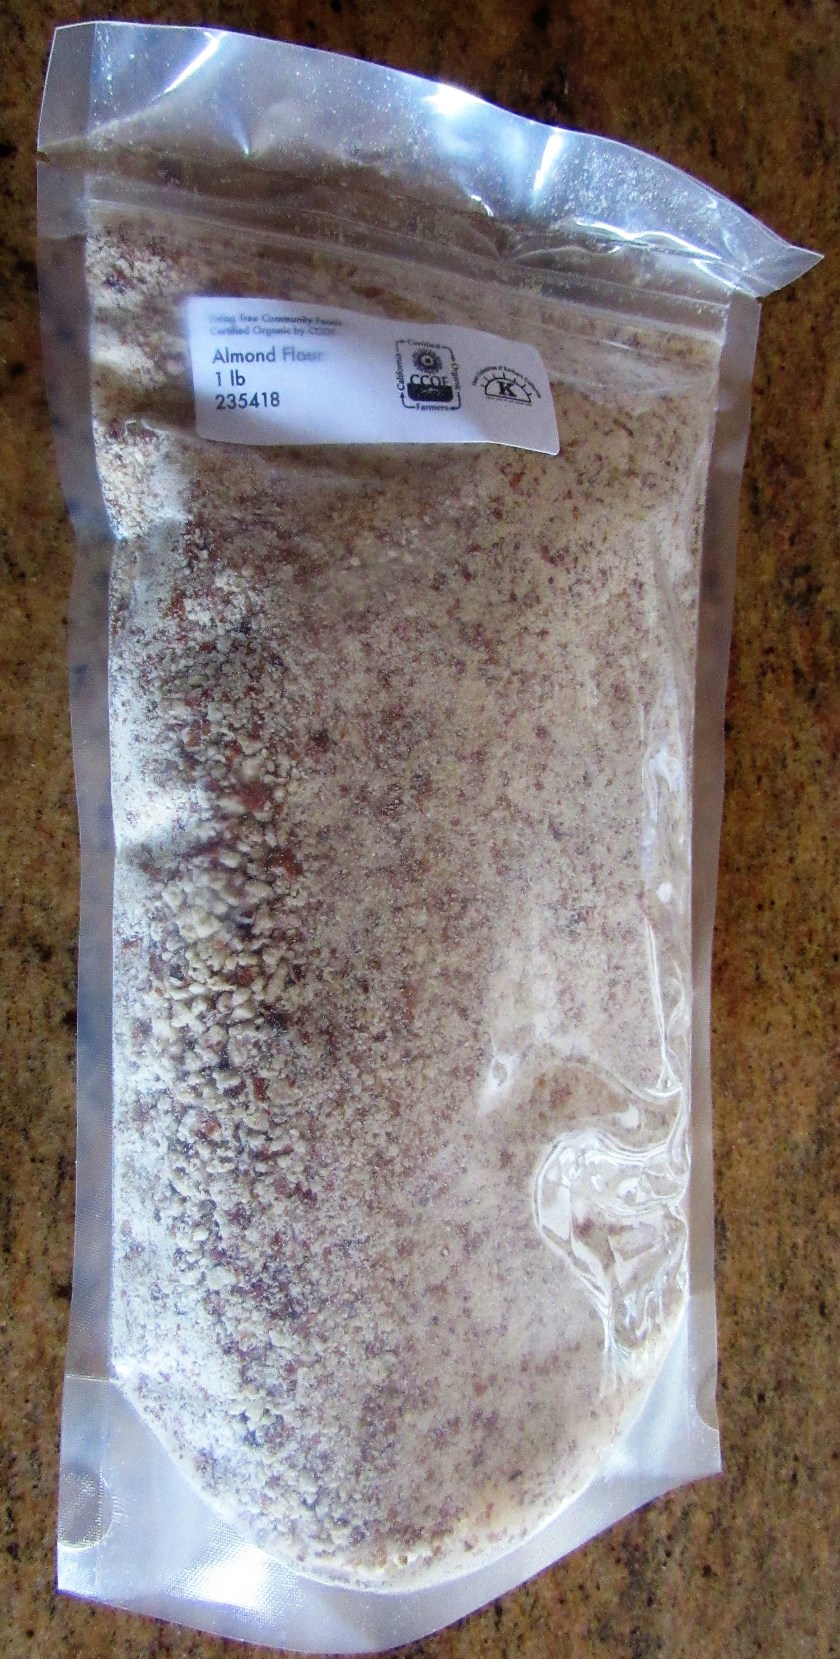
1/4 cup Living Tree Community almond flour
1 egg
5-6 TBSP heavy whipping cream
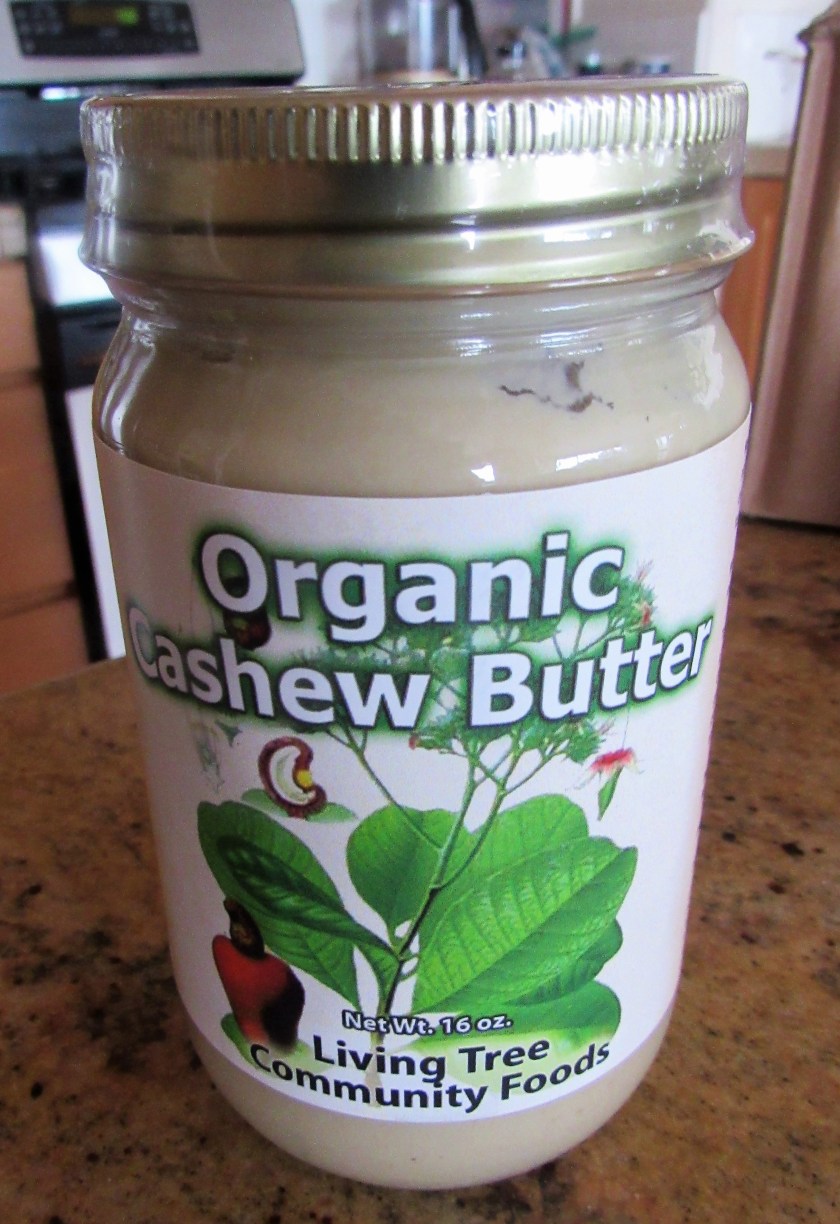
almond butter (or nut butter of your choice for variations. This would also be very good with my Living Tree Community Cashew Butter or the Living Tree Walnut Butter)
Mix the flour, butter, salt and cocoa powder together in the food processor until it becomes crumbly. Then add the almond flour, and mix only until blended.
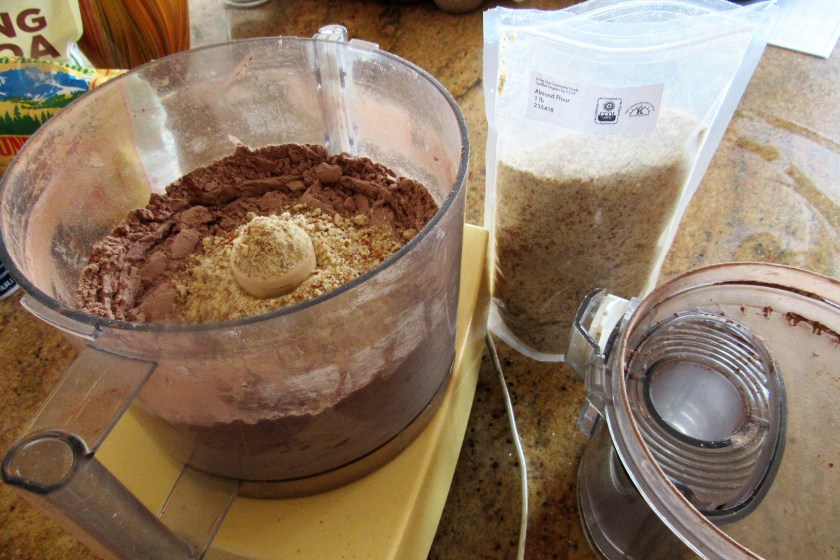
Once everything is blended, add the egg and the cream and process again until the dough forms into a ball. Wrap the dough ball in plastic wrap and refrigerate for at least 1/2 hour before using.

Preheat the oven to 400* F
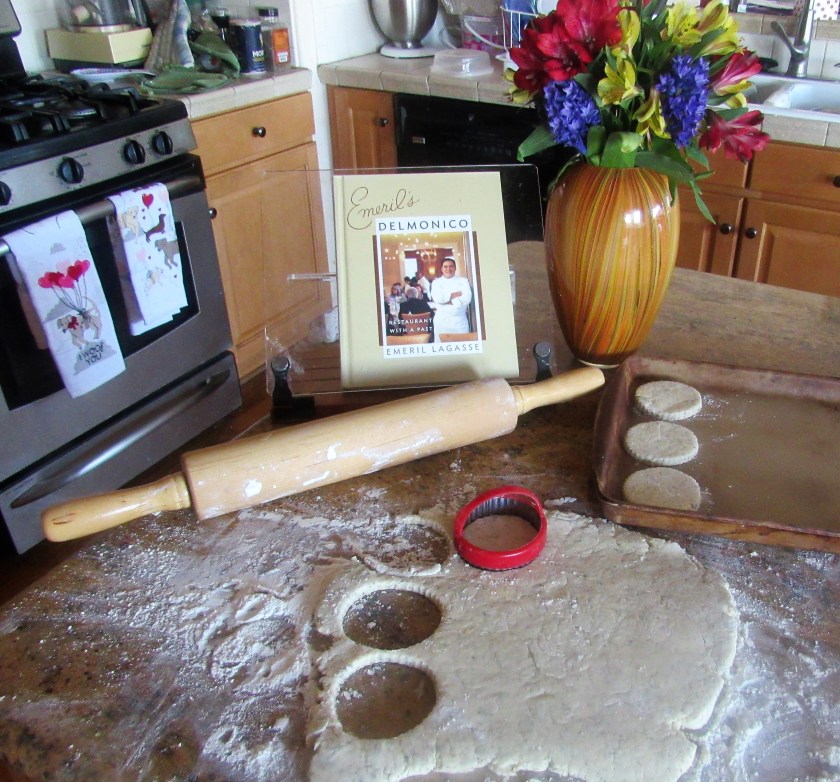
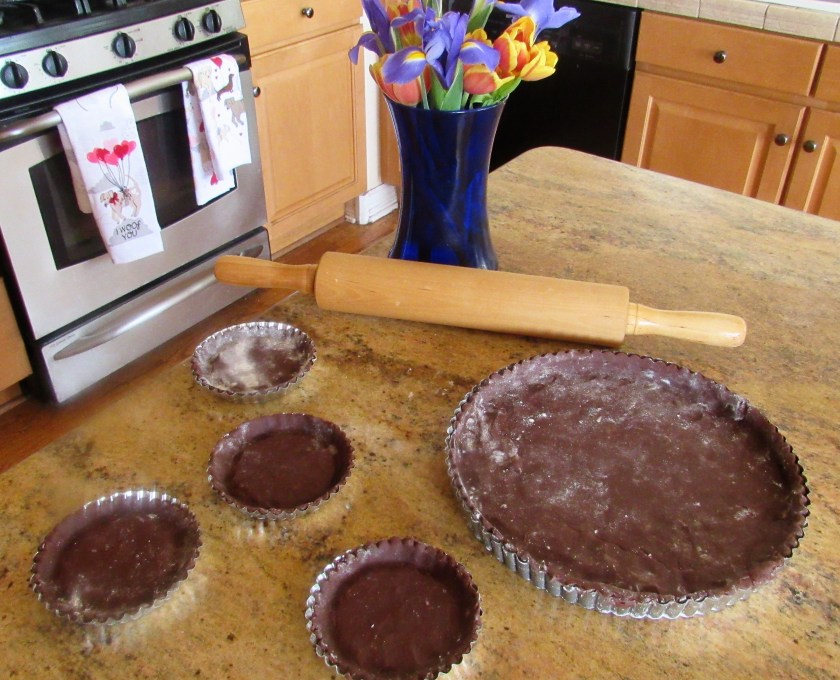
Once the dough is ready, on a lightly floured surface roll the dough out to about 1/4″ thick. Roll the dough onto the rolling pin to lift and place into a 10″ tart pan. Once the dough is set in place, roll the rolling pin over the top of the pan to cut away all the excess dough. Press the dough firmly into place and around the edges of the pan.
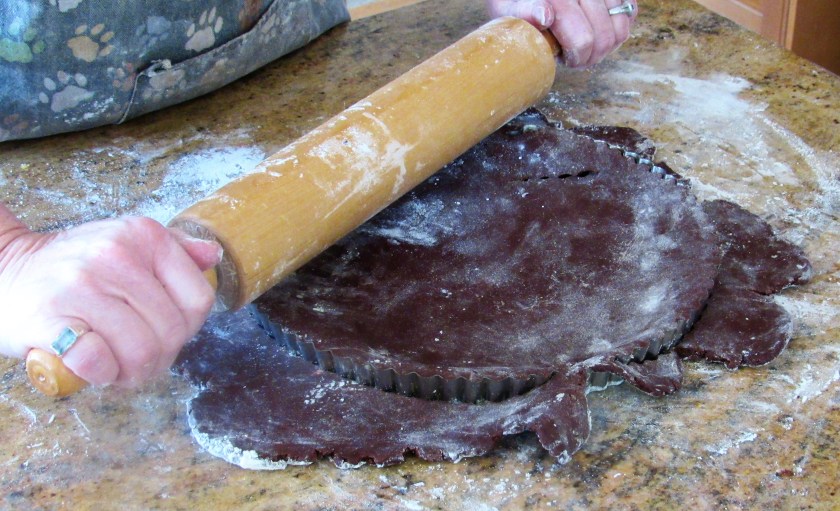
I had enough dough left over to make 4 additional small tarts as well. Bake the tart for about 30 minutes. Let cool completely before adding the filling and the topping.
Once the tart shells are baked and completely cooled, spread the tarts with almond butter (or the nut butter of your choice).

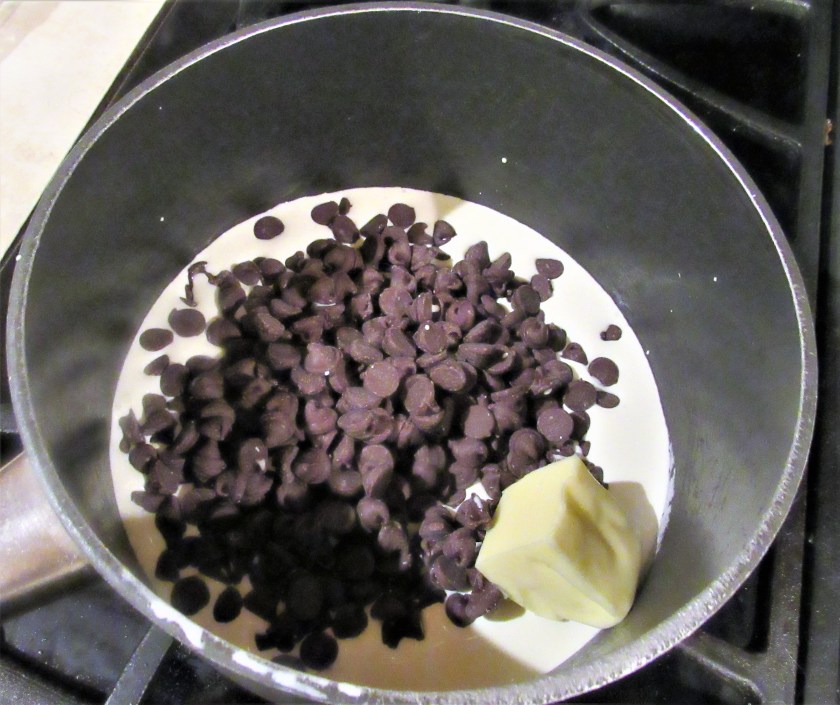
Chocolate Ganache Topping
1 1/4 cup heavy whipping cream
2 cups semi sweet chocolate chips
3 TBSP butter
2 TBSP Amaretto (optional)
toasted almond slivers

Melt the chocolate together with the cream and butter until the chocolate is completely melted and everything is completely incorporated together.
Once the ganache is made, add the Amaretto and mix together well. The ganache should be bright and shiny.

Slowly and carefully pour the ganache over the top of the almond butter filling and cover the whole tart.

Top the tart with the toasted almonds and refrigerate for at least 3 hours before cutting. At the time of this posting, the tart was still in the refrigerator, just chilling, so i was unable to cut into it to show the filling. To me, chocolate and almonds are two great tastes that taste great together, and the results always come out fabulous.