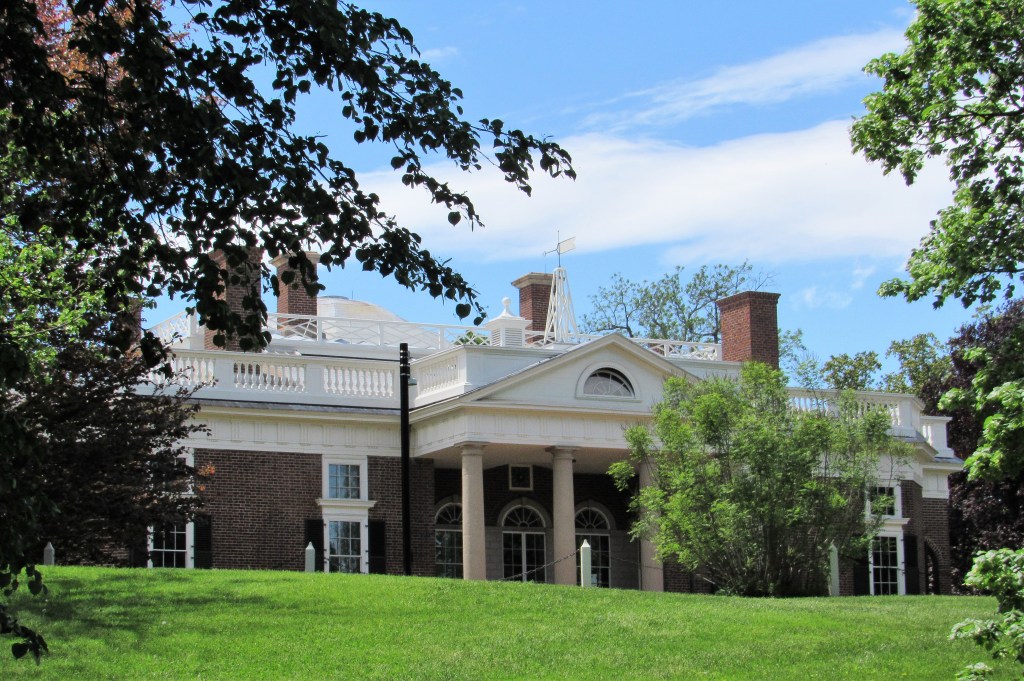
Monticello. Monticello is located outside of Charlottesville, Virginia. It means “little mountain” in Italian and it was the home and plantation of Thomas Jefferson, author of the Declaration of Independence and the third President of the United States. It was his home and pride and joy from 1770 until his death, in 1826. Thomas Jefferson inherited 5000 acres of land from his father, and this is the land that his beloved Monticello rests upon today. Thomas Jefferson is buried on the property that he loved so much as well. After retiring from public office, Jefferson founded the University of Virginia. Jefferson and his colleague John Adams both died on Independence Day, July 4, 1826, the 50th anniversary of the adoption of the Declaration of Independence.

Thomas Jefferson was very important man. He accomplished many things in his life, before, during and after his time as the third President of the United States. He was an American statesman, diplomat, lawyer, architect, philosopher, and Founding Father of our country, who served as the third President of the United States from 1801 to 1809. He had previously served as the second Vice President under John Adams between 1797 and 1801. The principal author of the Declaration of Independence, Jefferson was a proponent of democracy, republicanism, and individual rights, motivating American colonists to break from the Great Britain and form a new nation; he produced formative documents and decisions at both the state and national levels.
As president, Jefferson pursued the nation’s shipping and trade interests against Barbary pirates and aggressive British trade policies. Starting in 1803, Jefferson promoted a western expansionist policy, organizing the Louisiana Purchase which doubled the nation’s land area. To make room for settlement, Jefferson began a controversial process of Indian tribal removal from the newly acquired territory. As a result of peace negotiations with France, his administration reduced military forces. Jefferson was reelected in 1804. His second term was beset with difficulties at home, including the trial of former vice president Aaron Burr. In 1807, American foreign trade was diminished when Jefferson implemented the Embargo Act in response to British threats to U.S. shipping. The same year, Jefferson signed the Act Prohibiting Importation of Slaves.
Jefferson, while primarily a planter, lawyer and politician, mastered many disciplines, which ranged from surveying and mathematics to horticulture and mechanics. He was an architect in the classical tradition. Jefferson’s keen interest in religion and philosophy led to his presidency of the American Philosophical Society; he shunned organized religion but was influenced by Christianity, Epicureanism,[1] and deism. A philologist, Jefferson knew several languages. He was a prolific letter writer and corresponded with many prominent people, including Edward Carrington, John Taylor of Caroline and James Madison. Among his books is Notes on the State of Virginia (1785), considered perhaps the most important American book published before 1800.[2] Jefferson championed the ideals, values, and teachings of the Enlightenment.
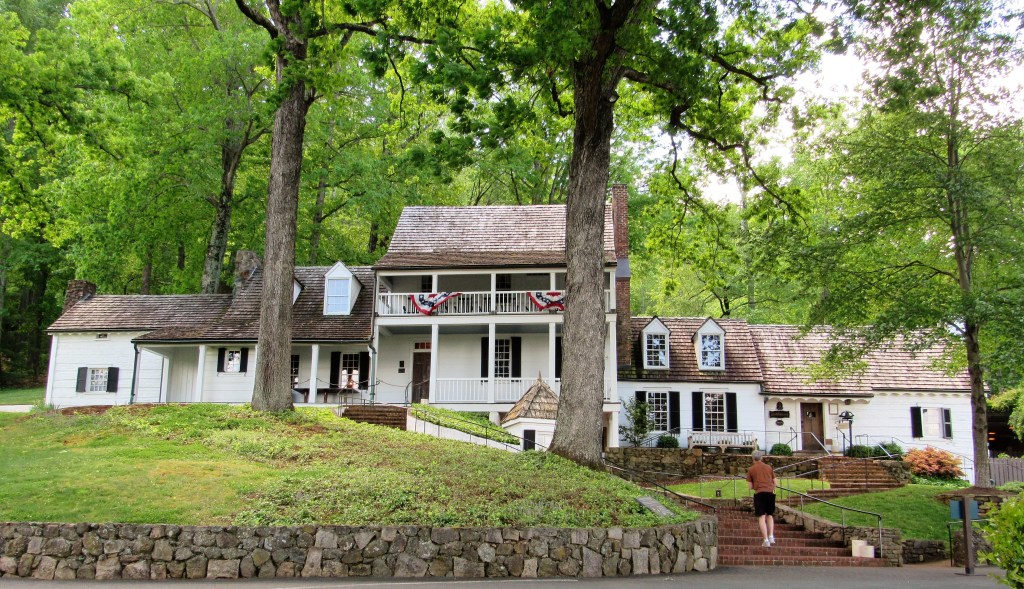
Today, Monticello is a National Monument. It is a part of the living history of both the State of Virginia and the United States of America. It is an absolute beautiful work of design and architecture, designed by Thomas Jefferson himself, and everything is pretty much the same today as it was back when Thomas Jefferson resided there, due to his meticulous notetaking and archives.
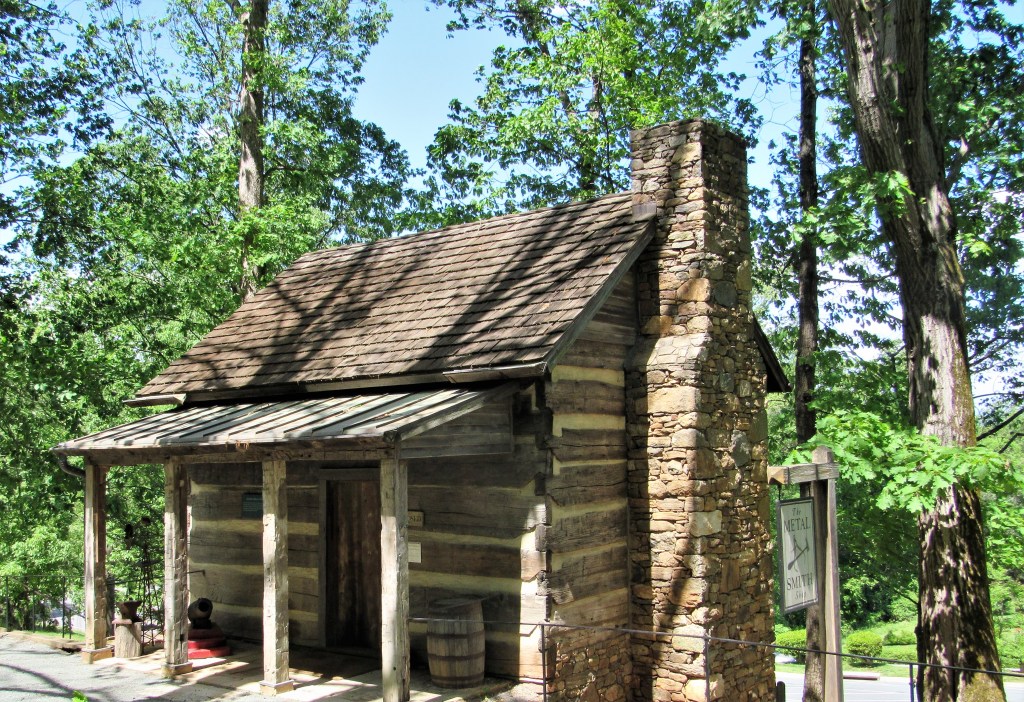
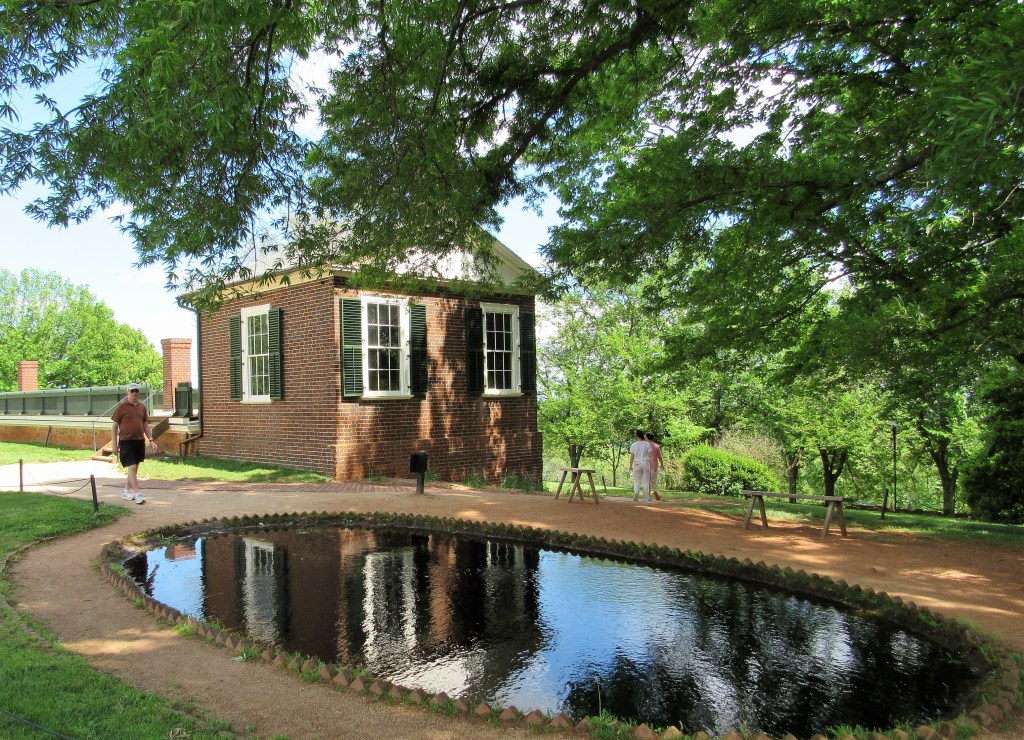
While the main house on Monticello was being built, believe it or not, this tiny house was the original house where Thomas Jefferson and his first wife, Martha, lived during the construction. Because of the brickwork on the house, this was considered a luxurious home in the day.
The first room you walk into at Monticello is decorated with gifts and artifacts from the explorers Lewis and Clark, from their western explorations.


Thomas Jefferson’s private apartment and sleeping quarters. He slept in what was known at the time, especially all through Europe, as a sleeping alcove. It was a bed that was fitted in a closet-like compartment of two adjoining rooms and closed off by either doors or curtains or both.

The parlor also served as the music room.


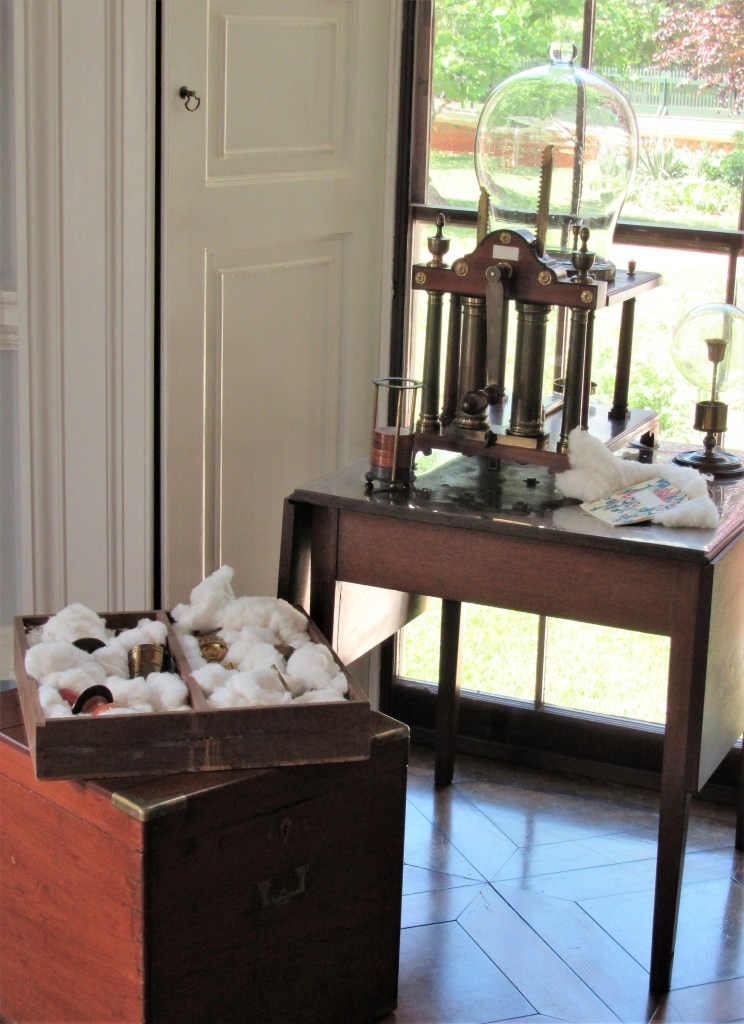
I think this was the first thermometer that Jefferson was working on.
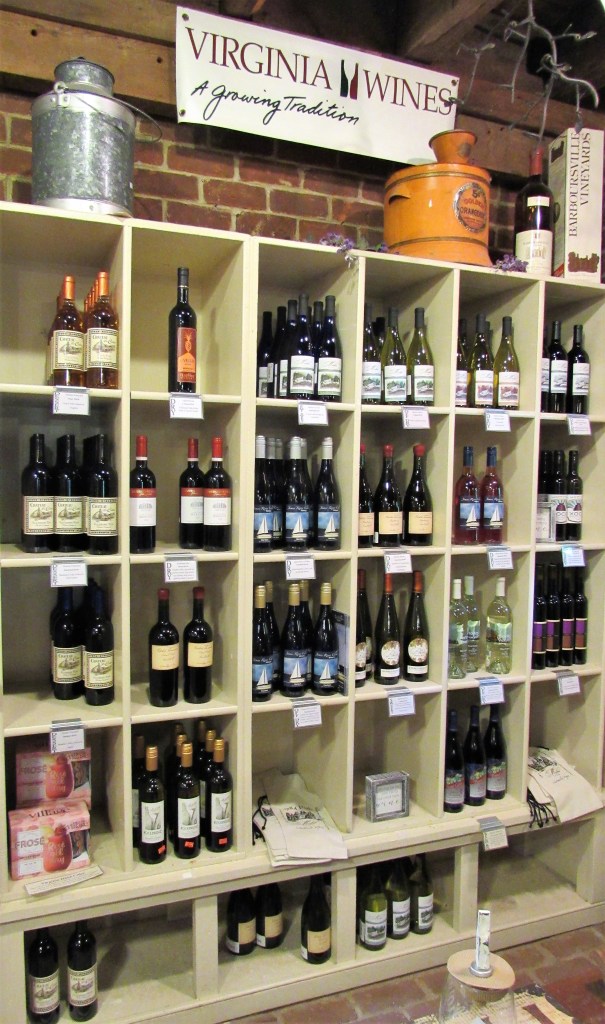
The dining room is painted in this bright yellow, which was considered a luxury and was only found in homes of the very wealthy. Look at the open door right beside the fireplace. It is the dumbwaiter for wines that were brought up from the wine cellar. Thomas Jefferson was quite a wine lover and wine connoisseur and was one of the first to introduce wines and winemaking to the newly formed United States.


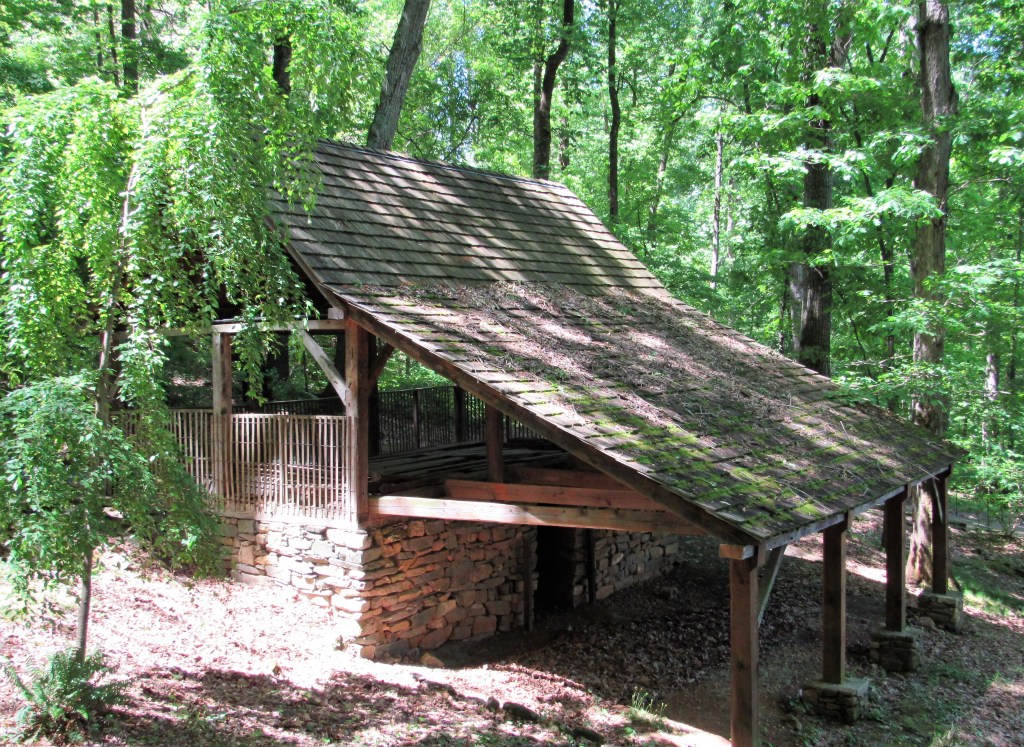
Like all the houses at the time, the kitchen was separated from the main house. It was located outside with all the other outside structures and buildings.