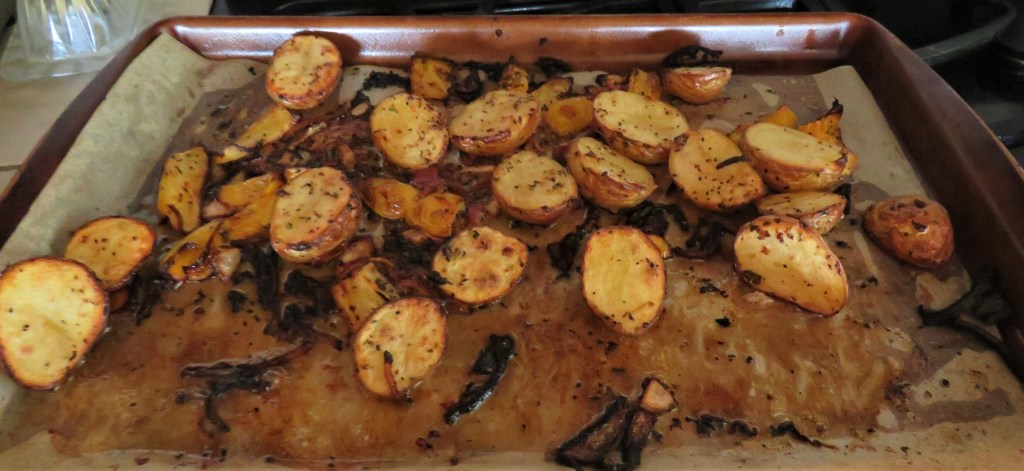
The smell of things roasting in the oven is just so inviting and welcoming to me. As soon as the roasting aromas hit you, the just say “welcome, come on in, stay for dinner”. This was certainly the case when I roasted some potatoes mixed with red onions, rosemary and yellow peppers.
It was one of our recent cooler days, so it felt kind of nice to have the oven on and to be roasting again. We were still trying to get rid of our leftovers, to clean out the fridge before we leave for our trip.
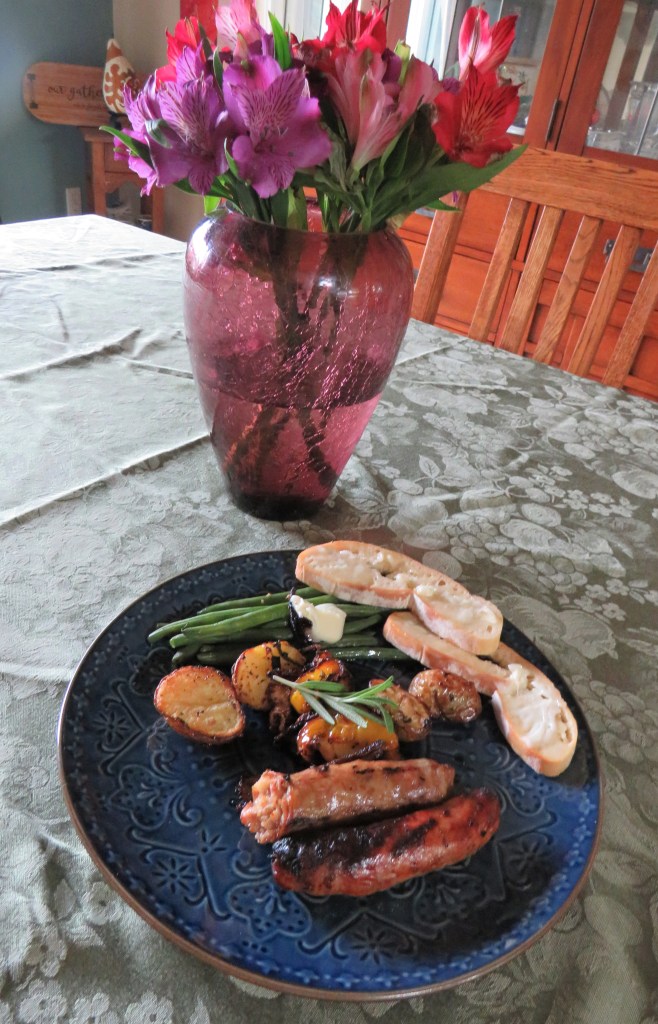
Larry’s family was in town recently and I had bought a whole bunch of brats to share with everyone, but there was a miscommunication, and they didn’t come over for lunch, which meant Larry and I had a lot of brats to eat. That also meant I needed different side dishes to serve with all these brats too. These roasted potatoes were the perfect pairing for them.
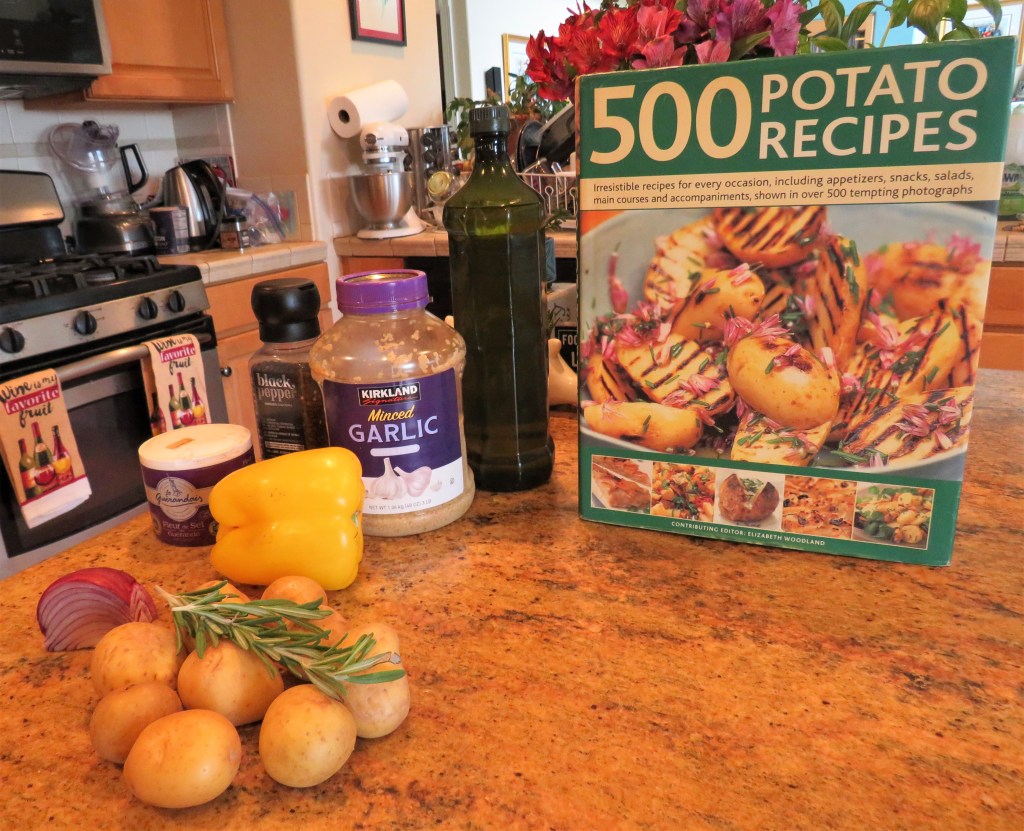
Roasted Potatoes with Peppers, Onions and Rosemary
You can use either onions or shallots with this recipe. I had some red onions that needed to be used, so that was what I used this time. But shallots are very good too. I LOVE both and use both all the time. This is a simple recipe with simple, basic ingredients we all have on hand. But don’t be fooled by the simplicity of it all. They taste so good.
Preheat the oven to 400* f or 205*C.
1 1/4 lbs small waxy or new potatoes
1 onion, sliced very thin or 12 shallots
2 yellow peppers
2-3 sprigs of fresh rosemary, chopped
1 TBSP garlic
olive oil
salt & pepper to taste
fresh ground black pepper
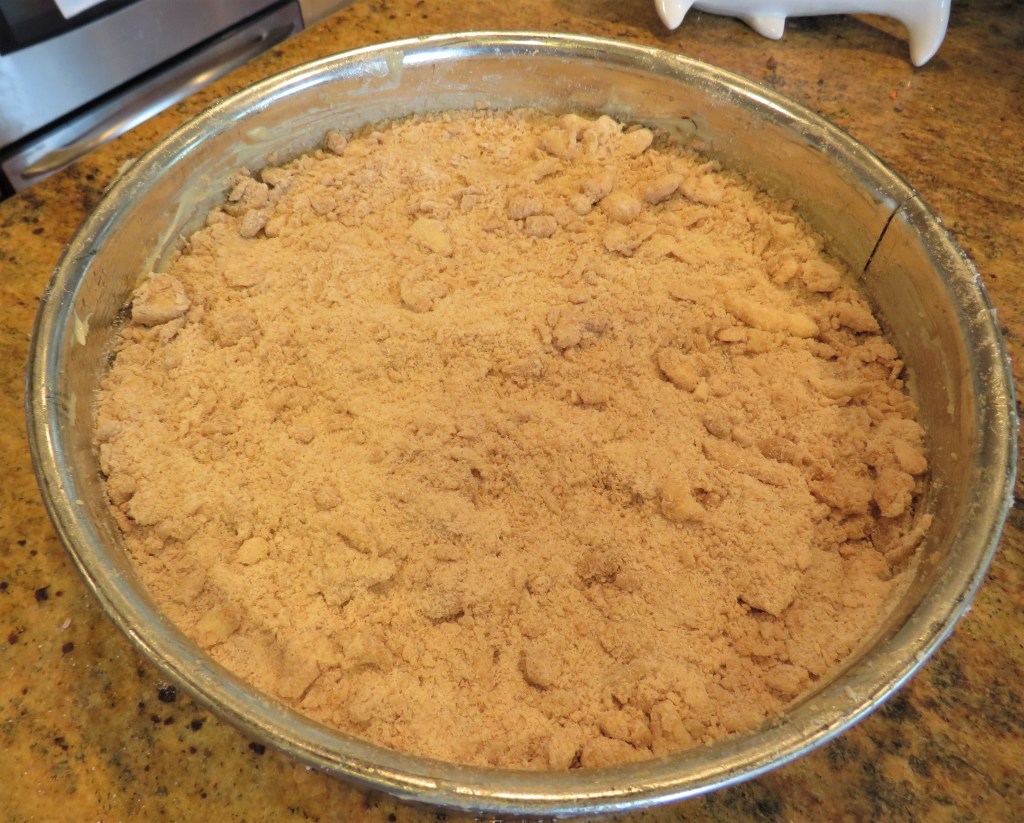
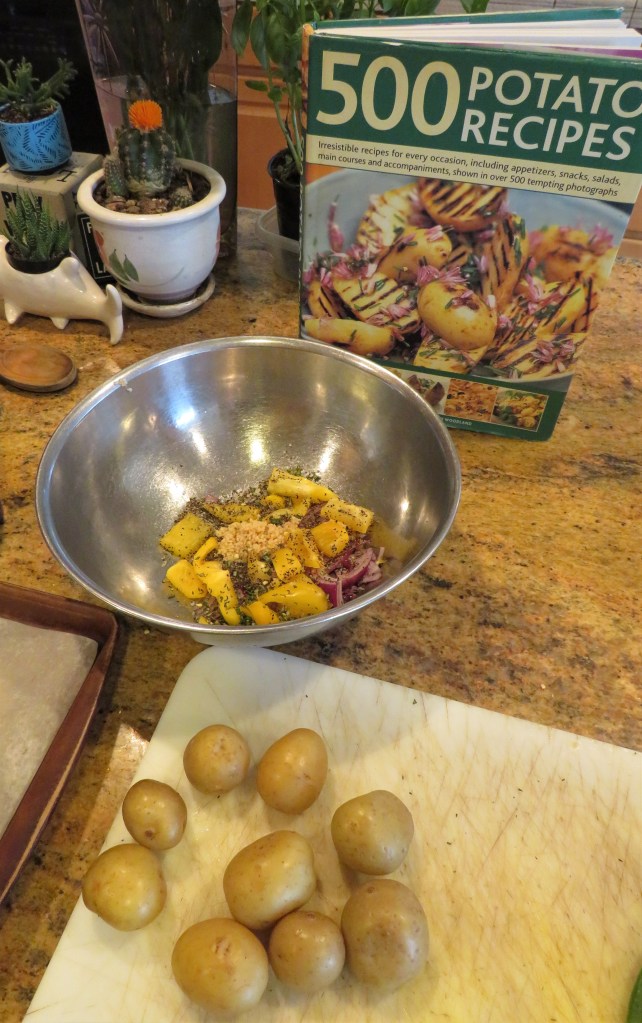
Par boil the potatoes for about 5 minutes then rinse and drain. Allow them to cool for a bit then cut them in half.
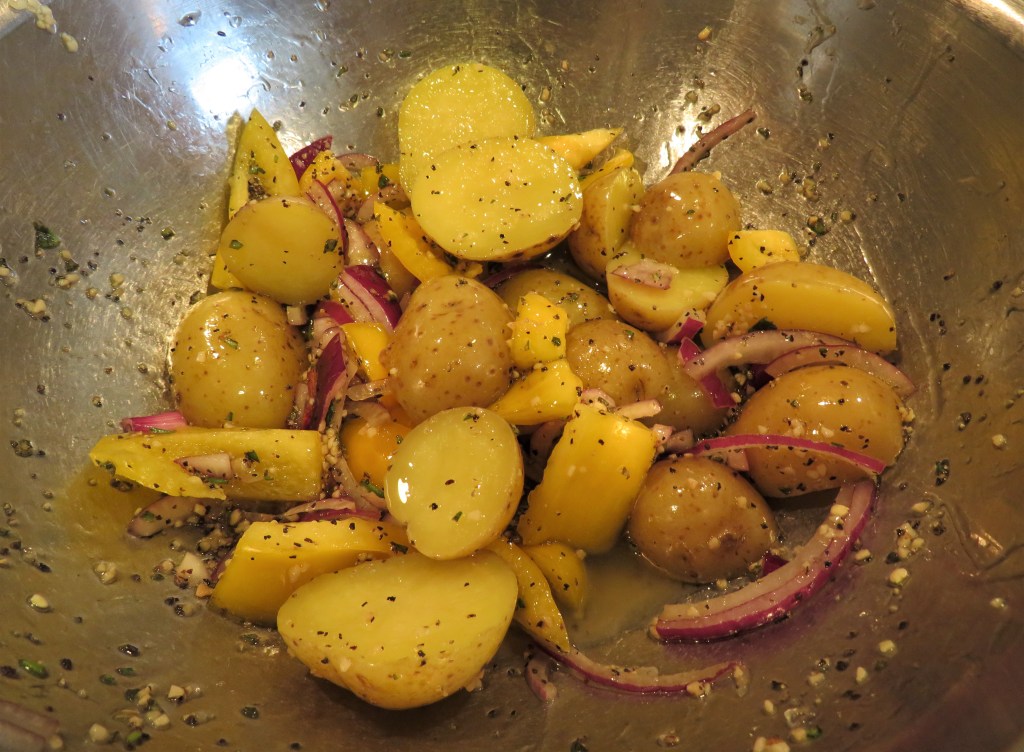
Toss everything together and place on a baking sheet.
Bake for about 30-40 minutes, or until all the vegetables are tender. Toss them a couple of times while they are cooking to make sure they cook evenly. Serve them alongside your favorite grilled meats and voila! Dinner is served.
Have a great day and make everyday great. Stay safe and stay well.
We are leaving for Spain tomorrow. You will not be hearing from me for a couple of weeks. But have no fear. I will be back before you know it, with all our fabulous Spanish experiences. So don’t touch that dial. I’ll be back soon enough. ‘Til next time.