I have created this site to help people have fun in the kitchen. I write about enjoying life both in and out of my kitchen. Life is short! Make the most of it and enjoy!
Author: ajeanneinthekitchen
I have worked in the restaurant and catering industry for over 35 years. I attended 2 culinary schools in Southern California, and have a degree in culinary arts from the Southern California School of Culinary Arts, as well as a few other degrees in other areas. I love to cook and I love to feed people.
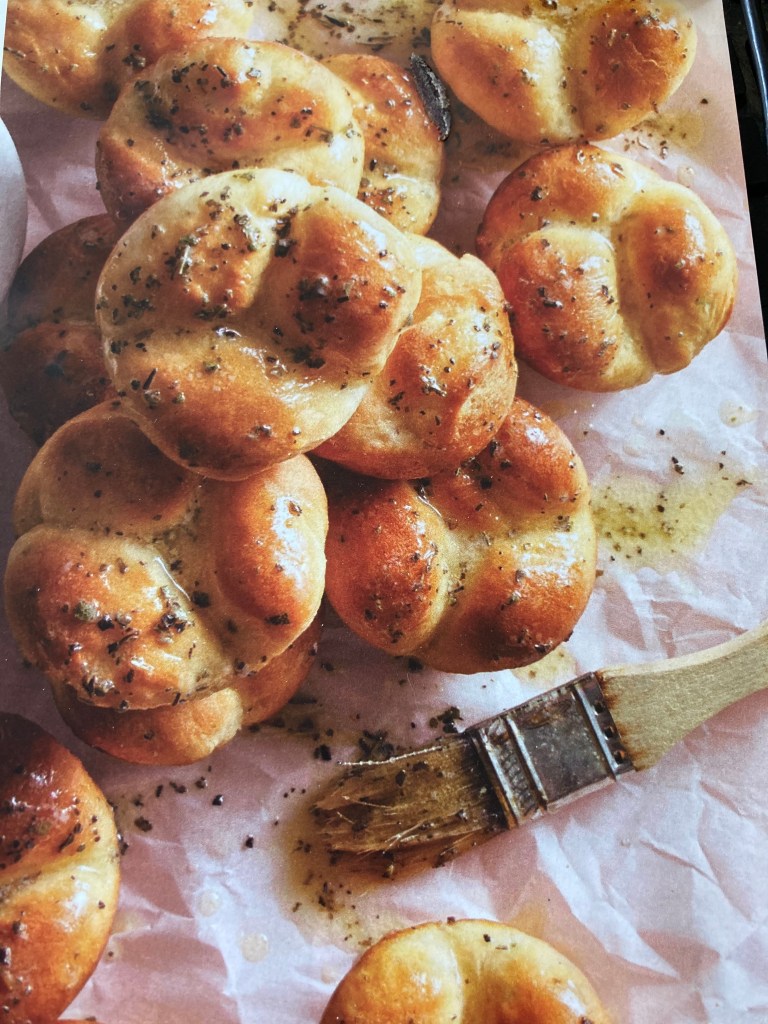
This is the last of my Thanksgiving menu items for this year. Every table at Thanksgiving has to have rolls or bread of some kind. Mine was no exception. This year I made some sage buttermilk rolls. They were delicious and were a part of our Thanksgiving meal, as well as a couple of other meals after.
Bread of all kinds is one of my downfalls. I LOVE bread. I could easily make any meal just on bread (and butter) alone, and have many times in the past. 🙂
Buttermilk Sage Rolls
1 stick or 8 TBSP butter
1-2 TBSP fresh sage chopped
3 TBSP sugar
1 1/2 cups buttermilk – I use the dried buttermilk mixed with milk
2 packages or 5 tsp of dry active yeast
1/2 cup lukewarm water
4 1/2 cups flour
2 tsp salt
1/2 tsp baking soda
1/2 tsp dry sage for the topping
3 TBSP melted butter for the topping
1 TBSP garlic, optional, for the topping
Combine the yeast with 1 TBSP of sugar and the water and mix together. Let it rest for about 10 minutes or until it becomes frothy.
Combine the flour, salt and baking soda and mix together thoroughly.
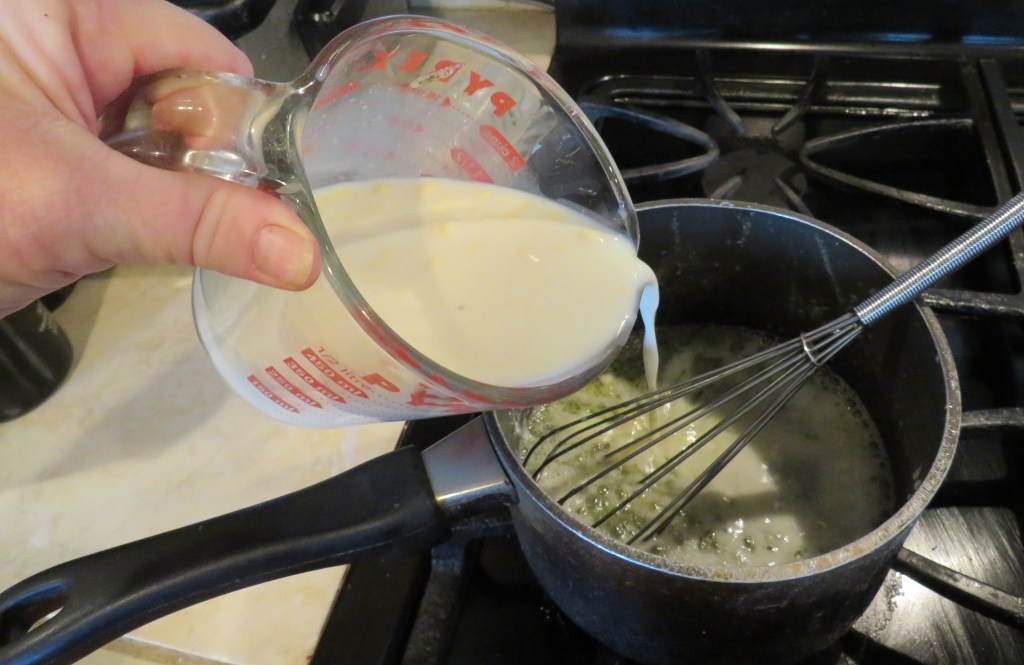
Melt the butter with the remaining 2 TBSP of sugar and sage. Cook just until the butter melts. Add the buttermilk and heat just until warmed. Let the mixture cool slightly, then add it to the yeast.
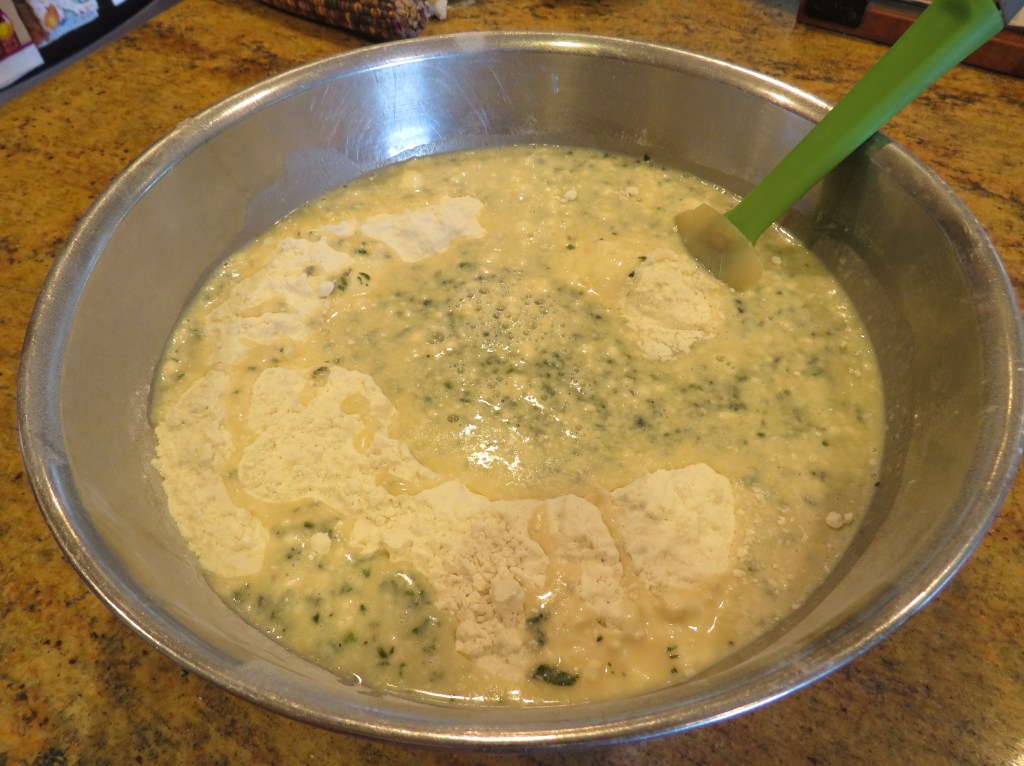
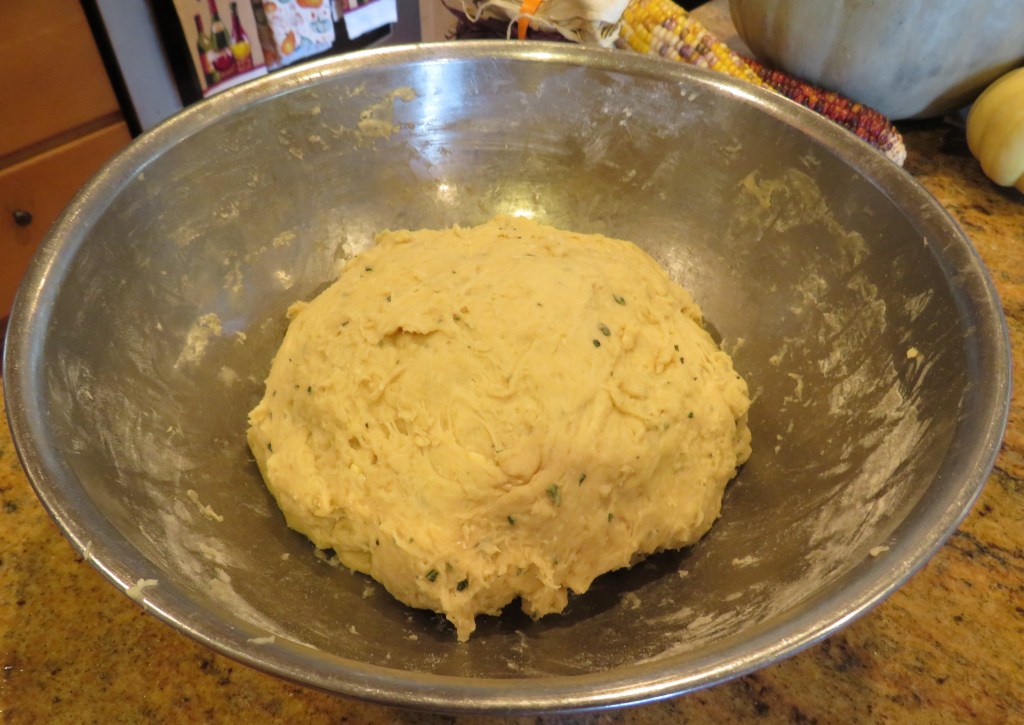
Make a well in the center of the flour mixture and add the yeast and buttermilk mixture in the center. Slowly start working the yeast mixture into the flour until it forms into a soft dough.
Form the dough into a ball and place in a large bowl that has been lightly oiled with olive oil. Cover and let rise in a warm area for about 30-40 minutes.
Preheat the oven to 375* F or 191* C. Spray cooking oil into muffin pans.
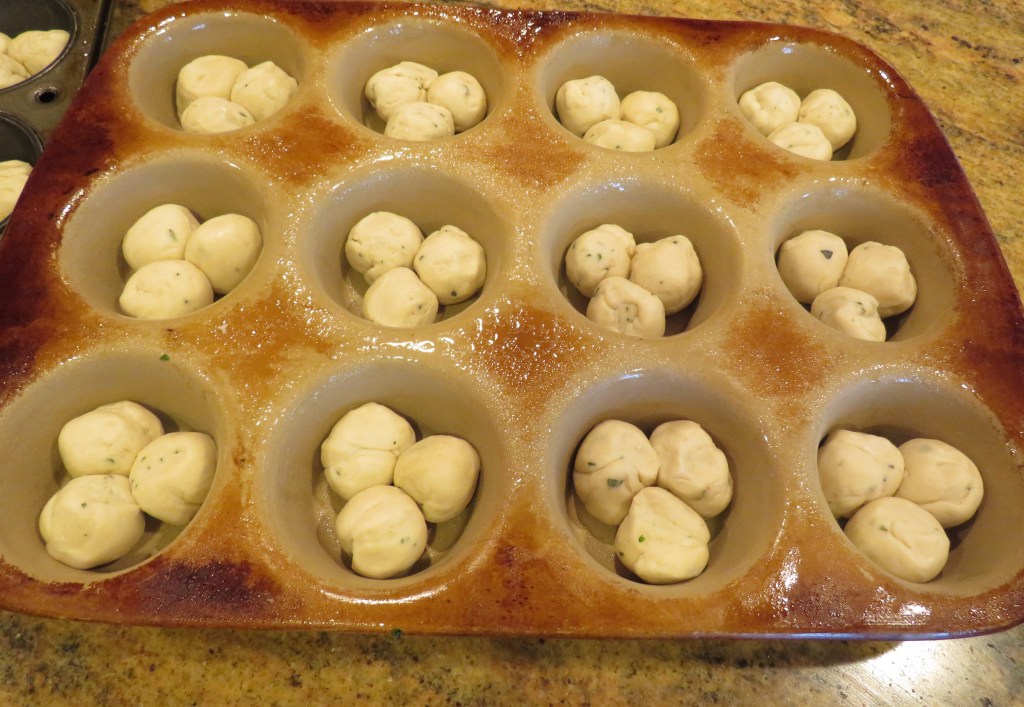
Knead the dough on a lightly floured surface until it is easy to work with. Cut or pinch small dough balls about 1 inch in size and roll into balls. Place 3 balls together in each muffin cup. You will have enough dough to make about 24 rolls. Cover and let rise again for another 45 minutes.
Mix the remaining melted butter, dried sage and garlic, if using and brush on top of the rolls before placing them in the oven. Bake for about 15 minutes or so or until golden brown. If you like to make the rolls shiny and bright, add some more melted butter on top right before serving. Serve warm. These delicious rolls are a good accompaniment to any dish. You’re going to love them, I promise. One of our guests commented on “how pretty” they looked.
Have a great day and make everyday great. Stay safe and stay well. ‘Til next time.
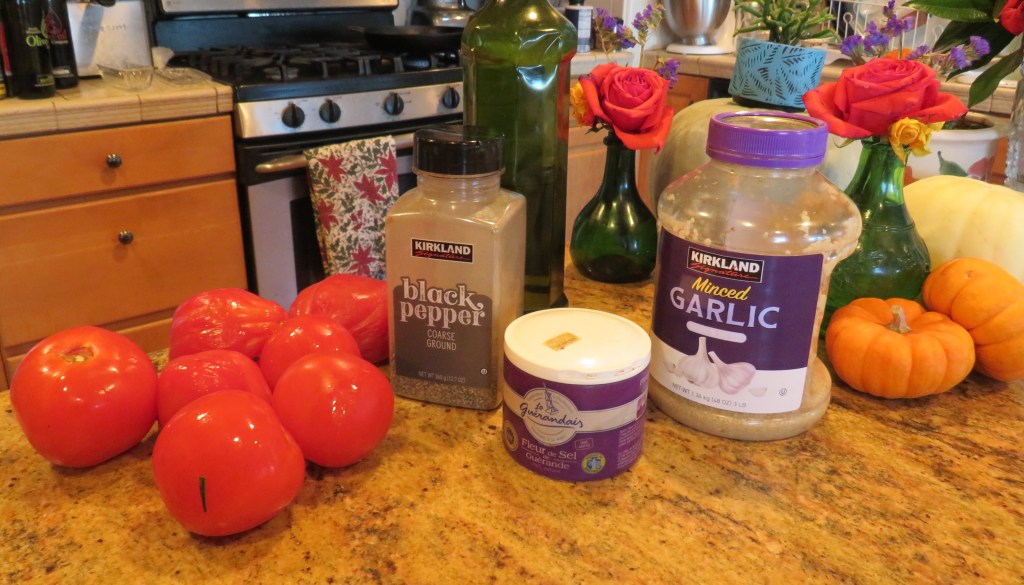
Once again, Larry had a big cut of beef down and wanted steak. I had some tomatoes that definitely needed to be used. How could I use them both and create something good for dinner? I know, I know!!!! How about steak pizzaiola.
What is steak pizzaiola you ask. Good question. It’s an Italian steak of course. Otherwise known as carne alla pizzaiola. I is believed the origins of this dish likely come from a Sicilian recipe using beef shoulder for the meat. Other ingredients, however, point to Naples, Italy as the origin of the recipe. Who really knows, other than it originated somewhere in Italy. Pizzaiola is the rich tomato and oregano sauce accompanying a braised cut of beef. The term pizzaiola means “in the manner of the pizza maker”. So, steak pizzaiola is a steak cooked in a sauce similar to a pizza sauce or steak made pizza style, though without the crust or the cheese.
Steak pizzaiola came about around the 1940’s when Italian cooks wanted to cook less tender cuts of meat, which were cheaper. These cheaper cuts of meat are tougher and more fibrous, so they need longer cooking times. The meat is first seared and crusted, then braised in a sauce, most notably a tomato sauce and cooked slow at a low temperature to break down the proteins.
Steak Pizzaiola
6-8 medium to large tomatoes diced
3 TBSP olive oil
1-2 TBSP garlic
salt & pepper to taste
1-2 tsp each dried basil, oregano, thyme, marjoram, or any combination thereof
1 tsp red pepper flakes, or to taste
2 lbs steak
1/2 cup wine, red or white
Pat the steak dry with a paper towel, then season with salt, pepper and red pepper flakes on both sides. Press the seasonings into the steak. Cover and let rest for at least one hour before cooking.
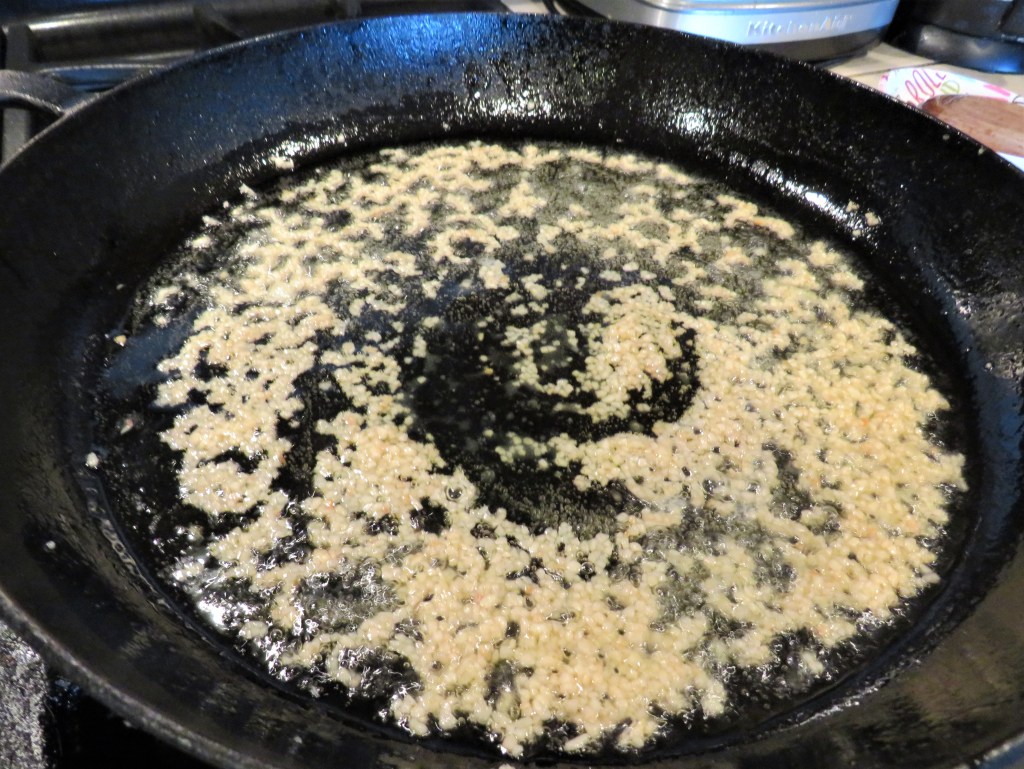
While the meat is setting, make the sauce. Get a large skillet or pan very hot, then add the olive oil and garlic. Cook for about 2-3 minutes, or until the garlic becomes aromatic.
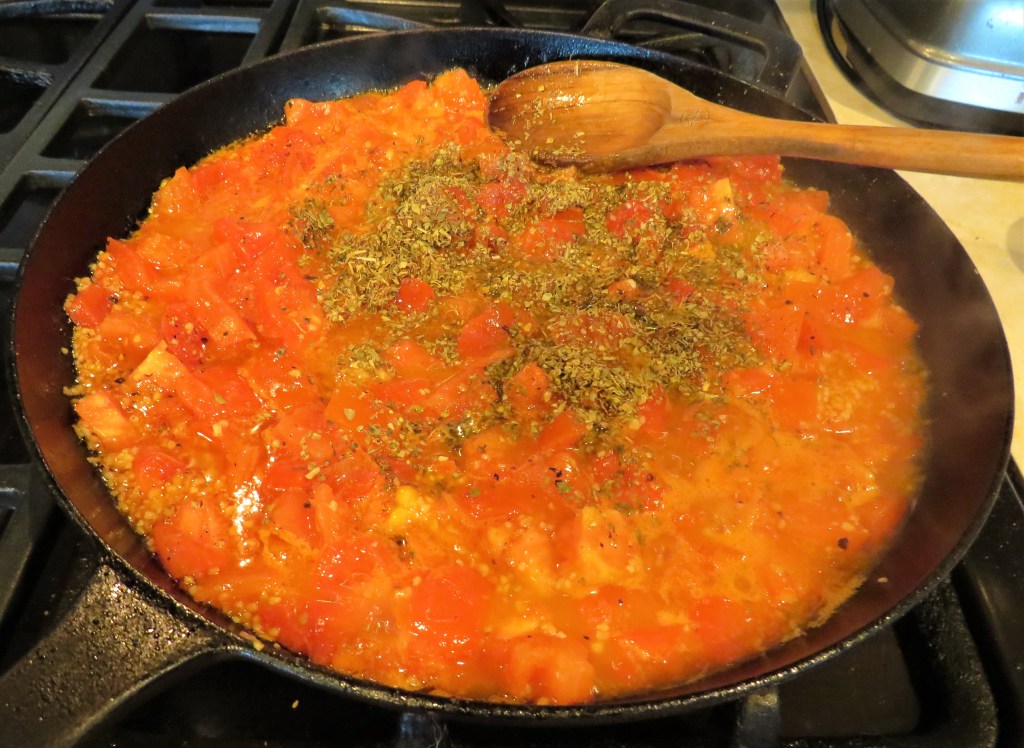
Add the diced tomatoes, seasonings and herbs. You can substitute fresh for the dried herbs, but but add them towards the end of the cooking process instead. Usually if using fresh herbs rather than dreed herbs, the ratio is 1 TBPS fresh:1tsp dried.
Bring to a boil, then reduce the heat to a simmer and continue to cook for about 30 minutes, stirring frequently.
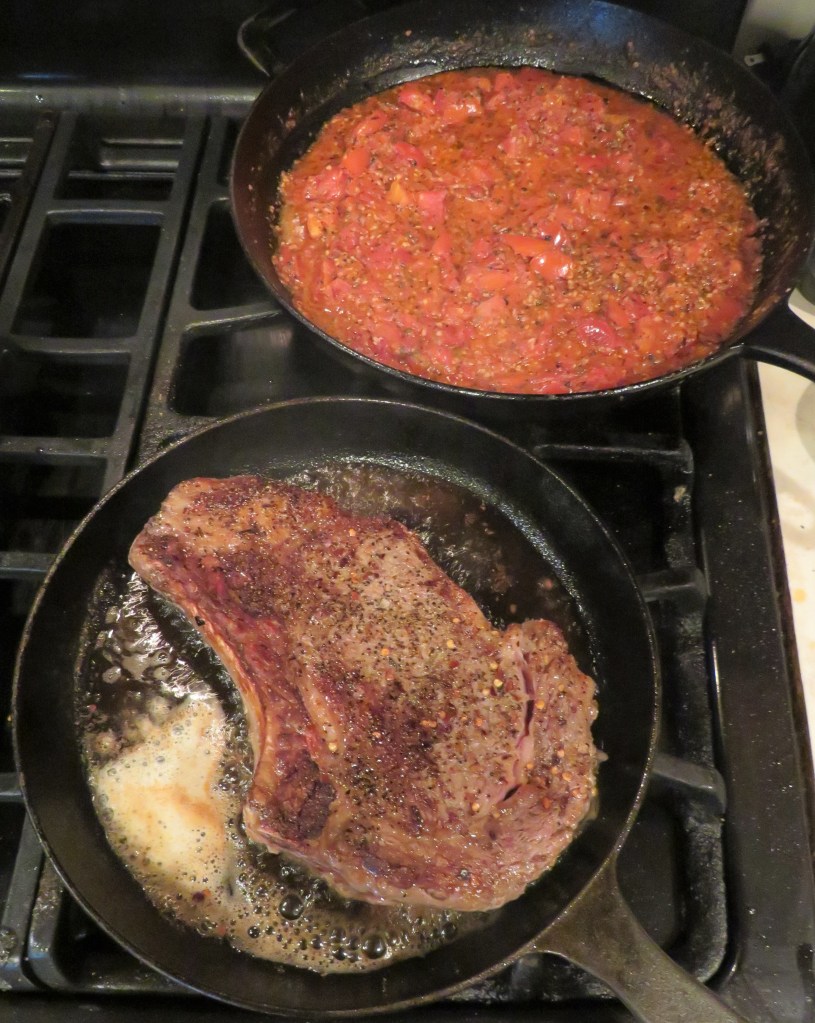
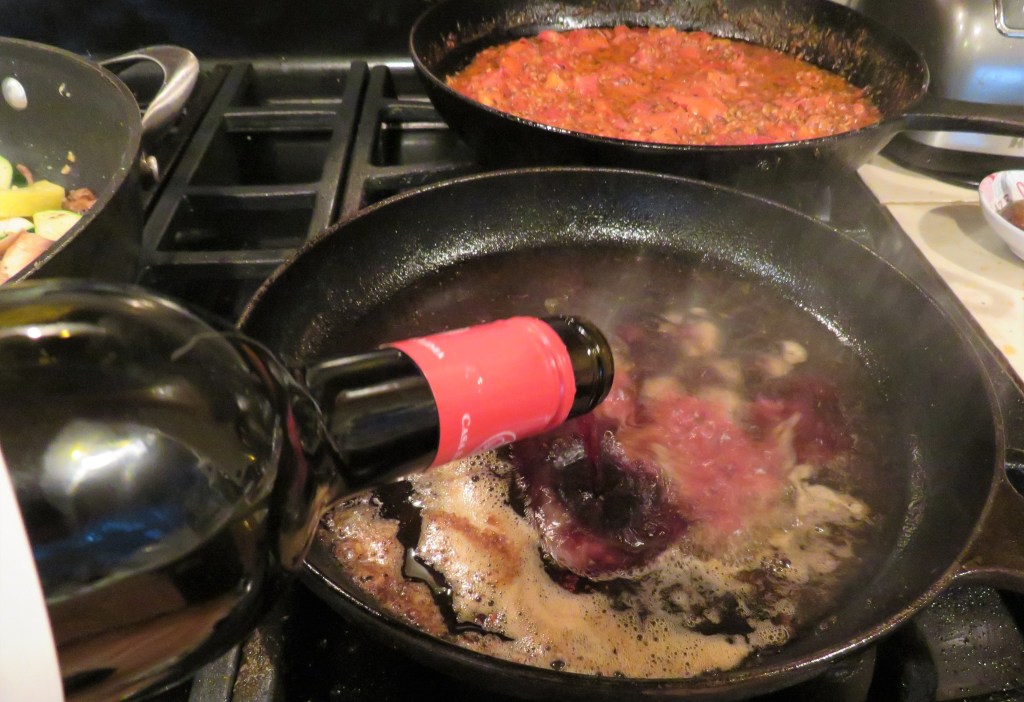
While the sauce is cooking, sear the meat in a very hot skillet or pan with a combination of both butter and olive oil for about 3 minutes per side, then once again for about 1-2 minutes per side, depending on the thickness of the meat, until you have a nice crust all around the meat.
When the steak is crusted all over, remove it from the heat. Carefully add the wine to the pan and let the liquid reduce to about 1/2. Be careful when adding the wine because it will flare up and flambe. You can use either red or white wine. I used red wine because red wine goes better with a tomato sauce.
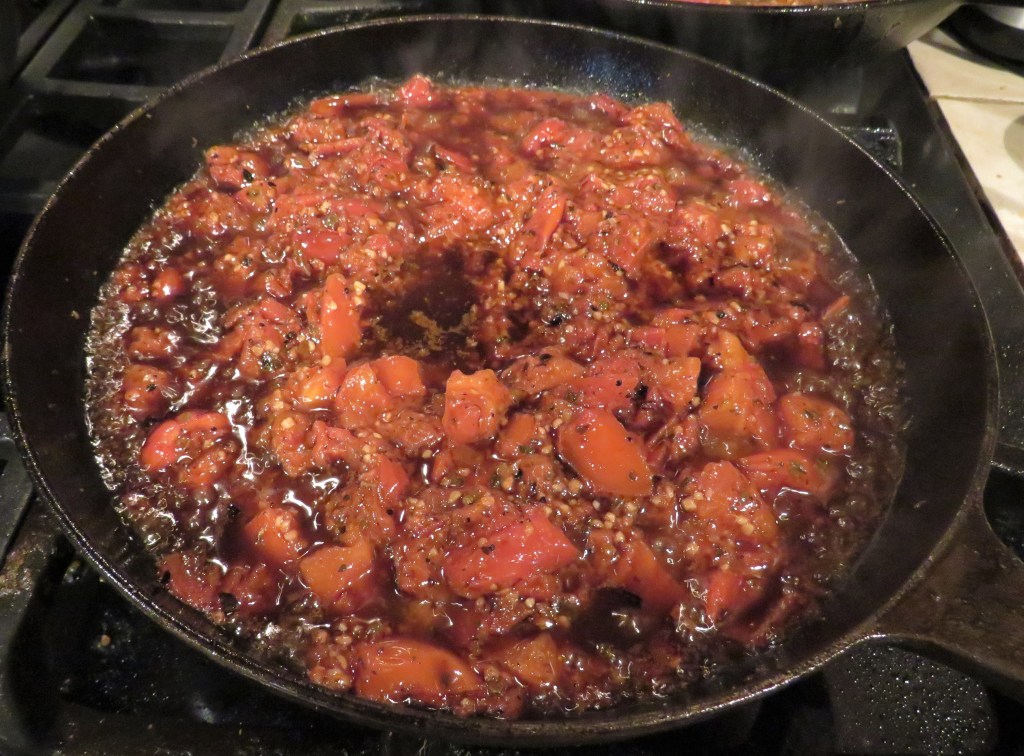
Add about 1-1 1/2 cups of the prepared tomato sauce to the wine and mix thoroughly. Re-add the steak to the sauce and cook for about 6-10 minutes per side, or until it is cooked to your liking. This recipe is NOT good for steaks that are overcooked.
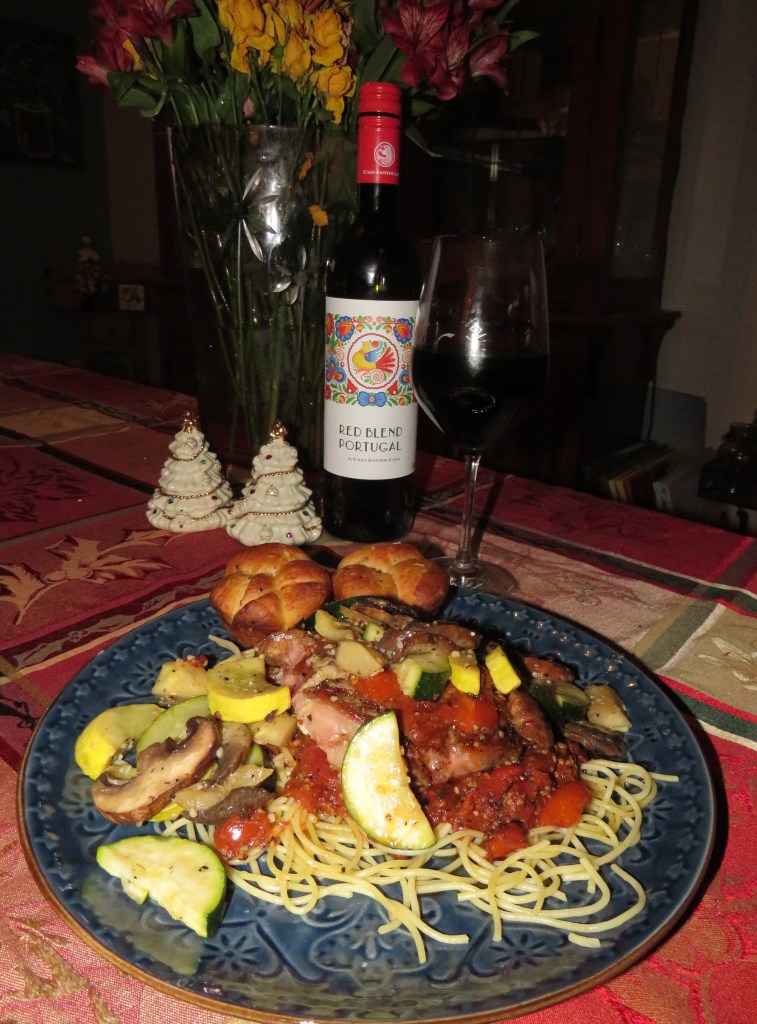
When everything is cooked, it’s time to serve it all up. I had some leftover pasta that I used as my base, then added a bit of the sauce on top. Next came the steak, with a bit more sauce. I served it with sauteed zucchini, crookneck and mushrooms too, with the last of my Thanksgiving rolls on the side. Of course there was red wine served with the meal too. You have to have wine, right?! A meal without wine is breakfast! 🙂 !!Buon Appetito!!
Have a great day and make everyday great. Stay safe and stay ell. ‘Til next time.
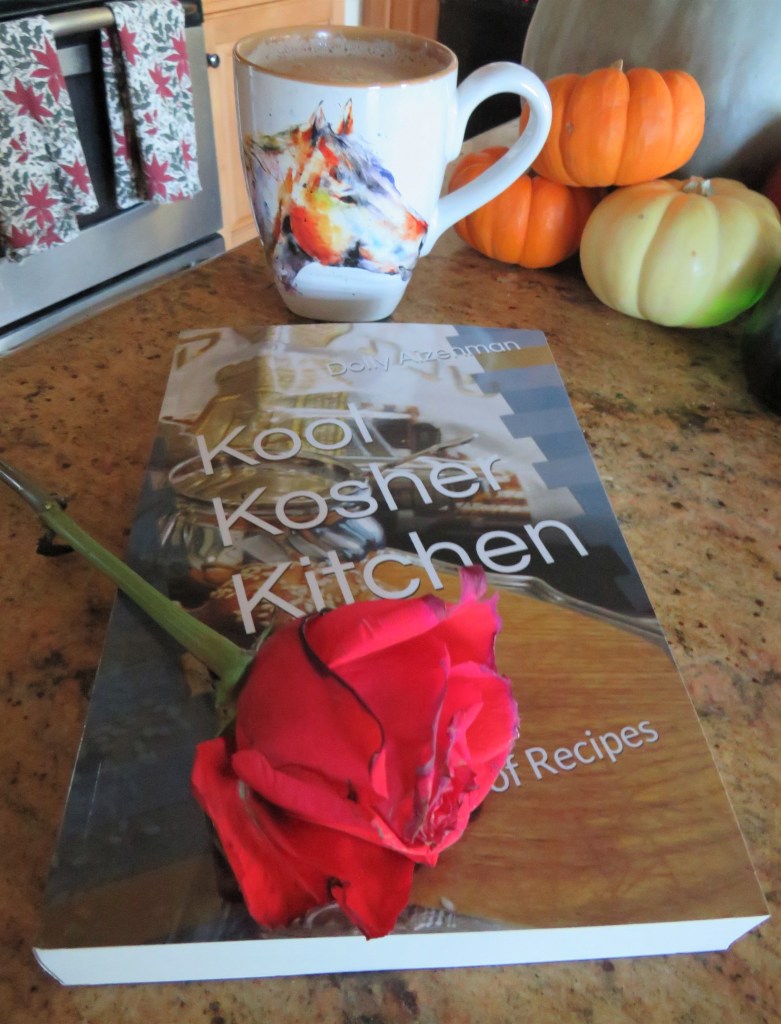
I got an early Christmas present that is also a Hanukkah present from my beautiful friend, and our very own, Dolly Aizenman, from Kool Kosher Kitchen at https://koolkosherkitchen.wordpress.com/. Dolly sent me her new cookbook by the same name, “Kool Kosher Kitchen – Collection of Recipes“.
Just like any good book, and yes, that most definitely includes cookbooks, I can’t wait to delve into it and try all of Dolly’s delicious traditional family recipes. 🙂 Mine will not be exactly like hers for a few reasons. My kitchen is not a Kosher kitchen for one, and then I don’t have her knowledge and expertise for another, but I will do my best, and hopefully make Dolly proud none the less. 🙂 The only thing that would make this beautiful, thoughtful gift better would be to actually get a chance to cook these recipes with Dolly, and to learn from the pro herself. I am looking forward to the day when we can actually make this happen.
Kool Kosher Kitchen – Collection of Recipes closely follows Dolly’s blog of the same name. The book is filled with Dolly’s family’s delicious and traditional recipes, and lots of stories and background for each and every recipe. I just received the book yesterday, and haven’t really had a chance to delve into it yet, since we had plans last night. But I have already picked out quite a few dishes that I am looking forward to making and reading about though, even in just a very short time. 🙂
One of my absolute favorite things about our wonderful WordPress family, is just that. I feel even though many of us have never actually met in person, we do get to know each other, and become friends; some of whom even become very dear friends. Dolly is definitely someone I consider to be a dear friend, whose friendship and support I value. We here on WordPress have our own little “family unit” that is quite special and unique.
Thank you Dolly, my beautiful friend. Thank you for your beautiful book, but YOU are truly the gift that I treasure.
The Holidays are a special time of year. To me, they bring us all together and make us realize it is the friendships and relationships in our lives that are the most important things. Let us ring in this Holiday season by wishing everyone good cheer and glad tidings. Have a great day and make everyday great. Stay safe and stay well. ‘Til next time.
Again, I am taking a little break from the norm to help out a friend from my past. It’s funny how people we loose touch with come back into our lives when we least expect it. The other day, a friend of mine from high school reached out and asked if I would be interested in reconnecting with another mutual friend of ours from those bygone years. Of course! I am always interested in reconnecting with old friends. And so we did. We reconnected.
Meet Neil B. Wilson and his wife Tamura.
Not only did Neil and I go to high school together, in Pasadena, CA, but now, he and his beautiful wife Tamura, have moved to Colorado and call Colorado home too. They now live in Castle Rock, which is about an hour south of us. We have reconnected via emails only at this point, but we have already decided to meet again in person soon.
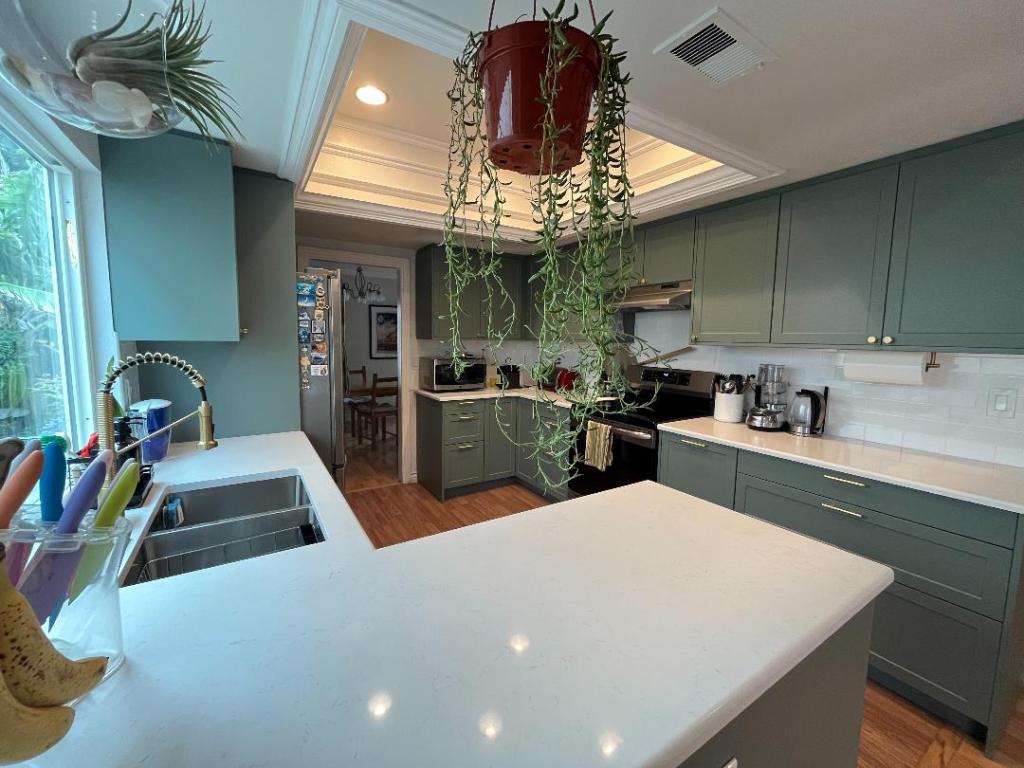
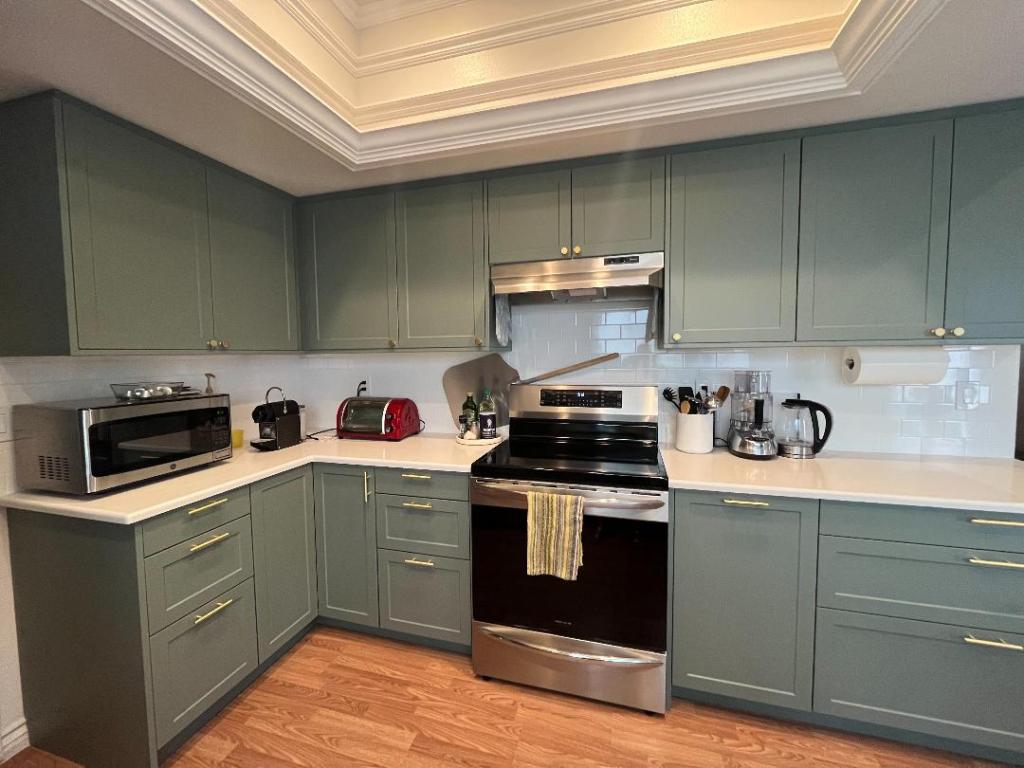
Neil has his own company, DezignBlue, located both here in Colorado and in California. Neil’s specialty is redesigning kitchens and transforming them into something new. In California, business is booming and Neil would like it to really take off here in Colorado as well. So I told him I would put out the word for him on my blog. Dezign Blue specializes in remodeling services for people interested in updating the look of their homes. We focus on kitchens, bathrooms, laundry rooms, garages or anywhere storage and counters are needed. We’re an “IKEA” friendly shop with over 20,000 successful projects completed across the globe. Check out our Portfolio and Testimonial pages to see our work and hear from some of our customers.
Attached are some photos of some of the kitchens Neil has transformed. They are works of art.
As much as I would like to have a kitchen that looked like this, I know it will never happen. My kitchen is very well used and will NEVER be this neat or spotless. Try though I may, I just know the only way my kitchen would ever look like this is if I never used it or never cooked again. We all know that ain’t going to happen. 🙂 🙂 🙂
If you like what you see, and I know I sure do, you can contact Neil at Neil B Wilson @ DezignBlue through using any off these contacts.
Almost every American Thanksgiving spread will include stuffing, or dressing as it is called in the south. There are so many different versions too. Everyone has their favorite, and they are all different from house to house and region to region. In the south, most dressings are made with cornbread. In most other places, stuffings are made from old or stale bread. Stuffings or dressings have been a part of the Thanksgiving traditions since around 1836. I make different stuffings all the time. There are just too many stuffings and not enough time. 🙂
Adding a “stuffing” to a meat dish goes back to the early beginnings of time. It’s said that stuffing animals carcasses goes back as far as the 2nd or 1st centuries B.C from the early Roman times. In the early days, foods were roasted on a spit over an open fire, and there was no easy way to cook side dishes other than stuffing them into the animal carcass. Today, most people cook over a stove, which makes preparing multiple dishes much, much easier and heathier. At first, stuffing was cooked inside the carcass, adding flavors to the meat, but today, most people cook the meat and the stuffing separately, to prevent food-borne illnesses.
To make a stuffing or a dressing, regardless of what ingredients you use, always cook everything thoroughly before adding it to the stuffing mix. This is for two main reasons – 1) if you use raw ingredients instead of cooked, they will give the stuffing a very strong and unpleasant flavor, and 2) which is the most important reason, is to prevent cross contamination of foods and keeping the foods safe to eat for everyone. The dryness of the bread or the cornbread you use will determine the amount of liquid used to moisten the stuffing. Cut the vegetables to the same size of the bread so all the flavors really come together and don’t get lost in the cooking.
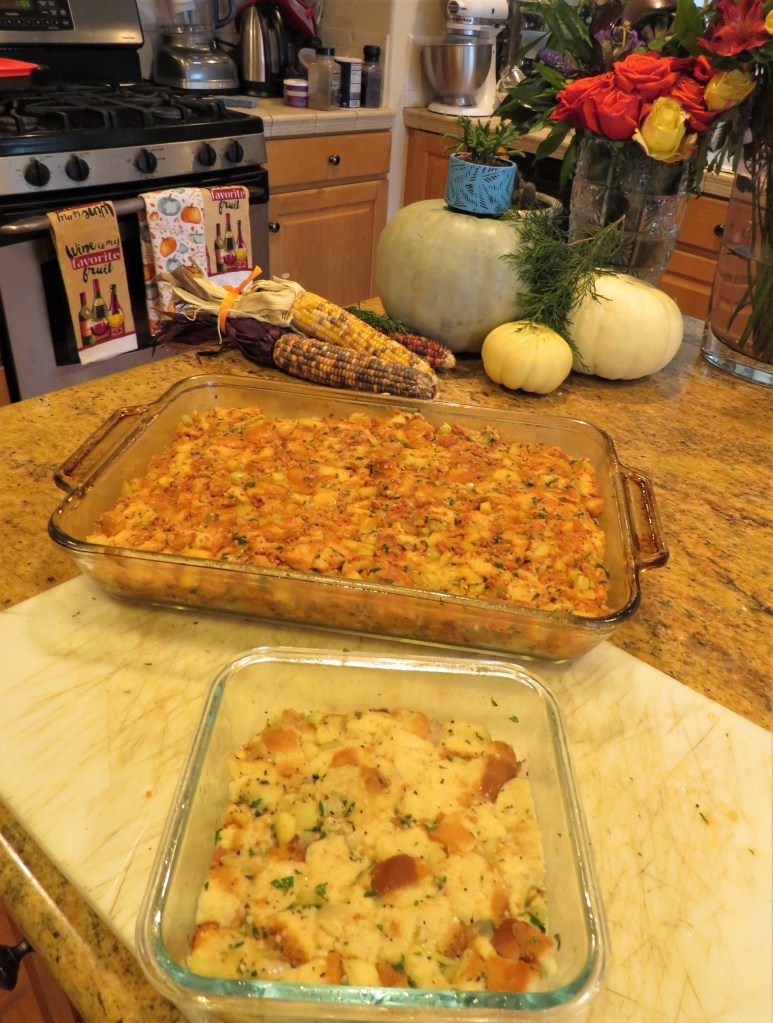
This year I made two different versions of an apple, sausage and sage stuffing, though, one was really just apple and sage because I made it vegetarian. All I did different was not add the sausage. 🙂
Apple, Sausage and Sage Stuffing
The combination of sausage, apples and sage are a New England tradition. When using them as a basis for stuffing, they go very well with chicken, pork or turkey. Sage is a hearty herb that is perfect for fall cooking. The leaves are protected by a “fuzzy” coating, which acts as a type of insulation for the leaves, and allows the herb to last longer through the colder months, making it perfect for fall cooking.
1/4 cup chopped parsley and/or other fresh herbs, chopped
Preheat the oven to abut 375*F or 191 *C.
Spray cooking spray into a deep baking pan or dish.
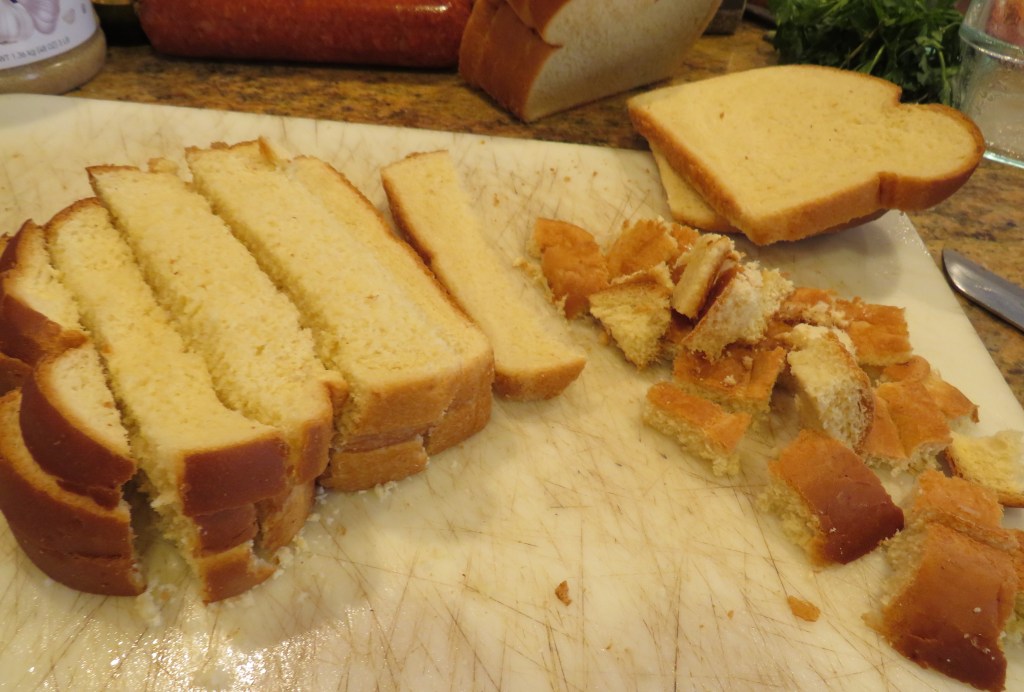
Cube the bread. Any kind of bread will do. Different breads will add different flavors.
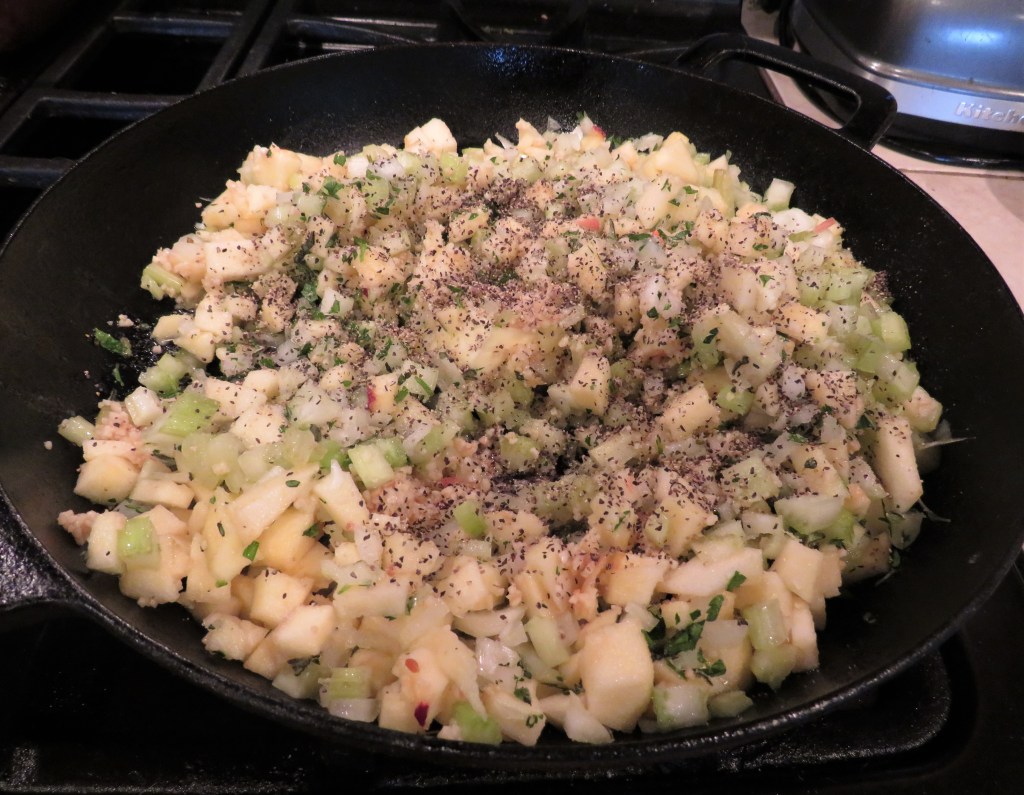
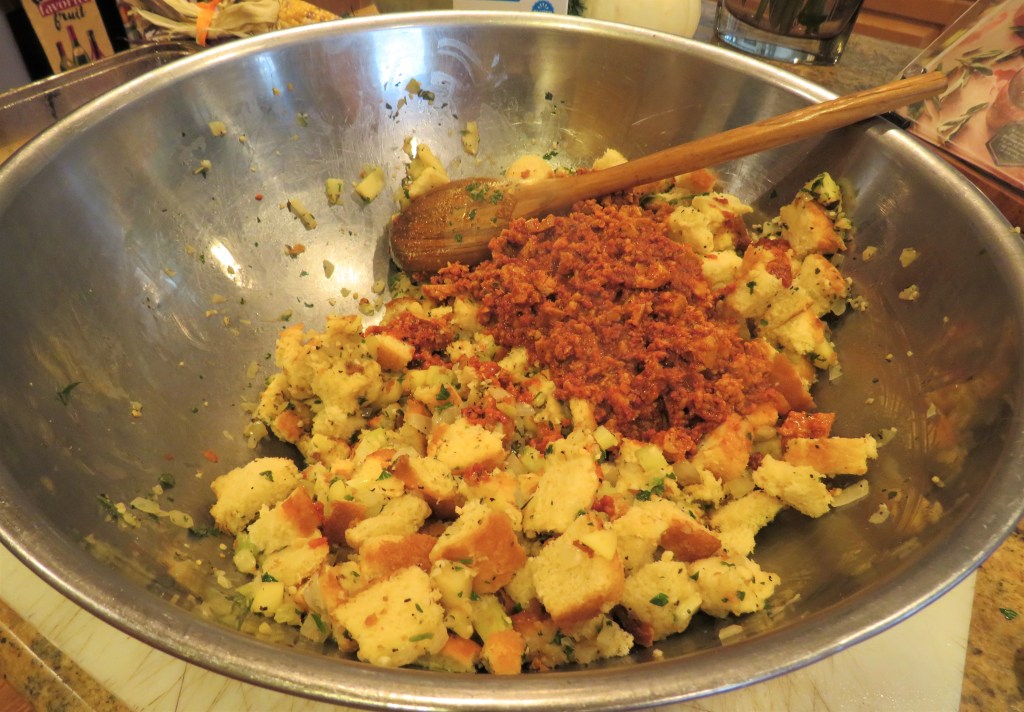
Cook all the vegetables and apples together with the salt & pepper in either olive oil and/or butter. I like using a combination of both to add more flavor and richness. Cook the vegetables and apples first for about 3 minutes, then add the sausage, unless you are making a vegetarian version, then cook the sausage separately.
Once everything is cooked add them, along with the melted butter and fresh herbs, to the cubed bread and mix together thoroughly.
Add the broth and firmly press into the bread mixture, making sure that everything is completely soaked through. Add it all to the prepared pan and thoroughly press it down again. Cover with aluminum foil and bake for about 1 hour, then remove the foil and continue to bake for an additional 15 minutes or so, or until the top is lightly browned. Serve hot alongside your favorite meat or protein dish.
This is but one of an endless number of possibilities of delicious stuffings to make. Here in the United States, stuffings are traditionally served with turkey during the holidays, but by no means is that the only time they are eaten and enjoyed. You can enjoy stuffing anytime, with any meal. So let’s get stuffed, though I should be careful in saying this, because I know in other countries, this has a completely different meaning. I know in my dad’s native Australia, getting stuffed is something totally different. 🙂
Have a great day and make everyday great. Stay safe and stay well. ‘Til next time.
You all know how much I love my cookies. Cookies will ALWAYS be my first choice for sweets. I can skip the cakes and puddings and candy. But cookies. Oh no! I can’t pass up a good cookie. That being said, I am always on the lookout for new cookie recipes to try, especially for the holidays.
When I was planning my Thanksgiving menu, I was toying around with a bunch of different ideas for desserts. I didn’t want to make too much, because we, and me especially, are all trying to watch out sweet intake, and I didn;t want a lot of sweets leftover to tempt me. I had already made the pumpkin chocolate chip cookies Pumpkin Chocolate Chip Cookies, though a lot of them had already mysteriously disappeared. I have no idea where they went either. 🙂 I needed to make some more desserts for the day. I came across a recipe for some cranberry orange shortbread cookies that I decided upon. I mean cranberry and orange is perfect for this time of year, right?!
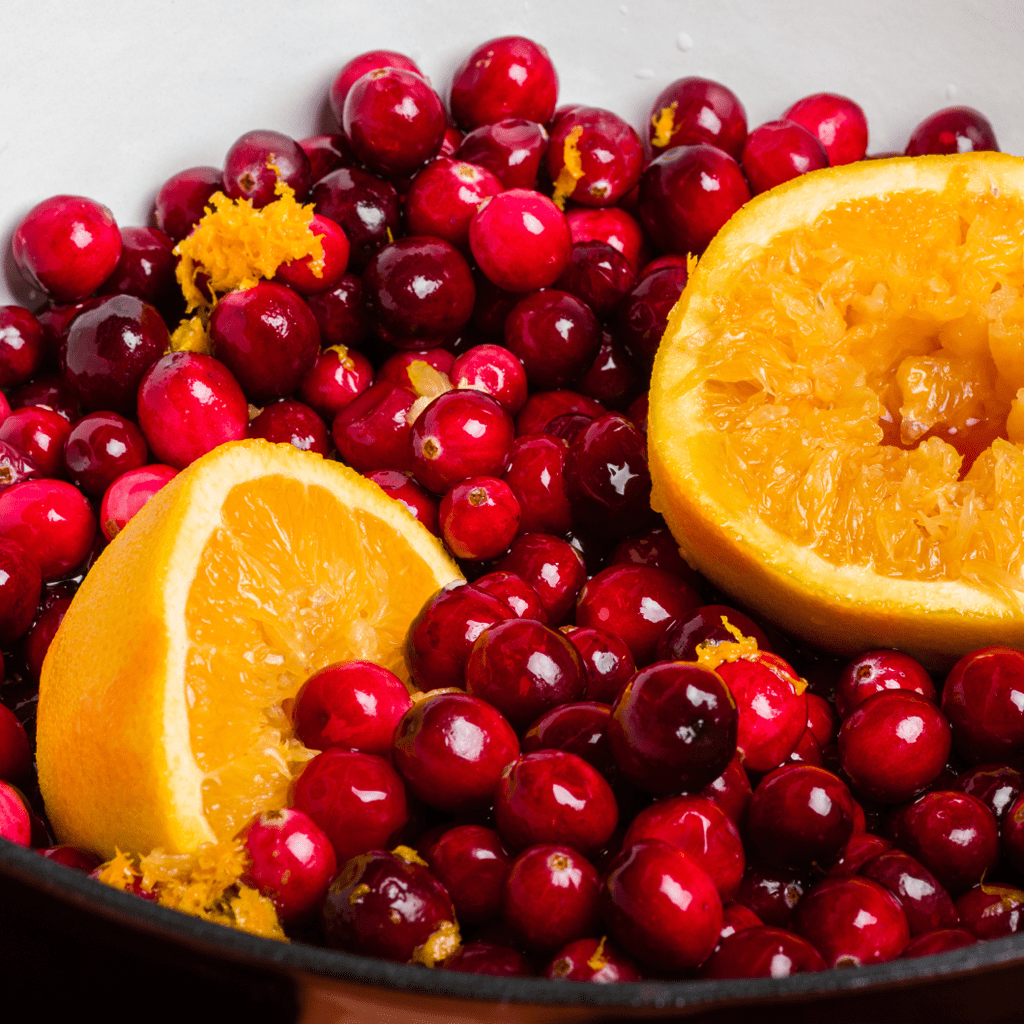
Tart cranberry and sweet orange are two flavors simply meant for each other. When paired in treats like cookies, cakes, and breads, or even savory options like relish andmeatballs, the two fruits become better together. Definitely a case of two great tastes that taste great together. Cranberries, like their cousins blueberries, tend to pair well with citrus. And cranberries pair best with oranges because oranges have a softer, less acidic or tart taste, more suitable for balancing the natural tartness of the cranberries.
Cranberries were a staple for Native Americans, who harvested wild cranberries and used them in a variety of remedies, foods and drinks. National Geographic’s Sarah Whitman-Salkin writes that the berries were even used in an energy bar-like food called “pemmican,” which served as a vital source of nutrition for fur traders during the winter months.
Commercial cranberry cultivation started in the United States in 1816. Shawnie M. Kelley writes that when Captain Henry Hall, a Revolutionary war veteran, came across a cranberry vine thriving in some sand on Cape Cod, he became the first person to successfully cultivate cranberries. And from that moment on, history was made.
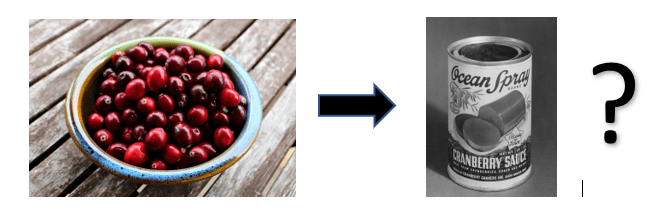
Today, Americans consume 5,062,500 gallons of jellied cranberry sauce every year and leave only 5% of North America’s annual cranberry harvest to be eaten as fresh fruit. If we travel back in time to 100 years ago, we would discover that this was not the case. Food processing techniques to preserve the beautiful red berry known as the cranberry had not been applied to cranberries yet, so the berries could only be eaten in their fresh form during peak harvest time, from about mid-September to mid-November, which provides some insight into how cranberry sauce was selected by Americans as a perfect Thanksgiving side.
Cranberries and cranberry sauce, in its many different variations, are a staple at every American Thanksgiving table every year. This year, we had both the canned cranberry jelly, since that is the only kind the kids will eat, and some delicious homemade cranberry-orange sauce that Lauren made. I make my own too, adding, not only oranges, but apples and pears too.
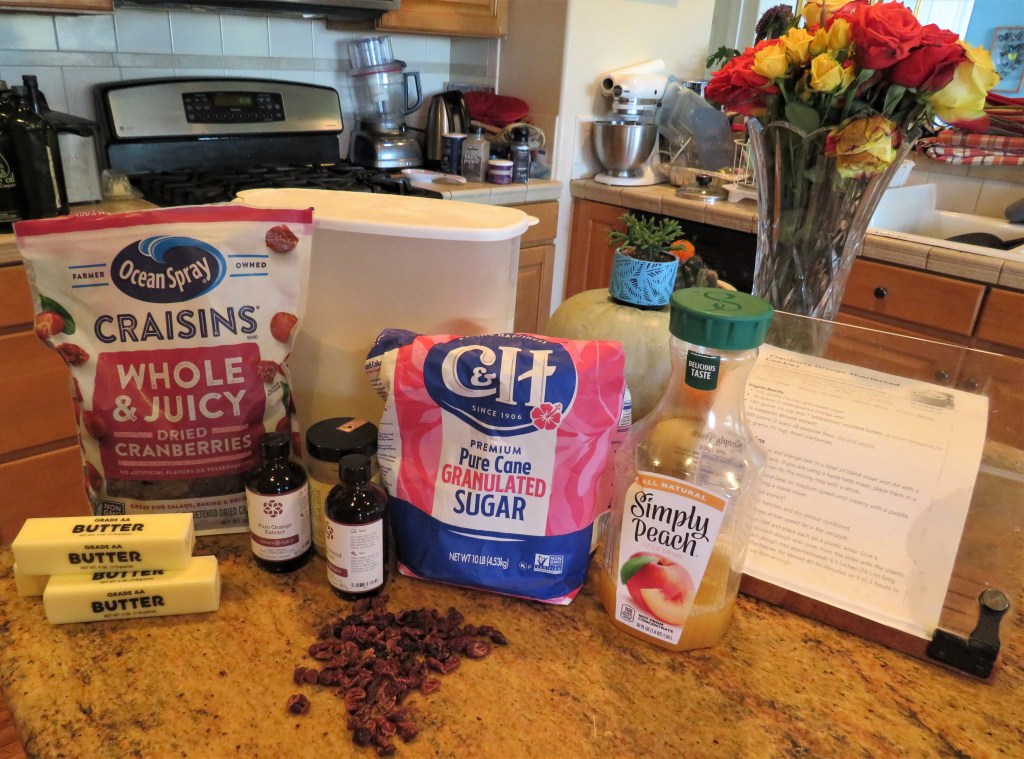
Cranberry-Orange Shortbread Cookies
Frosting these delicious cookies is optional, but one accidentally broke that was not frosted, and needed to be eaten. I personally think they are much better with the frosting, but the choice is yours. The question you have to ask yourself is “do you want them naked or dressed”. I prefer them dressed. 🙂
1/2 cup sugar
2 TBSP orange zest
3/4 cup +1 TBPS softened butter
1/2 tsp almond extract
1/2 tsp orange extract
2-2 1/2 cups flour
3/4 cup dried cranberries
1/4 cup orange juice or peach juice
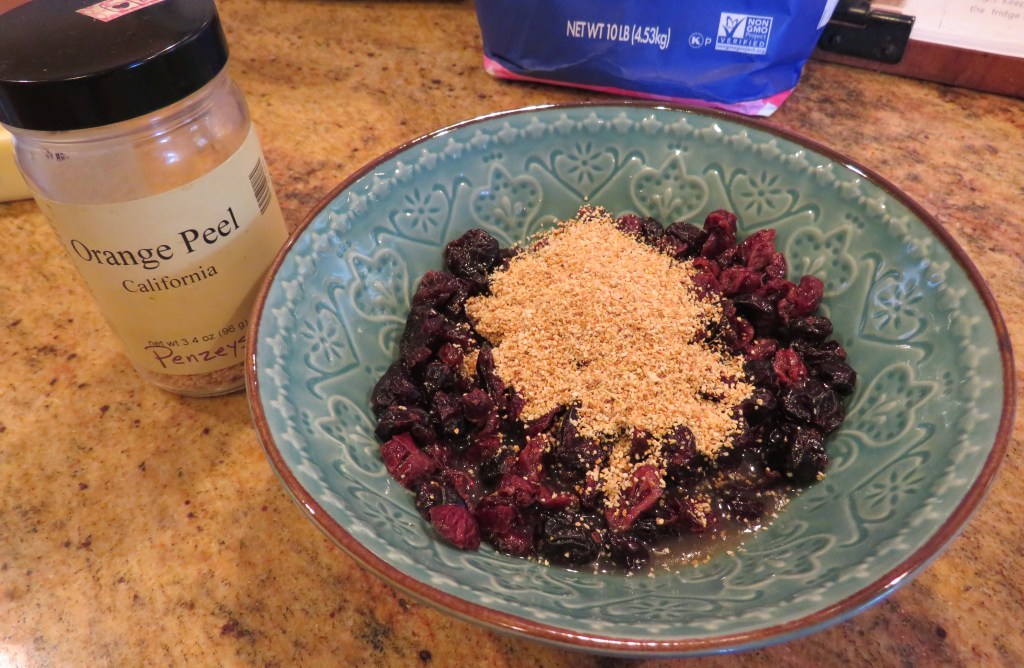
Add the juice, orange zest and the orange extract to the cranberries and stick in the microwave for about 30 seconds. Then let rest for a bit. This is to plump up the cranberries and make them softer, juicier, and more flavorful.
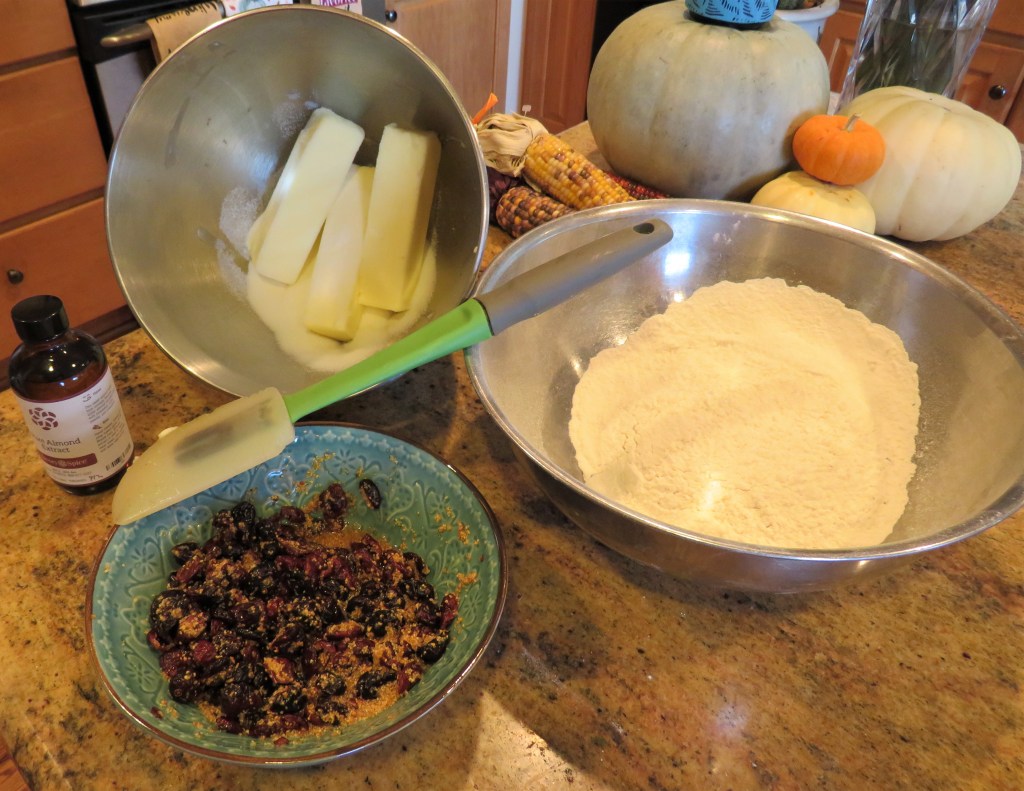
Beat the sugar and butter together until creamy. Add the almond extract and mix again. Then add the flour and mix just until everything is combined.
Fold in the cranberry mixture.
Divide the dough into two and roll into logs. Wrap with plastic wrap and set in the freezer for about an hour to allow the dough to set, making it easier to slice and to work with.
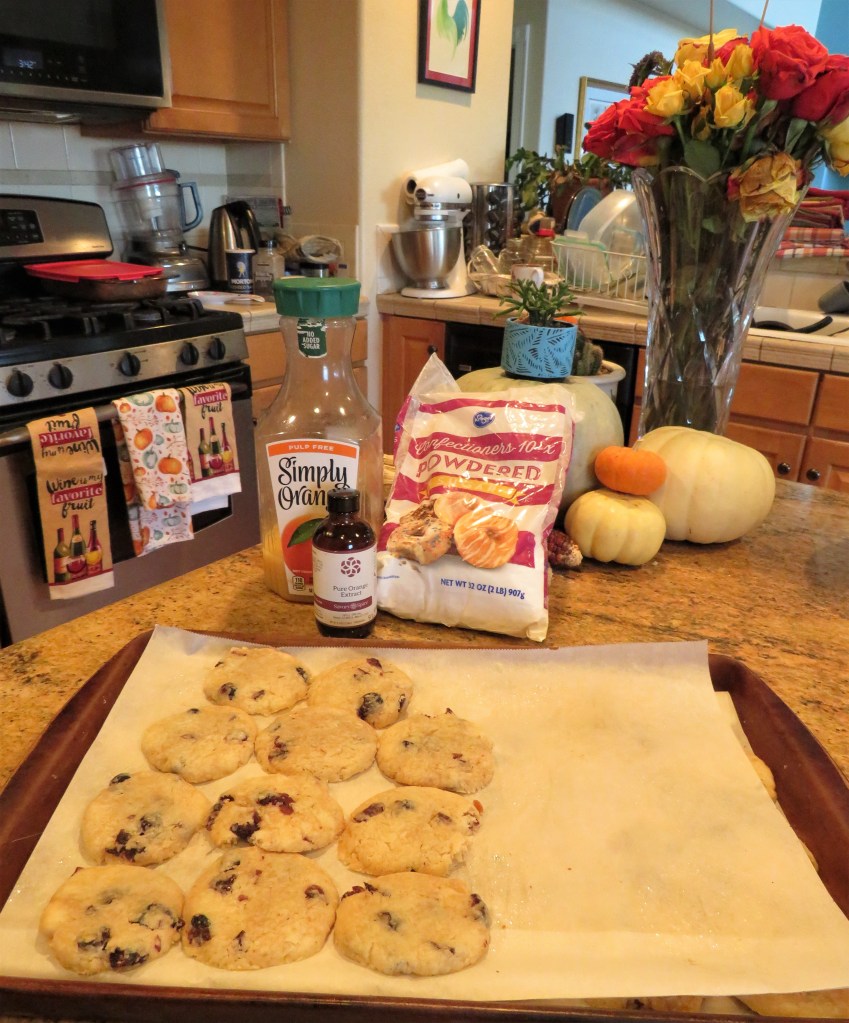
When you are ready to make the cookies, preheat the oven to 350* F or 180*C. Line your cookie sheets with parchment paper.
Slice the dough into rounds about 1/4 inch thick and place about 2 inches apart on the prepared pans.
Bake for about 15 minutes, or until the edges start to turn lightly golden. Allow the cookies to sit for a bit before transferring them to cookie rack to cool completely. If you are going to frost them, them must be completely cooled first.
The Frosting
1 1/2-2 cups powdered sugar
3 TBSP orange juice
1 tsp orange extract
Combine together until it is the consistency you like. If you like it thicker, add more powdered sugar. Then spread on the cooled cookies. To make them more festive, I added some orange sprinkles on top too. Then eat and share with family and friends and watch them disappear.
Have a great day and make everyday great. Stay safe and stay well. ‘Til next time.
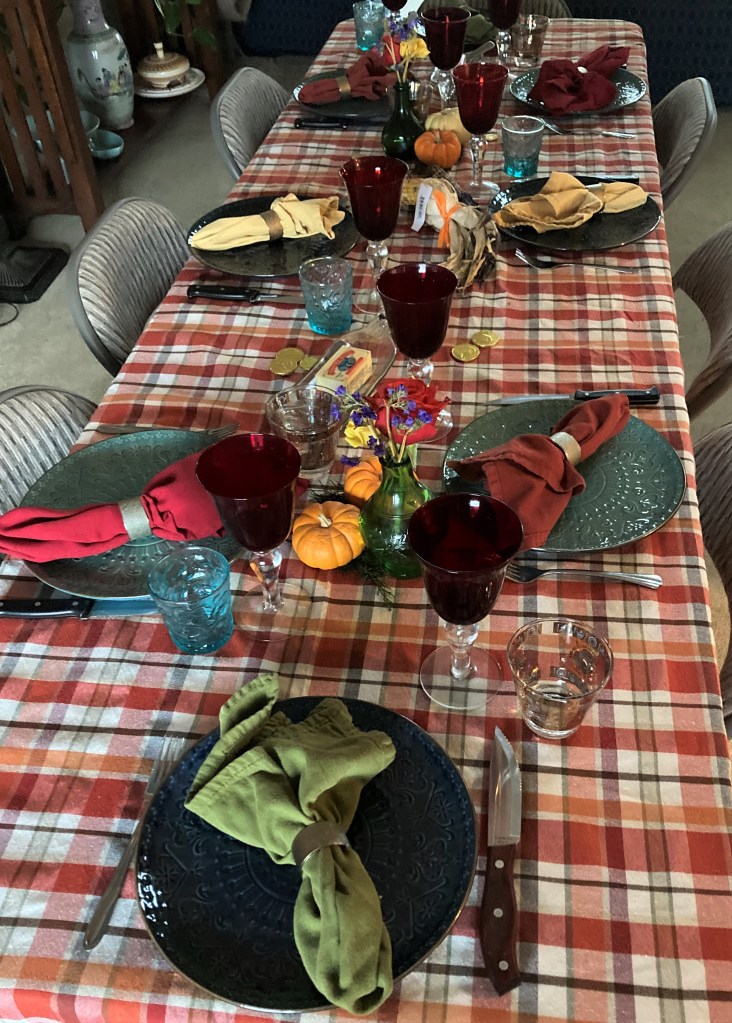
I hope you all had a good Thanksgiving. I hope you all enjoyed spending your day with loved ones, whether that be family or friends who have become family. I hope you all enjoyed the bountiful food and good times that you were blessed with. Larry and I had a great Thanksgiving. We celebrated with a small group of friends who are really family, and we had a lot of good food and a lot of fun laughs and fun times.
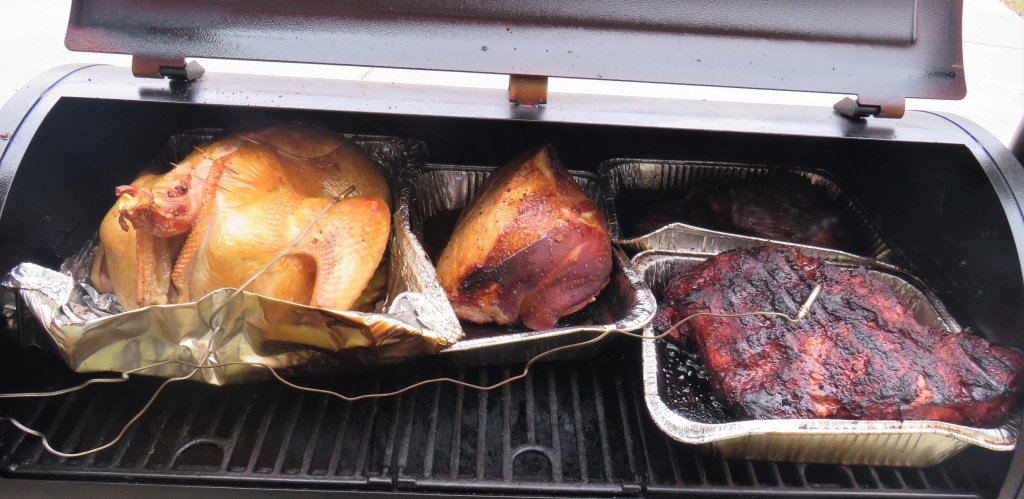
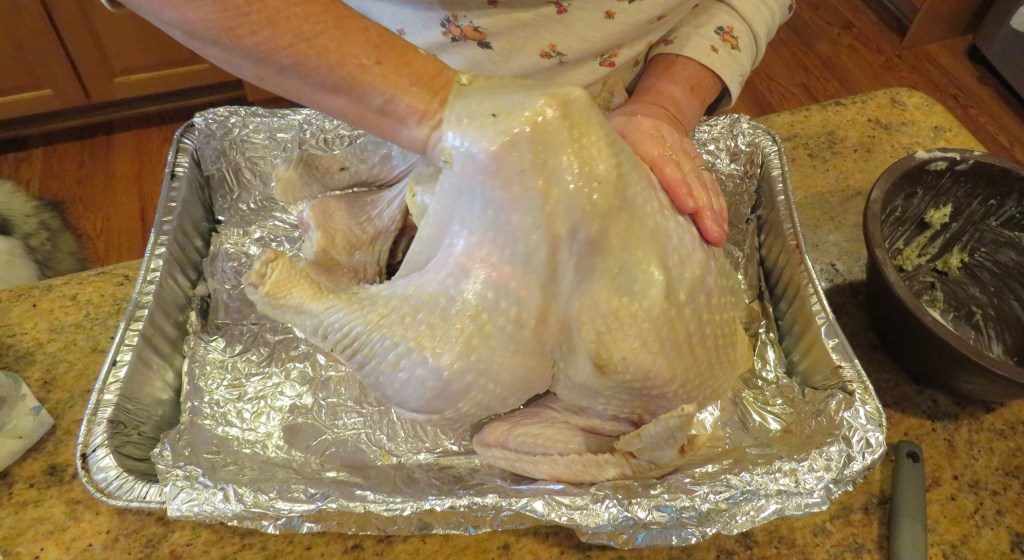
Larry smoked a ham, a turkey and some ribs. I helped him with brining the turkey the night before Thanksgiving and then I coated the inside with an herbed butter before he put it on the smoker.
I made the rest of the food we feasted on, with some help from Lauren. Lauren made a delicious orange cranberry sauce, the appetizers, and she brought over some gravy too. She is hosting her own Thanksgiving with her kids today.
I made two stuffing versions, one with sausage and one vegetarian,
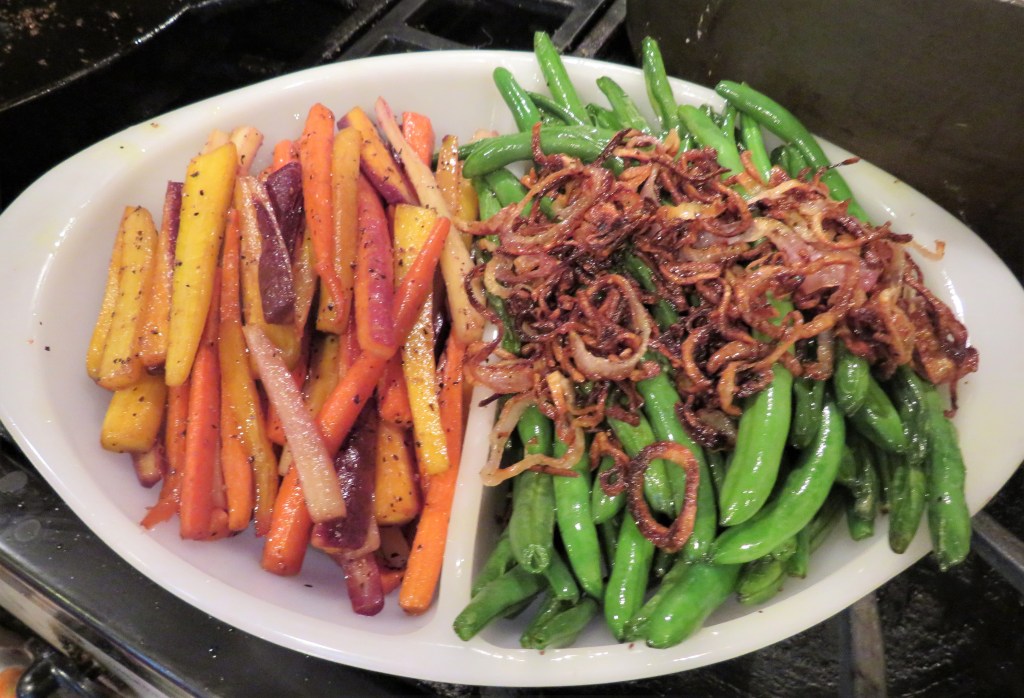
sauteed carrots (purple, yellow and orange) and green beans with shallots,
mashed potatoes, and some sage buttermilk rolls, along with the desserts. I didn’t make pumpkin or pecan pie this year, but made my donut bread pudding Thankful For Leftovers, and some orange cranberry cookies instead. Lauren also brought over some rice krispie treats. No one went hungry, that’s for sure. 🙂
Yes, we had a feast, but more importantly, we enjoyed our time, our meal and all the laughs together. And that’s really what the Holidays, any Holiday really, are all about. 🙂
Have a great day and make everyday great. Make time to spend time with those you love. Life is short. Make the most of it. Stay safe and stay well. ‘Til next time. Happy Thanksgiving.
Today is Thanksgiving Day here in the United States. It is my favorite holiday. It’s not about shopping or buying gifts. It is about giving thanks for all the gifts we have been given and spending time with loved ones. I hope you all have a very Happy and safe Thanksgiving. I am thankful for all I’ve been given everyday, not just today.
I am cooking for friends who are really family today. Today, there will be eight of us all celebrating together.
It is that time of year once again for all of us to give thanks for all that we have been given. I am very grateful for everything. I have been very blessed and I live a very good, very comfortable life. I have many blessings, and I am very grateful for each and every one of them. But on a whimsical note …. I am also thankful for leftovers.
Yes, I am very thankful that that I am able to eat well. I am also very grateful and thankful that I am a good cook and can cook all this food well. When I cook though, I tend to cook A LOT, even though most of the time I am just cooking for the two of us. That means there is almost always going to be leftovers. Not only have I been gifted with the ability to cook well, but I have also been gifted with the imagination and creativity to re-create the foods I have cooked and prepared into completely different versions of themselves. To the untrained eye, no one would ever know they were leftovers. It is definitely a gift. 🙂
The other day, I told you about our smothered steak. Smothered Steak We buy our meat at Costco, in large portions and then cut it and portion it out ourselves, freezing it all for a later use. Well, Larry cuts BIG portions, that are way to big for us to eat in one sitting. So one day we had smothered steak and a few days later, the rest of that steak was used in a different way.
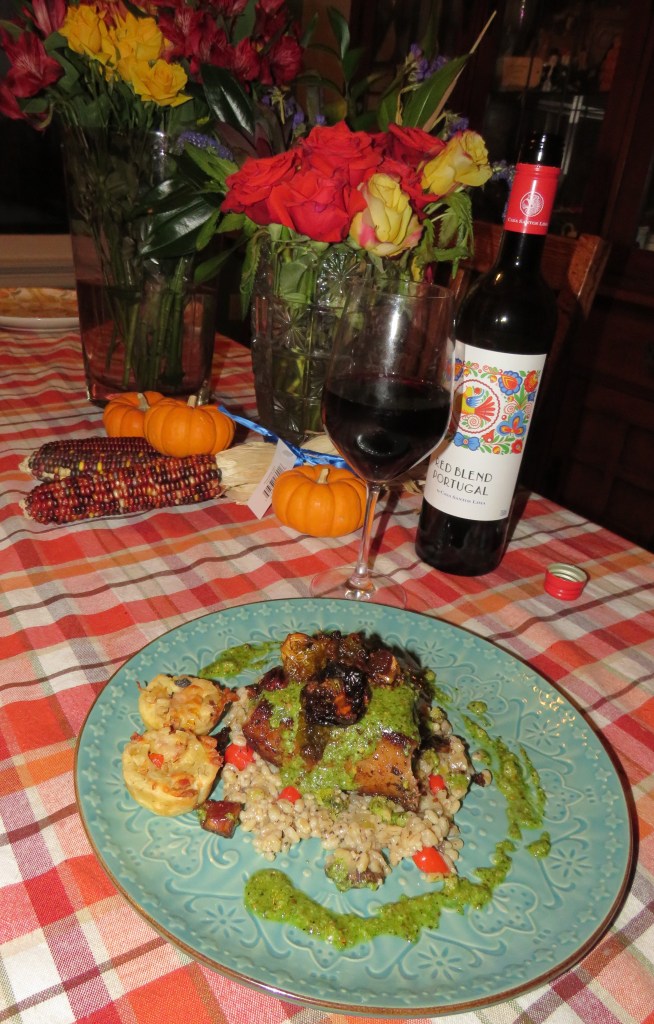
I made a pesto sauce with almonds to top the steak this time.
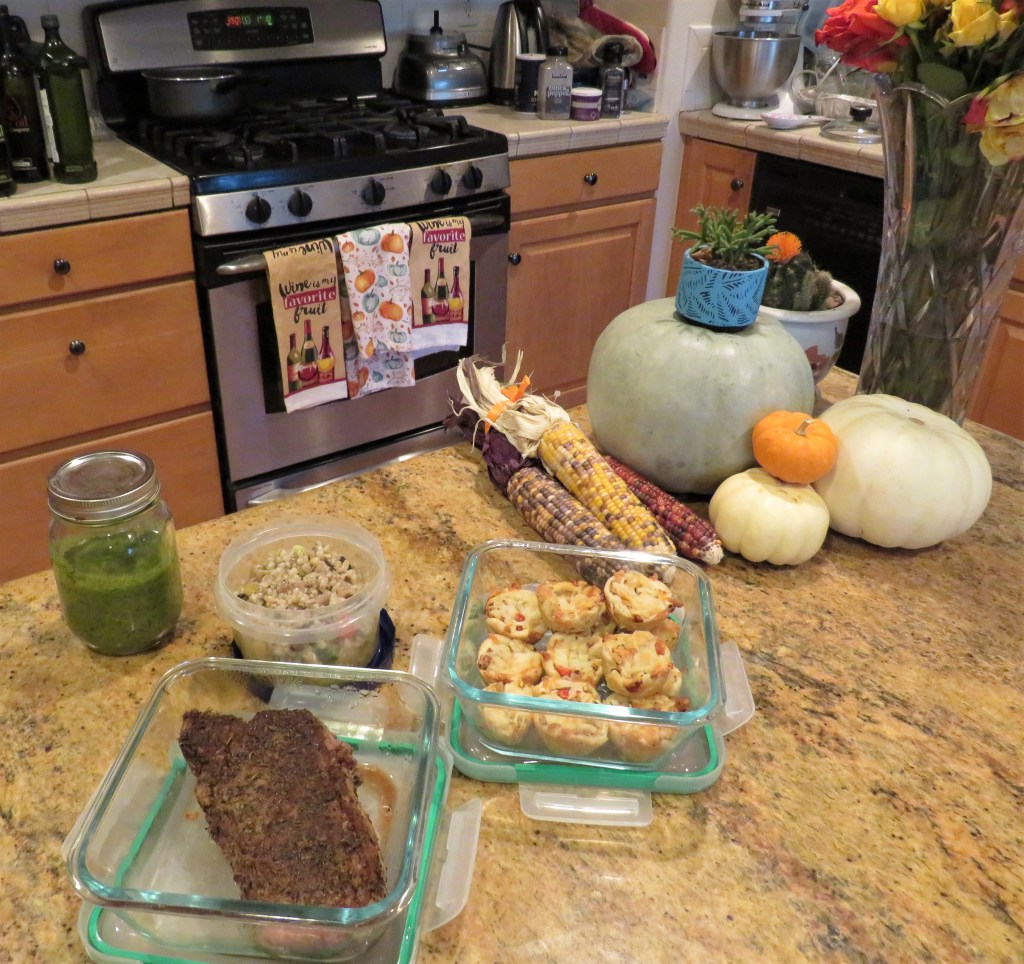
Other than the pesto sauce, the whole meal was comprised of leftovers. I used the rest of the steak and served it over my warmed barley and mushroom salad Barley and Mushroom Salad, and topped it all with some leftover roasted vegetables, with my bacon tomato bites on the side Tomato Bacon Bites. If you were to order this dish in a restaurant, especially with the steaks being very thick pieces, this meal would easily cost you about $40-$50, especially with a glass or two of wine. And yet, it was basically free since it all came from leftover dishes right out of my own refrigerator and my own kitchen.
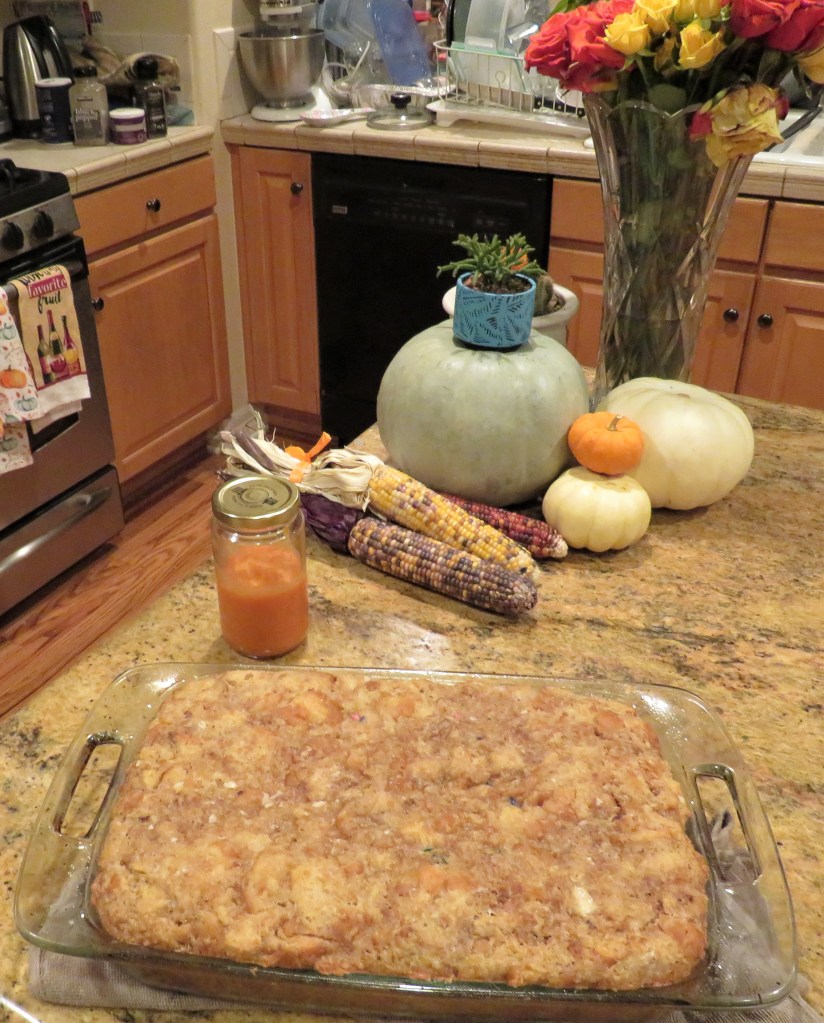
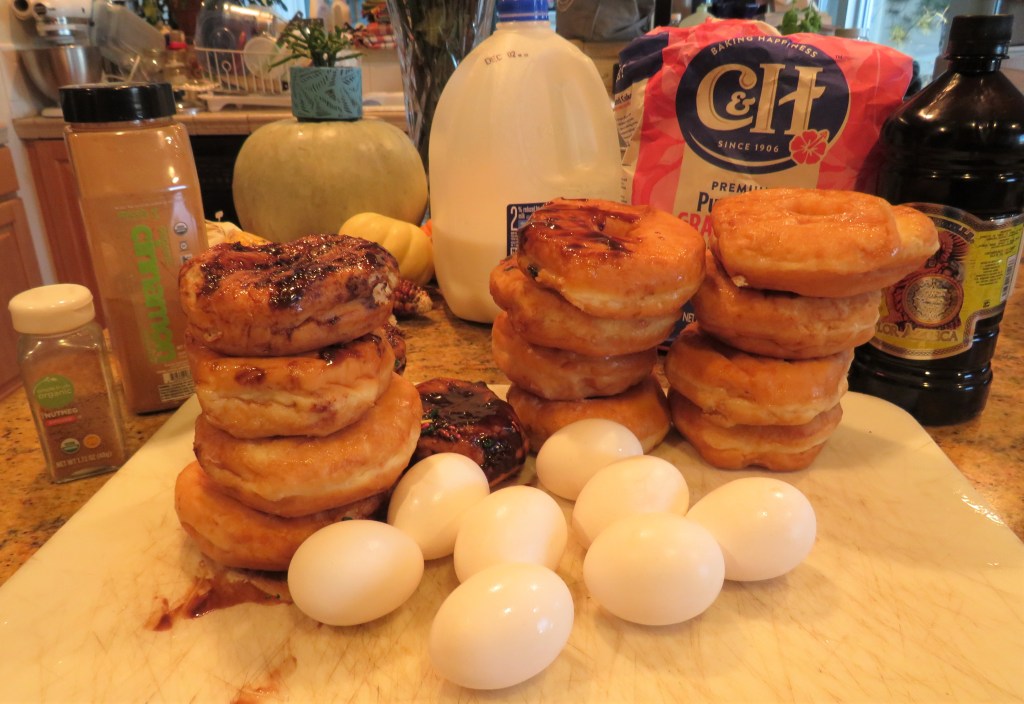
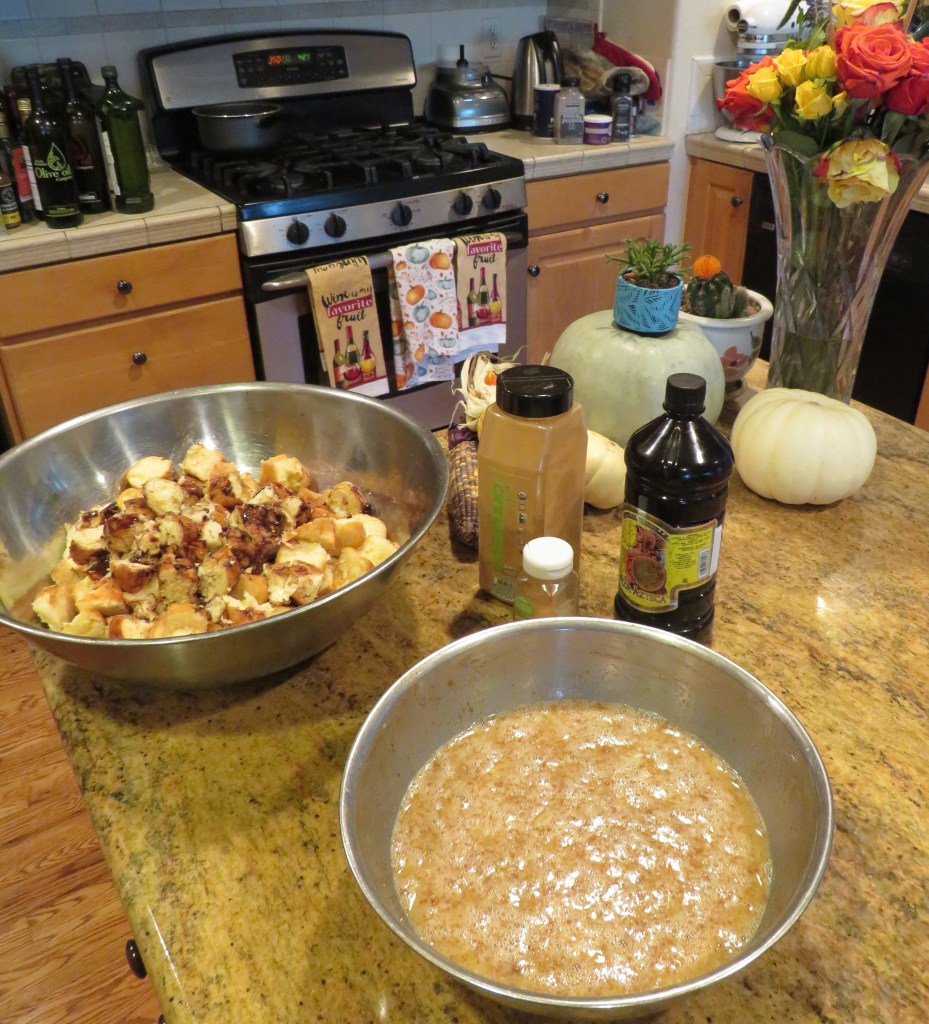
Another leftover recreation was something I made for us all to enjoy tomorrow, when we really do honor the day giving thanks for all our blessings. I made another batch of bread pudding from donuts that I had in the freezer. I will top it with my leftover caramel sauce that I used for an earlier caramel apple cake and serve it with either ice cream of whipped cream, or both, depending on what my guests choose. Caramel Apple Cake
Yes, it really was made from leftover donuts.
After cutting the donuts, I soaked them in a custard sauce made with 8 eggs, 2 cups of milk, 2 cups of sugar, vanilla, cinnamon and nutmeg. I baked it all covered at 350*F or 180*C for about 1 hour, then uncovered for an additional 15-20 minutes.
I do by best to NEVER have any food go to waste. Throwing away perfectly good food is just a big no-no with me. Awhile ago, Larry had the audacity to tell me that I don’t like to eat leftovers. What?????? What was he talking about? I eat and re-create from leftovers ALL THE TIME! Here are two perfect examples. 🙂
You don’t always have to reinvent the wheel. Sometimes it is much more creative to repurpose and recreate from the originals. It definitely challenges us to think outside the box. 🙂
Have a great day and make everyday great. Stay safe and stay well. I wish you all a very Happy and safe Thanksgiving as well, from my house to yours. We all have so much to be grateful and thankful for. I know I sure do, and I thank God for all that He has given to me on a daily basis. ‘Til next time.
I love Southwestern and Mexican food. They are some of my favorite types of food. I can eat them everyday and never tire of them.
Shrimp was in this week’s rotation. I also had some chorizo down. I always have cookbooks at an elbow’s length away, since I am always looking for new ideas and recipes. As I was flipping through, I came across some very good ideas, but then of course, I changed them and made them into my own recipes, like I always do. I look at recipes and use them for my inspiration, but almost always change them. 🙂 Here is my Southwestern shrimp and chorizo casserole idea that I came up with. Originally it was supposed to be made with chicken. OOPS!!!! 🙂 🙂 🙂
Southwestern Shrimp and Chorizo Casserole
This recipe is very similar to layered enchiladas or enchilada suizas. You can make it with shrimp, and/or chorizo, and/or chicken, or any combination thereof. Either way, I’m sure you are really going to like it a lot.
Preheat the oven to 425* F or 219 *C.
Spray and 8×8 baking pan with cooking spray.
1 lb large shrimp, peeled, deveined and rinsed
1 lb chorizo sausage
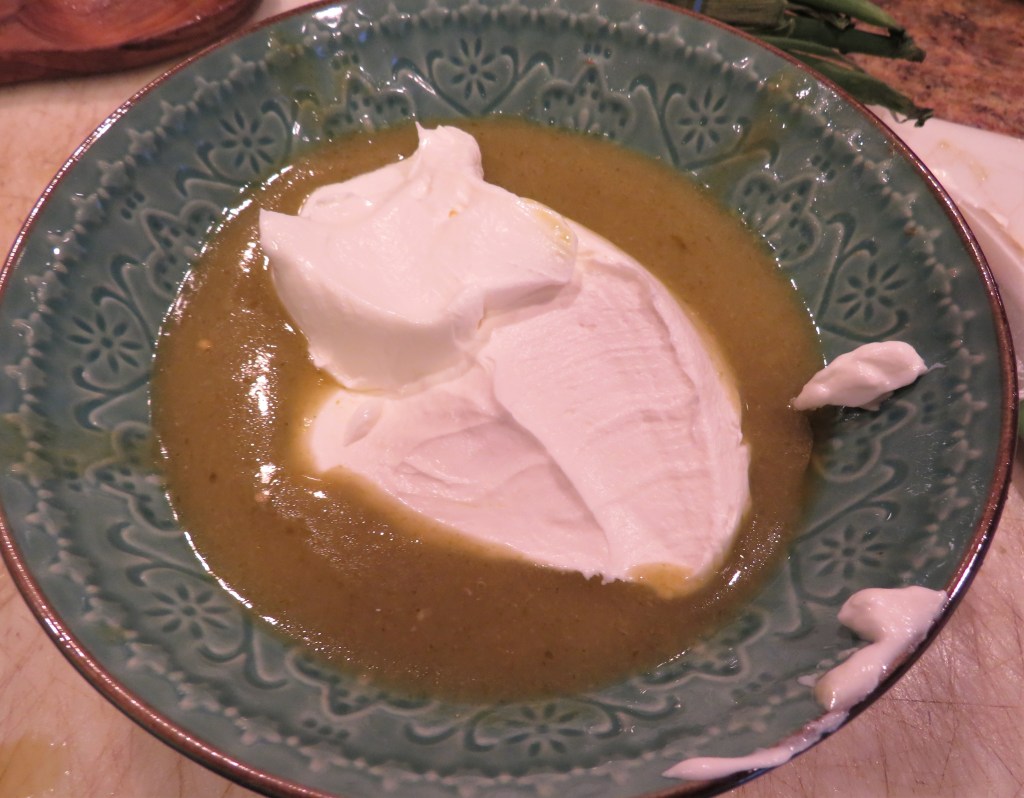
1 cup sour cream
1 1/2 cups salsa verde, divided
8 corn tortillas
2 cups chopped tomatoes
1 TBSP garlic
1/2 onion, diced fine
1/2 red bell pepper, diced
1 tsp cumin
1-2 tsp oregano
salt & pepper to taste
green onions, chopped
2 cups shredded cheese of your choice
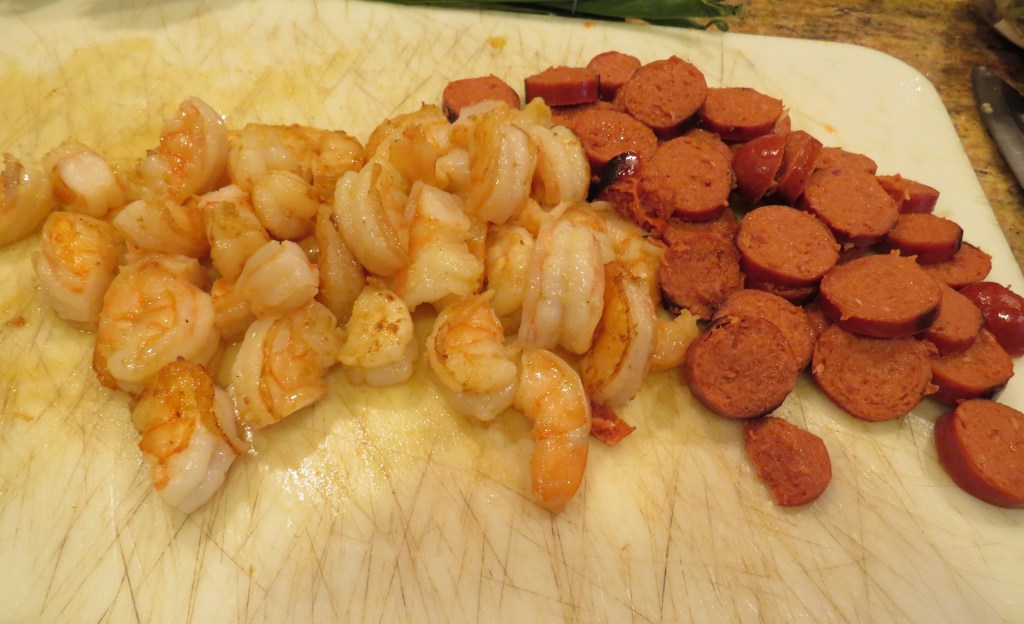
Cook the chorizo first, then remove from the heat and set aside.
Cook the shrimp in olive oil for about 3 minutes per side, or until completely pink and done.
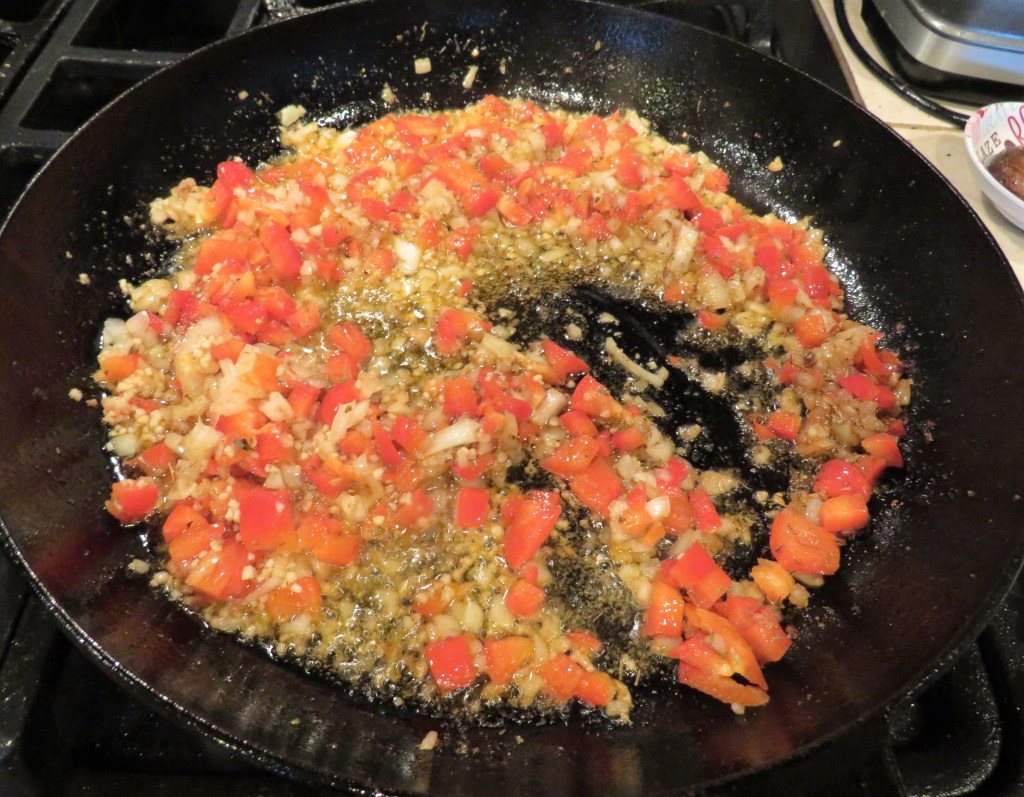
Cook the peppers, onions and garlic and seasonings in the same oil for about 3 minutes, or until the onions are translucent and the vegetables have softened.
When both the shrimp and the chorizo are cooked and cooled enough to handle, slice the chorizo and cut the shrimp in half.
Add a little bit of the salsa verde to the bottom of the prepared pan, then add enough corn tortillas on top to cover the bottom of the pan.
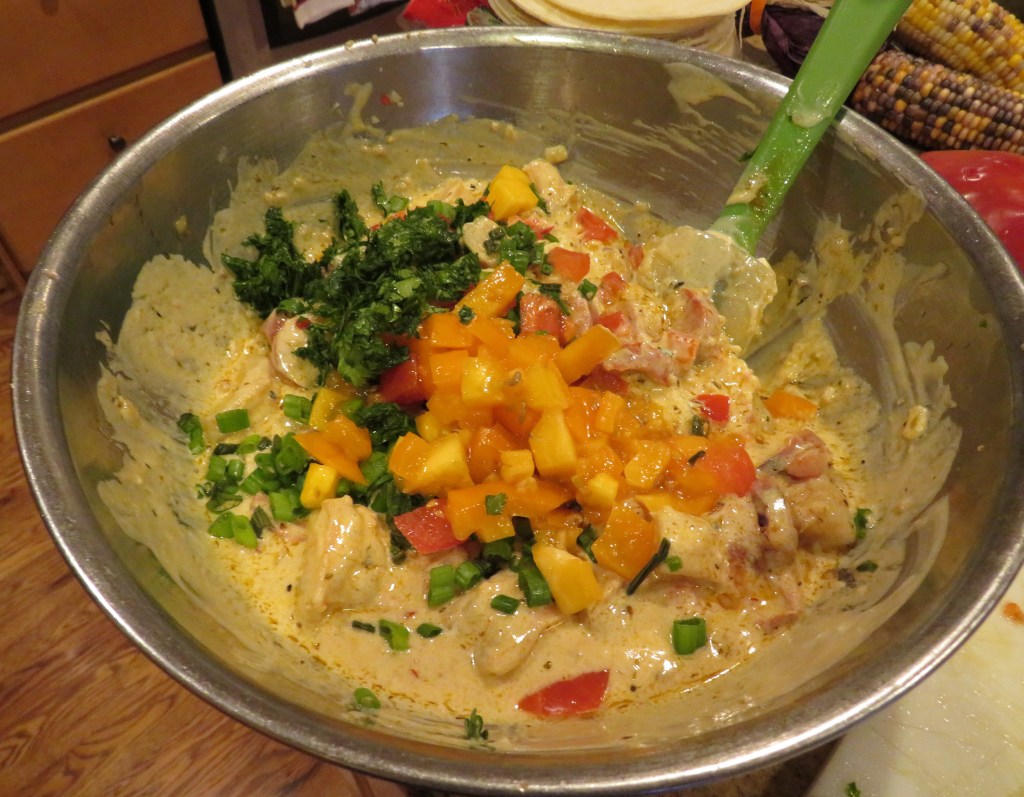
Mix the shrimp, chorizo, cooked vegetables, 1/2 of the tomatoes, 1/2 of the green onions and 1/2 of the cilantro to the mixture and combine well.
Mix the rest of the salsa verde and the sour cream together well, then add to the shrimp and chorizo mixture.
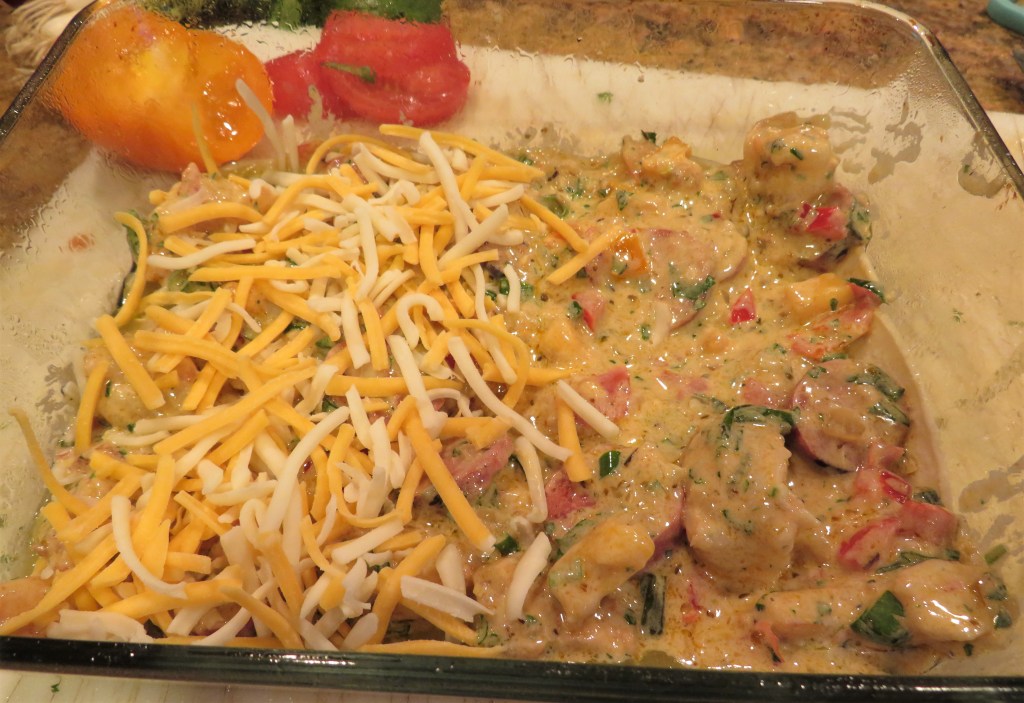
Add a layer of the shrimp mixture on top of the corn tortillas, then add a layer of cheese on top, and repeat until the pan is full, ending with a generous layer of cheese on top.
Bake for 20-25 minutes or until the the cheese is all melted and slightly crusty. Top with the remaining tomatoes, cilantro and green onions right before serving. Allow the casserole to set for about 5 minutes before slicing it and serving. This dish is best when served hot. Serve it alongside rice and/or beans and desfruitas!
Que tengas un gran dia, y haz que cada día sea grandioso or have a great day and make everyday great. Stay safe and stay well. ‘Til next time.