Snickerdoodles as we call them today, are an old fashioned cookie that have been popular since the 1800’s, especially in New England. They are also known as cinnamon sugar crinkles. It is believed that snickerdoodles are German in origin and the name “snickerdoodle” is a corruption of the German word schneckennudelin which means crinkly noodles. These delicious cookies are crunchy on the outside and chewy on the inside, and the “signature crinkle” comes from the way the cinnamon and sugar crinkle on top of the cookie while baking. The combination of cinnamon and sugar is always a winning combination, no matter what it is made with. Cinnamon and sugar are also two of my husband’s favorites, which now that I know the history, makes a lot of sense to me due to the fact that he is German through and through. We are having a party later for his hockey team (it has become out tradition, especially if they win their championships), and he requested snickerdoodle cookies, which are his favorite cookies. He actually planned the whole menu, since it is his party (you will all see the results later). He planned it, and I make it. That’s the deal. The cookies were the first thing I made this morning, since I had to have the oven on to bake them and I did not want the oven on during the heat of the day because, once again, our temperatures are going to be in the high 90’s.
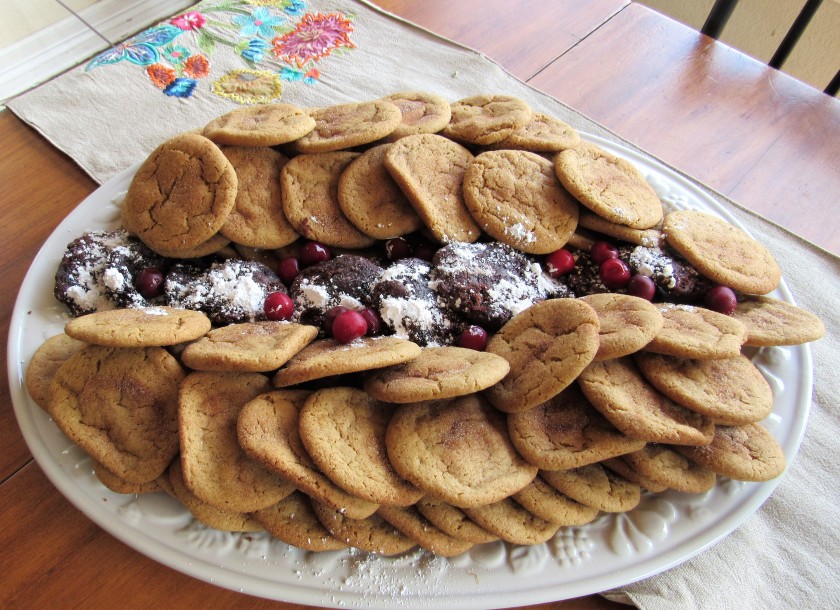
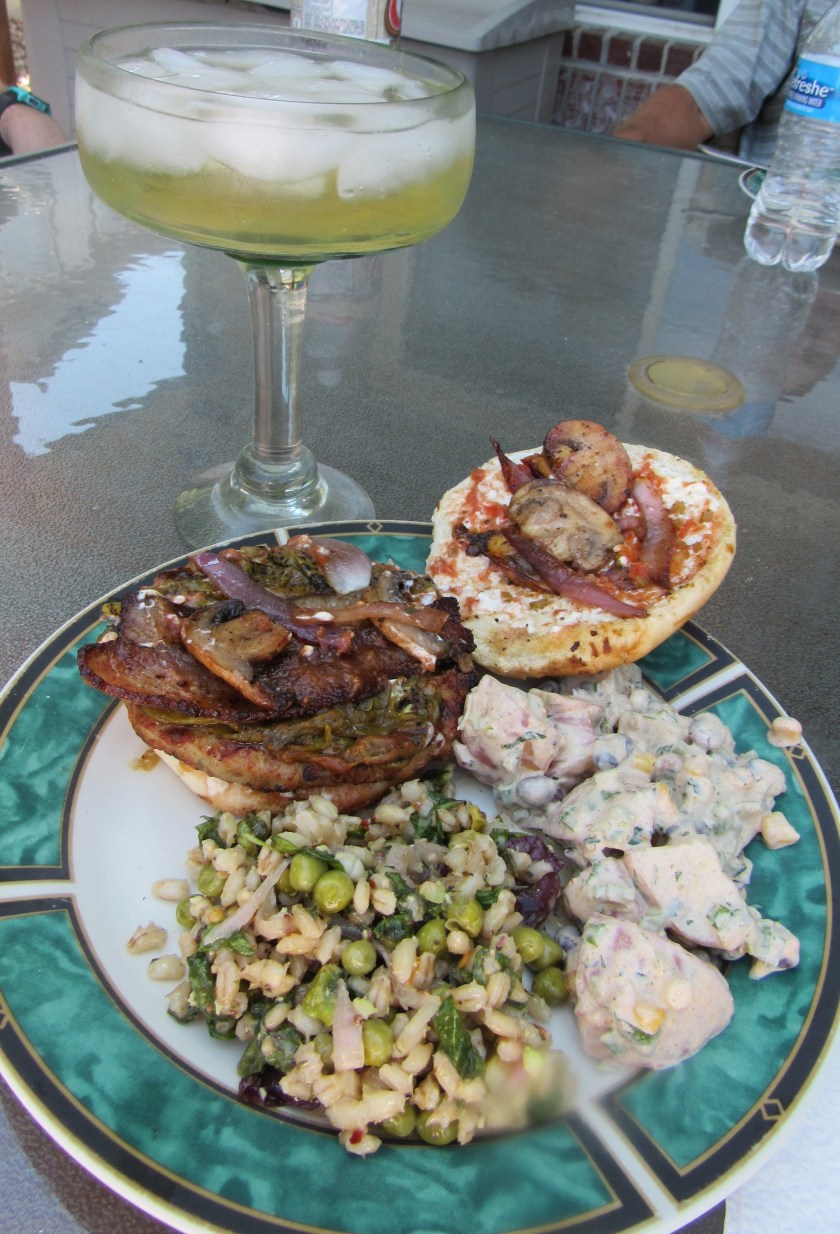
We had a few of the cherry-chocolate brownie cookies leftover as well, so I added those to the cookie plate. The more cookies and food our guests eat, the less I will “have” to eat later, which means less calories going instantly to my waistline. 🙂
Making the cookies.
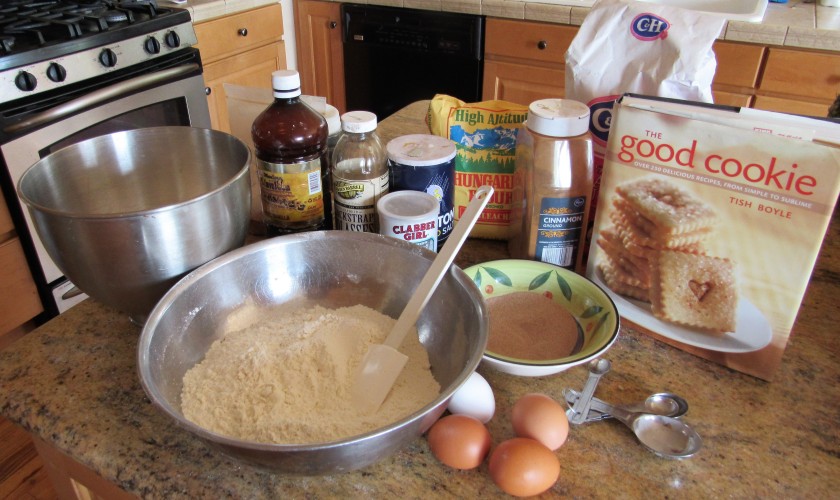

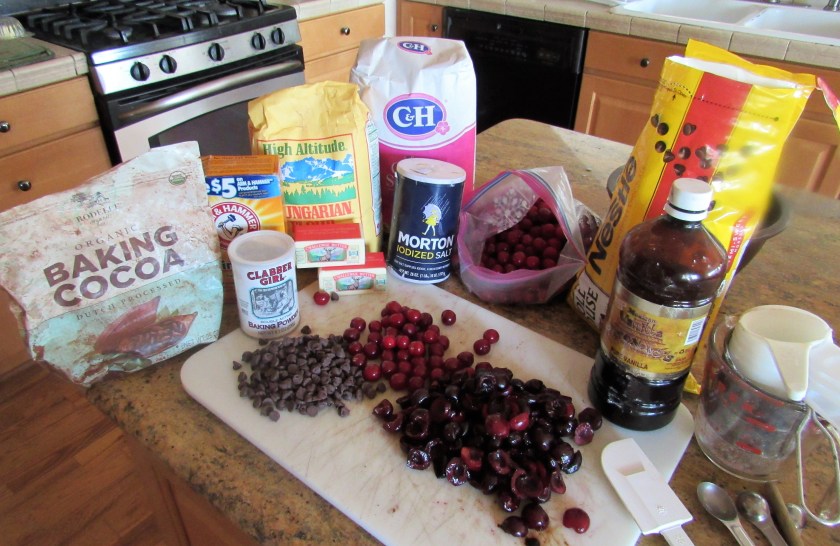
Snickerdoodles
2 1/2 cups flour
1 TBSP baking powder
1/4 tsp nutmeg
1/4 tsp salt
1 1/2 sticks of butter, softened
1 1/3 cups sugar
1 TBSP molasses
2 large eggs
1 tsp vanilla
Topping
1 TBSP cinnamon
1/4 cup sugar
Mix together and set aside.
Preheat the oven to 350*F
Mix all the dry ingredients together and set aside. Mix the butter, sugar and molasses together in a mixer until well combined. Then add the eggs 1 at a time. Add the vanilla and mix again. Then add the flour mixture 1/2 at a time, and mix until just combined each time.
Shape the dough into balls and roll into the sugar and cinnamon mixture and place on an ungreased cookie sheet. Lightly press the cookies down to flatten them. I added a little more cinnamon-sugar mixture to the cookies before baking them, to make sure they had a lot of flavor. Bake for about 16-18 minutes or until the tops are fluffy and the cookies are golden brown. Let cool slightly when they are done, then transfer to a cookie rack to cool completely. I dare you to stop at just one. 🙂