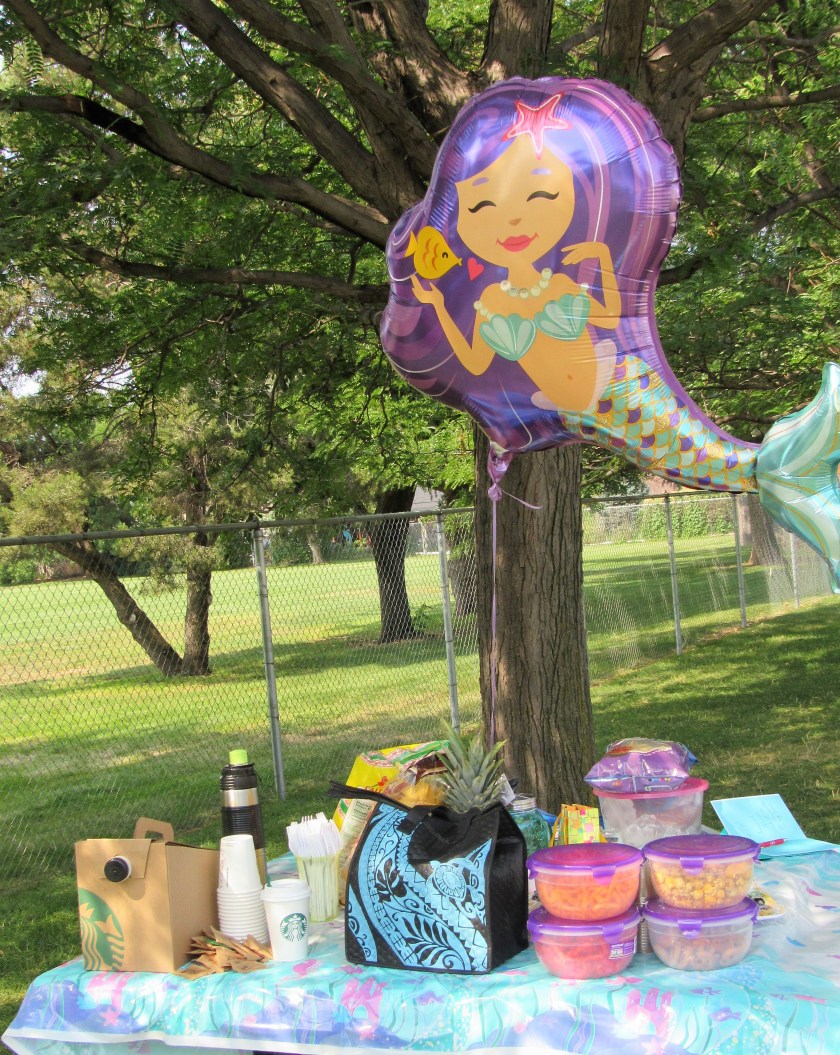
The weather is quickly changing and fall is in the air. It’s right around the corner, and I am more than ready for the fall season to begin. I just love fall. I love all the colors and the cool crispness in the air. But mostly, I love baking and cooking all the warm comforting foods of fall. I especially love baking cookies. And I just love eating them too. The oven comes on much more frequently as the temperatures start to drop. I have already started doing some fall baking and cooking in anticipation of my favorite season, that is quickly coming upon us. I just made some blackberry-sage thumbprint cookies in honor of the upcoming fall season. I made them for my Mermaid end of season party. The End of Our Mermaid Season They were a big hit. They are full of color and bursting with flavor. The sage really compliments the blackberries very well. The blackberries are in season at the moment, and the ones I used were HUGE and very sweet. They are so juicy and delicious. I have to really refrain from not eating these cookies one after the other. It’s very hard to stop at just one, because they are just that good.

Blackberry-Sage Thumbprint Cookies
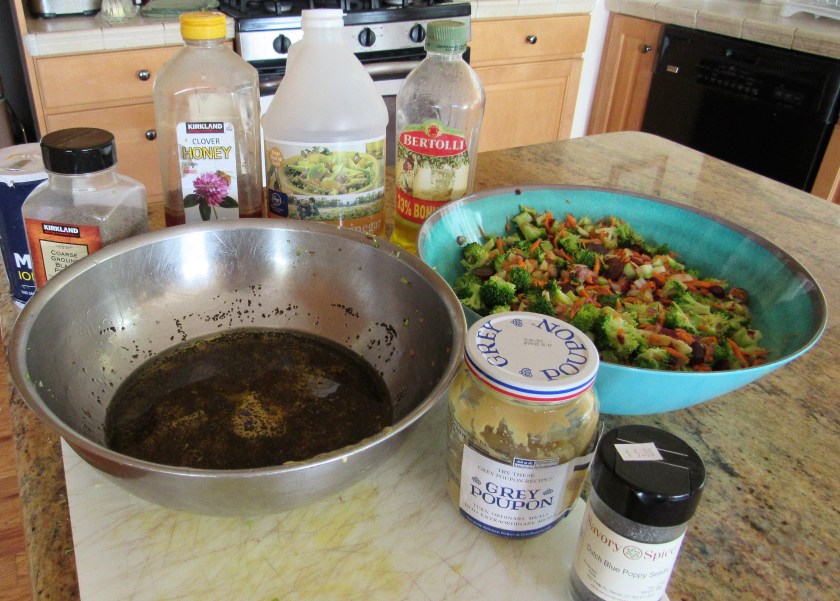
2 cups flour
2/3 cup yellow cornmeal
1 TBSP sage, either fresh, chopped fine. Dried is fine too – I used fresh
1/4 tsp baking powder
1 cup or 2 sticks of softened butter
1 cup, firmly packed brown sugar
2 egg yolks
2 tsp lemon zest
1 1/2 tsp vanilla
3/4 cup blackberry preserves
fresh blackberries
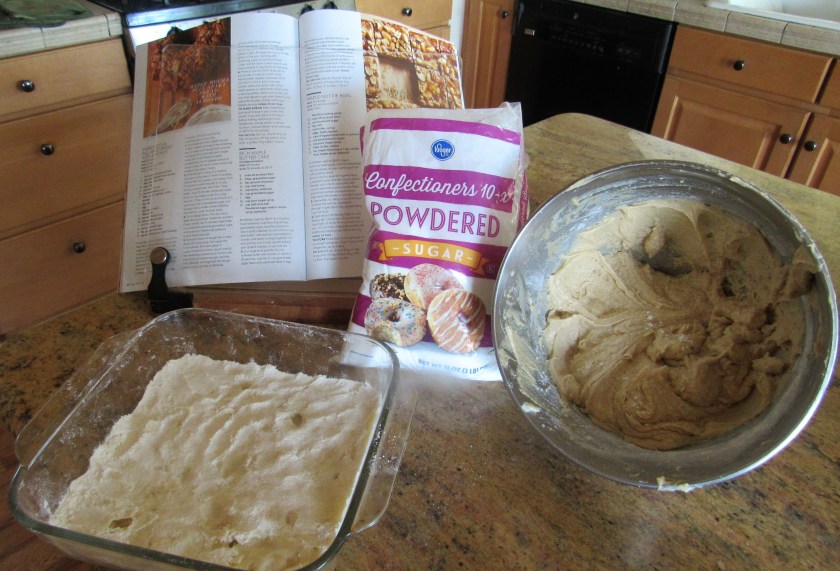
powdered sugar for dusting (optional)
Preheat the oven to 350*F
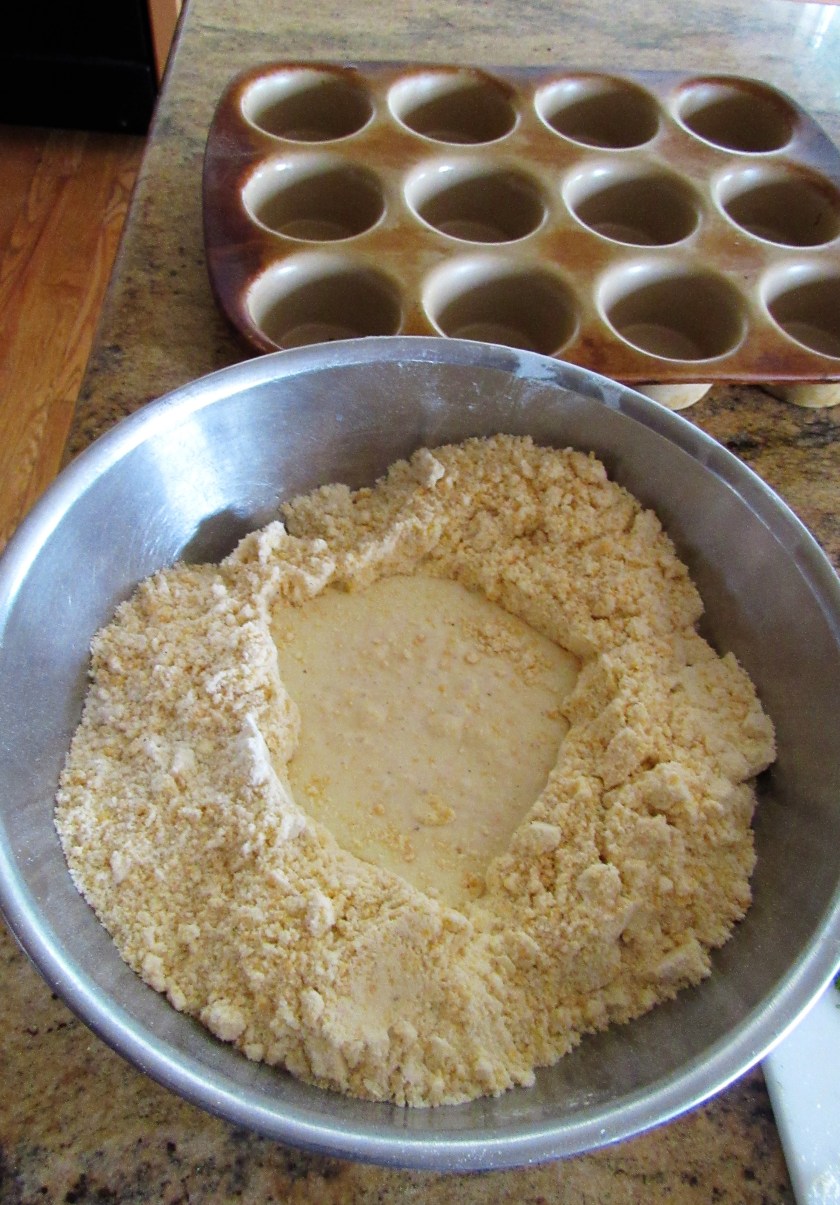
Mix together all the dry ingredients, including the sage and set aside. Then mix the butter and brown sugar together in a mixer until well mixed and it is light and fluffy. Add the egg yolks, vanilla and lemon zest and mix again. Add the flour mixture in batches, mixing in between each addition. Do not over mix or the dough will become tough.
Form the dough into balls that are about 3/4″ in diameter and place them about 1″ apart on an ungreased baking sheet. With your thumb, gently press down into the center of each dough ball to make an indentation or a well. Add about 1/2 tsp of blackberry preserve into each well then place int the oven to bake. Bake for about 10-15 minutes, or until the cookies are are lightly browned. Remove from the oven and place one blackberry in the center of each cookie. Let cool completely. Once the cookies are cooled, you can dust the cookies with powdered sugar if you choose.
Mixing all the dry ingredients together, including the sage.

Making the dough balls.

Adding the blackberry preserves. You want to add just enough to fill the wells without filling them too much. Anything that spills over is just going to burn and stick to your baking sheet.
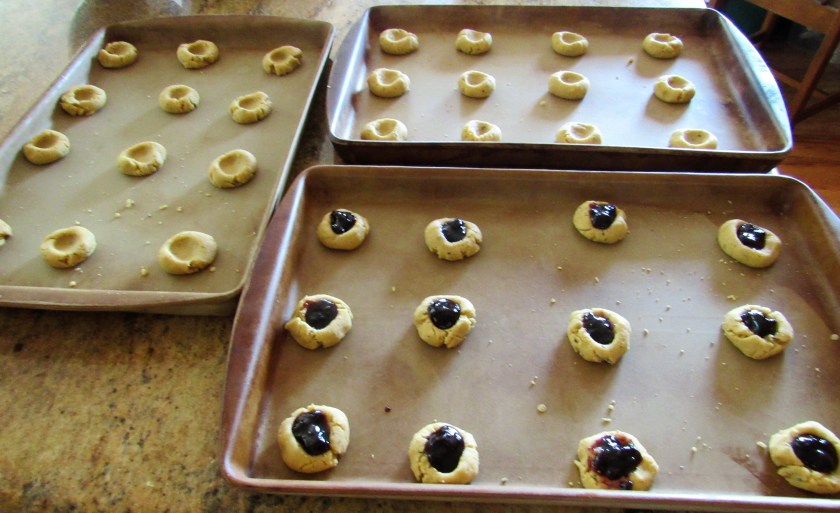
The end results are a delicate cookie, with a light crispiness to them. They are bursting with color and flavor. They just melt in your mouth. Delicious!