Wow!!!!!! …… So far, October is turning out to be a great month for me and “A Jeanne in the Kitchen”. I am so honored. Thank you all so much. I was nominated for the Blogger Recognition Award by Stay At Home Mom. I am honored to be in the company of so many other wonderful bloggers. May the best blogger win.

How my blog started
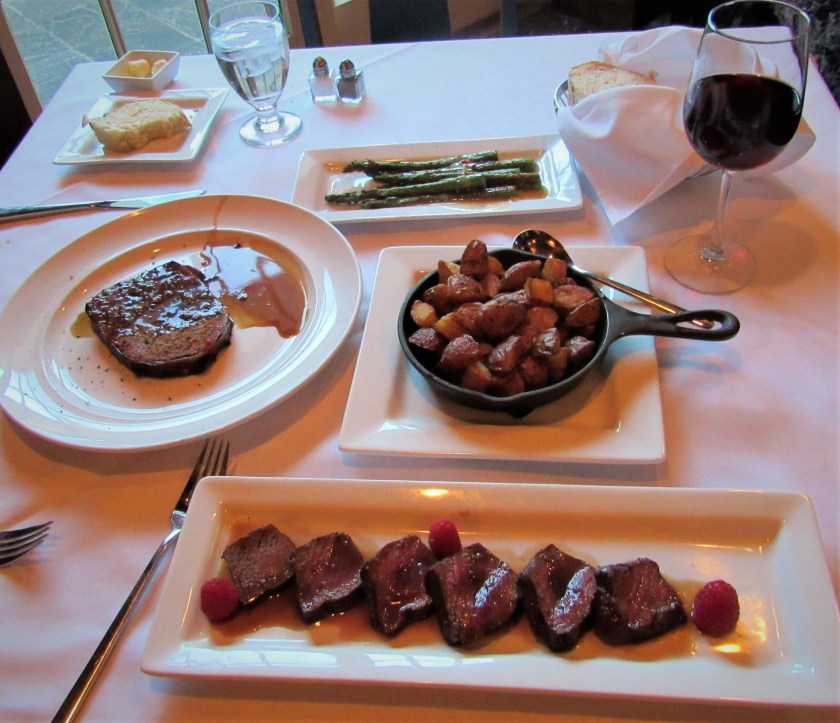
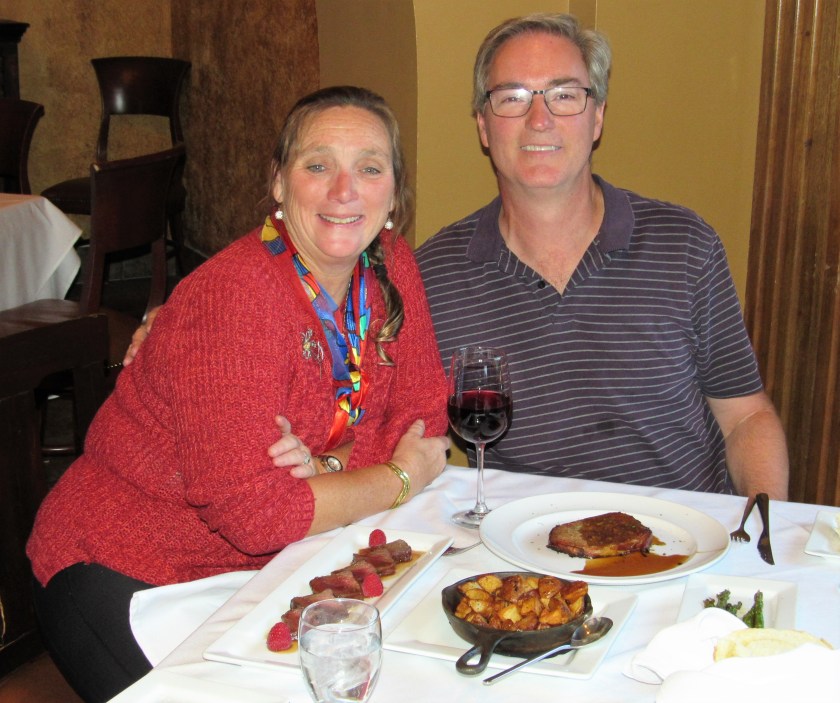
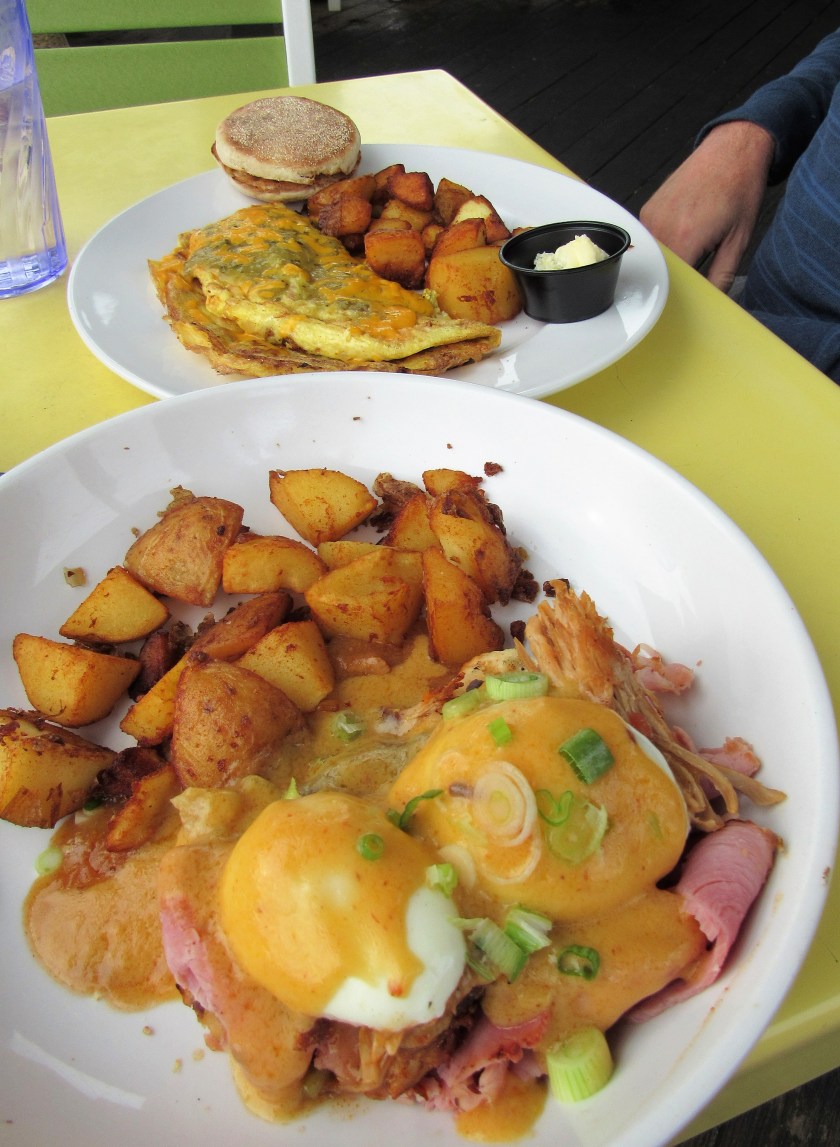
My blog “A Jeanne in the Kitchen” actually started by a dear friend of mine who was so impressed by the way I cook from the heart telling me that I needed to get my name out there and create something that would help other people cook with ease and to feel more comfortable in the kitchen. I grew up in the “waste not want not” years, and everything was re-purposed as best as it could be. That’s how I cook. I am a trained, certified chef, and yes I can cook very fancy foods and meals when I want to, or when I need to, however I much prefer cooking from my heart, and cooking rustic, everyday foods. Those are the foods I enjoy eating, and those are the foods I enjoy cooking. So after my dear friend’s encouragement, here I am, and “A Jeanne in the Kitchen” was created. You can find me at ajeanneinthekitchen.com. Please stop by and say hi. If you like what you see, come and stay awhile, and invite your friends too.
Advice for new bloggers
Blog about something you know about.
Blog about something your are passionate about.
Your readers will know if something is fake or phony. They will know when you are sincere and your blog is coming from the heart or of it is contrived and you really don’t know much about the subject matter you are writing about.
Be real.
My nominees
Gosh, there are so many great blogs out there. How do I choose just a few who I think are worthy? I am still new to the world of blogging, and so far, I have discovered so many wonderful blogs that I never knew about. A whole new world was opened up to me that I never knew existed before. If I have not nominated you, it is only because I was limited to the number from which I could choose.
- trkingmomoe
- floatinggold
- PlantsandBeyond
- A Voice from Iran
- MiddleMe
- SoundEagle 🦅ೋღஜஇ
- BallesWorld
- Pacific Paratrooper
- sasegirls.wordpress.com
- Bitchin’ in the Kitchen
- koolkosherkitchen
- Ella @ thewackyspoon.com
- oladewalaura
- Rad Gamer
- indianeskitchen
You are all so deserving as are so many more. In my eyes, we are all winners, regardless of awards. Keep doing what you are doing, and enjoy what you do. I know I sure enjoy what you all do.
Rules
- Thank the blogger that nominated you and give a link to their site.
- Do a post to show your award.
- Give a summary of how your blog started.
- Give two pieces of advice for any new bloggers.
- Select at least 15 other bloggers for this award.
- Let each nominee know you’ve nominated them and give a link to your post.