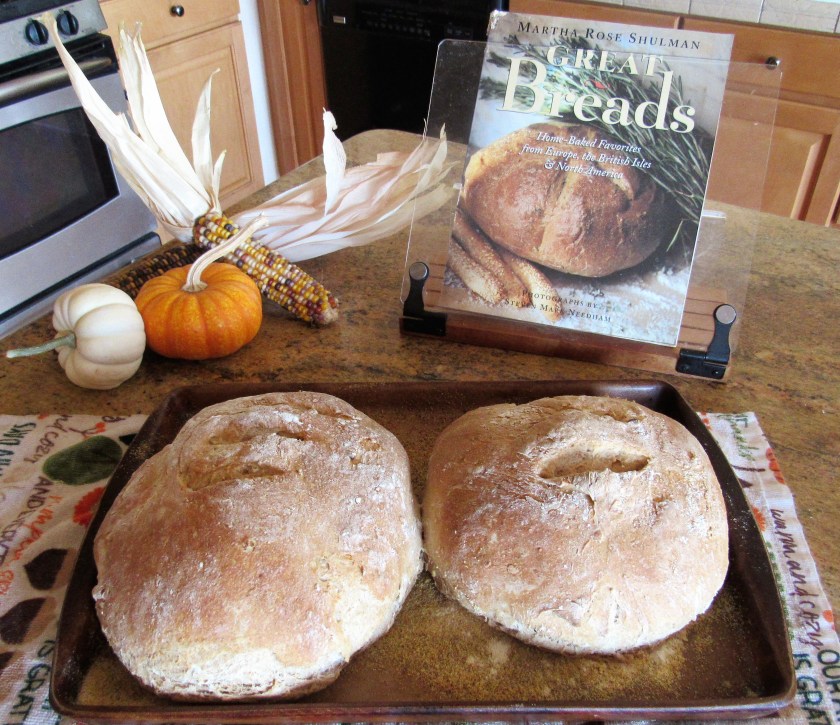
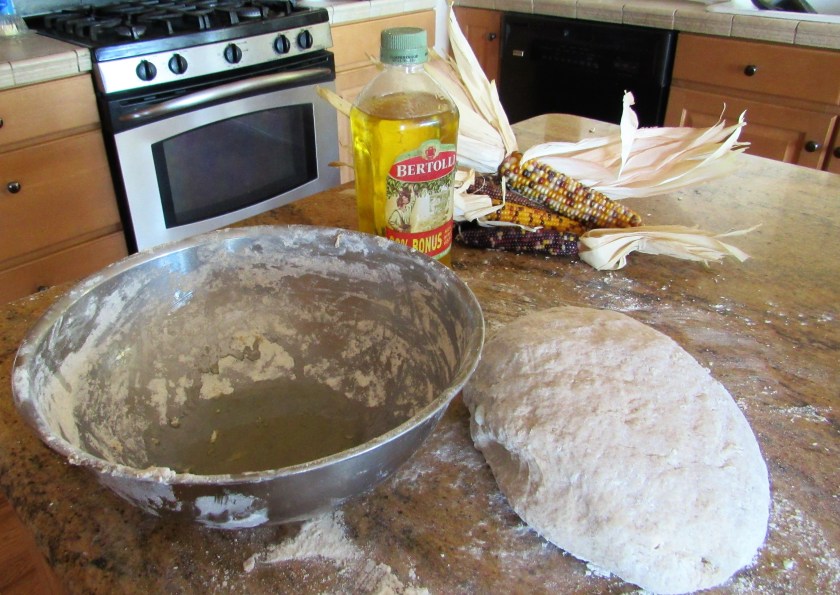
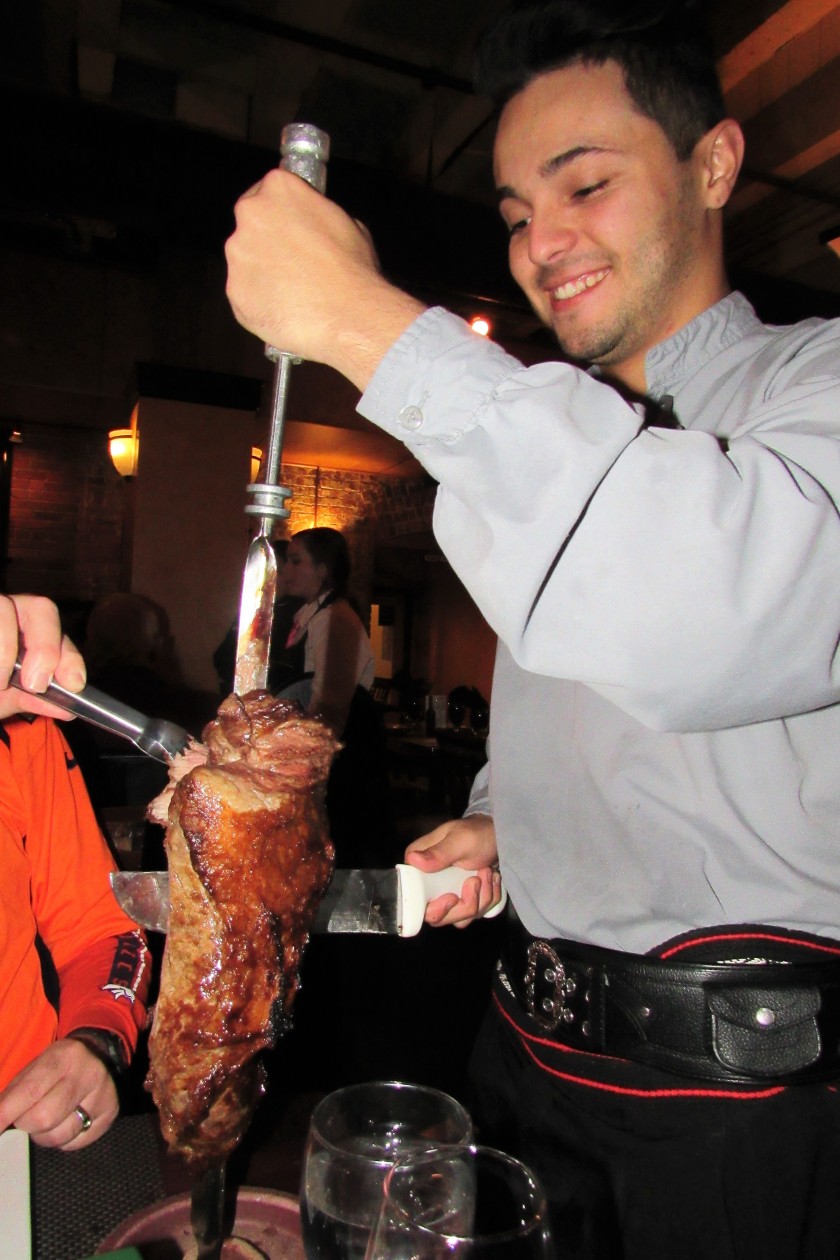
As you all know, I love food, and I love all kinds of food, from all different parts of the world. I especially love foods made with fresh and flavorful ingredients. My two favorite types of foods are Southwestern and Mediterranean. The Mediterranean Sea is a very large body of water that is surrounded by many different countries and cultures, and this area is commonly known as the Mediterranean. It touches the Southern parts of France and Spain; the whole Western coast of Italy and Morocco, Tunisia, and Liberia in North Africa. The foods and diet of this large region are traditional foods the people of these areas have eaten for centuries. The Mediterranean diet is one of the healthiest diets in the world. It is a diet that is predominantly a plant based diet, which includes a lot of fruits and vegetables, legumes, whole grains, nuts and seafood. Wines, especially red wines, are part of the diet as well, and are consumed regularly, but in moderate amounts. The fats that are eaten are the healthy fats like olive oil or canola oil rather than using a lot of butter. And though red meat is eaten, it is eaten only sparingly, usually just a few days a month. This is exactly how I have eaten for most of my life. These are the foods, and the lifestyle I try my best to follow on a regular basis. This is definitely my kind of food and my kind of eating.
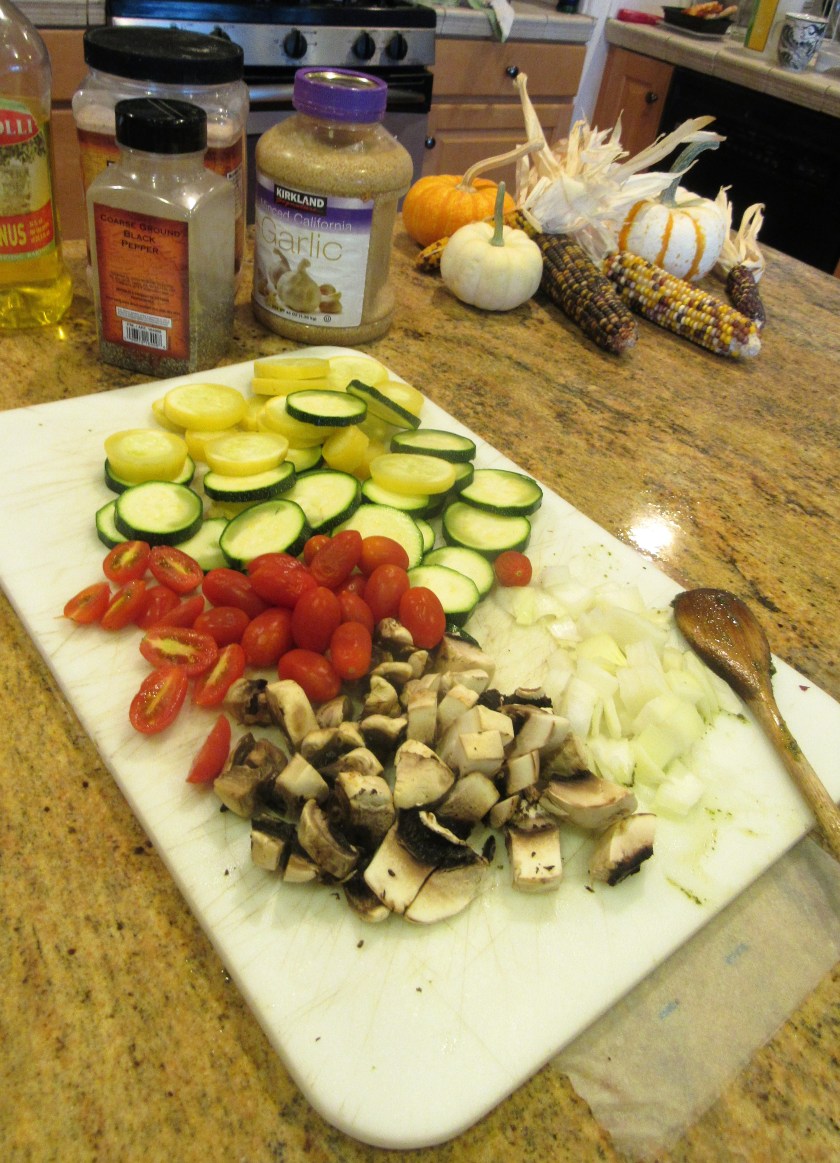
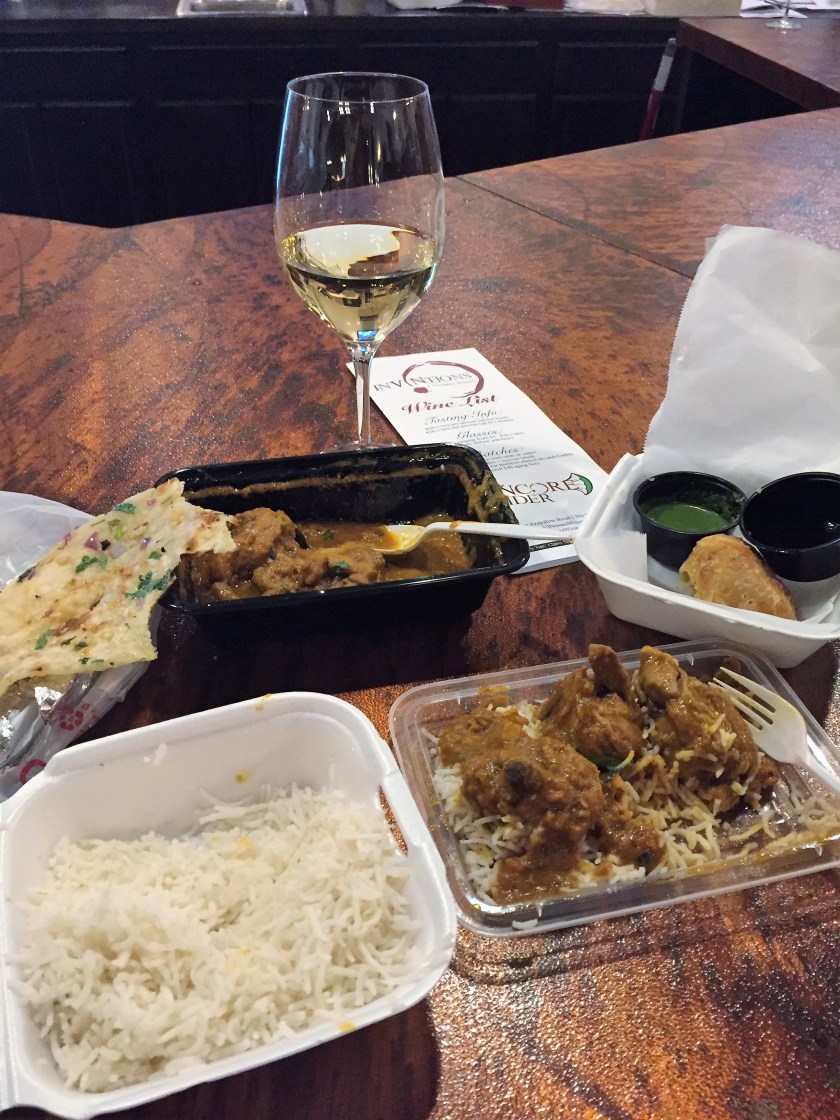
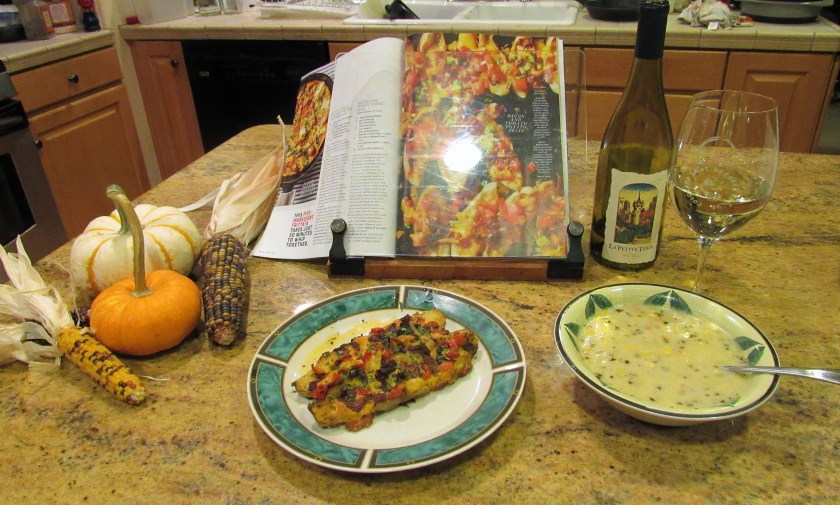
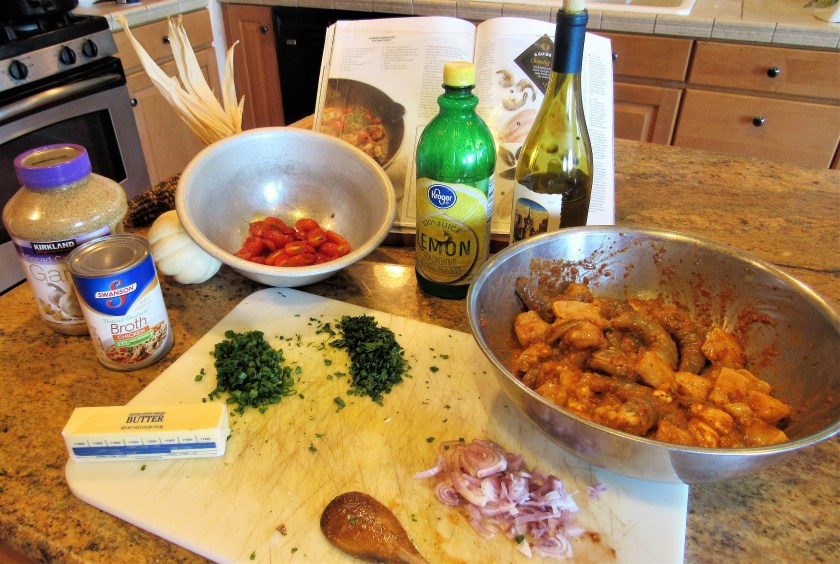
Dinner was most definitely a Mediterranean seafood and vegetable delight. I made a Spanish shrimp and scallop saute loaded with all kinds of vegetables. The recipe said to serve it over brown rice. I served it over wild rice, but next time I make it, I am going to serve it over pasta instead. I think the flavors and the sauce are more suited to being served with pasta rather than rice, but you can certainly decide for yourself on which you prefer. I also served it with warmed pita bread and of course, wine. I chose a crisp, fruity chardonnay because of the light sauce and seafood, but you could also serve it with a lighter red, such as a pinot noir or a light merlot, and that would be a good compliment to the meal as well.

Spanish Shrimp and Scallop Saute
1/2 lb shrimp, peeled and deveined
1 /2 lb sea scallops, cut in half
1 TBSP flour
2 tsp paprika
1/4 tsp sugar
1/4 tsp black pepper
1/2 tsp cayenne pepper
salt to taste
1/2 cup tomato vinaigrette (optional)
2-3 TBSP butter and/or olive oil (I used a combination of both)
2-3 TBSP garlic
1 shallot, sliced thin
1 cup grape tomatoes, cut in half
1 cup artichoke hearts, quartered
1/2 cup olives, sliced in half
1/4 cup chicken broth
3 TBSP dry white wine
1 TBSP lemon juice
3 TBSP fresh parsley, chopped fine
3 TBSP green onions or chives, chopped fine

Mix the flour, salt, peppers, paprika and tomato vinaigrette (if using) together and toss both the shrimp and the scallops well in the mixture.
In a hot skillet, add 1/2 the butter and/or olive oil, then add your shrimp, scallops, garlic and shallots. Saute for about 3 minutes, or until the shrimp are pink and the scallops are opaque. Do not overcook or the scallops will become tough and rubbery.

When the shrimp and scallops are cooked, add the rest of the ingredients, and continue cooking for another 3-4 minutes. Add the rest of the butter, right at the end, for a nice, buttery finish to the sauce.

Once everything is cooked, serve it over either brown rice or pasta. Esta mui delicioso! Desfruitas!
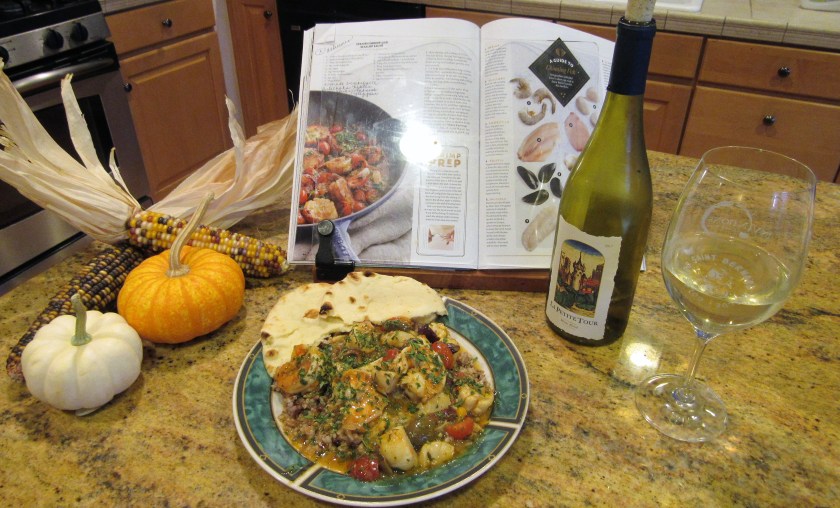
When I cook with wine, I usually use the same wine I am going to serve with the meal, unless the recipe calls for something different, and then I go by what type of sauce is used.
/cdn.vox-cdn.com/uploads/chorus_image/image/50040053/1388956-foundations-of-cookery.0.0.jpg)