The Caramel Making Tradition Continues

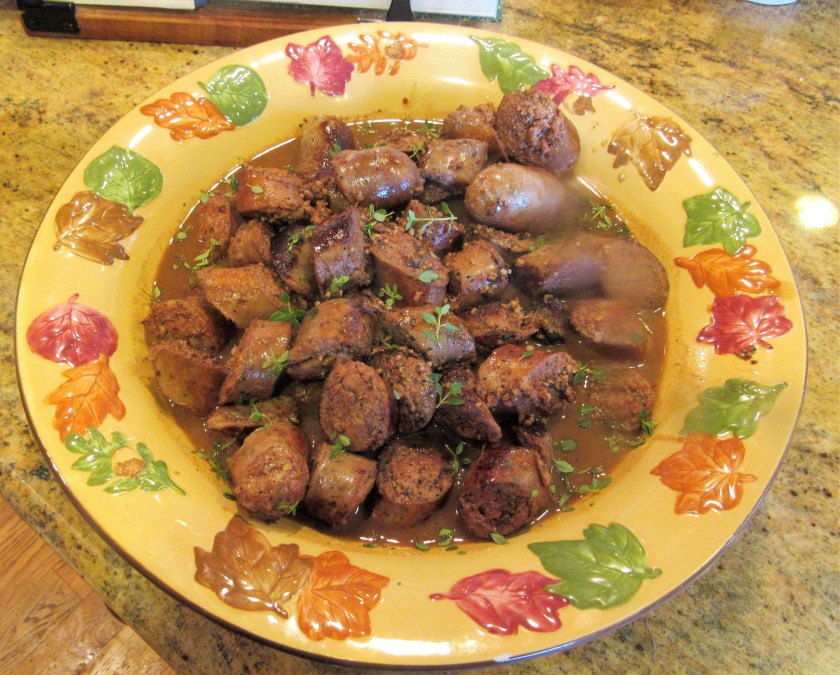
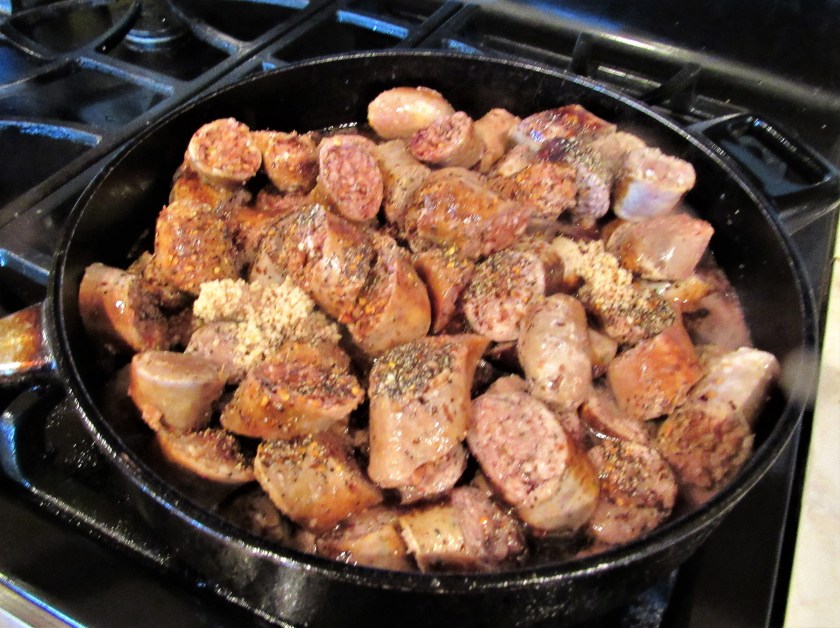
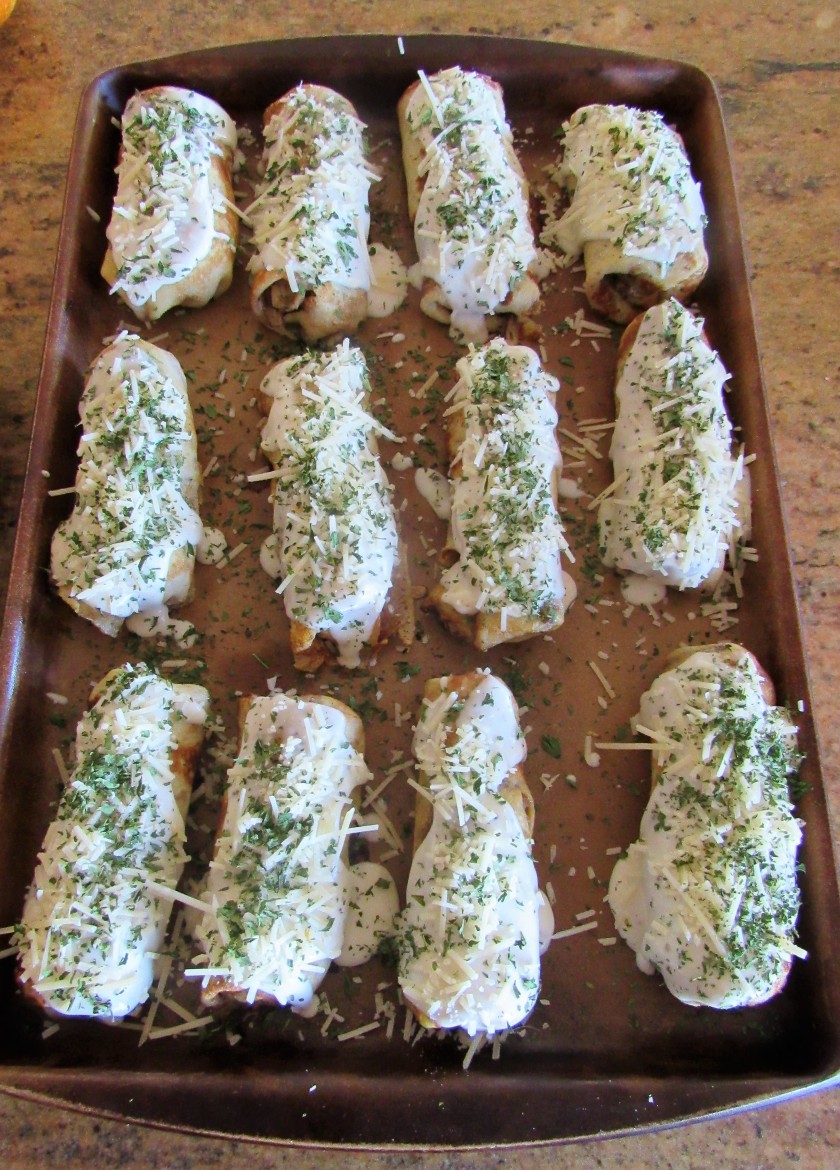
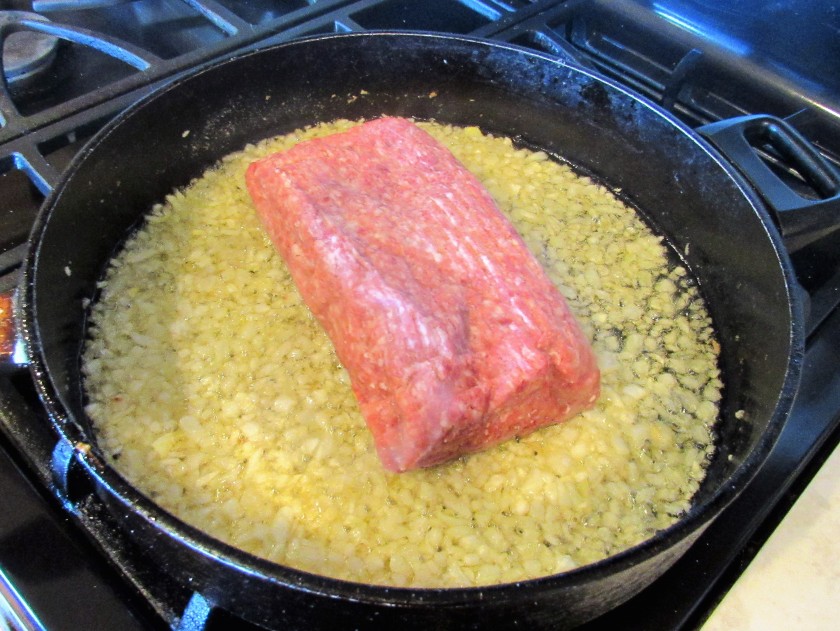
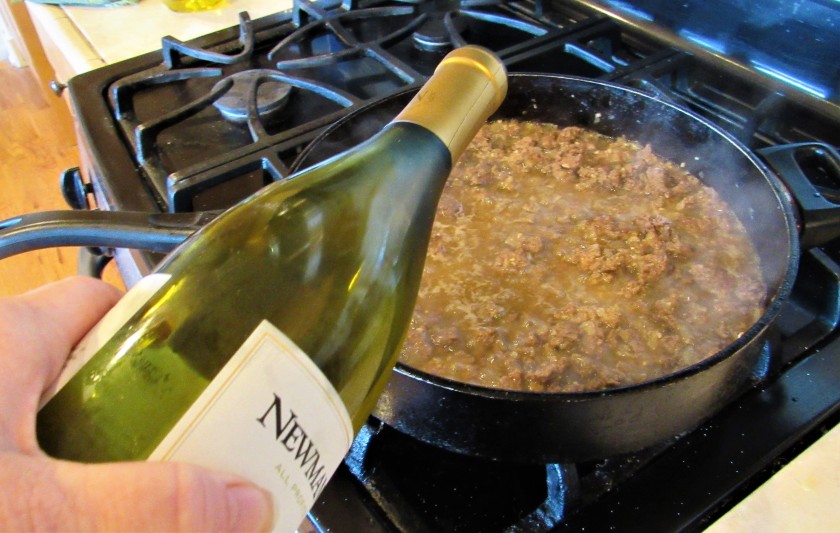
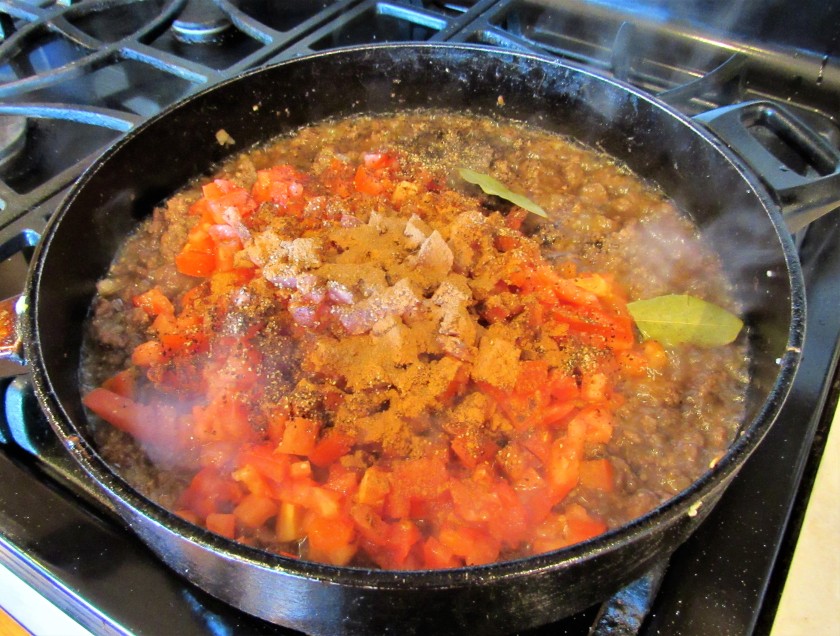
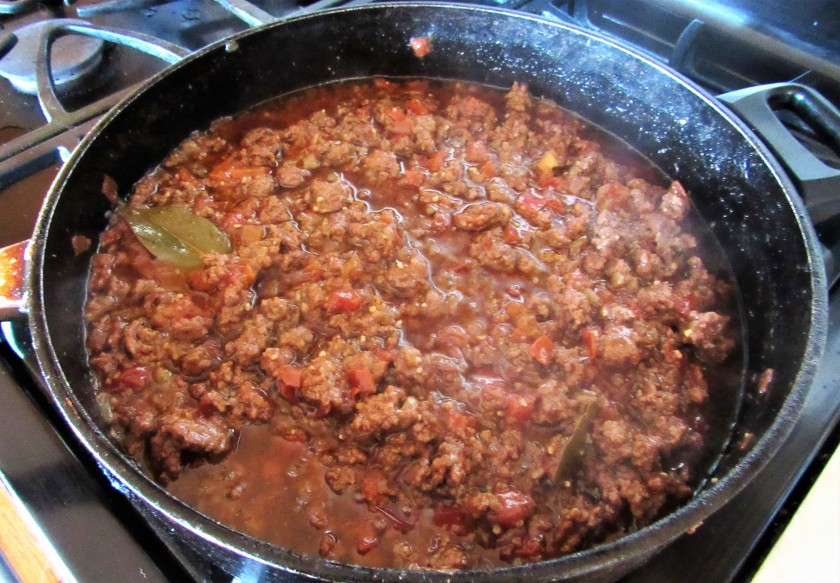
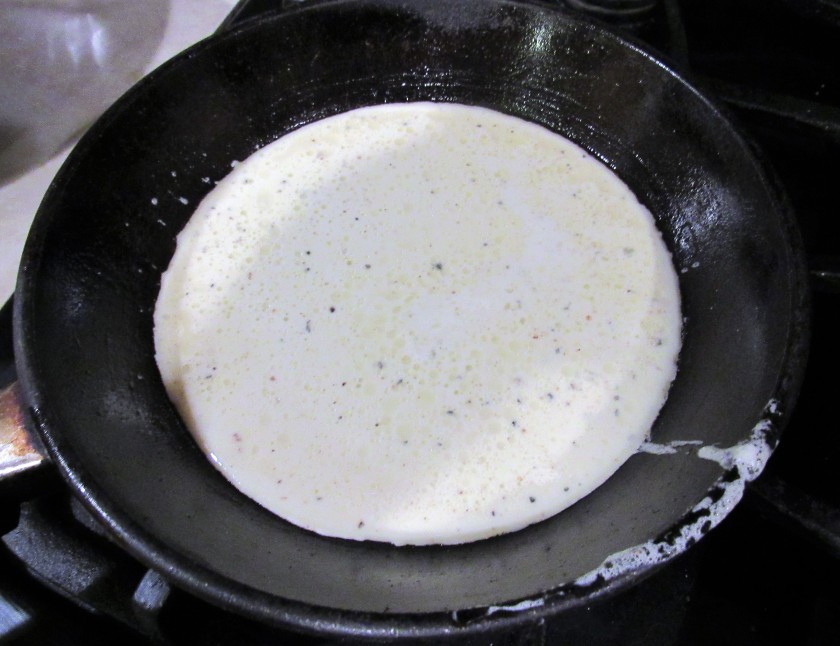
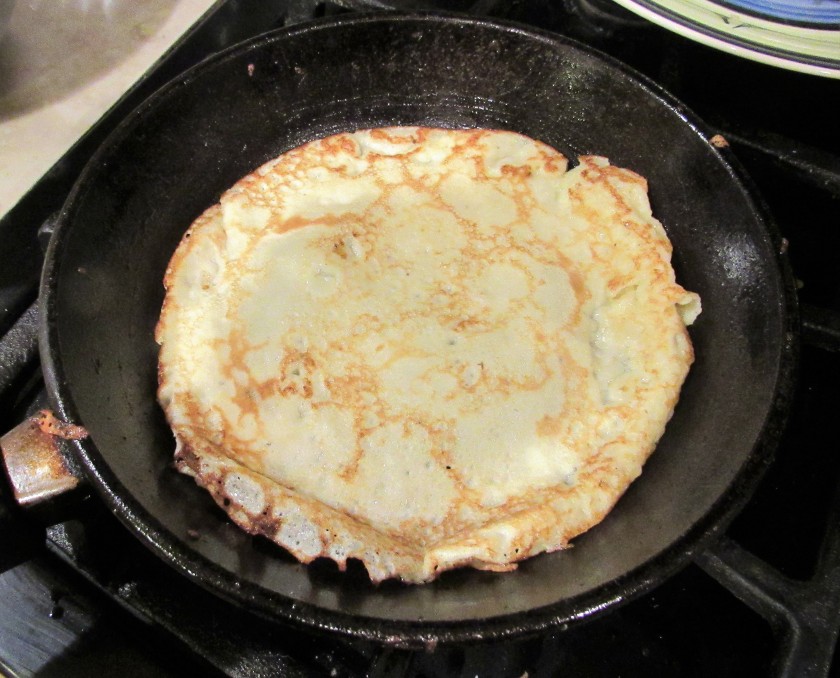
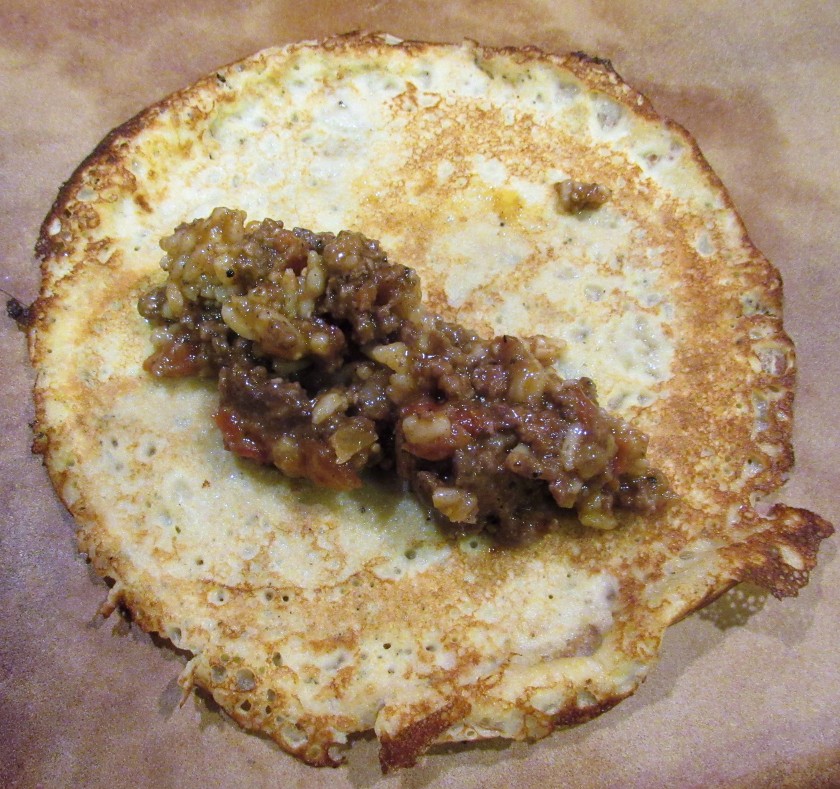
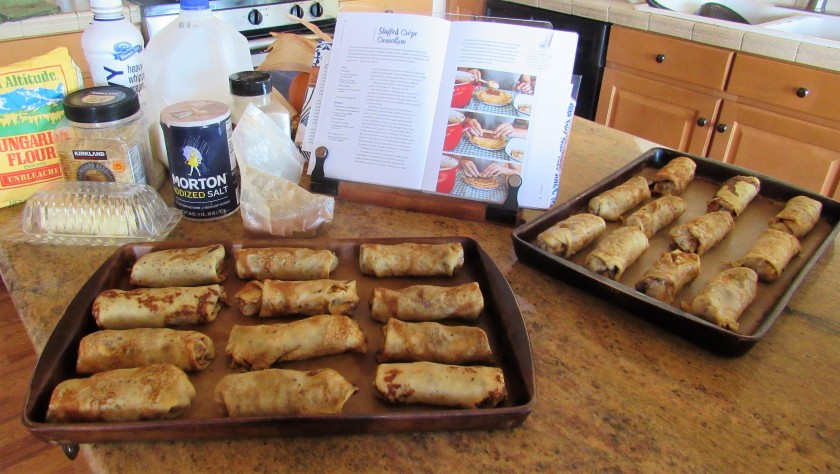
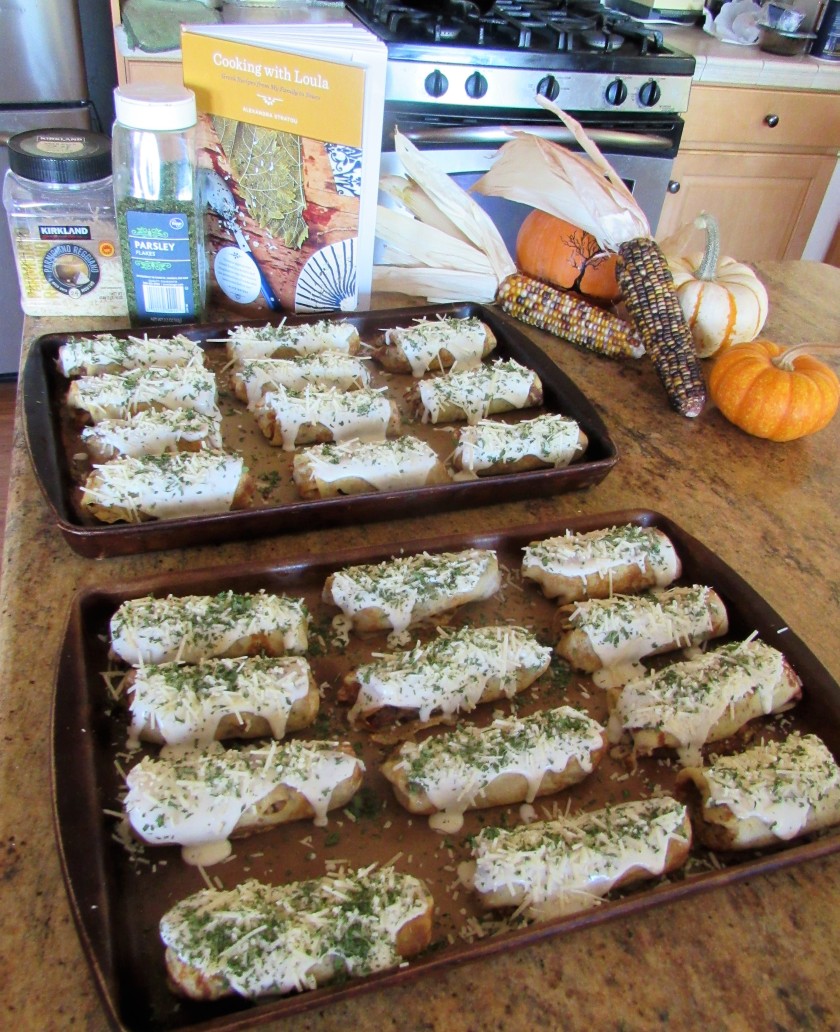
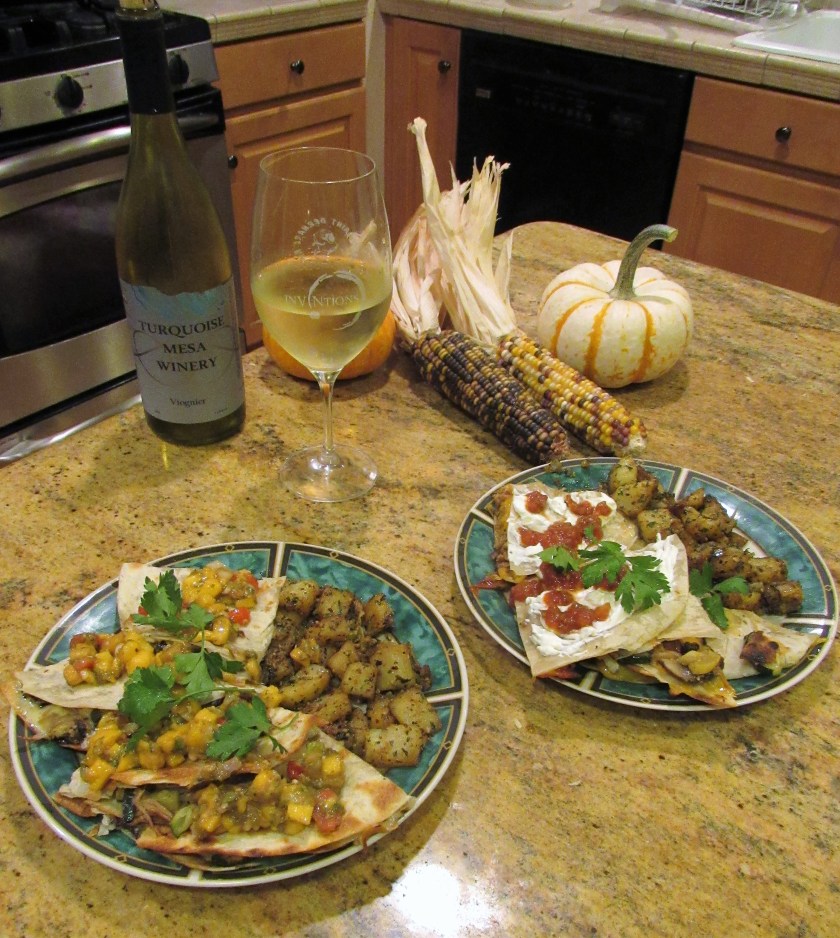
My friend Priscilla and I have been getting together to make our famous caramels for quite some time now.  It has became an annual tradition.  We started out just making regular caramels, but last year we added chocolate pecan caramels as well.  Both are mouth watering delicacies.  Those who have tasted our caramels have even claimed these are “these best caramels in the whole world”.  I don’t know about that, but I will say they are really, really good.  I am not going to include the recipe for the caramels this time since I have already included it in a previous post, Making Caramels.  We were going to make a third type this year, but life happened, and we both got so busy that we just didn’t have time to do the research we needed to do to find out what type we wanted to make.  As it was, we had to scramble to make a date for this year because we have both been so busy.   In years past, it has always been just the two of us, but this year, we invited our friend Janet to the candy making factory as well.  She chose not to make caramels, but made sherried walnuts instead.  Those were very tasty too.  It was fun to add something different to our repertoire.  After the candies we all made, we sat down and enjoyed our tapas dinner.  A great time was had by all. This is the meal where we enjoyed the Greek cannellonies and the sausages cooked in red wine. Greek Crepe Cannelloni Stuffed with Beef and Sausage Cooked in Red Wine.

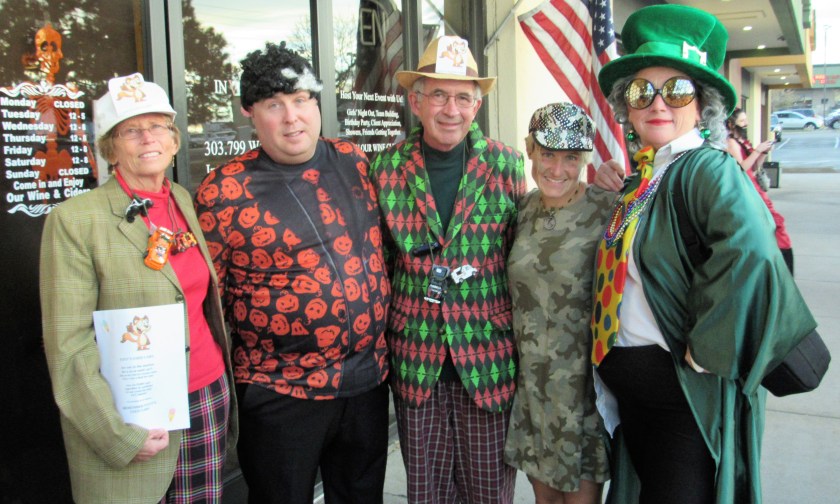
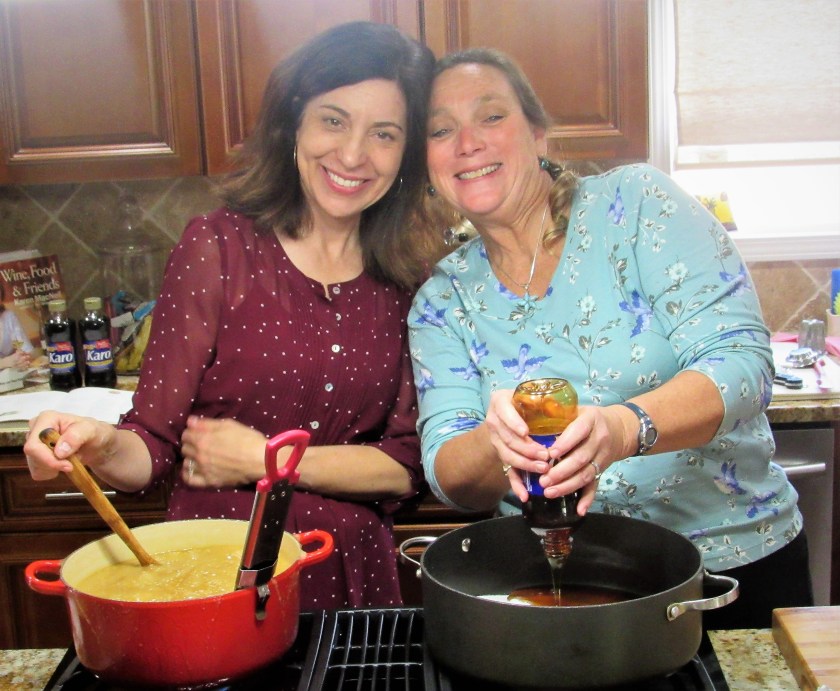
Janet and Bob making the first batch of sherried walnuts and Priscilla is making her first batch of caramels.  Priscilla’s mom, Ana is supervising.


IMG_3832

To make the caramels, you just add everything together, except the cream gets added in two batches.  Then, just stir and let it boil until it gets to between 230*-240*F before adding the second round of cream.

IMG_3841

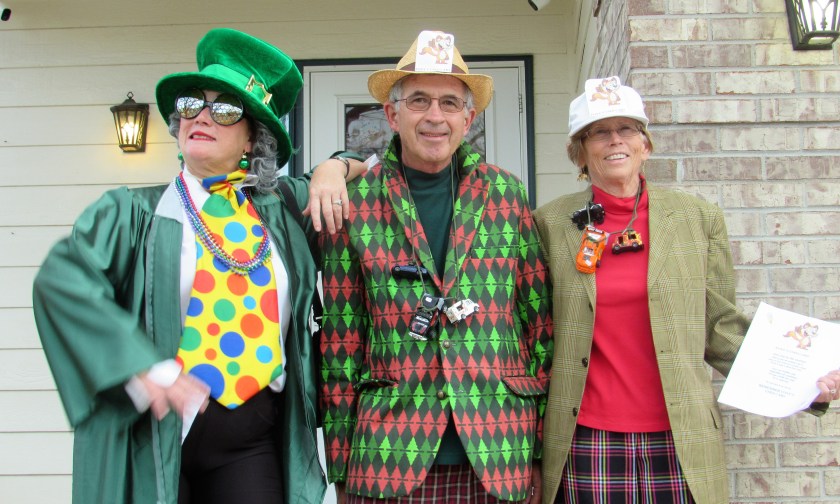
Two dear friends whom have known each other a lifetime, just having fun in the kitchen.

IMG_3837

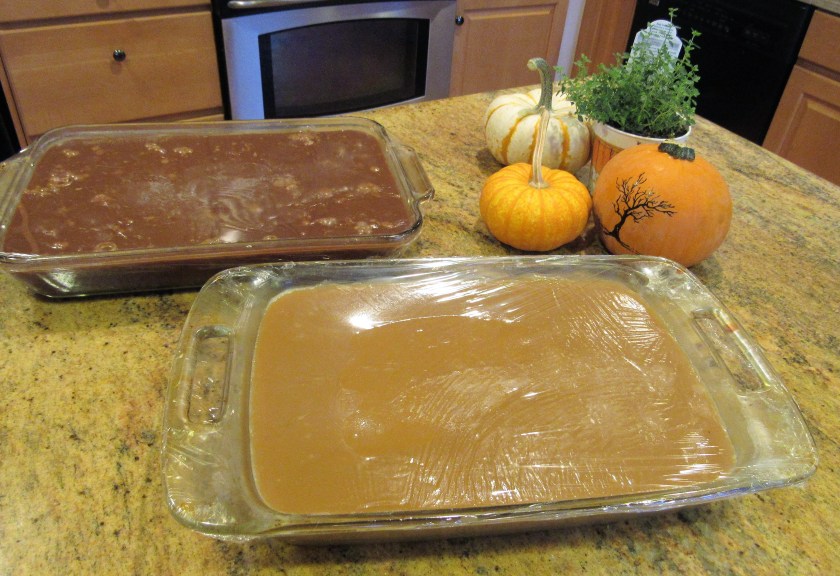
Once the second addition of cream has been added, and the temperature once again reaches between 230-240*F, the cooking process is done.  It is now time to pour the bubbling hot mixture into a prepared 9×13 baking pan.  Let it set and cool for at least 5 hours.

IMG_3842

Once the caramels have completely cooled and are set, they are ready to cut and wrap.

IMG_3843

The cutting and individual wrapping is the really time consuming part of making caramels.  You can cut them any size you like, but remember, they are pure sugar, so you don’t want them too big.  I usually try to keep mine about 1×1″ in size.

IMG_3850

I just finished cutting and wrapping all the plain caramels yesterday.  I have not even started on the chocolate pecan caramels yet.  I am hoping to get to these today.  These take awhile to do, so have patience; a lot of patience.  These also make great holiday gifts, which is one of the reasons why we always try to do them sometime in October.  Of course, I have to sample every now and then; for quality control purposes, you know.

IMG_3851


Follow-Up to the Hacker

Jeanne’s kitchen will be closed until we get this hacker mess cleared up and taken care of. I apologize for the inconvenience, but I think it is for the best. Hopefully this will not take too long to clear up, and then the kitchen will re open again, and everything will be business as usual once more.

We Have a Hacker Amongst Us

This is a very serious post to all my fans and readers out there. A Jeanne in the Kitchen has been hacked! I think by now you all will recognize my site and my style. There is someone out there though that thinks they can just attach themselves onto my website and benefit from all my hard work. All I can say is watch out! You have picked the WRONG PERSON to mess with! This link provided below IS NOT MY REAL LINK!!!!!! It is a fake and a fraud. I have already submitted it to WordPress Security. At first I thought it was some kind of an accident or a mistake, but it keeps happening. Every time I click onto this website, it takes me back to my own website. SO DO NOT CLICK ONTO IT! I think it is intentional. My website is purely my own website. I do not share it with anyone. The content is purely my own.

https://wordpress.com/post/nickbarryculinary.wordpress.com/42.

Sausage Cooked in Red Wine

We got together with friends for a fun, annual event (more on this in tomorrow’s blog), and we all brought parts of the meal.  I just love potlucks!  They are my favorite type of party.  Potlucks are so much fun and they are a good way to see everyone’s creativity and to try new dishes.   I know there are quite a few other people out there who love to cook as much as I do and I just love all the sharing that comes along with potluck get-togethers.  My contributions to the affair were my Greek cannelloni’s, Greek Crepe Cannelloni Stuffed with Beef  and sausages cooked in red wine that I served with my whole wheat potato bread. Whole Wheat Potato Bread .  Both were big hits and were very popular.  We had a light tapas meal.  We also dined on some fabulous sweet roasted pepper crostinis that my friend Priscilla made and finished the meal off with a delicious key lime pie made by my friend Janet.  And of course, we had wine.  We served a Spanish red that paired perfectly with our Spanish/Mediterranean tapas meal.

Ideally, I would have loved to use chorizo for my dish, but I could not find the type of chorizo I was looking for, so instead, I used two other types of sausage.  I used a combination of hot Italian pork sausage and chicken basil sausage.  No one even knew that I switched sausages and the dish was still a big success.

IMG_3830

Sausage Cooked in Red Wine

1 1/2-2 lbs sausage, chorizo or other sausage of your choice

olive oil for cooking

1 cup red wine of your choice

2 tsp black pepper

1 TBSP garlic

2 tsp red pepper flakes

fresh thyme


IMG_3825

Cook the sausage in a hot skillet with olive oil until browned on all sides.

IMG_3826

Once the sausages are browned, removed them from the pan and slice them into small bite-sized pieces.  Then return them to the skillet along with all the rest of the ingredients, except the fresh thyme.  Make sure you scrape all the sausage drippings from the pan, and incorporate them into your sauce.  That’s what will really make the sauce perk up.  You only need to continue cooking for about 5-7 more minutes or until the sausages are completely cooked.

IMG_3828

Once the sausages are completely cooked, your dish is done.  Add the fresh thyme right before serving and serve over warmed bread with the sauce.  When I made my whole wheat potato bread, the recipe made two loaves.  We ate one earlier and the other one I froze.  I used the second loaf for this dish.  The bread absorbed all the flavors and some of the spiciness of the dish.

IMG_3829


The Hallowine Party at InVINtions

Our favorite local winery, InVINtions, A Creative Winery, at InVINtionsWine.com had their “Hallowine” party, that was a spooktacularly fun evening.  Everyone was dressed up in some kind of character, and a good time was had by all.  There were a king and a queen, Malefacent, used car salespeople, pilots, skeletons, Count Dracula and his bride, witches, and our very own, the Wacky Professor Cooksalot.  We bobbed for apples, and had a mummy dressing contest.  We attempted to throw corks into the pumpkins, and of course there was wine.  Lots of wine.  It was a very fun way for the adults to unwind and to let their hair down, and be kids again.

Professor Cooksalot.  She is the professor of cookology.  Some say she is brilliant in the kitchen, but she is not mixing with a full beater.

IMG_3788

Professor Cooksalot with her friends, the slightly shady car sales people from Foxy used Cars.

IMG_3789

Adding to our motley crew is Mr. Pumpkin and the Sexy Soldier in front of InVINtions.

IMG_3797

Marcus, our hostess for the evening.

IMG_3798

Some of the staff and guests who helped make the party a barrel (or two) of fun.

IMG_3799

IMG_3800

IMG_3801

Marcus and her motley crew.

IMG_3805

The place was crawling with spiders.

IMG_3807

IMG_3809IMG_3810

IMG_3814

IMG_3815

Making our mummy.

IMG_3821

IMG_3823

Greek Crepe Cannelloni Stuffed with Beef

Yesterday, I left you all with a teaser about good things to come.  I knew this dish was going to take a lot of prep time, and that it was a 3-step process.  What I did not realize was how long it was going to take.   Total cooking time was about 3-3 1/2 hours.  But it was all a labor of love, as are so many wonderful dishes, especially a lot of ethnic dishes.  I enjoyed all the steps and the processes to make this dish, and I know we are all going to enjoy the finished result.  Normally, I do do not show you unfinished dishes, however, I made this one ahead of time, for an a fun get together with friends tomorrow.  I have everything completed except the final baking.  You’ll just have to use your imagination a bit on this one, but I promise you, it will not be too much of a stretch.  🙂  The only thing you will not see is the browning of the cheese and the sauce.

This is a long post, with a lot of details.  Have patience and continue to the end.  The result is well worth the read and the wait.  I promise, you will not be disappointed.

IMG_3785


Stuffed Crepe Cannelloni with Beef

  • First Step – Making the Kimas or Meat Sauce

IMG_3752

1 large onion, diced fine

salt & pepper to taste

1 1/2-2 lbs ground beef

1/2 cup dry white wine

6 medium tomatoes, diced small

1 1/2-2 tsp sugar

2 bay leaves

1-1 1/2 tsp allspice

1-2 tsp cinnamon

1/2 tsp ground cloves

2 TBSP garlic

3 cups chicken or beef stock

olive oil


Saute the onions, salt and sugar in the olive oil, stirring frequently.  Just as the onions start to caramelize and turn color, add the ground beef and continue cooking until the beef is cooked.

IMG_3755

Once the beef and onions are cooked, add the wine.  Let all the liquid from the wine cook off completely.  This will help reduce the acidity of the dish.

IMG_3758

Once all the wine is cooked off, add the diced tomatoes and the rest of the ingredients.

IMG_3754

IMG_3760

Bring the sauce to a boil, then reduce to a simmer, and continue to cook for 45-60 minutes, or until the sauce is rich and thick and all the liquid has been cooked off.

IMG_3763

This sauce is a very versatile sauce and is used for many different Greek dishes.  Once the sauce is cooked, remove the bay leaves and discard.  This sauce is so rich and aromatic.  Your whole house will be filled with the delightful aromas of the spices for the rest of the day.  I had a little leftover rice that I added to the meat mixture as well, to give a little more texture, since I am using it as a filling.


  • Second Step – The Crepes

3 large eggs

3/4 cup flour

1 1/2 cups milk

salt & pepper to taste

1 tsp ground nutmeg

2-3 TBSP melted butter

olive oil for cooking


Whisk the eggs and the flour together, then slowly incorporate the milk and seasonings.   Add the melted butter and mix well.  Let the batter set in the refrigerator for about an hour before making the crepes.

IMG_3769

Once the batter is ready, get a small, 6″ skillet very hot, then brush it with olive oil.  Add a small amount of the batter to the skillet and immediately swirl it around to fill the space of the skillet.  Pour off the excess.  Cook for about 30-60 seconds, then gently scrape the edges with a spoon and gently flip the crepe over with a spatula.  You want very thin crepes, so you will only use a small amount of batter for each crepe.

IMG_3770

IMG_3771

Repeat the process until all the batter has been used.  I doubled the recipe, and I made 20 crepes.

Once all the crepes are cooked, it is time to fill them with the kimas or the meat sauce.

IMG_3774

Add 1 heaping TBSP of meat mixture to the crepe.  Fold it in from the top, then gently grab the edges and roll, just like you are rolling a burrito.  Place the seamed side down on your baking pan.  Continue until all the crepes are filled.

IMG_3777


  • Third Step – The Bechemal Sauce


1 1/2- 2 TBSP butter

1 1/2-2 TBSP flour

1 3/4 cup milk

salt & pepper to taste

1/2 tsp ground nutmeg

3 1/2 TBSP heavy whipping cream

Parmigiano Cheese

parsley


Preheat the oven to 350* F

In a hot skillet, melt the butter and whisk in the flour.  Then add the milk and the seasonings, continuing to whisk constantly.  Add the cream and let simmer for about 20 minutes.

IMG_3779

When the sauce is done.  Spoon it over the cannellonies.  Top each cannelloni with a little Parmigiano cheese and parsley.   Bake for 30 minutes, or until the cannellonies are golden brown.

IMG_3781

IMG_3784

Once the cannellonies are done, it’s time to eat.  Is good to be Greek.

More Kitchen Quotes from the Pros

The Chef is just about to enter the kitchen to create something yummy and delicious.  However, because her creativity will take some time to prepare, she wanted to give you all a little something until the creation has come to fruition.  You will be able to savor the results from her latest creation in a bit. But in the meantime, sit back and and enjoy a few more kitchen quotes from the pros.

Food … can look beautiful, taste exquisite, smell wonderful, make people feel good, bring them together, inspire romantic feelings …At its most basic, it is fuel for a hungry machine.

~ Rosamond Richardson~

food-from-green-places-vegetarian-9472g1

In cooking, as in all the arts, simplicity is the sign of perfection.

~Curnonsky~

Image result for curnonsky pictures


… food is delightfully, an area of licensed sensuality, of physical delight which will, with luck and enduring tastebuds last our life long.

~ Antonia Till, from Loaves & Wishes~

Image result for loaves and wishes


A home is a place where a pot of fresh soup simmers gently on the hob, filling the kitchen with soft aromas … and filling your heart, and later your tummy with joy.

~ Keith Floyd~

Image result for keith floyd pictures

One cannot live well, love well or sleep well unless one has dined well.

~Virginia Woolf – from ” A Room  of One’s Own”~

Image result for virginia woolf pictures


Chocolate Hazelnut Cookies

I haven’t made cookies in quite some time, and I was really feeling the urge to do so.  Plus, I also had some Nutella that was just begging to be used in a delicious, creative way.  I love Nutella, and I love cookies.  So I made some delectable chocolate cookies that were stuffed with ooey-gooey hazelnuts and Nutella (or as you can see, I used the generic brand from my favorite place in the whole world – Costco).   You’re all going to love these, and with the holidays just around the corner, these would be the perfect holiday cookie.  They are a labor of love, but they are so worth it.  Literally, every bite just melts in your mouth.

IMG_3749

All you need to make some magical and delectable cookies.

IMG_3734

Chocolate Hazelnut Cookies

36 tsp Nutella or hazelnut spread

36 roasted and peeled hazelnuts

1 1/2 cups of softened butter, or 3 sticks

1 1/2 cups brown sugar, firmly packed

3/4 cup sugar

3 large eggs

3 TBSP milk

3 tsp vanilla

3 cups flour

1 1/2 cups cocoa powder

1 1/2 tsp baking soda

1 1/2 tsp salt

powdered sugar for dusting (optional)


Spoon out the hazelnut spread onto a baking sheet lined with parchment paper.  Stick 1 hazelnut in the center of each spoonful of hazelnut spread and place in the freezer for at least 1 hour to set.

IMG_3736

Preheat the oven t 350* F


Mix all the dry ingredients together and blend well.

In the meantime, mix the butter and sugars together until well blended and the dough is light and fluffy.  Add the eggs one at a time, and mix in between each one, then add the vanilla and mix again.   Slowly add the dry ingredients 1/2 at a time and mix in between each addition.

When the dough is ready, remove the hazelnut spread from the freezer.  Spoon out 1 heaping TBSP of dough and roll into a ball, then gently press flat on a lightly floured surface.  Take one hazelnut spread ball and place in the center of the dough.  Then fold the dough around the hazelnut spread.  Shape into a round ball, and lightly press to slightly flatten on a baking sheet lined with parchment paper.

IMG_3739

IMG_3741

IMG_3743

Bake for 10-15 minutes.  The cookies should be soft.  You do not want to over cook them, or the filling will firm up and will not be ooey and gooey.  When you bite into the cookies you want a semi-liquid, soft filling.

IMG_3748

Once the cookies have completely cooled, you can do a light dusting of powdered sugar if you like.  The result is a little bit of Heaven.  These are soft, chewy, ooey-gooey cookies, that are very rich and delicious.  I promise you, this one is a definite winner.

IMG_3749


Pappas Fritas Caliente

Even though we are still getting through all of our leftovers, they are main dishes and I still need to prepare side dishes and vegetables to go with them.  We have to have balanced meals, right?!  The Queen of leftovers was in the house again today, making some yummy pork and vegetable quesadillas out of, you guessed it, leftovers.  I pulled some smoked shredded pork out of the freezer and mixed it with my leftover vegetable saute, Presto Pesto Chicken then added this all to some tortillas with cheese.  My husband topped his quesadilla with tomato salsa and sour cream and I topped mine with the my peach salsa.  Peaches from Palisade  The peach salsa and the pork go together very well.  I love the combination of peaches and pork.  I love the smoky flavor from the pork mixed with the sweet and spicy flavors of the peach salsa.  Sadly, my avocados had seen better days, so they got tossed and were not part of my quesadilla this time.   I also made some pappas fritas caliente, or spicy fried potatoes, to go with the quesadillas.  So not only did we have a quick, easy meal, but I also cleared out some of the leftovers from my refrigerator, making more room for more dishes yet to come.

IMG_3728

All I need to make pappas fritas caliente.

IMG_3723

2 russet potatoes, peeled and cubed

1 large jalapeno, seeded and diced fine

1/3 onion, diced fine

1 TBSP garlic

1 tsp chili powder

1-1 1/2 tsp red pepper flakes, or to taste

salt & pepper to taste

1-1 1/2 tsp fresh thyme and oregano, chopped fine

olive oil and butter for cooking


In a hot skillet, add your oil and butter and the potato cubes.  Cook for about 15 minutes, or until the potatoes are a light golden brown and a little crispy on the outside and soft on the inside.

IMG_3726

Add the rest of the ingredients, except the fresh herbs, (if you are using dried herbs, you can add them at this point) and continue to cook for another 5-10 minute, or until the onions are translucent and the potatoes are golden brown.

IMG_3727

Add the fresh herbs right at the very end of the cooking process and mix well.

IMG_3728

Quesadillas carne de cerdo con salsa de melocoton y pappas fritas caliente es listo.  !Que Bueno!

IMG_3732

IMG_3730