We have been members of InVINtions, A Creative Winery InVintionsWine.com (The Hallowine Party at InVINtions) in Greenwood Village, Colorado for quite a few years now. We go there all the time, and no matter what we do, we always have a fun time. Sometimes we go just to taste wines, other times we go for their great parties and events. Today, we got to be winemakers for the day with our friends Janet and Bob. We made a red blend made from Australian Grenache-Syrah grapes, and Australian G.S. is the name it goes by on the label. Today was the day we made the wine. We have to wait for about 45-60 days to let it ferment before we can bottle it and drink it.
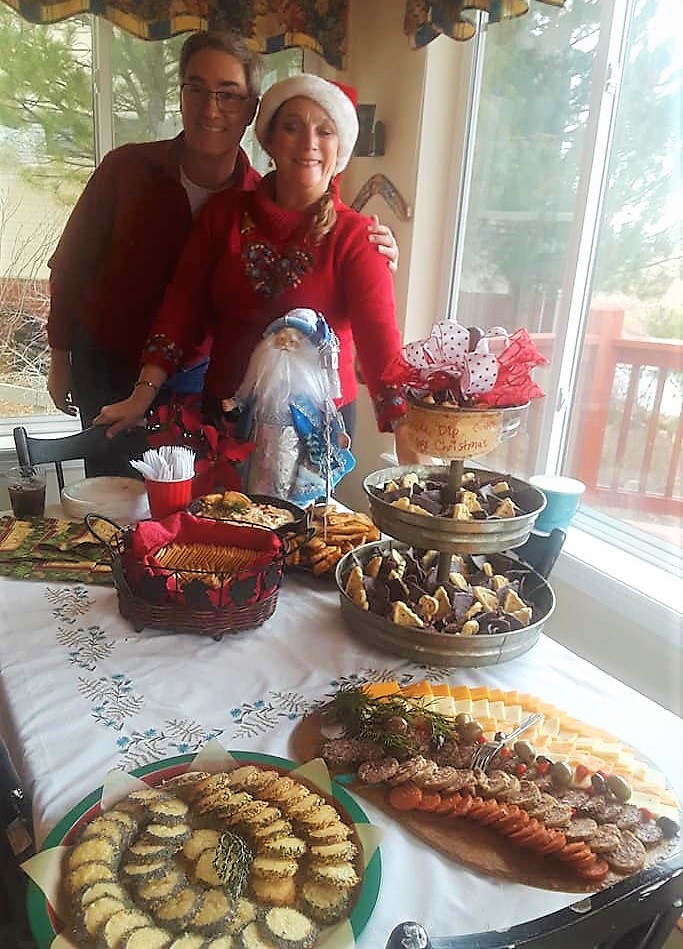
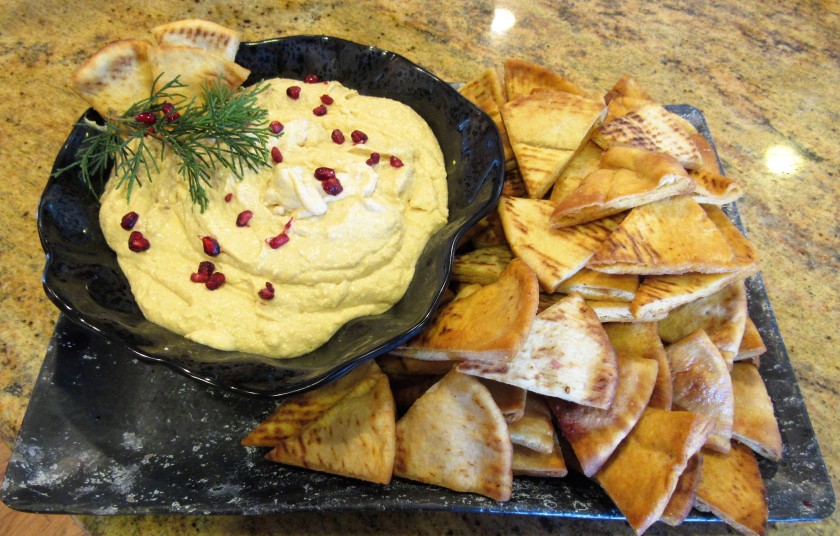
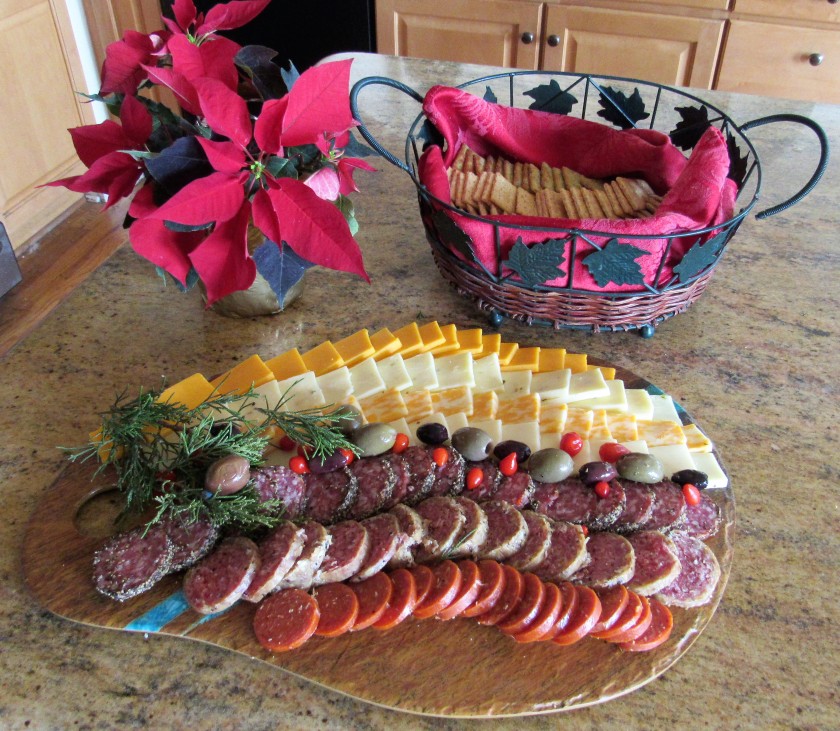
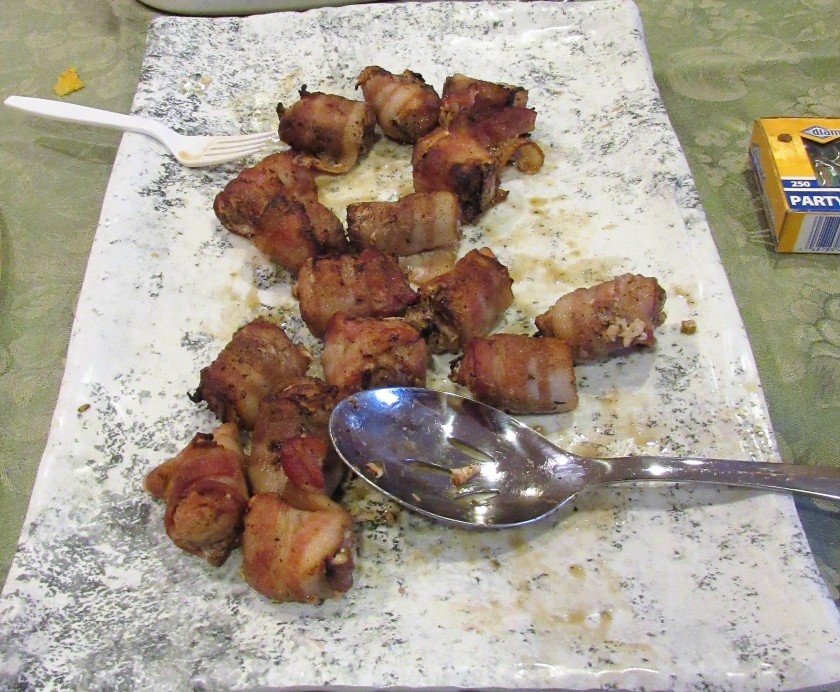
When we first arrived at InVINtions, they were not quite ready for us, so we brought in lunch that we enjoyed with a few wine samples before we got to make our own batch.

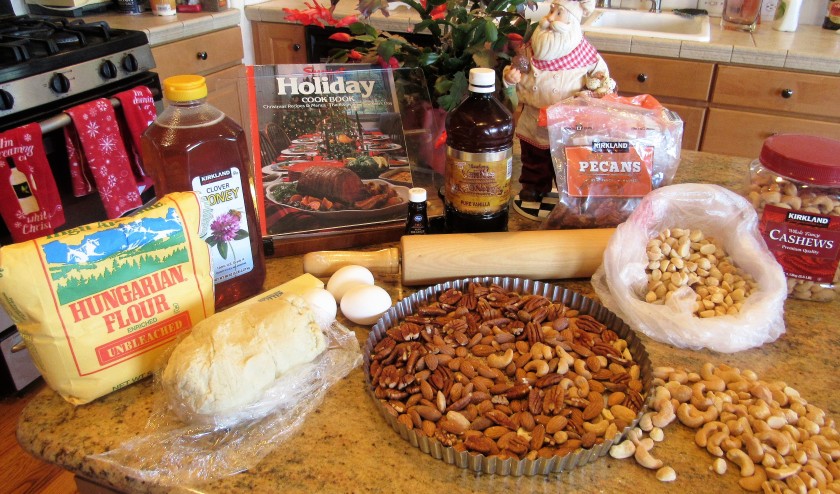
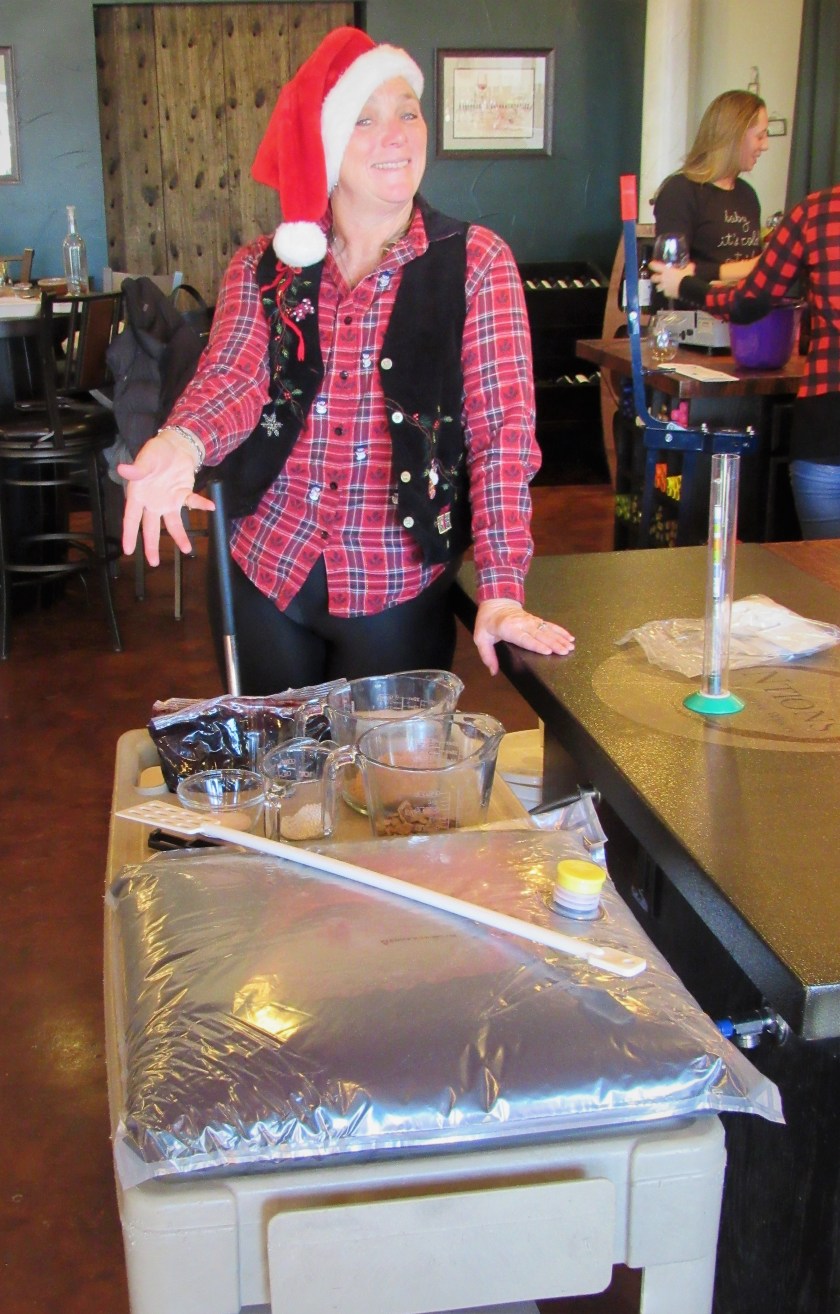
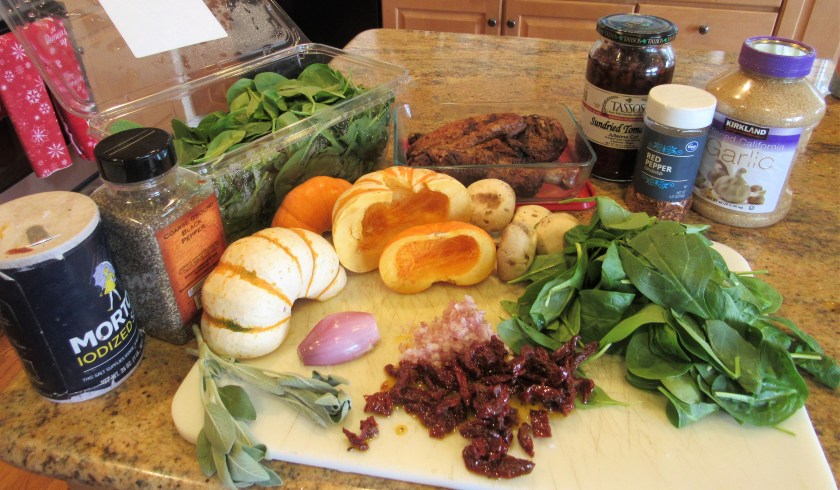
Once we finished lunch, our wine tutor, Evan, brought out all the ingredients we needed to make our wine. We had our grape juice, grape skins, yeast, wood chips, bentonite and other flavorings.

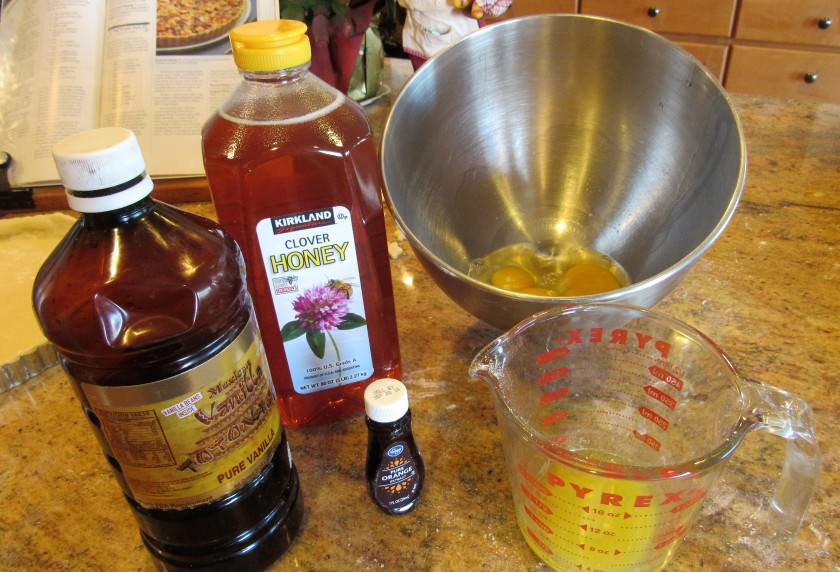
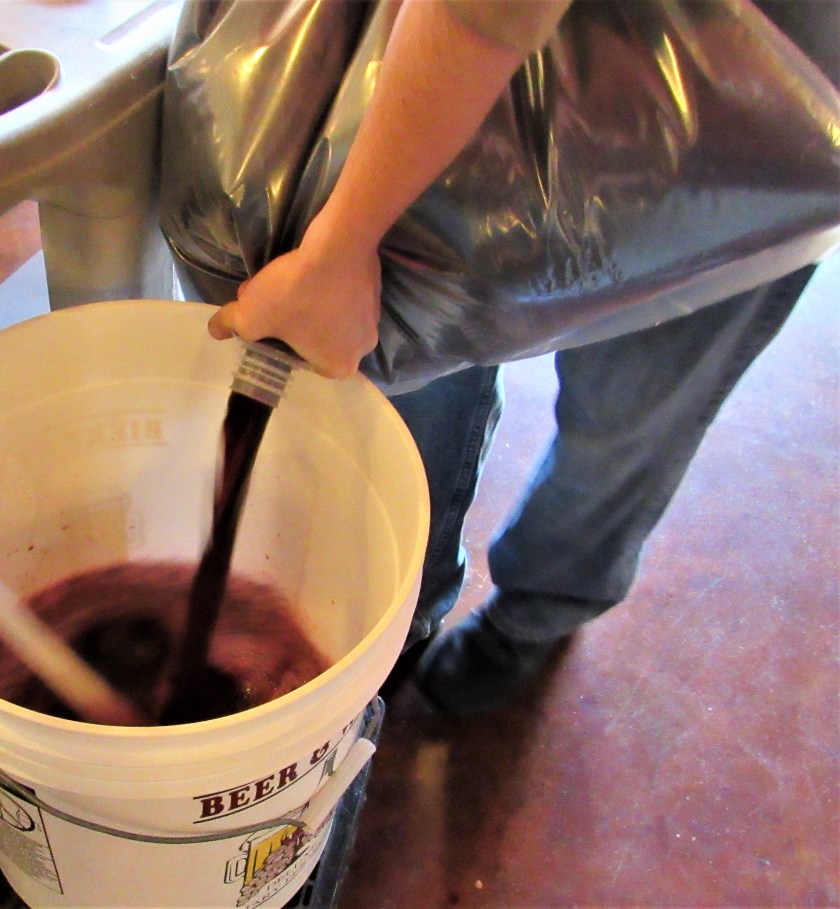
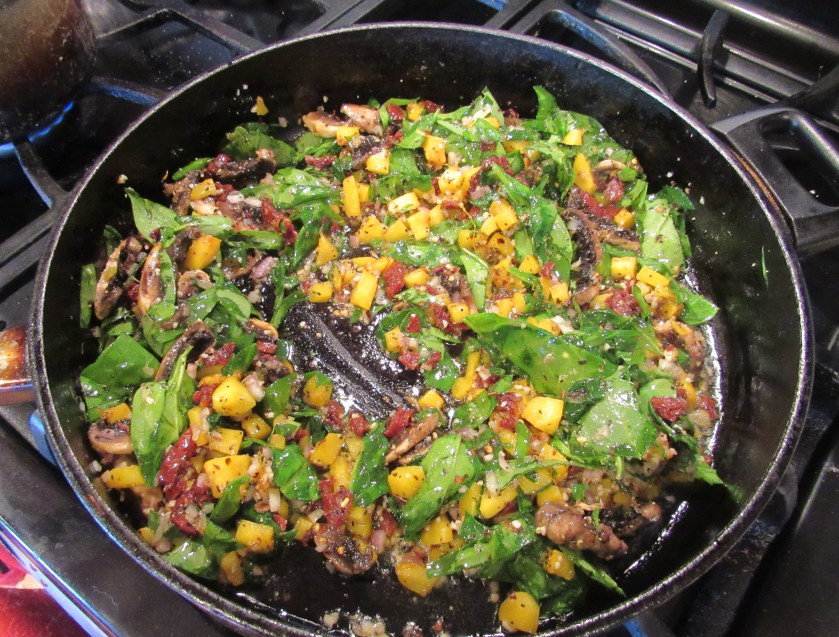
We started the process by adding the reversed osmosis water and mixed it with the bentonite, then we mixed in the big bag of grape juice.

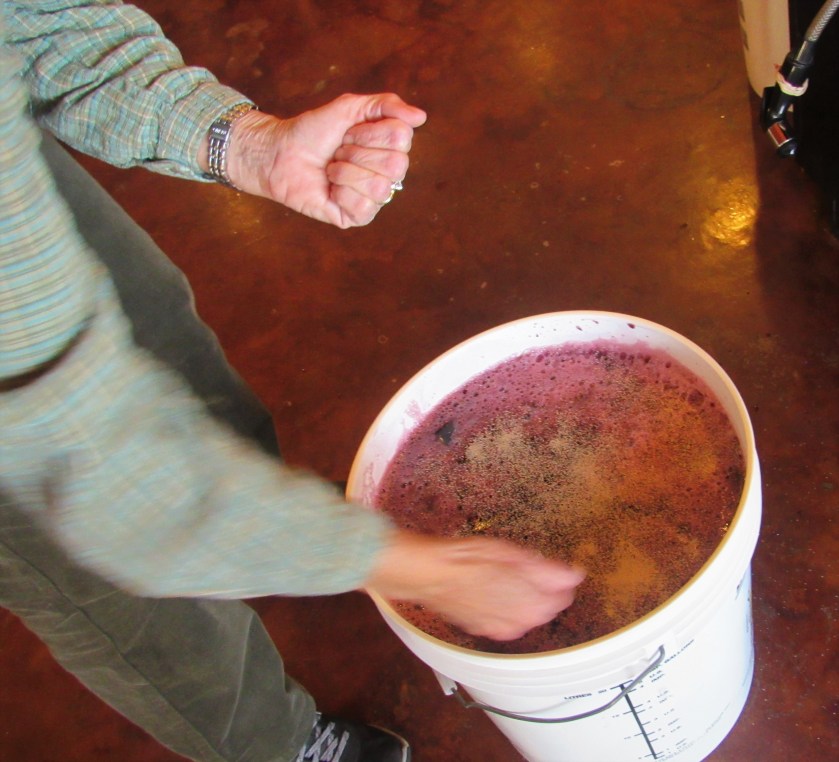
After those were all mixed together, we added the grape skins. We put them in in large cheesecloth type bag and mashed them up. The bag will remain in the mixture through the fermenting phase.

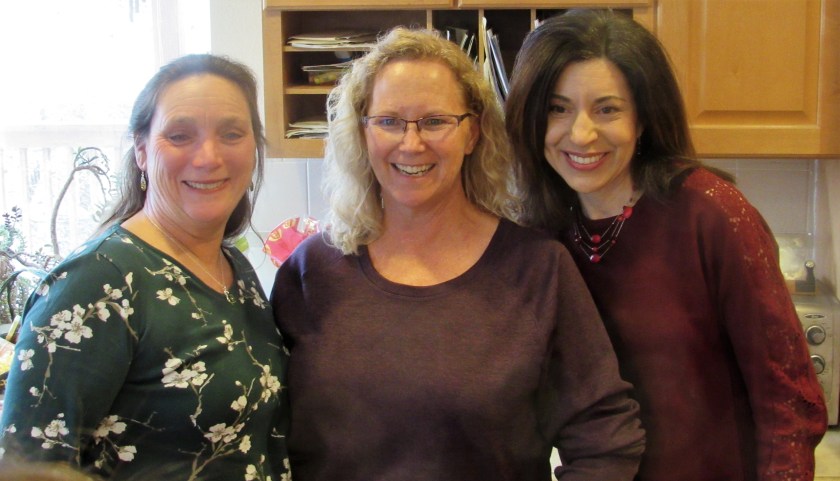
Janet and I tasting the grape skins. They tasted just like grape jelly. Yum!

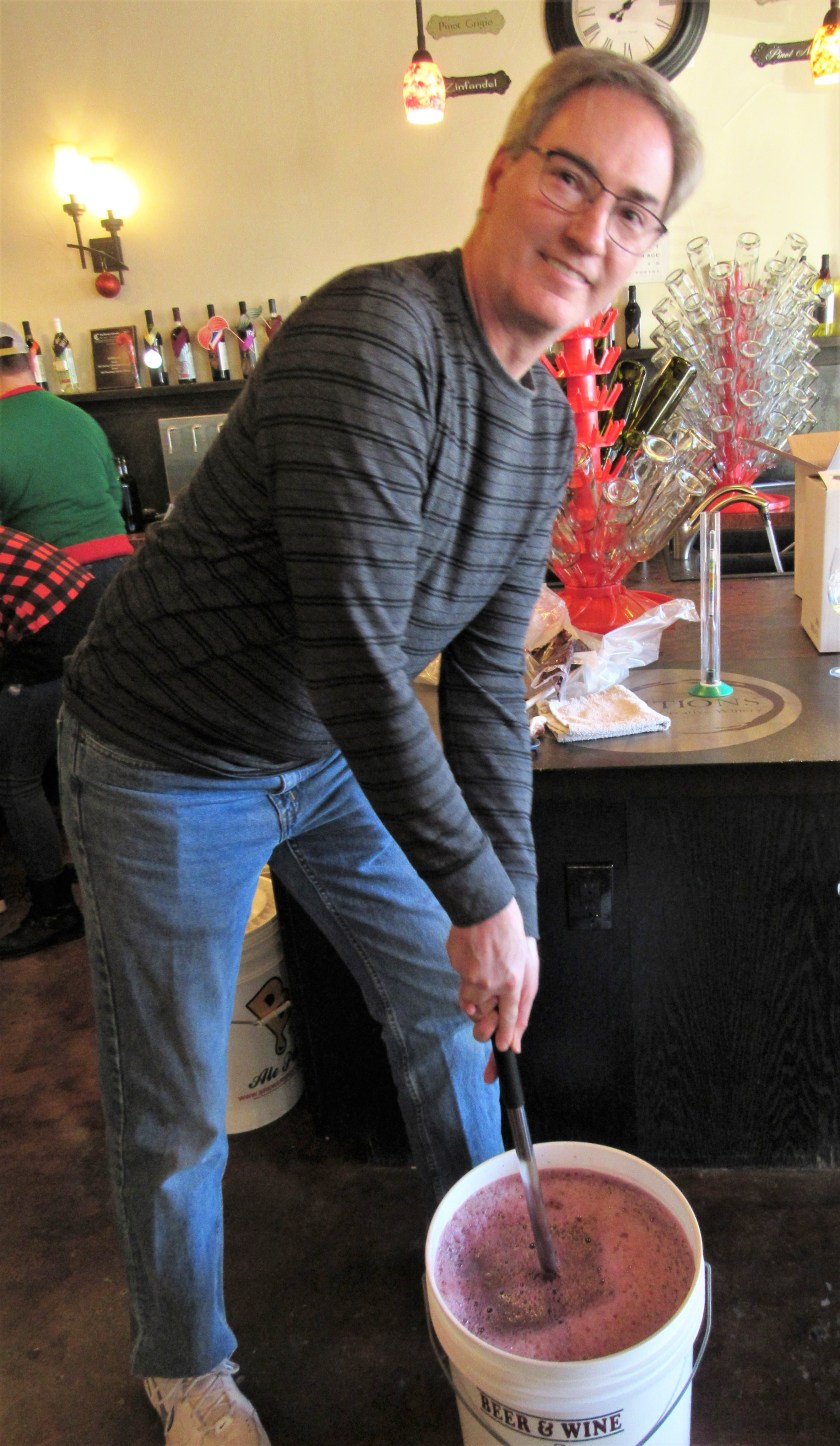
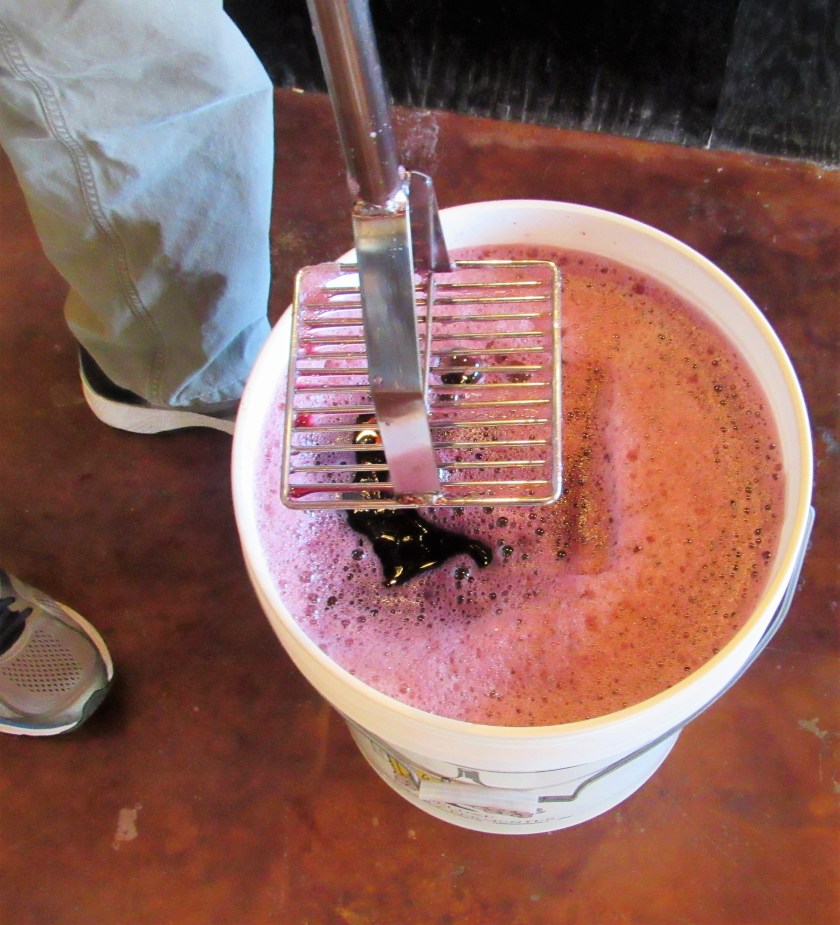
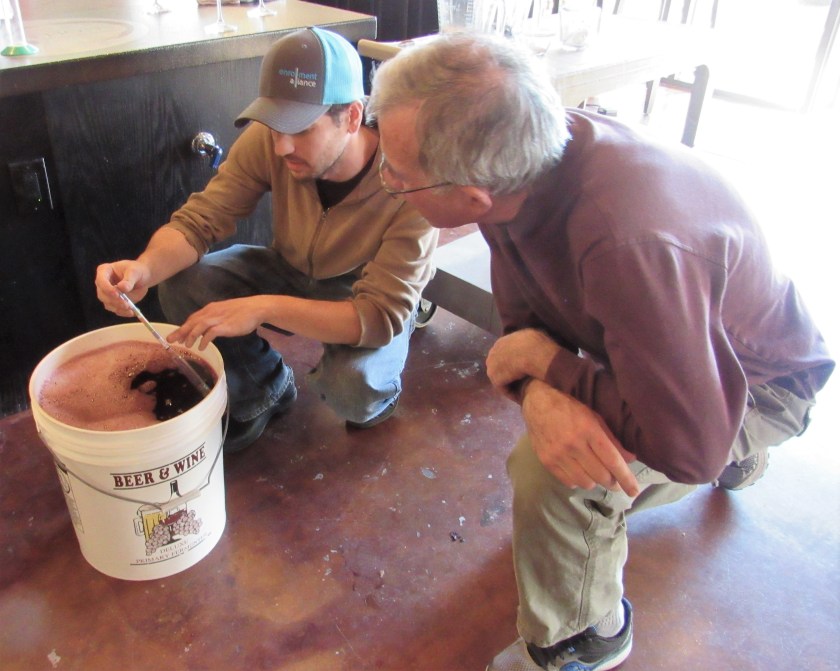
Mashing up the grape skins into the wine mixture.

The masher.
Reading the gauges and testing to see if we have all the right proportions and that everything is at the correct levels.
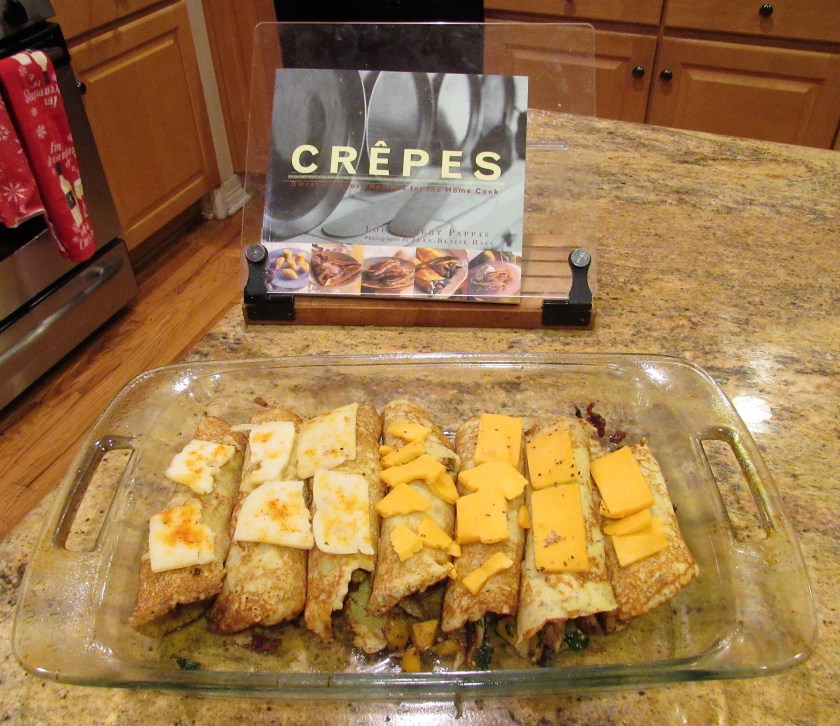
Everything is in the proper proportions and the levels are correct. Now it is time to add the yeast. The yeast is the last ingredient we need to add. The yeast is what allows the grape juice and skins to ferment.
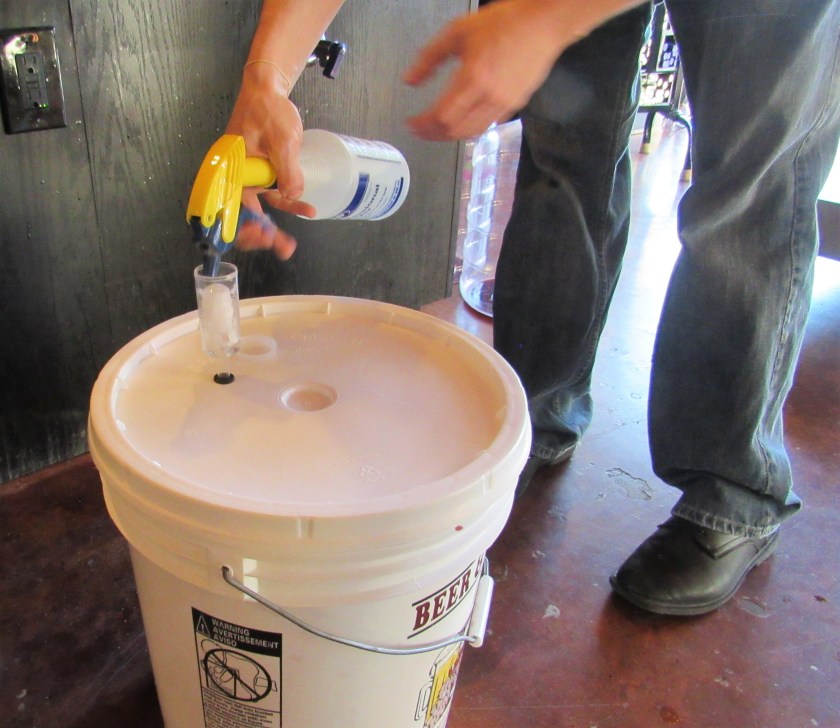
It’s ready to go. Let’s cover it up and let the fermenting begin. Let there be wine.

It’s sealed tight, with a little release valve to allow it to off gas. Now we wait. Out mixture will need to ferment for about 45-60 days before it actually becomes “wine”. After it goes from grape juice and skins to wine, it will be time to bottle it. We can either drink it right away or we can let it age and wait to drink it later.
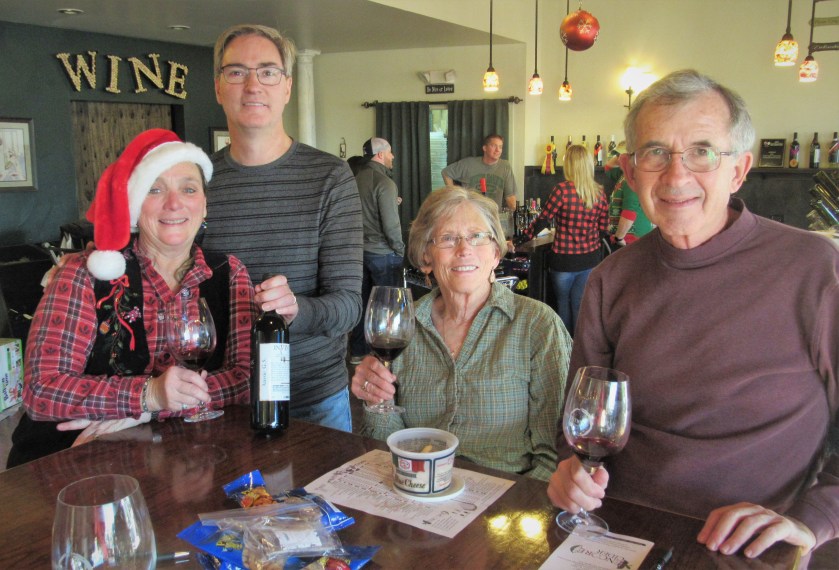
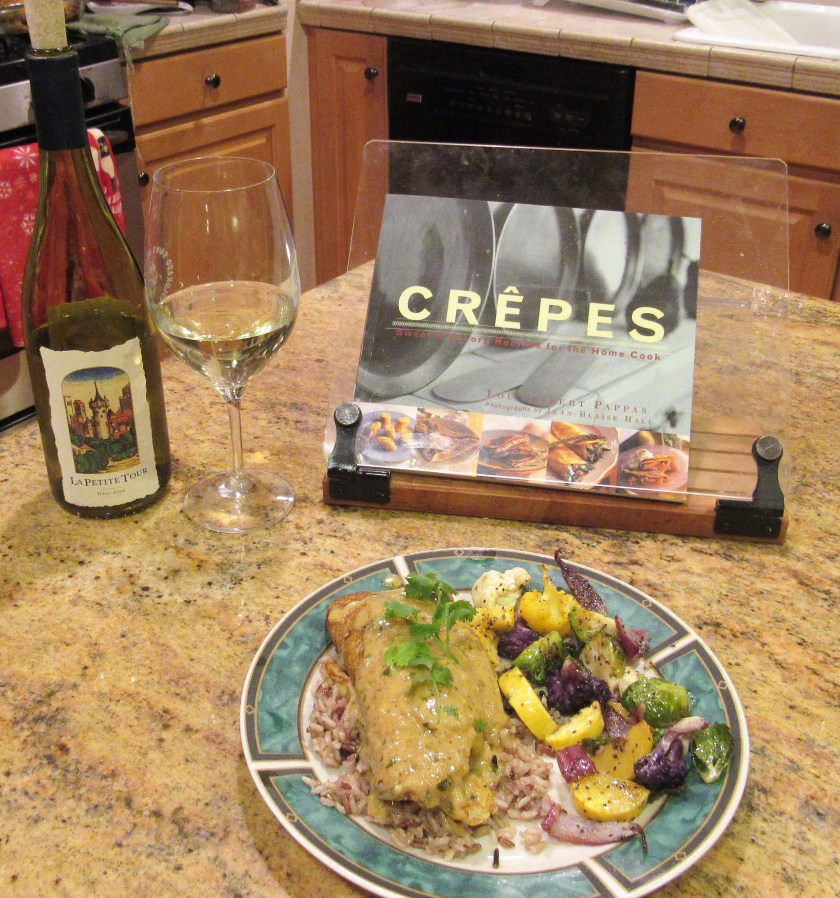
Here we are, enjoying the “fruits” of our labor. A votre sante! Salud!


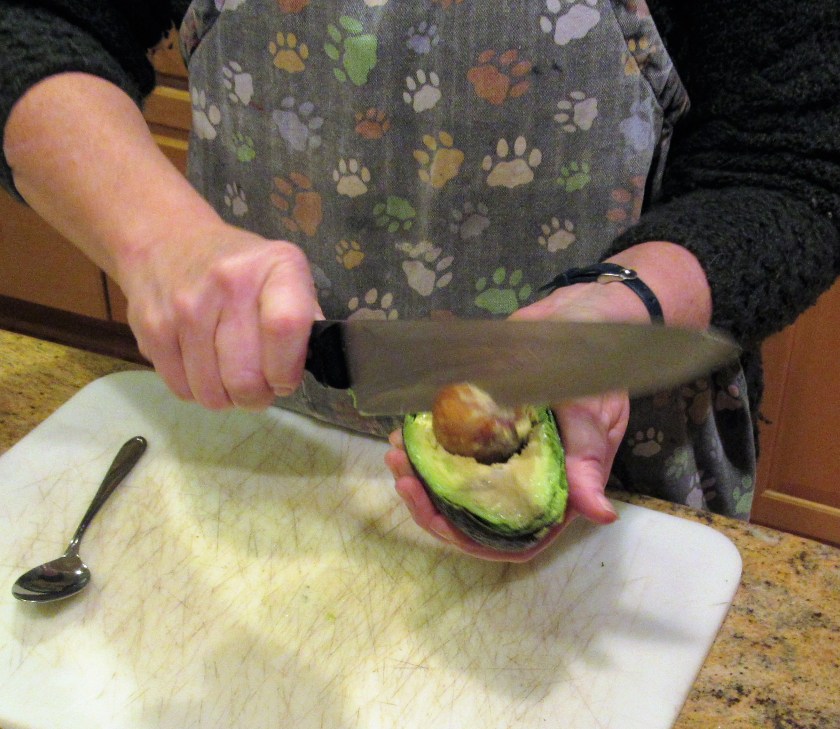
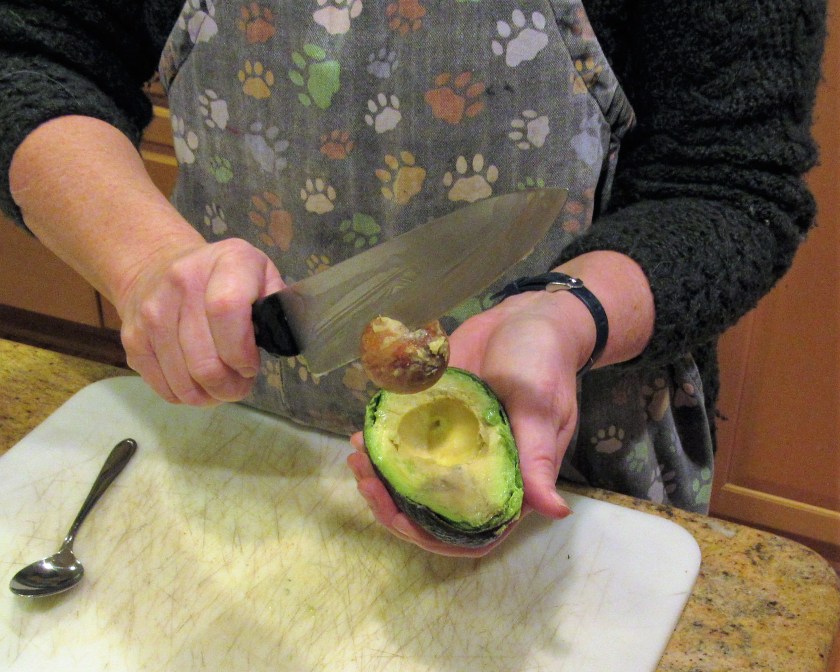
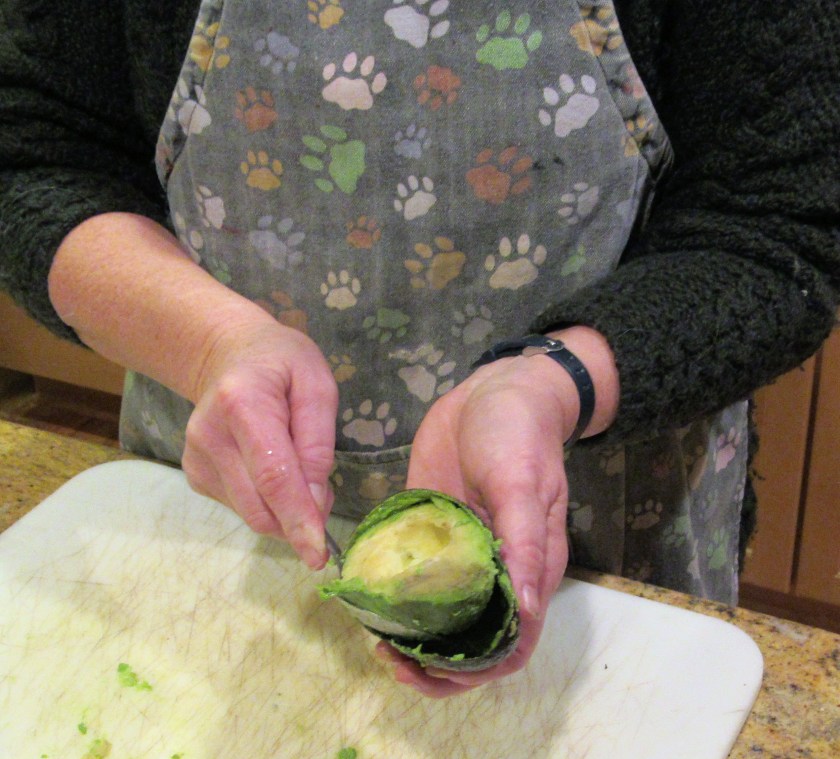 Once the avocado has been removed from its skin and the seed has been removed, it is ready for you to eat and enjoy how you like. Desfruitas!