We had a blizzard here yesterday. There were complete white-out conditions, it was frigidly cold, the roads were a complete disaster and the sky dropped 10 inches of snow at my house. This was all in the morning hours of the day. I was out and tried to brave those conditions before turning around and calling it a day. Once I was safely at home, there was no way I was going back out into that mess. NO WAY! But as bad as it was for those few short hours, by the afternoon, it was back to blue skies and sunshine. As I sit here looking out my window right now, most of that slushy mess on the roads yesterday is gone and the snow is already starting to melt some. Awwwww! Life in Colorado! As bad as it was on the outside though, it was perfect day to stay inside and cook up some good heart warming chili and cornbread.

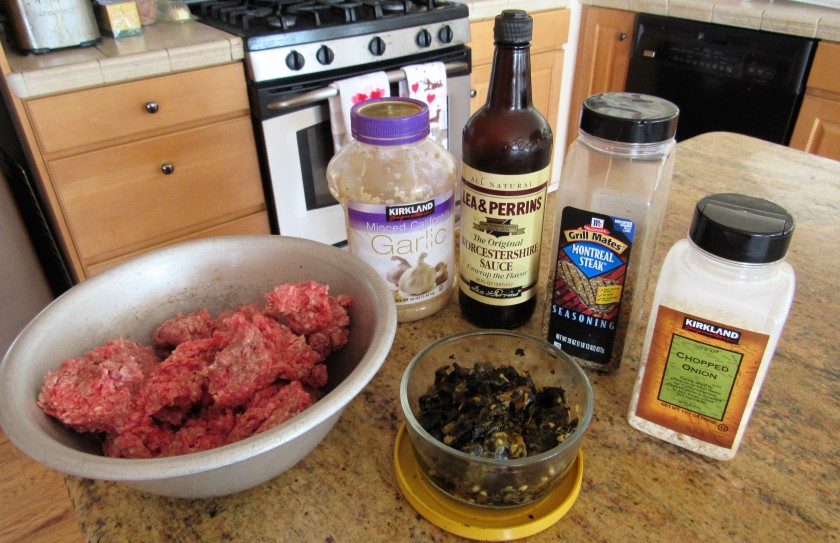
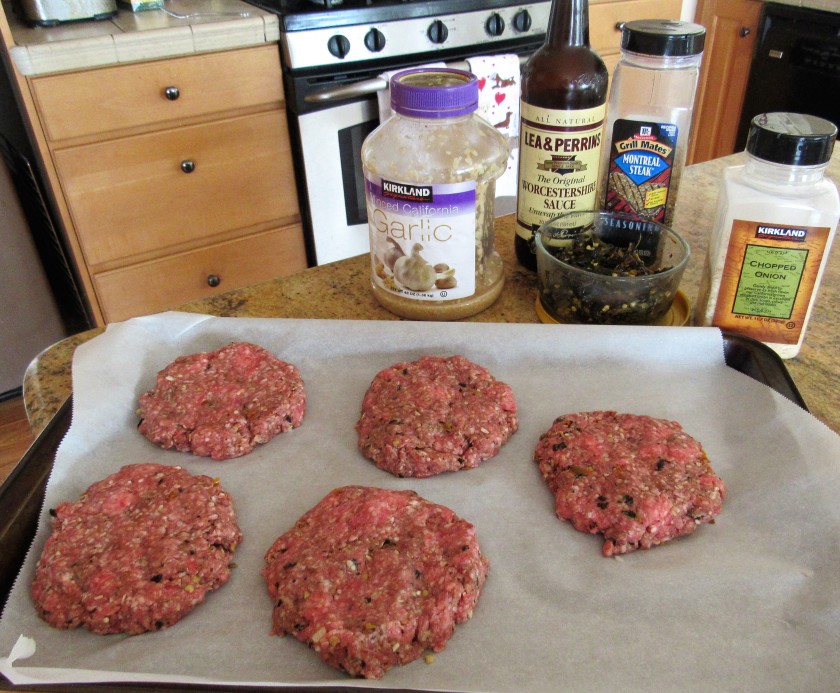
I love a thick, strong and bold chili. And I love it with a lot of meat. I almost always a steak or a roast rather than hamburger meat. If I do use hamburger meat, it is combined with the steak to add more texture and richness.
Chili Con Carne

2 1/2-3 lbs steak or roast , cubed
1/2 cup (more as needed) flour
1 onion, diced
1 green bell pepper, diced
2-3 jalapenos, diced fine
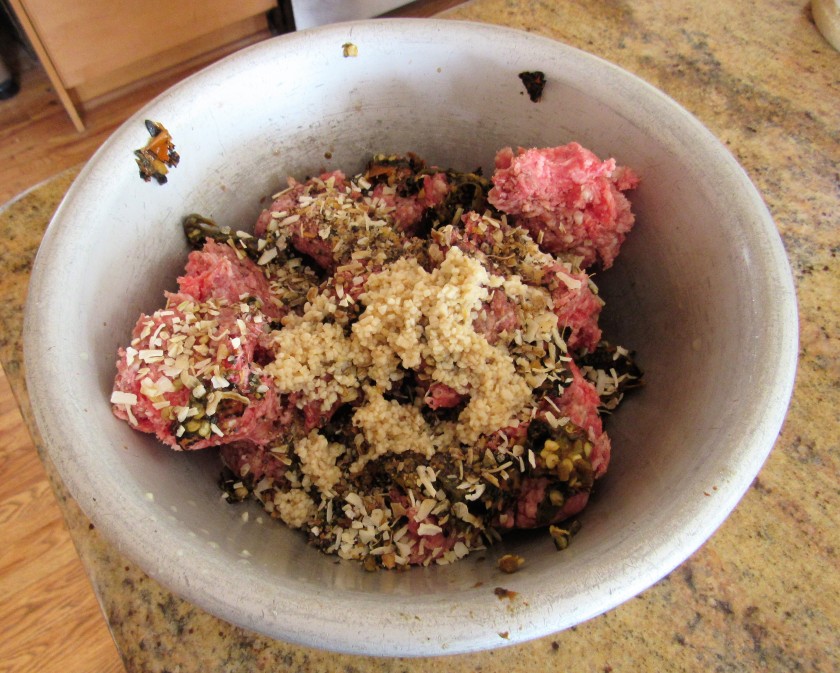
2 TBSP garlic
1 can dark red kidney beans, with the sauce
1 can stewed tomatoes, with the sauce
salt & pepper to taste
2 TBSP tomato paste
3-4 TBSP chili powder
2 tsp cumin
4-5 cups beef broth
1/2 cup red wine or vinegar
oil and or butter to cook the meat
Remove the excess fat from the meat and discard, then cube then the meat into bite sized chunks. Add the flour and salt and pepper to taste and coat the meat. This is to help it coat the meat brown it as well as thicken the chili.

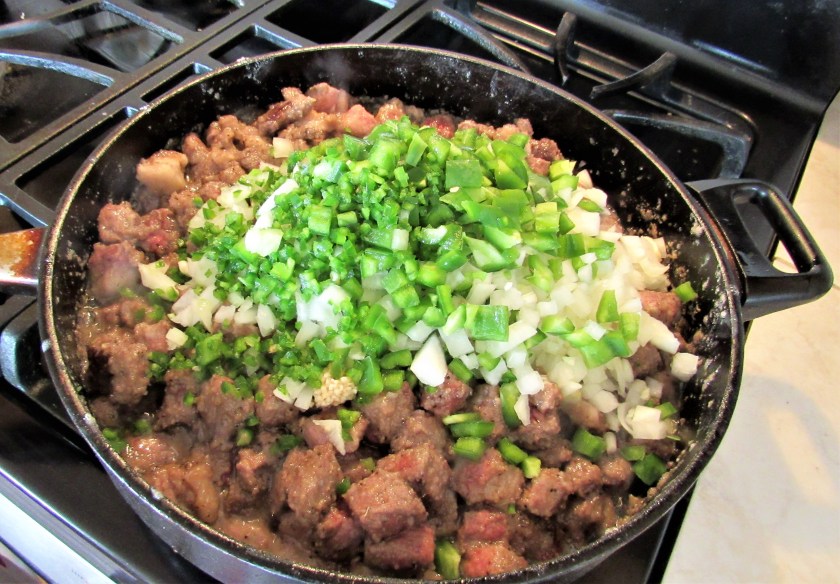
Once the meat is coated, in a hot skillet with enough oil and/or butter, add the meat and cook until completely browned, stirring frequently. When the meat is browned, add the vegetables and continue to cook until the vegetables are semi-soft and the onions are translucent.
Once everything is cooked, transfer the meat and the vegetables into the slow cooker and set aside.
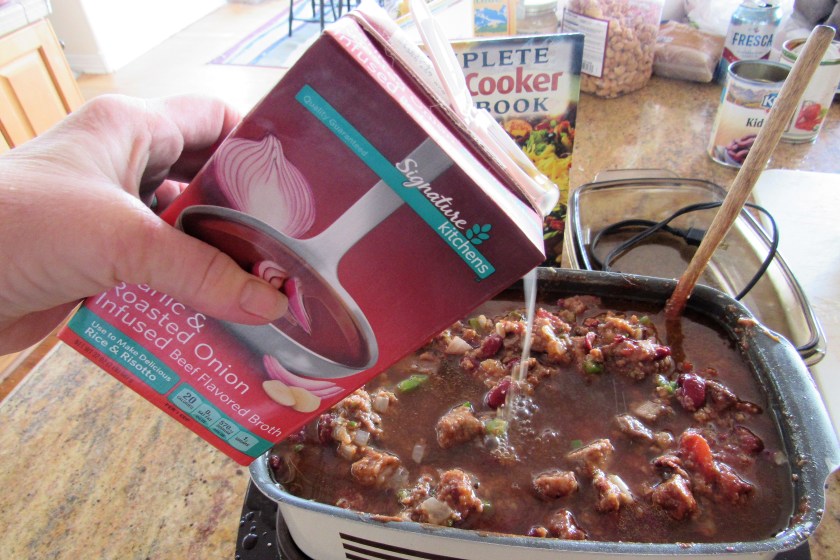
Mix together all the wet ingredients and the spices, then add to the meat and vegetable mixture. Combine thoroughly. And let cook at the low speed/temperature for 6-8 hours. Stir occasionally, to make sure nothing sticks and the flavors incorporate well together.


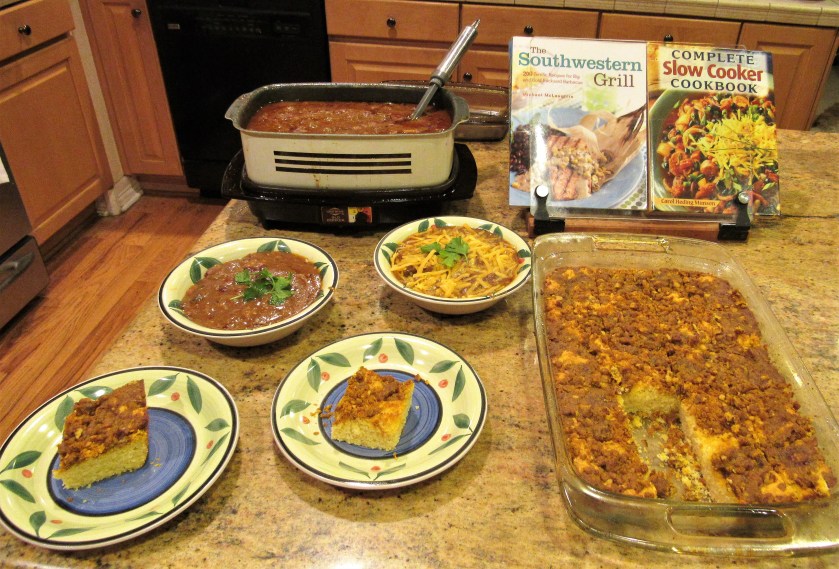
Once the chili is cooked, serve it alongside some warm cornbread and take away all your chills.