I have created this site to help people have fun in the kitchen. I write about enjoying life both in and out of my kitchen. Life is short! Make the most of it and enjoy!
With getting everything ready for Thanksgiving and decorating the house for Christmas, I’ve been a little on the busy side and haven’t had time to do another video. Until now. This is a simple, easy-peasy and delicious recipe for green beans with caramelized shallots. It takes about 10 minutes to make and goes very well with anything you want to serve it with.
I do have a correction make though. I misspoke when I said olive oil has a “high” smoke point, which allows it to burn easily. It actually has a LOW smoke point which makes it burn easily. So, I apologize for my error. Sometimes I just get tongue tied.
As always, I hope you enjoy and please pass it along to your family and friends. If you like what you see, please subscribe to my YouTube page as well.
Have a great day Everyone. Stay safe and stay well. ‘Til next time.
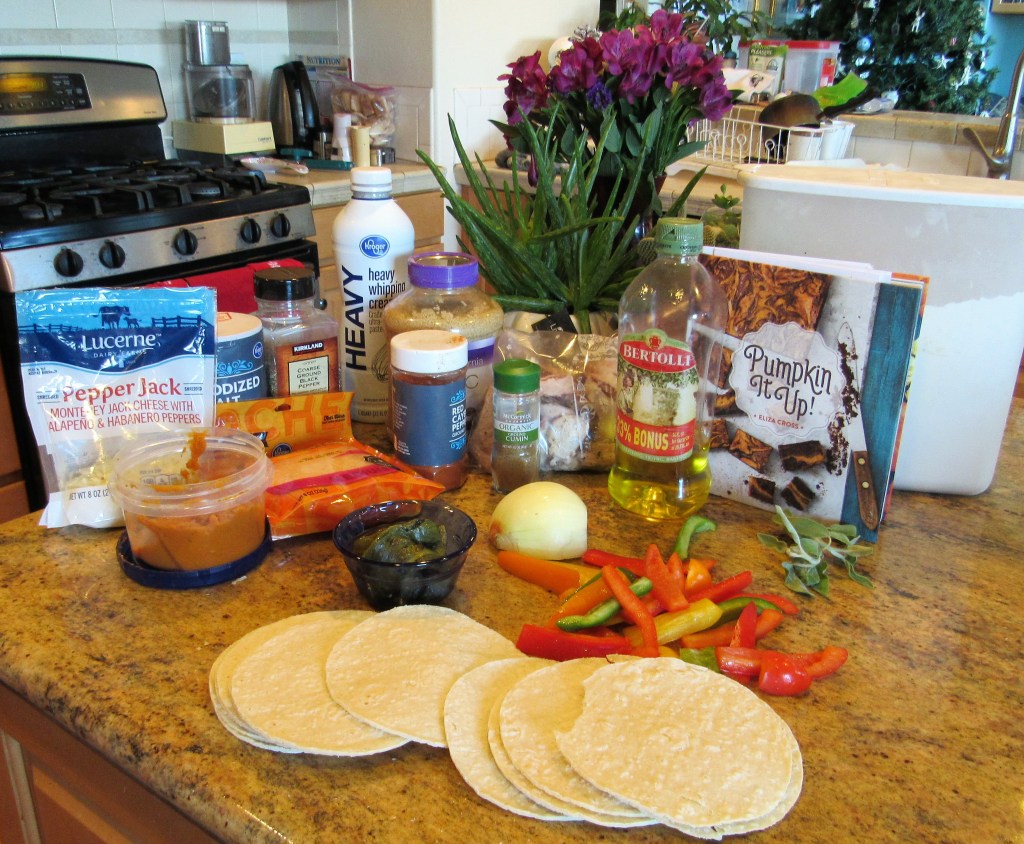
I am still using up the leftovers from our Thanksgiving feast. Our Thanksgiving Feast You all know how much I LOVE to re-create with my leftovers, and I have a lot of good, tasty “materials” to work with too at the moment. This time, I made turkey enchiladas with a pumpkin cream sauce. The whole meal was re-created from leftovers, and believe it or not, I still have a lot more to go too. We had A LOT of food at our Thanksgiving table.
Enchiladas in general are a great way to use up leftovers, but why not make them festive as well. I had just enough pumpkin puree for this dish, and then I also used up some of the turkey and vegetables to make these very tasty enchiladas. And I served them over some leftover corn and rice I had made earlier. Leftovers re-created and re-purposed. I LOVE IT! 🙂
Turkey Enchiladas with a Pumpkin Cream Sauce
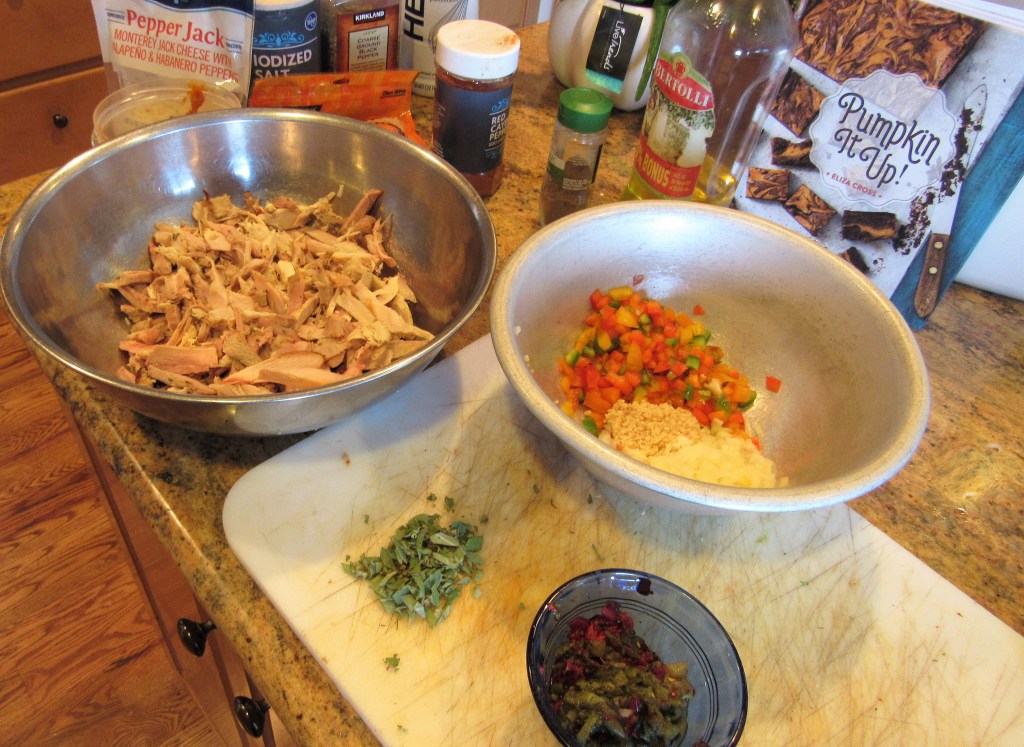
3 cups shredded cooked turkey
1/2 each red, green, yellow and orange bell pepper, diced fine
1 1/2 TBSP garlic
3-4 roasted Hatch peppers or diced green chilies
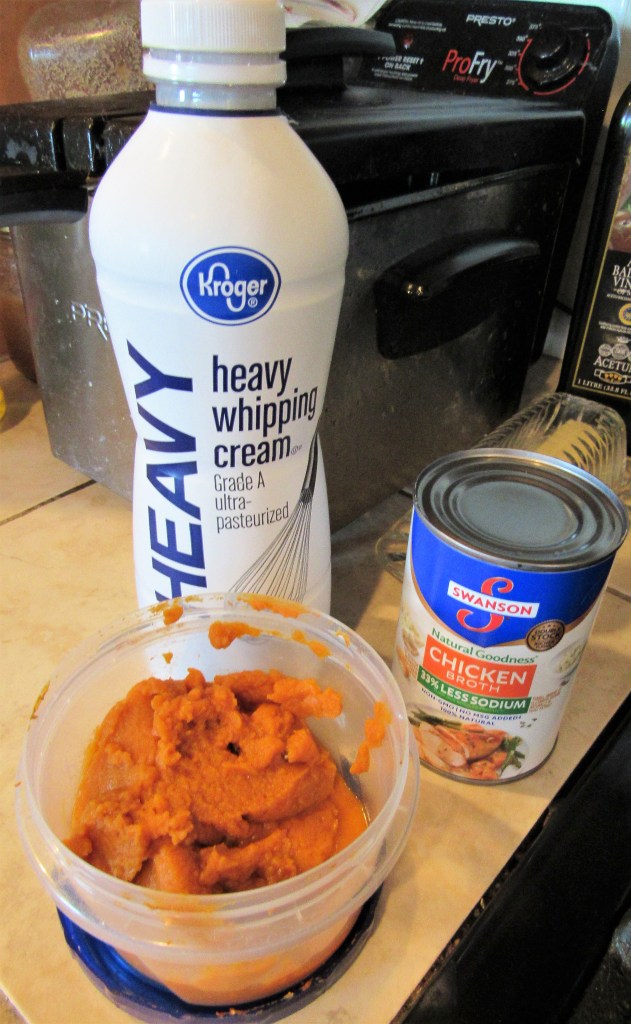
1 cup pumpkin puree
1 cup heavy whipping cream
2 cups chicken broth
1/2 cup flour
1 tsp cumin2 TBSP fresh sage, chiffonade
cayenne pepper, salt and black pepper to taste
1 cup jalapeno jack cheese, or cheese of choice
12 corn tortillas
olive oil for cooking
2 TBSP butter
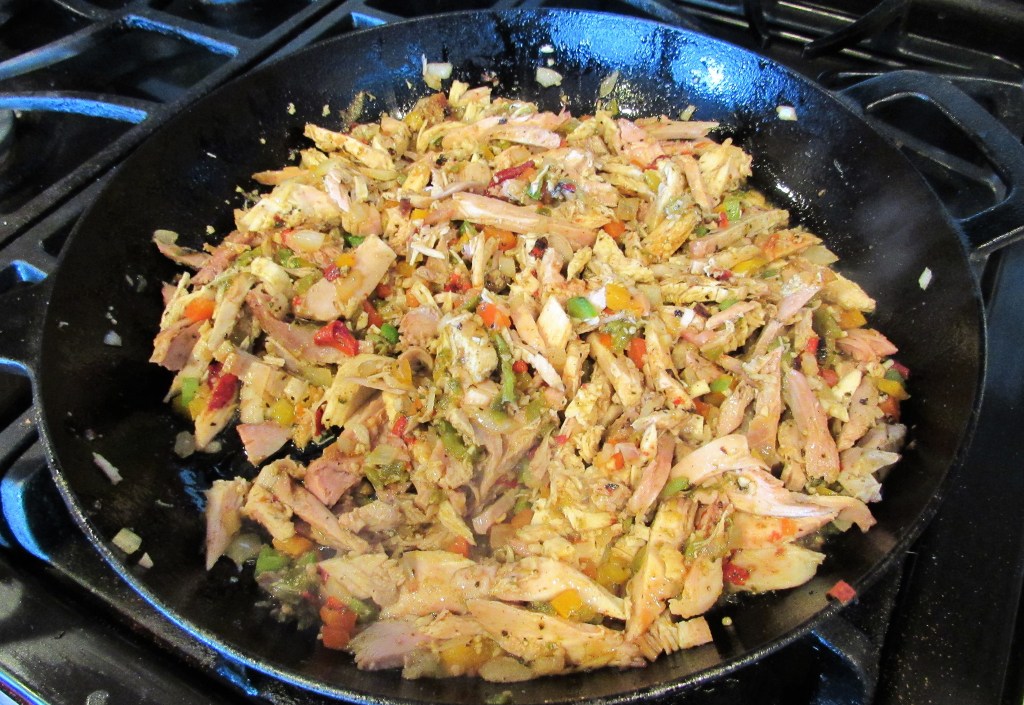
Saute the onions, pepper, spices and garlic together in the olive oil for about 2-3 minutes, or until they are tender and the onions are translucent.
Add the turkey and the roasted peppers and combine thoroughly. Continue to cook for an additional 3-5 minutes, then remove from the pan and set aside.
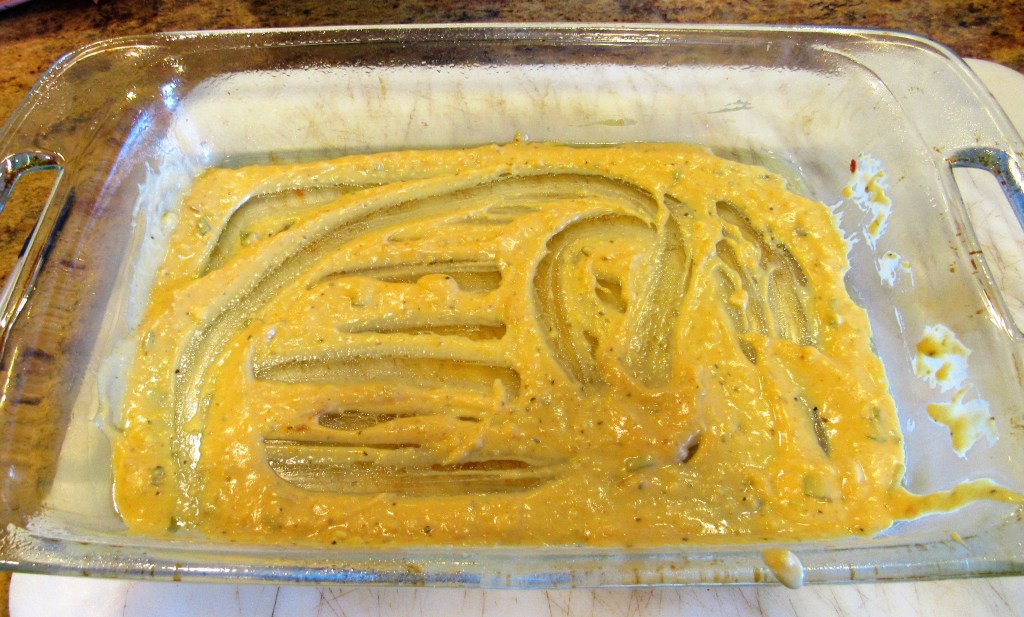
To make the sauce, combine the cream, pumpkin, chicken broth and about 1 TBSP of the fresh sage together.
Once everything is thoroughly combined, whisk in the flour, making sure to get all the lumps out. Add salt and pepper to taste and the butter and continue to cook for about 3-5 minutes, stirring constantly.
Preheat the oven to 375* F or about 190* C.
Spray a 9×13 baking dish with cooking spray. Then add a light layer of the pumpkin cream sauce on the bottom of the pan.
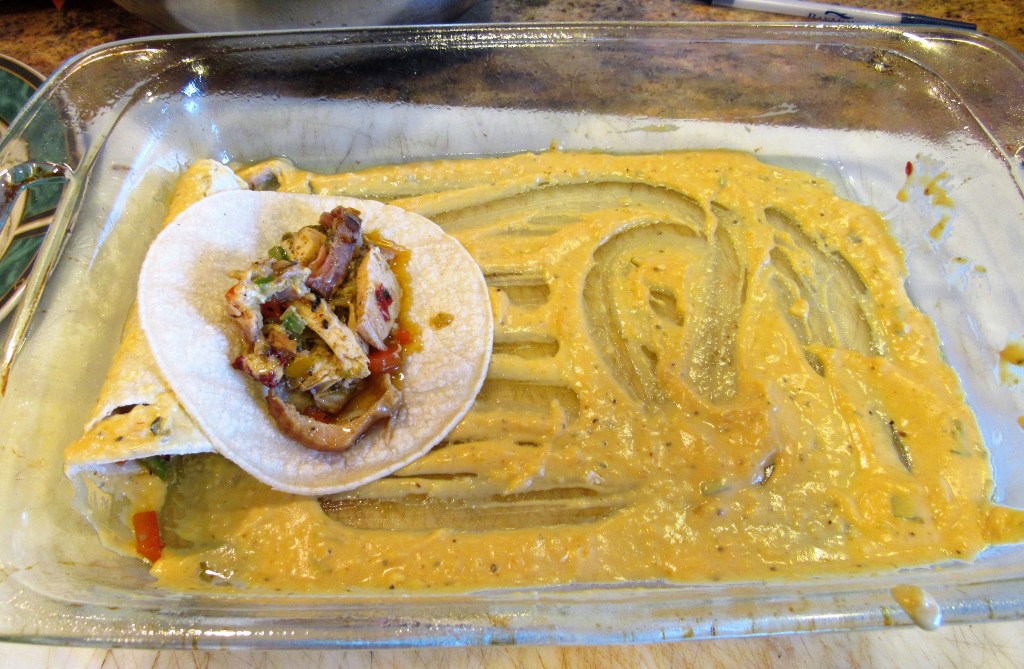
Heat the tortillas in either a little hot oil for about 10-15 seconds, or in the microwave. This is to make them pliable and easier to work with. Lay them one by one in the sauced pan, and add as much filling as the tortillas can hold. Then roll them up. Continue until the pan is full.
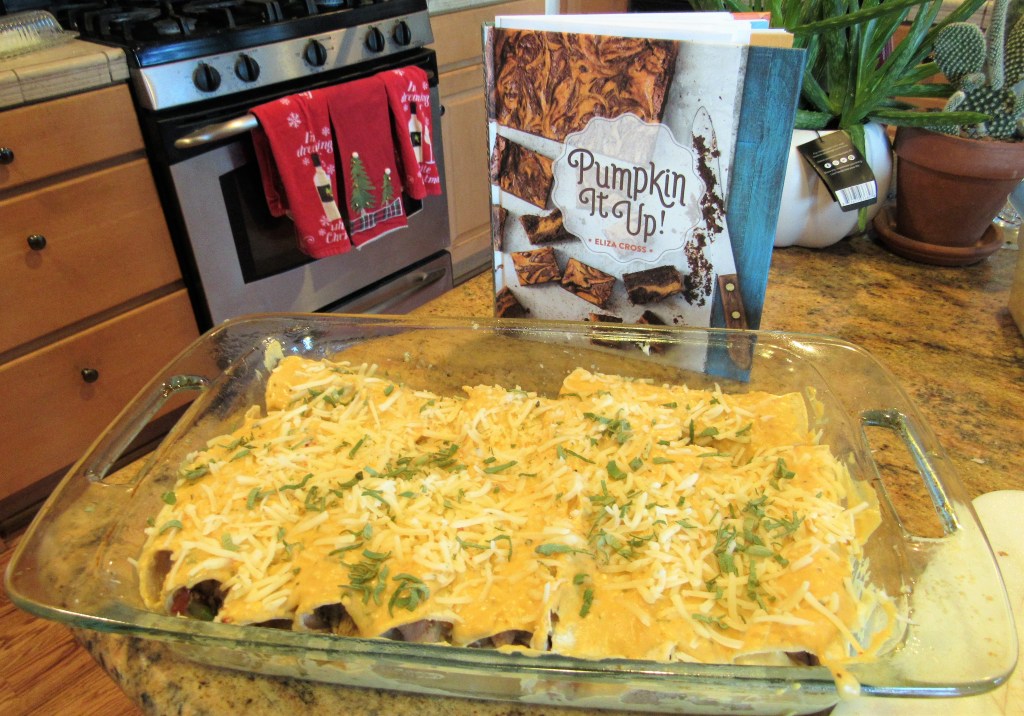
When the tortillas are rolled, top them with the cream sauce and sprinkle the cheese on top. Add the rest of the sage as well. If you like them really cheesy, you can add some cheese to the filling before rolling them up too.
Cover tightly with foil and place in the oven to cook for about 30-40 minutes or until the cheese is completely melted and the enchiladas are hot in the center and heated thoroughly.
I served them over rice and corn, and a very leftover veggies as well, and topped them with some avocado slices, green onions and salsa. You can also add sour cream too if you like.
!Desfruitas! You will love these tasty holiday enchiladas, and they are made up entirely from the Thanksgiving leftovers. I LIIIIIIIKE IT!
I grew up in Pasadena, CA. Pasadena is known for many wonderful things. Some of my favorite Christmas memories were to drive all around through Hastings Ranch and up to the Balian House to see all the fabulous Christmas lights and decorations. The Balian House is in Altadena, CA, a Pasadena suburb up in the hills. The Balians are famous for Balian Ice Cream and every year, the house was decorated to the 9’s for Christmas. It was always a good way to start the festive holiday celebrations by going to visit the lights at the Balian House and/or driving through Hastings Ranch.
The custom of Christmas lights was borrowed from pagan yule rituals that celebrate the return of the light of the sun as the days grow longer after solstice: the evergreen trees symbolizing the renewal and continuance of life in dark times. The Christmas trees were brought by Christians into their homes in early modern Germany. To that effect, the Christmas lights also symbolize the stars, particularly the Star of David, that appeared in Bethlehem the night Christ was born. Even thought the use of lit Christmas trees and Christmas lights didn’t start with Christianity, displaying Christmas lights can remind us to follow Christ and His path.
I made two delicious desserts for our big Thanksgiving feast. The first, you have already seen. It was my pumpkin chiffon pie. Pumpkin Chiffon Pie The second dessert I made was a rustic apple and almond tart.
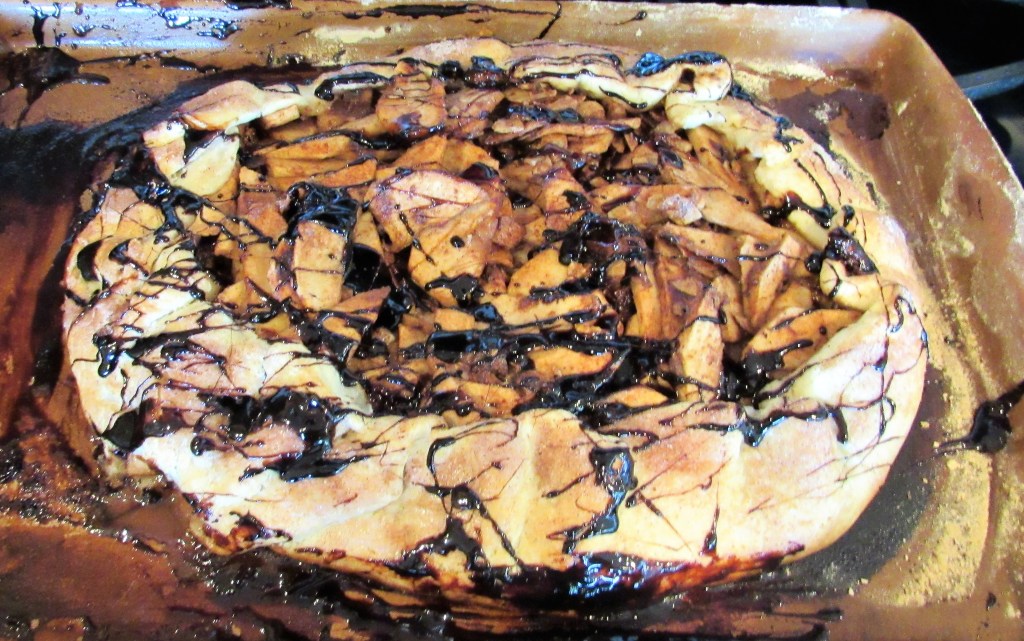
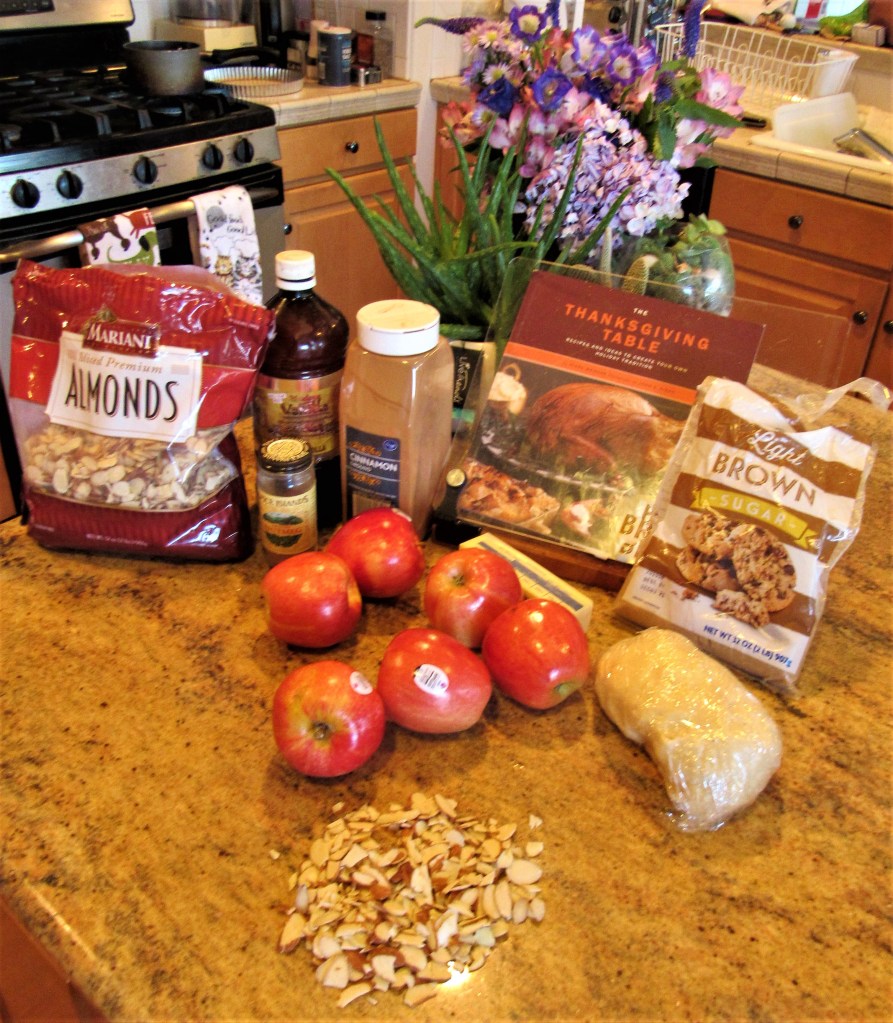
Apple and nuts are such a natural combination and they both have a long history of being used for holiday foods, all over the world. Apple pie is a yet another holiday favorite that is enjoyed by many, but like my pumpkin pie, this pie had a unique twist to it this year. I made it as an apple and almond galette, which is a free form pie or tart. This is a simple tart made from very basic ingredients. It may be simple, but it is simply delicious.
Rustic Apple and Almond Tart
The Dough
For my dough, I just made my basic pate sucre or sugar dough.
1 1/2 cups flour
6 TBSP cold butter, cubed
2-3 TBPS powdered sugar
1 tsp salt
1 egg
5-6 TBSP heavy whipping cream
In a food processor, mix the flour, butter, salt and sugar together until it resembles sand. Then add the egg and the cream and continue to blend until the dough forms into a ball. Wrap it in plastic wrap and refrigerate for at least 30 minutes before rolling it out and using.
The Filling
1/2 cup toasted almond slivers
6 apples, sliced into thin slices
3-4 TBSP melted butter
3/4 cup brown sugar, tightly packed
2 tsp vanilla
1 1/2 tsp cinnamon
1/4 tsp nutmeg
milk for brushing the crust
cinnamon sugar for topping
Preheat the oven to 400* F or 200*C
Mix the apples, cinnamon, sugar, almonds and vanilla together, combining thoroughly.
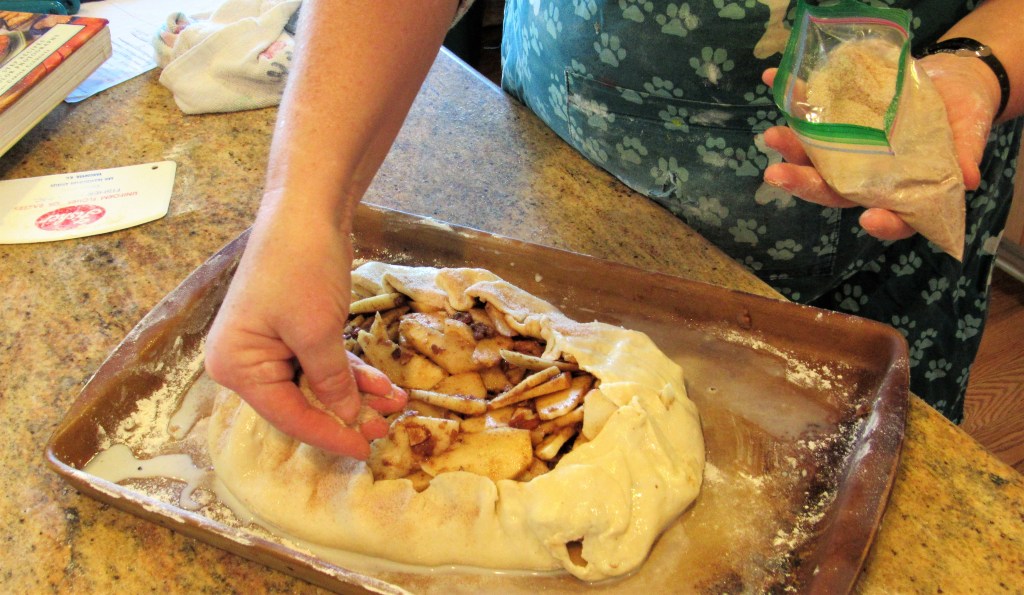
On a lightly floured surface, roll out the dough, then roll it over onto the baking sheet. Add the apple filling, leaving about 1-2 inches around the edges free.
Start folding over the edges of the tart and pinch together tightly.
Once the dough is folded over, brush the edges with milk, then sprinkle with the cinnamon sugar.
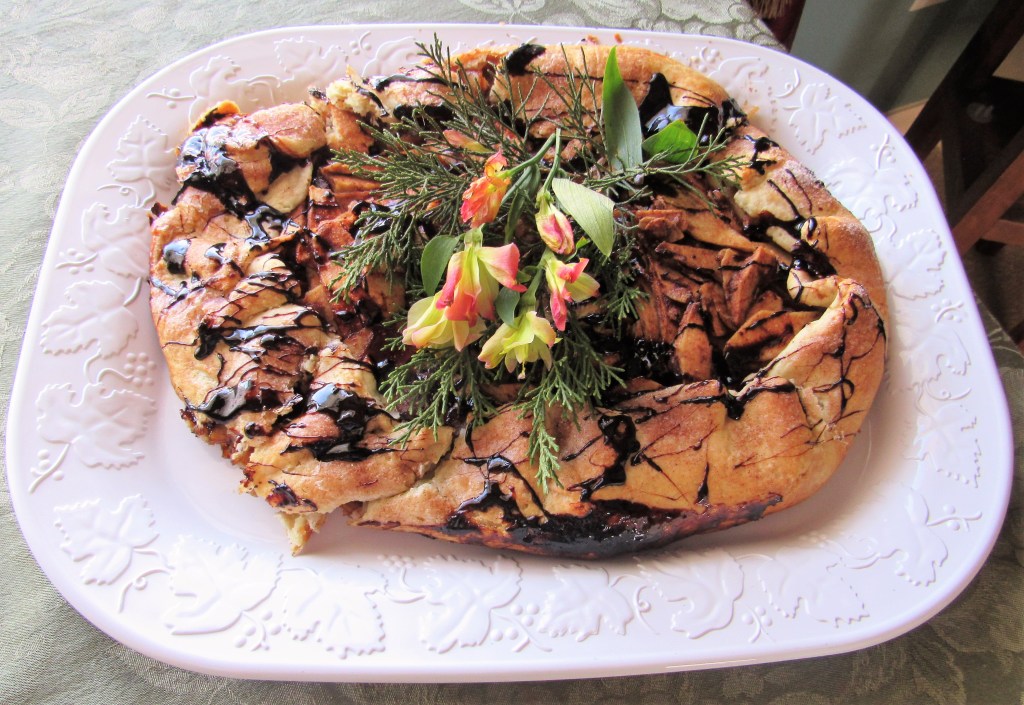
Put the tart in the oven and bake for about 50-60 minutes, or until the crust is golden brown. Let cool completely then place on your serving platter. My juices from the tart leaked out on to my baking sheet, so in order to both clean my baking pan and to add a bit more texture, I drizzled it over my tart as soon as I took it out of the oven. This was not planned at all, but it worked. Drizzling the caramelized juices over the tart added more depth and texture to the tart.
Life is short. Make sure you enjoy all your desserts.
Stay safe and stay healthy Everyone. ‘Til next time.
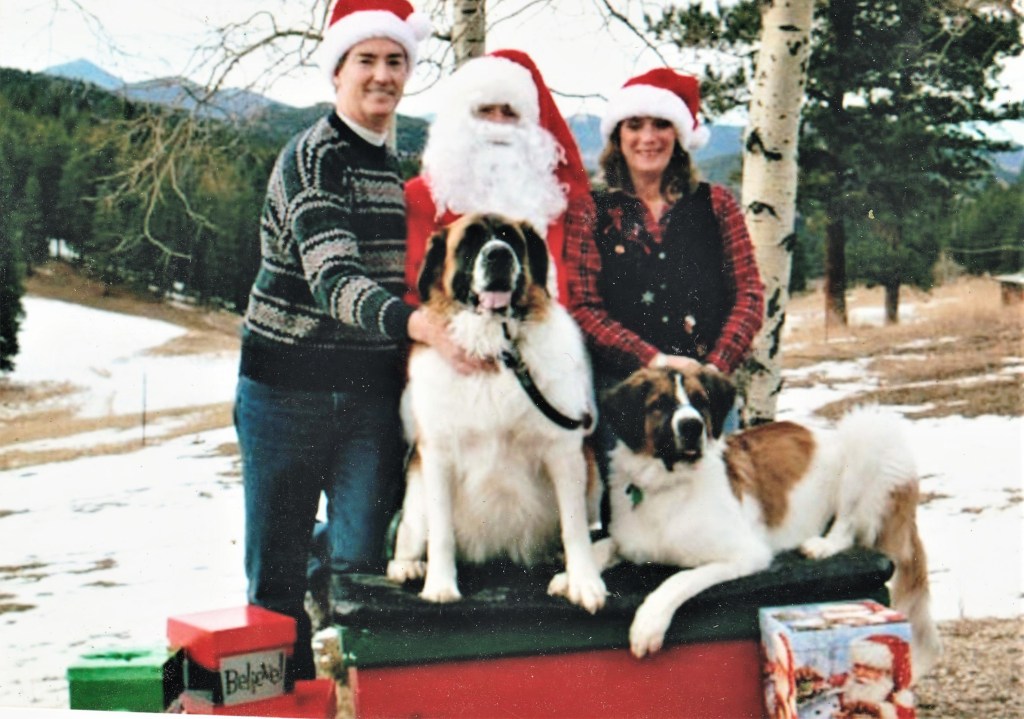
Back in the days when we used to volunteer for the Colorado Saint Bernard Rescue, we used to have annual pictures with Santa as a fundraiser for the group. This picture was a few years ago. It was Vinnie’s first Christmas with us. He was still just a young pup at this time.
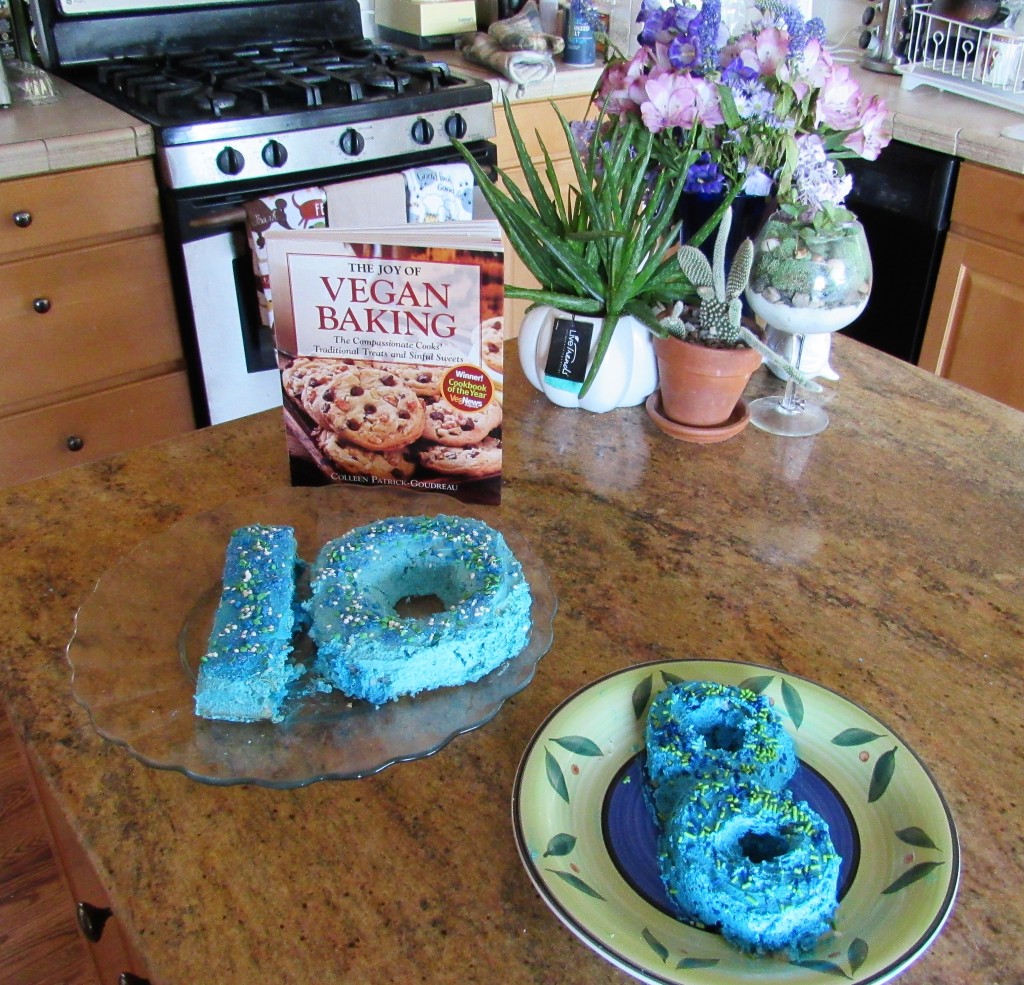
Amidst all the Thanksgiving festivities were a couple of birthday celebrations for our nieces, Nahila and Tehvia. Nahila turned 10 and Tehvia recently turned 8. We don’t get to see that that much any more, so we couldn’t do a big to-do for them like we usually do. Instead, we just had a quiet little celebration for the two of them and the family, here at the house. Nahila said she wanted a blue #10 cake. And that is exactly what she got too.
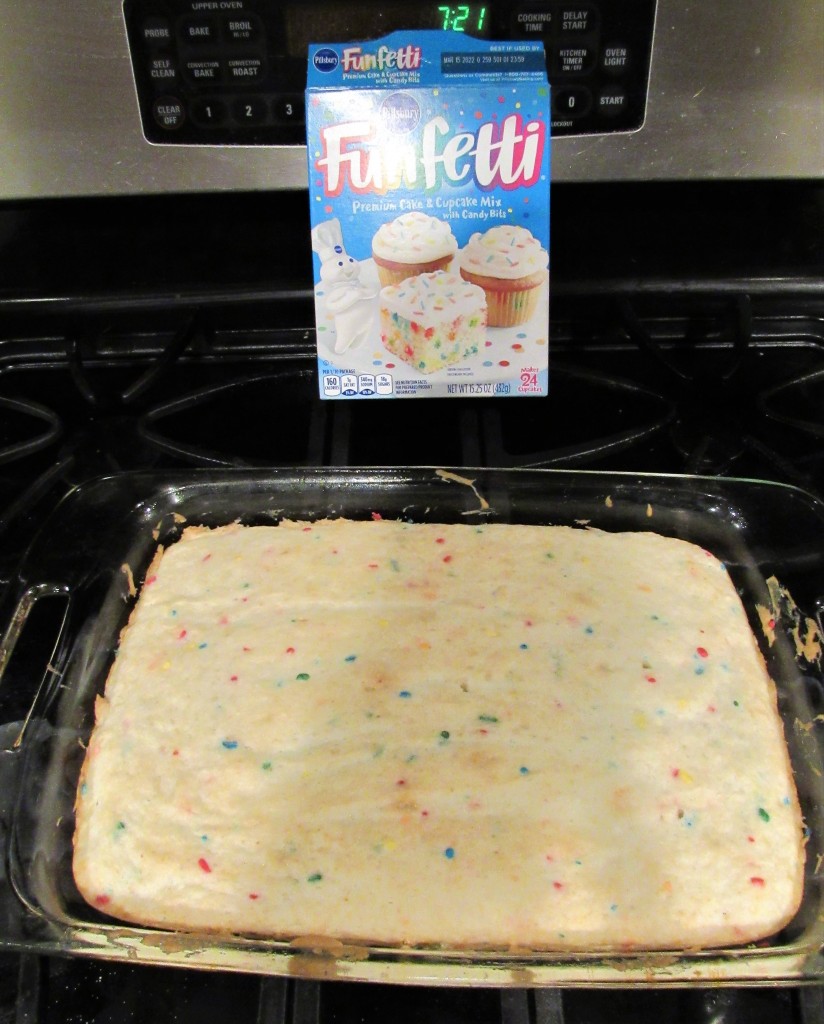
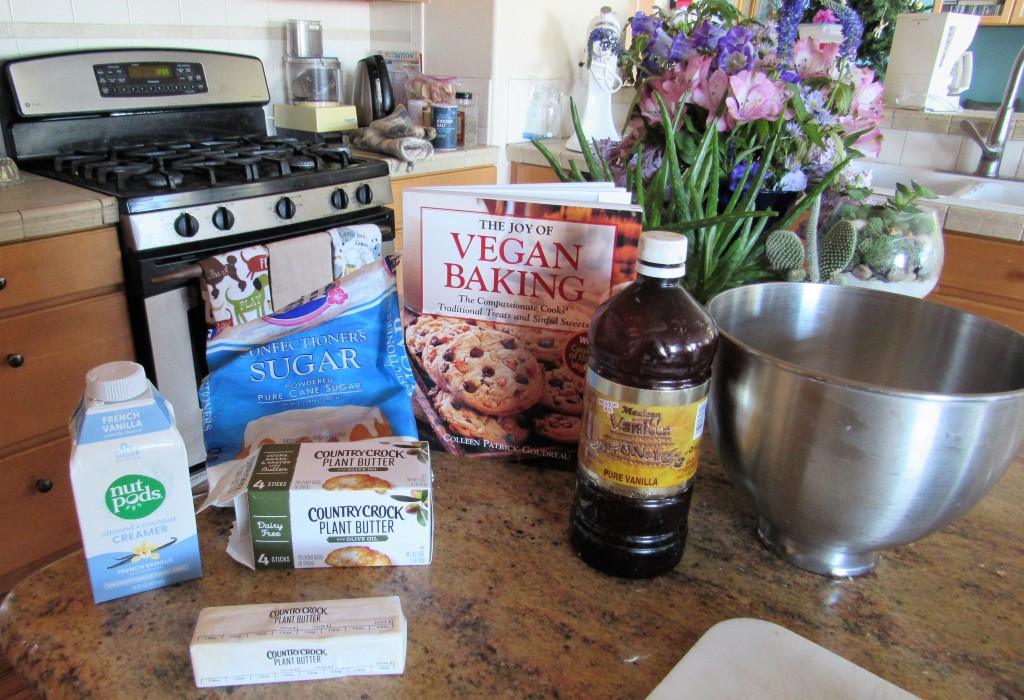
For the most part, both Tehvia and Nahila are vegan, so I made sure I baked a vegan cake for them. Cooking vegan is not a challenge at all, but baking vegan is a totally different story. Usually I pride myself on making things from scratch, but when I am doing vegan baking, I don’t even attempt it any more. The last time I tried to make a vegan/gluten free bread from scratch, it turned out like a brick that tasted like cardboard. Needless to say, it was quickly thrown into the trash. Some people have mastered vegan baking. I am not one of them, nor do I really have much interest in perfecting that skill, because I am not and never will be vegan. So I admit, this cake was made from a box, using vegan egg substitutes and vegan butter and cream for the frosting.
I started off by making a sheet cake. Once it cooled, I stuck it into the freezer to make it easier to frost. “Easier” is a misnomer though, because it was still very crumbly and difficult to work with.
I cut the numbers from the sheet cake.
Then I made the vegan buttercream frosting. It is the same method as making a normal buttercream frosting, only using vegan ingredients instead. At first, the frosting came out fine, but after a few minutes, it started separating, which again made it challenging to work with.
Vegan Buttercream Frosting
1/2 cup vegan butter at room temperature
2 cups sifted powdered sugar
1 1/2 tsp vanilla
2 TBSP non-dairy milk or vegan milk
food coloring, optional
Mix all the ingredients together in a mixer or by using a hand held mixer and start spreading it over your cake using a cake spatula or cake spreader.
Have you ever wondered why I don’t do a lot of cake decorating? It’s NOT one of my specialties. Some people are gifted artists. I am not one of them. But, I always use the most important ingredient when decorating, and that is LOVE. So they may not be the prettiest cakes you’d ever see, but they are made with love, and that is all that really matters.
After we enjoyed our cake, we all had bright blue tongues too for awhile, which gave us all a case of the giggles . 🙂
Happy Birthday to both Nahila, our new 10-year old and Tehvia, our new 8-year old. We love you lots. Love always, Aunt Jeanne and Uncle Larry.
Stay safe and stay well Everyone. And Stay forever young. ‘Til next time.
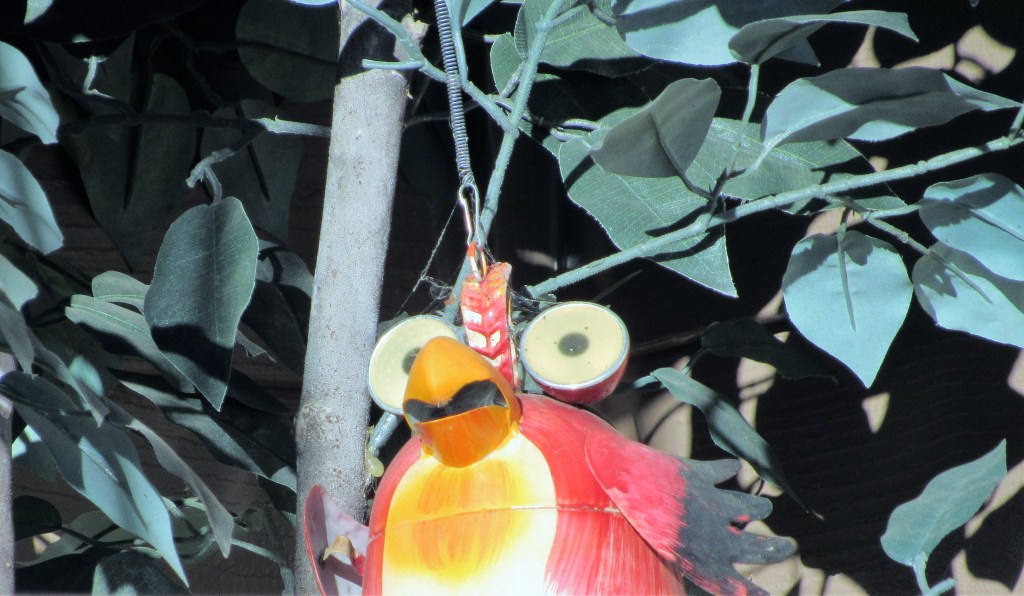
I have said many times I just never know what I am going to see on my walks. Today, it was yet another absolutely gorgeous day and it was a perfect day for a good walk. The lakes were very still, other than the geese and a few ducks. Today, everything was happening up in the trees. I saw a lot of birds and things you would expect to find in the trees, as well as a few things I wouldn’t expect to find in the trees. But that’s what makes it fun. You just never know. Sometimes, you just need to look up.
Let’s start with some unusual things. A turkey of a different feather.
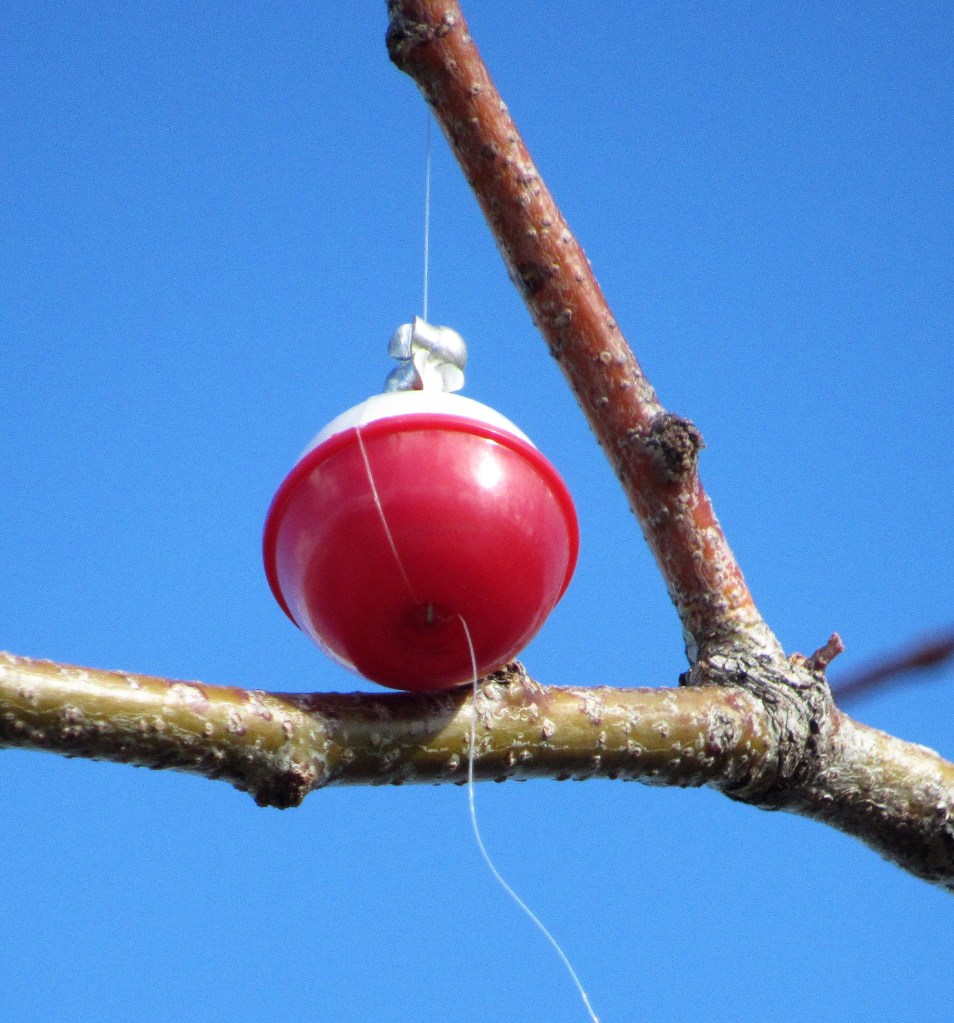
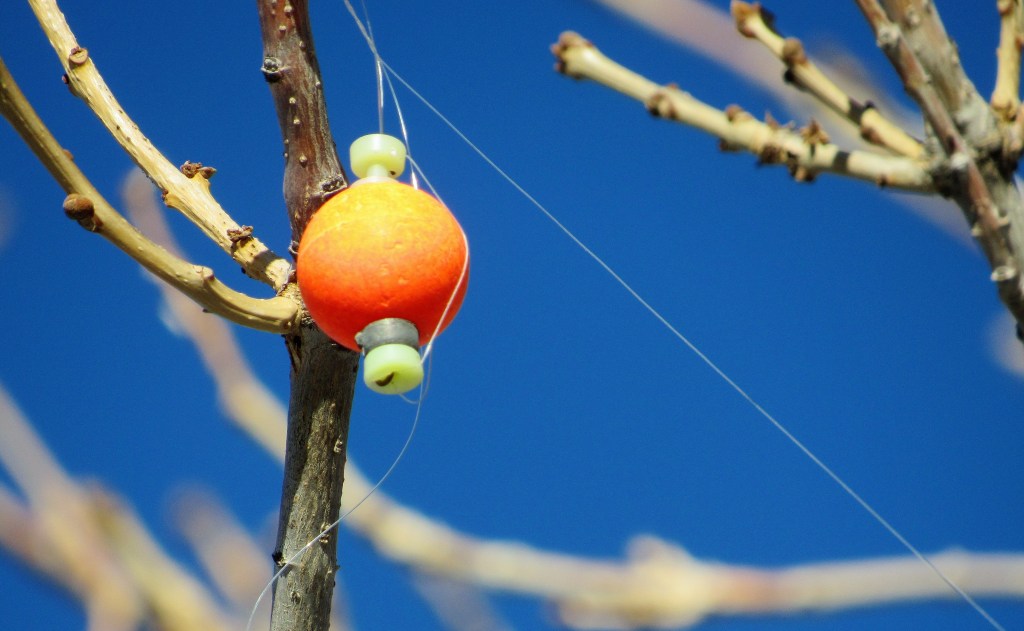
Some fishing bobs.
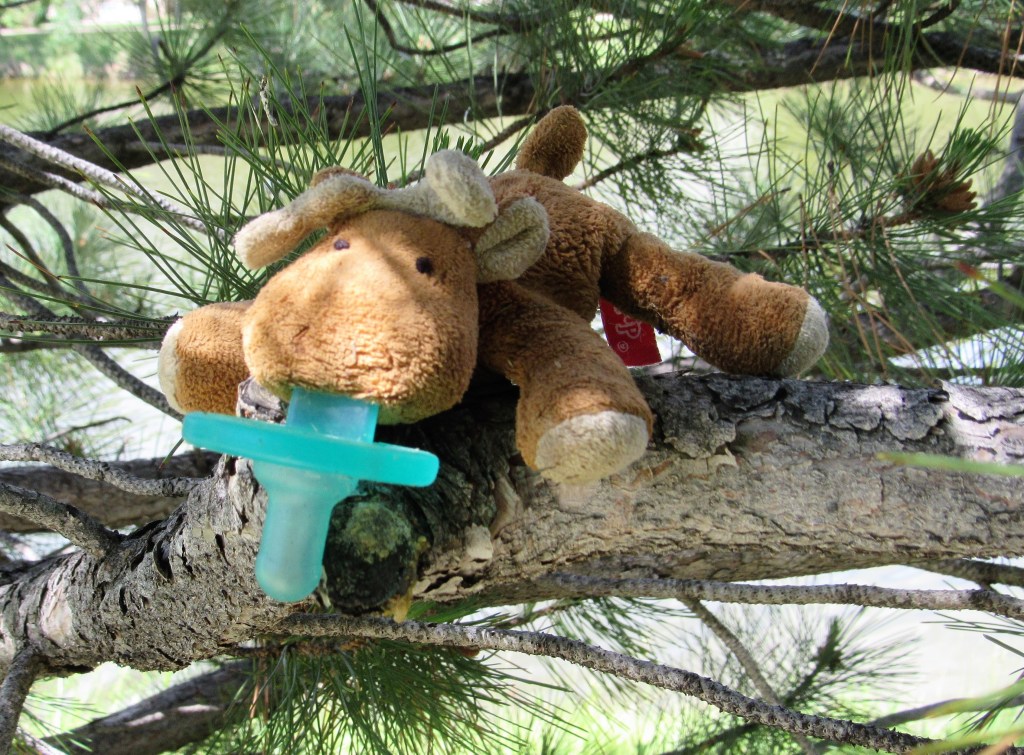
a moose.
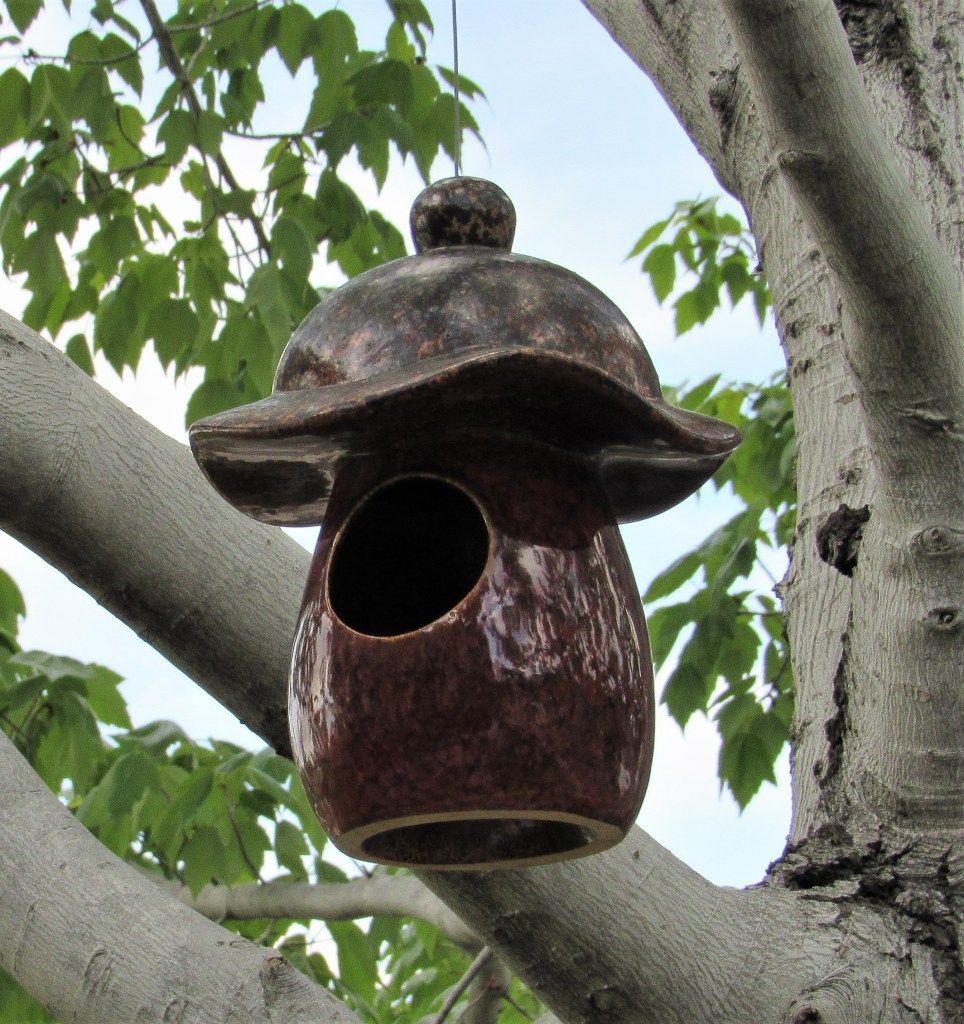
and some hats.
I think Santa has been partying a bit too hard and left this behind. He might need this.
I expect to find leaves in the trees, but usually I expect to see the leaves of those particular trees.
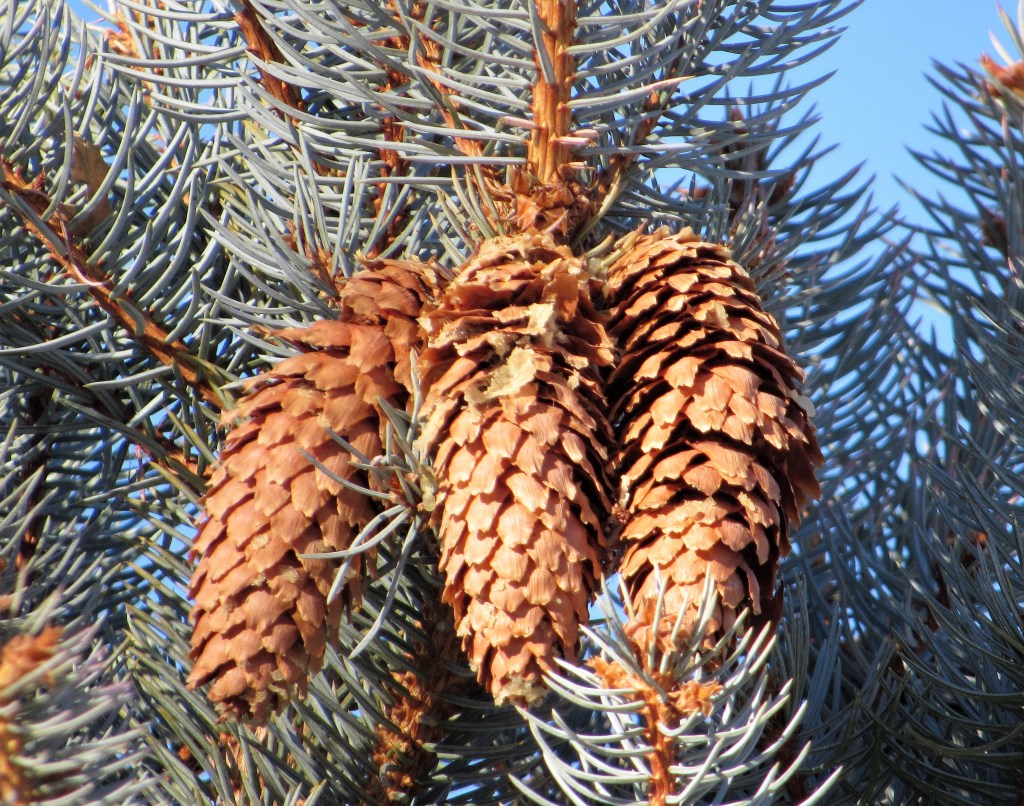
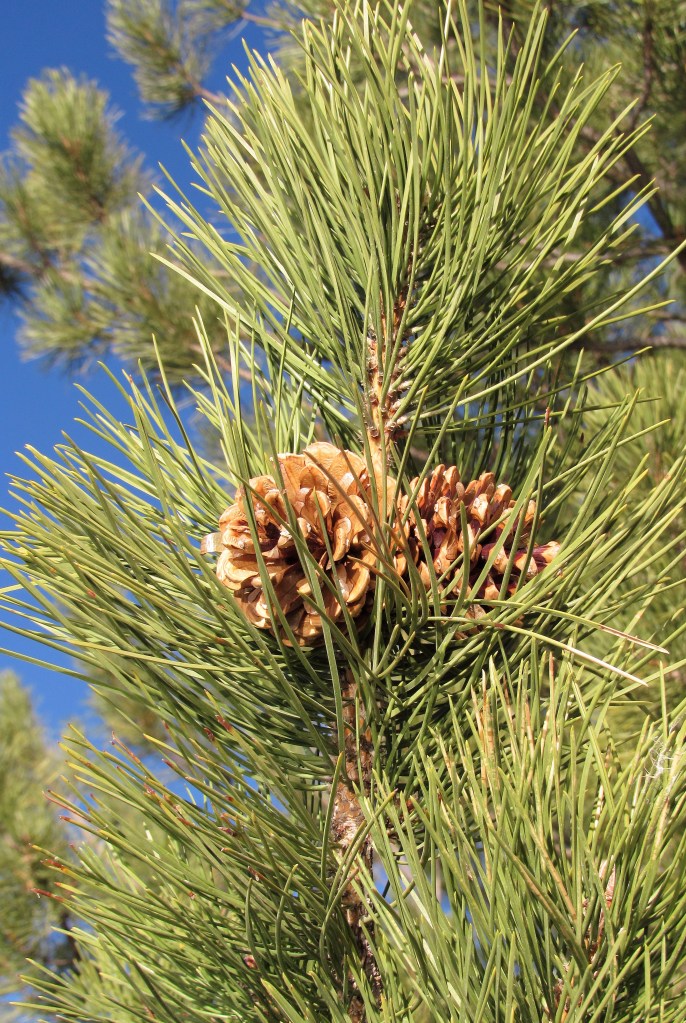
And now for things I expect to see in trees, like pine cones
bird houses,
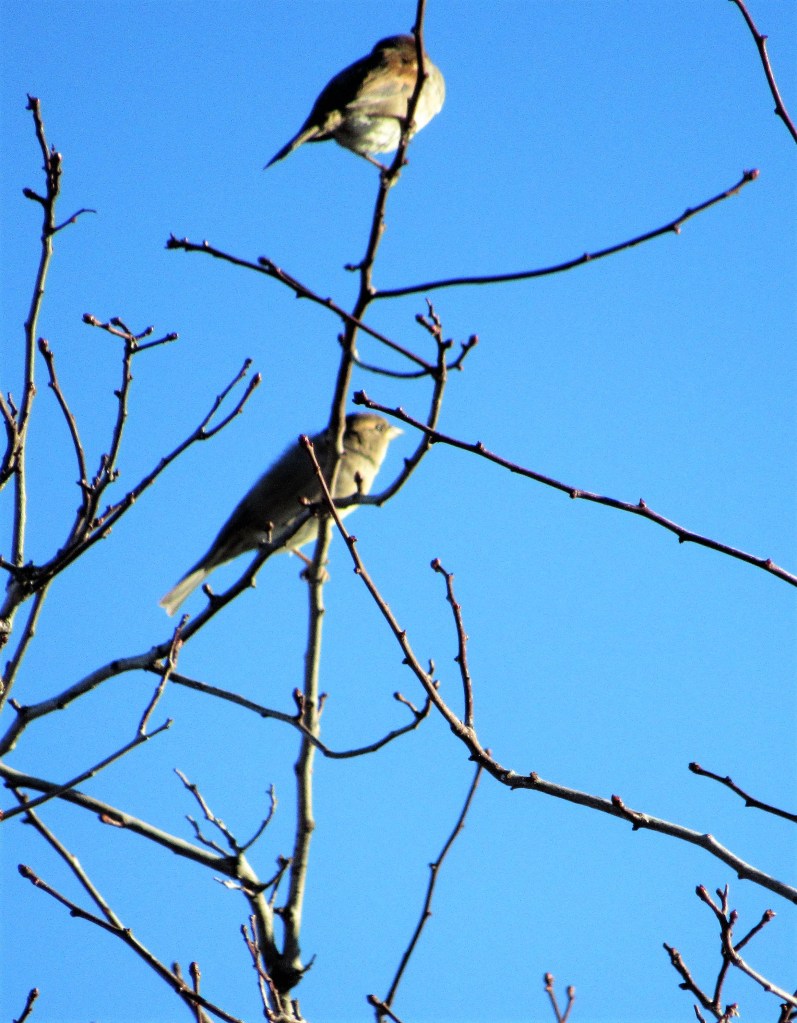
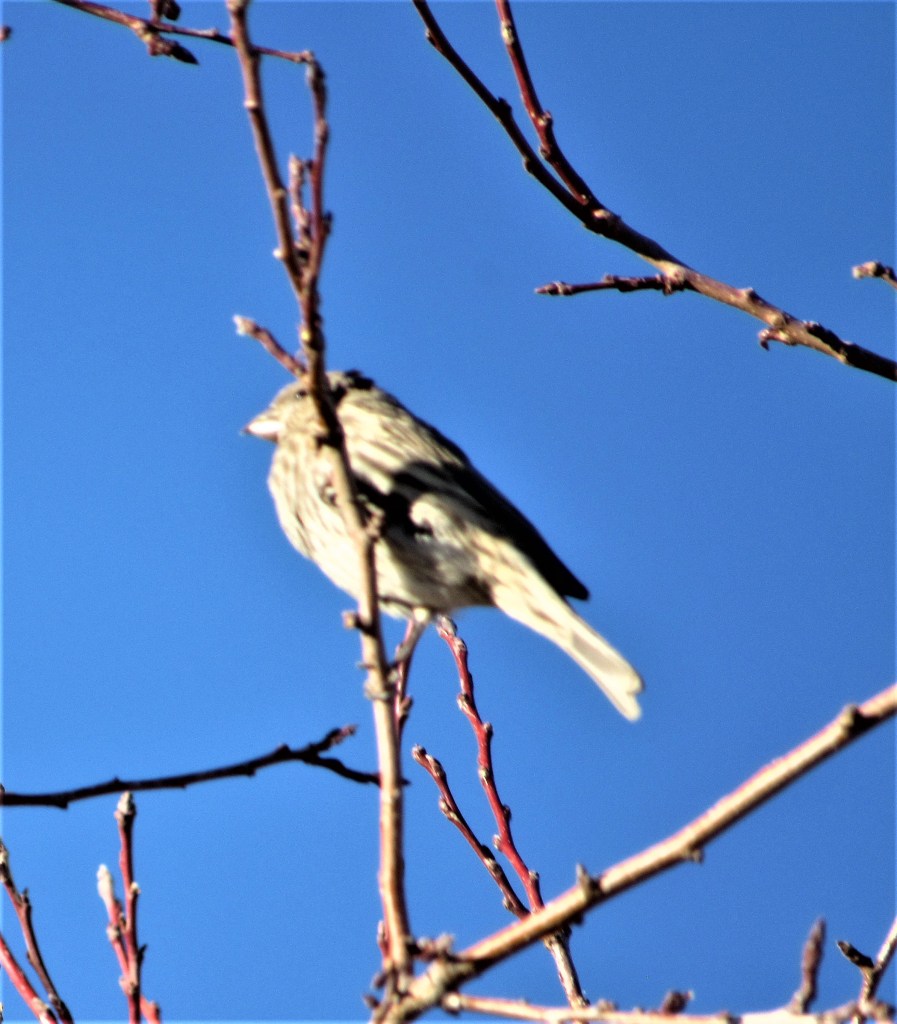
and birds. These were pretty far away, and I really had to zoom in on them. I think they are Clay-Colored Sparrows.
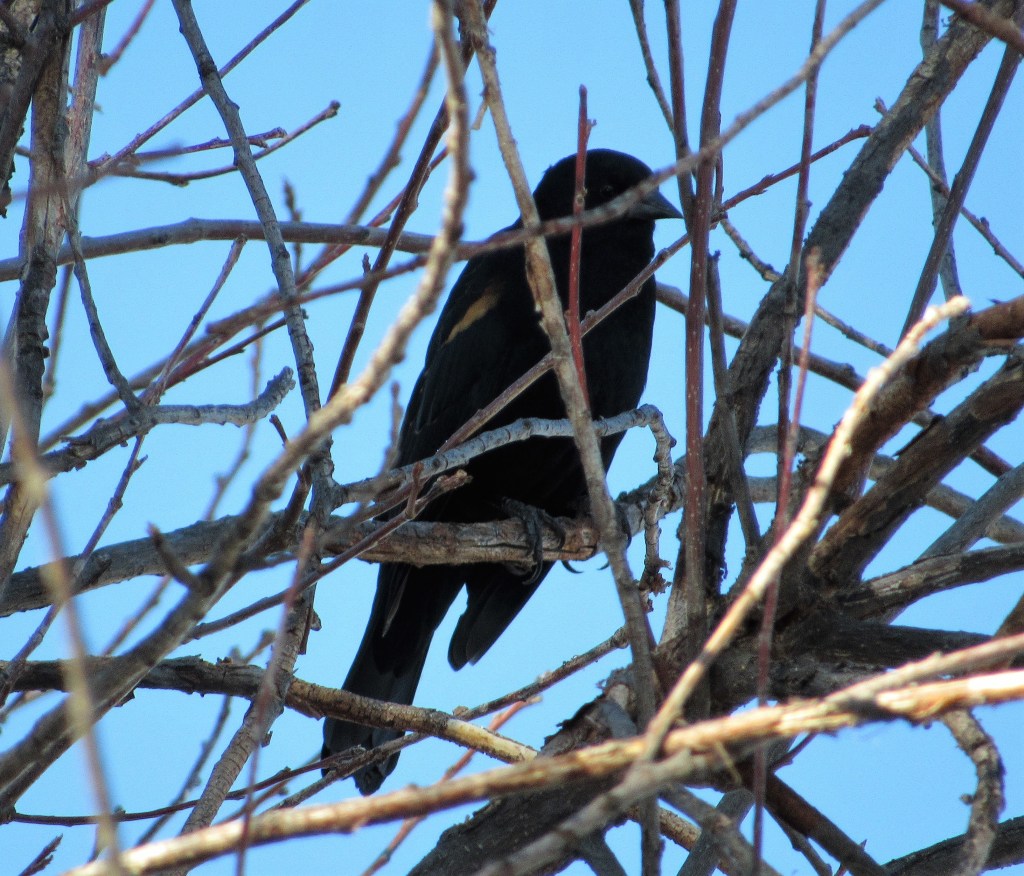
I think this is a red winged black bird, but it is kind of hard to tell.
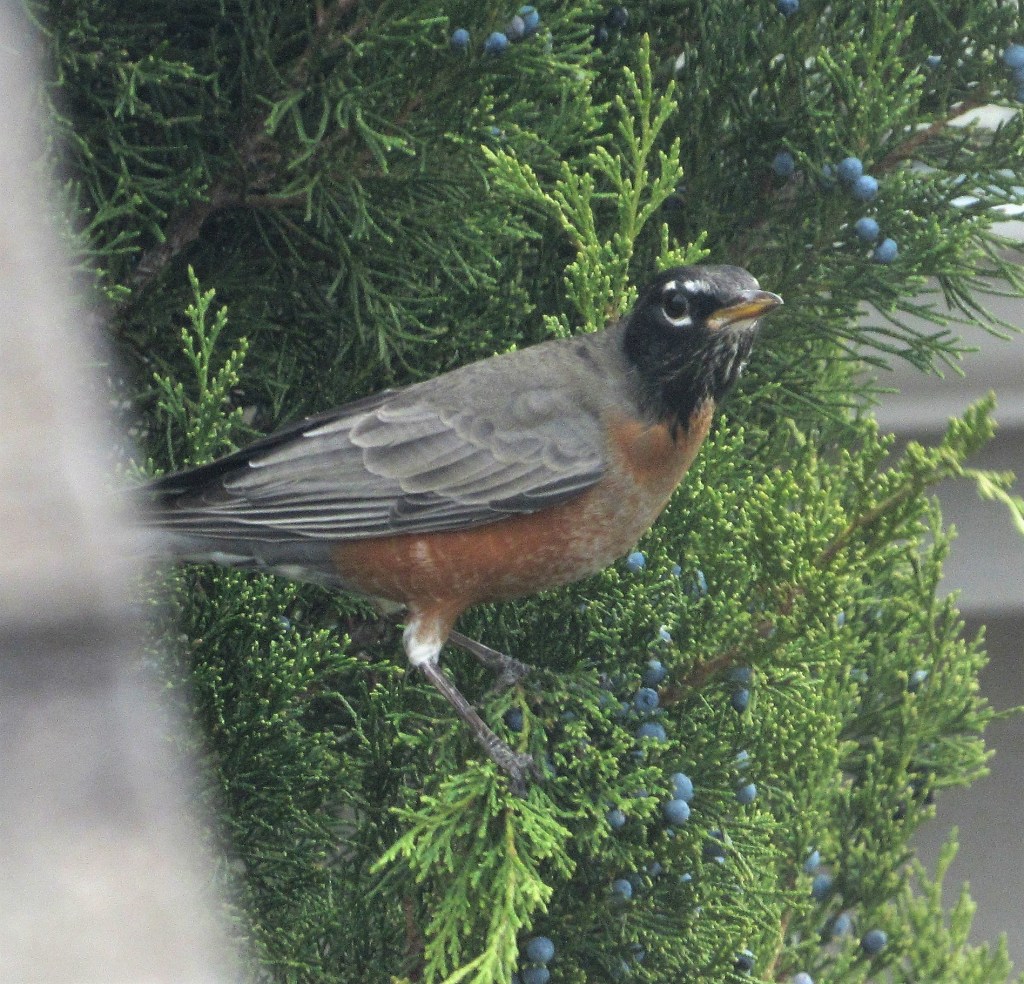
A Robin looking in to say hi.
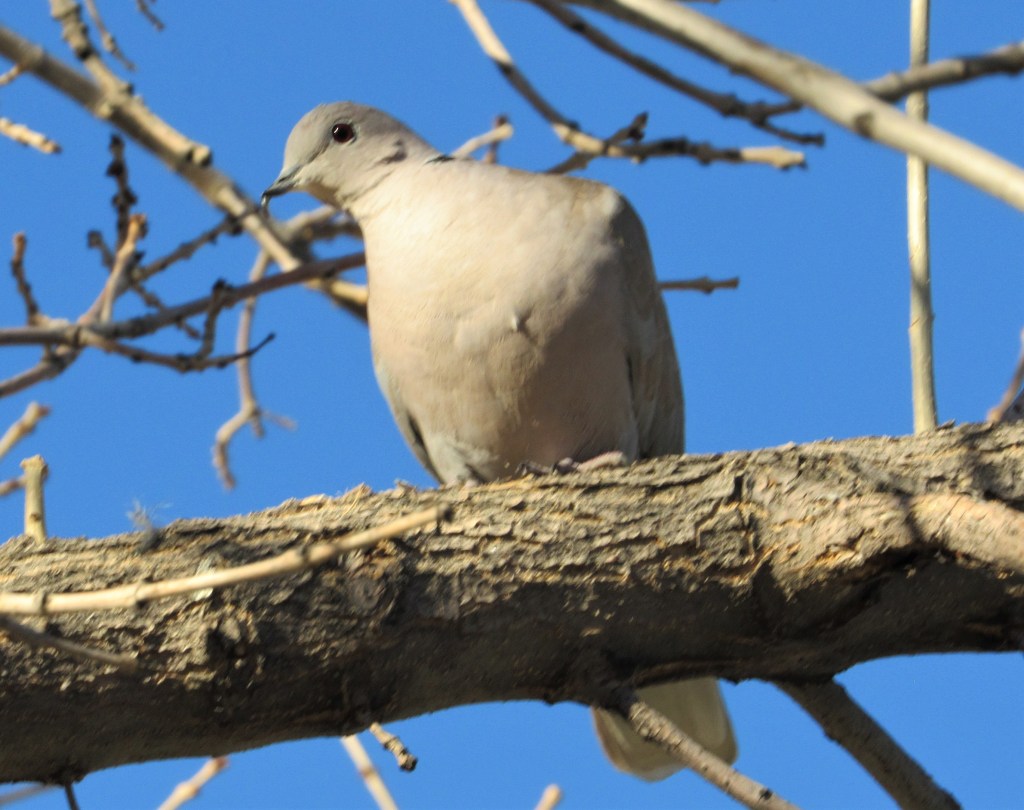
This is an Eurasion Collared Dove.
And another beautiful Northern Flicker.
Hope you all enjoy your day. Make it great. Everyday is a beautiful day.
Pumpkins are some of the oldest American foods around. It doesn’t get much more American than pumpkin. They were grown and cultivated in Central America as far back as 5500 B.C. Pumpkins were some of the first foods the early explorers brought from the New World back to Europe. In 16th century Europe, pumpkins were know as pumpions in England and pompons in France.
Pumpkin pie is an American Thanksgiving tradition that dates back almost as long as America itself. Though it is doubtful that pumpkin pie was actually served at the first Thanksgiving meal because there was no butter, wheat or ovens to cook them when the Pilgrims first arrived to the New World, it is most likely that pumpkin in some form was served. Both the Native Americans and the Pilgrims were very familiar with pumpkins. There are recipes for pumpkin pie dating back to the mid 17th century, but pumpkin pie as we know it today, did not really become popular until the early 18th century, and really rose to fame and popularity after the Civil War.
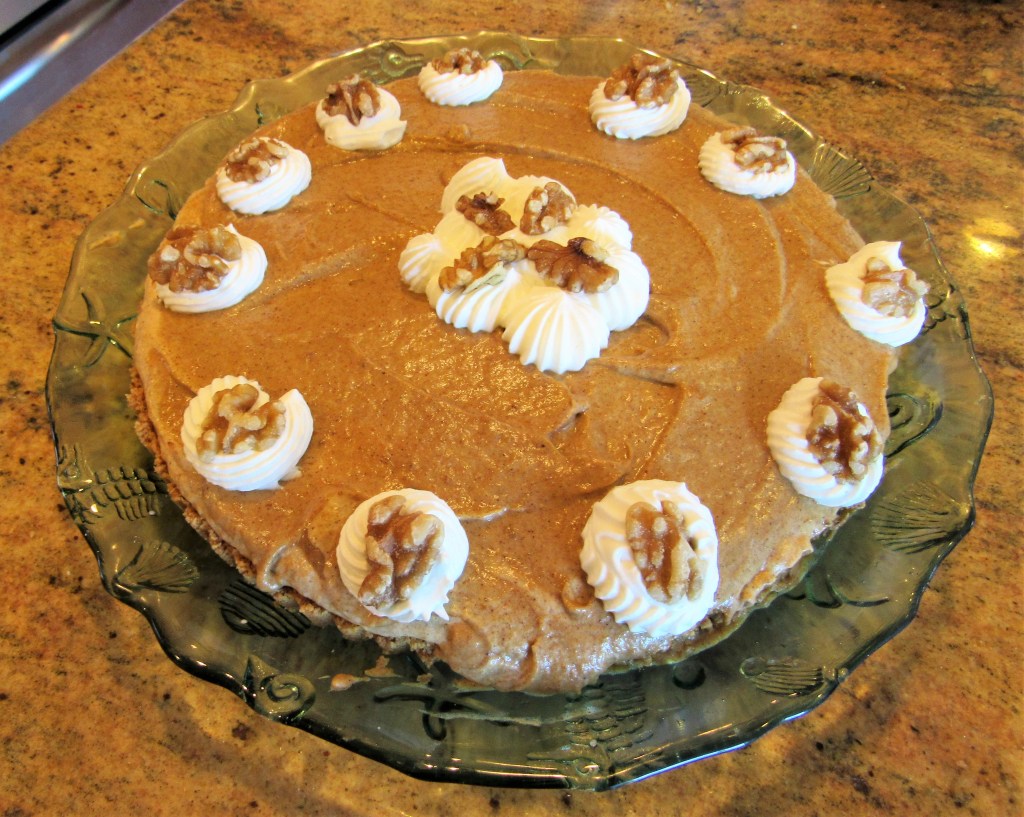
Today, as with anything, there are many variations of pumpkin pie. Sometimes I make it in the traditional style, and sometimes I don’t. This time I chose to make it a little differently. This year, I made a pumpkin chiffon pie. It is a lighter version of pumpkin pie, and is not as heavy.
Pumpkin Chiffon Pie
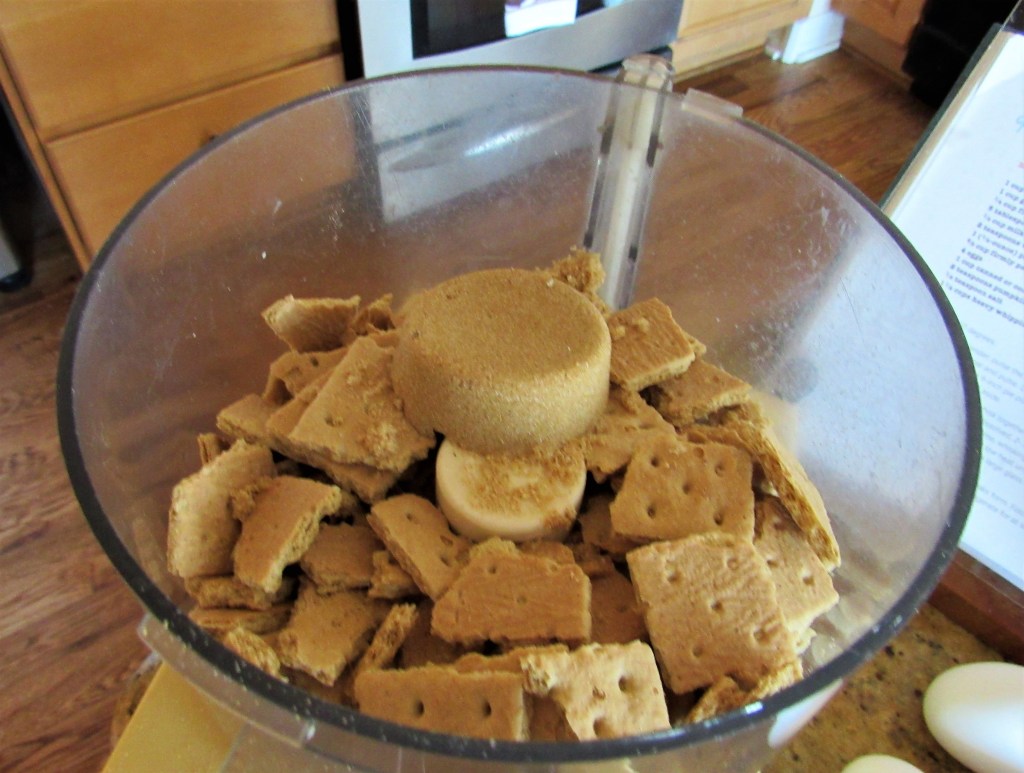
Graham Cracker Crust
Preheat oven to 350* F or 180* C
1 cup walnuts or pecans
1 cup graham crackers
1/4 cup firmly packed brown sugar
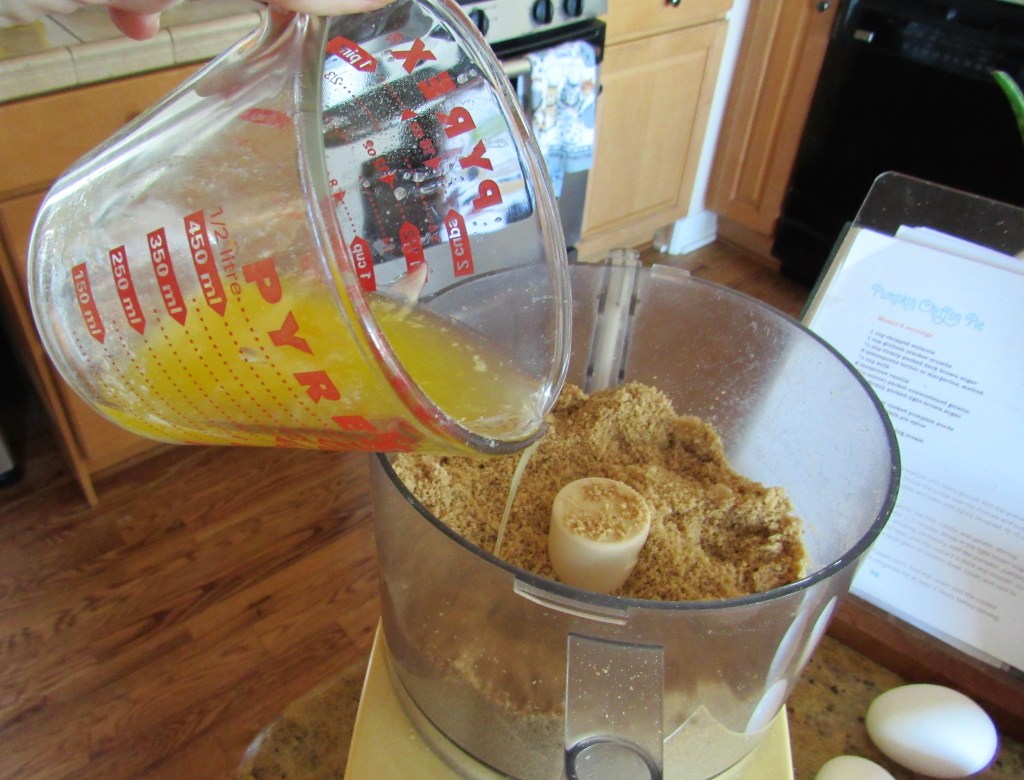
5-6 TBSP melted butter
Place the graham crackers, nuts and brown sugar in the food processor and blend until it resembles sand.
Add the melted butter and pulse again to blend everything together.
Firmly press the mixture into a pie or tart pan and bake for about 15-20 minutes or until it is lightly browned.
Once the crust is done, remove it from the oven and let it cool completely before adding the filling.
The Filling
1/4 cup milk
2 tsp vanilla
1 TBSP cream of tartar
2/3 cup tightly packed brown sugar
4 eggs
1 cup pumpkin puree
1 tsp cinnamon
1/2 tsp nutmeg
1/2 tsp allspice
1/2 tsp salt
1 1/2 cups heavy whipping cream
In a saucepan, combine the milk, cream of tartar and vanilla and cook for about 5 minutes, stirring constantly.
Add the eggs, one at a time, whisking constantly.
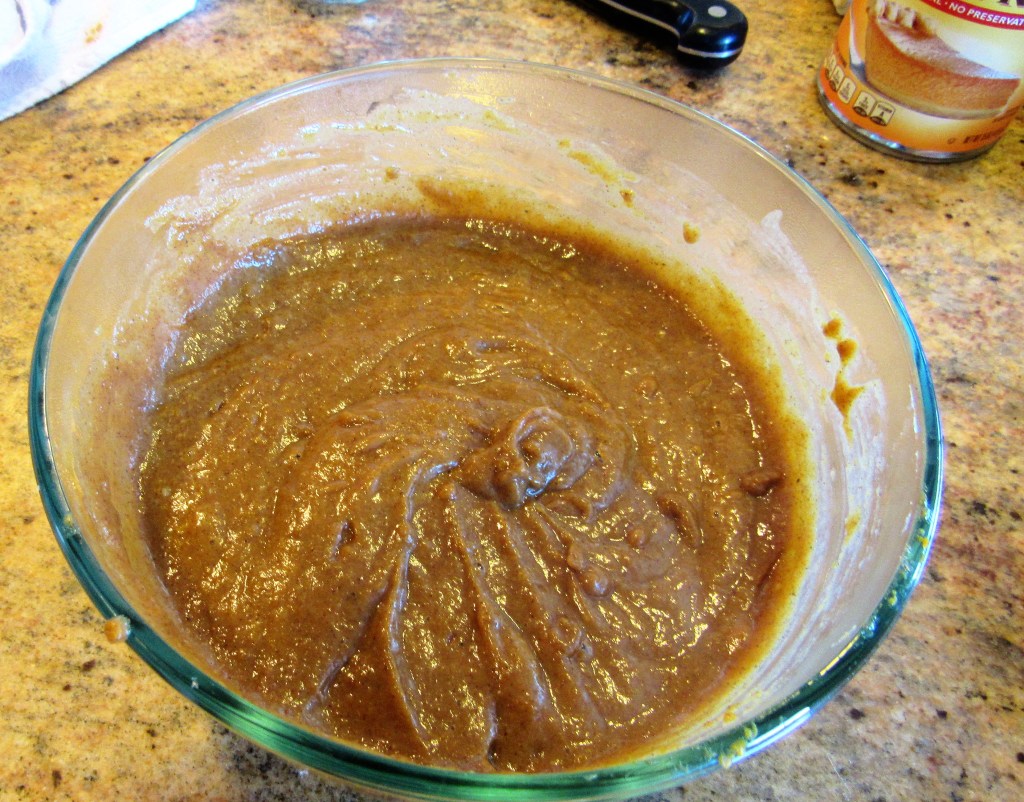
Whisk in the pumpkin and spices and continue to cook for an additional 7-10 minutes or until the sauce becomes thick and smooth. DO NOT allow the custard to come to a boil or you will scramble the eggs.
Pour the custard mixture into a glass bowl, cover and allow to come to room temperature.
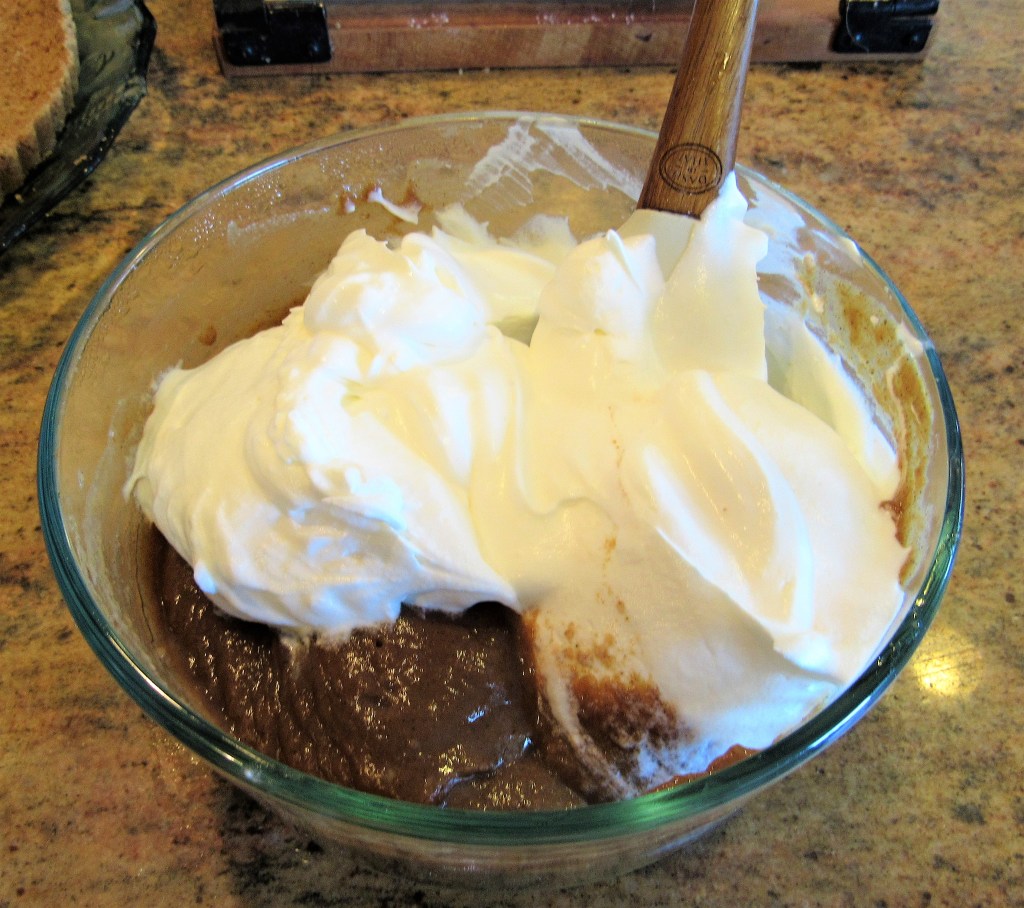
Once the custard temperature has been lowered to room temperature, whip the whipping cream to form stiff peaks. You can also use prepared whipped cream as well. Fold the whipped cream into the custard mixture.
Spoon the pumpkin and cream mixture onto the pie shell and spread evenly.
Decorate the pie and place in the freezer to set for at least two hours to set.
Once the pie is set, transfer the pie to the refrigerator and keep there until ready to serve . Serve the pie cold. This pie was a huge hit, even for those who are not big pumpkin pie fans. This pie is a very tasty alternative to a traditional pumpkin pie, and is good at any time.
I love nuts of all kinds, but pecans are amongst my favorites. I often grab a handful of nuts as a quick pick-me-up while I am out and about and on the go. And holidays are just not complete without some kind of nuts to go around. Nuts bring good luck and good tidings for the holidays.
The holiday nut tradition has been around since the 12th century when French nuns, inspired by the legend of St Nicholas – who gave gold to the poor – began leaving stockings full of fruit, including tangerines, and nuts at the houses of poor people. Many people from European countries will tell you that it’s because Saint Nicholas brings nuts and oranges and other small treats on his feast day on December 5th or 6th. In some countries, like the Netherlands, the treats are left in good children’s shoes that are left out to be filled that night. In other countries Saint Nicholas arrives at a party carrying a large sack and strews the nuts and other goodies on the floor for children to scramble after. “Scrambling for nuts” was a popular game played by rough-housing boys in Elizabethan England. But the practice of strewing nuts goes back much further than the celebration of Christmas! Whether it’s pagan or Christian, the idea of nuts bringing good luck at Christmastime appears to have stuck. In German folklore, the tradition of giving a wooden nutcracker in the form of a soldier or some other fierce authority figure was a way of keeping loved ones safe from harm. The nutcracker represented the power and strength to guard the family from evil spirits. It served the double role of plaything for children and decorative but utilitarian accompaniment to the custom of finishing dinner with pleasant conversation while passing around the nut bowl.
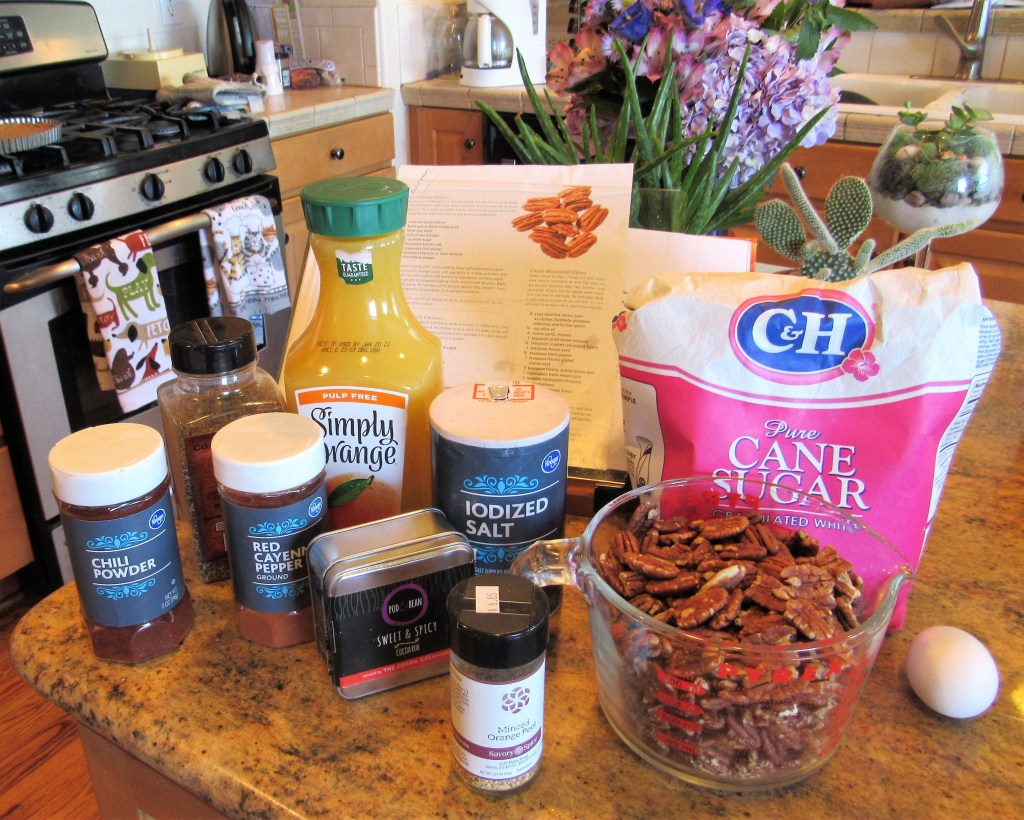
I love all the traditions, folklore and history behind the serving of nuts for the holidays, but I also just simply love nuts too. So whatever the reasons, there are always plenty of nuts to go around at my house, both the edible kinds and the non-edible kinds, at any time of year, but especially during the holidays. This time I made some spiced orange nuts to serve as nibblies before sitting down for our Thanksgiving feast. Our Thanksgiving Feast. I have plenty left over and am still munching on them, and most likely will be for quite awhile yet to come too, and though I doubt very seriously they will still be around, if stored properly, these nuts can last for up to six months.
Spiced Orange Pecans
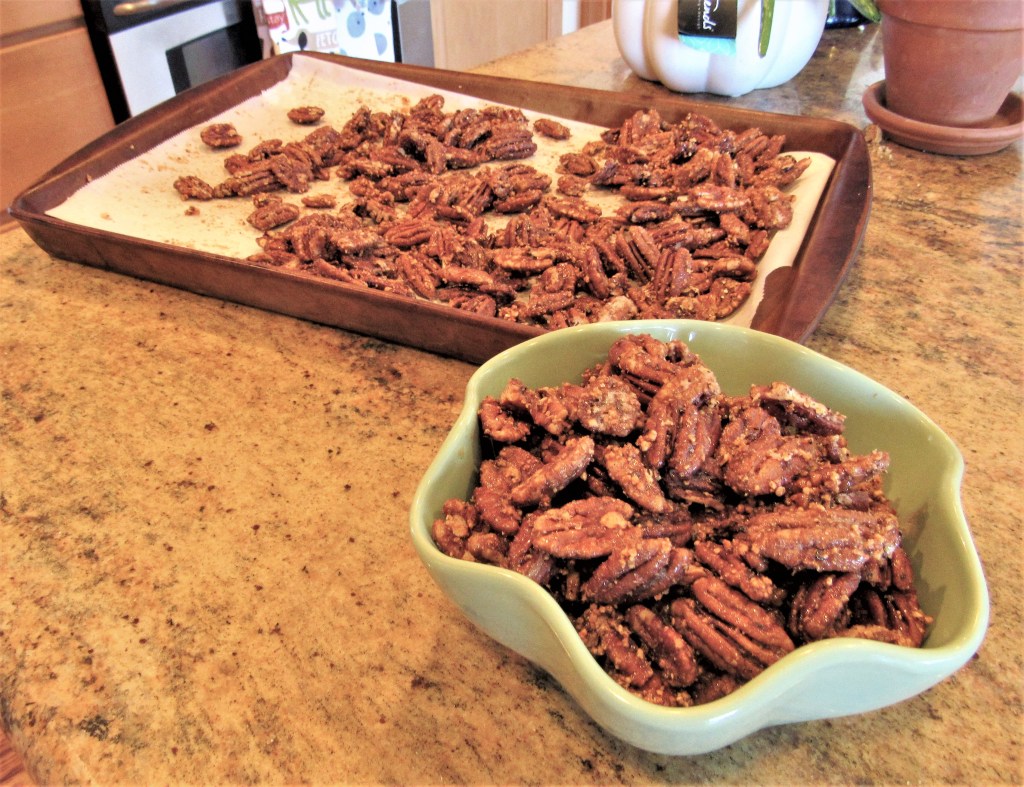
Preheat the oven to 225* F and line a baking pan with parchment paper.
4 cups raw pecan halves
2 TBSP orange juice
1 egg white
1 TBSP orange zest
1/2 cup sugar
1 1/2 tsp salt
1 1/2 tsp chili powder
1/2 tsp cayenne pepper
1 tsp chocolate chili powder, optional
1/4 tsp black pepper
Mix the orange juice, egg white and pecans together and toss thoroughly.
Add the remaining ingredients and thoroughly toss everything together again.
Evenly spread the nut mixture onto the parchment paper and bake for about 1-1 1/2 hours, or until the nuts are dry. Toss the nuts frequently as they are cooking.
You can munch on these nuts by the handful, or mix them into other dishes or use them as a topping. No matter how you serve them, they will most definitely be enjoyed by all. And even though, theoretically they can last up to six months, I think they will disappear much sooner than that. I know they will in my house.