Bakewell Slices Made At Home

Bakewell slices or Bakewell tarts are very popular all throughout the UK. They were named after the Derbyshire town of Bakewell. The tart is a variation of the Bakewell pudding. They consist of a shortcrust pastry case, also known as a pate sablee, and are filled with a layer of jam, and frangipane, and are usually topped with flaked almonds or glacΓ© icing. The ones topped with the glace icing are known as Cherry Bakewells, since they are also topped with candied cherries. Today, it is made with an almond custard rather than frangipane or an Italian filling made with ground almonds, eggs, butter, and sugar. Bakewells are usually small, designed as individual portions. Bakewell tarts, on the other hand, are generally 8-9 inches across and designed to be shared in slices. Bakewell tarts are traditionally served at High Tea in Britain and throughout the UK. Most people do not make their own, but purchase the ones that are commercially made. Of course I did not know this until AFTER I made it, but where is the fun in buying it when I can easily make it myself?! πŸ™‚ They are not difficult to make, just a little time consuming. They are definitely worth all the time and effort put into it making them though. I sure got a great hand and arm workout while making them, that’s for sure. πŸ™‚

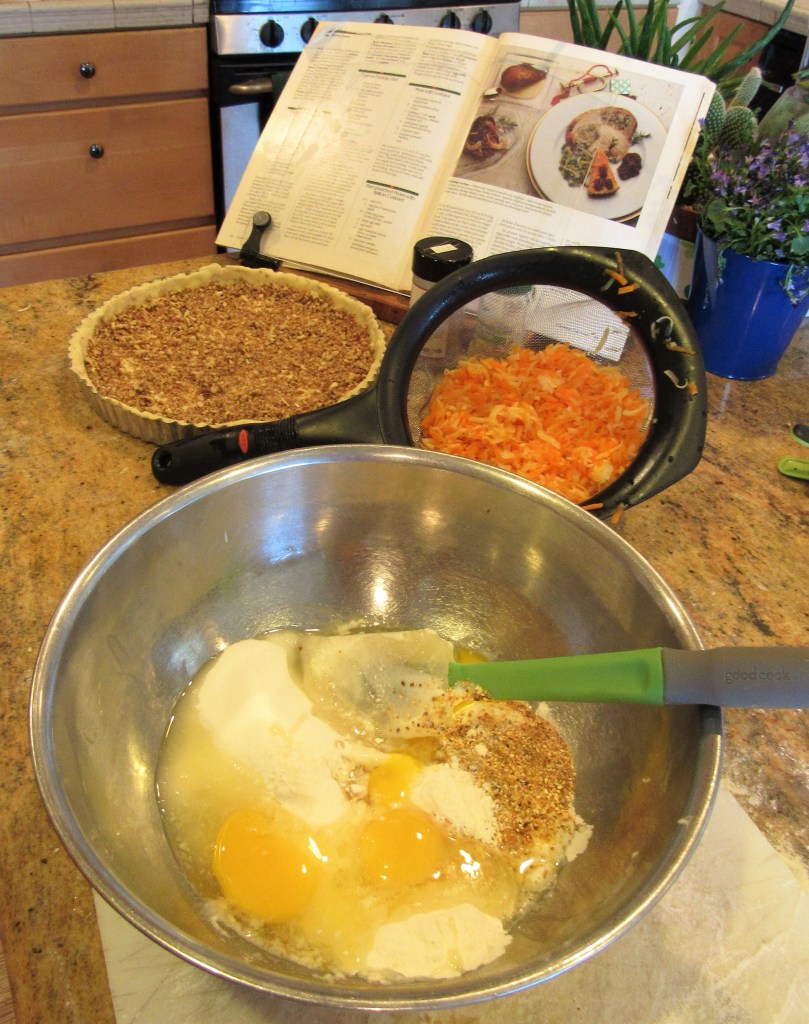
The recipe calls for raspberry jam, but I had blackberry jam and used that instead. You can use any kind of jam you like. If my dad were still around, he would be asking for them with strawberry jam. These only require a few simple ingredients too. The recipe is simple, but they are labor intensive.

The story goes that Mrs Greaves, the landlord of the White Horse Inn, left instructions to her cook to make a jam tart. Instead of stirring the almond paste and eggs into the pastry as instructed, the cook spread the mixture on top of the tart. When cooked, it set like an egg custard, and the resulting pudding proved very popular with visitors to the inn. No one knows exactly when it was created, but it was created somewhere between 1820 and 1845, when it first appeared in a cookbook called Eliza Acton’s Modern Cookery for Private Families.

Bakewell Slices

Make the almond crust first, then let it set in the refrigerator for at least 30 minutes to set before pressing the dough into the baking pan.

The Pate Sablee

1 1/2 cups + 2 TBSP flour

1/3 cup either ground almonds or almond flour

1/3 cup sugar

1 stick + 3 TBPS room temperature butter, cubed

1 egg yolk

Mix the flour and either ground almonds or almond flour and sugar together with the cubed butter by mashing everything together with your fingertips, until it resembles fine sand.

Then add the egg yolk, again with your finger tips, until it forms into a dough ball. It takes a while, and it seems like it is not all going to mesh together, but have patience and keep working with it. It will eventually come together. Once it does, wrap it in plastic wrap and let it set in the refrigerator for at least 30 minutes.

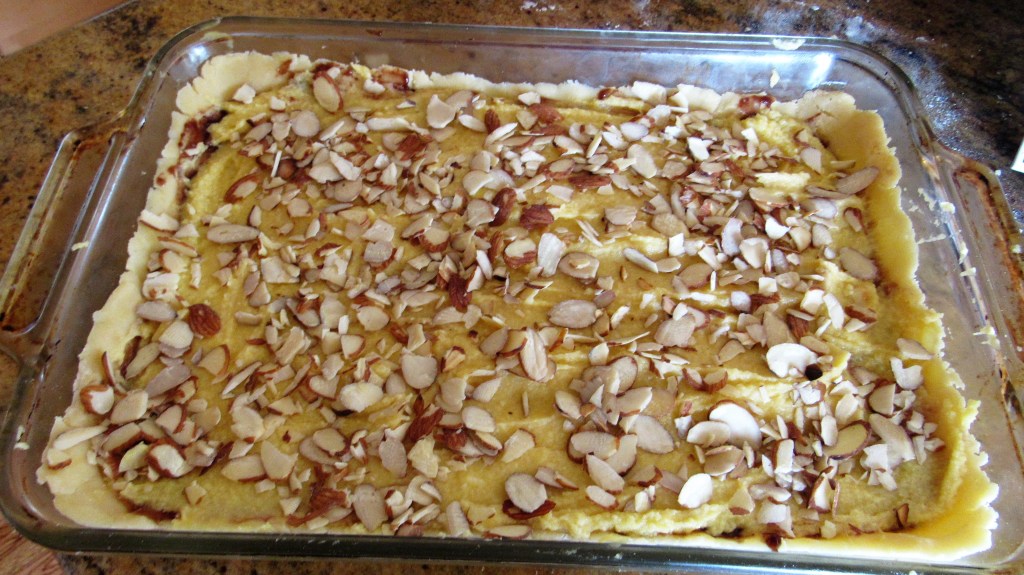
When ready to complete the slices, preheat the oven to 325* F or 170* C. Remove the dough from the refrigerator and let rest for about 15 minutes. Then start pressing it into a 13×9 baking pan. It takes time, and again, it seems like it will not cover the whole pan, but again, have patience. It will. Make sure you get the dough to go up the sides of the pan too.

You can do this one of two ways at this point. You can bake it with some baking beans for about 15 minutes, then remove it from the oven and let it set or you can bake it all at once when it is finished. I prefer to bake it all at once. I find the results are the same, plus I find the custard usually takes longer to cook and if you keep the tart in for too long to allow the custard to cook thoroughly, the dough tends to burn. But I leave you the option to do it however you like.

The next step is to spread a light layer of the jam evenly over the dough. If you prebake the dough, let it rest and cool for about 15 minutes before adding the jam.

The Filling

1 stick + 1 TBSP butter at room temperature

3/4 cup sugar

4 eggs + egg white from above

1 3/4 cup either ground almonds or almond flour

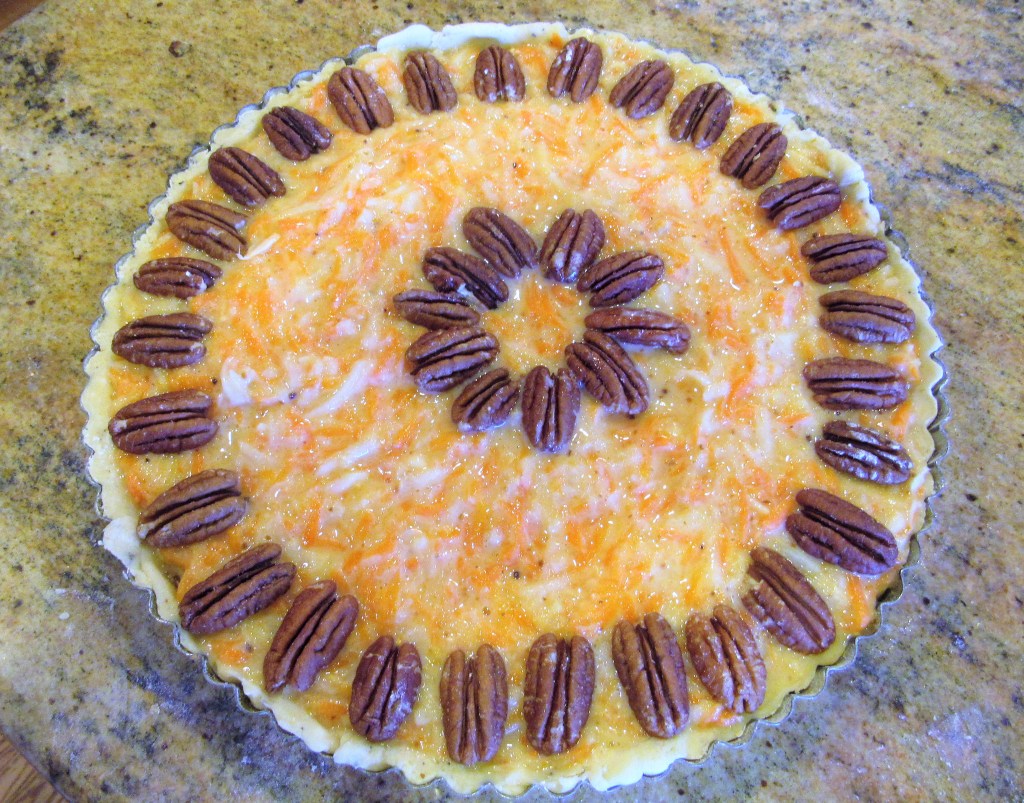
Beat the butter and sugar together until creamy, then add the eggs, 1 at a time and beat in between each addition. Then add the almonds and continue to mix until everything is mixed together thoroughly. Spoon it on top of the jam and spread out evenly.

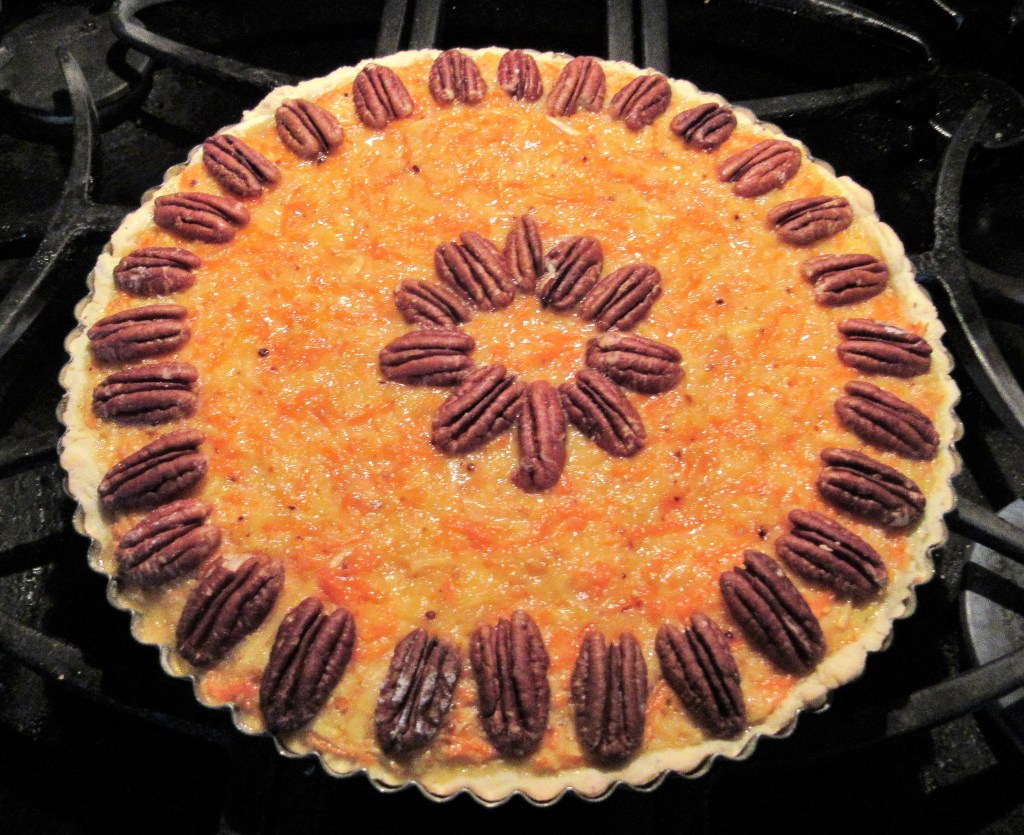
Sprinkle almond slivers evenly across the top of the tart and place in the oven to bake f0r about 30 minutes if you pre-baked the dough or for about 45 minutes if baking it all at once.

Allow the tart to cool completely before adding a dusting of powdered sugar and slicing into it.

All that is left to do is to invite some friends over and and enjoy it together, since this is definitely a dessert that is made to be shared.

Stay safe and stay well Everyone. ‘Til next time.

Nature Walks – Things Are Blooming

It was yet another beautiful, sunny day around the lakes. Everyday, more and more buds are beginning to open up. Everything is blooming nicely and the colors are starting to really come out too.

The daffodils and hyacinths are looking bright and colorful.

So are the muscari armeniacum.

Even the trees and bushes are starting to show their true colors.

My lemon verbena is starting to grow too. This is what it looks like now. Give it a few weeks and my whole backyard will be over run with it. I love it though. It always smells so good. And when it is in full bloom, I use it as much as I can in as many recipes as I can too. I love the fresh lemon flavor it adds to every dish I use it for.

A Quick and Easy Chicken Stir-Fry

I still had some of my rotisserie chicken that needed to be used so into the skillet it went and came out as an easy-peasy, delicious chicken and vegetable stir-fry. Stir-fries are endless in possibilities. All you need is some imagination and creativity and then mix it all together to see what comes out.

Because there are endless possibilities for stir-fries, and this was just using up what I had, I am not going to give you an actual recipe. I will just show you what steps I took to make it.

I started off with the rest of my Costco rotisserie chicken. Once I removed the meat from the bones, I shredded it. Then I added a bunch of fresh vegetables, like carrots, onions, broccoli, mushrooms and corn, and of course garlic and ginger. Once I cooked everything up, I served it all over some brown rice with potstickers on the side. And you KNOW there was wine as well. I served it with a crisp, citrusy chardonnay that went perfectly with the meal.

As the rice was cooking, the vegetables were the first to go into the skillet, since the chicken was already cooked and just needed to be heated up. In a hot skillet or wok (I find there is not much difference between a wok and a skillet when cooking. I think it is all a matter of preference), add some oil and get it nice and hot, then add the vegetables. Cook your hardy vegetables first. Mine were all hardy, so I just cooked everything together. I used hot chili oil this time to add a little extra zip.

When the vegetables were cooked, next came the chicken.

As you all know, I usually make my own sauces, but this time I cheated. I had a fun sauce in my pantry that had my curiosity peaked, so I used that instead of making my own. It was really tasty and full of zesty flavor.

Once the sauce was added, I let everything come to a boil, then reduced the heat to a simmer and let cook for about ten minutes before serving it all up. I topped it all with some fresh basil and dinner was served – al fresco, on our beloved deck since the weather was so nice and beautiful.

Things don’t always have to be complicated or fancy to be good. Often times, the simple things are the best things.

Stay safe and stay well Everyone. ‘Til next time.

Nature Walks – Just Out and About

I am seeing more and more signs of Spring all about. More buds are popping up. More birds chirping and singing, though they are still a bit shy. And there are more squirrels all around too, mostly playing around in the trees. I love Spring. But then, I really do love all the seasons. Every season has its own charm and beauty.

A sapling tree.

My friend Laura gave me this really cute bird seed ornament for the tree. I hung it up outside in the front yard so I could see the birds enjoying their new treat. I don’t think they have seen it yet though, but I am ready and waiting for them. As soon as they see it and start enjoying it, hopefully I can get some good pictures of them.

Come on over Mr. Robin, I have a new treat for you.

Squirrels, squirrels, squirrels.

Mediterranean Cod and Spinach Au Gratin

We love seafood, though we don’t eat nearly as much as we would like. We live in cattle and beef country, so we eat a lot of meat. Fresh seafood isn’t something we get a lot of here, though there are a lot of frozen seafood options, which are very good too. Americans in general, do not eat nearly as much seafood as they do other meats, even though they are eating more seafood than ever before. The average American eats only about 15 pounds of seafood per person per year, compared to about 46 pounds of chicken and 63 pounds of beef. This is the opposite of many other places around the world, especially in places where meat is at a premium.

I love all kinds of seafood, but my favorite seafoods are the big, thick whitefish varieties, such as cod, halibut (my absolute favorite) and haddock, as well as all the crustaceans and mollusks. The white fish, though not great sources of Omega-3 fatty acids, are very good sources of protein and are very low in fat. When cooking with white fish, most recipes are pretty flexible and accommodating to a variety of different types of fish, so the whitefish varieties are interchangeable and up to your personal preferences.

Not only do I love seafood, but I love all foods cooked Mediterranean style. Seafood cooked Mediterranean style is a natural combination, since much of the food from the Mediterranean comes from the sea. We hadn’t had fish in a while and I had some cod down, so it was a fishy kind of night. I prepared it with spinach and tomatoes and topped it au gratin style, then baked it to perfection. Au gratin means foods sprinkled with breadcrumbs and/or grated cheese and browned.

Mediterranean Cod and Spinach Au Gratin

1 1/2-2 lbs fresh thick white fish, the thicker the better – I used cod this time

4 cups fresh spinach, stems removed

1 onion, diced fine

1 TBSP garlic

1 TBSP Dijon mustard

1-2 TBSP lemon juice

salt & pepper to taste

1 cup grape tomatoes, cut in half – I used both yellow and red

3/4 cup breadcrumbs

fresh parsley, chopped fine

1/3-1/2 cup grated Parmagiano cheese

1/3 cup pine nuts – optional

olive oil

Preheat the oven to 450* F or about 280* C.

Spray a baking dish with cooking spray.

Saute the onions, garlic, spinach and salt & pepper in a hot skillet with olive oil just until the spinach is wilted and the onions are translucent.

When the spinach and onion mixture is done, mix in the mustard and lemon juice.

Evenly spread half the spinach mixture on the bottom of the prepared baking dish. Then add the fish and sprinkle a bit more salt and pepper on top of the fish.

Add the rest of the spinach mixture on top of the fish and then add the tomatoes.

Mix the breadcrumbs, Parmagiano cheese and parsley and cover the tomatoes. Sprinkle the pine nuts evenly over the breadcrumbs and drizzle a little olive oil over the top.

Bake uncovered for about 30 minutes or until the top is lightly browned, the spinach is bubbling and the juices from the fish are clear.

I served my cod and spinach au gratin on top of some potato cakes with some warmed rosemary bread and an olive oil dip on the side, finished with a cool crisp, barrel aged chenin blanc. It was a perfect Mediterranean evening right here in Denver.

Stay safe and stay well Everyone. ‘Til next time.

A New Sauce

You all know how much I love to sauce things up, so when I find new and interesting sauces I just get so excited. Sauces are what give foods their personalities and pizzazz. For instance, last night, it was another Costco chicken night. We LOVE Costco’s rotisserie chicken, but why eat it the same way again and again when just by changing the sauce it changes the whole meal. Changing things around and mixing them up is what makes life exciting. πŸ™‚

My newly discovered sauce was a modern day twist to not one, but two favored classics. My new sauce for the day was a Green Chili Adobo, also known as Adobo de Chili Verde. Some even call it a Mexican pesto. It is a little like a pesto and a little like a chimichurri sauce, yet has its own unique character and qualities too. It preserves the freshness of the herbs with the additions of both spicy chilies and garlic. You can use this sauce on anything, just like you would with either an Italian pesto or an Argentine chimichurri sauce. If you like things with a little kick, you will definitely like this sauce as well.


Green Chili Adobo Sauce

1 1/2 TBSP garlic

3-4 large jalapeno peppers, roasted and seeded

1 large bunch of cilantro

1 large bunch parsley

4-5 sprigs of fresh thyme and/or oregano

1 cup olive oil

salt & pepper to taste

1 tsp cumin

1/2 tsp cayenne pepper or to taste.

Start by roasting the chilies until they are completely blackened. I put mine directly on an open flame, but you can also roast them in the oven as well.

Once the chilies are completely blackened, let them sweat in a plastic bag for about 30 minutes and then remove all the charred skin and the seeds with your finger tips and rinse thoroughly.

When the chilies are ready, place everything in a food processor and process until you have a liquidy sauce. This sauce will go over anything and everything. I topped my chicken with it last night (served with my leftover rice and beans – Traditional Foods and Flavors of theΒ Southwest). Who knows what I will use it with next?! πŸ™‚

When you decide to make this tasty, zesty sauce, I would love to see and hear about how you used it too. It’s always fun to see you recipes and ideas too. Like I always say. “play with your food”. πŸ™‚

Stay safe and stay well Everyone. ‘Til next time.

Steak Seared to Perfection

The other day we were channel surfing and stopped on The show “America’s Test Kitchen“. I had not only never seen it before, but had never heard of it either. I only watched that one show, though I will most definitely be watching a lot more in the future, but I found it very informative. The show we just happened to catch was about searing the perfect steak. It showed how you could make a steak at home just like they do in the expensive steakhouses like Morton’s or Ruth Chris. We love steak so we thought we would give it a try. They were absolutely right. The steak was seared to perfection.

For once, I actually followed their instructions to the “T”, and they actually worked just like they said they would too. This is the part that is the most remarkable to me. Usually when I follow instructions to the “T”, things don’t come out as I expect or hope them to. This time, however, I was very pleasantly surprised.

Start by putting a cast iron skillet a very hot oven set at 500* F or about 260*C and keep the skillet in the oven for 30 minutes. The key is to start with a VERY HOT skillet.

While the skillet is heating in the oven, season the steak with salt and pepper and let it rest .

Pat the steak dry with a paper towel.

Once you remove the skillet, put in about 1-2 TBSP of oil then add your seasoned meat and sear for 9 minutes, flipping it every 2 minutes. Use a timer. Timing is everything for this one. For the first few minutes, the heat is high, then reduce the heat to a medium heat for the last few minutes to ensure the meat cooks perfectly without getting to much of a crust.

The result you are looking for is a nice thick crust without having it too thick. Medium rare is ALWAYS the perfect way to eat a good juicy steak for me, which means you want the internal temperature to be about 120* F or about 70* C.

While the steak is cooking, make a garlic butter with garlic, chopped chives and parsley to top your steak once it is done cooking.

When the steak is done, remove it from the heat and top it with the garlic butter. Then add a loose tent of aluminum foil on top of the steak to allow it to “sweat ” a bit. “America’s Test Kitchen” recommended to keep the steak tented for about 10 minutes. This is the ONLY part I disagreed with. After trying it, their way, I felt my steak cooked too much after, and it was a little to done for my tastes. So play with it when you do this. Next time, I think I will only tent it for about 5 minutes instead of the recommended 10. Other than that though, the steak was absolute perfection. The steak literally just melted in our mouths.

Not to brag or anything, but I have to say, this was probably one of THE BEST steaks I’ve ever eaten, and I have eaten at Morton’s (I really wasn’t that impressed with it either to tell you the truth).

There is ALWAYS something new to learn. No matter how much we know, there is always something new to learn.

Stay safe and stay well Everyone. ‘Til next time.

Our Fabulous Easter Celebration!

We have been gathering together at Priscilla’s house for her traditional Easter brunch for quite some time now. She always puts on the most beautiful and elegant spread imaginable. And she always puts so much attention into every little detail. Her events are always picture perfect, with a huge spread of absolutely delicious food.

We started the day by attending church services with Jonathan and Priscilla, then we headed back to their house for our celebratory feast. We were joined by our friend Laura and her family and Jonathan and Priscilla’s neighbor, Michael. As usual, we all ate too much, but we all had a great time. Priscilla cooked SOOOOOOO much food, and Laura brought a delicious Spring salad. I made my carrot and parsnip tart and crab and asparagus puffs. We joked with the Pastor that after the next round of morning services the whole congregation should join us. I think we definitely would have had more than enough food to feed everyone too. πŸ™‚

Laura and Priscilla are adding the final touches to everything.

Laura is busy tossing her salad together. Check out her salad forks. They are fish. I thought they were so cute and so fun.

My contributions were my carrot and parsnip tart and my crab and asparagus puffs. Carrot and Parsnip Tart; Asparagus Cheese Puffs Neither were quiche, as was requested, but they were still in the quiche family, so it all worked. Both were a big hit with everyone too. All the dishes we served just went together perfectly.

Some of my Asparagus puffs had crab and some did not, since not everyone could eat crab.

The “kids” are all ready to eat. Priscilla had put little chocolate bunnies on everyone’s plate too. She always thinks of everything and is so good with all the details.

The Easter Bunny brought Priscilla a big Easter egg filled with all kinds of goodies too.

I hope you all enjoyed your Holiday celebrations. The most important ingredient to any celebration is always love and to share that love with family and friends just makes it a perfect celebration.

Stay safe and stay well Everyone. ‘Til next time.

Happy Easter

For those of you who celebrate Easter, I hope it is a good one, celebrated with those you love. If you celebrate Passover, I know, it has already “passed over”, but I still hope it was an enjoyable one spent with family and friends.

Australian Shepherd, Aussie, Shepherd, Blue Merle

I just couldn’t resist this photo. My children are all the four-legged kind, so to me, this is a perfect family photo (though these are not “my kids”). Mine would never behave so well. πŸ™‚

Carrot and Parsnip Tart

We are getting together with Priscilla and Jonathan and Laura for an Easter celebration. Between Priscilla, Laura and I, we always put on quite the feast and no one EVER goes hungry. This time, I’m sure will be no different. πŸ™‚ I asked Priscilla what she wanted me to bring, and she said some quiche. Well, this recipe isn’t exactly a quiche, but it’s close enough. It is still part of the same family. I will make and bring something else that will also be a kissing cousin to the quiche as well.

This first dish I am bringing to our Easter celebration is a carrot and parsnip tart. I make it a lot for Christmas too. It is unique and refreshing. I actually thought I had made it and shared it with you before, but when checking through my repertoire of recipes, I couldn’t find it. So now, here it is.

Carrot and Parsnip Tart

I start with my basic go-to dough, though this time, I added some lemon pepper to the dough mix as well.

Jeanne’s Basic Go-To Dough

1 1/2 cups flour

6 oz cold butter, cubed

a dash of salt

1 egg

5-6 TBSP heavy whipping cream

Mix the flour, butter and salt together in the food processor until it resembles a sandy crumble. Then add the egg and the cream and continue to mix together just until it all forms into a dough ball. Wrap in plastic and place in the refrigerator for at least 30 minutes before using. Then shape it how you like.

The Filling

2 carrots, peeled and shredded

1-2 parsnips, peeled and shredded

1/2-1 cup water

3 eggs

1 1/2 tsp grated orange peel

1 tsp grated lemon peel

2 TBSP flour

2/3 cup sugar

1 cup lemon flavored yogurt

1 cup pecan halves, divided

Preheat the oven to 325* F or about 170* C.

Peel and shred both the carrots and the parsnips and place them in a skillet with boiling water. Cook, stirring occasionally, for about 10 minutes, or until the carrots and parsnips begin to soften. Completely drain when they are done.

Roll the dough out on a lightly floured surface, then press it into a fluted tart pan and firmly press into the sides of the pan. Cut off the excess dough.

Take about half of the pecans and pulse them in the food processor until they are chopped fine. Then sprinkle them over the bottom of the dough.

Mix together the yogurt, lemon and orange peels, eggs and sugar, then fold in the carrot and parsnips.

Spread the mixture evenly over the crushed pecans. Then arrange the whole pecan halves decoratively on top of the carrot mixture. Place the tart into the oven and bake uncovered for about 45-60 minutes, or until the crust is lightly golden and the center of the tart is set and no longer jiggles.

Once the tart is done, let it cool then cover and refrigerate overnight. Once it is set, remove it from the tart pan and slice it. You can serve it either cool or warm. I actually prefer it warm.

This dish is vegetarian as it is, but you can easily make it vegan by substituting vegan ingredients.

Stay safe and stay well Everyone. ‘Til next time.