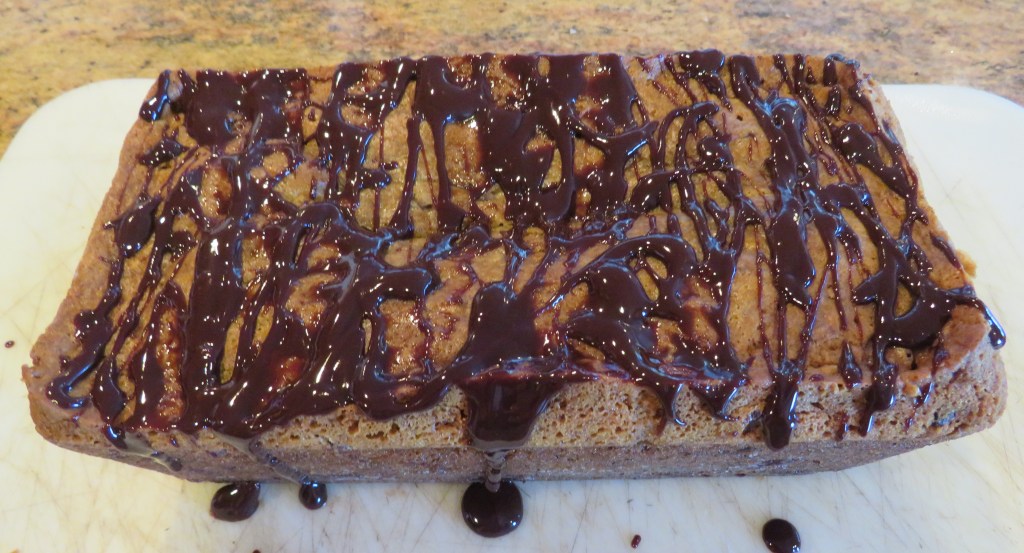
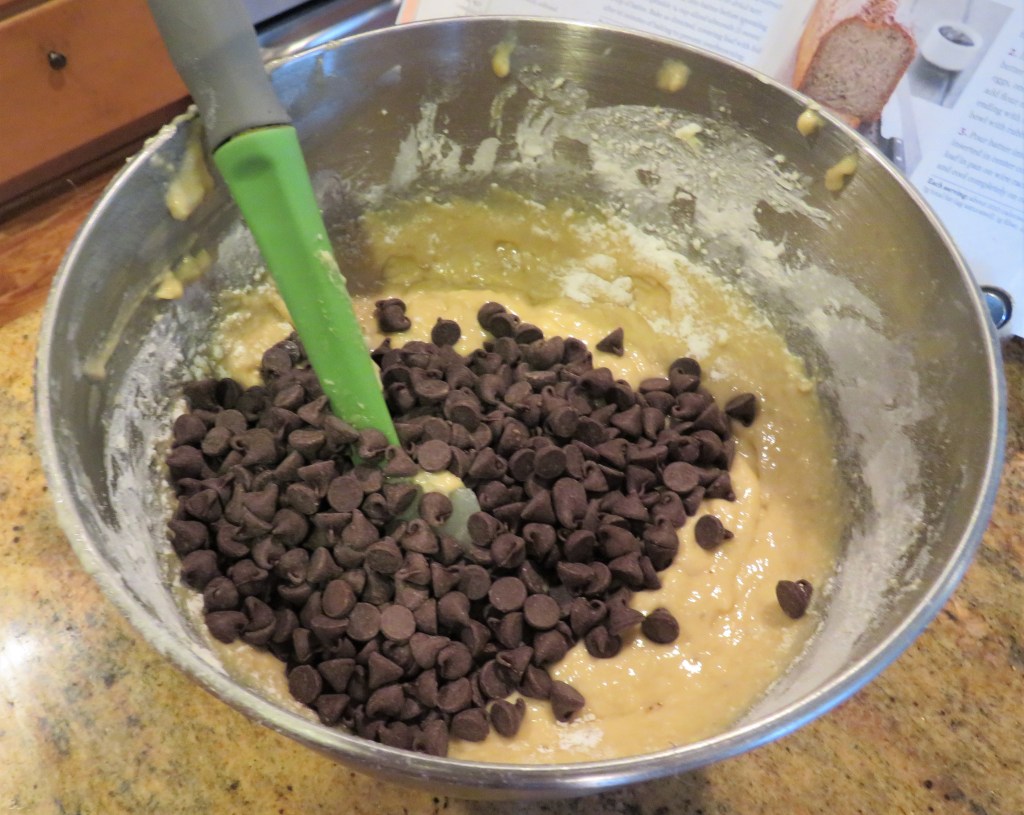
As you know I am always trying out new, delicious recipes for my church coffee cart. Anything goes, as long as it is delicious. Since our services are in the mornings, I like breakfast type foods and or cookies. Just something light that people can pick up an munch on within a couple of bites or so. This week, we had some cookies (no I didn’t make those this time), chocolate chip banana bread Chocolate Chip Banana Bread, some gluten free cupcakes that were donated by a friend of a friend and my raspberry orange muffins. I did not get a chance to try the cupcakes, but they all disappeared within a blink of an eye, as did everything else. Always a good sign. 🙂
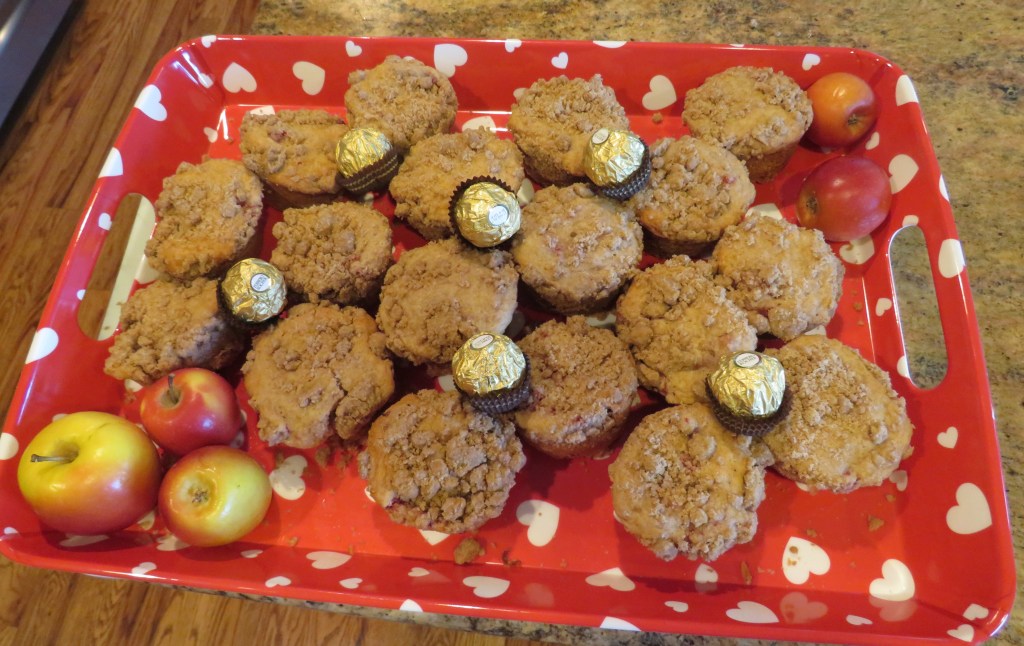
Raspberry Orange Muffins

The Muffins
2 cups flour
2 1/2 tsp baking powder
1/2 tsp salt
1 tsp cinnamon
1/4 tsp cardamom
1.2 cup or 1 stick melted butter
1 cup sugar
2 eggs
1/2 tsp orange extract
1/2 cup yogurt
1/2 cup milk
2 TBSP orange zest
Preheat the oven to 350* F or 190* C.
Spray muffin tins with cooking spray and/or use paper muffin cups inserted into the pans.
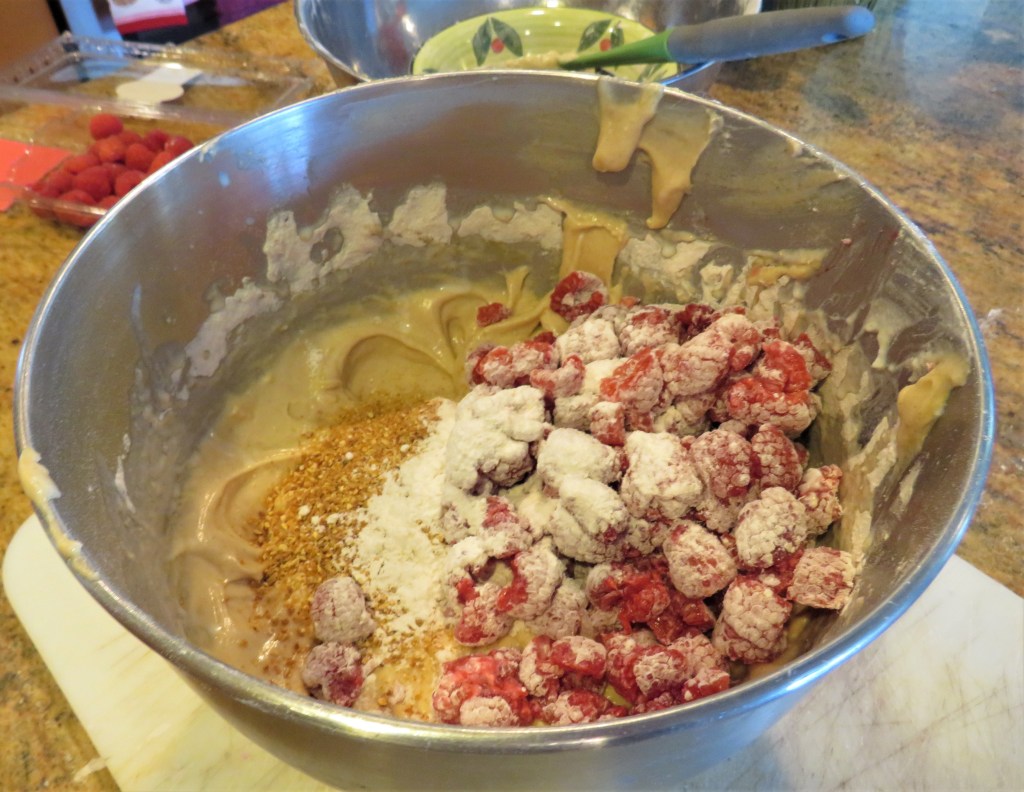
2 cups raspberries, cut in 1/2 and mixed with about 1/2 cup of flour. Gently coat the raspberries with the flour and set aside. Make the streusel topping and set aside as well.

Streusel Topping
1/3 cup packed brown sugar
1/3 cup sugar
1 cup flour
dash of salt
1 tsp cinnamon
1/2 tsp nutmeg
1/4 tsp cardamon
6 TBSP melted butter
Mix everything together until crumbly.
Mix all the dry ingredients together and set aside.
Combine the butter and sugar together until creamy, then add the eggs, one at a time, mixing in between each addition. Add the orange extract and mix. Add 1/2 the flour mixture and mix, then 1/2 of the milk and mix, and repeat until everyhing is all combined together.
Once the batter is made, gently fold in the raspberries and the orange zest. You do not want to go to fast or you will break the raspberries and they will “bleed” into the batter.
Fill the muffin cups to about 3/4 full, then top with the streusel topping.

Bake for about 25-30 minutes, or until they are golden brown and a toothpick that is inserted in the middle comes out clean.
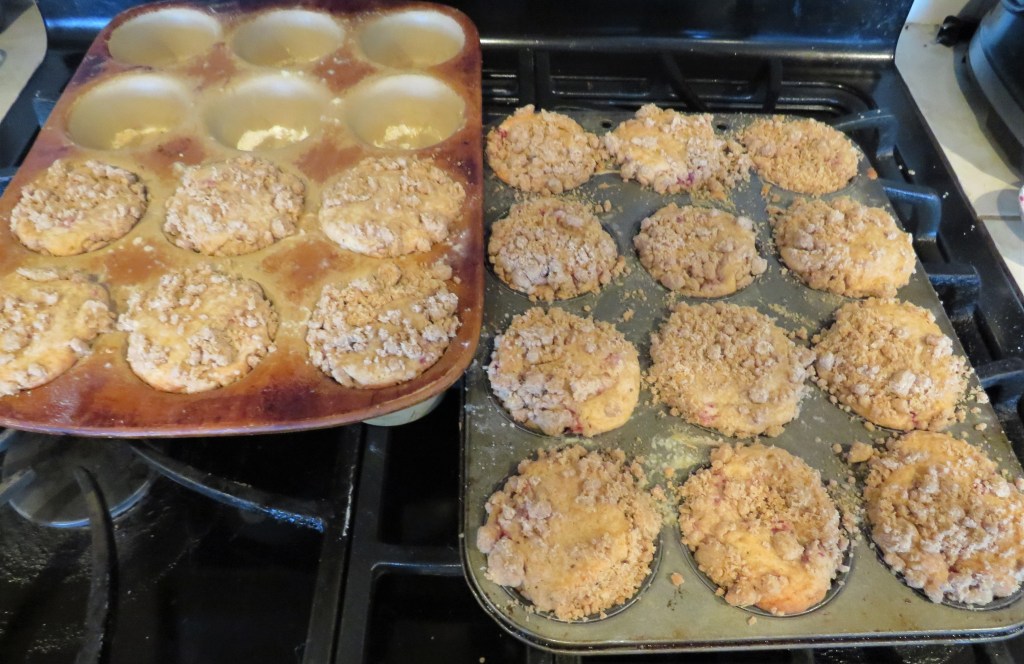
I love the combination of raspberry and orange. Delicious. The only complaint, and it is the same complaint I often have with recipes in general, is that the recipe was supposed to make about 2 dozen muffins, and I only got 18 out of mine. Other than that, they were a huge hit and everyone loved them.
Have a beautiful and great day Everyone. Say well and stay safe. ‘Til next time.