Cakes have been a part of world’s diet since the 13th century. However, hack then, they were nothing like we know them today. When cakes were first introduced, they were more of a sweet bread, than the velvety sweet cakes of today. Many times, people would put dried fruits and nuts in their cake recipes. As a result, the desserts were rough and had an abrasive texture. It wasn’t until 500 years later when bakers began to make dessert more appealing. They were able to find ways to break down the flour in the recipes so cakes could be softer and tastier.
Velvet cakes first came about in England’s Victorian era, with the introduction of cocoa powder into the cakes. The cocoa would help break down the coarse flour. As a result, the flour was softer and the cake was velvety, hence the name of a velvet cake. Often times, the cakes had a red tint as well, due to the chemical reaction between the cocoa and acid that give the cakes their red color. Natural cocoa has a lot of acidities and works well with the baking soda and buttermilk. Cocoa powders have become better over the years. Now, most of the cocoa powder you buy has to undergo special processing. During the production phases, the cocoa interacts with an alkalizing agent. The base (alkalizing agent) causes the cocoa’s acidity to neutralize. As a result, the other cake ingredients no longer have a chemical reaction with the cocoa. Today, because of the neutralizing agents, often red coloring is used to make the cakes turn red. The red color of the cake isn’t nearly as important as the flavor and texture of the cakes though. A cream cheese frosting is a nice accent to adorn the “red velvet” cakes and has become a popular topping for them.
The actual “red velvet cake” wasn’t made popular until 1943, by Irma Rombauer, author of The Joy of Cooking. During WWII, rations were in place, and sugar wasn’t readily available, so beet root was often used as a sweetener. The beet root made the cake batter red in color, as well as making the cakes more flavorful and moist.
Today, red velvet cakes are known by many different names, some of which include red carpet cake, red mystery cake, flame cake, authentic red velvet cake and Waldorf Astoria cake.
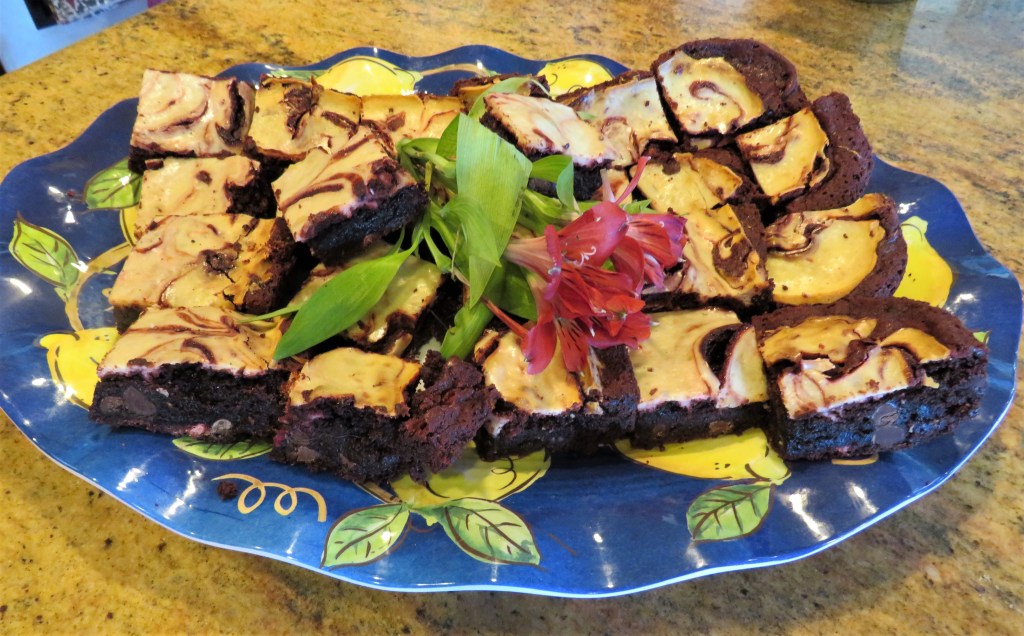
I turned my “red velvet cake” into brownies. And yes, I topped them with a cream cheese frosting as well. They were very popular indeed, and they all disappeared in no time.
I admit I cheated though, and sometimes, there is absolutely nothing wrong with cheating by starting off with a cake or brownie mix. I did not make these entirely from scratch. I started off with Ghirardelli’s packaged brownie mix and then created from that. There are so many fantastic cake and brownie mixes available today, that sometimes it is just smarter, and cheaper, to use those than to always make everything from scratch. Many years ago, when I was first in culinary school, my pastry instructor was a master pastry chef, originally from Holland. His name was Chef Rudy Rosier, or Chef Rudy as we lovingly called him. He actually created and perfected many of the pre-packaged cake recipes that are available today. So if you get a known, major brand, chances are, they are going to be very good indeed. There is no need to reinvent the wheel, or in this case, the cake.
Red Velvet Brownies
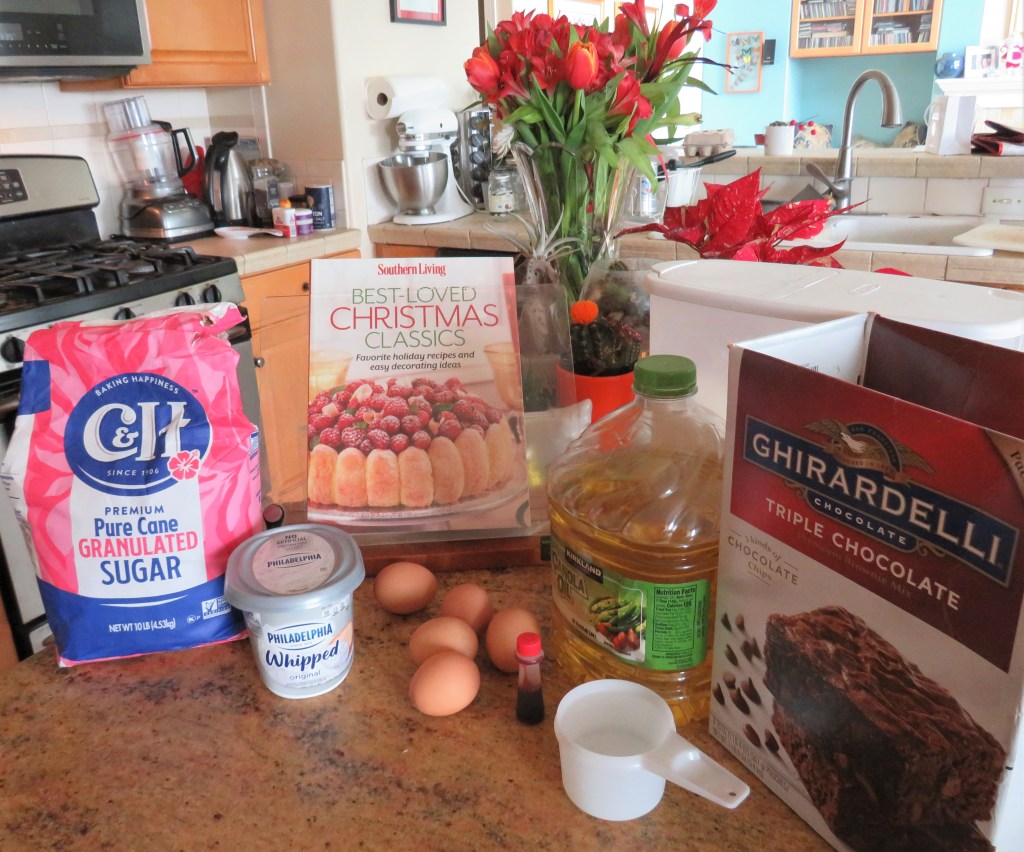
2 packages of Ghirardelli brownie mix
2 eggs
2/3 cup water
2/3 cup vegetable or canola oil
1 oz red food coloring
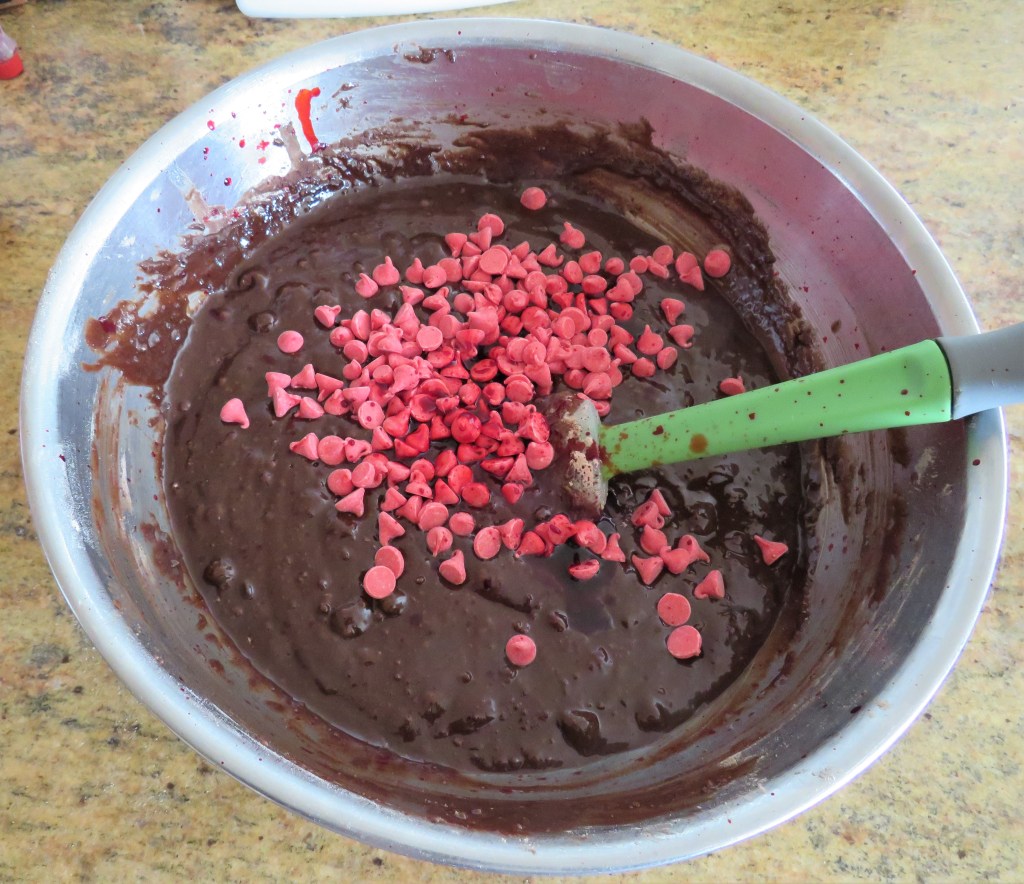
1/2 package of cherry chips, optional
1/2 cup softened or whipped cream cheese
2 egg whites
1/4 cup sugar
2 TBSP flour
1 tsp vanilla
Preheat the oven to 350* F or 190*C.
Spray a 9×13 baking pan with cooking spray.
Follow the directions on the package for the brownies, then add the food coloring and cherry chips, and carefully fold into the mixture.
Mix together the cream cheese, sugar, egg whites, vanilla and flour with a mixer until well blended and smooth.
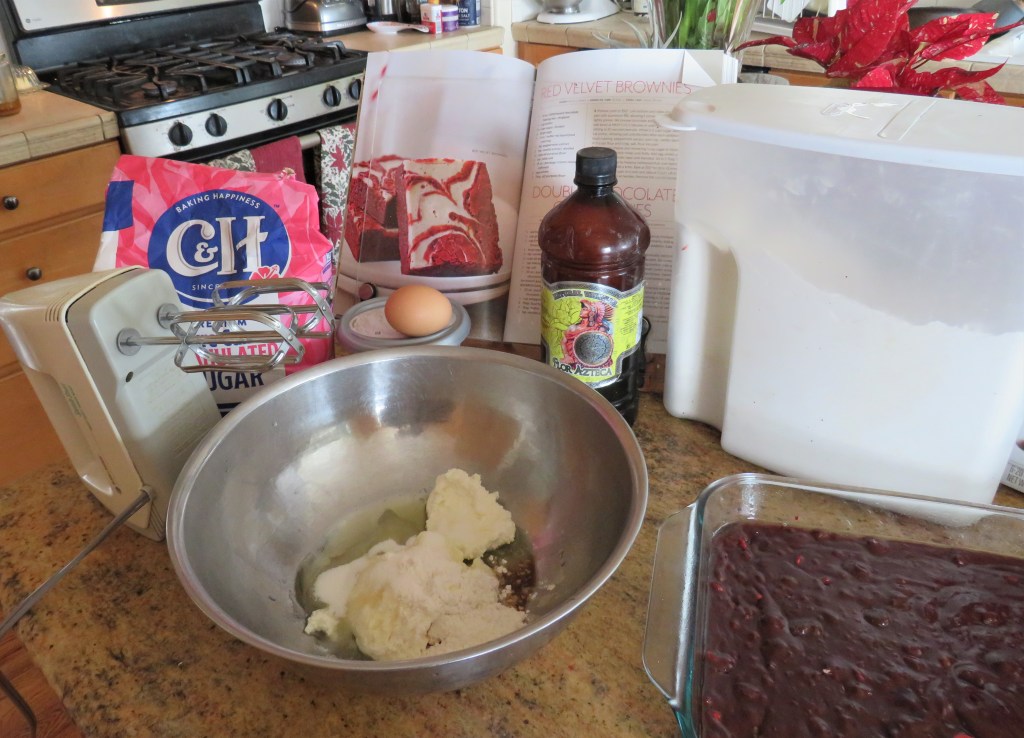
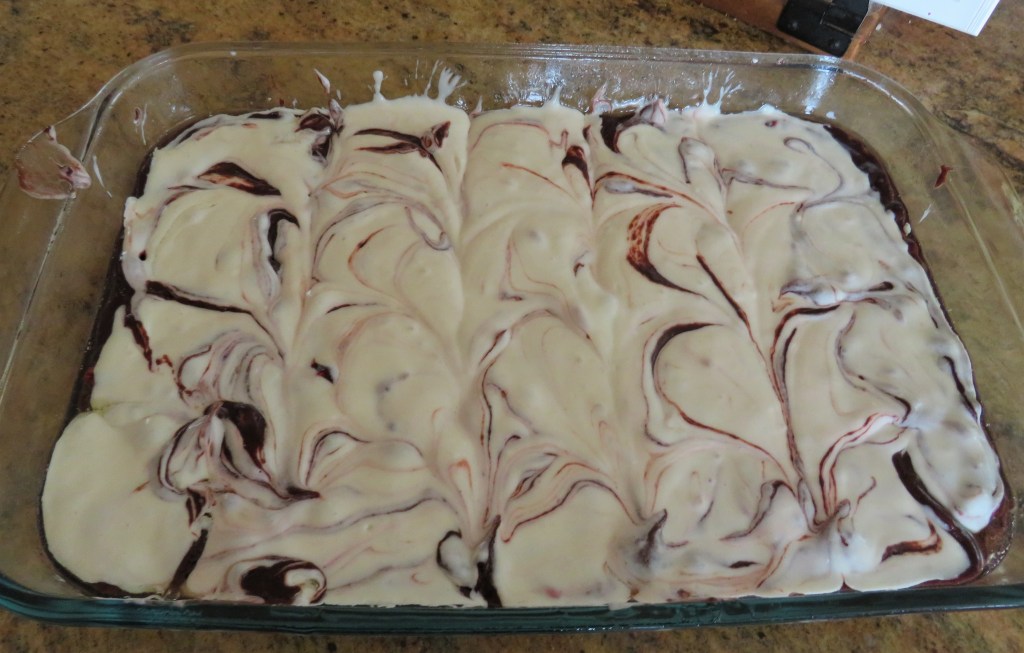
Spread the brownie batter evenly into the prepared pan, then add the cream cheese topping, making sure to completely cover the brownie mixture. Gently swirl the cream cheese mixture into the brownie mixture with a knife.
Bake for about 30-40 minutes. Let cool completely before removing from the pan and slicing.

Share with friends and enjoy. These delicious treats will be gone before you know it. Everything is always better with chocolate, and especially with a rich, velvety chocolate. 🙂
Have a great day Everyone. Stay safe and stay well. ‘Til next time.

I love brownies! I bet these were awesome!
LikeLiked by 1 person
Thank you. The little bit that I tried was very good indeed. 🙂
LikeLike
I always use Ghirdelli’s brownie mix and when I can use a cake mix, I am happy to use one. This looks like a terrific Valentine’s desssert.
LikeLiked by 1 person
Absolutely! Thank you. Years ago, when I lived in San Francisco, I worked at a PR agency, and most of our clients were food clients. Ghirardelli was one of our largest clients. I love Ghirardeli.
LikeLike
We don’t have box mixes in France! But I could probably replicate that, couldn’t I?
LikeLiked by 1 person
Sure. I can give you the whole recipe too. I have it downstairs, so iIwill get it to you later.
LikeLiked by 1 person
Thanks Jeanne, most kind of you
LikeLiked by 1 person
Here is the actual brownie recipe. Sorry it took me awhile. I usually don’t get back on the computer once Larry gets home.
4 oz bittersweet chocolate, chopped
1/4 cup butter
2 cups sugar
4 large eggs
1 tsp vanilla
1 1/2 cups flour
1/4 tsp salt
Combine the dry ingredients first then mix the butter, sugar and eggs and add to the flour mixture. Enjoy.
LikeLiked by 1 person
Thank you do much Jeanne. A gal can never have too many brownie recipes.
LikeLiked by 1 person
I totally agree. You are very welcome. 🙂
LikeLiked by 1 person
😎
LikeLiked by 1 person
My friend, Nancy, loves red velvet. 🍃🌸
LikeLiked by 1 person
I think she would love these too then. 🙂
LikeLiked by 1 person
No doubt. 🍃🌸
LikeLiked by 1 person
🙂 🙂 🙂
LikeLiked by 1 person
You can’t go wrong with triple chocolate!
LikeLiked by 1 person
Reblogged this on The Mimosa Blossom.
LikeLiked by 1 person