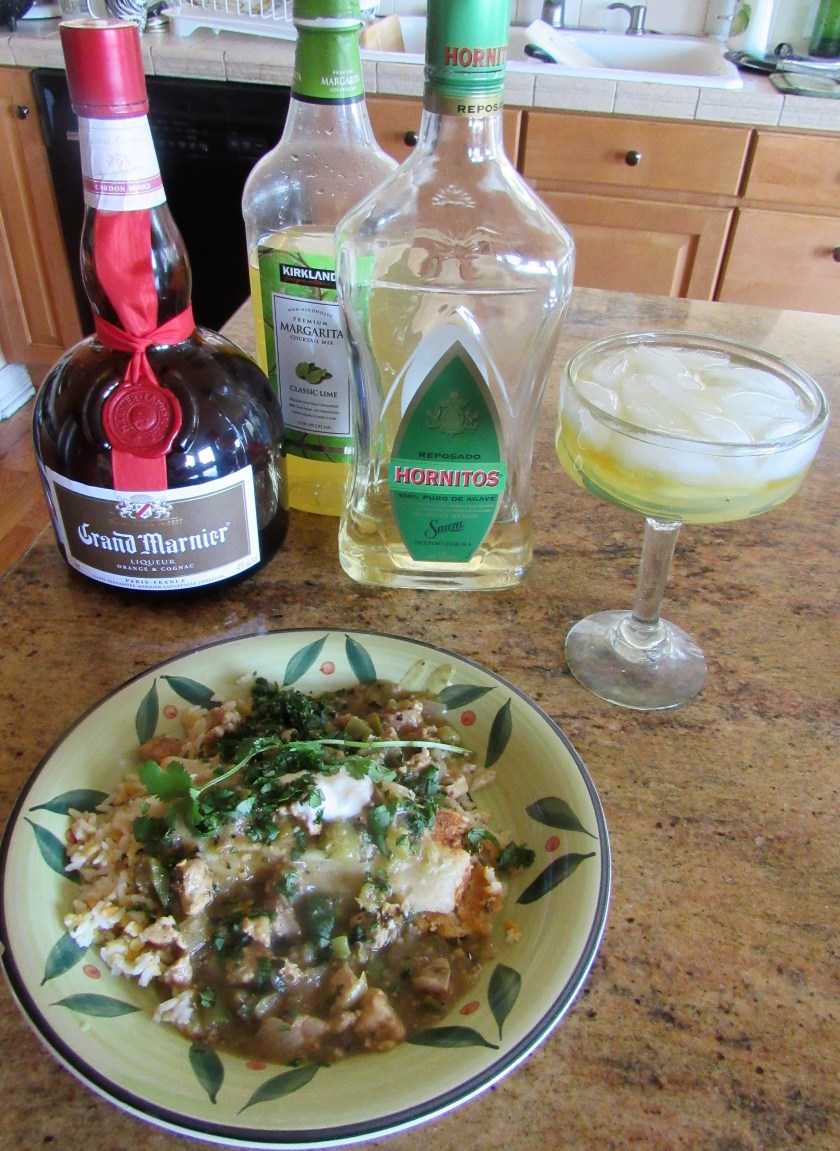
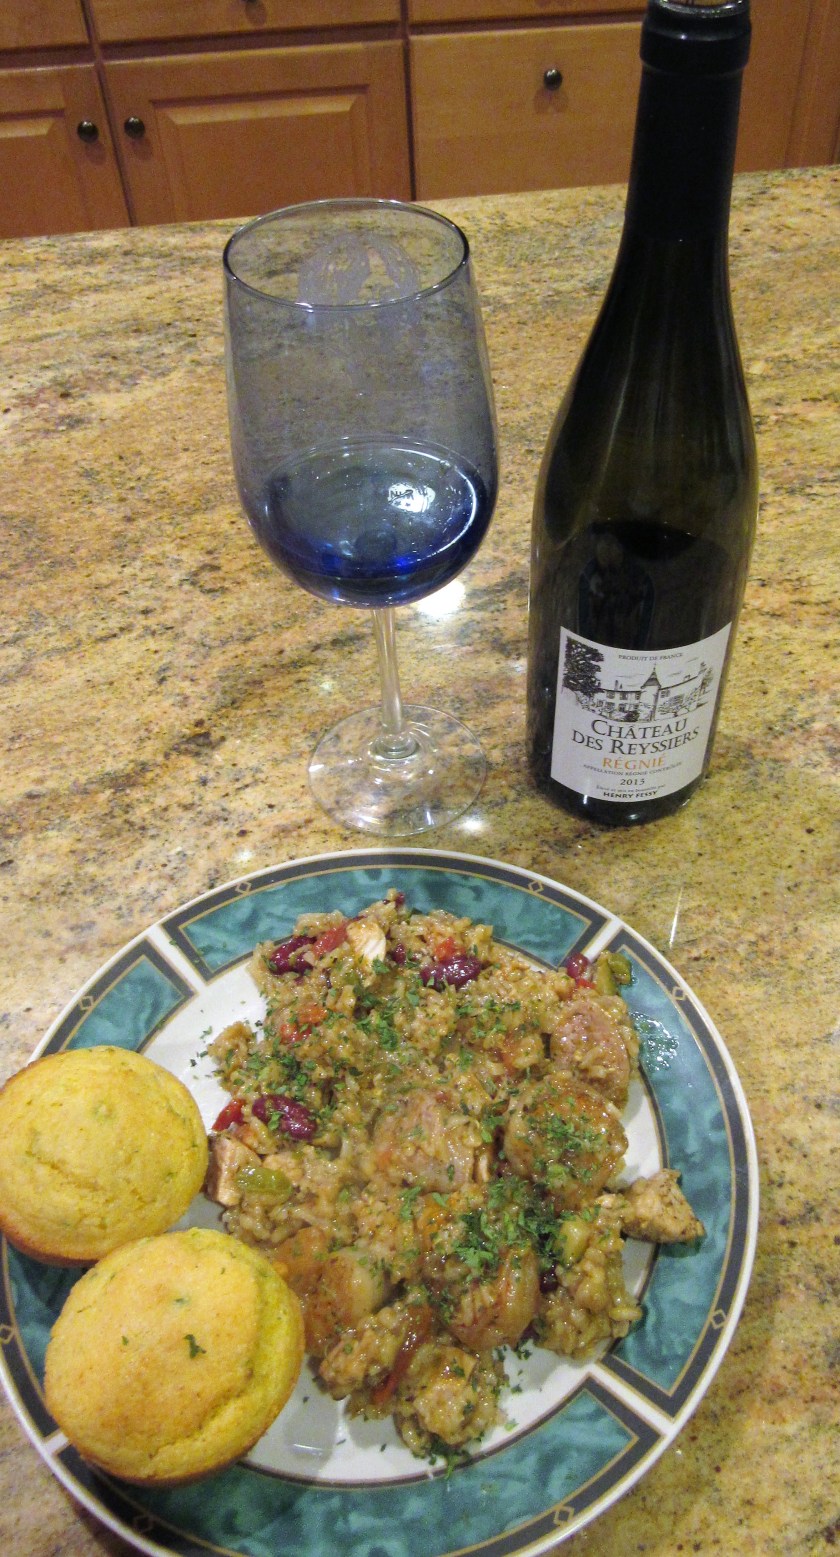
Dinner tonight was a typical Cajun, meal cooked in the traditional Lousianne way. We had jambalaya with jalapeno cornbread and honey butter. Y’all are goin’ to love this, I gar-ron-tee it. All that was missing was some Cajun zydeco music.
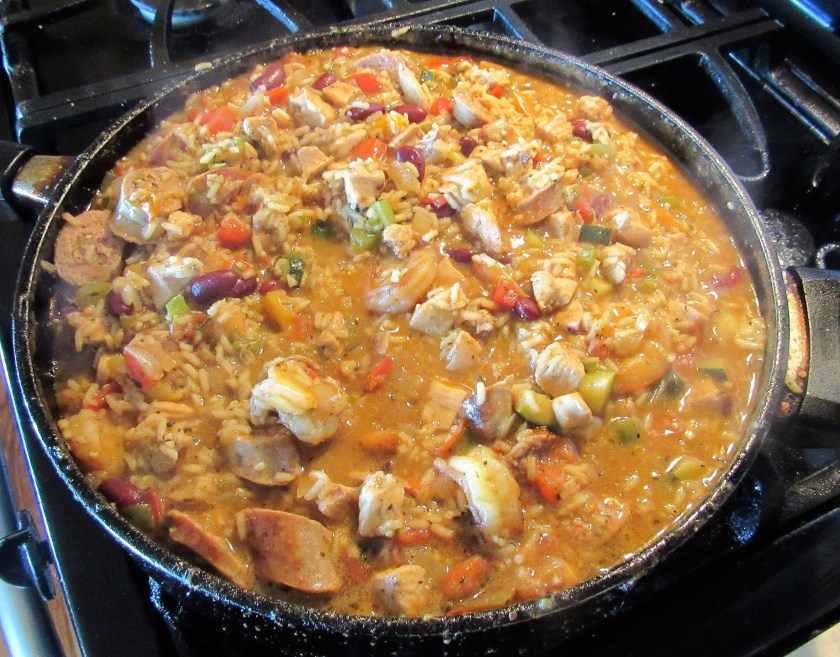
Long before jambalaya was trendy, it was the poor man’s food from down in the bayous of Louisiana. It is a spicy rice dish made with little bits of this and little bits of that and basically whatever was leftover. Jambalaya is very similar to the Spanish Paella. It almost always has a variety of meats, like shrimp, Andouille sausage, and chicken, along with Cajun spices, red beans, bell peppers, garlic, jalapenos, onions, tomatoes and Tobasco sauce. Mine is made in the traditional way, with all those delicious items, and the most important ingredient, a lot of love. My mother was from Port Arthur Texas, and I had an aunt was was Cajun, raised in the bayous of Lousianne. Cajun food is a staple in the South, particularly in South East Texas and Louisiana, so I was raised on this. A Cajun cook never measures anything and my aunt was a huge influence on my love for cooking, so this is probably why I rarely measure anything when I cook. I learned from a true Cajun.
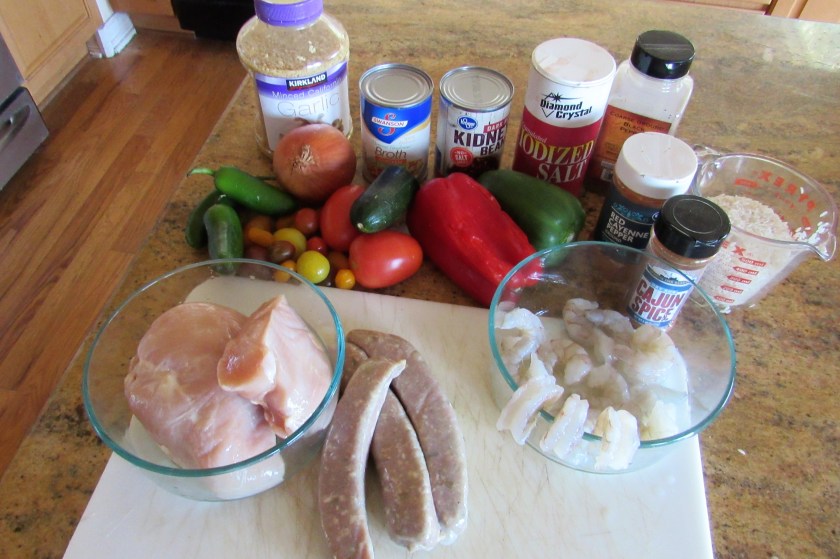
Jambalaya
shrimp, cooked
cooked Andouille sausage, sliced
cooked chicken, cubed
garlic
onions, medium chopped
red bell & green bell pepper, medium chop
jalapeno, diced fine
1 can kidney beans, using the juice as well
tomatoes, chopped medium
3 cups chicken broth
Tobasco to taste
salt & pepper to taste
oregano
cumin
marjoram
Cajun spices
I 1/2 cups rice
olive oil
Cook all your meats separately then set aside.
Saute all your vegetables in olive oil for about 7 minutes or until soft. Make sure you are using a large skillet, cause this is going to make a lot. Add your rice and stir, coating it well in the oil. Add the rest of your ingredients, adding enough chicken broth to cover the top of all your ingredients. Bring to a boil, then reduce to a simmer and cook until all the liquid is gone and the rice is cooked, which should be about 40 minutes or so. Make it as spicy as you like. This dish is supposed to have a major kick. So grab a plate and fix it up. Laissez le bontemps roullez or let the good times roll.