Flatbreads were first introduced to the world back in the days of the Ancient Egyptians and Ancient Sumerians from Mesopotamia, which is now known as Iraq. The Sumerians discovered that edible grains could be ground and made into a paste, then baked or hardened, and then eaten. Those baked grains became known as what we call flatbreads. These flatbreads were then topped with a variety of toppings, some simple and others complex. These flatbread varieties can be eaten as a meal on their own, like pizza, while others are usually eaten as a side dish or an accompaniment to the main meal, like focaccia.
Flatbreads, focaccia and pizza are different names for bread dishes that are very similar and are close cousins. They are all breads made with flour, salt and water that have been rolled, flattened and then baked. Flatbreads and focaccia are often the same thing with different names, although, true flatbreads do not use any yeast at all, like matzah bread or even crackers. These are known as unleavened breads. Breads that contain yeast are leavened breads. The main differences between focaccia and pizza are that pizza doughs often contain less yeast and are usually flatter than focaccia, and traditionally, pizza is most often made with cheese and either tomatoes and/or tomato sauce, where as focaccias usually do not have cheese or tomato products as a main ingredient. But there is no right or wrong way to make any of these flatbreads. Top them with whatever you like and enjoy them in all their different flavors.
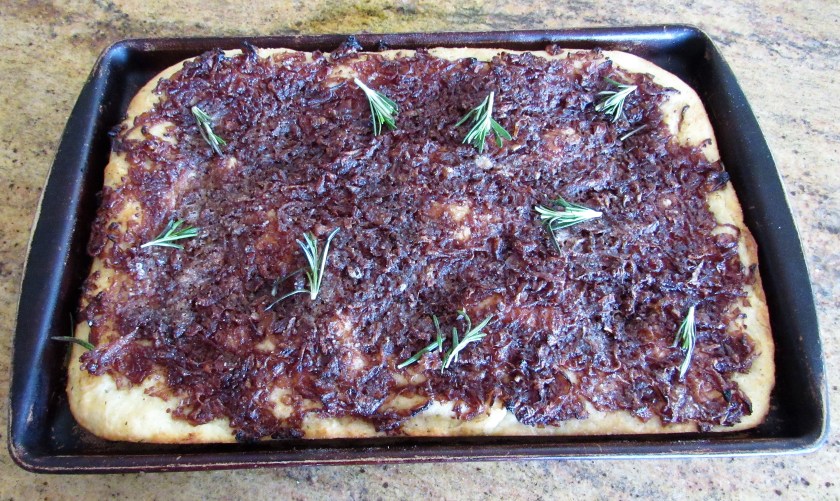
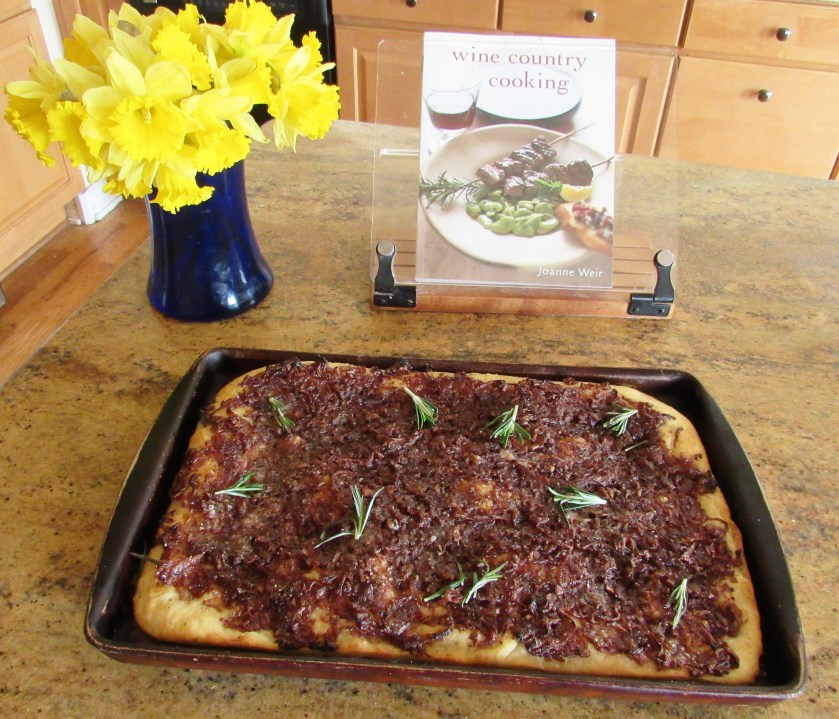
For Easter, I made another flatbread/focaccia, upon Priscilla’s request. Happy Easter/Passover This one was topped with caramelized onions and garlic. I added fresh rosemary in the dough mix as well. The combination of the fresh rosemary and the caramelized onions and garlic was definitely a winner.
Flatbread with Roasted Shallots and Garlic
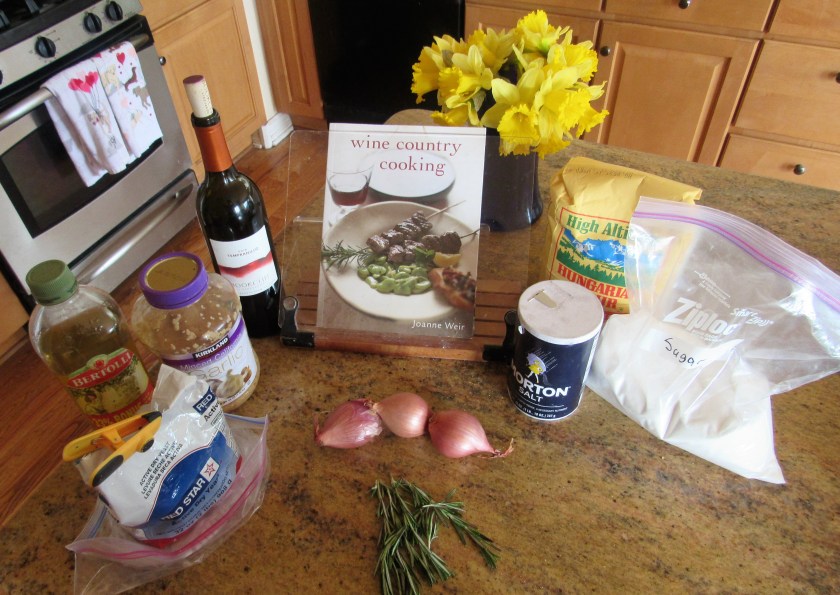
These few simple ingredients made this wonderful, bold and flavorful flatbread. This recipe does not call for a “sponge” specifically, but it still lets the yeast, flour and water set, which makes a starter. A sponge and a started starter are the same thing.
The Dough
2 1/2 tsp dry active yeast
2 1/2 cups flour, separated
1 cup warm water
1/4 cup olive oil
2 tsp fresh rosemary, chopped fine
Mix the yeast, 1/2 cup of the flour and 1/2 cup of the water together and let sit for 30 minutes. You want it to be bubbly and frothy.
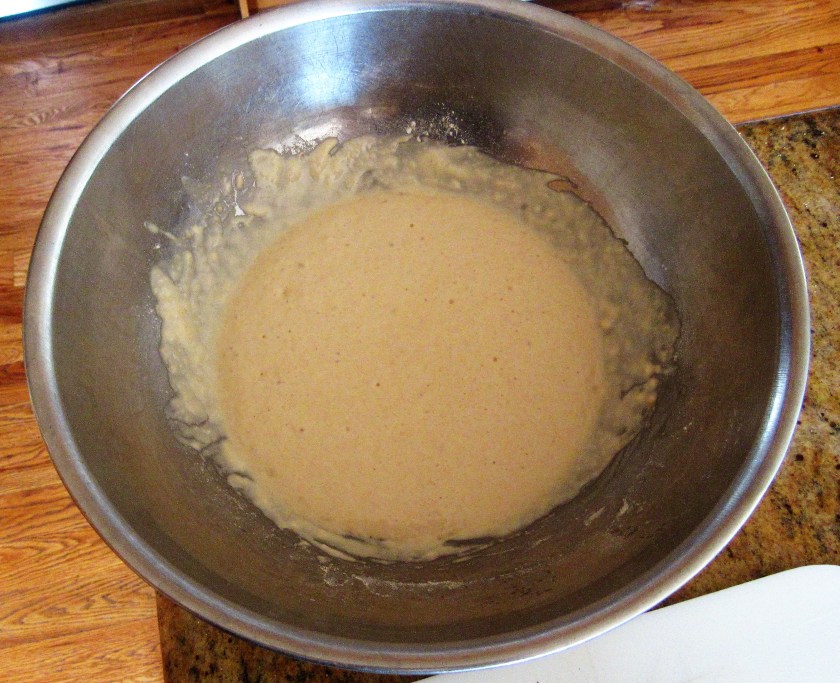
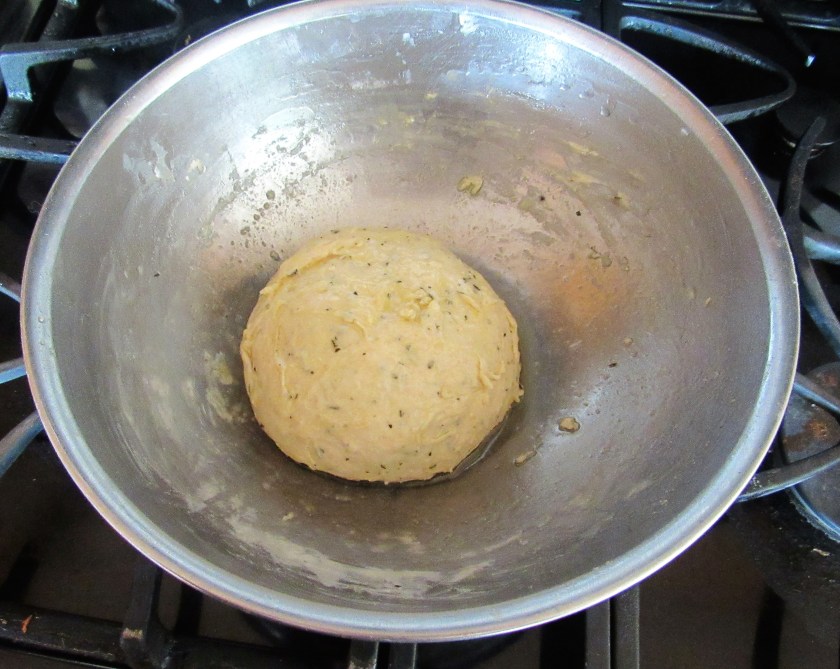
Once it has become frothy, add the remaining flour and water, the olive oil and the rosemary. Mix everything together thoroughly and then knead on a lightly floured surface until the dough forms into a soft ball, which will take about 8 minutes on average. Rub olive oil all over the bowl and over the dough, then over and and let it rise for 1 1/2 hours, or until the dough doubles in size.
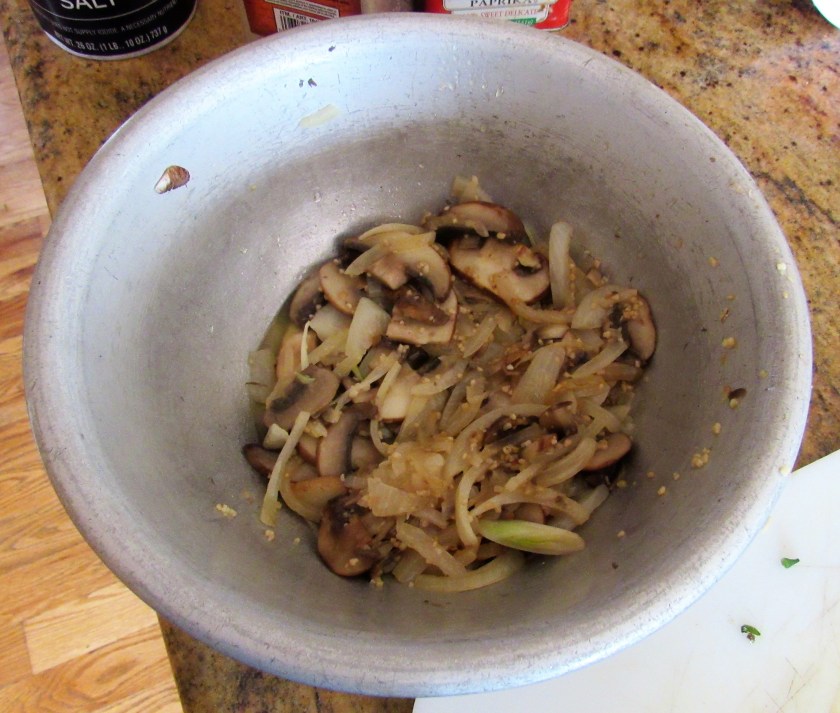
While the dough is rising, cook the shallots and garlic to make the topping.
Shallot and Garlic Topping
2 TBSP olive oil
25 small shallots or 10-12 large shallots, peeled and sliced very thin
2 heaping TBSP garlic
2 TBSP sugar
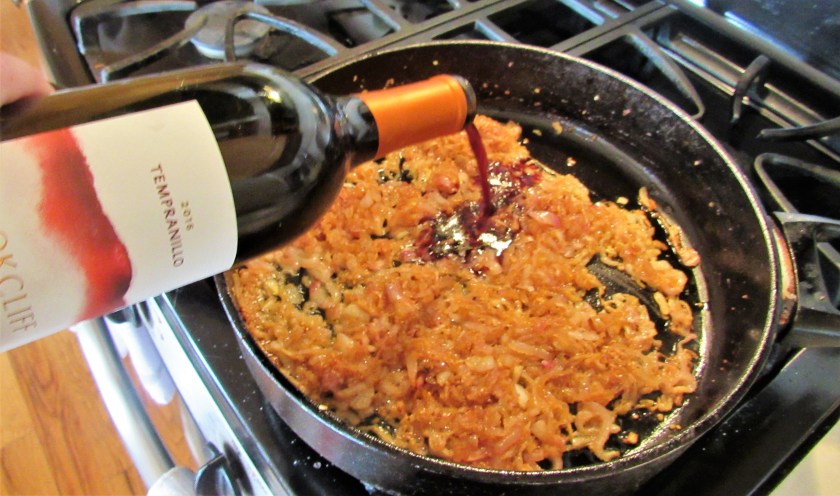
2 cups dry red wine
salt to taste
Saute the shallots and garlic in the olive oil until the shallots are soft and translucent, or about 10 minutes. Then add the sugar to caramelize the shallots, cooking for about 4 more minutes. Add the wine, cover and reduce the heat to a simmer. Continue to cook about 20 minutes, or until all the liquid has evaporated.

Once the shallot and garlic mixture is cooked, and the liquid has all evaporated, let the mixture cool.
Preheat the oven to 500* F
Once the dough has doubled in size, it is time to flatten it out onto an ungreased baking sheet, dimpling it with your fingers.

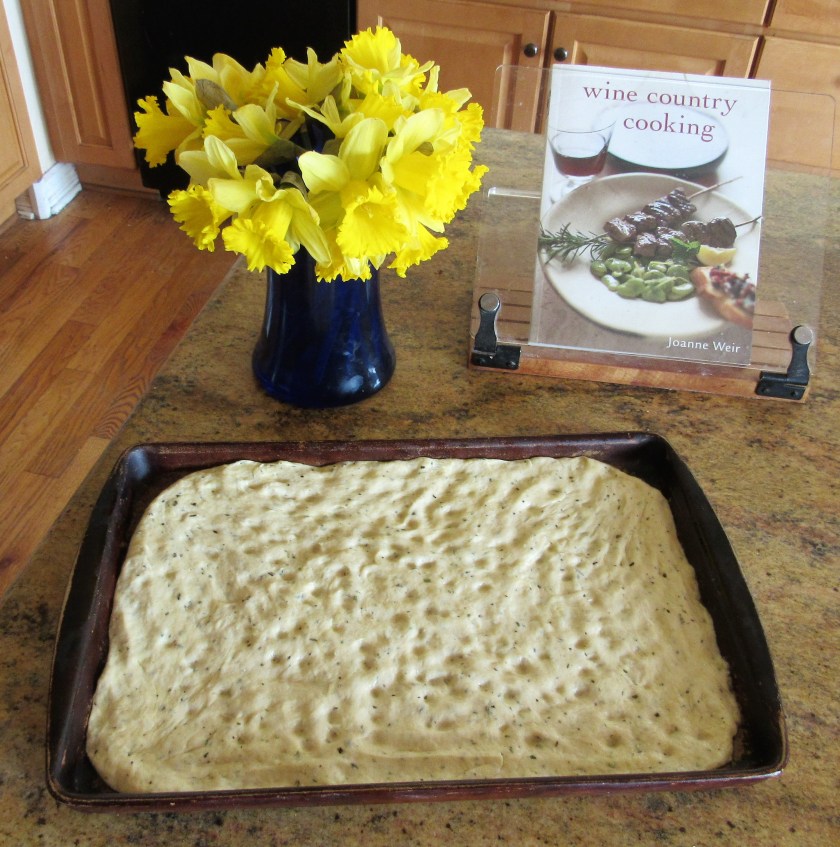
Evenly spread the shallot mixture on top of the dimpled dough, and bake for about 15-20 minutes or until the edges are lightly golden brown.
Once the focaccia/flatbread is done, let it cool for a few minutes before eating. This is best when eaten warm. Mangia!


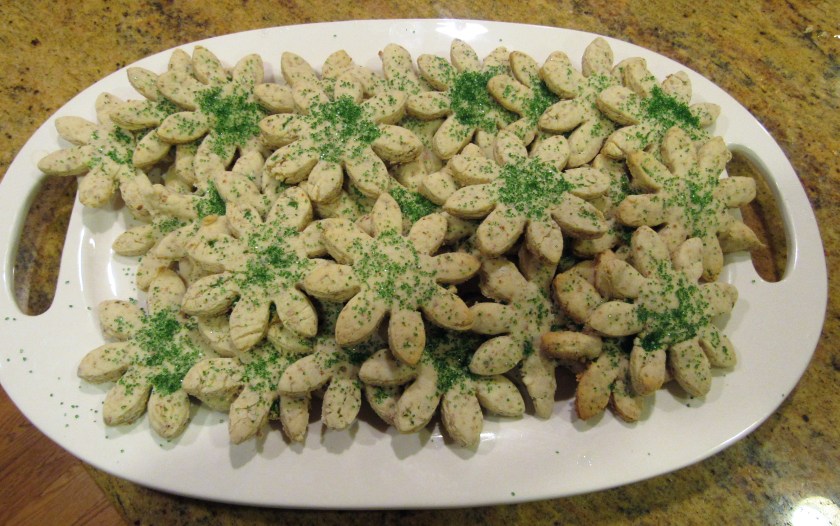

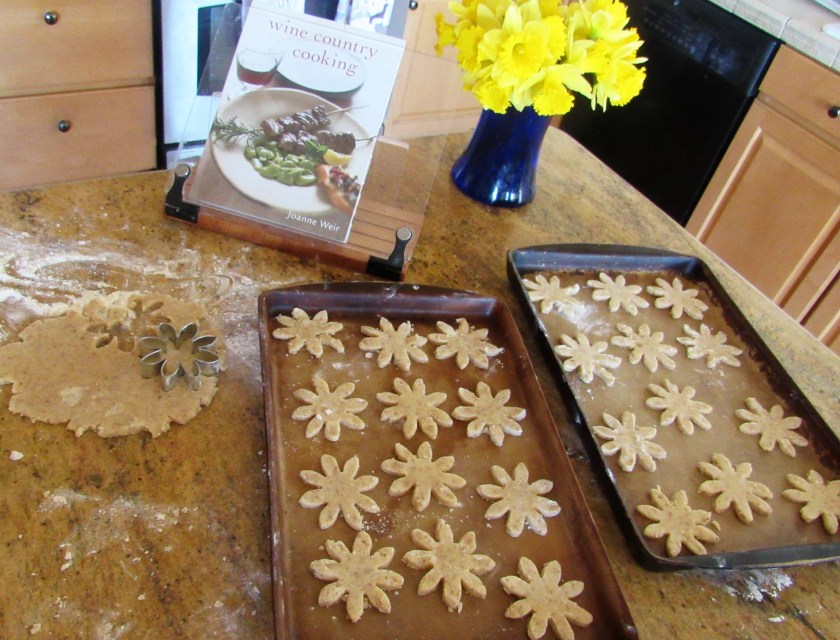
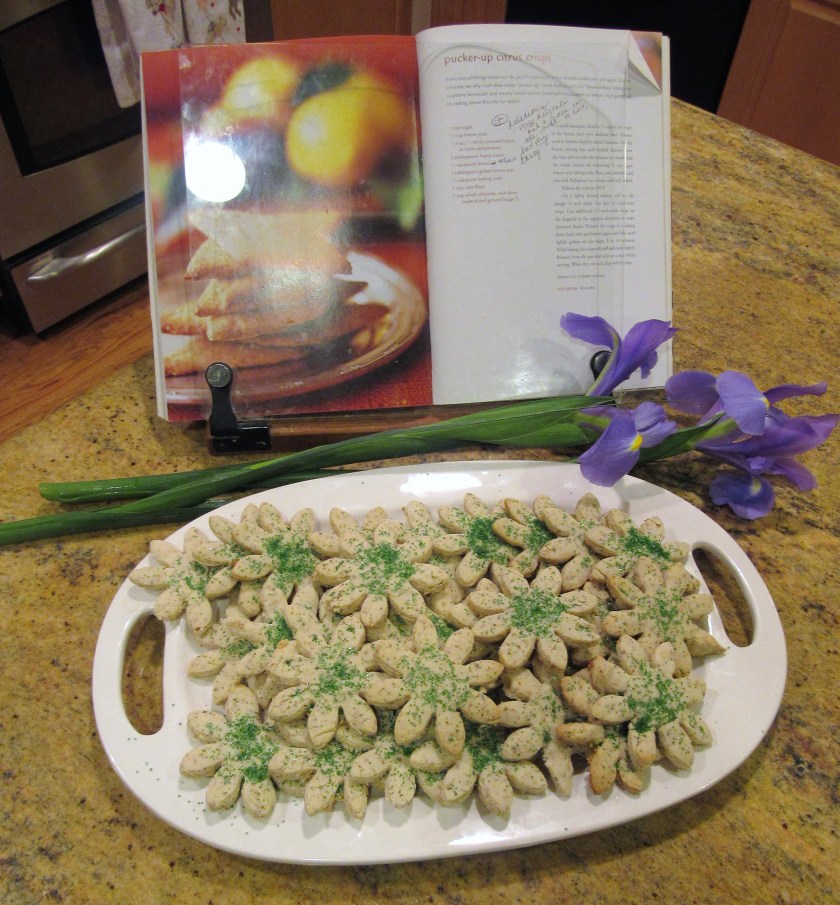


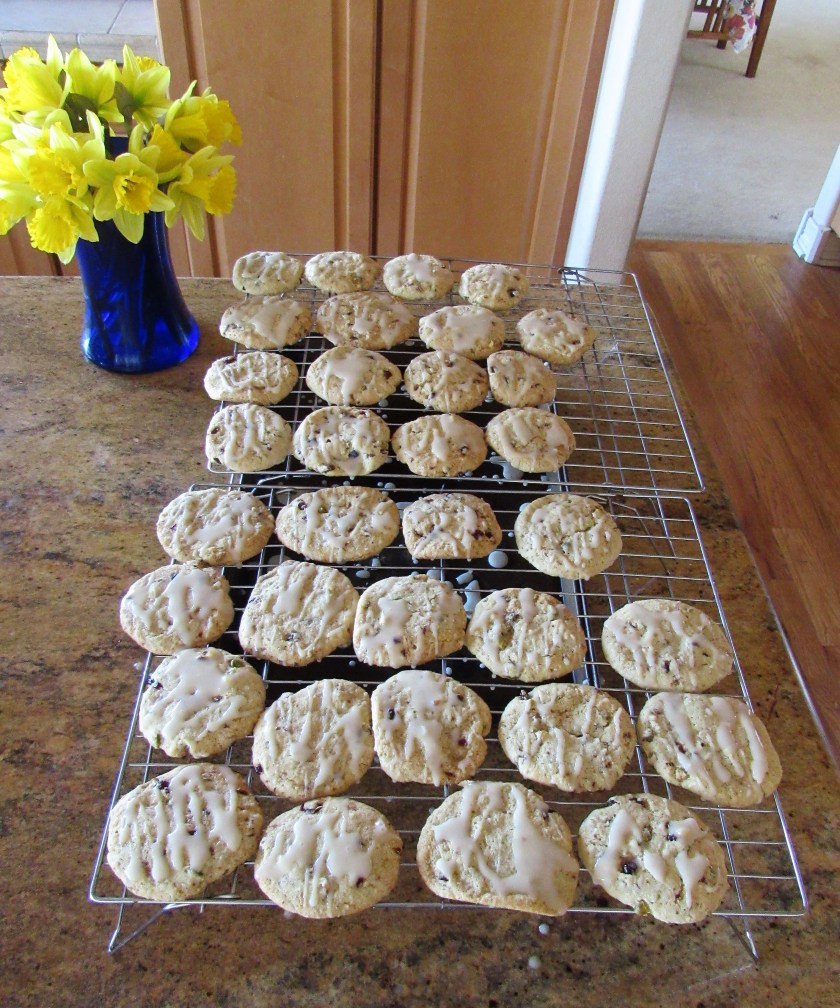
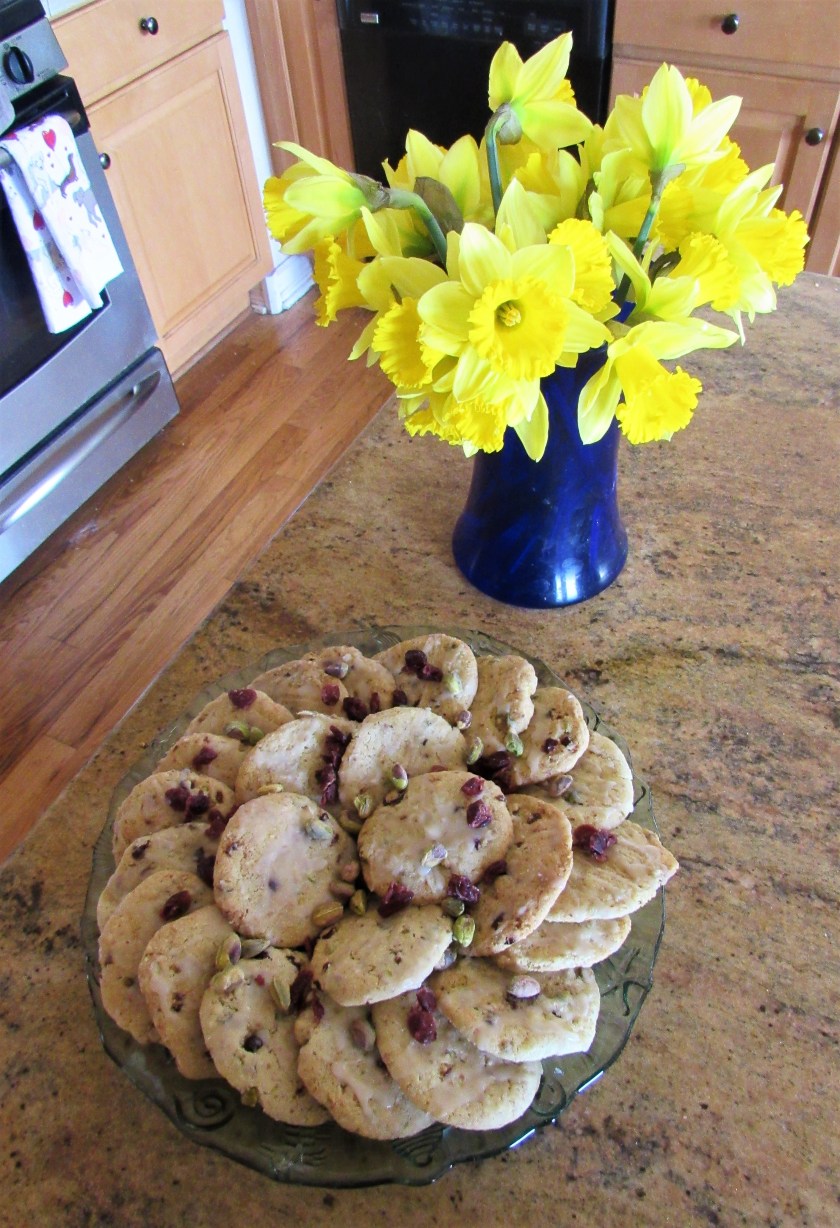
 Once the cookies are removed from the oven, let them cool for about 5 minutes, then place them on a cookie rack, allowing them to cool completely, before icing them (if you choose to use icing). I had some leftover lemon glaze that was a perfect flavor combination for these already delicious cookies.