Bread is the food of life and has been a dietary staple for people around the world since the beginning of time. It has the longest and the most interesting history of any food. The Ancient Egyptians get credit for first developing leavened breads, flatbreads and hearth cakes, which have all been part of man’s diet for millennia. Between 4000-5000 BC, the Nile Valley of Egypt refined the methods of farming wheat, which became known as the cereal crop of Western civilization. Wheat was the most valuable crop of the ancient world. This is in large part due to communities developing and growing around areas where a lot of wild grasses grew. These wild grasses were eventually domesticated and developed into the grains we still use today, such as wheat, corn, rye, barley, oats, rice and millet, as well as many, many others. The early grains were used to make the first breads or flatbreads. These grains were harvested and were ground into flour, then were mixed with water and cooked over hot rocks. Breads and grains were considered to be sacred gifts from the Gods and were often used as ceremonial offerings, as well as a way to determine one’s wealth. Breads and grains were often used as “money” back in ancient times. Bakers during these times were held in very high regard within the communities and held the same status as priests and holy men. Bread was one of the first complex masterpieces recognized in the culinary world. The color of bread also told your financial status within the community. The darker the bread one ate indicated their lower level on the “class scale”. And as you would expect, the lighter the color of the bread one ate indicated the level of their wealth. This was because the more processed the bread was, the more expensive it was to produce and therefore to purchase.
The Ancient Egyptians are credited for being the first to cultivate grains, but it was the Greeks who first developed the millstones for grinding these grains and the ovens to bake the breads as we know them today. The Romans, took it even further and refined the millstones and the ovens which allowed for the creation of more specialty and finely textured breads. With the introduction of both wind and water powered mills in medieval Europe came yet another transformation in the world of bread making, refining it even more.
The color of the bread, and the use of multiple grains may have been used to determine one’s socioeconomic status in the past, and even up until fairly recently, but that is no longer the case. In fact, it has almost gone full circle, and now those “specialty” or “ethnic” breads are now the ones that are most ardently sought after by bread lovers everywhere. I love breads of all kinds and always have, but my favorite breads have always been the multi-grain, rustic or textured or flavored breads. It is said that “man cannot live on bread alone”, but I truly believe I could, as long as there was enough butter to go with all that bread.
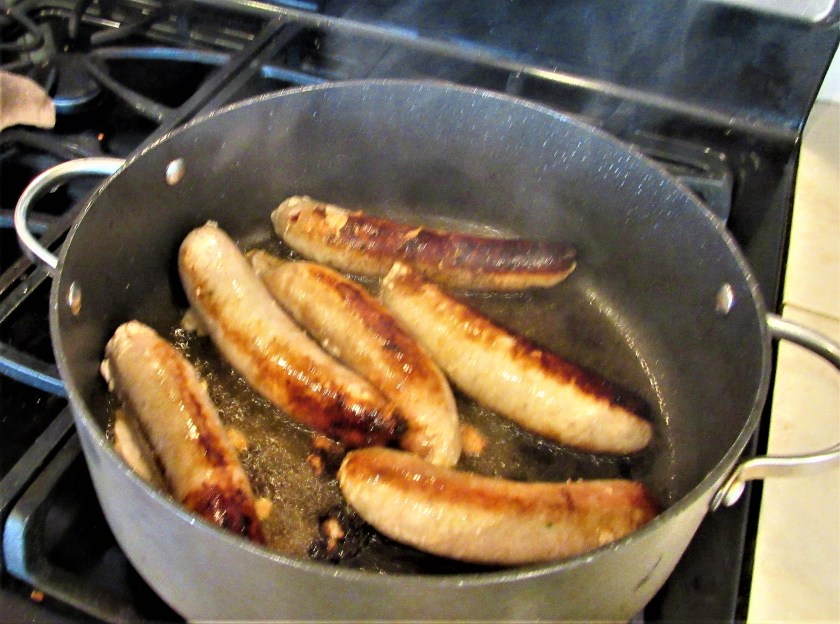
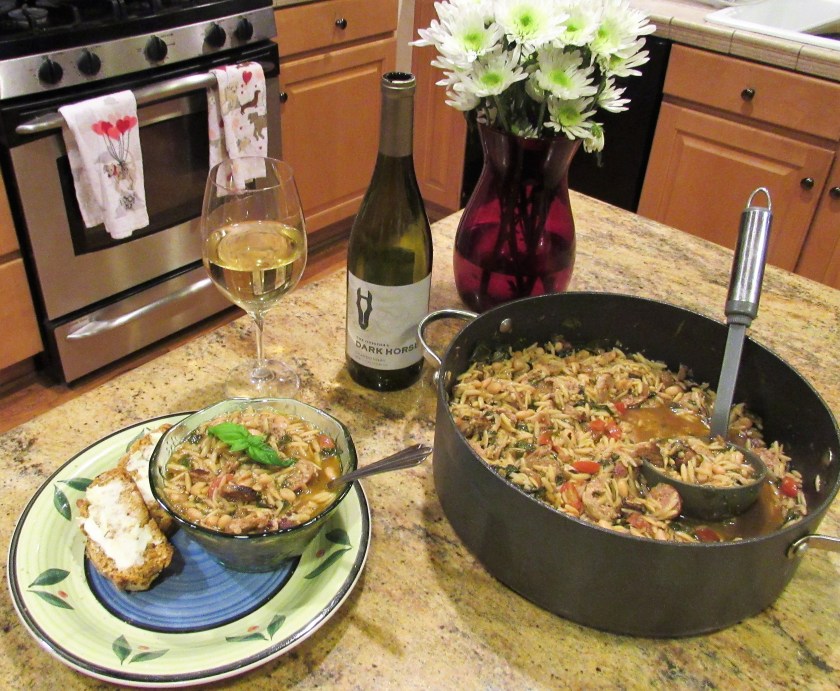
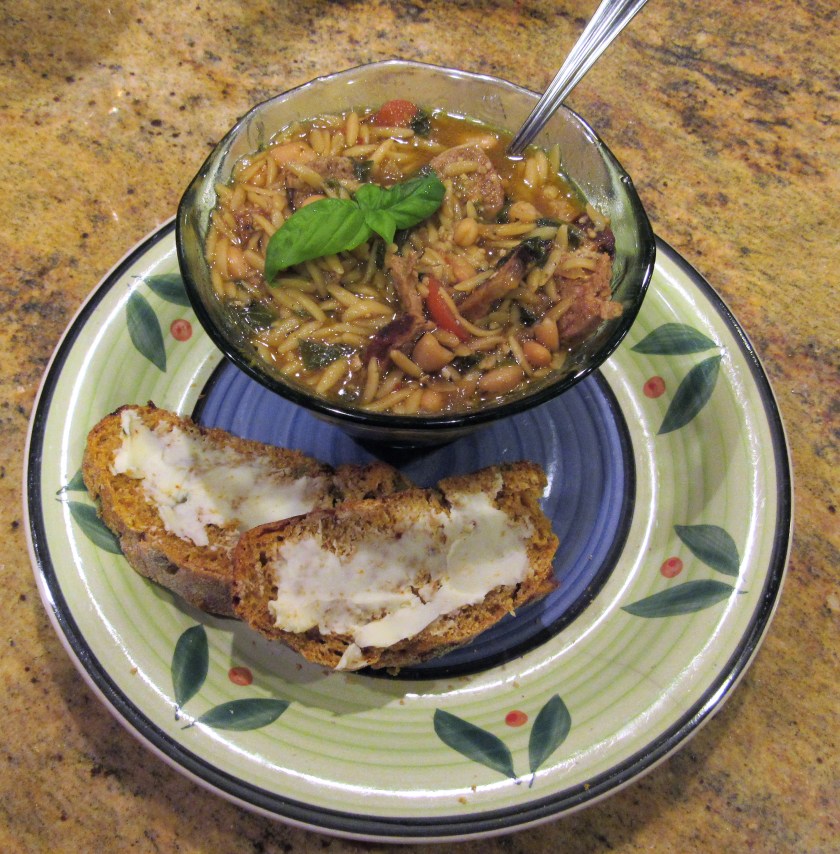
The other day, when it was cold and snowy, not only did I make a big pot of soup, Soup It Up but I also made some delicious whole wheat chili cheese bread to go with that soup.
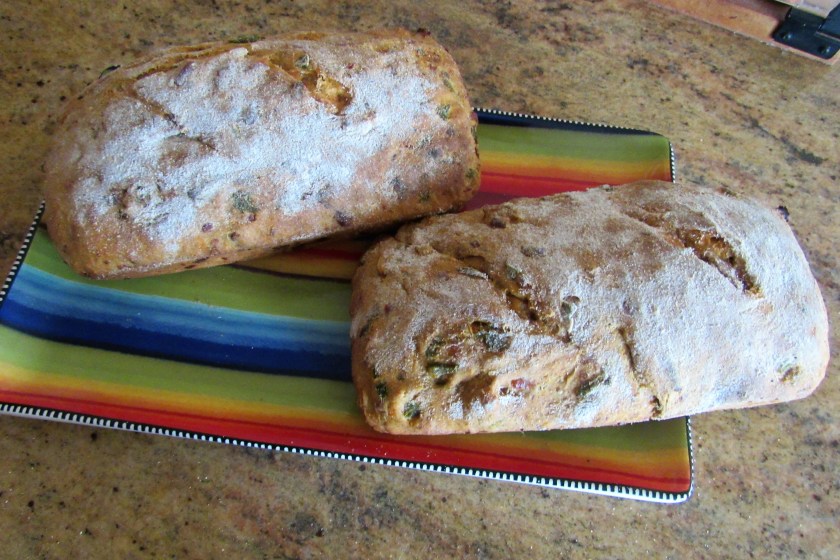
Whole Wheat Chili Cheese Bread

The Sponge
1 1/4 cups warm water
2 TBSP olive oil
2 tsp honey
2 1/2 tsp dry active yeast
Mix all these ingredients together well and let set for 2 minutes or until it becomes frothy.
Dry Ingredients
1 cup whole wheat flour
1 cup of either bread flour or cake flour
1 cup all purpose flour
2 tsp salt
4 tsp chili powder – I used a combination of regular chili powder and ground Aleppo chili
4 tsp of red pepper flakes
1 cup cheddar cheese, shredded
1/2 cup chilies, roasted, peeled and seeded – I used 2 Anaheim chilies
After the sponge is ready, combine all the dry ingredients except for the roasted peppers and the cheese and knead it on a slightly floured surface for about 8 -10 minutes. Then add the green chilies and the cheese and incorporate it thoroughly into the dough.

Once everything is well incorporated, form the dough into a ball and place it in a large bowl that has been lightly oiled. I oil my dough as well.

Cover and let rise for 1 1/2 hours or until the dough has doubled in size. Punch the dough down and cover it again to rise for another 30 minutes. Cut the dough in half placing it into 2 loaf pans. Shape the dough to fill the pans. Cover once again and let the dough rise for another 20 minutes.

Preheat the oven to 400* F
Once the dough has completely risen, make 2-3 slits with a sharp serrated knife on the top of the dough. Then lightly sprinkle the top with flour. Spritz the oven with water and place the loaves into the hot oven. Spritz the oven again at least 2 more times within the first 10 minutes of baking. Bake the bread for 40-45 minutes or until the crust is dark and firm and a hollow sound is heard when tapping the loaf. Let the bread completely cool before cutting it and enjoying it.
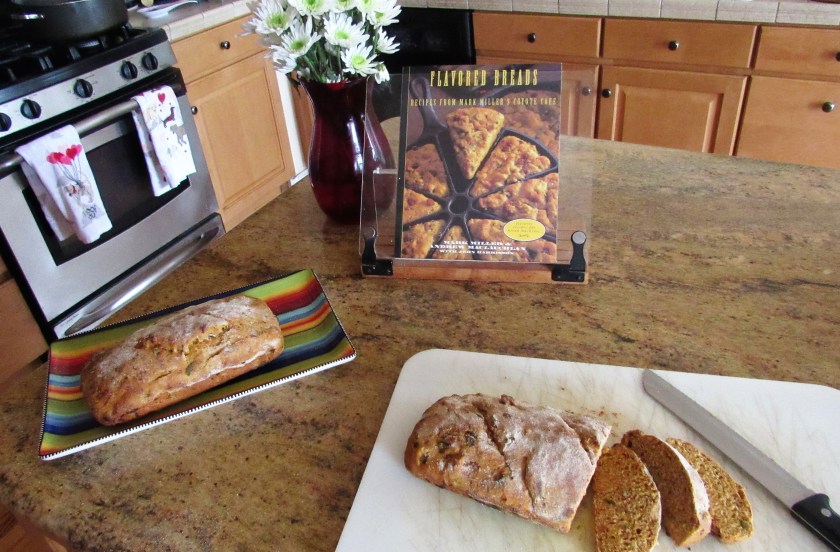
Because of the chili powder, the bread will have a nice rustic red color. Delicious!


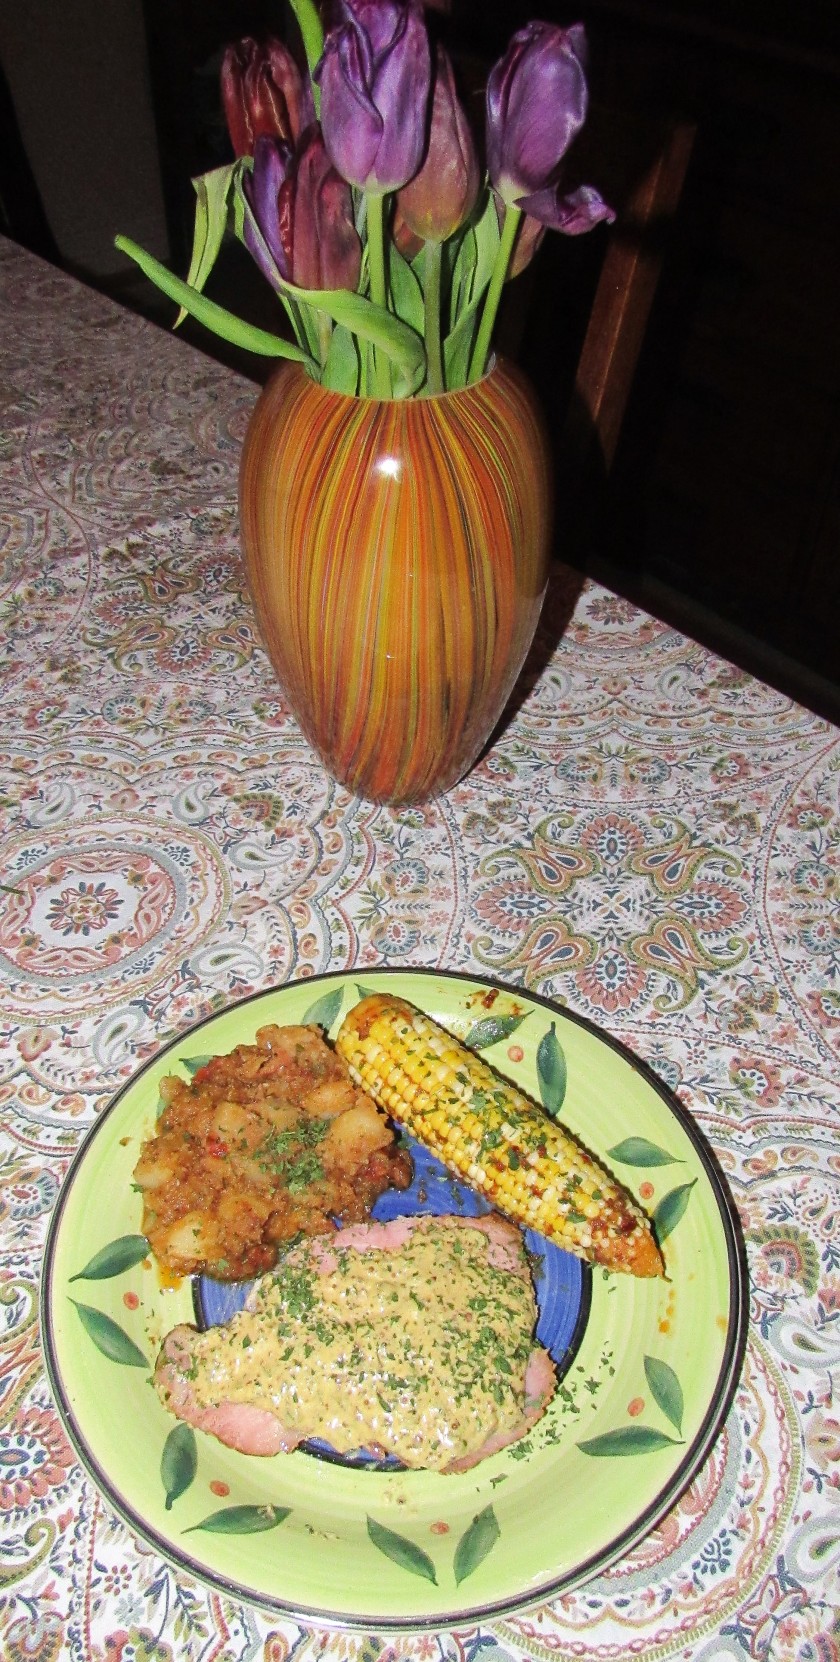

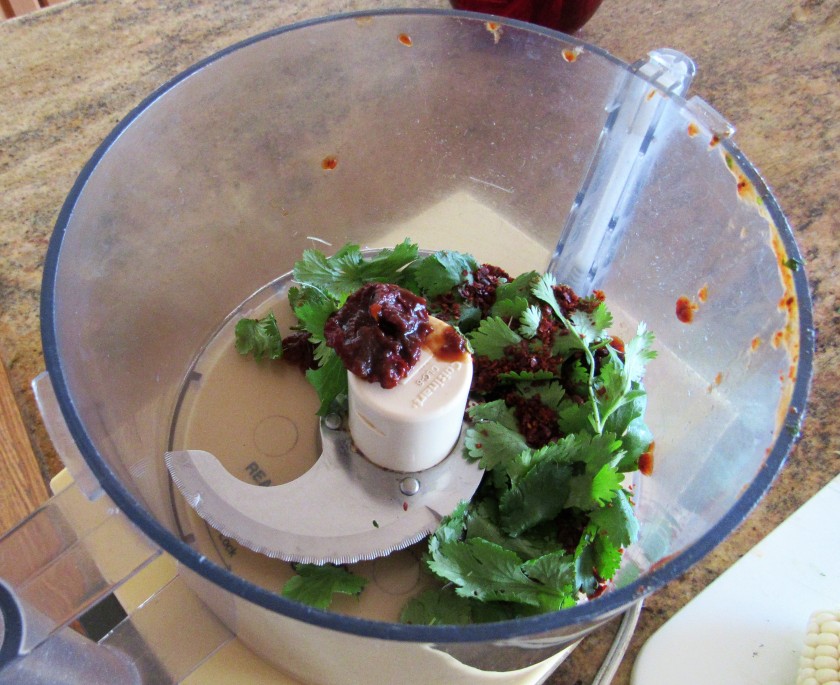
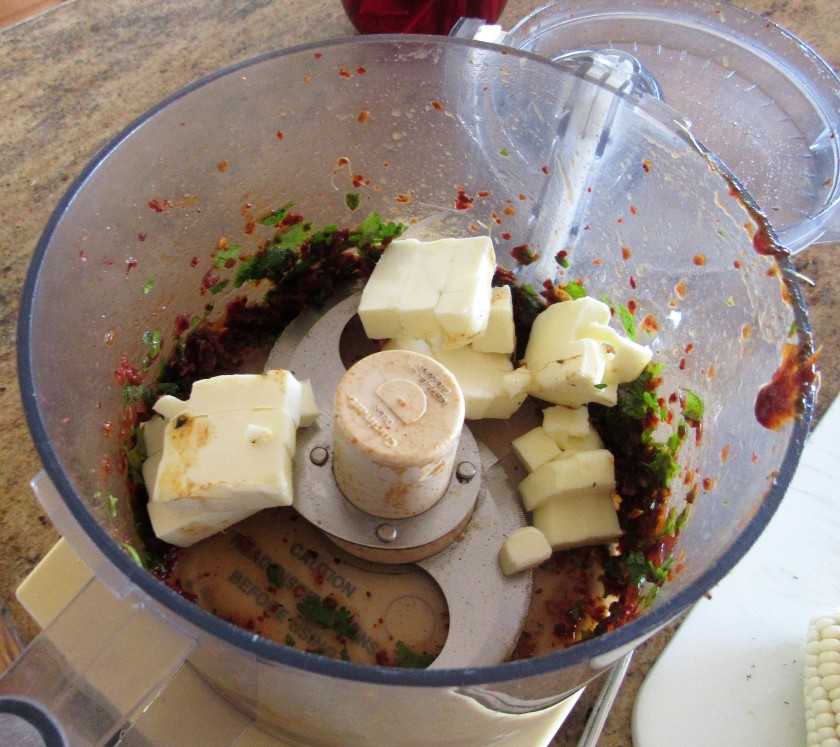
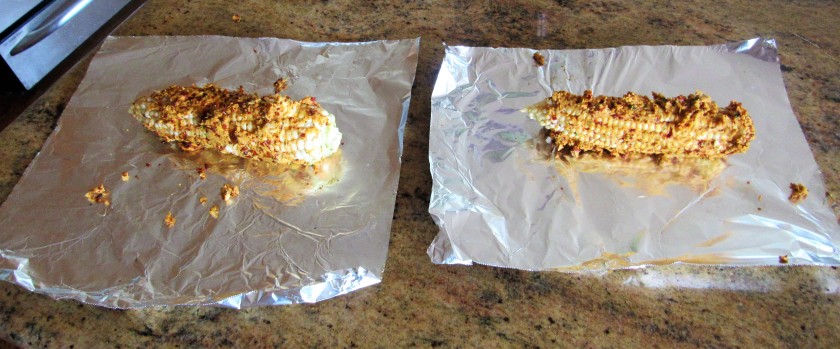
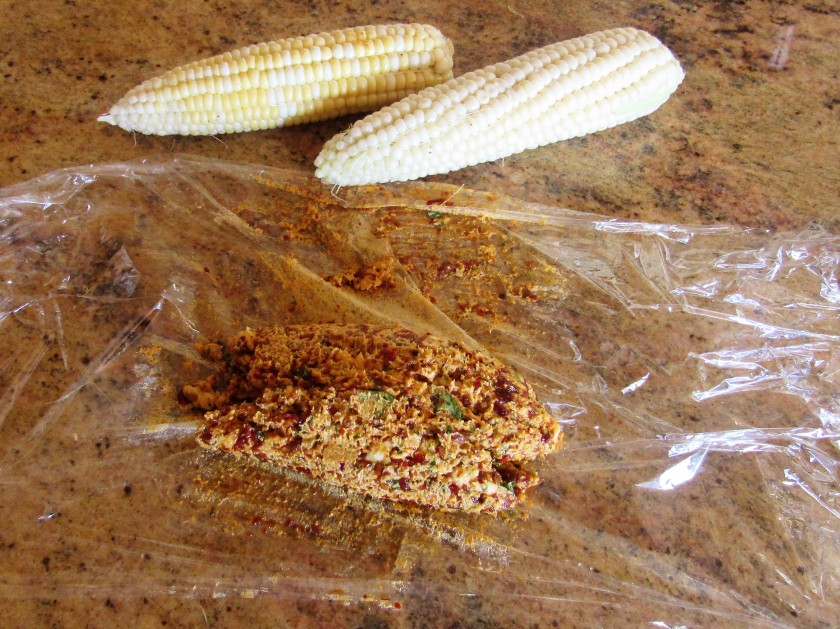 Once the compound butter as set, use it to add some kick and pizzazz to your favorite foods. I used it on corn on the cob. I rubbed the spicy butter all over the corn and then wrapped the corn in aluminum foil and baked it in the oven for about 20 or so minutes, until the corn was done. You could also do the same thing and cook the corn on the grill as well. When the corn is cooked, carefully unwrap it from the foil and pour off all the melted butter back onto the corn, to make sure none of the flavor escapes.