As you all know, I love to cook and I love to cook just about anything and everything. But since our trip to Spain last year, I have been doing more and more Spanish style cooking. I grew up with and absolutely love the Mexican/Spanish flavors from across the border, but the recipes from Spain are totally different. It is Old World vs. New World. Both are muy delicioso, and though there are similar, they are also completely different, with their own personalities too.
In Spain, and in Spanish cooking all over, sauces are used as building blocks for many other dishes. They add texture and layers to the foods while they cook. Many Spanish dishes are started with cooking, onions, garlic and tomatoes in olive oil until they are cooked down to make a puree. This is called sofrito, or in Catalan, soffregit. Can you see why I am so enamored with Spanish cooking? 🙂 They start off with the most basic ingredients that I use in almost all of my own cooking. How can you go wrong when cooking with garlic, onions and tomatoes, right?! 🙂
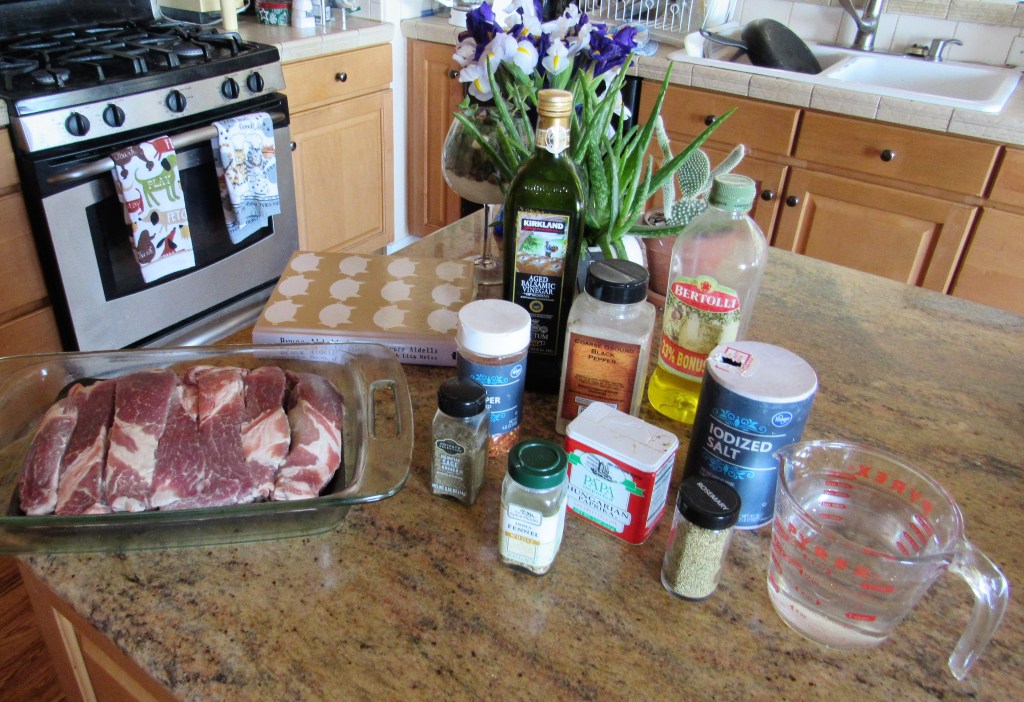
My latest venture to the Old World of Spain was a combination of dishes that started with this very tasty, Spanish style tomato sauce. It is a sweet tomato sauce that is muy facil, or easy to make, very versatile, and only requires a few basic ingredients. It can be used for just about anything. I have already used it three different ways, which of course, you will soon learn about. But first, let’s start with the sauce itself.
Sweet Spanish Tomato Sauce

1 cup olive oil
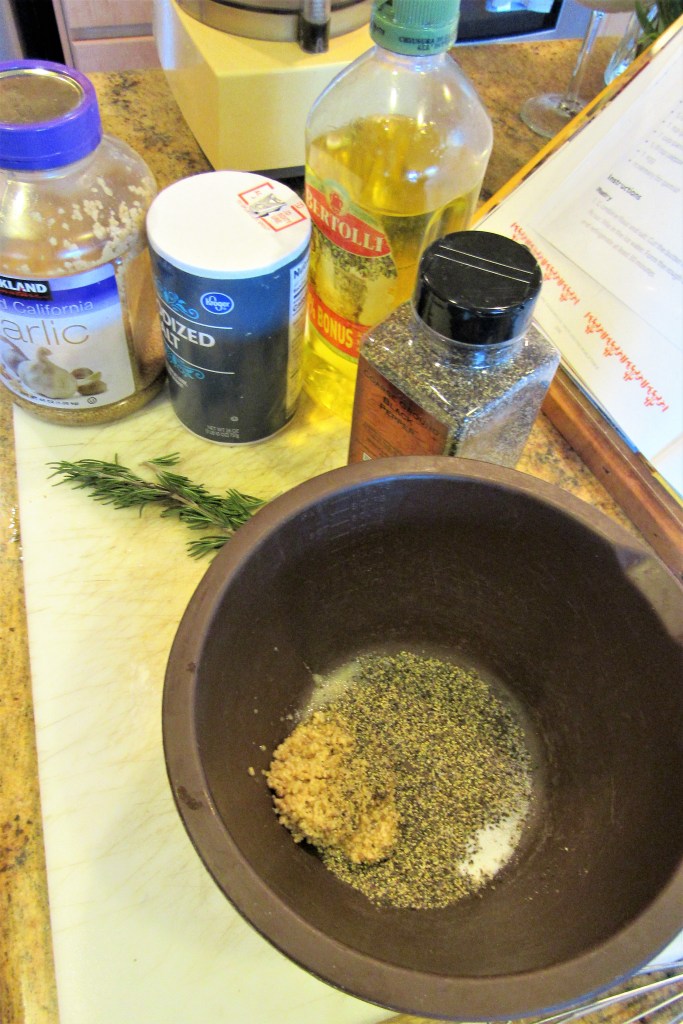
2 TBSP garlic
1 onion, diced fine
3 cups tomatoes, diced medium
2 1/2 cups water
1 TBSP salt
2 tsp black pepper
3 TBSP sugar
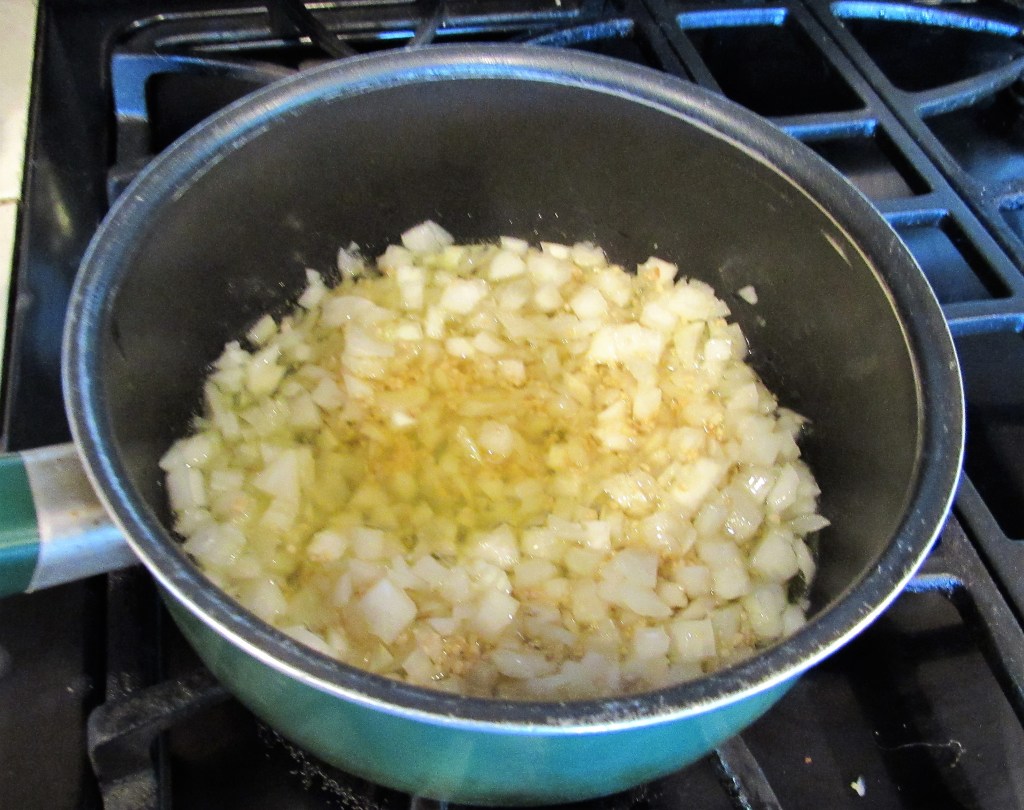
Heat the olive oil, garlic and onions and cook for about 15 minutes, or until the onions soften and start to turn golden.
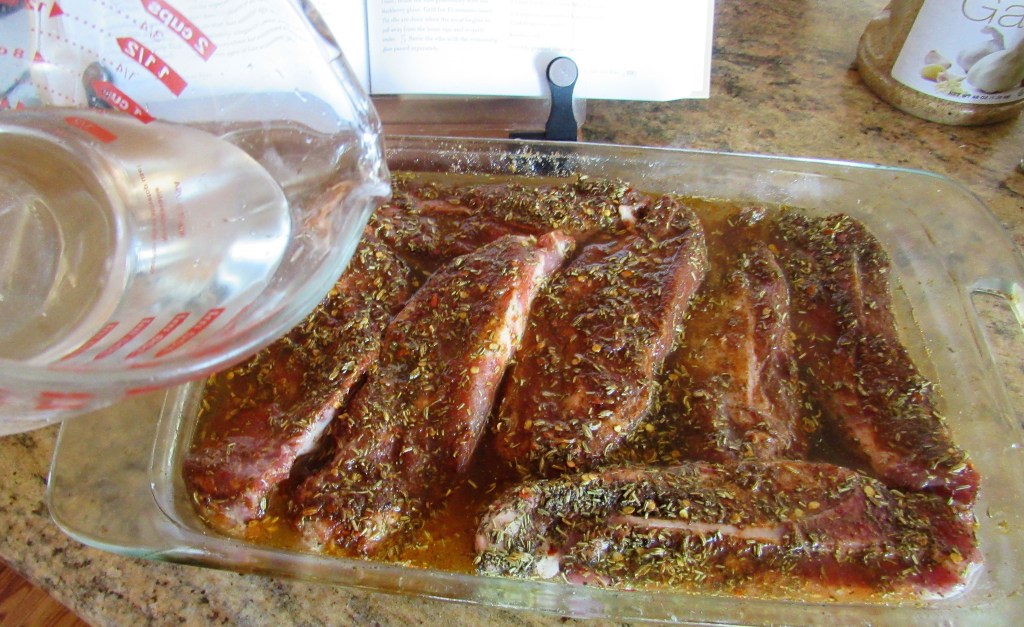
Add the sugar and the rest of the ingredients to the mixture and bring to a boil.


Then reduce the heat, and continue to cook for about 1 1/2 hours or until the sauce is reduced to a puree. Make sure to stir the sauce occasionally too.
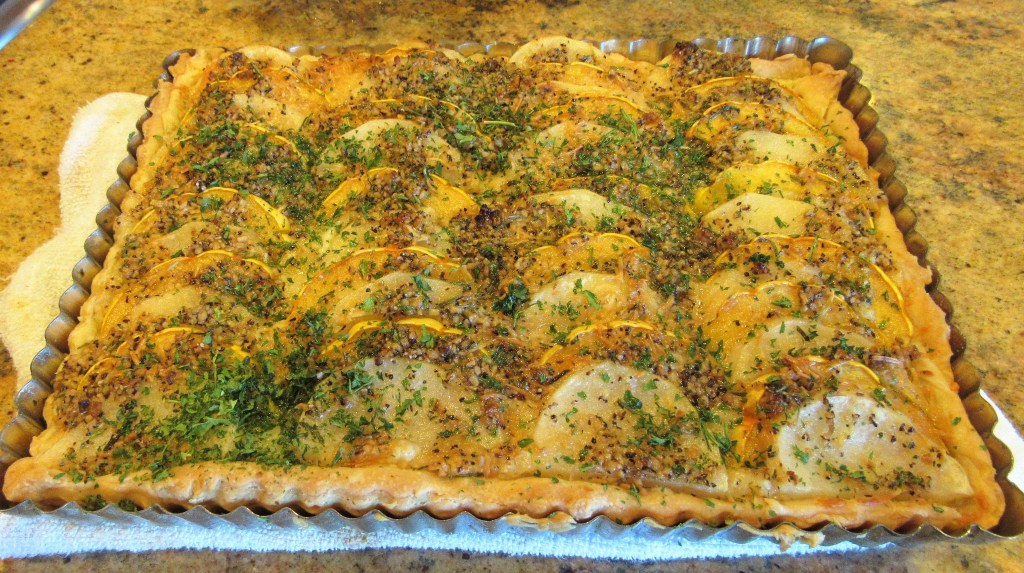
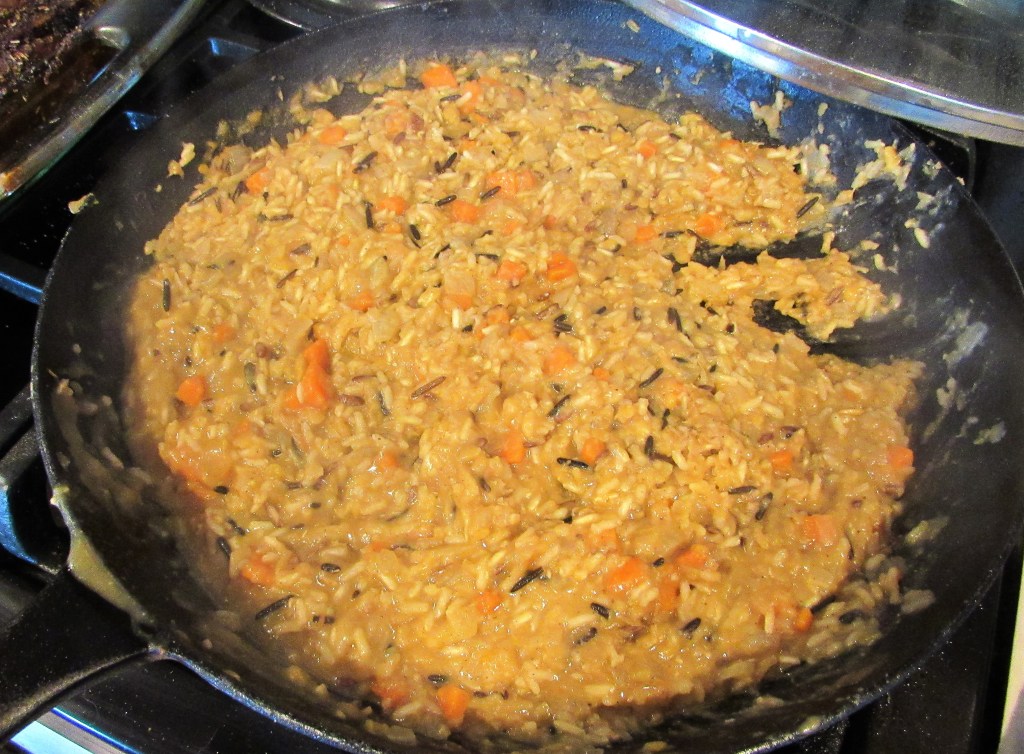
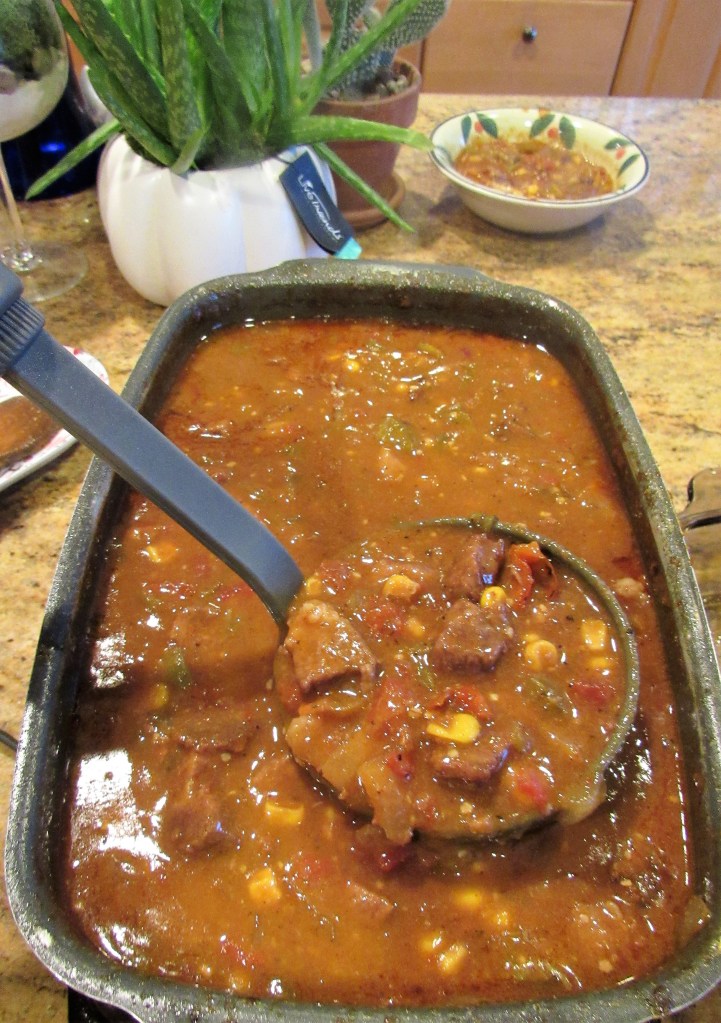
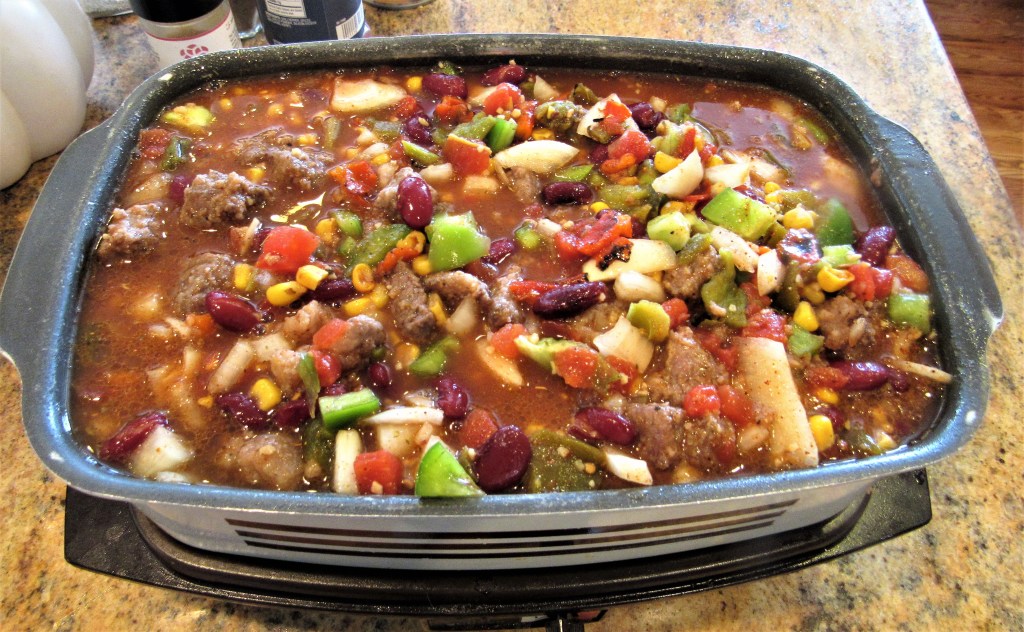
When the sauce is done, let your imagination run wild, and use it however the fancy strikes. You can use it for eggs, seafood, pasta, or …..

So when you want to make it saucy, say ole, and sauce it up Spanish style.
Stay safe and stay well Everyone. ‘Til next time.