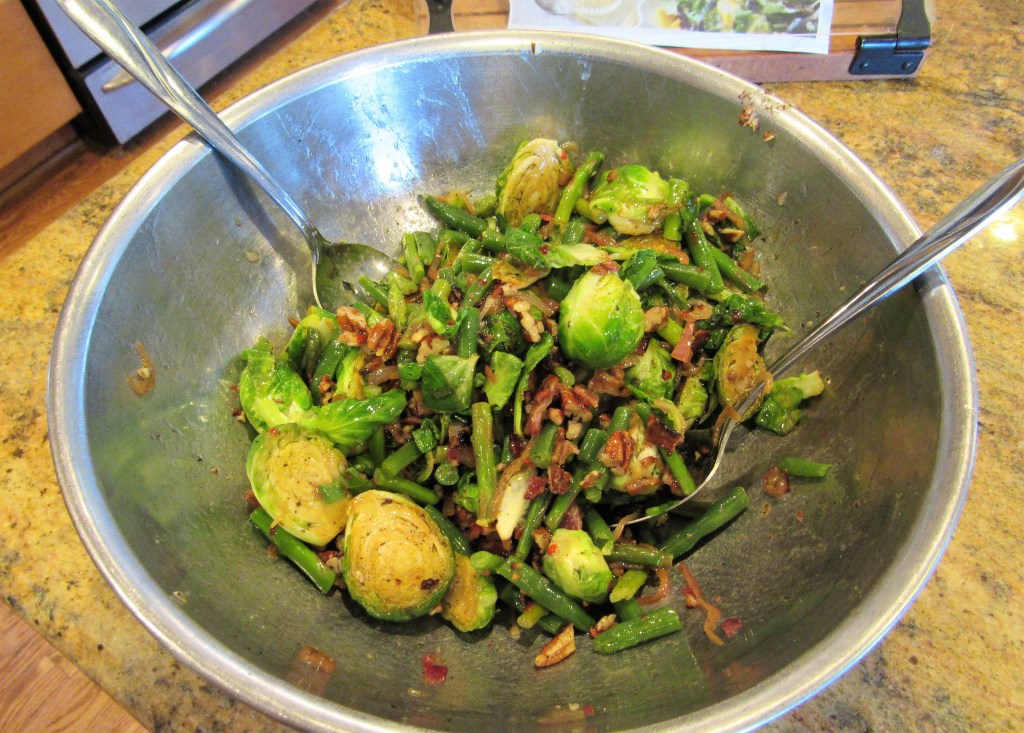
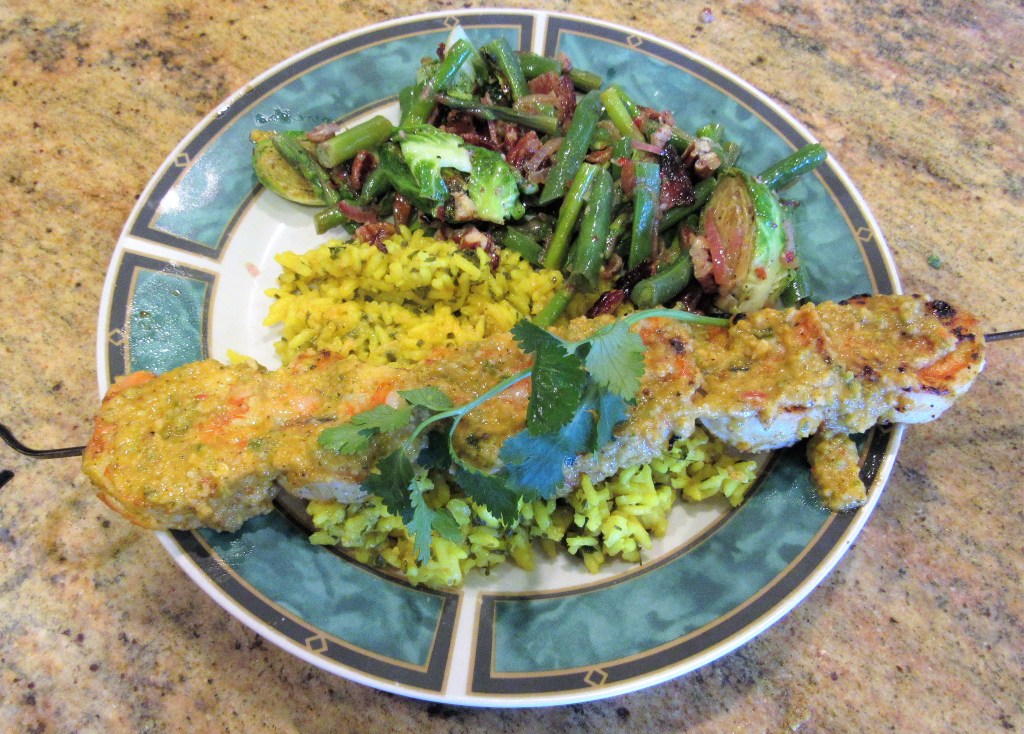
Fusion cooking is always fun. I get to mix and match all kinds of things and that opens up a lot of new and interesting possibilities. As you would imagine, a traditional pesto is Italian, and is traditionally made with fresh basil and roasted pine nuts. But today, anything goes, and it is up to your imagination. Shrimp is the most popular seafood used in Chinese cooking, although shrimp is universal. I made my Asian pesto with macadamia nuts, which are often associated with Hawai’i, instead of using the pine nuts and spiced it up with some Asian flavors to give it a whole new perspective. So in this one dish, I combined some Italian, Chinese and Hawaiian influences to make a uniquely delicious meal of Shrimp with an Asian pesto sauce. I served it over lemon rice, which has Indian influences, as well as my green vegetable salad and pita bread and red pepper hummus, that are Middle Eastern. It’s All About Being Green, A Taste of Morocco This one dish had many international influences, which in a way makes it very American too.

Macadamia nuts are known as the “king of nuts” because they are labor intensive and costly to produce. But they are worth every penny spent on them. If you have never eaten a macadamia nut, you really need to. You are in for a real treat! They are soft, crunchy and buttery all at the same time. No other nut compares. Originally, macadamia nuts hailed from Australia, and were introduced to Hawai’i in the early 19th century, but today they are grown in high rainfall, subtropical regions around the world from Australia, Hawai’i, and South and East Africa.

Part of what makes macadamia nuts so expensive is that it takes roughly seven months for the nuts to mature enough to dry and process. Then they are harvested by hand once they fall to the ground from the trees and are dried before they are ready to go to market. The drying process takes about three weeks. When the nuts are first harvested, they have a moisture content of about 30%. When they are fully dried the kernel shrinks away from the inside of the shell, which allows the shell to be cracked in a way that does not damage the kernel. When the drying process is complete, the moisture content is now at 1.5%, which gives the nuts a light and crunchy texture. Once you start munching on them, it is very hard to stop at just one.
Asian Pesto Sauce

3/4 cup roasted macadamia nuts or peanuts if you prefer
2 jalapenos, seeded
1 red chili, seeded
1 1/2-2 TBSP garlic
1 TBSP ginger
2 TBSP lime juice
2 TBSP Sambal sauce
1 TBSP sugar
1/2 cup fresh basil leaves
1/4 cup fresh mint leaves or about 1 TBSP dried mint
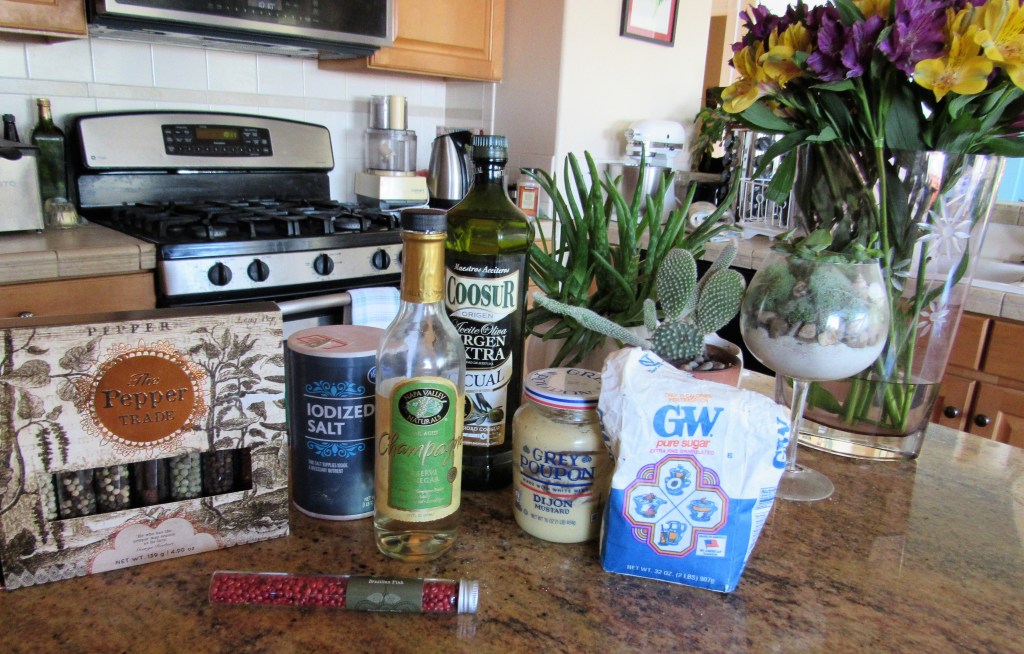
salt & pepper to taste
1/2 cup olive or peanut oil
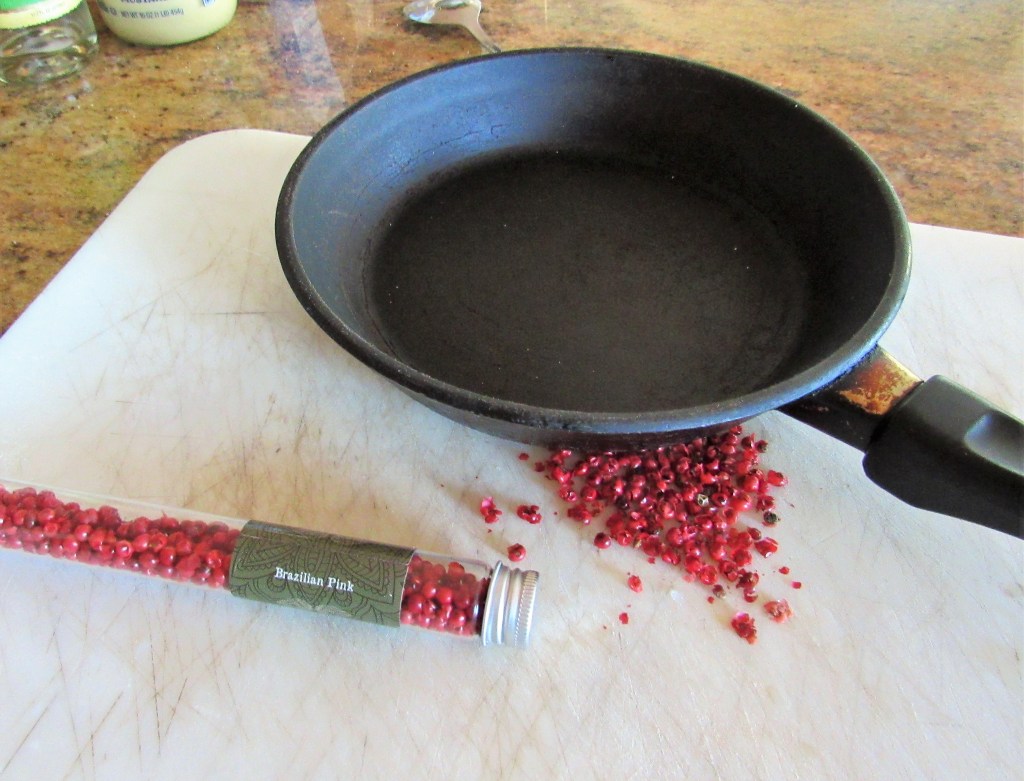
Roast the nuts first until they are lightly browned and fragrant. Then combine everything together in a food processor and blend together until you have a liquidy sauce.
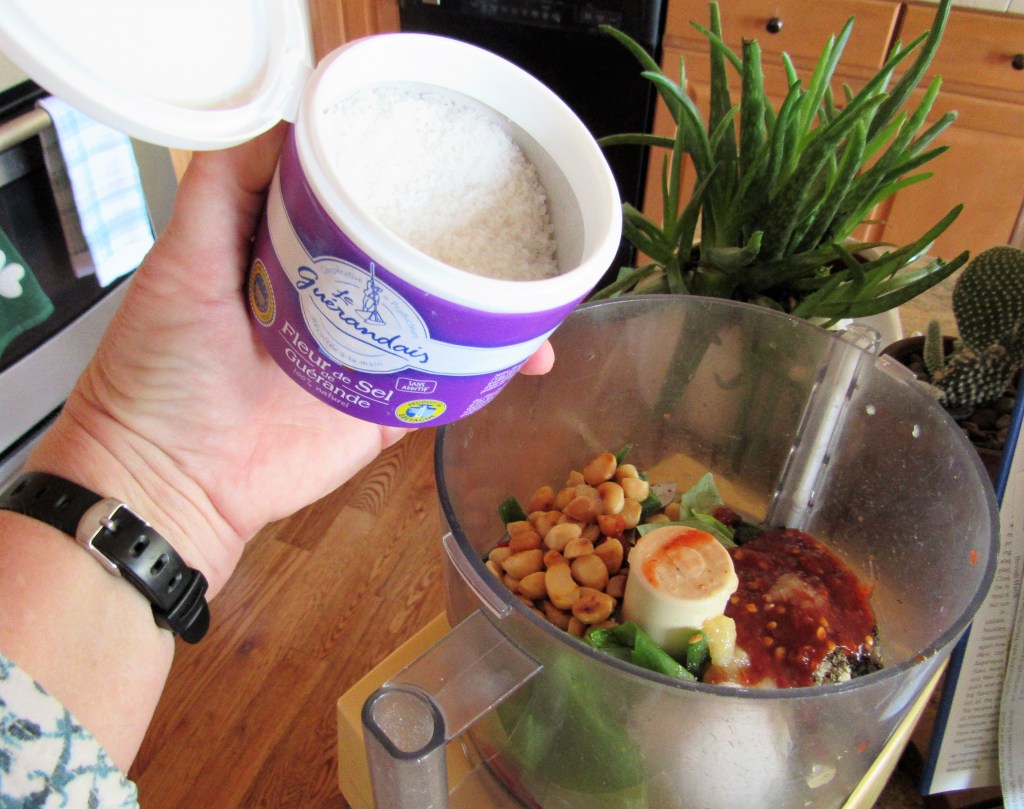
I used some of my fleur de sel that I got for my birthday. You only need a little bit. Another Birthday Surprise

Once the sauce is made, peel the shrimp and mix into the sauce. Let the shrimp marinate for about 3o-45 minutes before skewering them up and grilling, so they get nice and flavorful. Reserve some of the sauce for later.

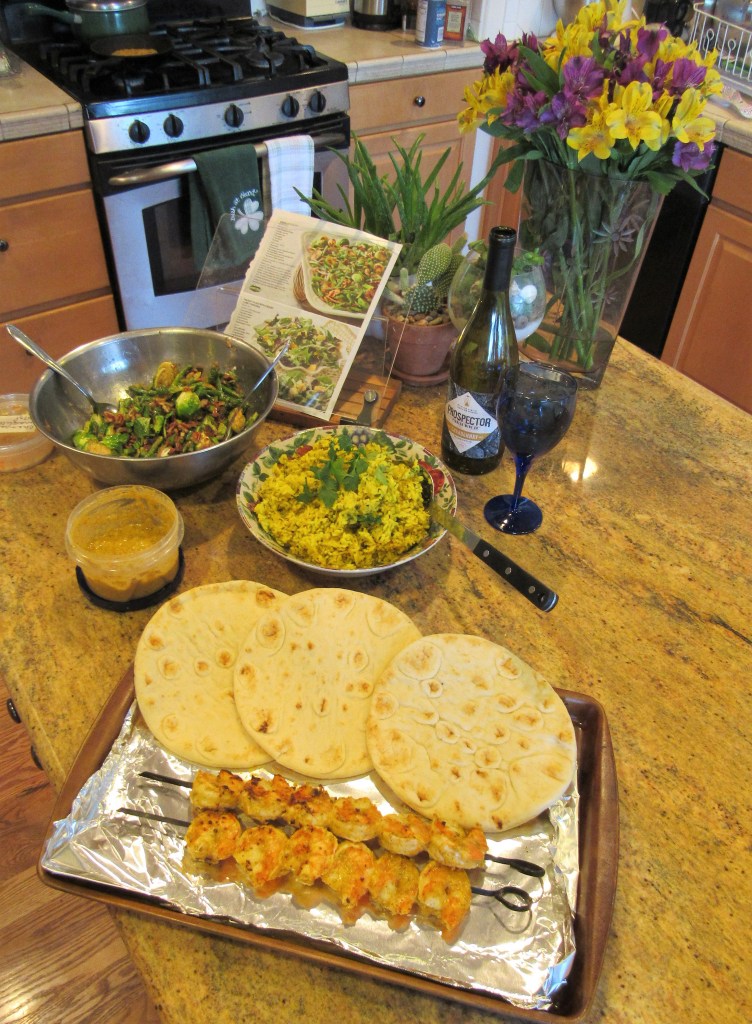
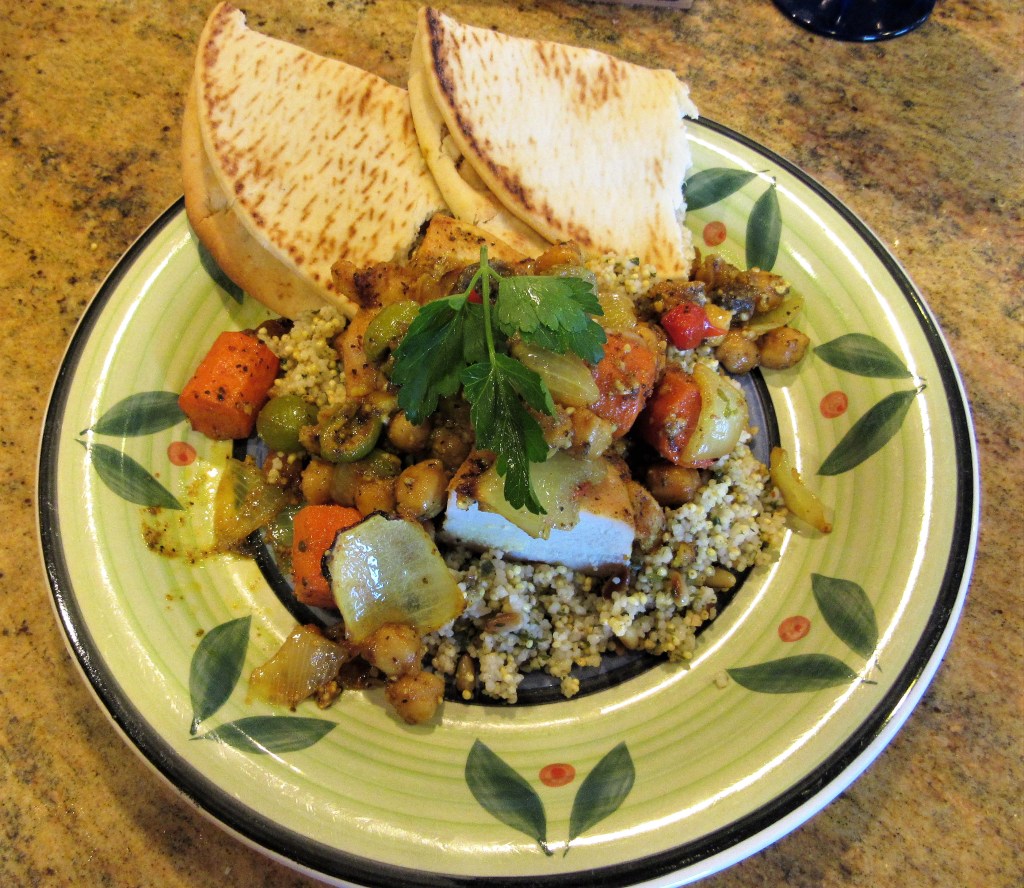
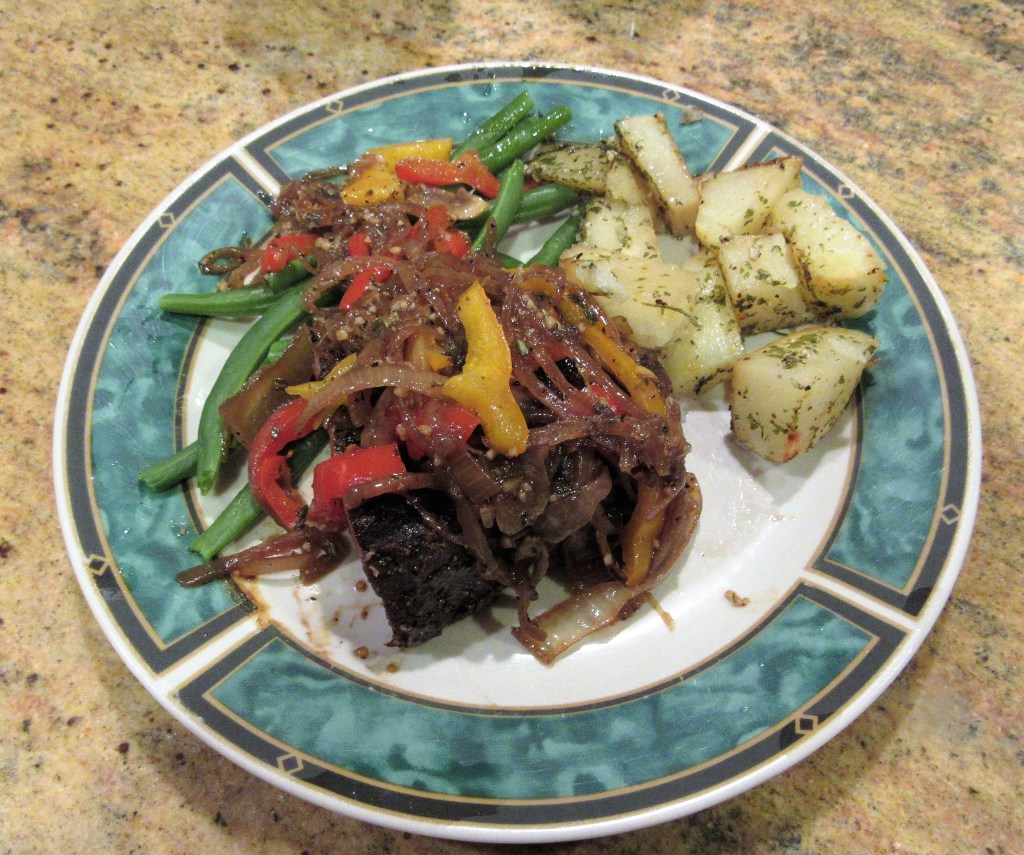
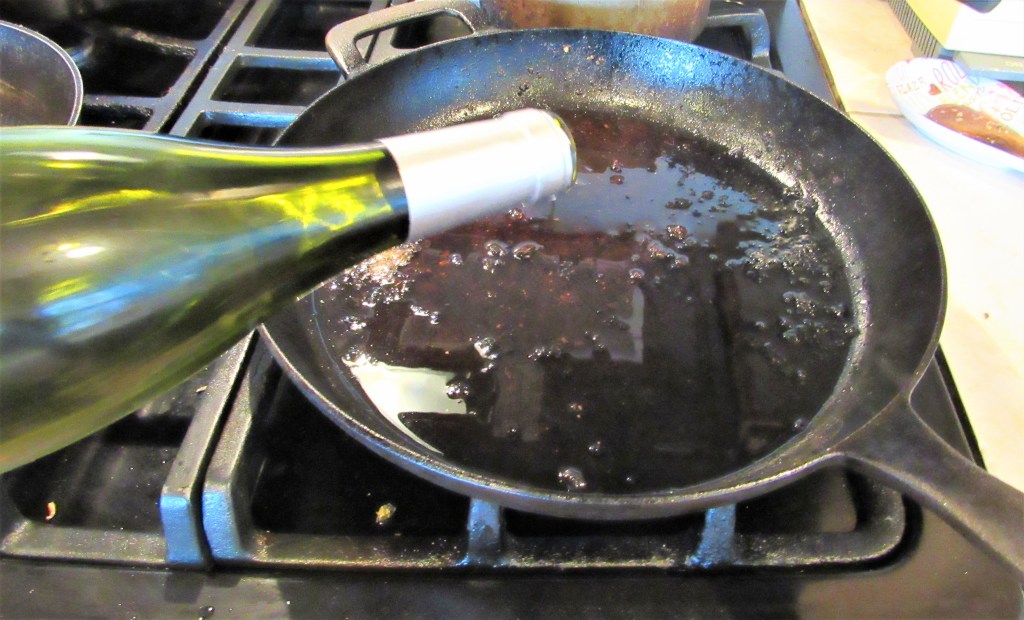
When the shrimp are cooked, it is time to dish them up and serve them with your favorite side dishes. Top the shrimp with more of the sauce. A dry white wine is the best wine to go with this dish to really bring out the flavors of the sauce. This dish is Ono brah!
You can use this same sauce for either chicken or pork too, or if you would like to try it with tofu, that would work as well.
Aloha! Stay safe and stay well Everyone. ‘Til next time.