Rosemary Breadsticks

It was another cold, snowy, blustery day. It literally snowed all day long, but we did not get a lot of accumulation due to the winds. More snow means more soup. This time it was a split pea soup kind of day. I love split pea soup. I was attempting to make rosemary focaccia to go with the soup, but my kitchen had other plans and decided NOT to cooperate, again.

I think I have some gremlins hiding in my kitchen. This is twice in a week that I have tried to make things that didn’t come out the way the were supposed to. Fortunately, I have learned how to cover up my mistakes and I can recreate foods and give them a good result, but still, this is becoming frustrating too. My latest mishap in the kitchen was when I was making some rosemary focaccia that turned into rosemary flat breadsticks instead. I know it is not my yeast, since I literally just used it a couple of days ago to make my Blue Corn Pizza Southwestern BBQ Chicken Pizza with Blue Corn Crust. It all turned out OK though. I mean they still tasted very good, but that was NOT my desired result. I just knew how to save the recipe and NOT throw it all away; a very useful skill I seemed to have mastered over the years. All I can do about it is to roll with the punches and take it all in stride. 🙂
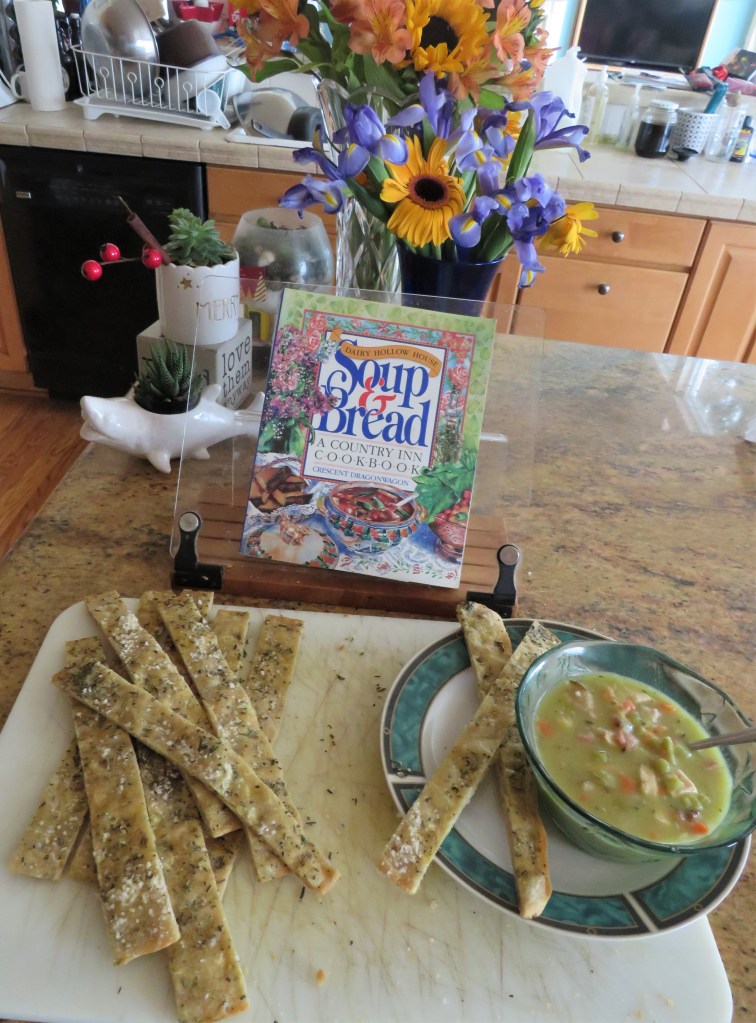
Rosemary Flatsticks

1 1/4 cups water

3 TBSP rosemary, divided

1 TBSP honey

1 TBSP dry active yeast

1 tsp salt

4 TBSP olive oil

2 1/2-3 cups flour

egg wash

coarse salt for topping

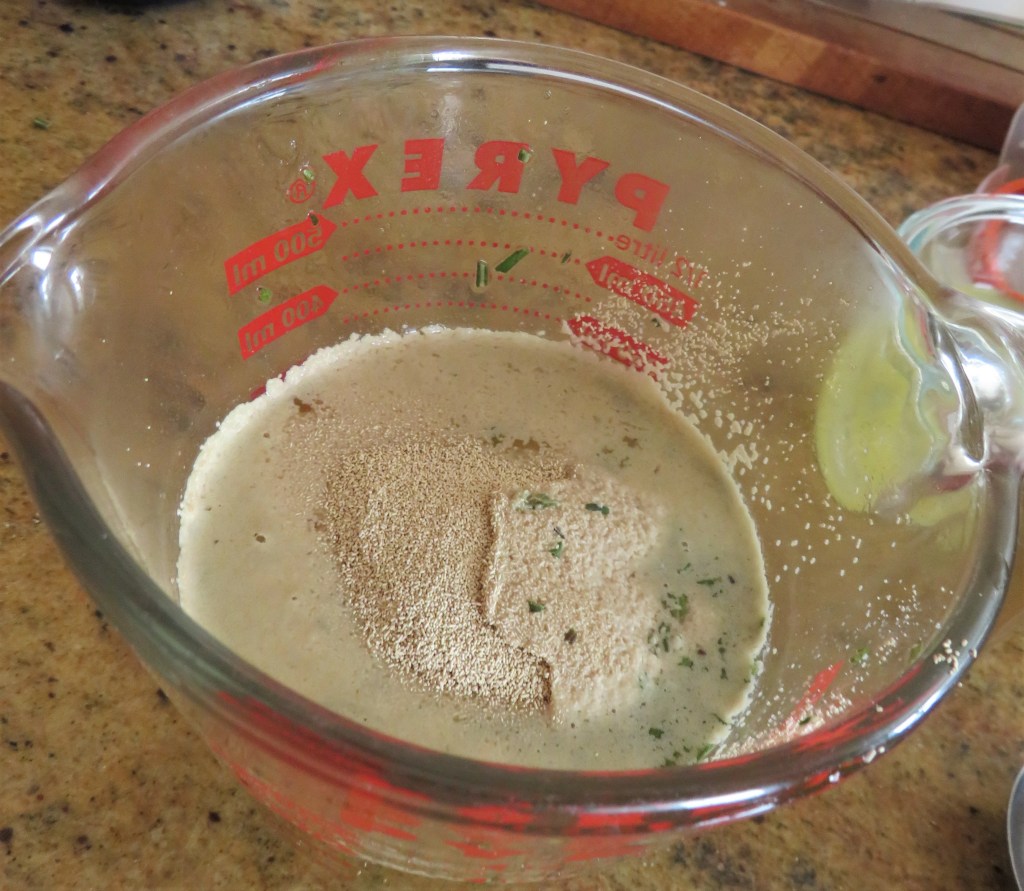
Chop the rosemary fine. Boil the water and add 1 TBSP of the chopped rosemary to the boiling water. Let it seep for a few minutes. Then add the honey and the yeast to the rosemary water, then add the olive oil and whisk it all together. Let it all set for a few minutes until it becomes frothy.

Start with about 2 1/2 cups of the flour and add more as needed. Combine the flour and salt, then make a well in the center and add the yeast and rosemary mixture to the flour. You will have a very soft dough. Turn the dough onto a lightly floured surface and knead for an additional 5-7 minutes until it forms into a ball. Lightly oil a large bowl and place the dough into the prepared bowl. Cover and set aside to rise for about 1 hour or until it doubles in size.

Lightly oil a 14×12 baking sheet and place the dough onto prepared baking pan.
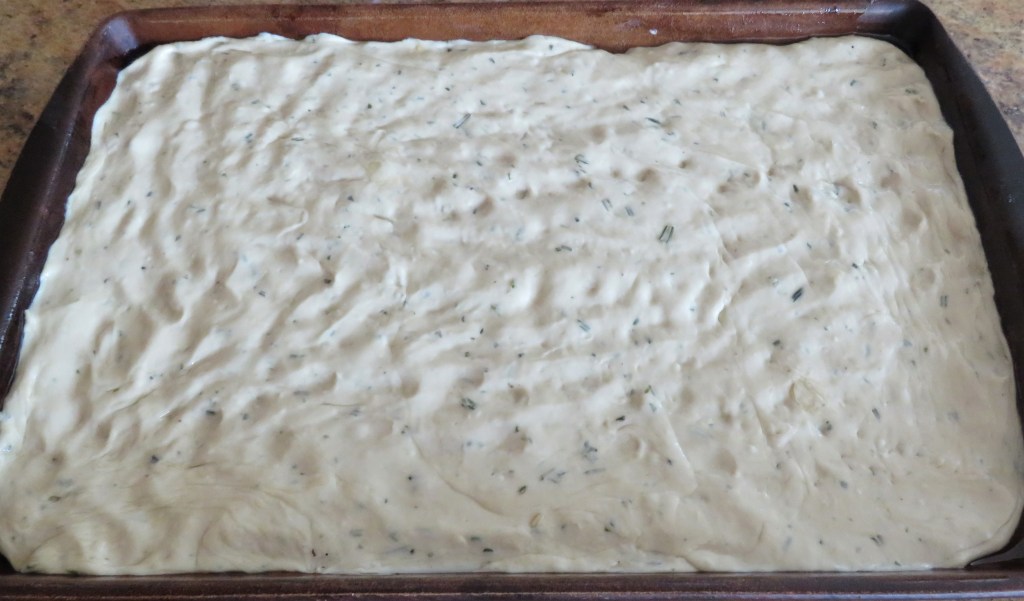
Evenly spread the remaining chopped rosemary and the coarse salt onto the dough. Mix the egg with 1 TBSP of olive oil and carefully brush the dough’s surface with the egg wash. Let the dough rise again for an additional 45-60 minutes.

Preheat the oven to 350* F or 190* C and place the focaccia in the hot oven to bake for about 30-40 minutes, or until it rises and is golden brown. Or in my case, until it is golden brown. Because my dough never rose the way it was supposed to, mine became flat breadsticks instead. Either way, it still tastes good, it was just a different presentation that what I was expecting. 🙂

I share my mistakes with you because I want you all to feel confident in the kitchen. We all make mistakes, no matter how long we have been cooking, or what our level of expertise is. We will ALL have those days when nothing seems to work right. The point is sometimes we have to fail in order to succeed. NEVER stop trying. When you stop trying the only result will be failure.

Stay safe and stay well Everyone. ‘Til next time.

Nature Walks – Building Their Nests

Looking out my window at the moment, you would NOT think Spring is anywhere near. It has been snowing consistently since about 5 AM. It’s not coming down hard, but we are getting a bit of accumulation all the same. Spring is close though. I saw plenty of evidence of that yesterday, when the sun was shining and the temperatures were considerably warmer. I saw birds, ducks and geese all pairing up and lots of nests in the making.

Ringnecks

Mallards

American Wigeons

Canadian Geese

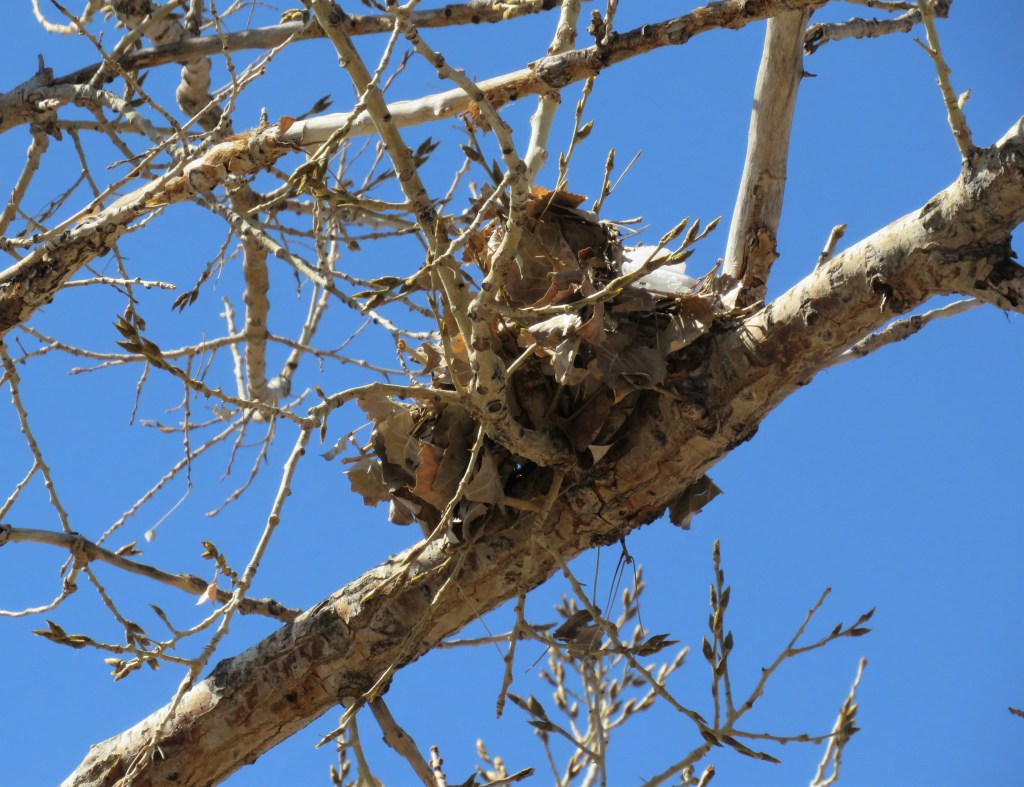
And the birds and their nests high up in the trees. Some House Finches way up high.

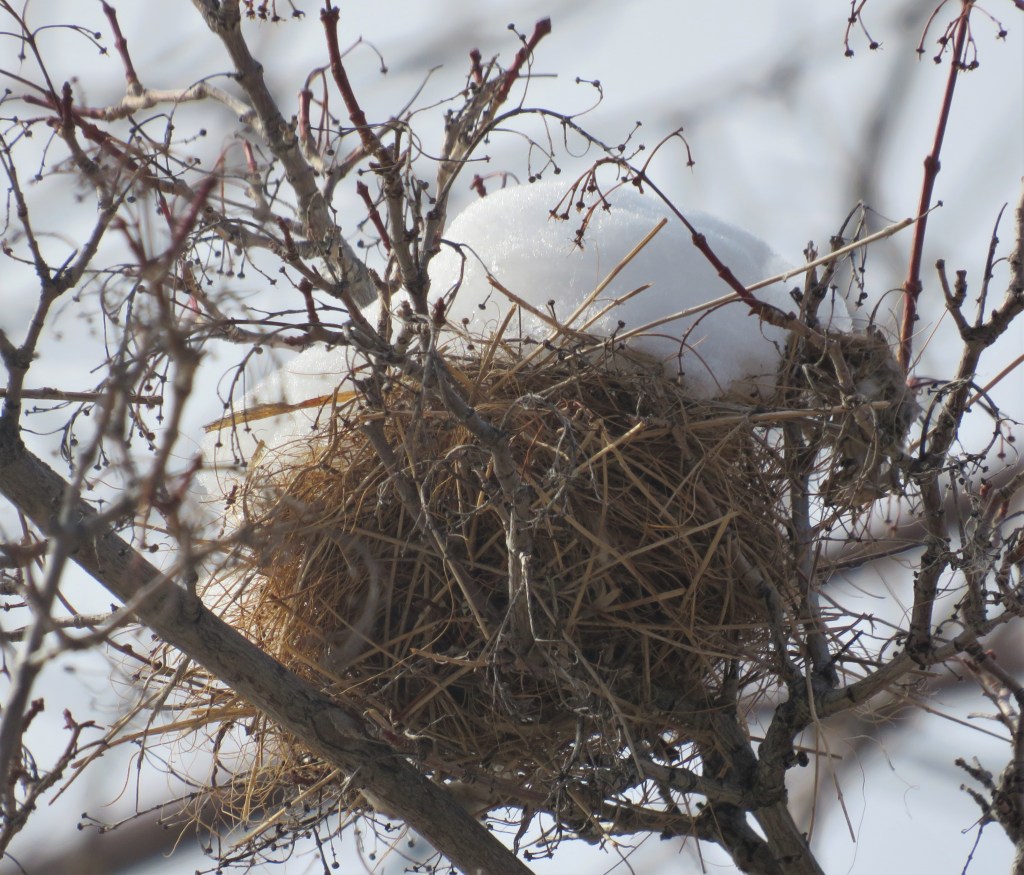
I think this nest needs a bit more insulation before it is ready.

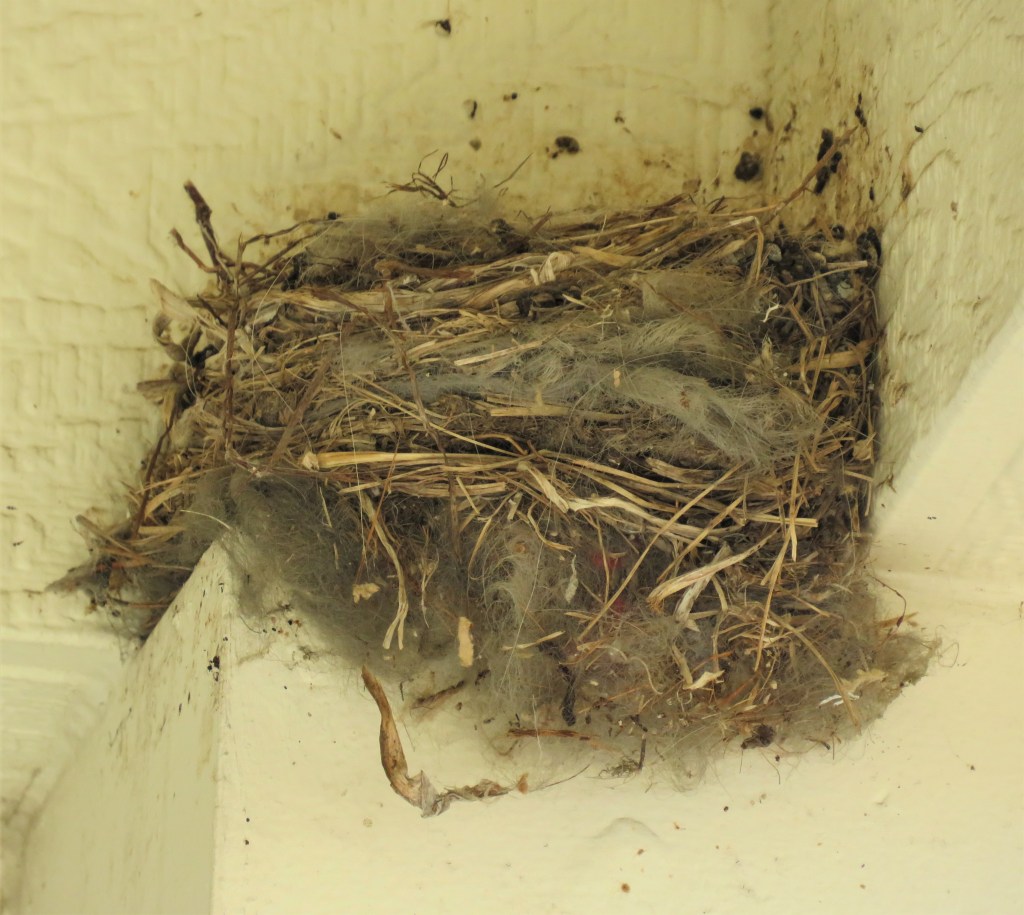
There is even a nest in the rafters of my front porch.

Spring is all around. It won’t be to much longer now. Soon spring will be sprung.

Southwestern BBQ Chicken Pizza with Blue Corn Crust

Once again, the Queen paid me a visit and we were discussing what to do with the leftover Costco rotisserie chicken. We thought about it and thought about it, then ventured upstairs to the culinary library and decided upon a Southwestern BBQ chicken pizza with a blue corn crust. It was a deliciously good choice too.

Blue corn meal is a cousin to the yellow corn meal we use all the time, but it is made from the blue corn that is grown in the American Southwest regions. Blue corn meal is a corn meal that is ground from whole blue corn and has a sweet flavor. It was originally developed by the Hopi, the Pueblo Indians of the Rio Grande in New Mexico, and several Southeastern Tribes, including the Cherokee. It remains an essential part of Hopi dishes like piki bread. Blue corn is nuttier, coarser and sweeter than a lot of the other types of corn. It naturally grows blue. It is not chemically enhancds or modified in any way, and has been cultivated by the Native American People for hundreds of years.

Since the dough for the pizza had to rise for about two hours, I made the dough first.

The Dough

The only difference with this dough and other bread or yeast doughs is the addition of the blue corn meal.

1 1/2 cups lukewarm water

2 1/4 tsp dry active yeast

2 tsp salt

5 TBSP olive oil – I used a combination of regular olive oil and lime infused olive oil

3/4 cup blue corn meal

about 3 cups flour

Mix the water and the yeast together and let set for about 5-10 minutes, or until it turns frothy.

Combine the flour, blue corn meal and salt together and set aside. Start with 2 1/2 cups of flour, and add more as needed.

Mix the olive oil into the yeast mixture, then add to the flour mixture and combine just until it is all mixed together. Then turn the dough onto a lightly floured surface and knead for about 5-7 minutes, or until it forms into a ball. Lightly oil a large bowl and place the dough in the bowl. Cover and set in a warm place to let it rise and double in size, for about 2 hours.

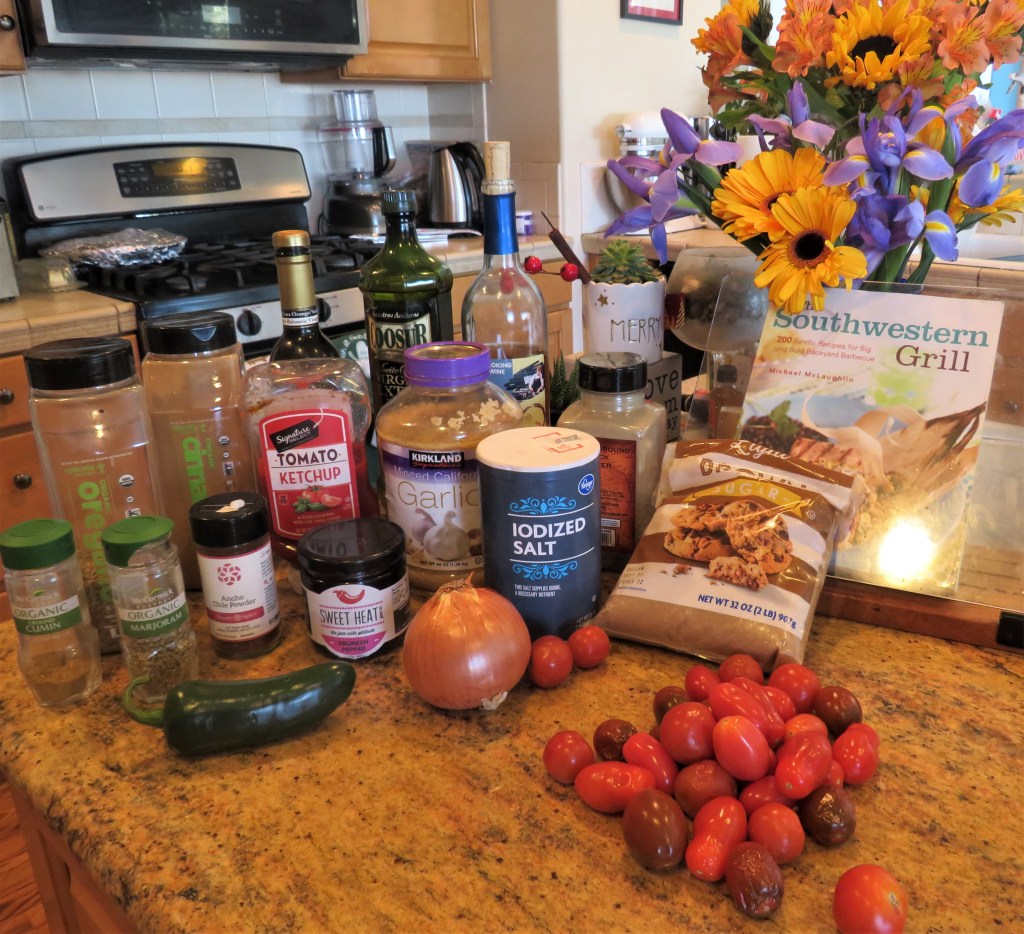
While the dough is rising, make your Mexican BBQ sauce, also known as Adobo sauce. Larry asked what made this sauce different than a regular BBQ sauce. As we all know, there are many different variations of everything. This sauce is not as sweet or as tangy as most BBQ sauces, and has a smoky, softer taste. It is really good too. You can use any kind of tomatoes you like. Play with the varieties. Each one will give a slightly different taste. I used what I had on hand.

Mexican BBQ Sauce

1-1 1/2 TBSP garlic

1/3 cup dry sherry or white wine

1 TBSP olive oil

about 12 oz of tomatoes, roasted

1 1/2 cups of pepper puree or pepper jam – I used a hot pepper jam

3 TBSP packe brown sugar

2 chipotle peppers with sauce, minced

1 TBSP salt

1 1/4 tsp dried oregano

1/2 tsp dried thyme and/or marjoram

1/2 cup ketchup

1 tsp ajo chili power or regular chili powder

1/2 tsp cinnamon

1/2 tsp cumin

pepper to taste

1-2 roasted jalapenos, peeled and seeded

Start off by roasting the tomatoes for about 30 minutes at 400* F or 200* C.

Once the tomatoes are ready, place everything in a food processor and blend together until it is a nice smooth sauce. This recipe makes a lot and it freezes well, so unless you are making A LOT of pizza, you will have plenty leftover for other things.

Preheat the oven to 375* F or 190* C.

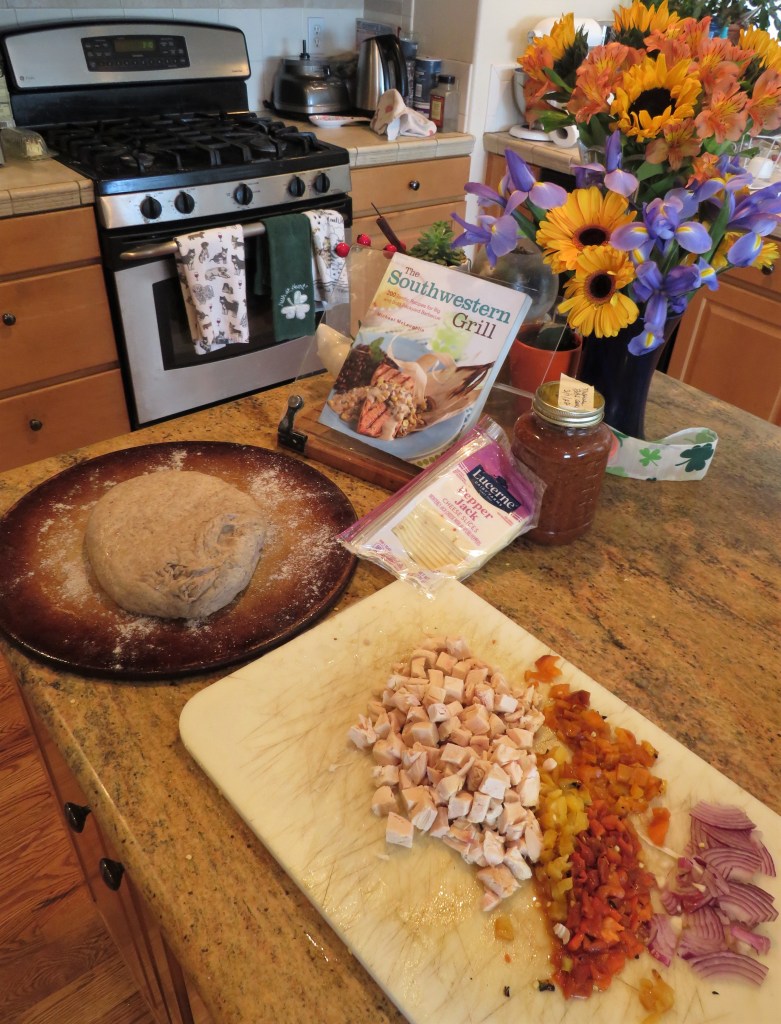
When your dough is ready, it is time to make your pizza. Spray a pizza stone with cooking spray then scatter a light dusting of blue corn meal on the stone. Place your dough onto the stone and spread it out to fill the pan. I like to turn up the edges of the dough too.

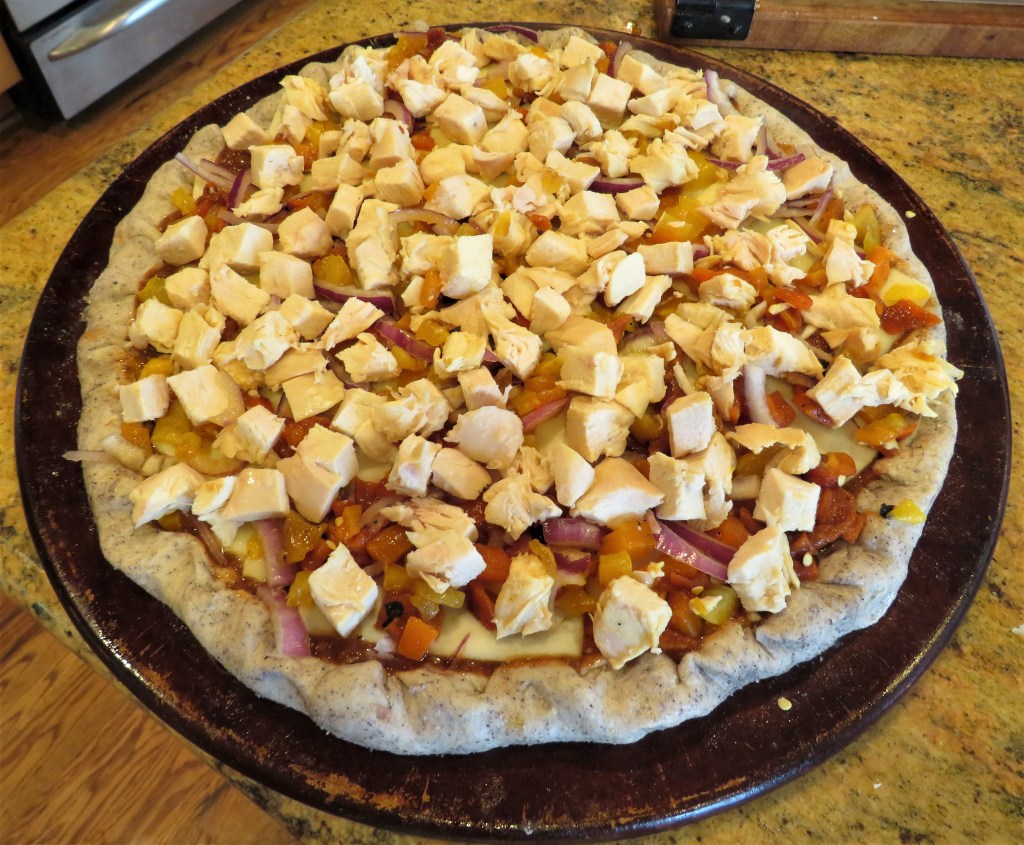
Add a layer of your sauce, then cheese and your toppings. I used jalapeno jack cheese, but you can use whatever type of cheese you like. For my topping, I roasted and diced some bell peppers, orange, yellow and red, and added red onions sliced very thin and diced chicken.

I drizzled a bit more sauce on top of the chicken and added another layer of cheese then put the pizza in the oven to bake. Bake the pizza for 45-60 minutes, or until the dough is golden and the center of the pizza is cooked through.

When the pizza was ready, I made a Mexican salad to go with it. For the salad, I used some red leaf lettuce, orange slices, avocado, red onion, my leftover rosemary vinaigrette, A Salad from Barcelona and topped it with some toasted pecans. !Esta muy delicioso!

Be bold. Be adventurous. Step outside of your comfort zone and walk on the wild side. Once you do, you’ll never go back to the old boring ways ever again. 🙂

Stay warm, stay safe and stay well Everyone. ‘Til next time.

Nature Walks – The Bunny

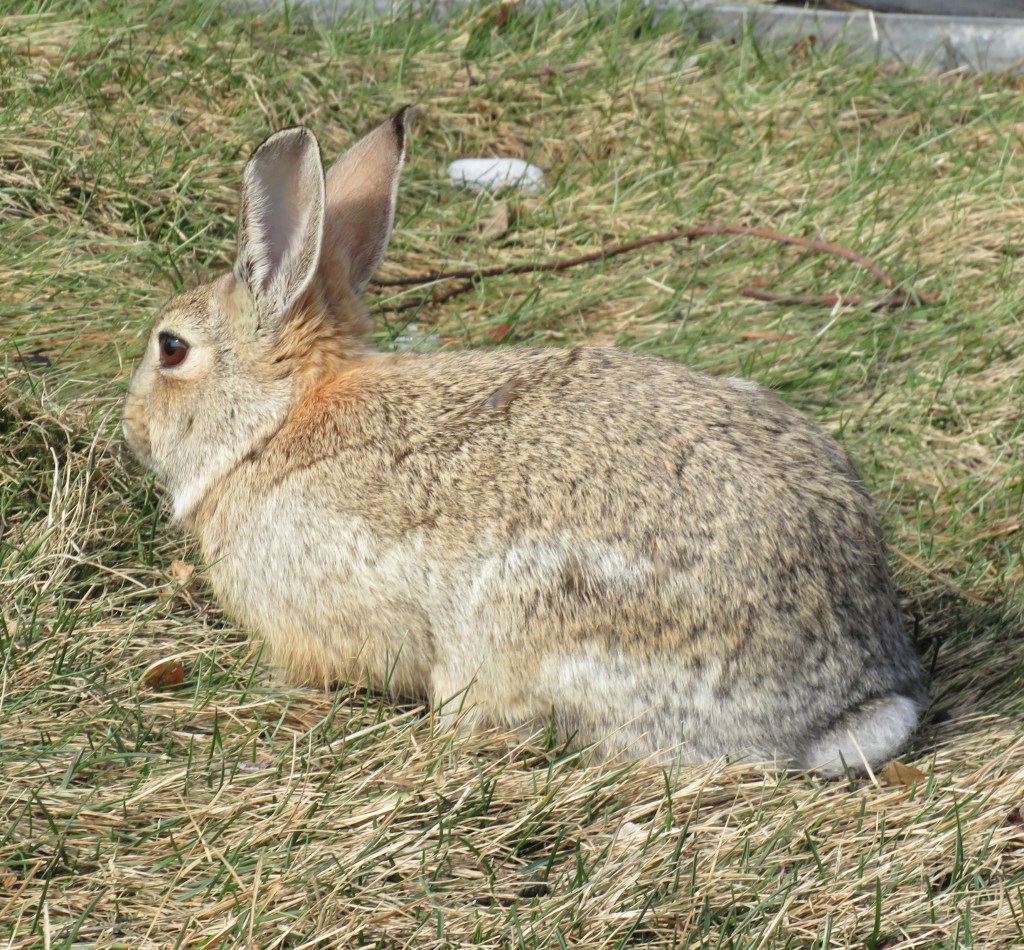
Spring is definitely in the air. The birds are out singing and busy making nests, and the bunnies are out hopping around, looking for gardens to destroy. This bunny looked like he loved the camera, and was ready to become famous. His wish is about to come true. Right here and now, he will get the equivalent of his 15 minutes of fame. 🙂

Caught in the act, munching on the newly arriving grass.

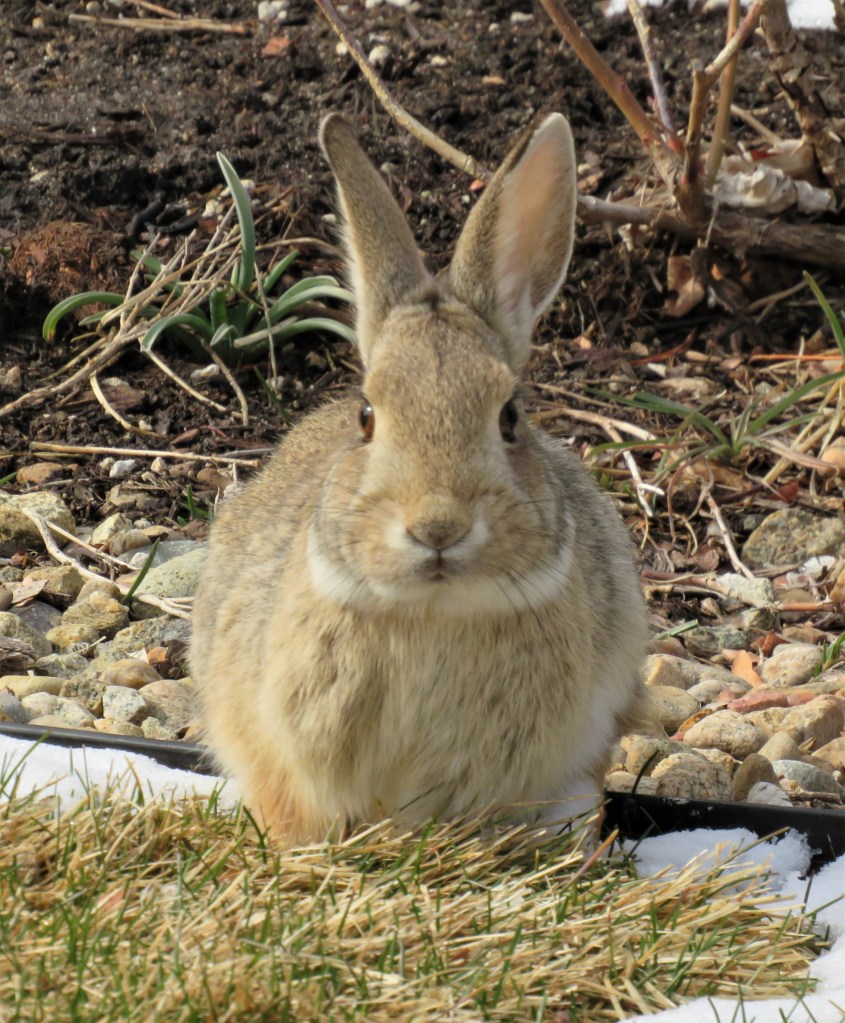
He has discovered his secret is now out, and he is trying to look innocent. What grass? I wasn’t eating any grass.

Now is just posing, and looking cute.

Do you like my head shots?

A Salad from Barcelona

We were invited to dinner at some friends’ house the other day, and I decided to bring a salad that was a bit different (I know, how out of character of me to do something different and unexpected). I chose to make a delicious roasted pepper salad from Barcelona. You might be asking is this salad from Barcelona, Spain or from Barcelona the Restaurant? Both Actually. The recipes from the restaurant in the RiNo district of Denver (River North) Dining in the RiNo, are all authentic recipes from Barcelona Spain. The restaurant specializes in traditional Spanish recipes and tapas. Birthday Celebrations – Part 2 – Barcelona, Another Birthday in the Books, A Taste of Barcelona in My Kitchen Barcelona, the restaurant, is actually one of my favorite restaurants around, but unfortunately, we do not get a chance to go very often. So, I bought the book and brought the recipes home with me. I can bring the tastes of Barcelona into my kitchen anytime I like. 🙂

I pretty much love all things Spanish. I absolutely fell in love with Spain when we went a few years ago, and especially loved the food. The food and culture in Spain were so rich and full of layers, and just amazing and magical.

This salad is very easy to make, and it is bright and colorful and oh so good. In fact, I liked it so much, Noah and I are going to do a slightly different version of this salad today in our cooking class. When I made this salad to bring to our friends’ house, I made it as a side salad. Today, Noah and I are going to make it as a main meal by adding chicken and avocados.

One of the ingredients used in this salad is hearts of palm, which are very Spanish. Hearts of palm are a white vegetable that comes from the core of certain kinds of palm trees. Also called palm hearts, palm cabbage, palmito, chonta, and swamp cabbage. Hearts of palm are grown in humid and tropical areas like Costa Rica and the Amazon. Hearts of palm were originally foods of the Mayans, but were brought back to Spain by the early Spanish explorers, and have been a key ingredient to Spanish cooking ever since.

Part of the reason I decided upon this salad is because it is a good winter salad, and it was most definitely a cold, wintery day when I made it. I also chose it because I love the combination and it is just a very tasty salad. This salad is a good salad to serve on cold winter days because of the warm roasted peppers. This salad is meant to be served warm or at room temperature.

Roasted Pepper and Hearts of Palm Salad

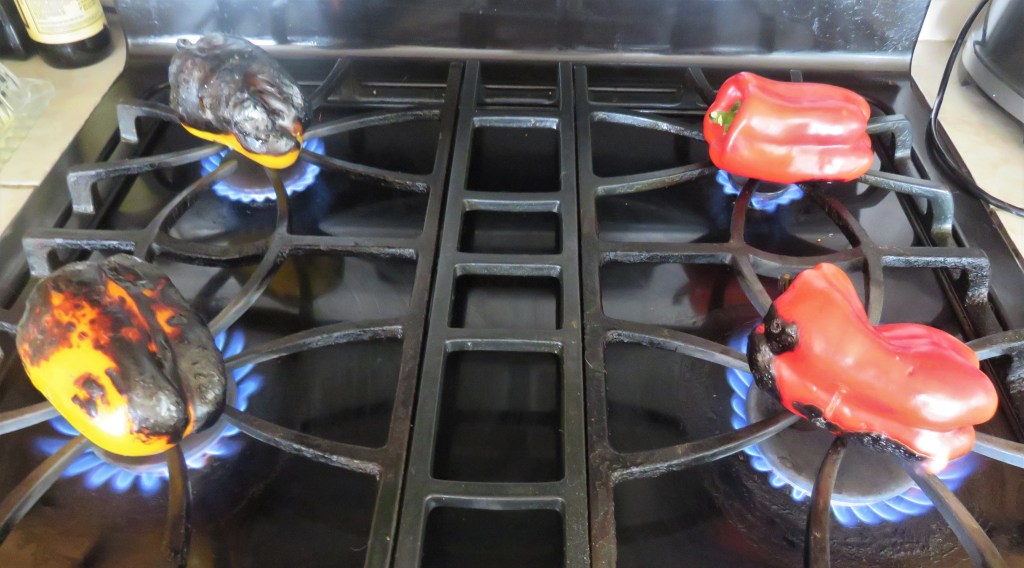
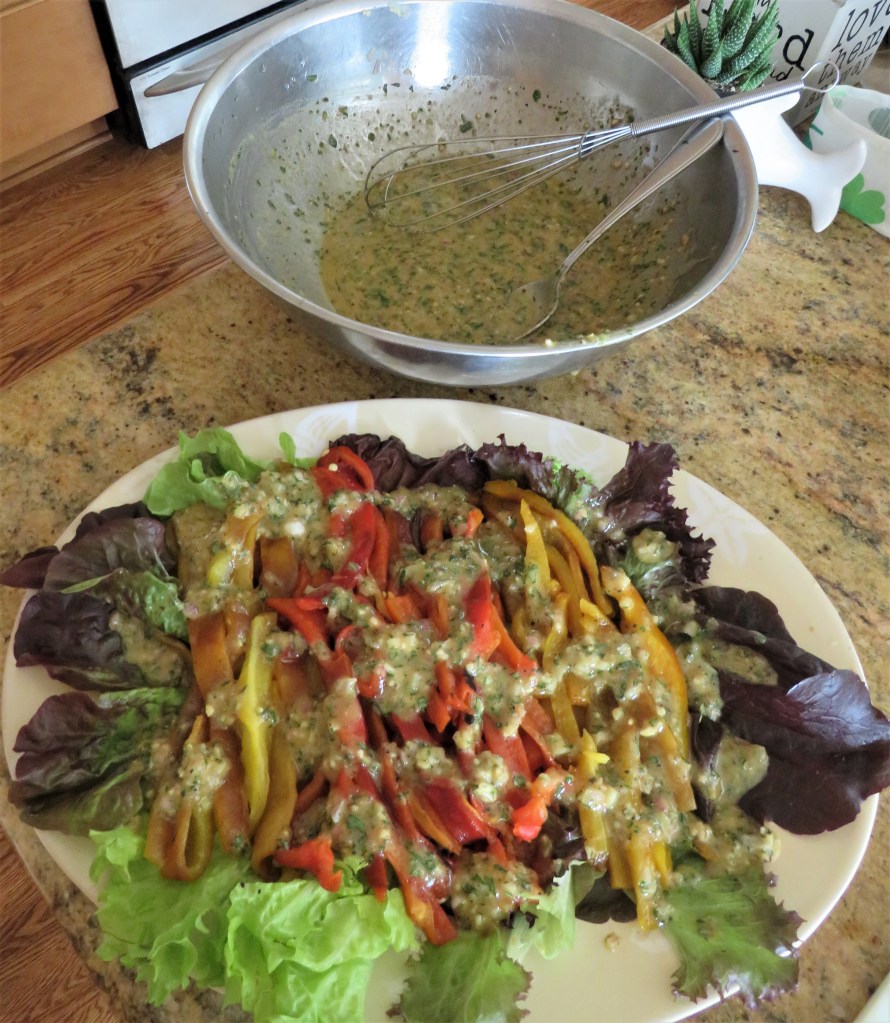
I started off by roasting the peppers on an open fire. I used red, yellow and orange bell peppers. As the pepper were roasting, I made the rosemary shallot vinaigrette. Roast the peppers until they are completely blackened and then sweat them in a plastic bag for about 20-30 minutes. The blackened skin will easily peel right off in your fingers. Remove the seeds and give them a good rinse, and then slice them into thin strips.

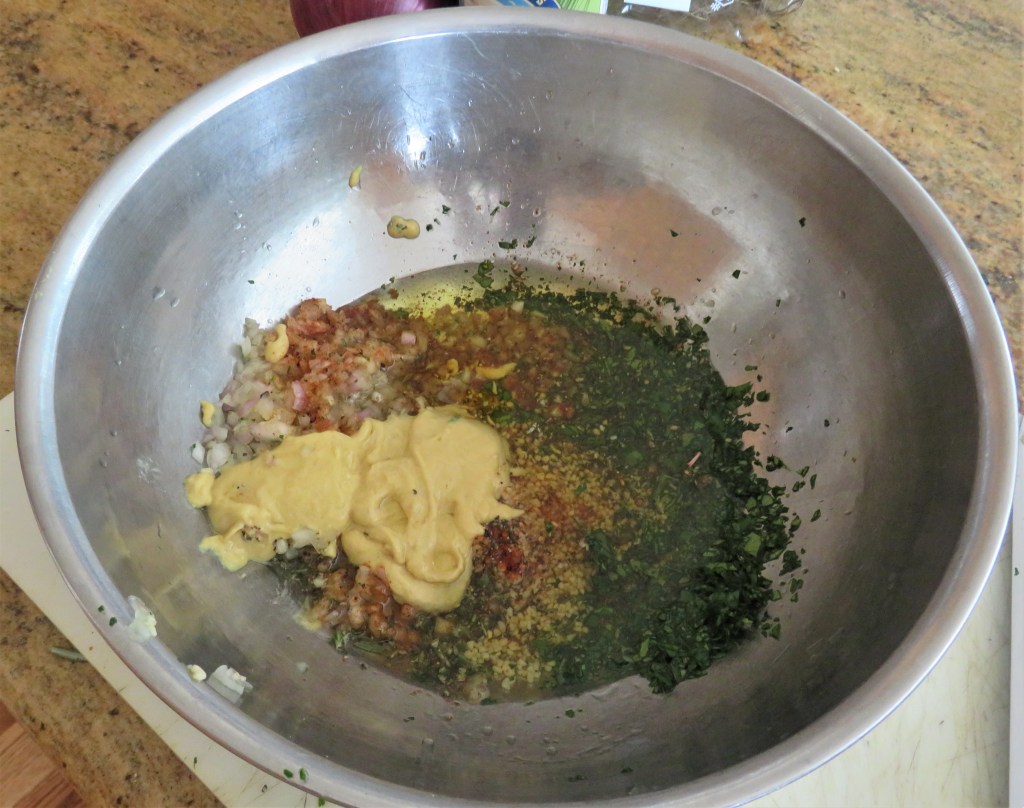
Rosemary Shallot Vinaigrette

1 shallot, minced

1 1/4 cups olive oil

1 tsp paprika

dash cayenne pepper

1/4 cup white balsamic vinegar

3 TBSP Dijon mustard

salt & pepper to taste

1 TBSP garlic

1 TBSP fresh rosemary, minced

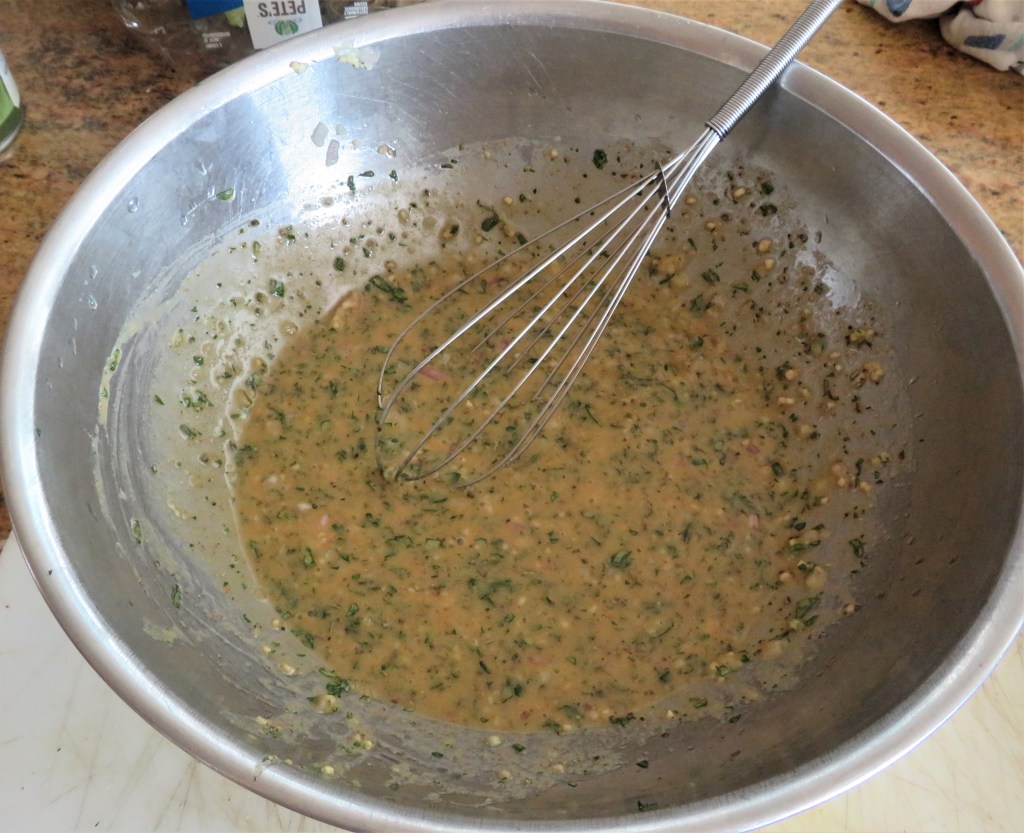
Whisk everything together and set aside. I like lots of texture in my foods, so I rarely emulsify my dressings and vinaigrettes, but if you prefer them a bit more smooth, put everything into the food processor and blend thoroughly.

The Salad

4 bell peppers, orange, yellow and red, roasted, peeled and seeded, then cut into thin strips

2 ripe avocados, sliced or cubed (I left out the avocados this time, since Larry is not a fan)

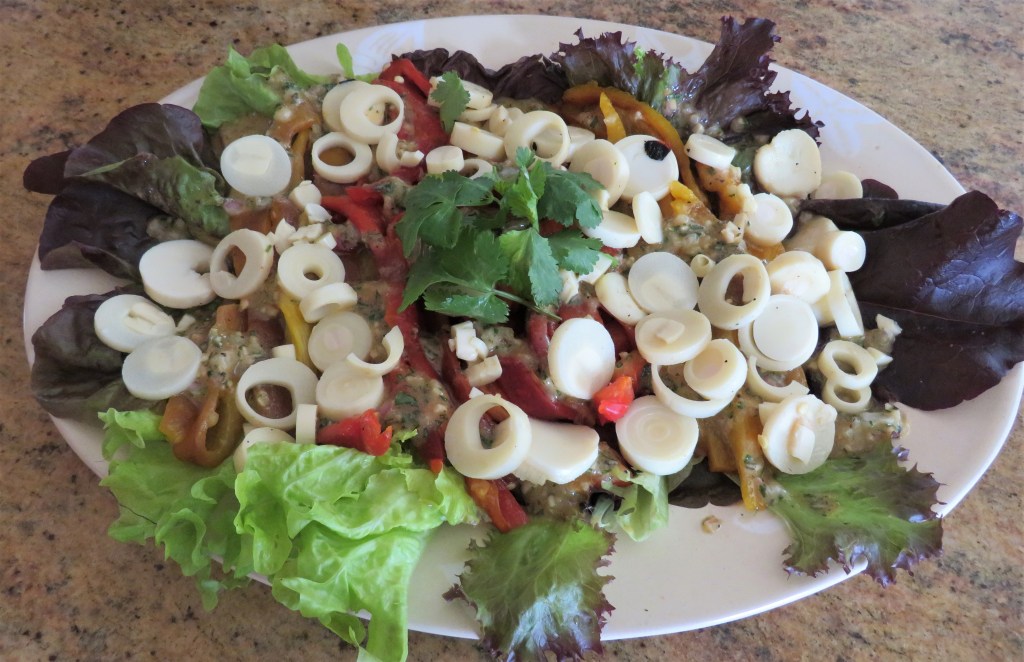
1 can hearts of palm, drained, rinsed and sliced into rings

red leaf or green leaf or butter lettuce

Lay the lettuce leaves on your serving platter, then add a layer of pepper strips, followed by the avocadoes, then the hearts of palm. Drizzle the dressing on top and serve. This salad is a warm salad and is best at room temperature.

!Esta ensalada es excelente or this salad is excellent. It is different, delicious and slightly exotic all at the same time. I promise, you’re going to love it. it’s colorful. It’s tasty. It’s very easy to make. And, it is very healthy too.

Stay safe and stay well Everyone. ‘Til next time.

Creamy Chicken and Wild Rice Soup

Though our snow season started late, we have had more than enough to make up for that with our totals. I think our current snow totals are about 35 inches so far and it still keeps snowing. More snowy weather = more soup for dinner. There is nothing better than a hot bowl of soup or stew to help warm us up from the inside out when the weather outside is frightful. This time, my soup was a creamy chicken with wild rice.

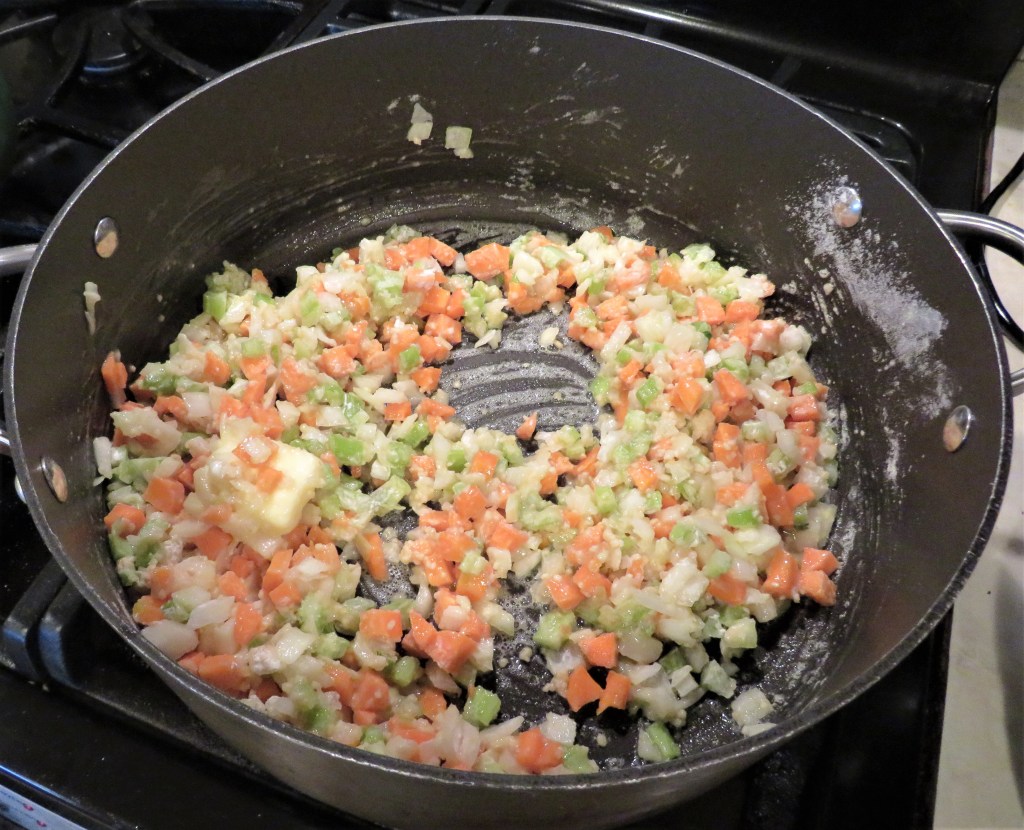
We got a Costco rotisserie chicken, which was the base of the soup. This is just a simple soup, with only a few basic ingredients, but it sure was good, and it hit the spot perfectly. I diced some celery, carrots and onions and mixed them together with flour to make a roux. All of this was sauteed together in a combination of butter and olive oil for about 5-7 minutes, or until the vegetables softened a bit.

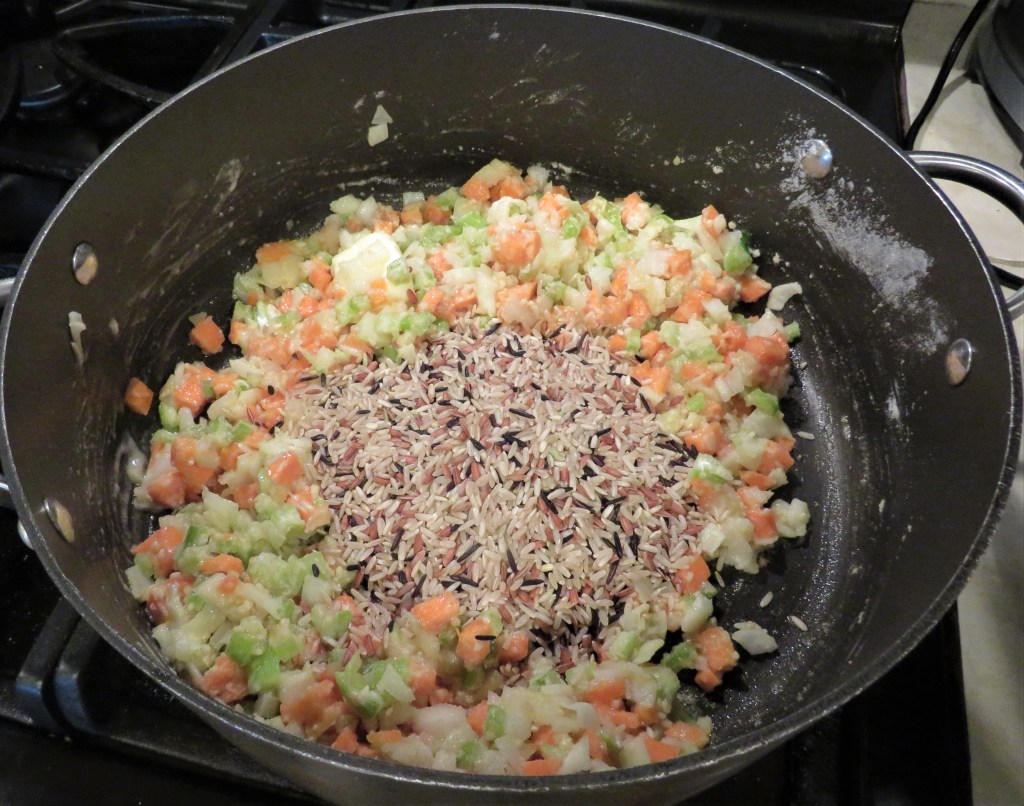
Next came about 1 1/2-2 cups of wild rice. This all got cooked together for an additional 5-7 minutes.

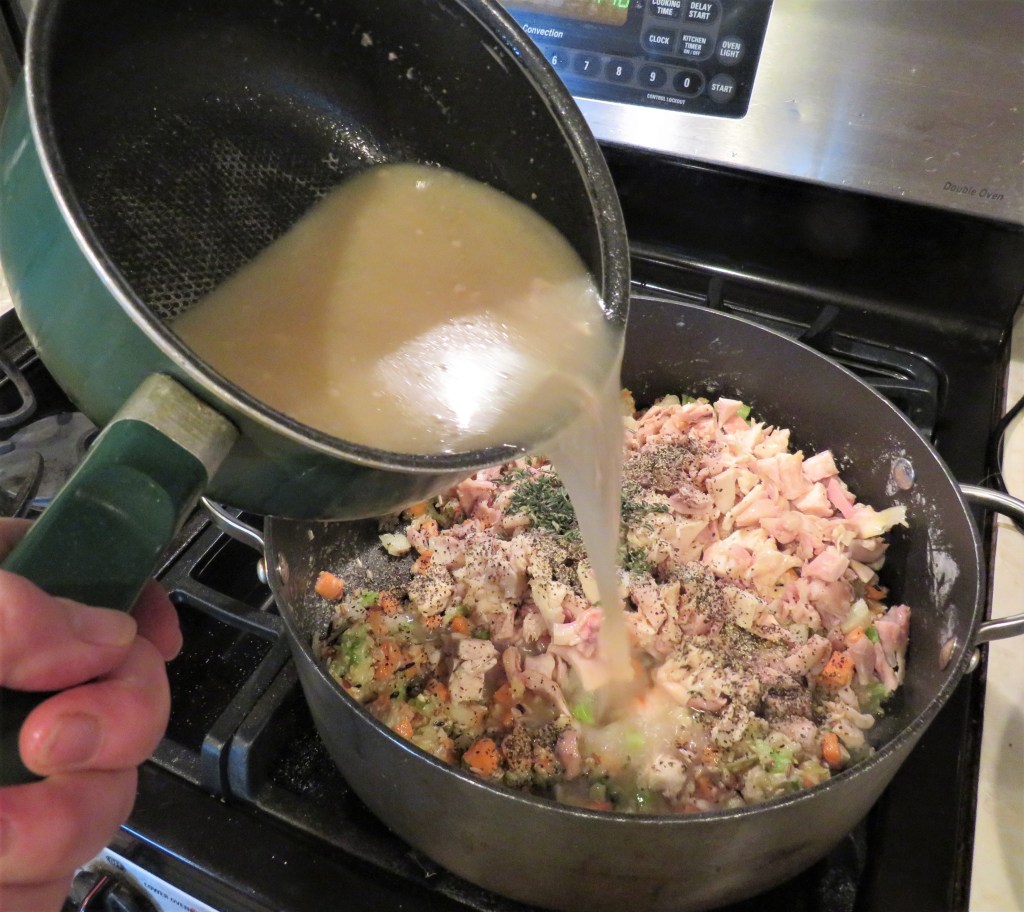
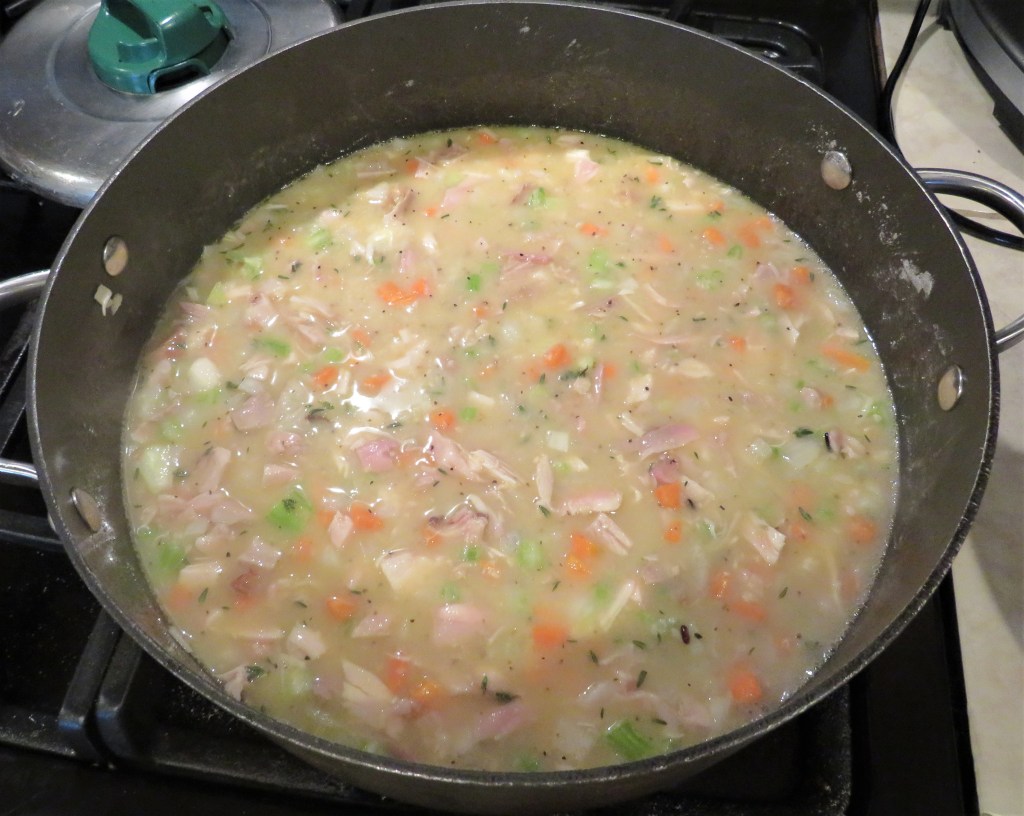
Meanwhile, as the vegetables were cooking, I was making stock from the carcass. I added the stock, chicken and all the seasonings to the pot, then brought it all up to a full, rapid boil, then reduced it to a simmer and let everything simmer for about 45 minutes, while stirring frequently. This is to make sure the is rice cooked completely.

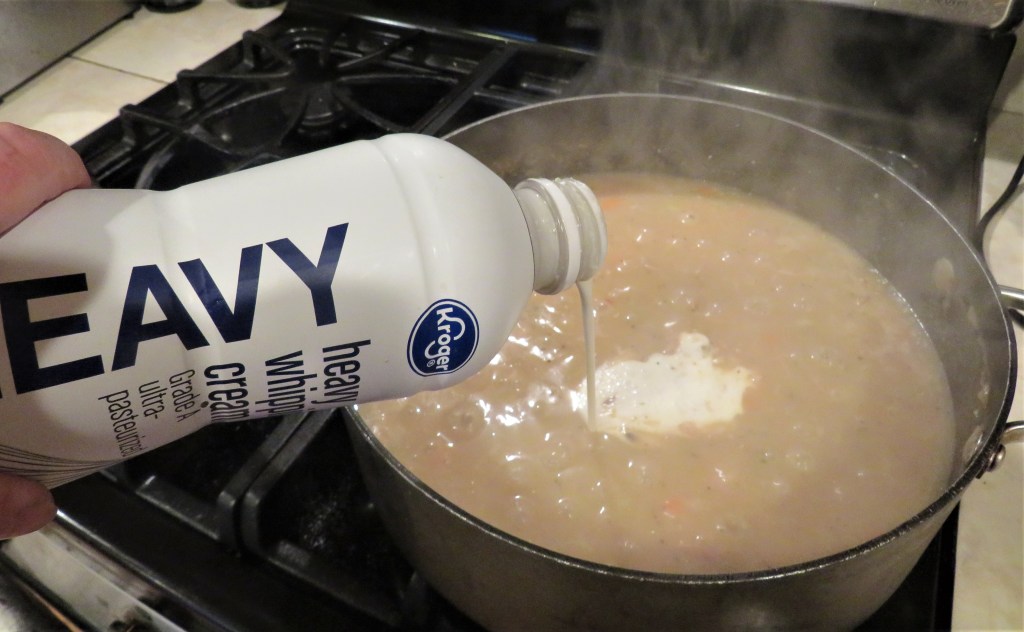
My last addition to the pot was some heavy whipping cream to finish it off. The soup came out so creamy and was just the right consistency. In a word, Soupilicious or perfectly delicious!

On a cold snowy day, there is nothing better than a hot bowl of soup to help take off the chill. Larry said I was skimping a bit though. Normally my pot runneth over, but his time, I only made about 3/4 of a pot of soup. I guess I am slipping up a bit. 🙂

Creamy Chicken and Wild Rice Soup

3 large carrots, diced

3 celery stalks, diced

1 onion, diced

3/4 cup flour

butter and olive oil for cooking

1 1/2-2 lbs chicken, diced

1 1/2-2 cups wild rice

6-8 cups chicken broth

salt & pepper to taste

dash of red pepper flakes

1 TBSP fresh thyme

1 cup heavy whipping cream

Stay warm, stay safe and stay well Everyone. ‘Til next time.

It’s Always Good To Have A Plan B

Many moons ago, when I hadn’t been out of culinary school that long, I was making a cake to take to a party. I was trying to show off and was attempting this very fancy cake. Well, the cake just was NOT cooperating with me at all, so I went and bought a cake mix for the cake, but still created a beautiful cake with elaborate decorations. One of the guests was just raving about the cake and how she could always tell if a cake was from a box or made from scratch. My mom and I were doing our best to keep from busting out into a fit of laughter the whole time. We had a secret that we weren’t willing to share at that point. We were having to much fun listening to this lady brag about her culinary skills. Needless to say, she wasn’t as gifted as she thought. Luckily, I had a back-up plan called Plan B.

Jump to present day with a similar situation. I was following a recipe and trying to make something for my coffee cart. The first go-around just did not work at all. I had a giant mess, though a tasty mess, on my hands. Again, I went for Plan B. Again, I went to the store and bought a cake mix, and then added my mess to the cake to create something totally different, that was actually oh so good. Success once again. The cake all disappeared. PHEW!!!!

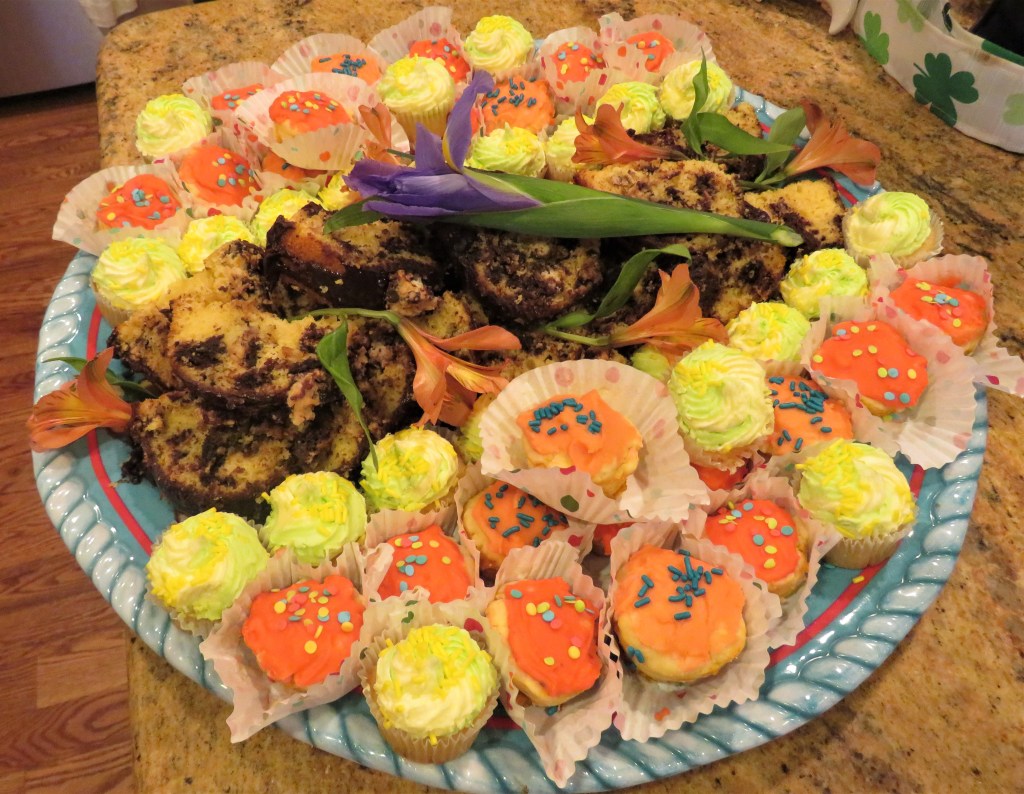
Today’s selections for the coffee cart were my macaroon surprise cake, my mini Clementine cakes and some mini key lime cupcakes.

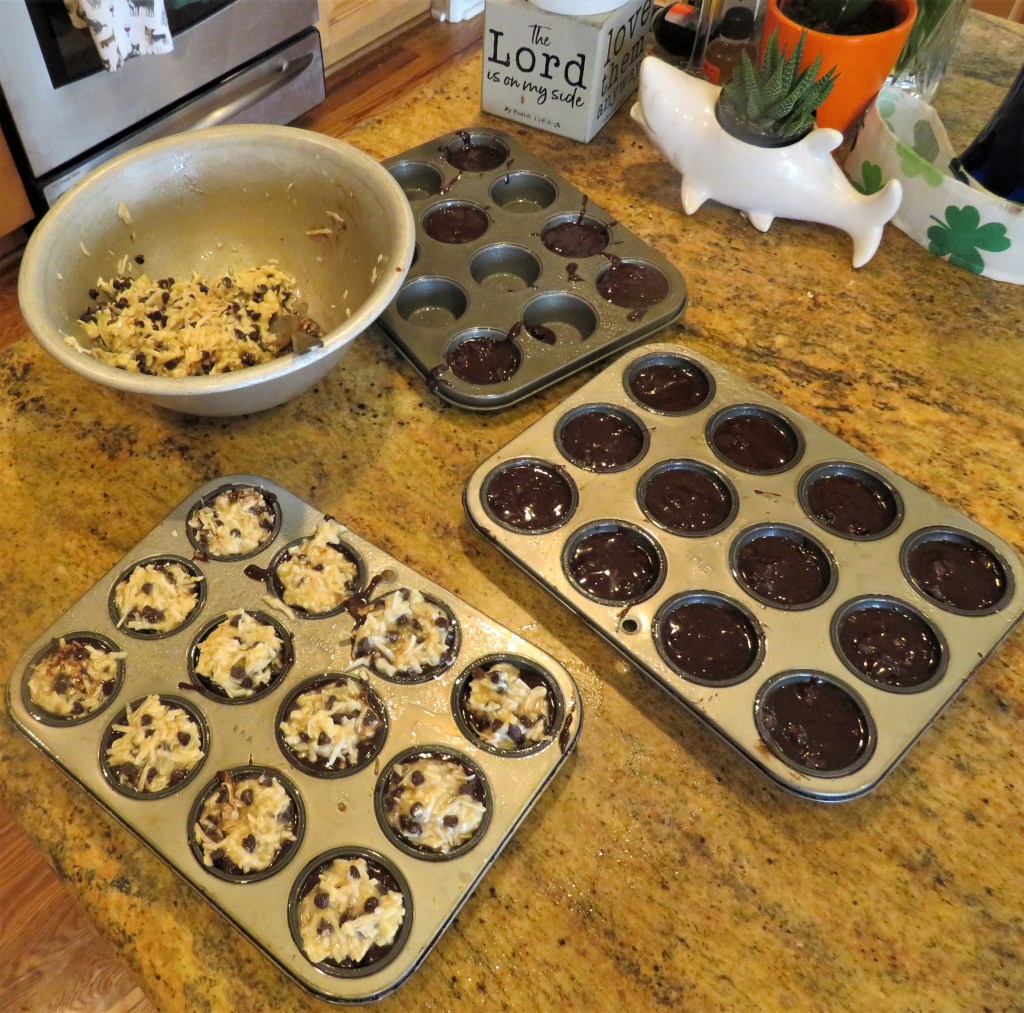
My Plan B started off as mini macaroon cupcakes. Well, as I mentioned above, that just didn’t work out. Instead of having mini cupcakes, I had one big layer of macaroon topping and all the brownie centers broke apart as I tried to remove them from the pan. There was no way I could serve them like that. Plan A was a bust. Time for Plan B.

The brownies were from a mix too, and the recipe that I actually followed, was on the box, so you would think this would have been a no-brainer, right?! This is what happens when I follow directions. Everything goes awry. My moral of the story … don’t follow directions. 🙂

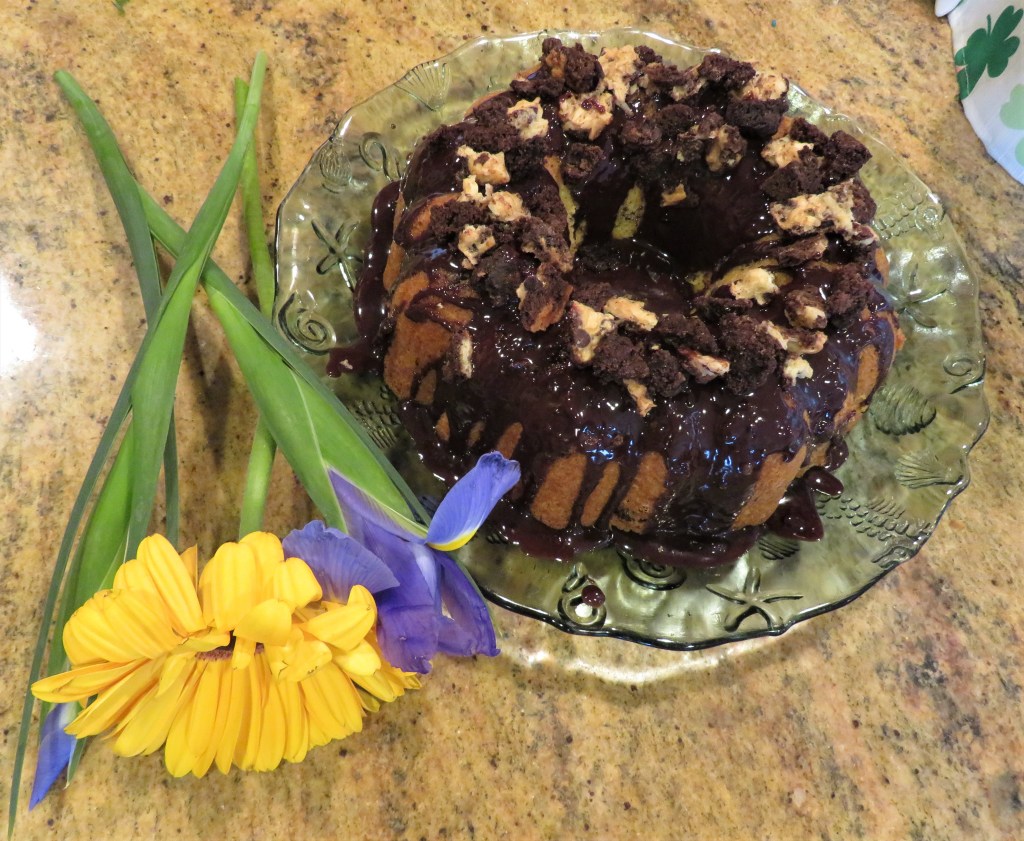
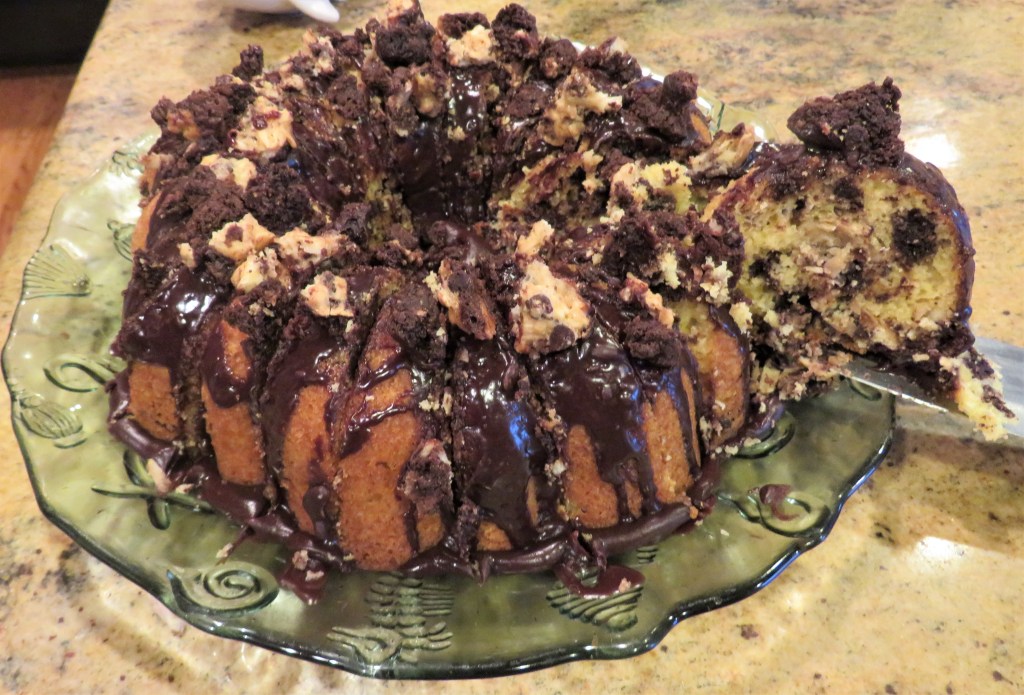
So, Plan B now goes into effect. Again, I went to the store and bought a cake mix and decided to make a layered bundt cake using the macaroon brownies for the center. I broke them all up and crumbled them into pieces, then added everything to the cake mix.

I baked the cake according to the directions on the box. Once it cooled completely, I made a chocolate ganache and added more of the macaroon crumbles on top.

An easy chocolate ganache recipe is equal parts chocolate and heavy whipping cream mixed together and cooked over a medium heat until all the chocolate is melted and you have a shiny, smooth coating. Stir constantly. Chocolate chips work just fine when making a ganache.

This was a very rich and decadent cake, but that didn’t seem to matter much. It was quickly devoured and enjoyed by all.

Now, be honest. If I hadn’t confessed to my mishaps, would you have known this was not my original intent all along? I still make plenty of mistakes, and I have mishaps all the time too. The only difference between me and you is I have learned how to cover up my mistakes really, really well. 🙂 It’s only a cake after all, not rocket science. Who cares if we make mistakes. Most of the time, no one will ever know. The most important ingredient to any recipe is always LOVE.

So once again, I say play with your food. It will still taste good and you will be having a good time, and good stories to tell after. We also learn from our mistakes, and believe me, I have made many.

Stay safe and stay well Everyone. ‘Til next time.
Mini Clementine Cakes

Because I have a few people with dietary restrictions at church, I started incorporating some fruit into my coffee cart, and Clementines find their way onto the coffee cart quite often. But just like all fruits, they have a limited shelf life, so I have to find other ways of using them too. I had a few Clementines left and I wanted to put them to good use. You all know how I love to repurpose just about everything as much as I can. I just hate it when good food goes to waste. So I had my thinking cap on and was thinking and thinking of a good way to use them up, when lo and behold, I came across a great new idea and recipe. I made mini Clementine cakes with them. We will see how they turn out, and what the reaction is later. 🙂

I know a lot of you out there are asking what are Clementines. Well ….. Clementines are small little oranges that are a hybrid of tangerines and mandarin oranges. They’re the second largest cultivated group of citrus fruit after sweet oranges, which include larger sized varieties like navel and blood oranges. They share many of the same characteristics as other mandarins, such as a smaller size compared with navel oranges, few to no seeds, a sweet flavor, and a thin, soft skin that’s very easy to peel. Tangerines are thought to have originated in Southeast Asia, and were named because they came by way of Tangier, Morocco.

In the United States, tangerines are often called mandarins. However, while all tangerines are mandarins, not all mandarins are tangerines. They are easy to confuse with each other since they are so similar, though they do have subtle differences. I love their sweet, but slightly tangy taste. Clementines are in season right now, so I have been buying them up and using them in as many ways as I can. Clementines also go by the name of Cuties too.

Mini Clementine Cakes

I made these in my mini muffin pans because I am trying to make them stretch as much as possible to feed a lot of people, but you can also use a regular cake pan too.

1 lb of peeled Clementines, either chopped or sliced

1 cup sugar

2 eggs

1/2 cup melted butter

1 tsp vanilla

1/2 cup of Clementine juice

3 cups cake flour

1 tsp baking powder

dash of salt

1/2 cup brown sugar

Preheat oven to 350* F or 190* C.

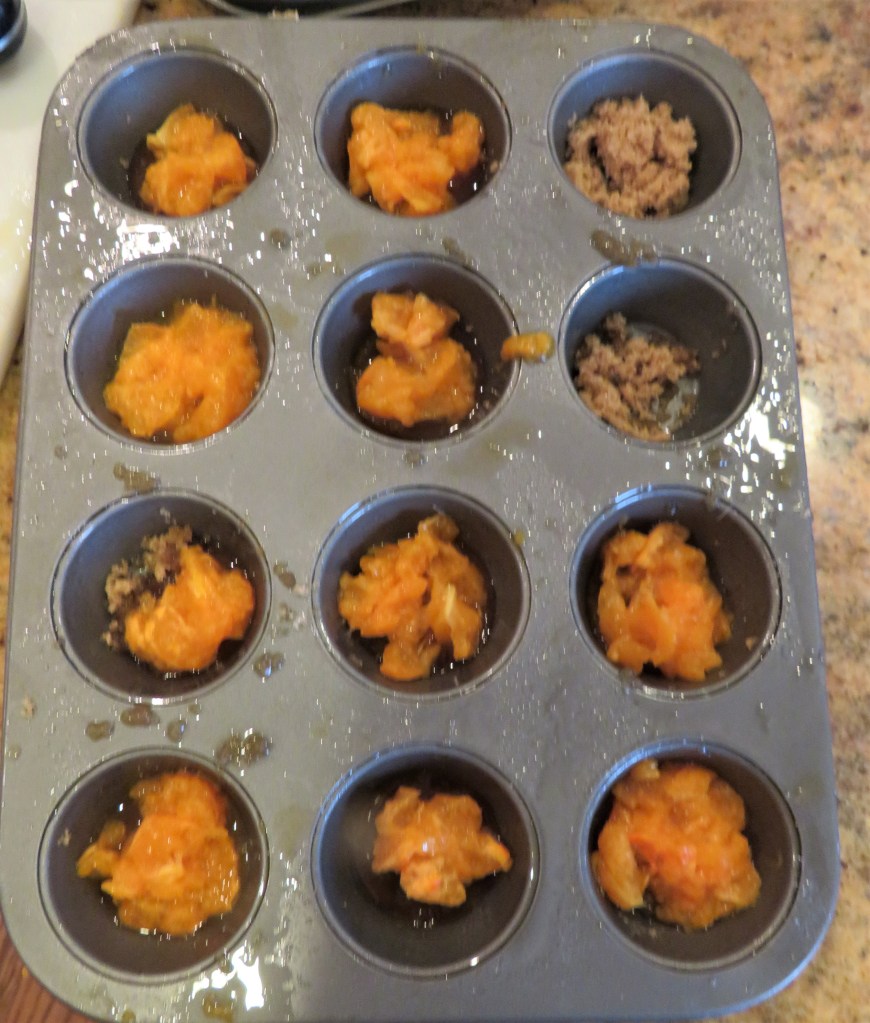
Spray you cake pan or muffin pans with cooking spray. Sprinkle the bottom of the pan with brown sugar. If you are using a larger cake pan, slice the oranges horizontally and line the bottom and sides of the pan with the orange slices, laying them in top of the brown sugar. I used my mini muffin pan, so I chopped the Clementines.

Combine the flour, salt and baking powder thoroughly and set aside.

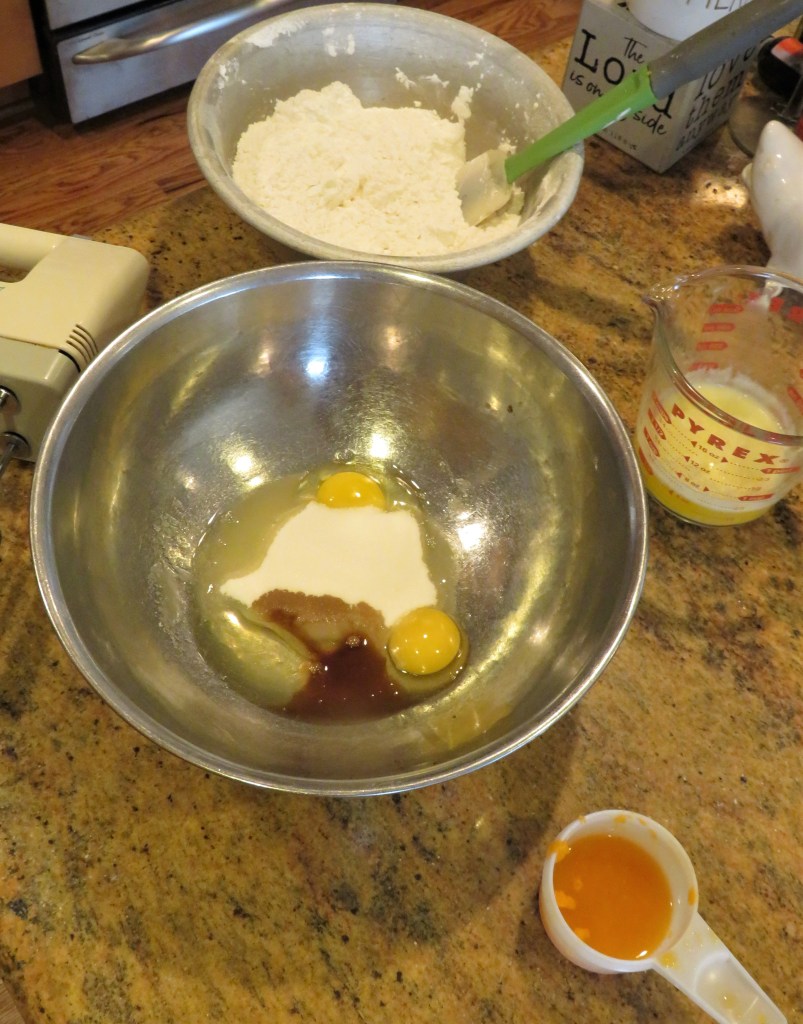
Beat the eggs and sugar together with a mixer until they are light and fluffy. Slowly add the melted butter and vanilla and continue to beat until everything is combined well. Pour in the reserved Clementine juice and mix again. Then fold in the flour mixture.

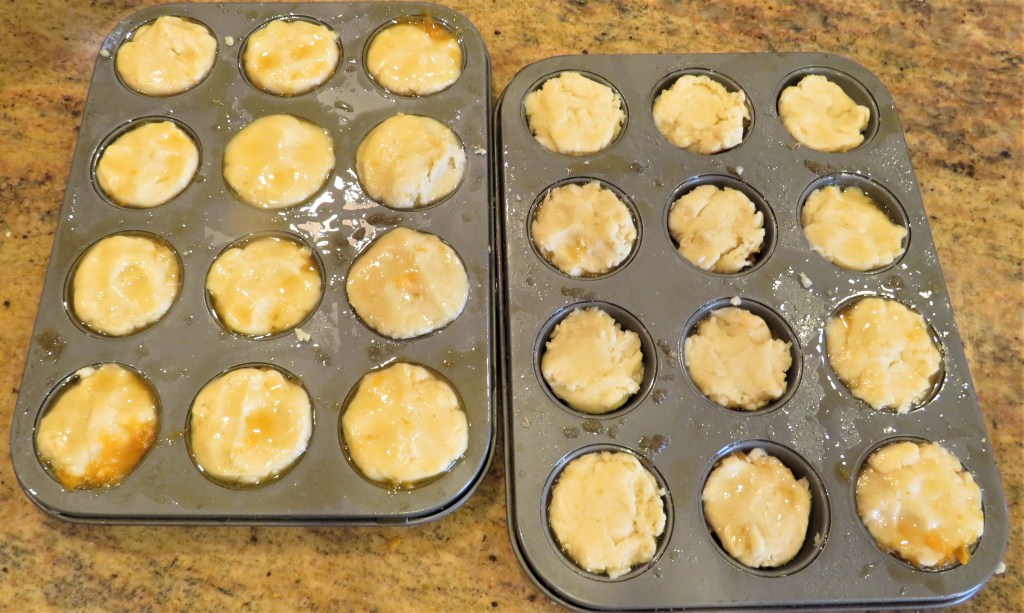
Spoon or pour the batter over the Clementines and brown sugar.

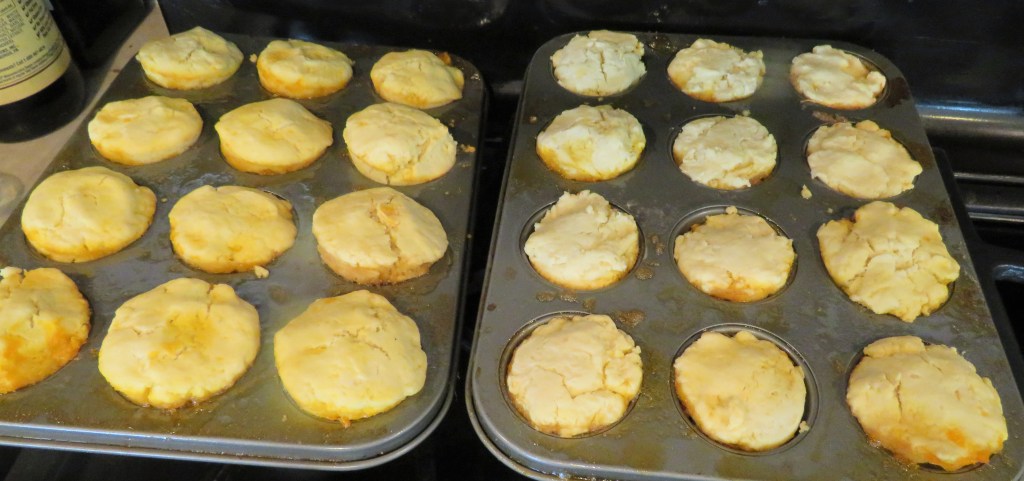
Bake for about 30 minute or until the cakes are fluffy and golden brown.

Allow to cool before removing from the pan and top with your favorite toppings. I had some leftover icing, and you all know how much I love using up those leftovers, so I spread it on top of my little cakes If I was thinking properly, I would have made them real pretty and fancy and piped them on, but I don’t think I had enough icing leftover for that, so I just spread it out with a butter knife instead. 🙂

Play with your food and always have fun in the kitchen. Stay safe and stay well Everyone. ‘Til next time.

Indian Butter Chicken with Vegetables

They say imitation is the best form of flattery. I definitely believe this to be true. As you know, I am always on the lookout for good recipes and new dishes to try. I find them all over the place, from a wide variety of sources. I have a plethora of cookbooks. I get ideas from restaurants I visit. I remake recipes from friends, and I try things I find on the internet, just to name a few. And often times, I am even inspired by recipes I discover from our own “blogging family members”. I have recently been inspired by not one, but two recipes from within our own bloggosphere; the stuffed French Toast from Sheree, from The Musette and A View From the Back https://viewfromtheback.com/ Stuffed French Toast and a version of Indian Butter Chicken or Makh ani Chicken from Cedar Oak Farms https://www.facebook.com/cedaroaksfarm/ and The Wacky Spoon https://thewackyspoon.com/. Of course I say “inspired by”, since you know I am going to personalize them and make them in my own way. And that is part of what makes cooking so fun. We all have different ideas and different interpretations, making the end results truly unique to our own tastes and personalities. 🙂

Mahk ani Chicken is a rich, buttery and flavorful dish that is made with all kinds of traditional Indian spices and warmth. Butter Chicken (known as murgh makhani — chicken with butter), is similar to British tikka masala.

Butter chicken is a curried dish that was inspired from Kundan Lal Jaggi and Kundan Lal Gujral, founders of the Moti Mahal restaurant in Delhi, India, in the 1950’s. The curry was made “by chance” by mixing leftover tandoori chicken in a tomato gravy, rich in butter (makhan). Before the partition of India and Pakistan, Kundan Lal Gujral made tandoori chicken in a dhaba in Peshawar in the 1920s. Gujral didn’t want to be wasteful, so he experimented with dried chunks of chicken, added tomatoes, butter, and some masalas to the gravy and thus, gave birth to the famous butter chicken. The mains differences between butter chicken and chicken tikka masala are that butter chicken is more creamy and has less tomatoes in the dish that chicken tikka masala.

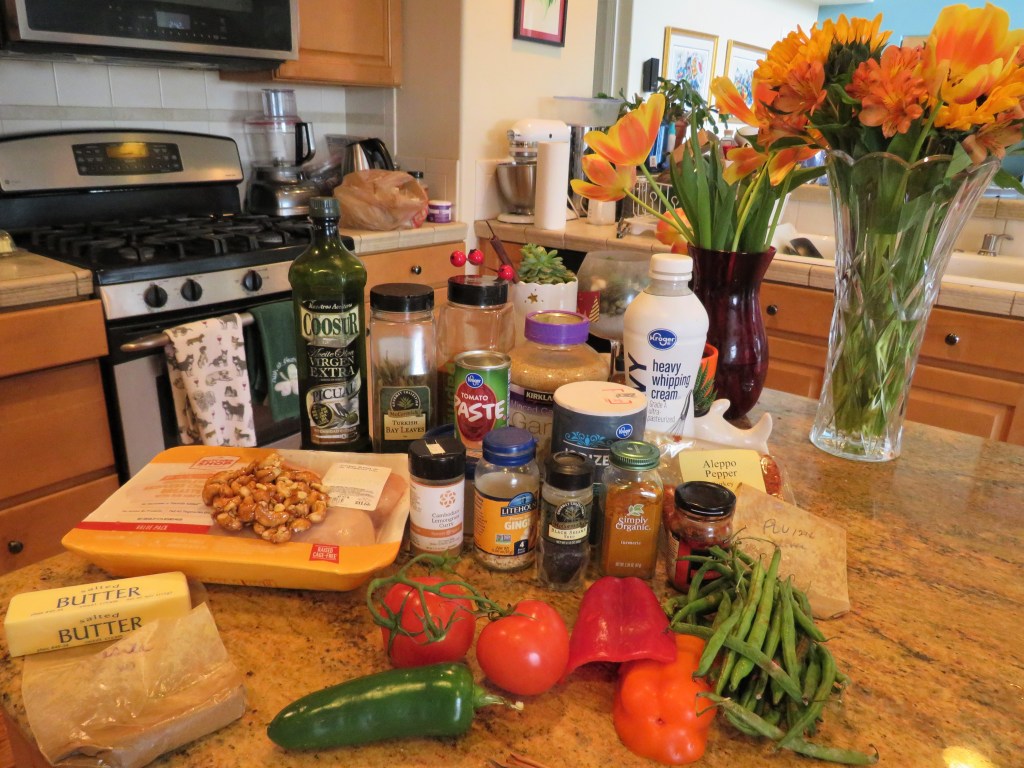
For the most part, I followed Ella’s recipe pretty closely, but I also made some additions and tweaks here and there to make it my own. I added vegetables and onions, as well as some honey-ginger balsamic vinegar. I also added more butter. I used chicken breasts that I cut into pieces rather than other chicken parts. As I always say, don’t be afraid to play with your food. Be creative and have fun. 🙂

Indian Butter Chicken with Vegetables

Yes, there are a lot of spices used. This is typical for Indian and Middle Eastern dishes. The combination of all these different spices gives a rich and layered flavor to the dishes.

4 tomatoes, diced

1 stick of butter, divided

1 TBSP dried ginger

2 TBSP garlic

1 large jalapeno, diced fine, or 2 smaller peppers

2-3 cinnamon sticks

1 tsp dried cloves

2 tsp cardamom

1-2 tsp crushed peppercorns

1 6-oz can of tomato paste

1-2 chipotle peppers, diced fine

1 tsp paprika

2 bay leaves

1/4 cup chipped cashews – I used my leftover honey-lime cashews

1 TBSP poppy seeds

2 lbs chicken

1 TBSP garam masala

1 tsp chili powder – I used ajo garlic chili powder

1 tsp turmeric

1 TBSP sugar

1/2 cup heavy whipping cream

salt to taste

1 cup green beans, cut into pieces about 1 inch long

1/3 cup onions, diced

1/2 red bell pepper, diced

1/2 orange bell pepper, diced

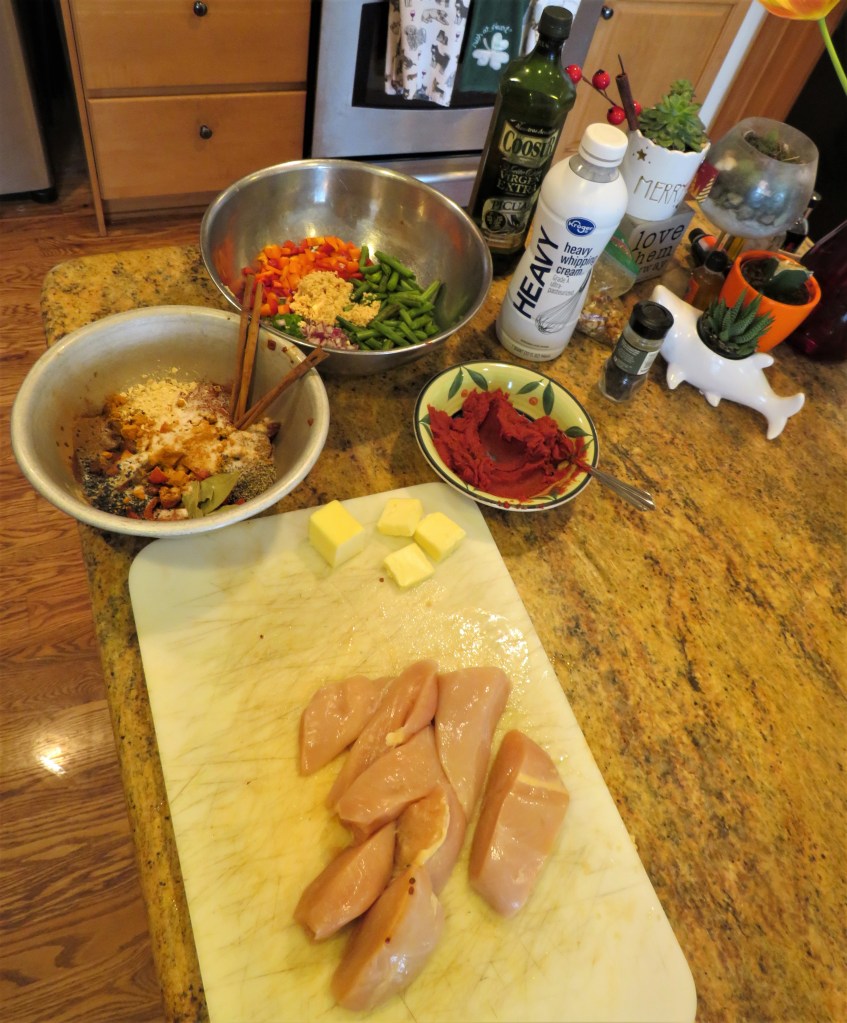
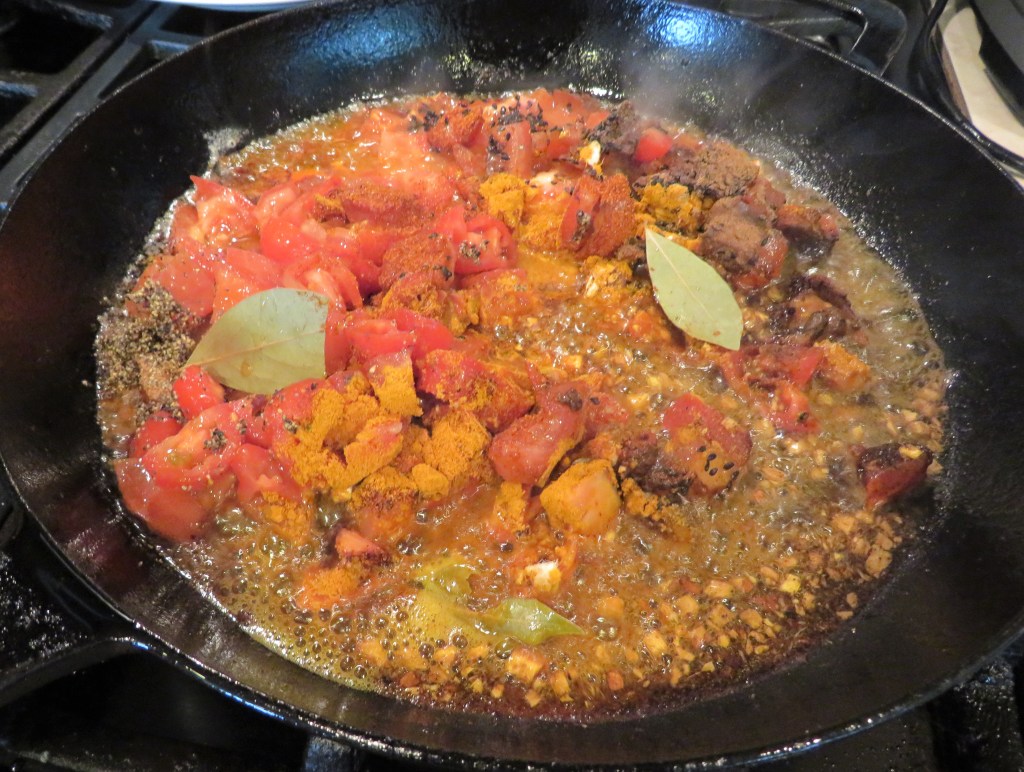
Mix the tomatoes and spices together and set aside. Combine the vegetables, garlic and ginger and set aside.

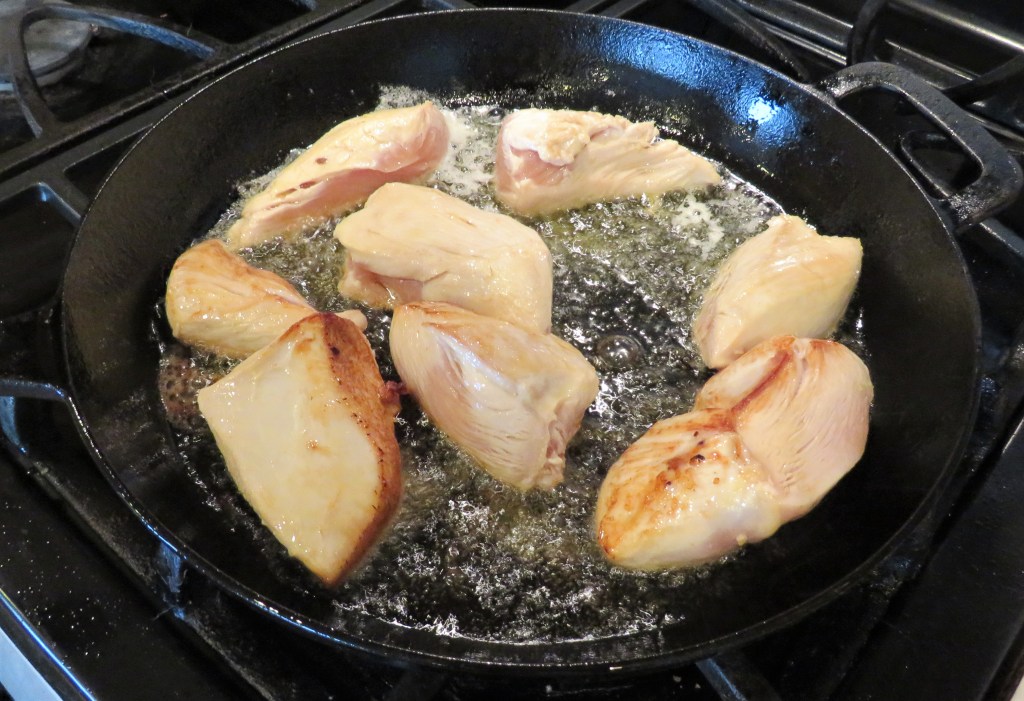
In a hot skillet add the oil and some of the butter. I used a combination of regular olive oil and lime olive oil, along with the butter. Carefully add the chicken pieces and brown them on all sides. Once browned, remove the chicken from the heat and set aside.

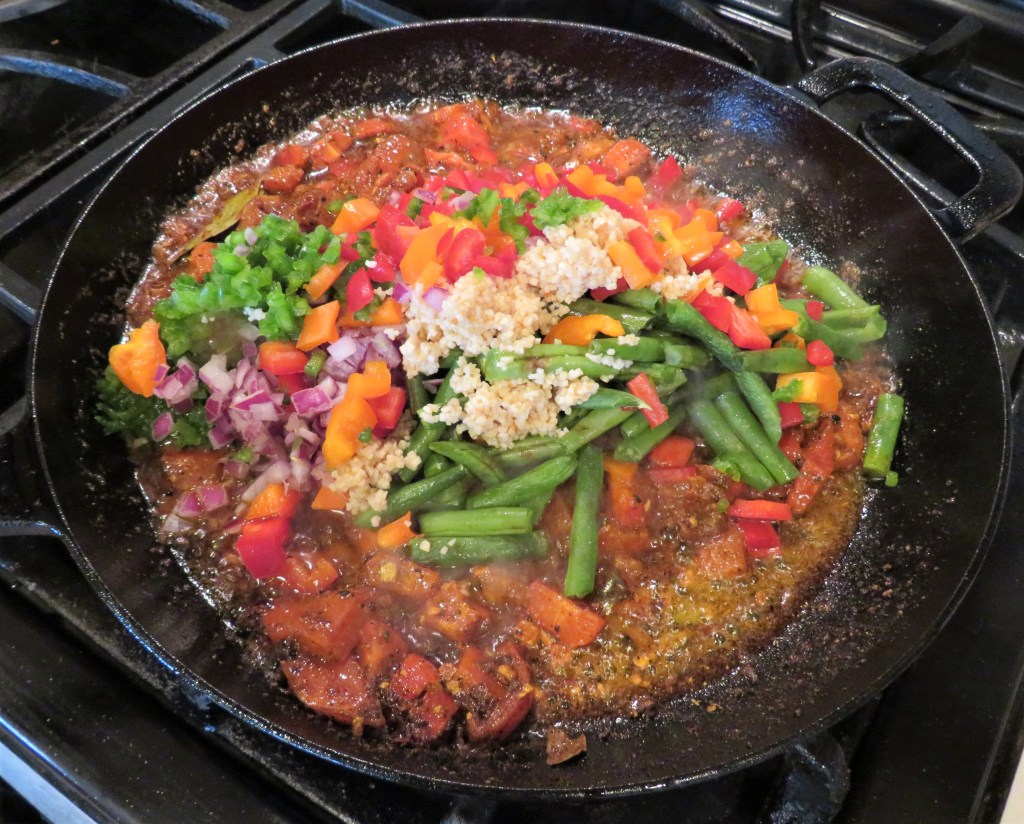
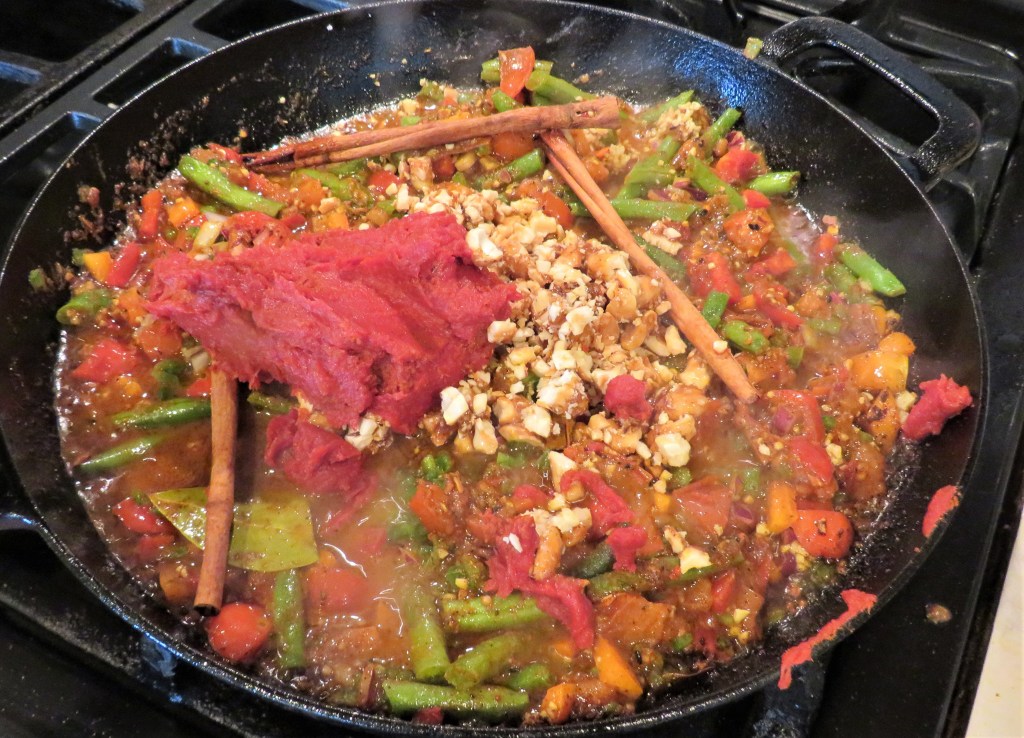
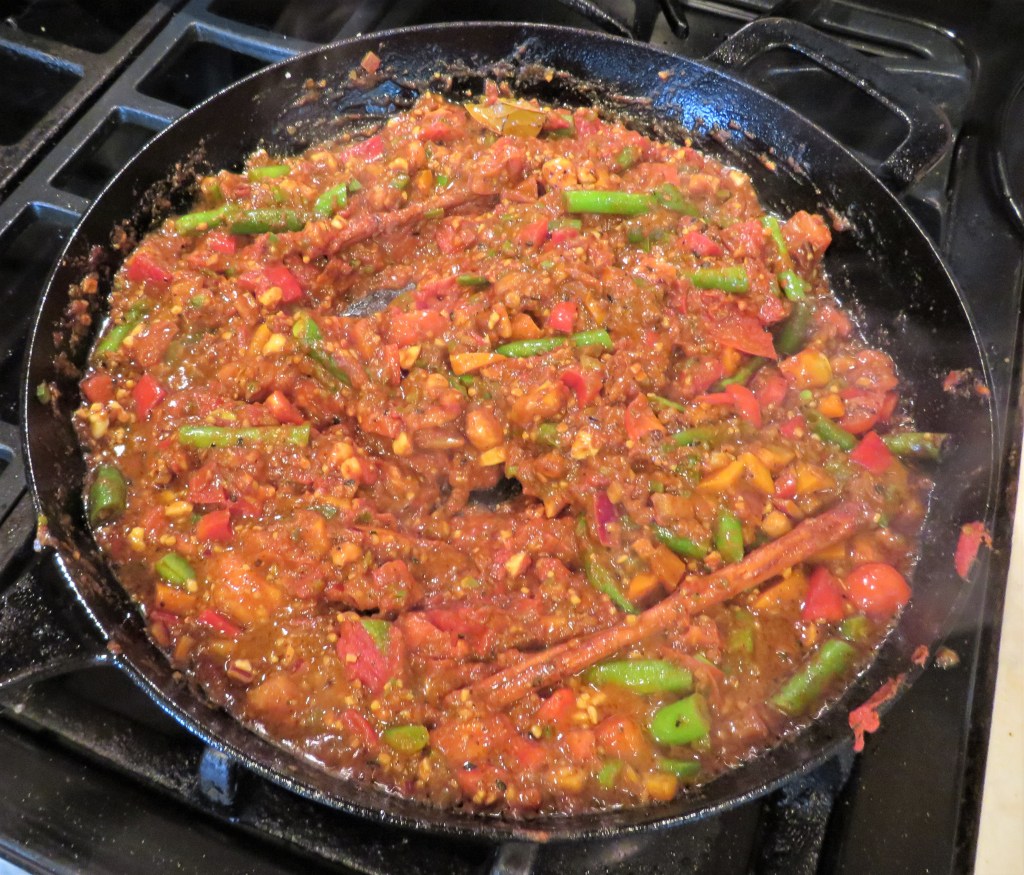
In the same pan and oil, add the tomatoes and spices and cook for a few minutes before adding the tomato paste, cinnamon sticks and chipotle peppers. Combine thoroughly then add the vegetables, cover and cook for about 15 minutes, so the tomatoes break down and make a sauce. Stir frequently.

At this point, the spices and aromas were oh so fragrant, and only got better as I continued the cooking process.

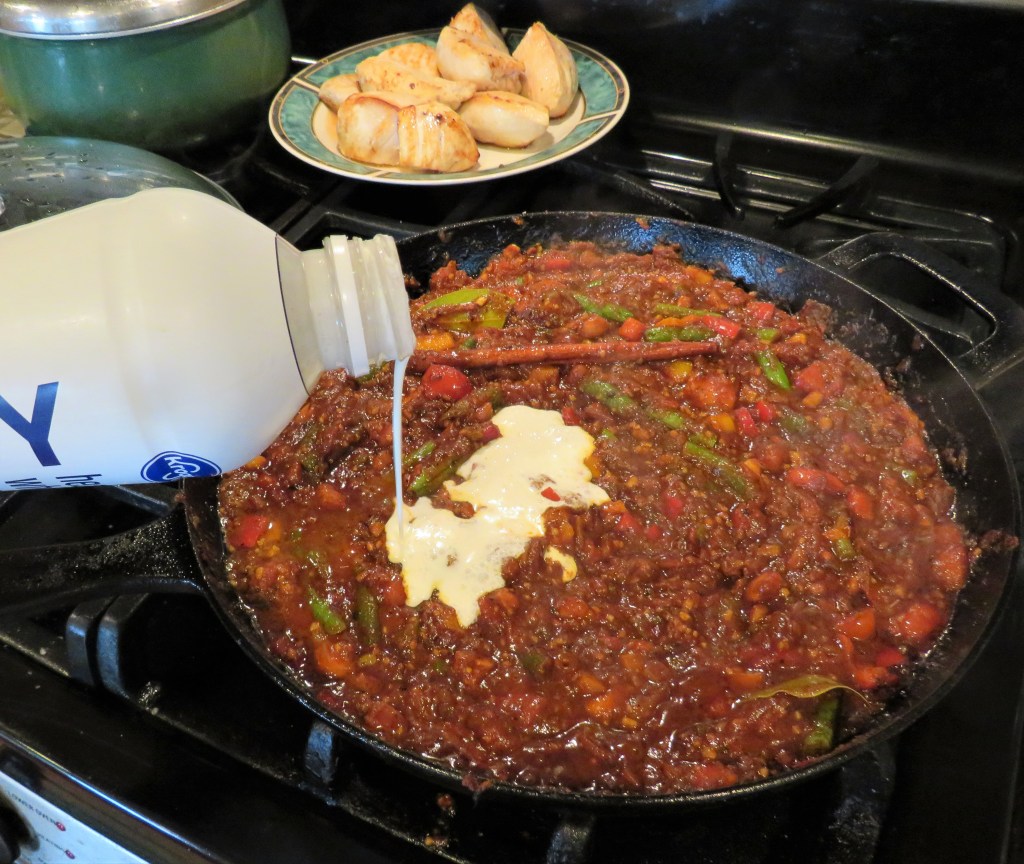
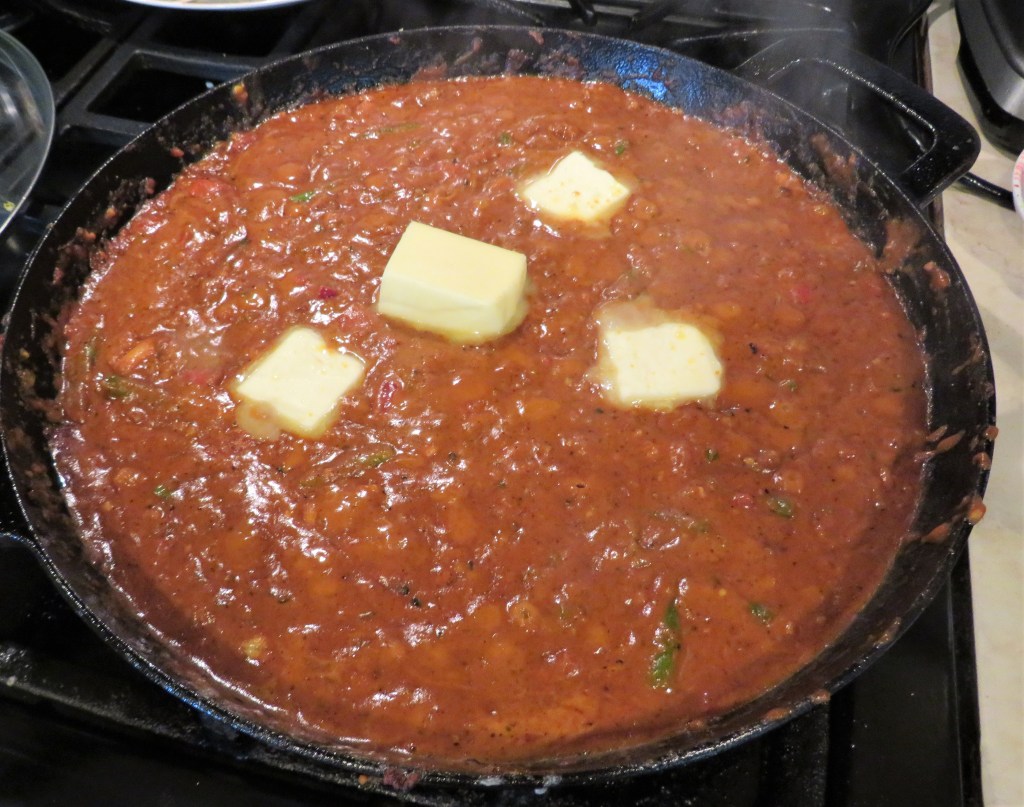
Add the cream and the rest of the butter and once again, thoroughly incorporate into the sauce.

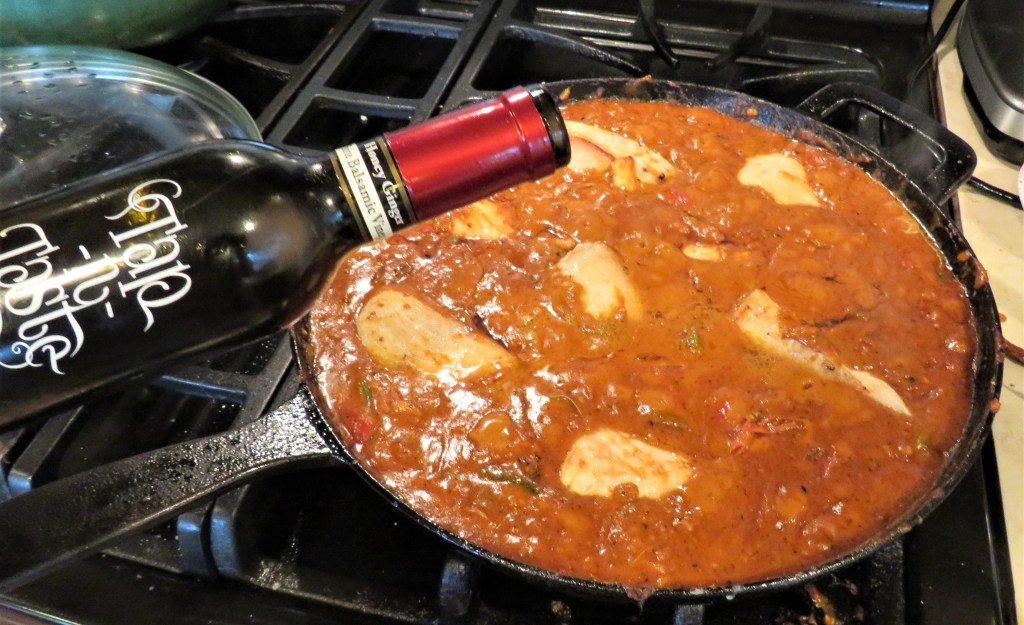
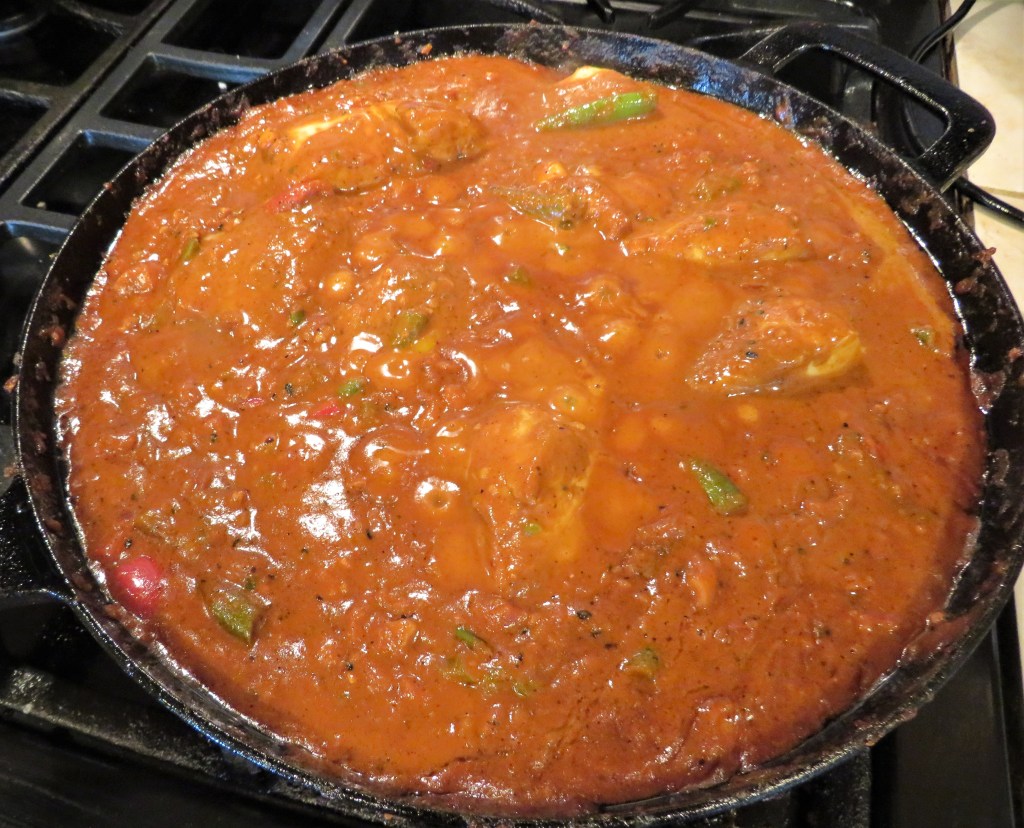
Add the chicken into the sauce and completely cover. Add the honey-ginger balsamic vinegar (if using)combine well and bring to a boil, then reduce the heat to a simmer, and continue to cook for an additional 10-15 minutes, stirring frequently.

The end result will be a rich, exotically spiced cream sauce with your chicken being very tender, juicy and full of flavor .

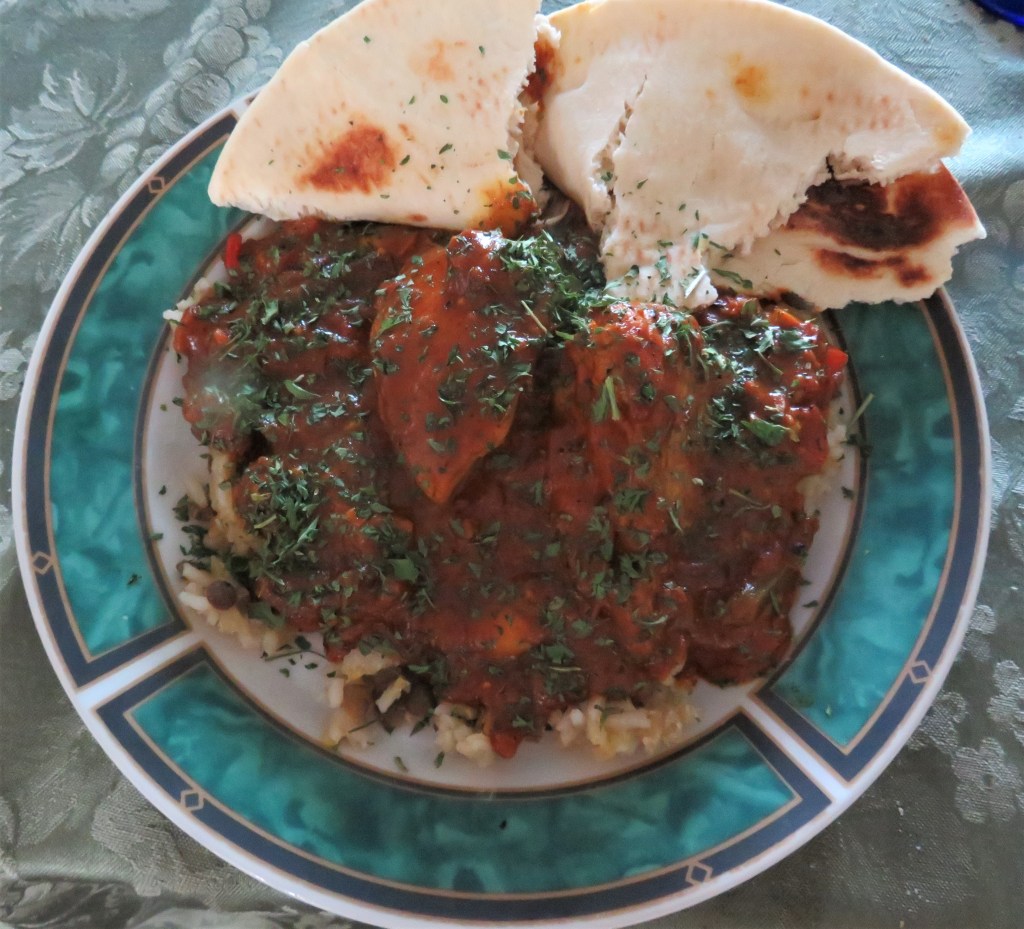
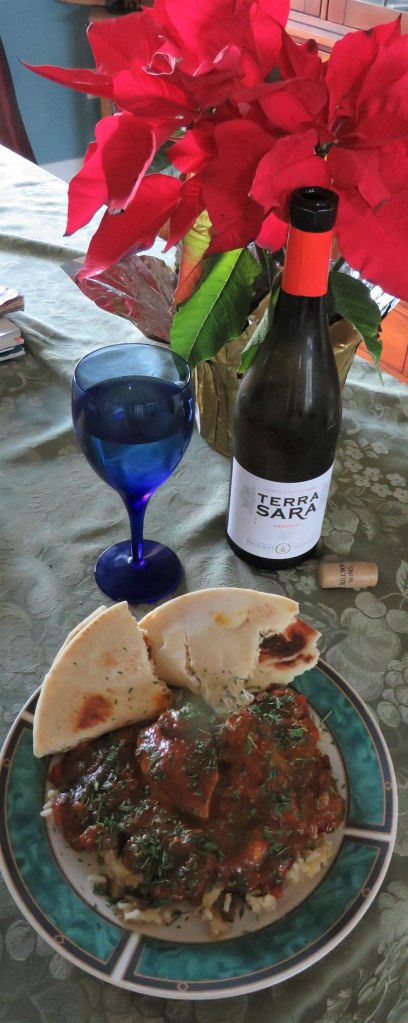
I served my chicken and sauce over a combination of lentils and rice with some warmed naan bread on the side and a cool, crisp chardonnay to finish it all off. The crisp chardonnay will pair very nicely with the rich and exotic spices of the sauce.

This is a meal to be enjoyed slowly so every bite can be savored. Thank you Ella for this fantastically delicious idea. It was a huge hit. In fact, we liked it so much, I am going to add some shrimp to the left over sauce and do it all over again. YUM!

Stay safe and stay well Everyone. ‘Til next time.
Stuffed French Toast

French toast is breakfast classic not just here in the United States, but pretty much all over the world. It has been a favorite since the days of the Ancient Romans. When the Ancient Romans were eating what we now know as French Toast, back in the 5th century A.D., it was known as aliter dulce, or another sweet dish, because bread was dipped in milk and then fried in butter and topped with a sweetener. Sounds very familiar, right?!

During the Medieval times of France, this dish became known as pain perdu, which literally means lost bread, because it was made from stale bread that was dipped in an egg and milk batter and then fried. This was a way to cut waste and to use up everything. All food was a very precious commodity back then, and even stale foods needed to be used. What we in the United States know as French toast, goes by many other names in various parts of the world, including pain perdu. It is also known as Spanish toast, German toast, nun’s toast, eggy bread, torriga, poor knights of Windsor, Bombay toast, and many other names as well. It became known as French toast when it spread to England and then to America in the 1700’s.

The basic recipe for French toast consists of three main ingredients – bread, milk and eggs. And of course, there are many other different variations. Today, most of the recipes include sugar and vanilla in the batter. Sometimes it is stuffed with either a cream cheese or yogurt or whipped cream filling. Sometimes it has fruit added. And sometimes it has chocolate added to it. Once again, there is definitely more than just one way to make this delicious breakfast favorite. The only limitations are the limitations of your own imagination.
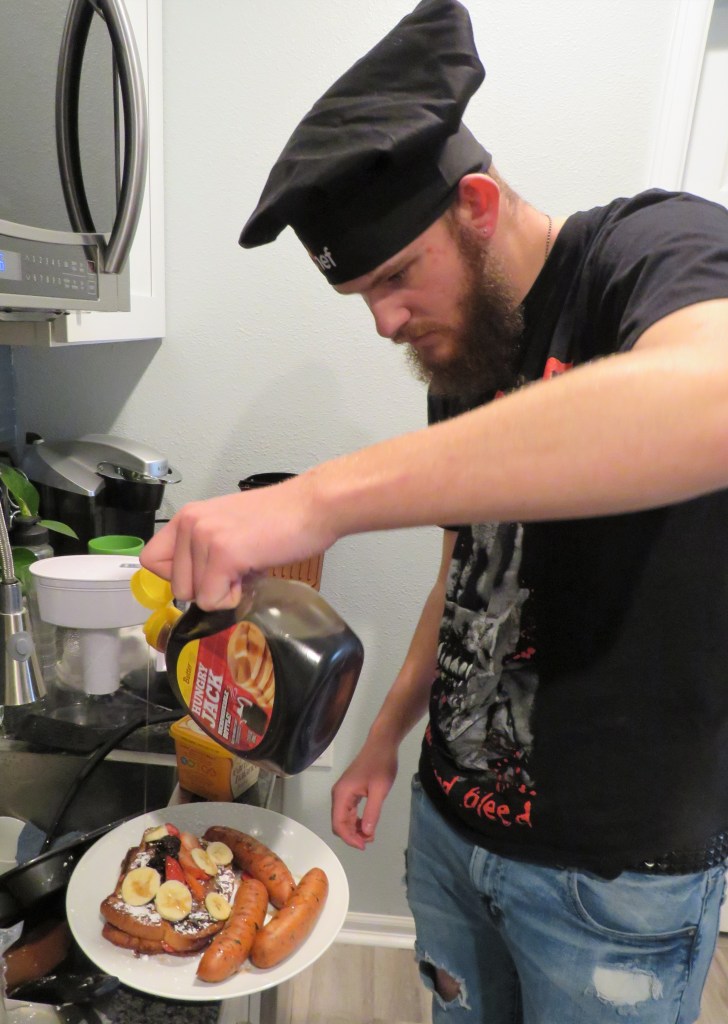
The other day, Noah and I made a fruity version of this breakfast classic. Noah, like me, is not a big cheese eater, so no cream cheese filling. I didn’t think about using yogurt, but instead chose to have Noah make some whipped cream for his filling. Only after we made the whipped cream did I learn that he is not a big fan of whipped cream either. But he thoroughly enjoyed the French toast with fruit. We served it with some grilled chicken and apple sausage. I think his smile says it all. He was ready to dig in and enjoy.

The recipe I used was borrowed and tweaked from our very own Sheree, from The Musette and A View From the Back https://viewfromtheback.com/. Merci beaucoup, mon amie.

The Batter

1 egg

1/2 tsp cinnamon

1/4 cup unsweetened almond milk – I used cinnamon swirl almond milk

2 TBSP sugar – I used raw sugar

dash of vanilla

pinch of salt

2 pieces of thick egg bread, the thicker the better

The Filling

1/2 cup Greek yogurt

dash of salt or salty shakes

1 TBSP sugar

sliced fruit of your choice

sprinkle with powdered sugar, optional

maple syrup to top, optional

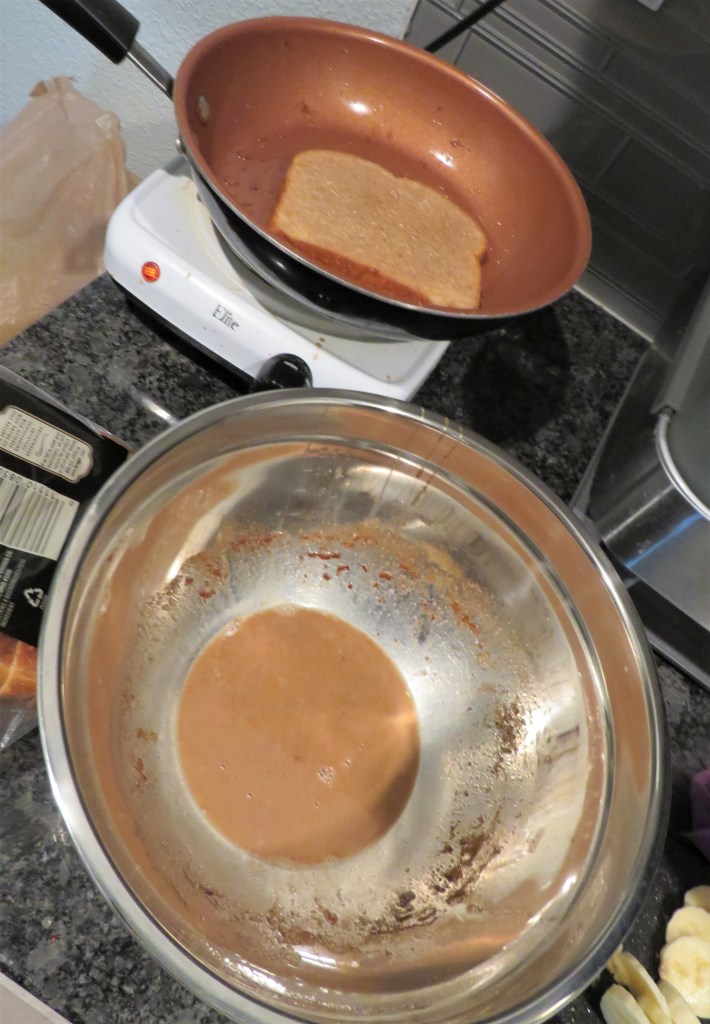
Mix the batter and dip the bread into the batter. Shake off the excess. Get a skillet nice and hot and add some butter. Carefully place the bread into the hot skillet and cook until golden brown on both sides, about 5-7 minutes.

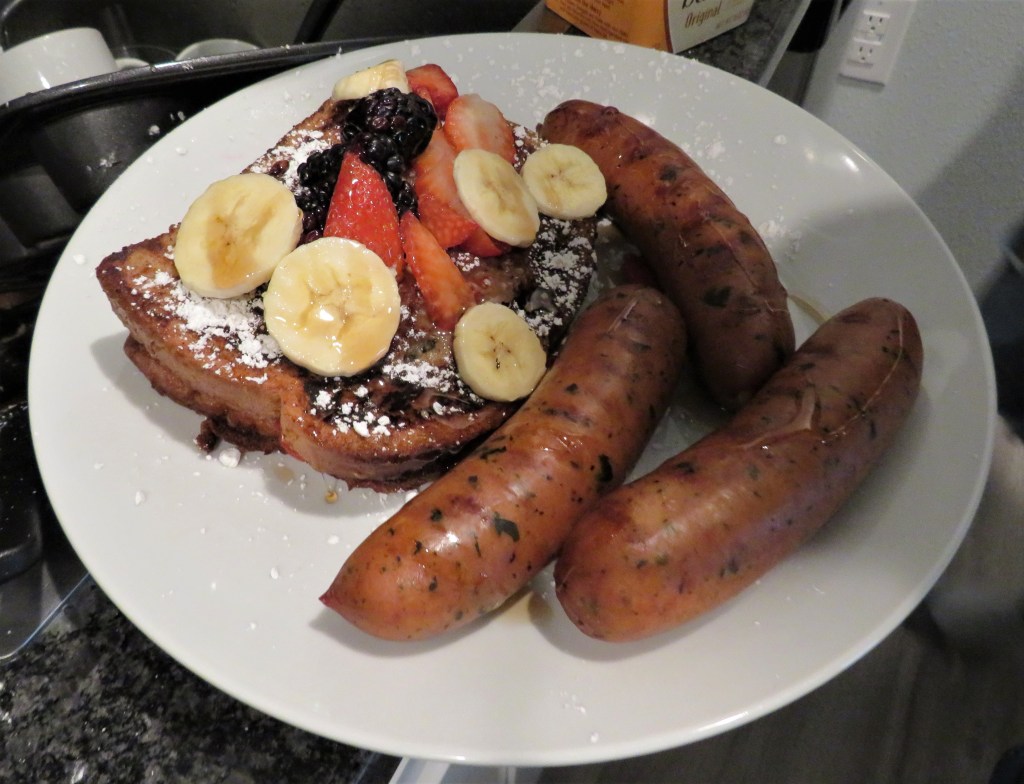
When the bread is golden brown, add the filling if using, and some of the sliced fruit on top of one piece of the bread, then repeat. Noah loves his fruit, so he used a sliced banana, some raspberries, blackberries and strawberries for his topping. Then he added a little powdered sugar and some maple syrup as well.

And here is his finished creation. Yet again, Noah and I had a good time in the kitchen, and he thoroughly enjoyed his latest culinary creation. He is so much fun. He is always open to trying everything, and he really gets into his cooking.

It was kind of healthy, right?! He did not use any of the whipped cream, and it was loaded with fruit, plus we served it with some chicken and apple sausage. So it wasn’t all bad, plus, Noah is young and strong, and eats everything in sight, without an ounce of fat on him, unlike me, who has enough fat for both of us. Noah even joked about that. I told him I use a lot of heavy whipping cream when I cook, because I love creamy sauces. He said he could tell. Oh well, it is what is is, and I am what I am. Too late now. My secret is out. 🙂

Make the most of everyday. Stay safe ands stay well Everyone. ‘Til next time.