I have created this site to help people have fun in the kitchen. I write about enjoying life both in and out of my kitchen. Life is short! Make the most of it and enjoy!
Author: ajeanneinthekitchen
I have worked in the restaurant and catering industry for over 35 years. I attended 2 culinary schools in Southern California, and have a degree in culinary arts from the Southern California School of Culinary Arts, as well as a few other degrees in other areas. I love to cook and I love to feed people.
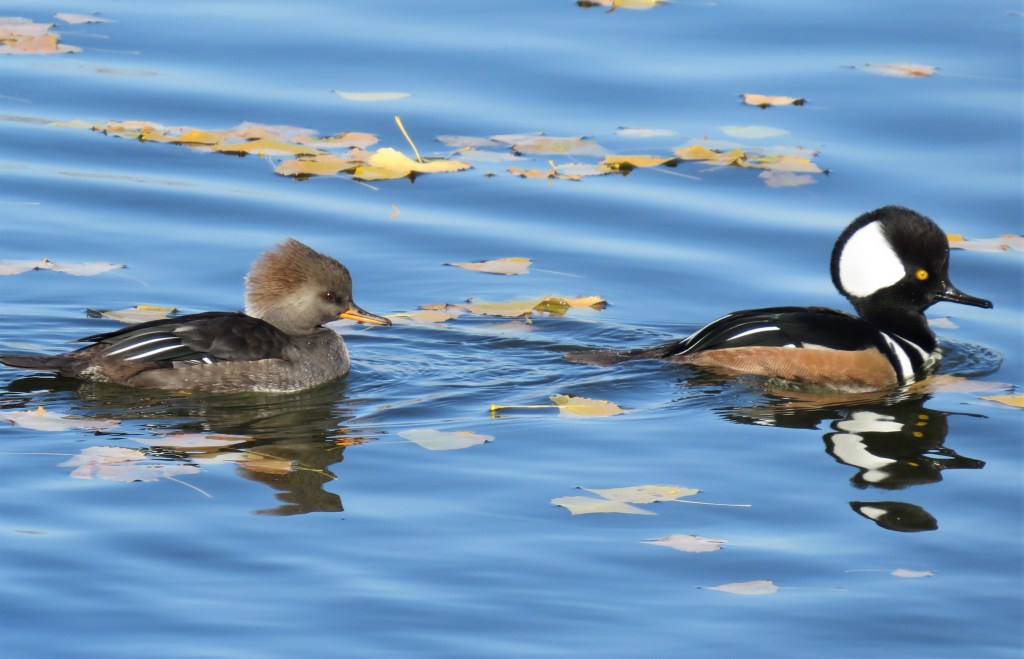
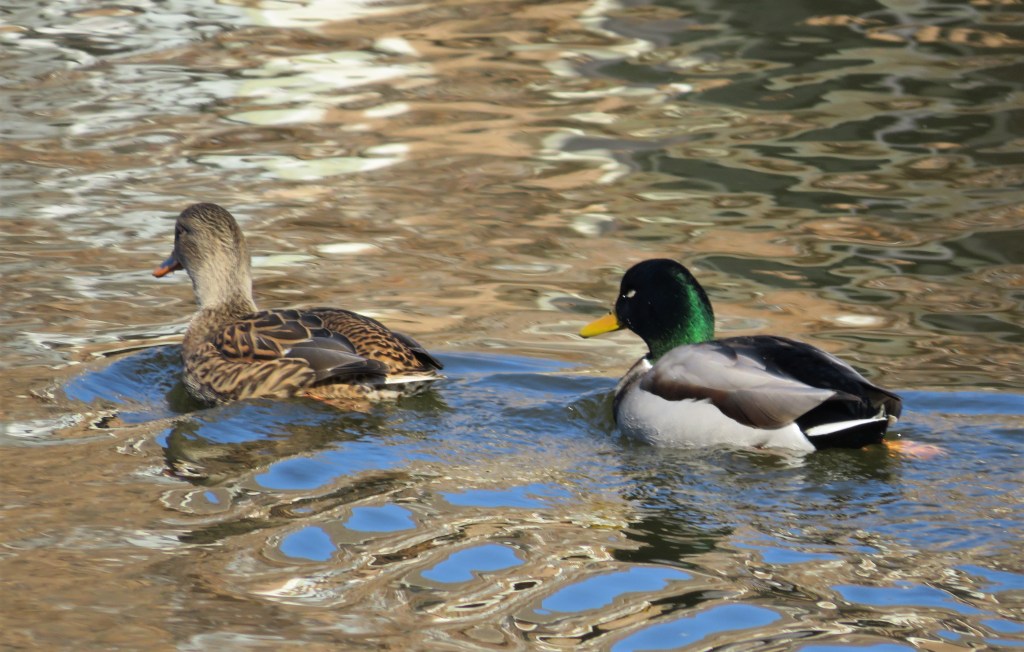
My lakes are slowly coming back to life with all of our late fall/winter residents. I am seeing a lot of ducks and geese, as well as a lot more mergansers too. I love them all. They are always welcome.
A pair of Hooded Mergansers swimming along.
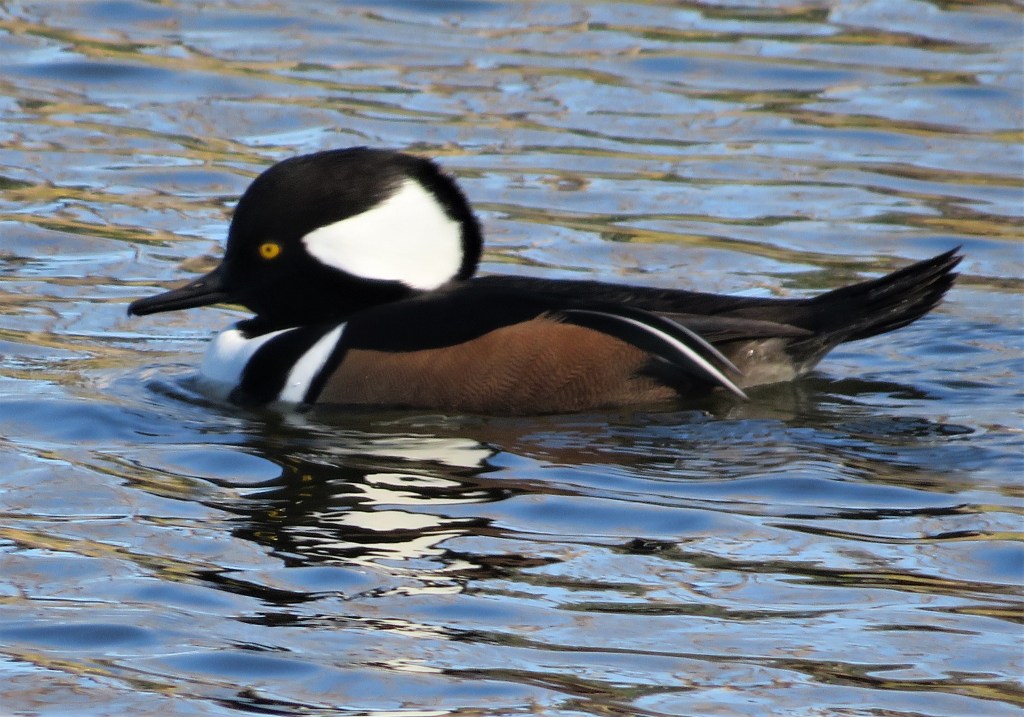
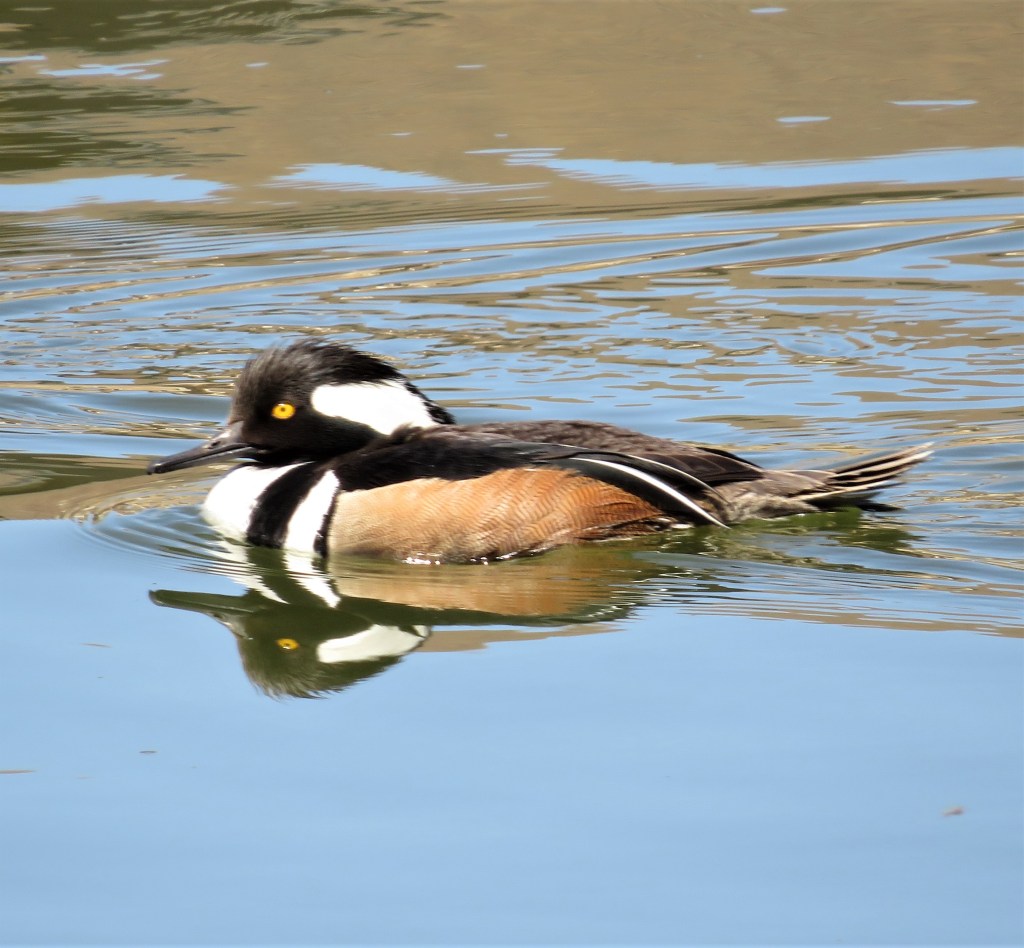
Just the boys for now.
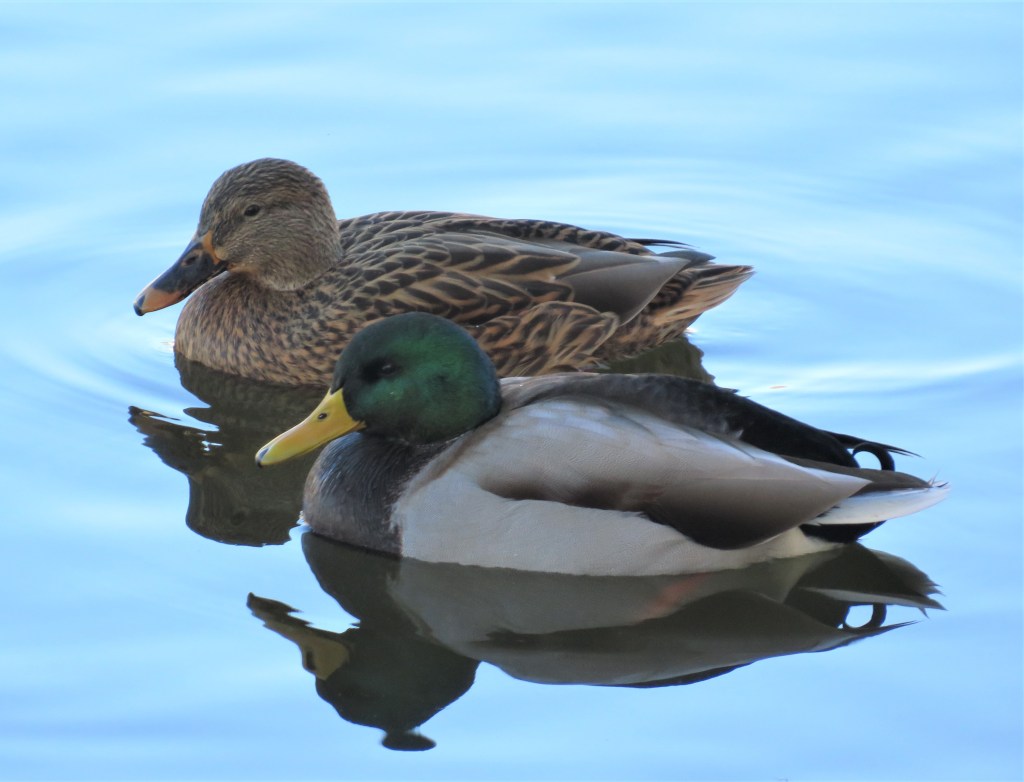
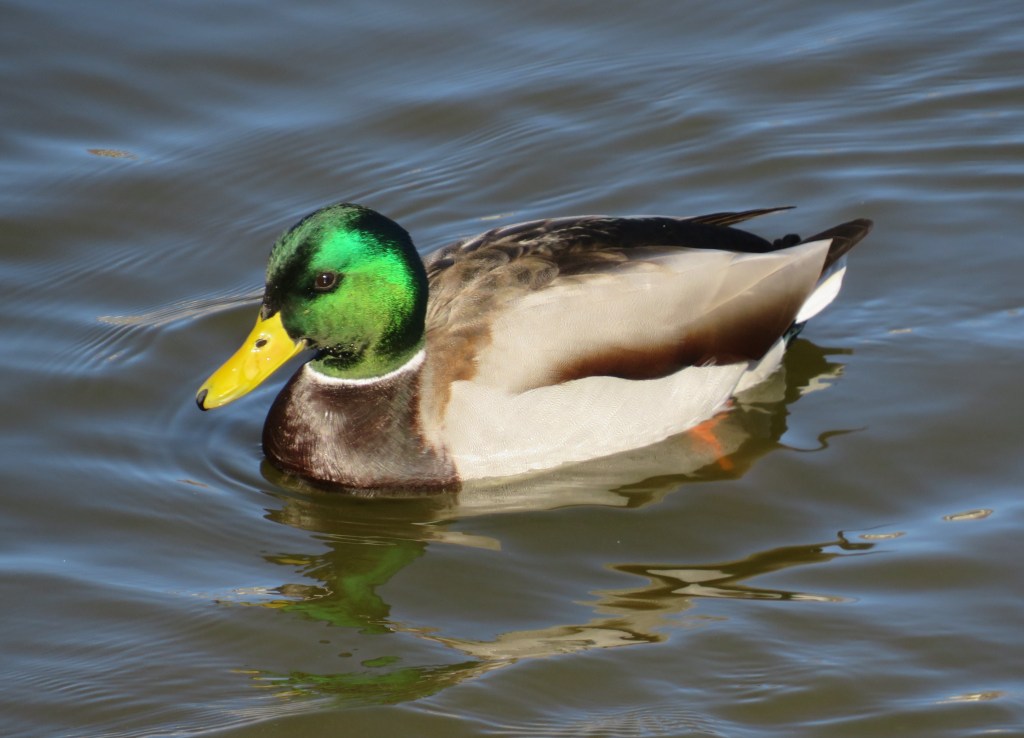
And the Mallards
The boys
and the girls.
I hope your day is just ducky, today and everyday.
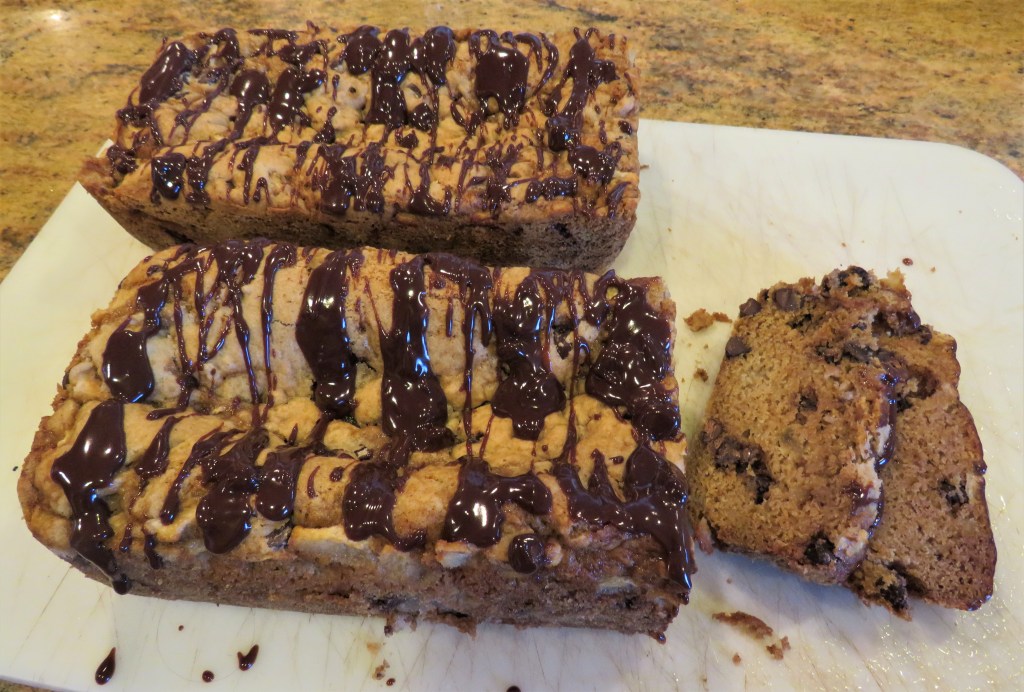
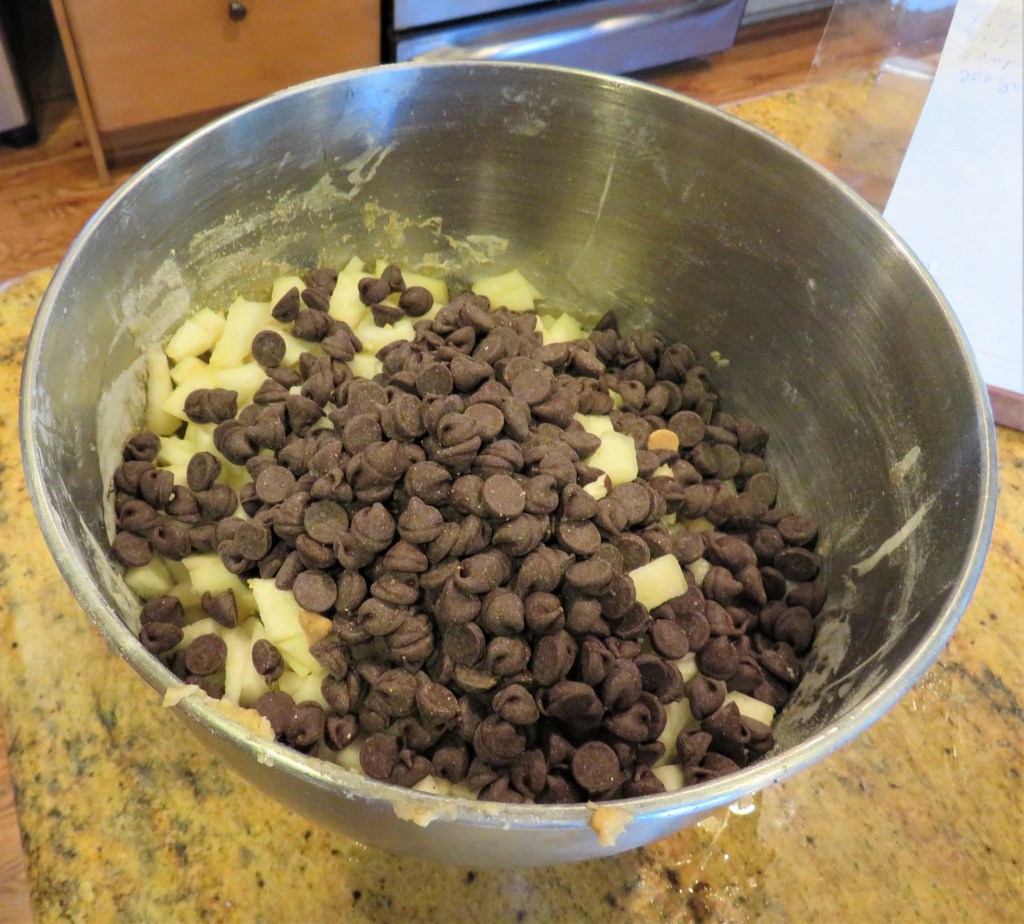
As you know, I get my recipes from all over the place, including a lot of them from following fellow bloggers just like you. Some of you have some amazing recipes. I like to say I am inspired by your recipes, rather than just using your recipes, because, inevitably, I always change them around a bit to make them my own. My latest borrow was from our very own Mia Kouppa at https://miakouppa.com/ for her Pear Chocolate Bread. Thank you for this wonderful and tasty idea. The only things I did differently this time were that I used semi-sweet chocolate chips instead of chopped chocolate pieces and I added a chocolate ganache as a topping once the breads were cooled. So see. I can actually follow directions; for the most part. 🙂
Pear & Chocolate Bread
Preheat the oven to 350* F or 190* C.
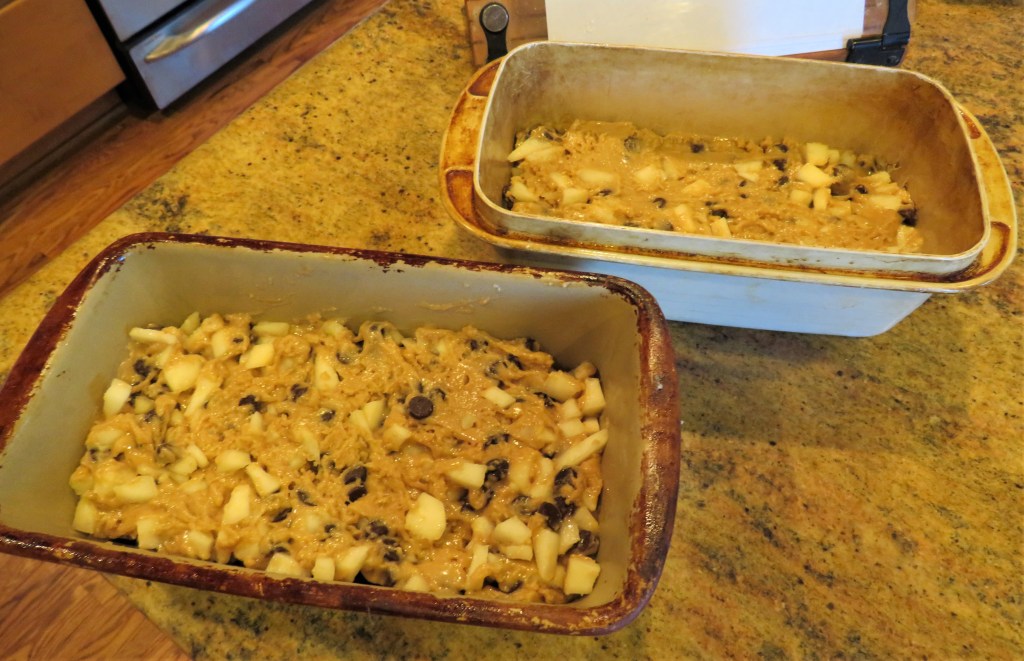
Spray two loaf pans with cooking spray.
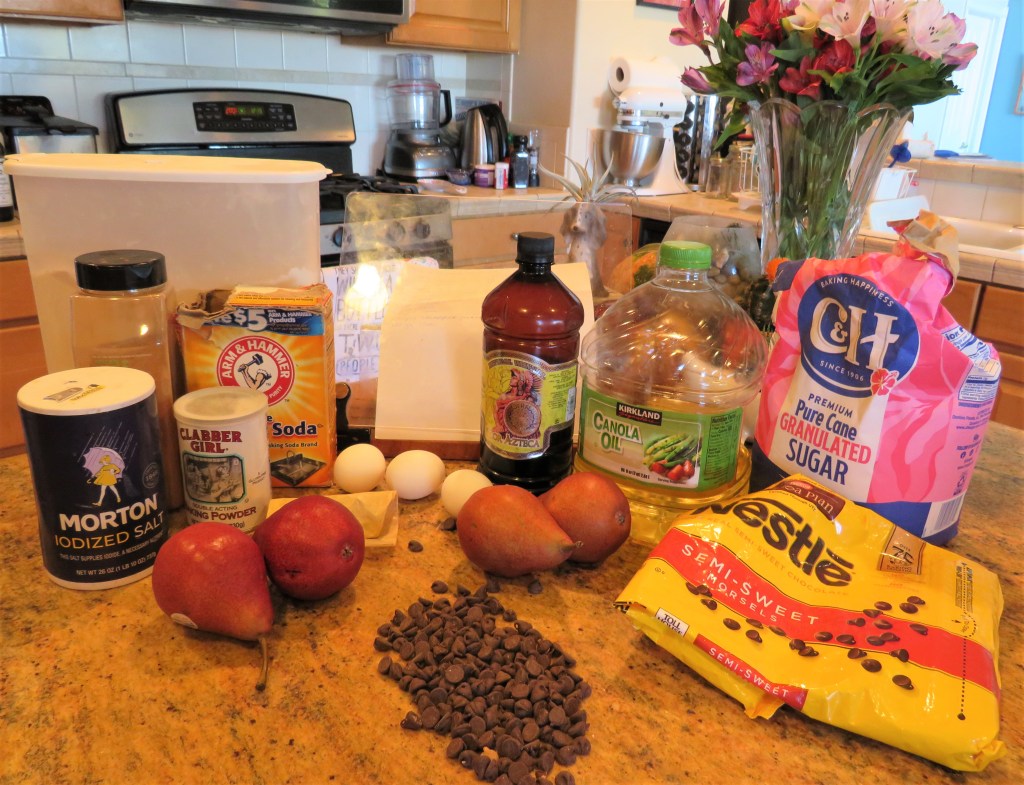
3 eggs
1 1 /2 cups sugar
3/4 cup vegetable or canola oil
1/2 tsp vanilla
2 tsp baking powder
1 tsp baking soda
2 tsp cinnamon
1 tsp ginger
1 tsp salt
3 cups flour
4 cups pears, peeled and chopped
1-1 1/2 cups chocolate morsels or chopped chocolate pieces
equal portions chocolate pieces and heavy whipping cream for chocolate ganache, optional
Combine all the dry ingredients and set aside.
Mix the oil, eggs and sugar together until smooth and creamy. Add the vanilla. Then slowly add the dry ingredients 1/2 at a time, mixing in between each addition. Mix until just blended together.
Add the chopped pears and chocolate pieces and fold into the mix.
Once everything is mixed together, evenly divide the batter into the prepared pans.
Bake for about 55-60 minutes, or until it is golden brown and a toothpick that has been inserted in the middle comes out clean.
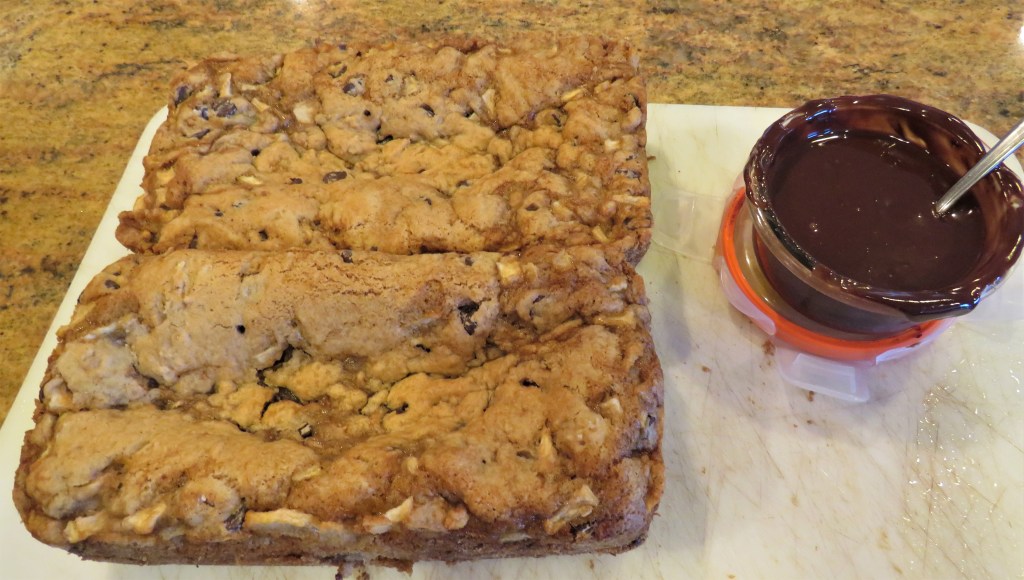
Allow the breads to cool completely before removing them from the pans and topping them with the chocolate ganache, if using. Then slice and share with friends and family. Chocolate ganache is so easy-peasy to make. it is equal portions of chocolate and heavy whipping cream cooked together until it is all smooth and creamy. Stir constantly so the chocolate does not burn over a medium heat. You can also use the microwave too, just stir it after every minute to make sure it doesn’t burn.
Thank you once again Mia for this deliciously moist treat. I had to try some of the broken pieces, you know, for quality assurance of course. It passed with flying colors. 🙂
Have a great day. Stay safe and stay well Everyone. ‘Til next time.
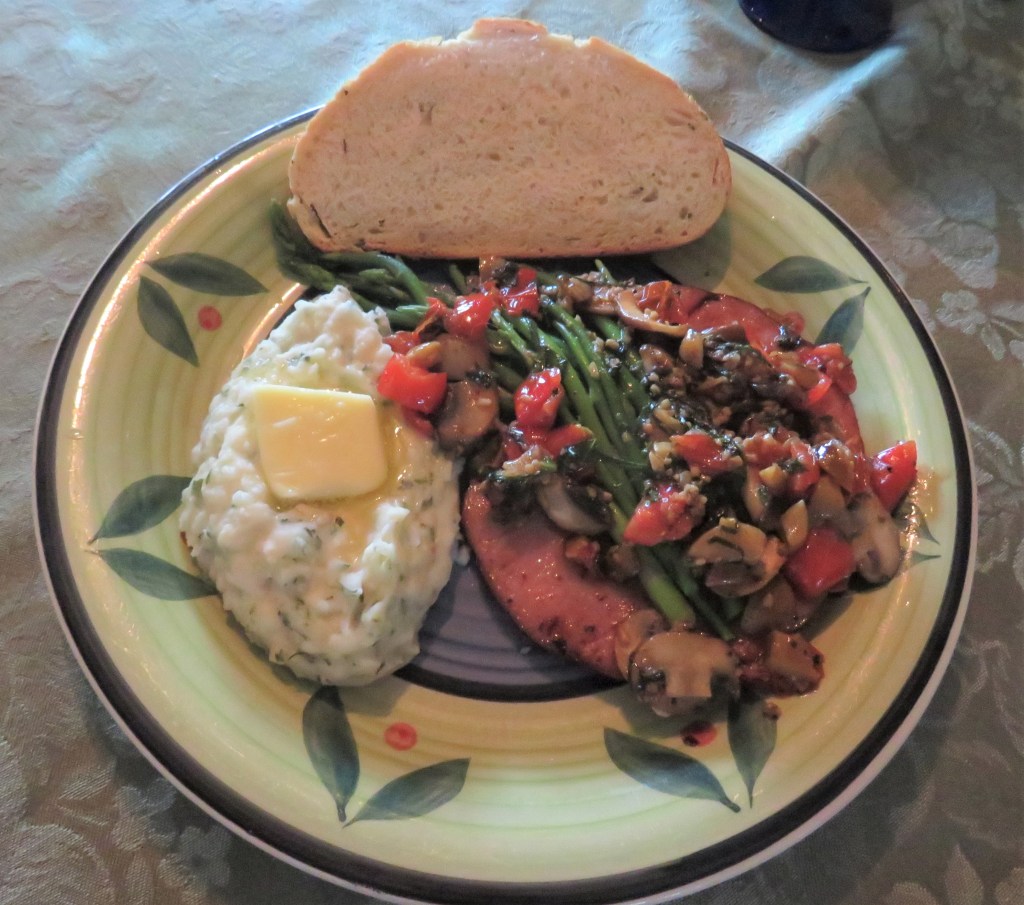
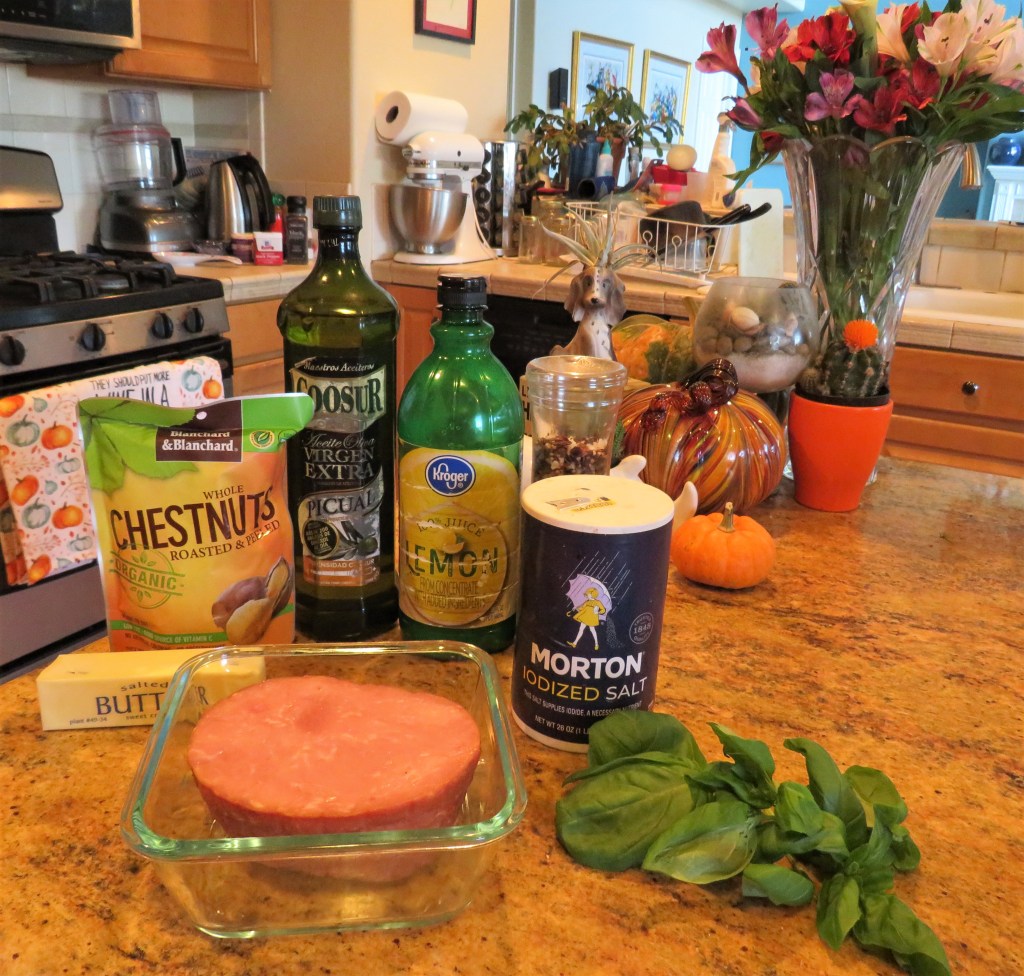
I love ham, but we don’t eat it all that often, because usually when I buy a ham, I buy a HUGE ham and we serve it for holidays and/or special occasions. Every now and then though, I just get a hankering for it and buy a smaller ham. That’s what I did this time. You know I couldn’t just serve it plain. Of course I doctored it up and served it with a delicious sauce. The sauce was the perfect accompaniment for both the ham and the asparagus, so it was a delicious two-for-one sauce. My kind of sauce!
My ham was just a ham, but it was the sauce that made it special. Once again, I had a recipe, but I just kept adding to it and improving as I went along. The tomatoes and mushrooms were a last minute addition, as was the lemon balsamic vinegar. This sauce would go well with any kind of pork or ham as well as with chicken, and as you can see, asparagus too. It is a light and tasty versatile sauce.
Lemon-Butter Chestnut and Tomato Sauce
2 TBSP olive oil
1-2 TBSP lemon olive oil, optional
salt & ground black pepper to taste
8 TBSP butter
1 TBSP garlic
1/2 cup peeled and roasted chestnuts
3 TBSP fresh basil, chiffonade
1 cup fresh tomatoes, diced small
1 TBSP lemon juice
1 TBSP lemon balsamic vinegar, optional
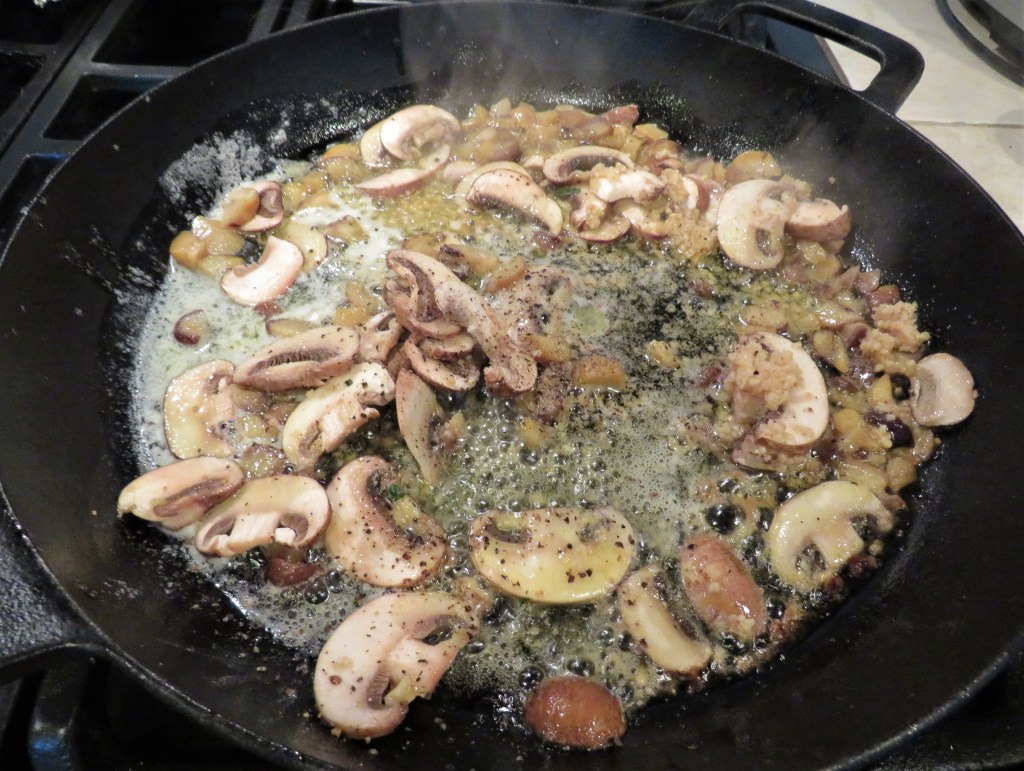
In a hot skillet, add the oils and butter, then add the chestnuts, mushrooms, garlic and seasonings. Cook for about 5-7 minutes, stirring often.
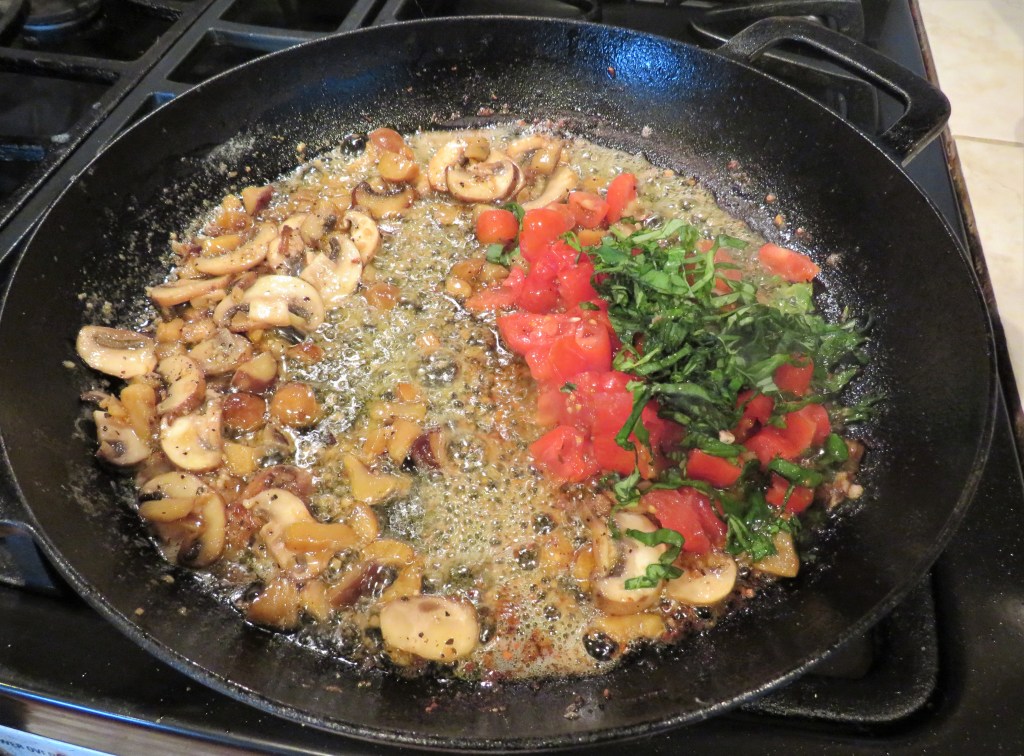
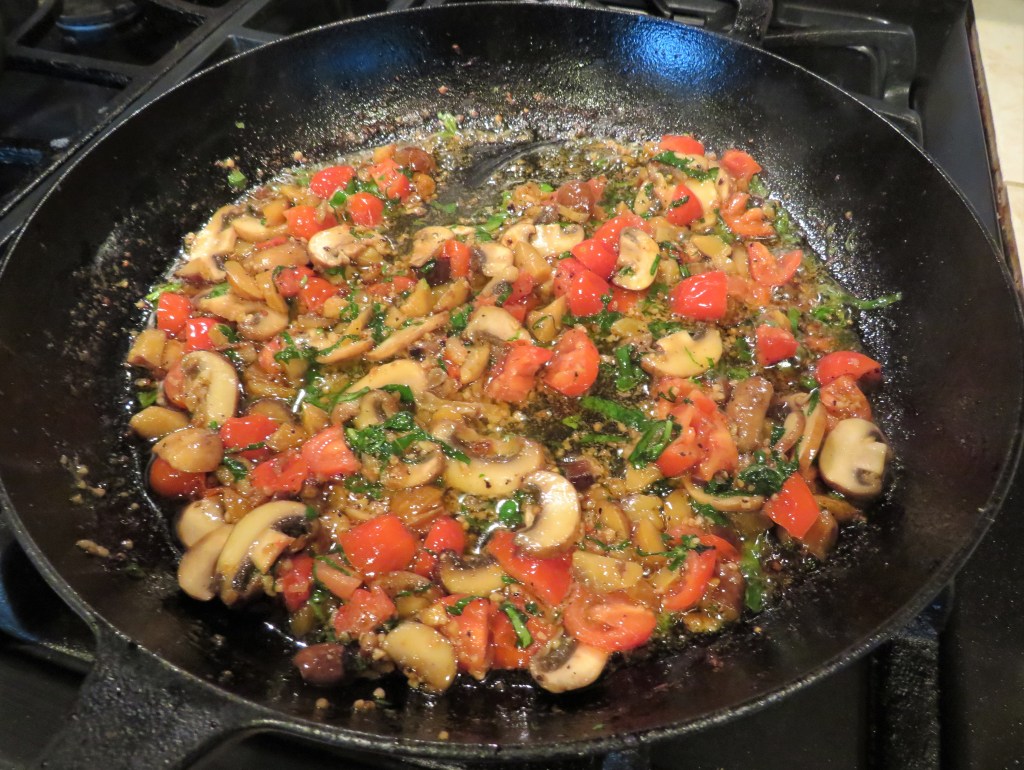
Add the tomatoes, basil, lemon juice and lemon balsamic vinegar and continue to cook just until everything is heated, about 1-2 more minutes.
When it is ready, serve it over your favorite meats and/or vegetables and enjoy. Once again, I am proving that things don’t need to be complicated to be good. Often times, the KISS rule – Keep It Simple (Stupid), or some other kinder versions, Keep It Super Simple or Keep it Simple and Smart, is the best rule. 🙂
Have a great day Everyone. Stay warm, stay safe and stay well. ‘Til next time.
Sometimes, the best way to honor those who served, and to those we lost is to remember the past.
Thank you to all the brave men and women who served and continue to serve today. You are all heroes in my eyes and in my heart.
This is my daddy in his Australian Army uniform, circa 1940. He was a very young lad when he was shipped off to fight in North Africa, and returned home a man.
In Flanders Fields
BY JOHN MCCRAE
In Flanders fields the poppies blow
Between the crosses, row on row,
That mark our place; and in the sky
The larks, still bravely singing, fly
Scarce heard amid the guns below.
We are the Dead. Short days ago
We lived, felt dawn, saw sunset glow,
Loved and were loved, and now we lie,
In Flanders fields.
Take up our quarrel with the foe:
To you from failing hands we throw
The torch; be yours to hold it high.
If ye break faith with us who die
We shall not sleep, though poppies grow
In Flanders fields.
May we never forget those who fought for our freedoms. May we always honor those who sacrificed and those who gave their all.
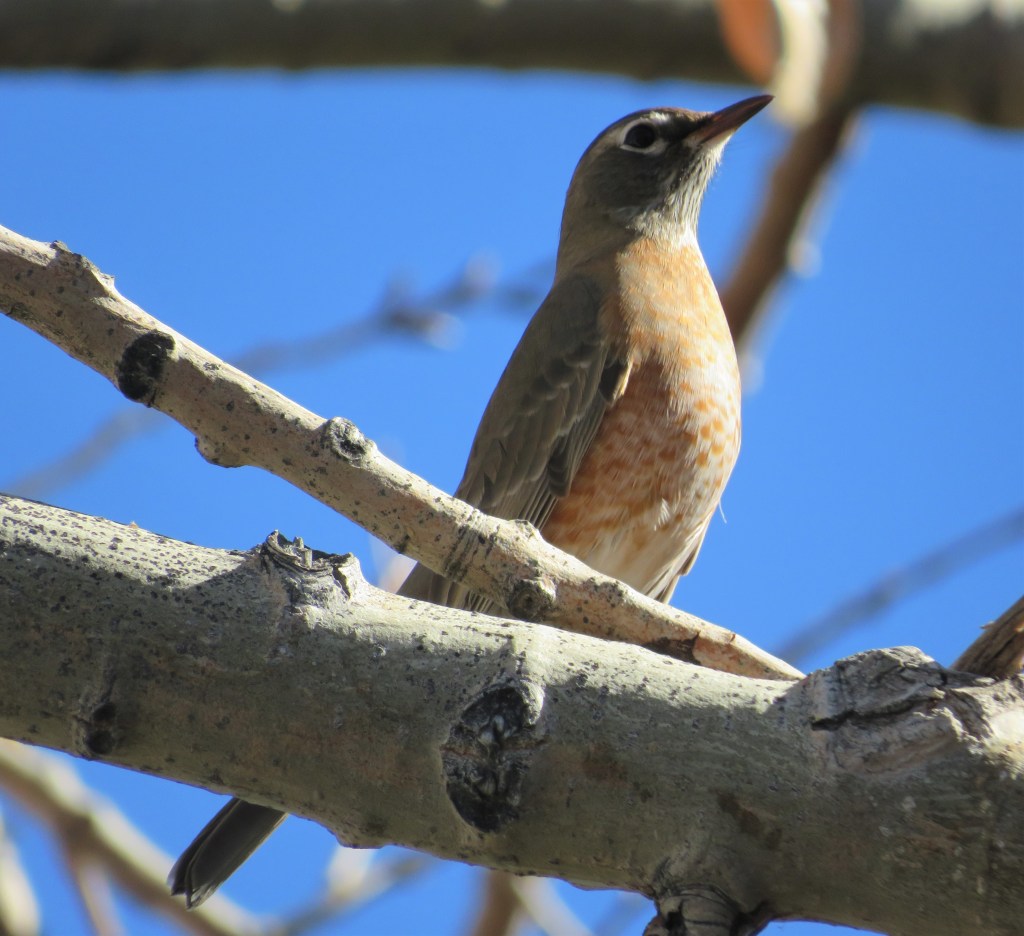
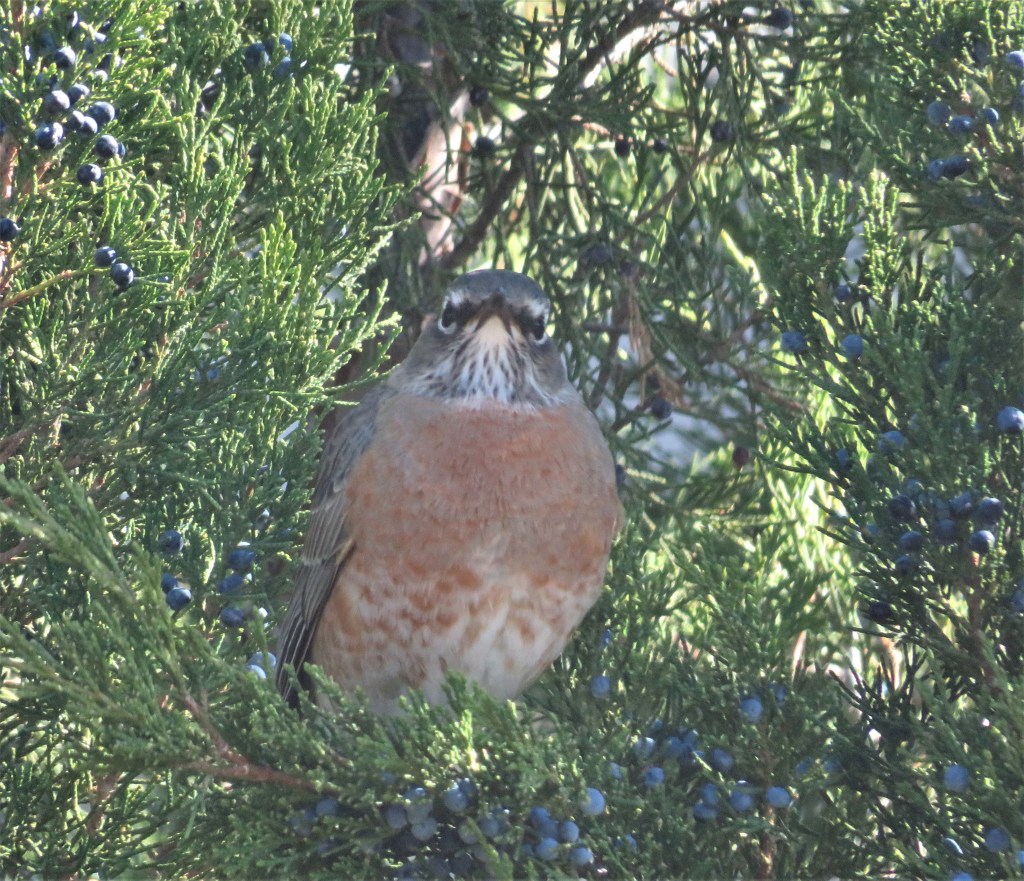
It must be Robin season. I have seen so many robins all about today. I LOVE it!!!! Keep them coming my way.
I am insatiably curious about most things, so I looked up whether or not Robins have a spiritual meaning, especially since I have seen 100’s just today alone. It turns out they do. Robins are commonly utilized as angels’ messengers to reassure us that we’re not alone and that someone is looking out for us. Seeing a robin as an angel’s omen reminds us to have faith in our future and to have hope. Many people believe that a visit from a Robin is a sign that a lost relative is visiting them, in the spiritual world Robins are viewed as a symbol of visits from our deceased loved ones. The Robin also symbolizes new beginnings and life, and is also looked upon by many as a sign of fortune and good luck. I guess good luck and good things are coming my way. So there you go.
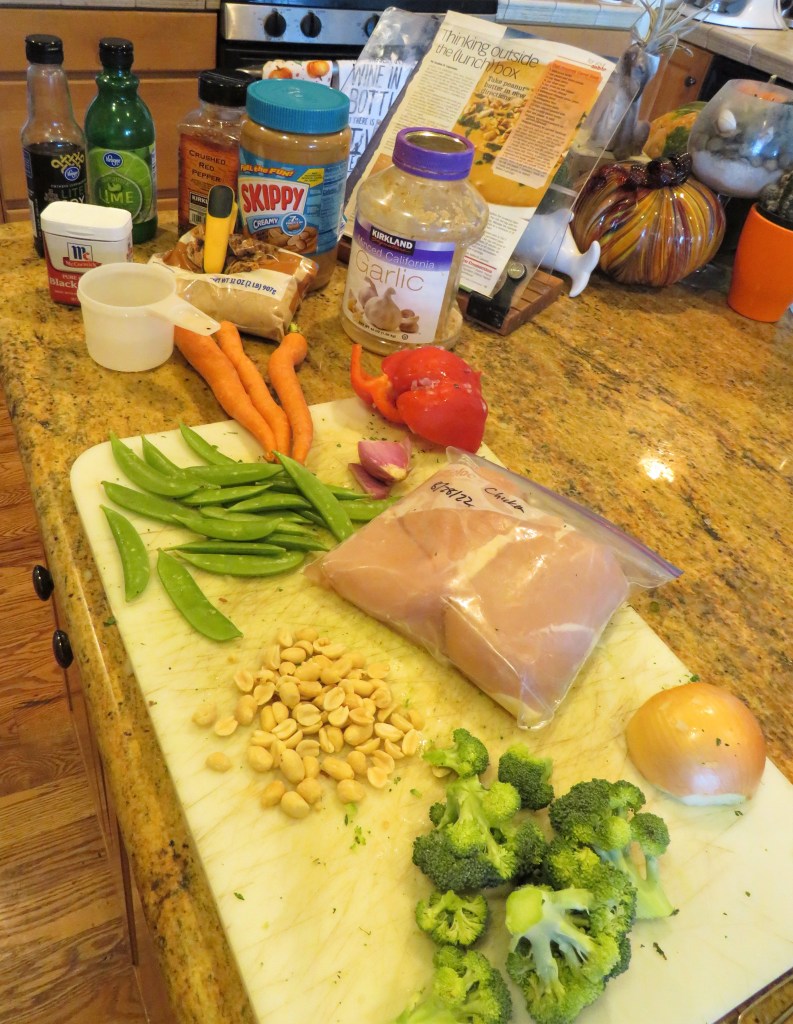
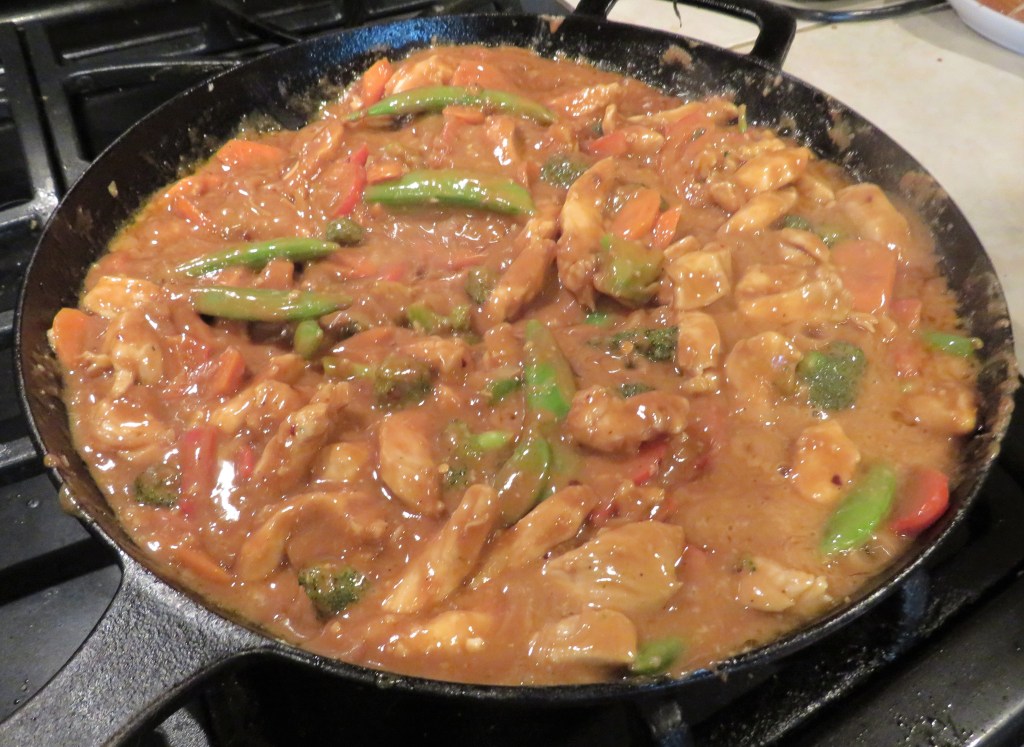
Janet and Bob are just as adventurous when it comes to foods and eating as we are, so it is fun to make and try new things with them. I already shared our mushroom and leek spring rolls with you Mushroom and Leek Spring Rolls, so now I am going to share what our main meal was. The main part of our meal was Indonesian chicken and vegetables with a peanut butter sauce over rice. I served it with some green onion pancakes on the side as well, with a crisp, cool white wine. Green Onion Pancakes
The sauce was originally supposed to be as a marinade, but silly me, I didn’t see that part until too late, which means I totally created my own recipe yet again. What can I say? I guess not following directions is just a gift, though many would say it’s a curse. At least it is creative though. 🙂 Not only was it creative, but it was creatively delicious. Bob said it was one of the best peanut sauces he had ever tasted. WHOOOOO HOOOOOO!!!!!!
Indonesian Chicken and Vegetables with Peanut Sauce
Peanut sauce is an Indonesian creation that found its way to Indonesia via Portugal and Spain through Mexico in the 16th century. It is also known as a satay sauce or in Indonesian, bumbu kacang. I have to admit, I always thought of a peanut sauce, or bumbu kacang, as a Thai dish, but it really is an Indonesian or Malaysian dish. It is an honest mistake though, since there are so many delicious Thai recipes that use peanuts in many various ways, such as for flavorings, thickening agents and garnishes, just to name a few. Thai foods and Indonesian foods are all about balancing the salty, sweet, spicy, sour and creamy flavors together. These five flavors compose the essence of the Thai flavors in their foods. When cooking Thai, or Indonesian foods, balance is key and if the flavors are out of proportion, the whole dish will be “off”. A basic peanut sauce is made of peanut butter, soy sauce, ginger, a sweetener, rice wine vinegar, sesame seeds, a spice and water, or in some more traditional versions, coconut milk is used instead of water. And that is exactly how I made my sauce too. I used water this time, but I usually use coconut milk. As you all know, I like to change things up a bit. Well. OK, quite a bit. 🙂
2-3 carrots, peeled and sliced “Asian” style or at an angle
1 cup snap peas
1 red pepper, sliced thin
1- 1 1/2 cups broccoli florets
1/2 onion, sliced very thin
1 TBSP garlic
1 TBSP ginger
2 lbs chicken breasts, cut into strips
1 cup peanut butter
1/3 cup packed brown sugar
3 TBSP lime juice
1/4 cup soy sauce
black pepper to taste
1 tsp red pepper flakes
3/4 cup water or coconut milk
1/4 cup rice vinegar
chopped peanuts for topping
chopped cilantro for topping
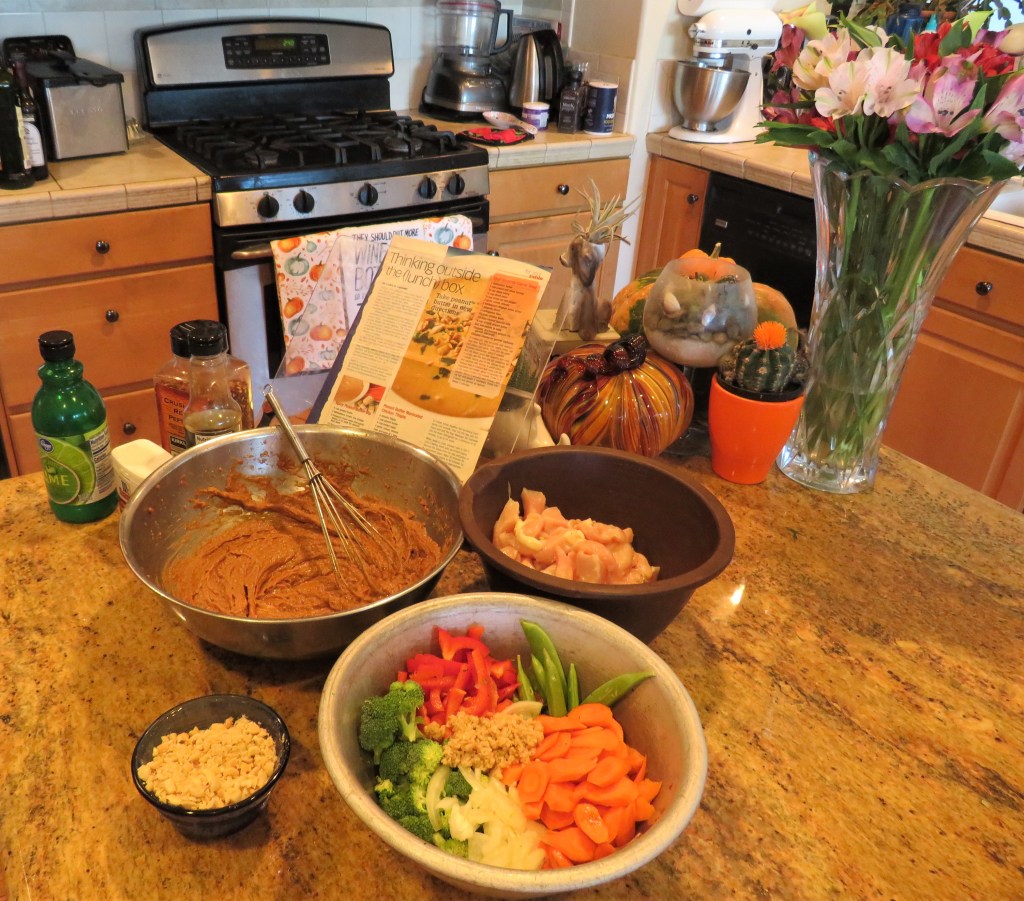
Combine the peanut butter, soy sauce, brown sugar, lime juice and water or coconut milk and set aside.
In a very hot skillet or wok, add some cooking oil, usually peanut or canola oil is use for Asian dishes, then add the vegetables, garlic and ginger and cook for about 5-7 minutes, stirring constantly. Cook until mostly tender.
Add the chicken and continue to cook until the chicken and vegetables are done.
Add the sauce and mix in thoroughly. Bring to a boil, then reduce the heat to a simmer and continue to cook for about 7-10 minutes, stirring often.
Serve over either noodles or rice and enjoy. A crisp, cool white wine, and even a slightly sweeter wine like a Riesling or a Gewürztraminer, will pair very nicely with this dish. The sweetness of the wine will balance out the spiciness of the sauce. Again, it is all about the balance of the flavors that make the meal really come together. Enjoy.
Bob helped Larry blow out the sprinklers for the season so I made dinner for everyone as “payment”. It was really just an excuse to get together and enjoy each other’s company, but then good friends never need an excuse to get together. Dinner was an Asian theme and it was a big hit with everyone. After dinner, we played a couple of rounds of Farkle. Bob won both rounds.
One of the menu items was mushroom and leek spring rolls. I made a mint soy sauce to go with them. These ended up being mini spring rolls because I could not find the larger egg roll wrappers, but they were a delicious hit all the same.
Mushroom and Leek Spring Rolls
2 TBSP canola oil, plus more for frying
1 TBSP garlic
1 TBSP ginger
2 serrano chilies, seeded and chopped very fine
1/2 cup hoisin sauce
2 cups shiitake mushroom caps, sliced very thin
2 large leeks, white parts only, rinsed and sliced very thin
salt & pepper to taste
1/2 cup fresh cilantro, chopped
1 cup green onions, sliced thin
1 package wonton or egg roll wrappers
egg wash
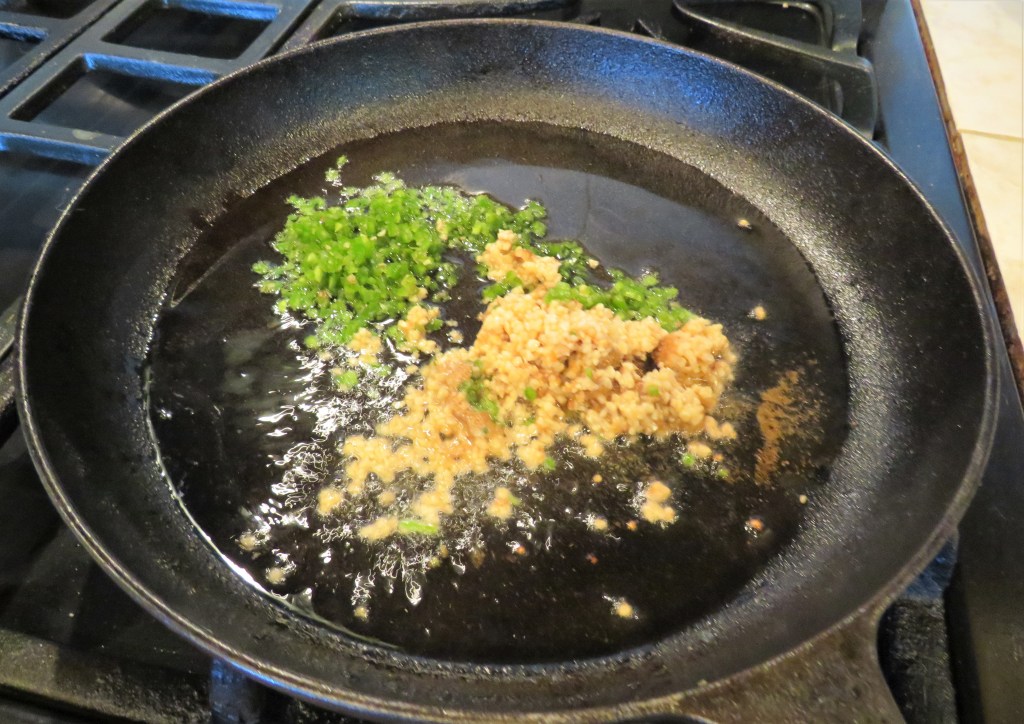
Get a skillet very hot and add the canola oil. Them add the ginger, garlic and chilies and cook for about 2 minutes, or until nice and aromatic.
Reduce the heat to a medium heat and add the hoisin sauce. Cook for about 3 minutes.
Add the mushrooms leeks and seasonings and cook for about 6 minutes, or until most of the liquid has evaporated, stirring constantly.
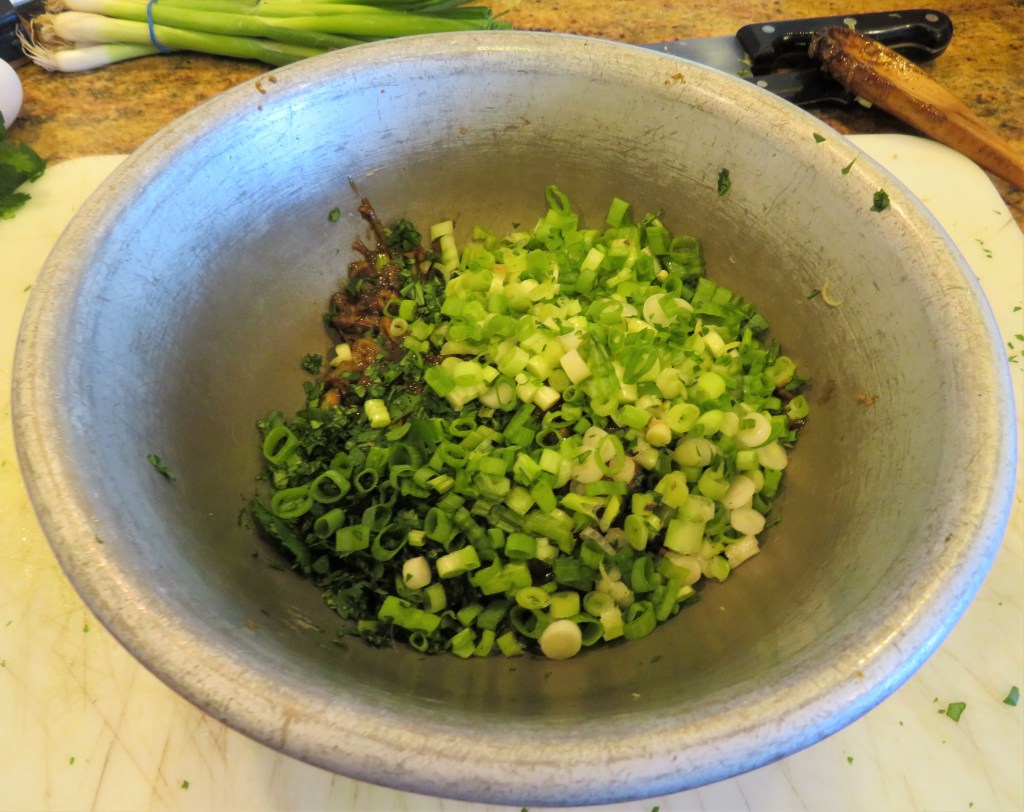
When the mushroom mixture is done, combine it with the green onions and cilantro.
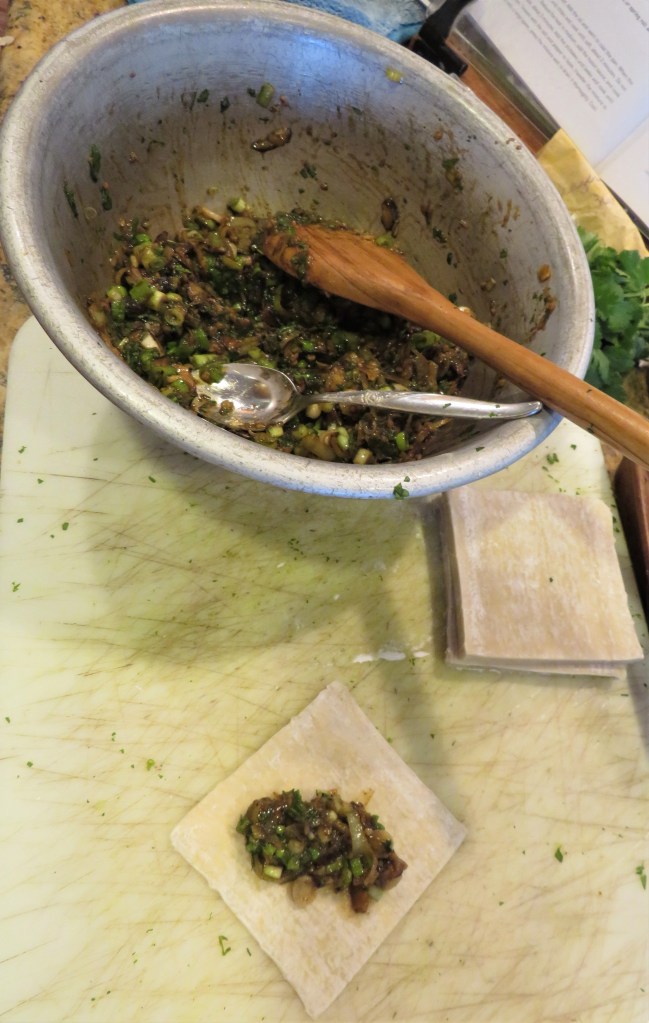
Make an egg wash and separate the egg roll wrappers. Add enough filling, pressing out the moisture, to fill the wrappers, regardless of the size. My egg roll wrappers were small, so I wrapped them at an angle, and only used about a heaping tsp of filling for each one. Then roll the egg rolls nice and tight, adding just a smidge of egg wash on the ends to seal the spring rolls.
I let my spring rolls chill in the refrigerator before frying them up, which helped set them too. When you are ready to fry the spring rolls, get the oil to 350* F or about 190* C first, then add a few spring rolls at a time, making sure not to crowd them. Cook for about 2-3 minutes, or until light and crispy and golden brown.
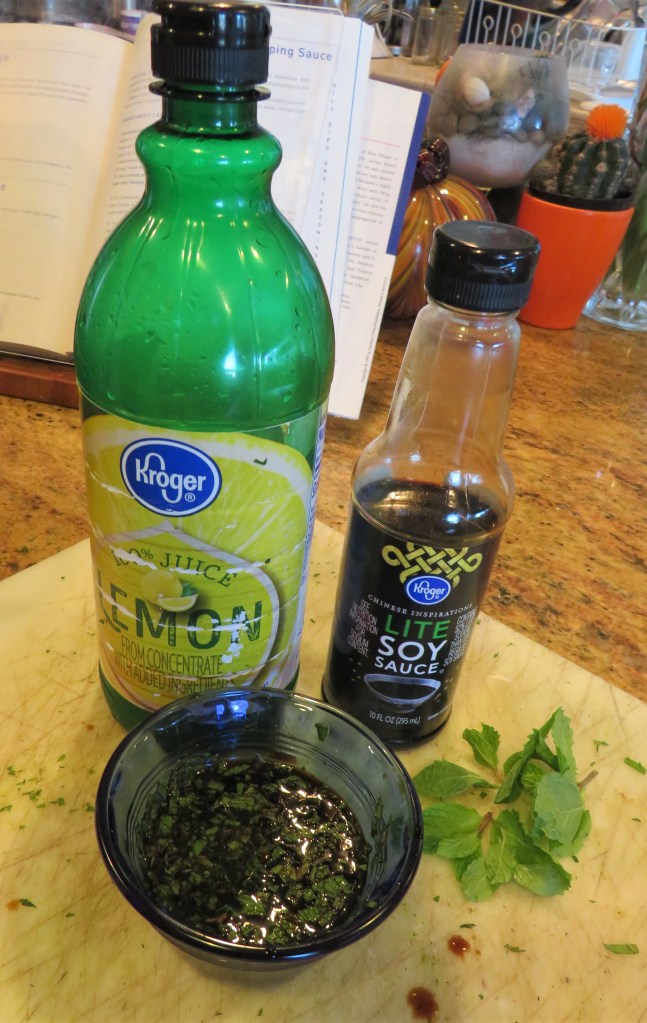
Serve with a mint soy dipping sauce on the side.
Mint Soy Dipping Sauce
1/4 cup fresh mint, chiffonade or cut into very thin strips
2 tsp sugar
1/4 cup soy sauce
about 2-3 TBSP lemon juice
Mix everything together and serve.
All these flavors compliment each other very well to make a unique fusion of flavors. Your taste buds are truly going to love these delicious and unique spring rolls. Enjoy or qing xiangyong.
Have a great day Everyone. Stay safe and stay well. ‘Til next time.
As much as I love to share my recipes with you, sometimes it’s fun to shake things up a bit and share other fun things too. I am insatiably curious, about most things, and that certainly includes fun food facts as well. Here are some new things I learned about food.
Applesauce was the first food eaten in space, on the Friendship 7 Flight by Astronaut John Glenn.
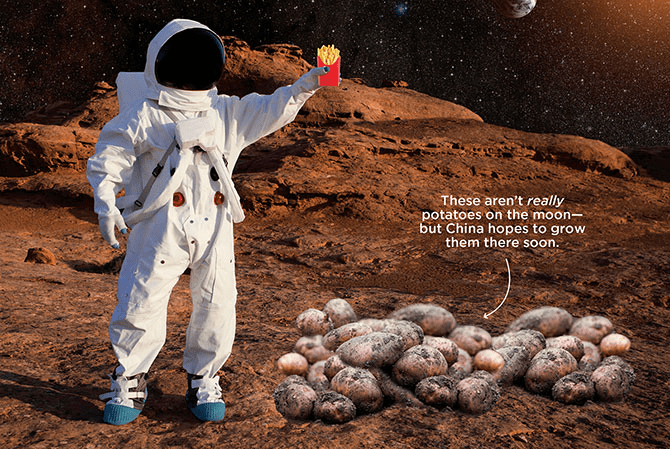
2. Applesauce is the first food to be eaten in space, but potatoes were the first food planted in space and spacelike conditions.
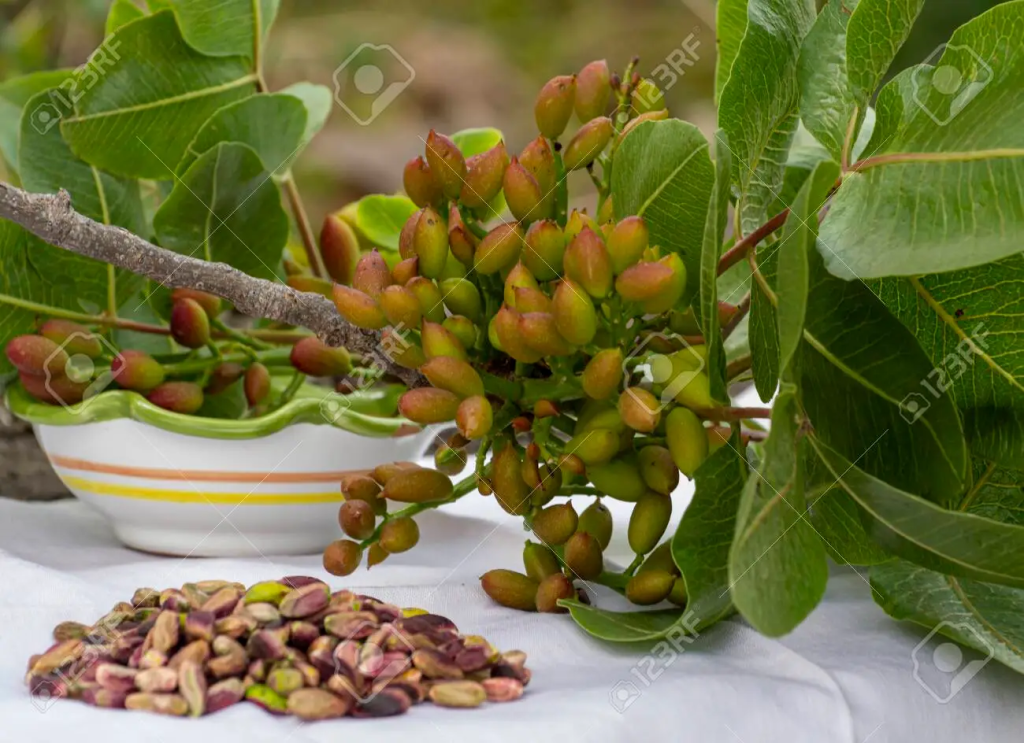
3. Pistachios are not nuts but are instead a fruit. They are “drupes” which means they are a fleshy tree fruit that contains a shell covered seed.
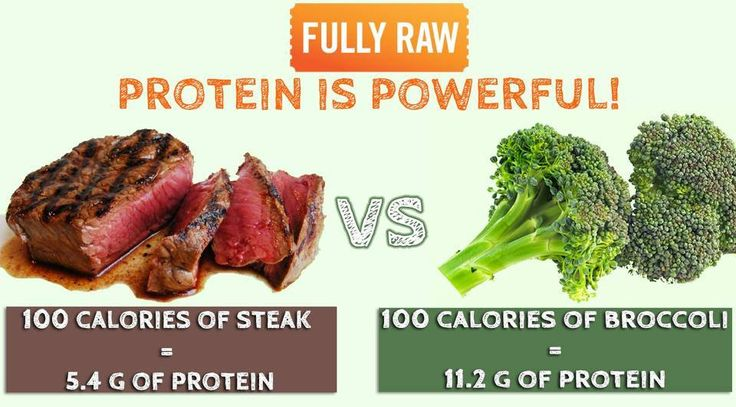
4. Broccoli contains more protein than steak per 100 calories, however you would have to eat A LOT of broccoli to get the same amount of protein in one meal. I love broccoli, but I will take the steak as my protein option, thank you.
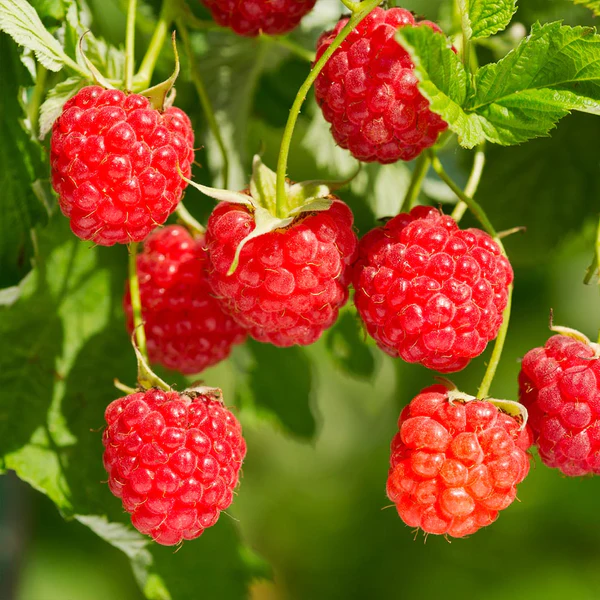
5. Raspberries are roses. They, like a lot of other fruits, including strawberries, apples, pears, plums, cherries, apricots and peaches, are actually a part of the roacea or rose family.
I know I learned some new things about food. I hope you did too.
Have a great day. Stay safe and stay well Everyone. ‘Til next time.
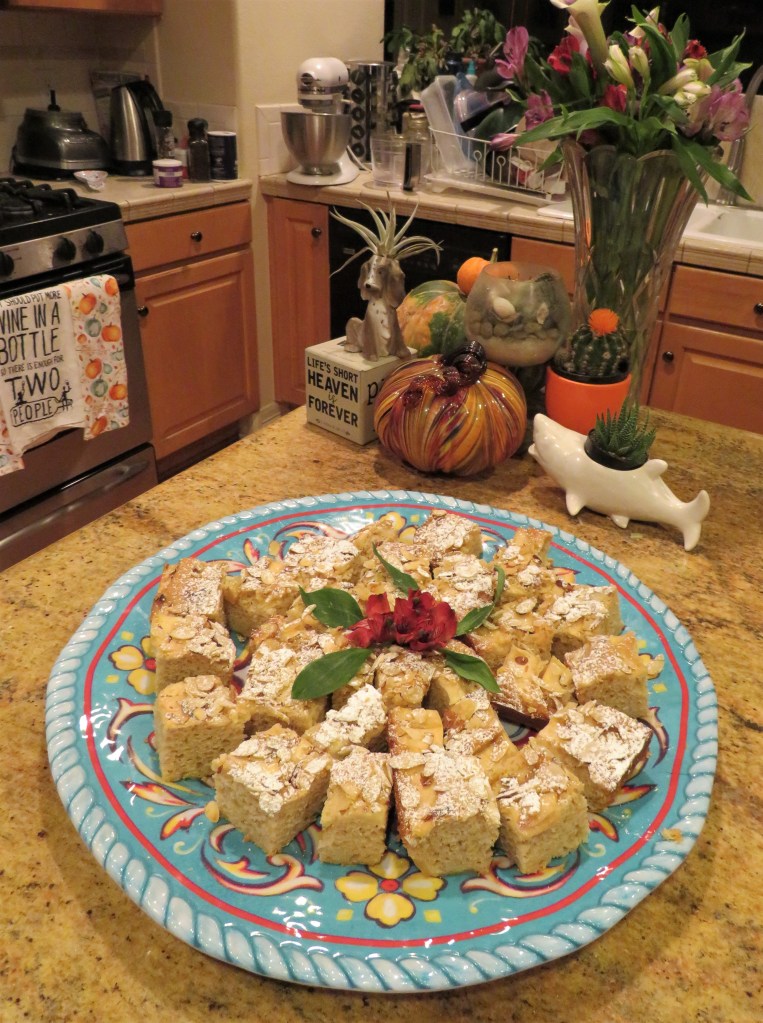
I often go back into my vast repertoire and re-do something from the past. I mean after all, I like them, so of course I will re-make them and re-share them. You can’t argue with success, right?! My Italian apple cake Italian Apple Cake is my latest re-make I am sharing with you. Once again, it was a massive hit with everyone and there was none leftover. 🙂
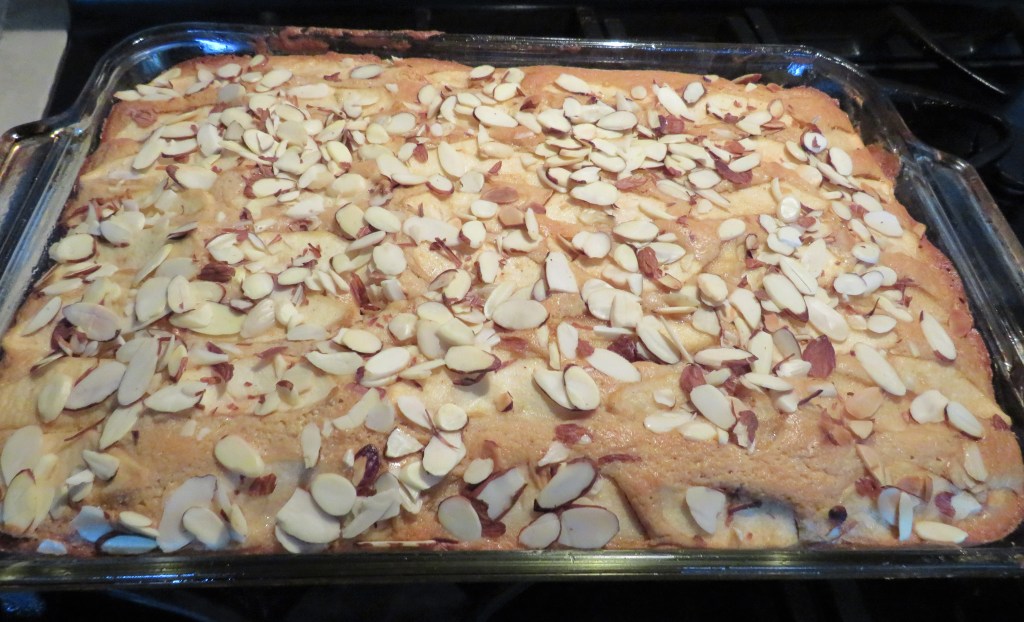
Usually when I re-share something, I have tweaked it a bit, and hopefully am making it even better than it was before. This time, I added almond slivers on top before baking, which in my opinion, made it much better. It already has almond flour in it, so why not add slivered almonds too?
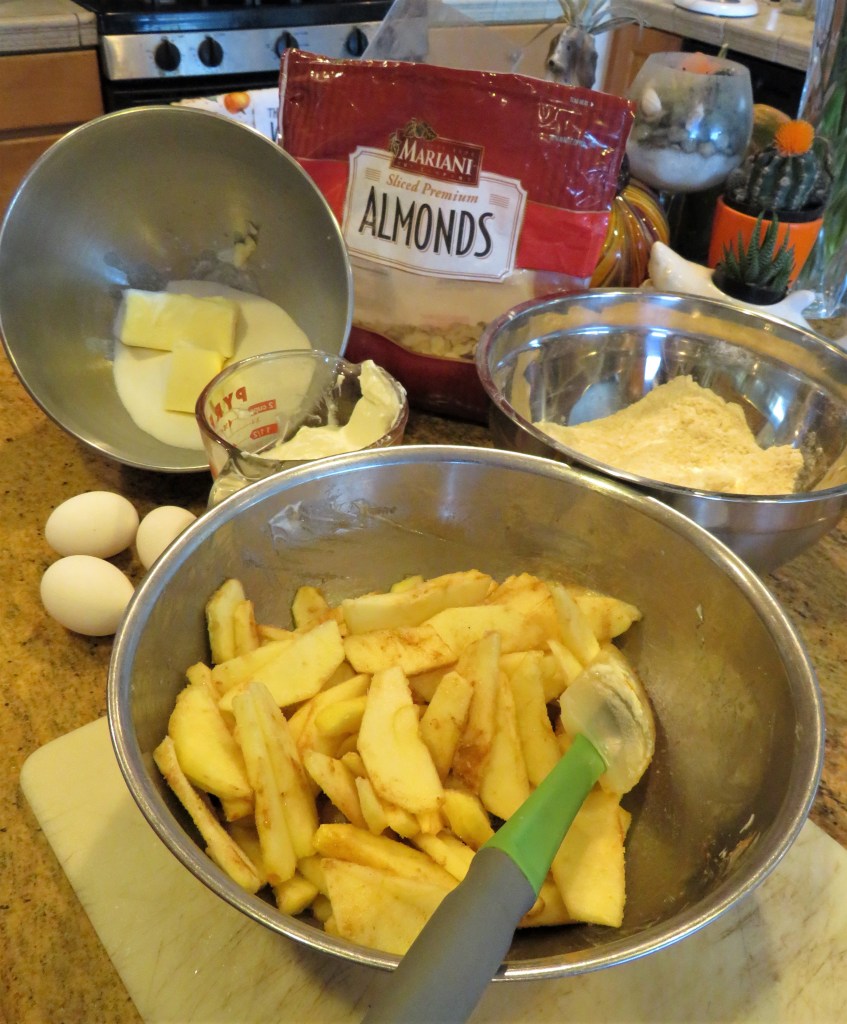
This cake is filled with lots of apples and almonds. Not only does pairing apples and almonds together taste good, but both are also great sources of fiber, which makes them a healthy and fiber-packed treat. Fiber helps fill your stomach and slows digestion to keep you going until your next meal, which may just mean you may actually be easting a bit less too.
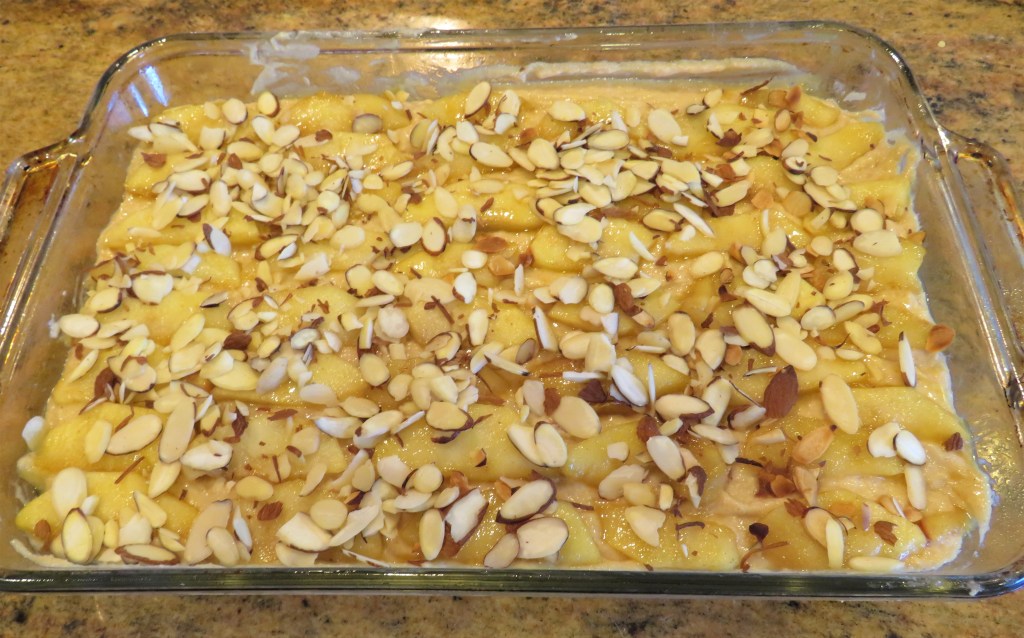
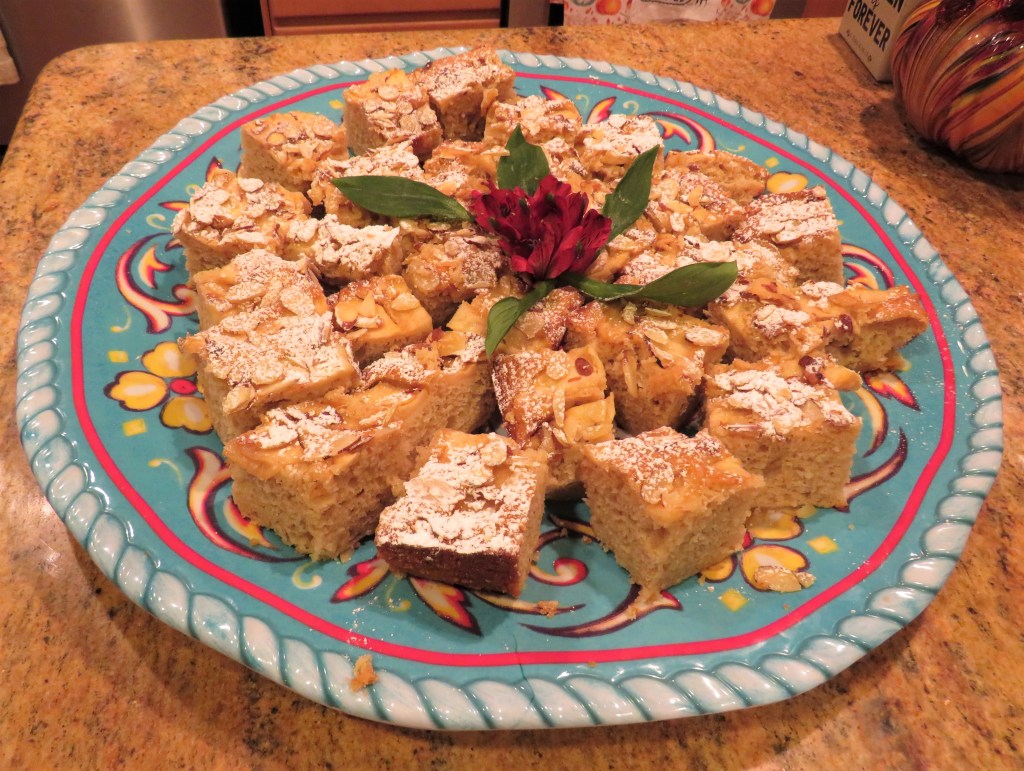
Once the apples were cooked with butter, sugar and cinnamon, I lined the bottom of my greased 9×13 baking pan with about 1/2 of the deliciously softened apples. Then I added the cake batter on top. Another layer of apples and a final layer of almond slivers went on top before putting it in the oven.
Bake at 350* F or about 190* C for about an hour, or until a toothpick inserted in the middle comes out clean and the cake is golden brown. Then let cool completely before adding a dusting of powdered sugar and slicing it. This cake is best when shared with family, friends and loved ones, but then, most things are.
!Mangia, mangia e buon appeitito!
Have a great day Everyone. Stay safe and stay well. ‘Til next time.
Cookies are my absolute favorite dessert. They don’t have to be just for dessert though. I can eat cookies ANYTIME, and often do! Because I love cookies so much, I have to make sure I don’t have too many around the house.
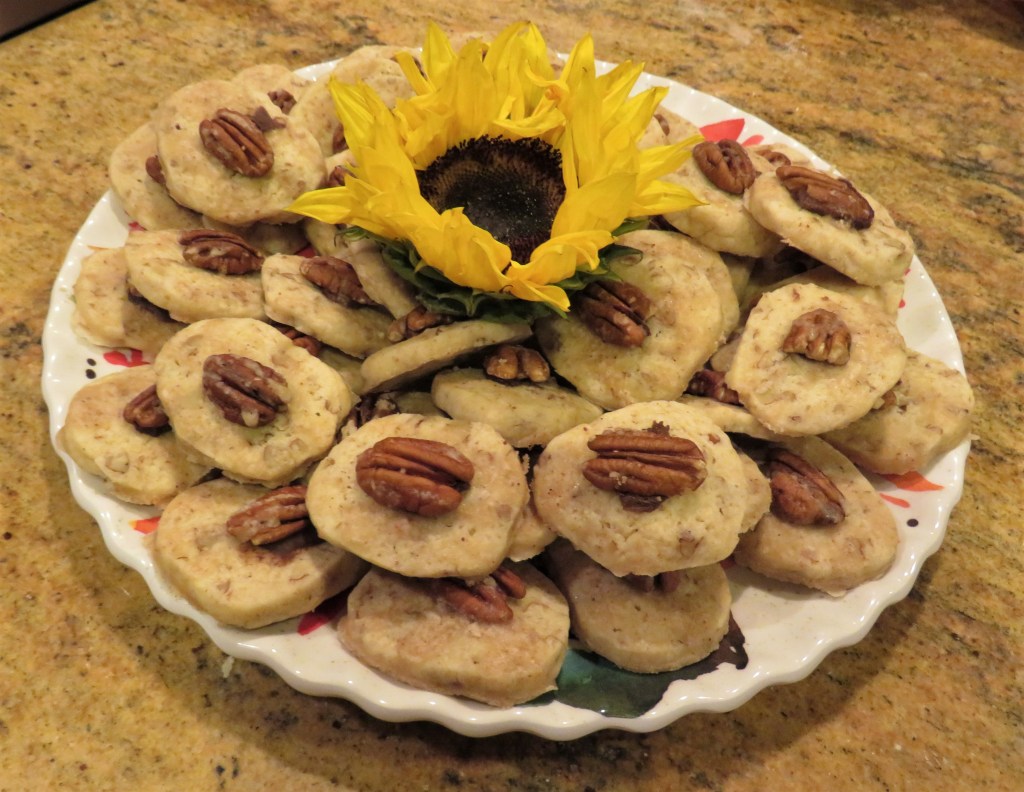
Even though I am trying my best NOT to eat too many cookies, I still love baking them. It’s a very good thing I make them for the church coffee cart. Almost always, there is hardly anything left after Sundays’ services, which is a good thing for me. This time I made some delicious maple pecan shortbread cookies, which once again, were a big hit. They are not super sweet, which makes it oh so easy to eat a bunch of them at a time. They sure are good and are just perfect for a cool fall day too.
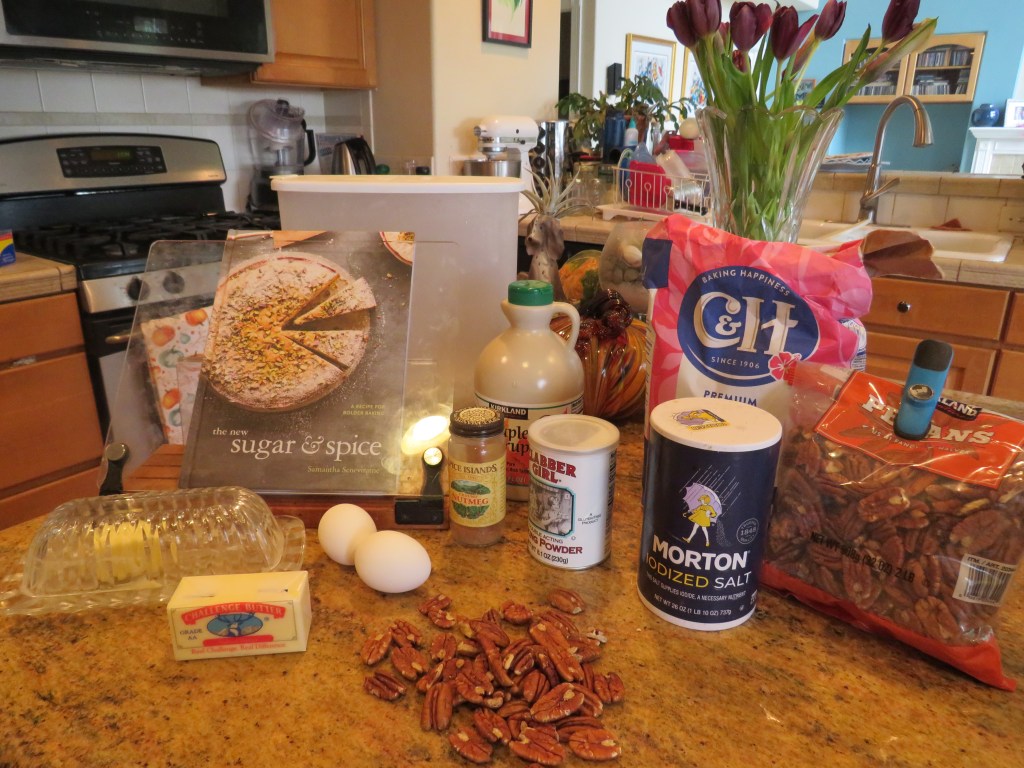
Maple Pecan Shortbread Cookies
1 stick or 1/2 cup of softened butter
6 TBSP sugar
2 eggs
1 1/4 cup flour
1/2 tsp nutmeg
1/4 tsp baking powder
1/2 tsp salt
3/4 cup chopped pecans + more for topping
chocolate frosting, optional
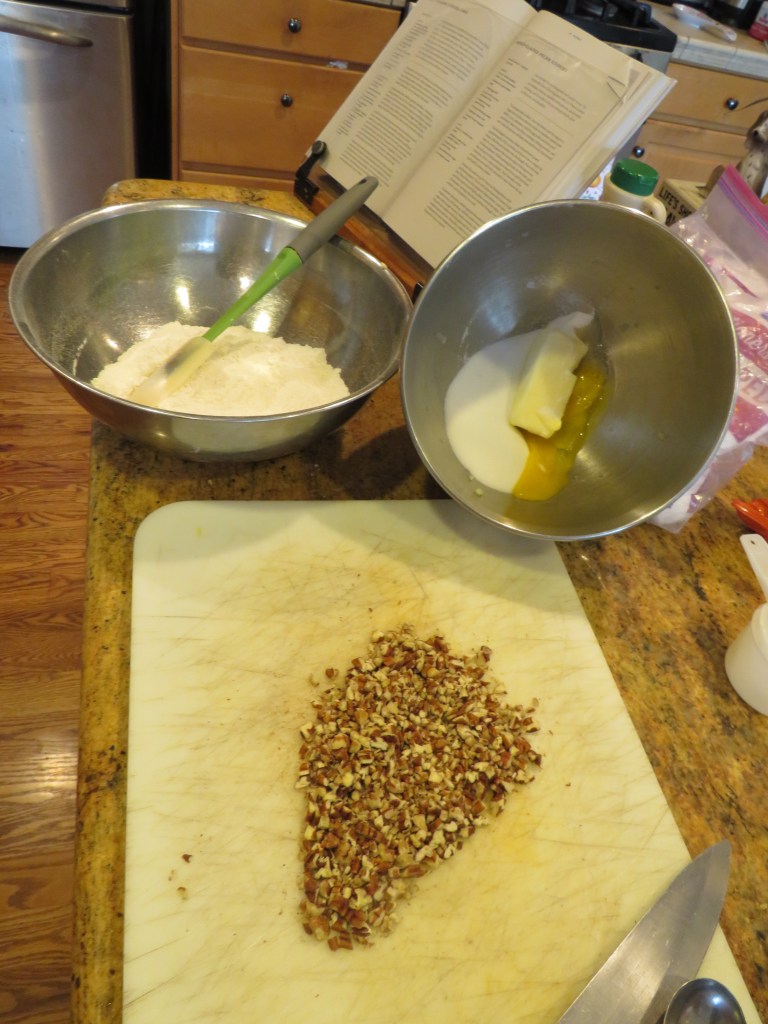
Mix all the dry ingredients together and set aside.
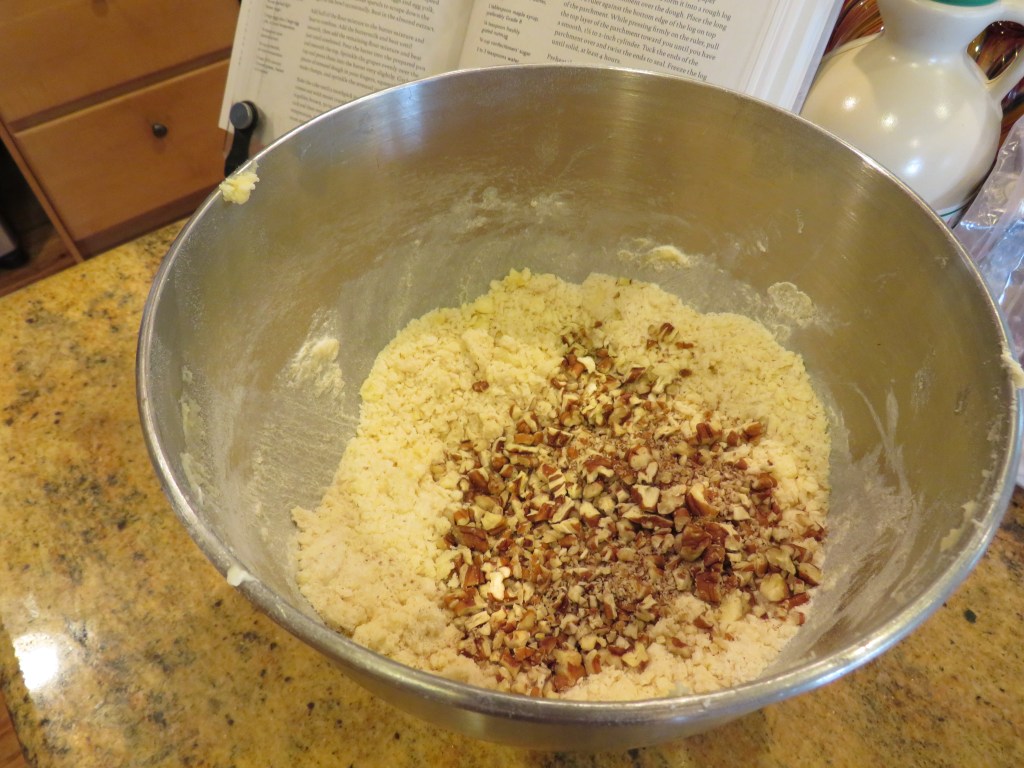
Beat the butter and sugar together until creamy, then add the eggs 1 at a time, and beat in between each addition. Add the flour mixture and mix together well. Fold in the chopped pecans.
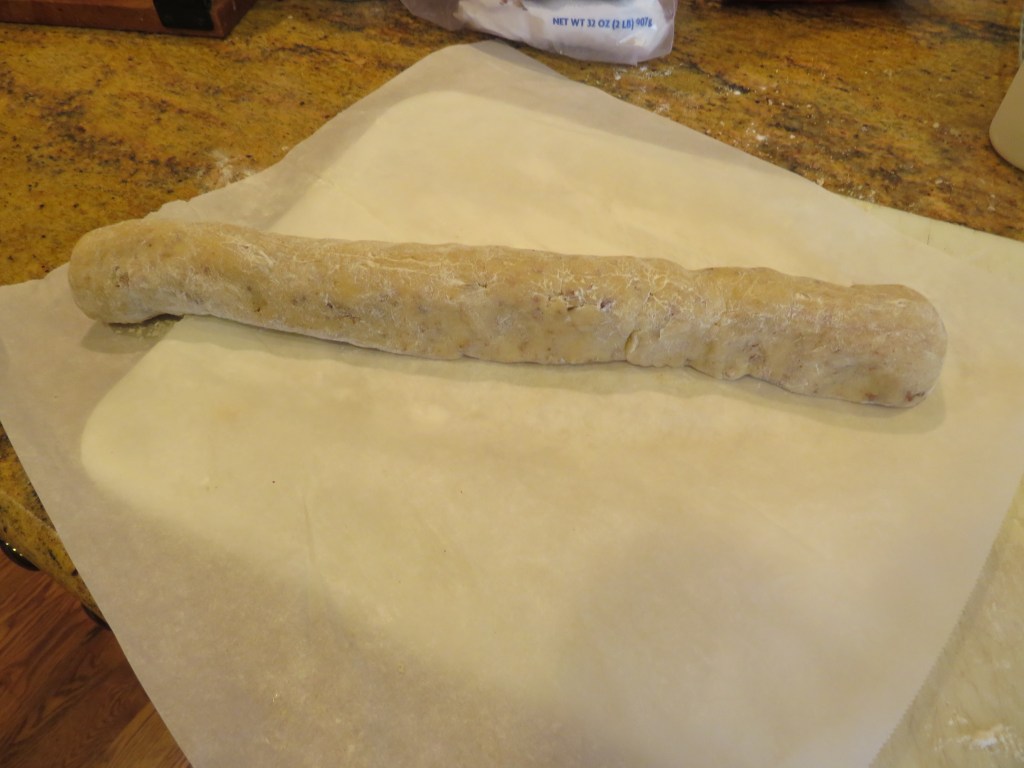
Mix together well, then turn onto a lightly floured surface and form into a ball. Then shape into a log about 18 inches long. Wrap in parchment paper and freeze for about 4 hours before slicing the dough into cookies.
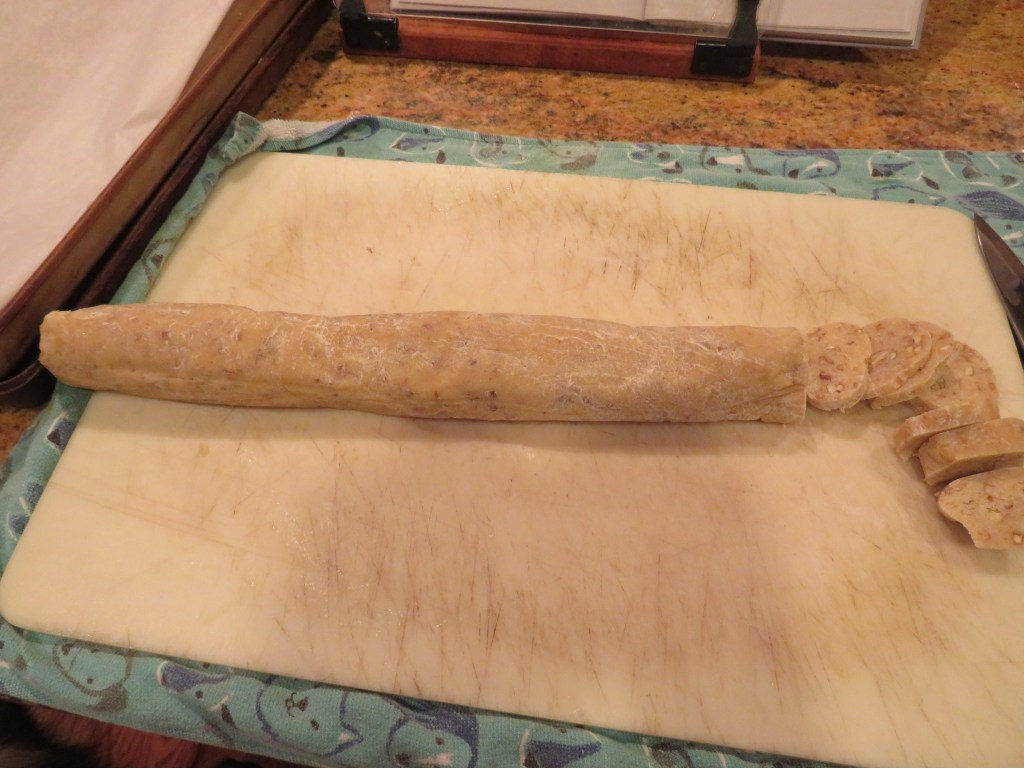
When the dough is ready, remove it from the freezer and slice into pieces about 1/4 inch thick.
Preheat the oven to 350* F or about 190* C.
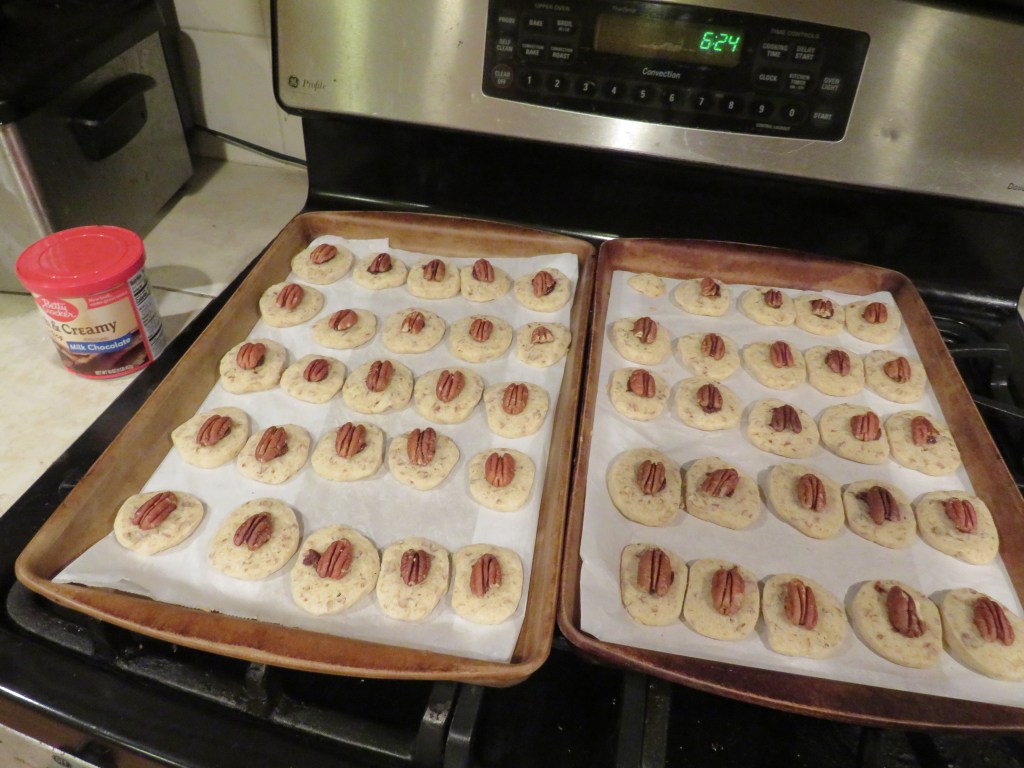
Line your cookie sheets with parchment paper. Place your cookies about 2 inches apart and bake for about 20 minutes or until lightly crispy on the bottoms.
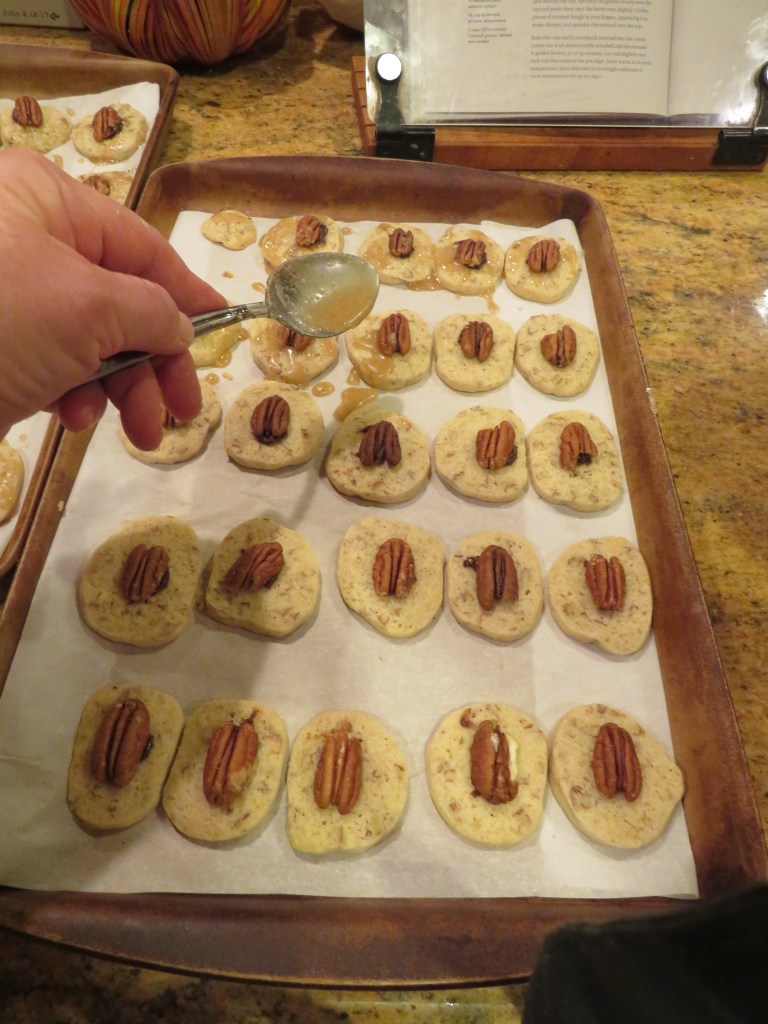
I thought of adding pecan halves after the fact, which made these cookies even better. There are a couple of ways you can do this. You can add a pecan half to each cookie before baking, pressing them into the cookie just slightly, so they bake right in. Or you can do it like I did and “glue” the pecans on with a dab of chocolate frosting. I actually really liked the hint of chocolate that was added, so I might continue to make it this way. You just never know. 🙂 If you are going to “glue” the pecans on, make sure the cookies are completely cooled first. But you want the cookies completely cooled before adding the glaze anyway.
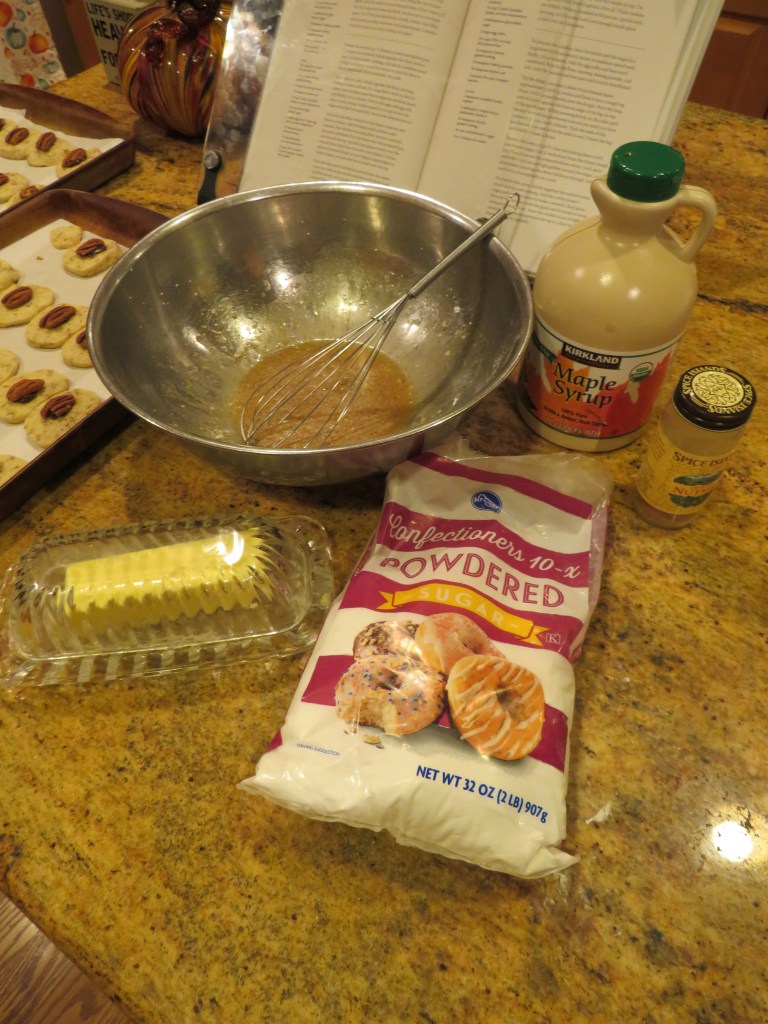
Maple Glaze
1 TBSP melted butter
1 TBSP real maple syrup
1/4 tsp nutmeg
1/4 cup powdered sugar
Mix everything together and immediately drizzle over the cookies. Let dry completely before serving.
Once the cookies are ready, it is time to gobble them up. Bet you can’t stop at just one. I know I sure can’t 🙂
Have a great day. Stay warm, stay safe and stay well Everyone. ‘Til next time.