I have created this site to help people have fun in the kitchen. I write about enjoying life both in and out of my kitchen. Life is short! Make the most of it and enjoy!
Author: ajeanneinthekitchen
I have worked in the restaurant and catering industry for over 35 years. I attended 2 culinary schools in Southern California, and have a degree in culinary arts from the Southern California School of Culinary Arts, as well as a few other degrees in other areas. I love to cook and I love to feed people.
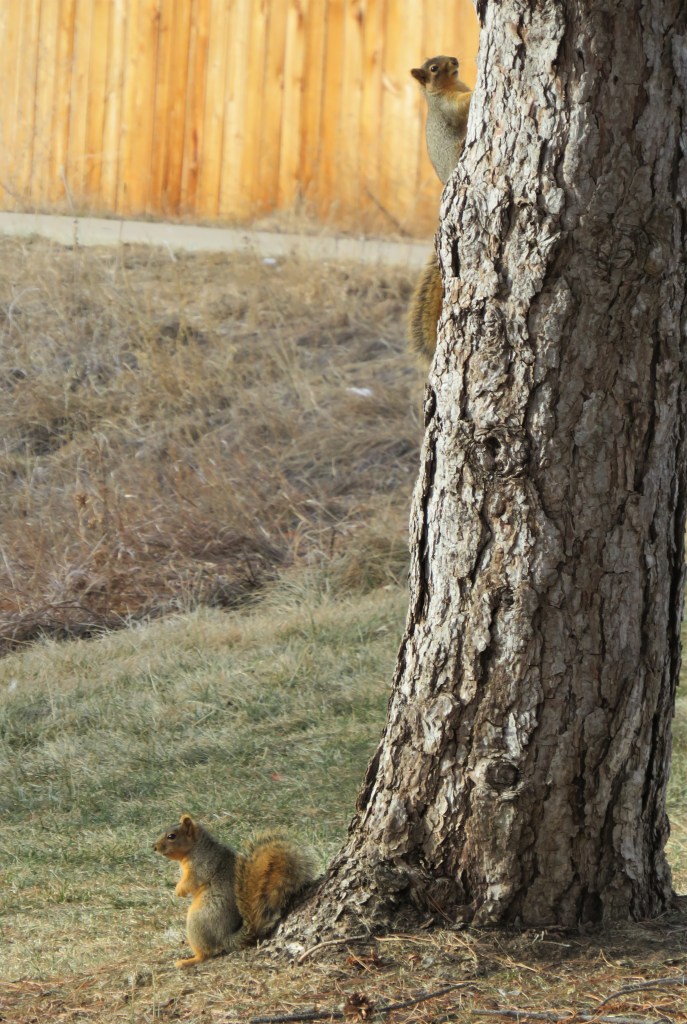
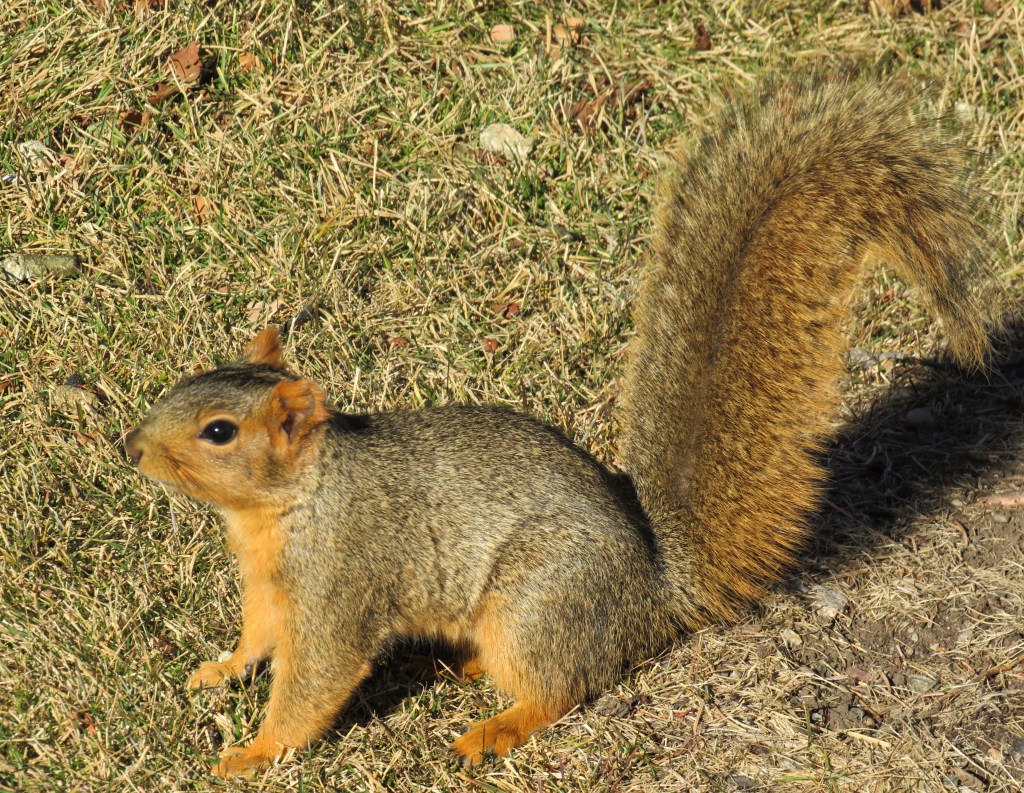
The squirrels are out playin and having fun. the snow and colder weather has eased up just a bit, and they are outside taking advantage of the slightly warmer weather.
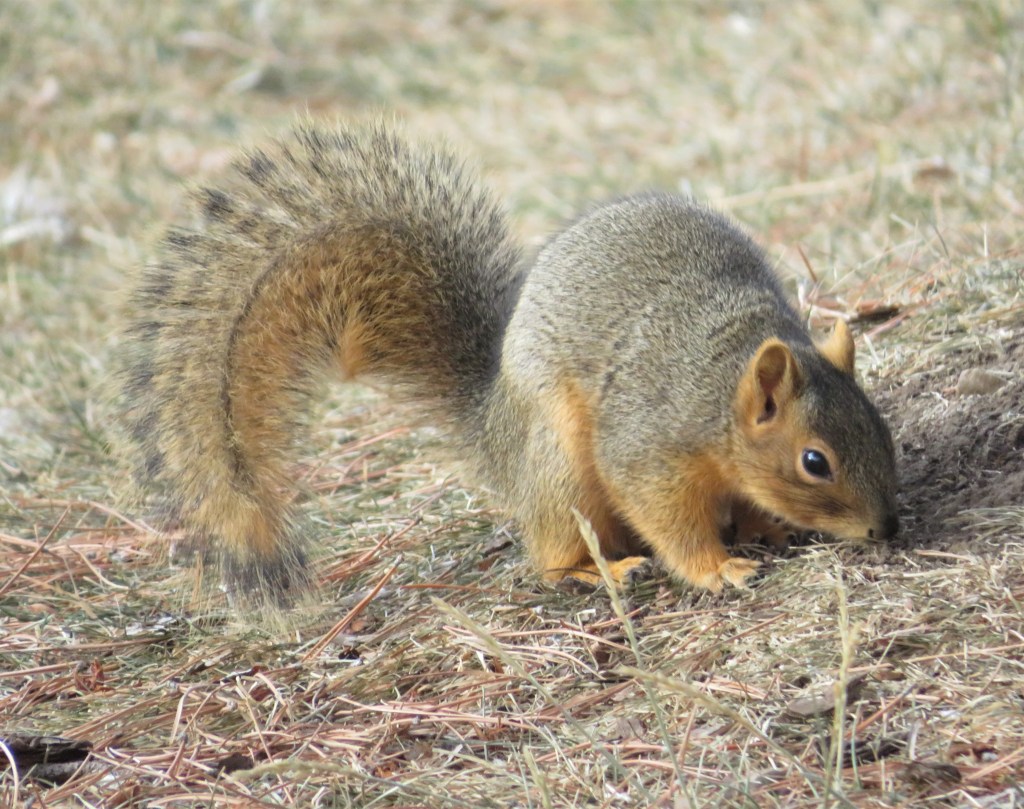
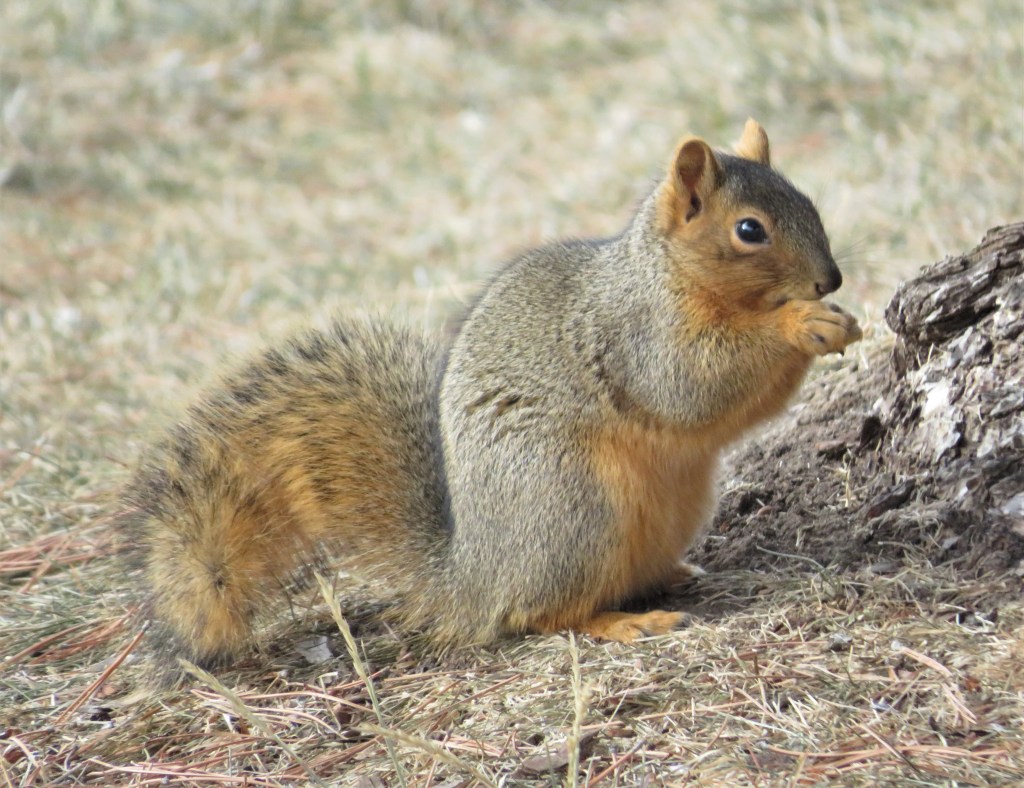
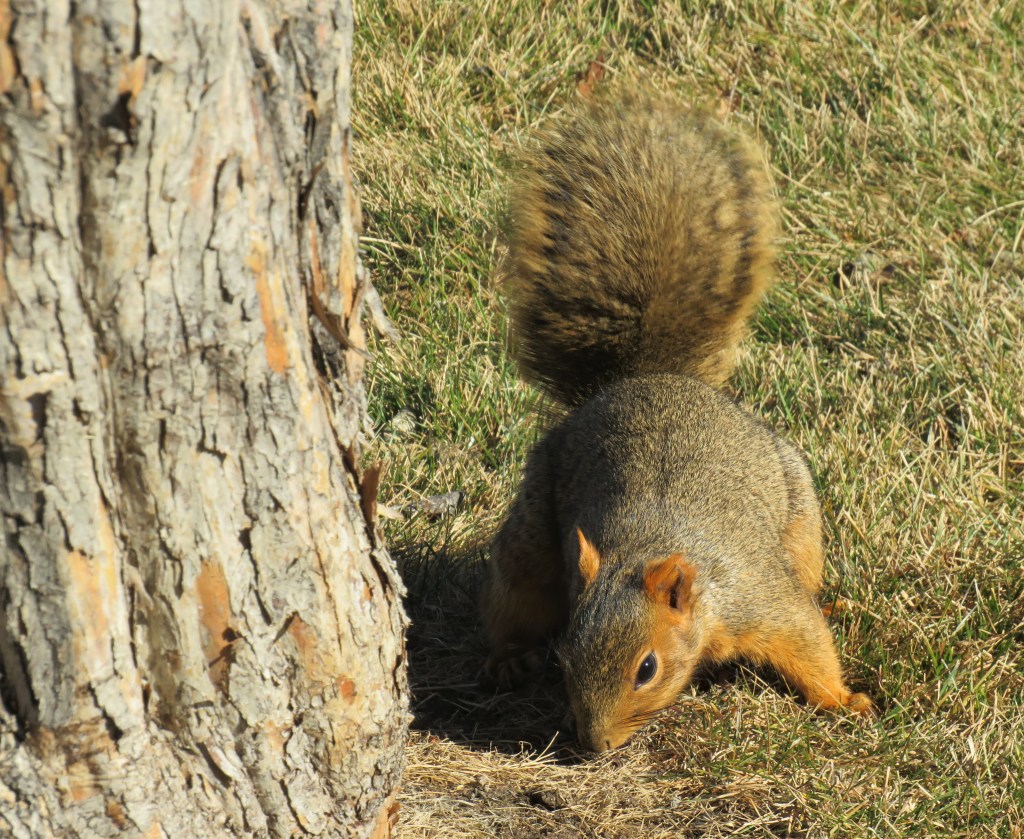
I tried to get more pictures of the two squirrels, but one quickly ran up the tree then disappeared. The other one was having fun posing for the camera.
Have a great day Everyone, even if it is a bit squirrely. 🙂
I am taking a wee bit of a break from cooking at the moment. I have been in the kitchen non-stop, pretty much all day, since Thanksgiving. So I am taking it easy for a few days.
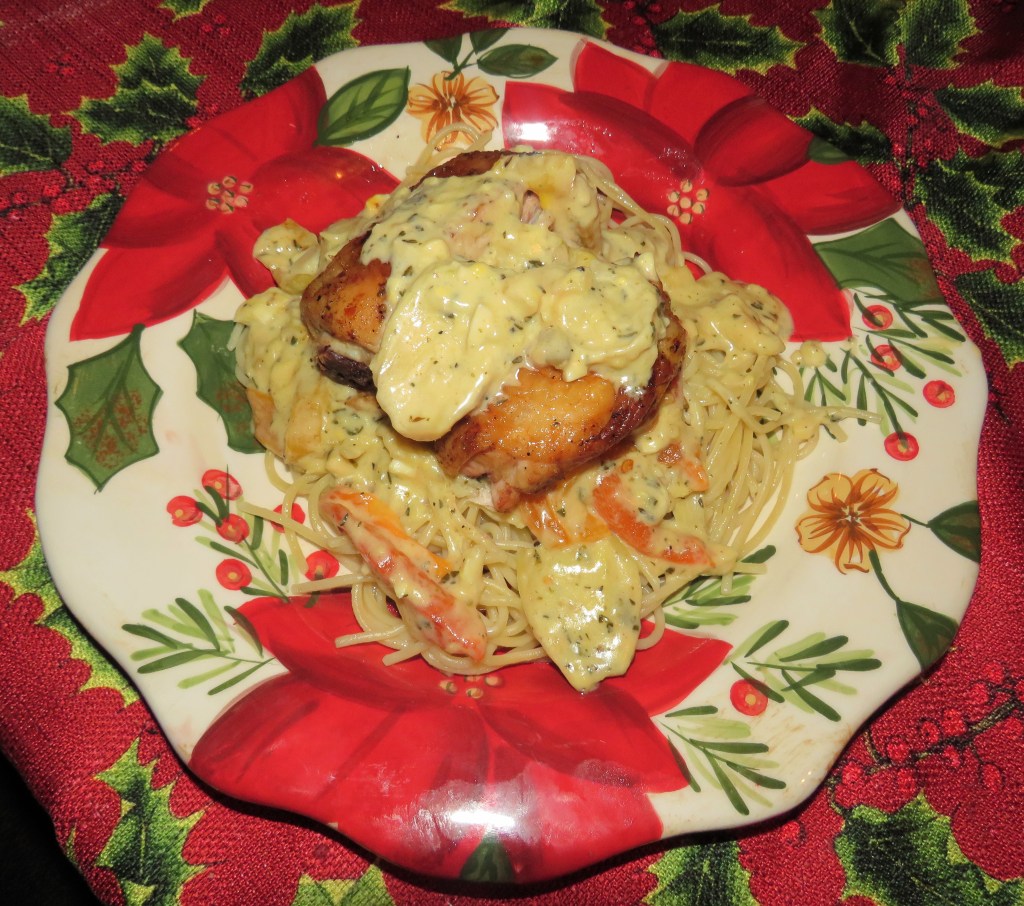
For Christmas Day, after we had breakfast with Janet and Bob Merry Christmas – 2022, it was just the two of us, so it was just a simple dinner made from our Christmas Eve leftovers. I had made my Argentine salad The Empanada Party – Part 3 – Una Gran Ensalada Latina and we had just enough leftover to recreate it into a pasta dish. I used some of the chicken Larry had smoked and served it all over pasta to make a festive Christmas pasta dish.
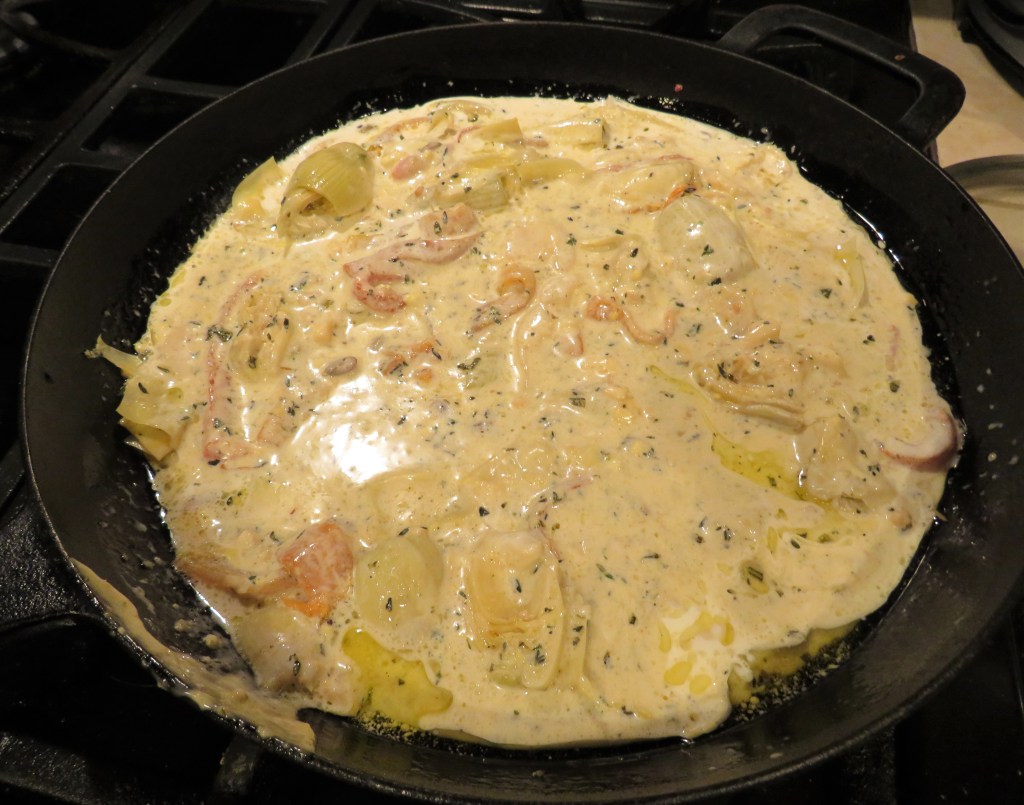
The salad was roasted peppers with artichoke hearts and hearts of palm with an herbed vinaigrette. So all I needed to do was to add some cream and protein and a starch, and it was transformed into something completely different. It went from this
to this is just a matter of minutes.
Larry is always amazed at how I can recreate so many different leftovers out of my firstovers. He said he never would have thought of turning it into a pasta dish, but he was very pleased with the results. I am a Jeanne in the kitchen after all. Never underestimate what I can do with my magic wooden spoon. And, I am the Queen of Leftovers too. 🙂
I hope you all had a very Merry Christmas and a happy holiday season. Now it is time to start focusing on the new year that is about to come. Happy 2023 Everyone. ‘Til next time.
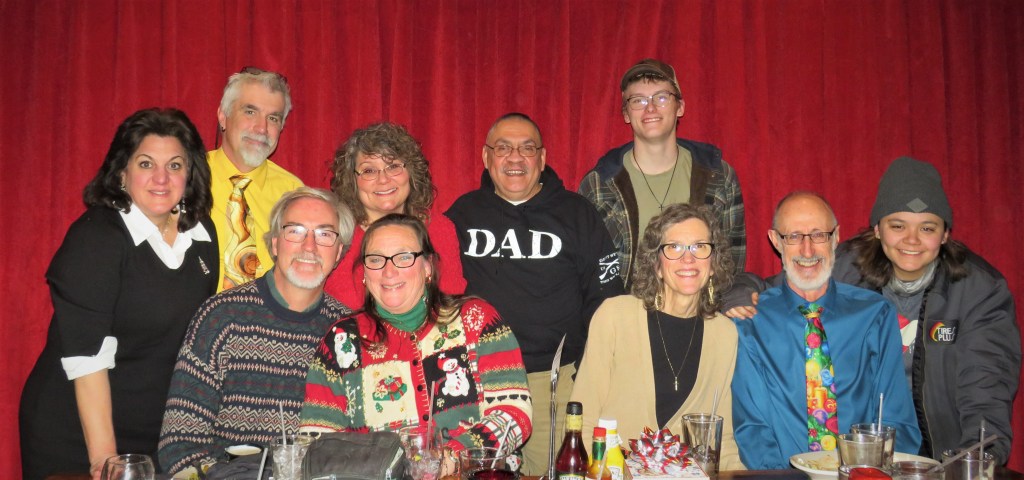
On Friday, Christmas Eve’s Eve, our church had two services. That is why I was so busy making so many cookies. The two services were both very well attended and the cookies were all a big hit. After the two services, a few of us all went out for our own little Christmas celebration. As always, there was a lot of fun, a lot of laughs and a lot of love.
The Christmas Gang 2022
Zoe and Anthony
Wendy and Marc
Karen and Chris
Lauren and Mike
Jeanne & Larry
Christmas Day has now come and gone, but it is still the Christmas season, and Larry and I still have a bit more celebrating left to do before we call this season a wrap. We will be leaving for Hays, KS., to spend a belated Christmas with Larry’s family on Friday. Then we can call this very busy, very festive season officially over for us.
I hope you all had a very merry Christmas and I wish you all a very Happy, Healthy New Year. I hope 2023 is a great year for all. Out with the old and in with the new.
I hope you all had a very Merry Christmas. We had a very busy Christmas season. We got together for breakfast burritos as Janet and Bob’s this morning and then it was very quite for the rest of the day.
Last night we celebrated at my house and I cooked up a simple feast. Larry had the smoker going again and smoked prime rib as well as some chicken and a pork loin. I made everything else. It was just a simple meal that we shared with friends who have become family.
Larry preparing the prime rib with an herbed garlic butter I made for him.
The smoker is full of meats.
I made an Argentine roasted pepper, artichoke heart and hearts of palm salad, The Empanada Party – Part 3 – Una Gran Ensalada Latina along with some smashed potatoes, bread, and a creamy horseradish sauce for the prime rib and brie topped with a sour cherry sauce and crackers for a light appetizer..
The horseradish sauce was super easy to make and Larry said it came out really good. I am not a horseradish sauce person because I am not a fan of sour cream. So I will take his word for it. He said it is a definite do-over though.
Easy Creamy Horseradish Sauce
1/2 cup sour cream
1 TBSP horseradish
1 TBSP Dijon mustard
1 tsp Worcestershire Sauce
1 TBSP white wine vinegar or Proseco vinegar
sliced green onions for the topping
Just mix everything together well and chill until you are ready to use it.
After dinner and some free flowing wine, we all played some games and laughed and enjoyed each other’s company for the rest of the evening. It as a very casual and fun evening. We all had a very nice time together.
Merry Christmas Everyone. Happy Chanukkah and Happy Holidays. ‘Til next time.
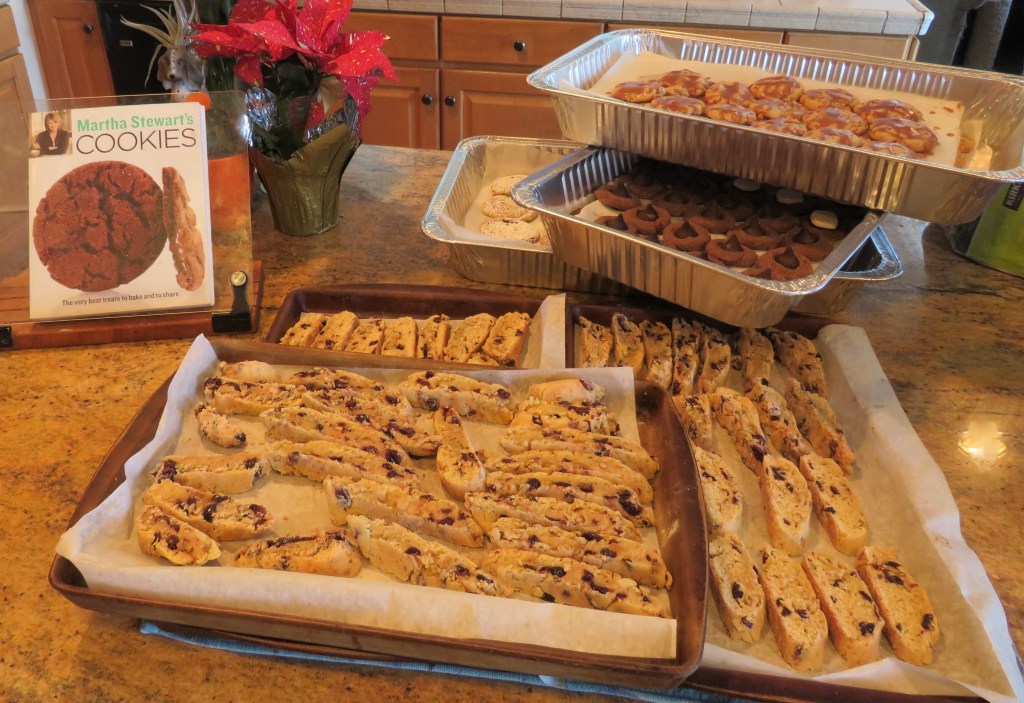
My cookies are ALL DONE!!!!! WHOOOO HOOOO!!!! I must have made about 20+ dozen. All of my cookies this year were courtesy of Martha Stewart. I just go through all my cookbooks and make whatever tickles my fancy at the time. This year, Martha and I were best friends. Of course, I added my own twist to things, but her recipes were my inspiration for all of my 2022 Christmas cookies.
My last batch was a batch of cranberry pistachio biscotti.
Cranberry Pistachio Biscotti
1 3/4 cup dried cranberries, reconstituted in warm water or liqueur
3/4 cup chopped pistachios
3 cups flour
2 tsp baking powder
1/2 tsp salt
4 TBSP or 1/2 stick of softened butter
1 cup sugar
3 eggs + 1 for the egg wash
2 tsp vanilla
melted white chocolate for the topping, optional
Preheat the oven to 325* F or about 165* C.
Line baking sheets with parchment paper.
Mix all the dry ingredients together and set aside.
Mix the sugar and butter together, then add the eggs 1 at a time, mixing in between each addition. Add the vanilla. Then add the dry ingredients 1/2 at a time, mixing in between each addition.
Turn the dough onto a lightly floured surface and fold in the pistachios and cranberries. I reconstituted mine in a little grenadine mixed with water. Knead everything together until blended. I doubled my recipe, so I made two batches.
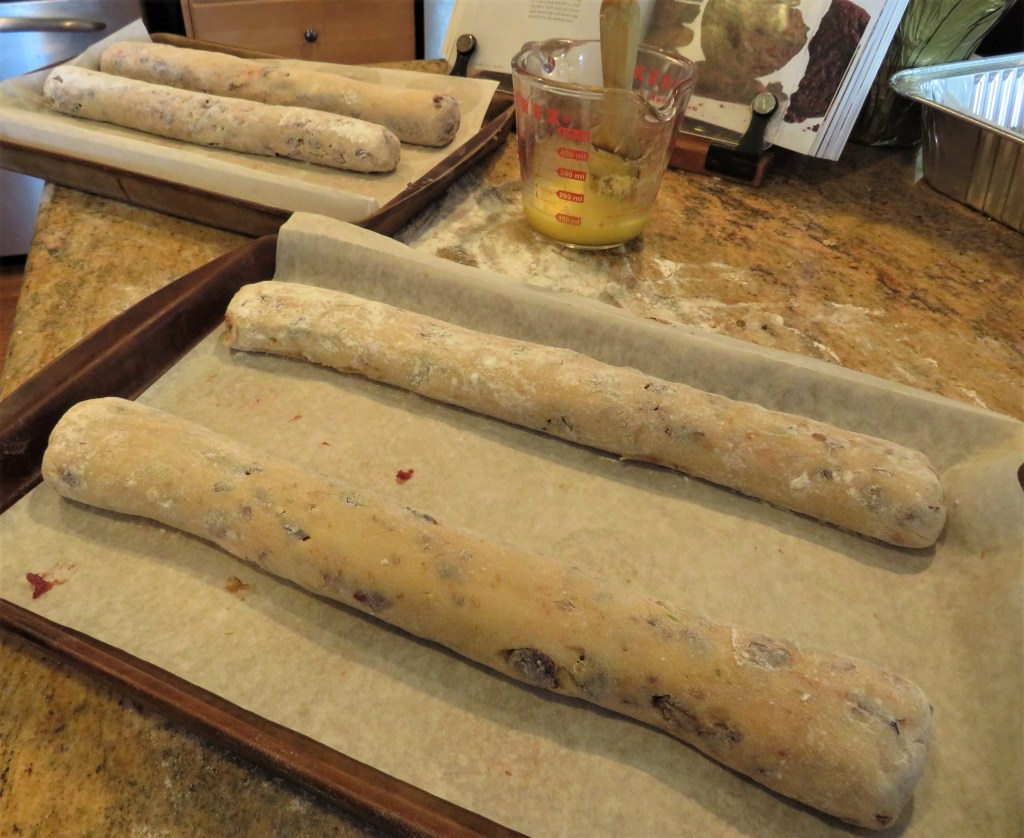
Once everything is well incorporated, cut the dough in half and roll each half into a log about 12 inches long.
Brush them with the egg wash then place in the oven and bake for about 20-25 minutes, then rotate and continue baking for about another 20-25 minutes.
Allow the logs to cool slightly, then slice at an angle with a sharp serrated knife. You should get about 18 slices per log. Place the slices back onto the parchment paper and rebake for about 8-10 minutes, then flip the slices over for another 8-10 minutes. This dries out the cookies and makes them nice and crispy. biscotti, after all, is a twice baked hard cookie. It is meant to be dipped in coffee or tea or hot cocoa.
Let the biscotti cool completely before drizzling with white chocolate, if you are using it. Melt the white chocolate until it is all melted and is smooth any creamy, then just drizzle it all over the cookies with a spoon. I also added some Christmas sprinkles to make them even more festive, though they probably didn’t need it.
We had both of our Christmas services last night, and all the cookies were a huge success. As I mentioned above, I made about 20+ dozen, which is a lot. We went through most of them. I only brought about 4 dozen home with me, which of course will be enjoyed tonight and throughout the rest of the holidays.
I am not done with the holiday cooking just yet though. I am cooking Christmas dinner tonight for a few friends, and then we are going to Hays, KS for a belated Christmas with Larry’s family, so of course whatever is left will travel to Hays with us.
Merry Christmas, Happy Chanukkah and Happy Holidays to one and to all, and to all a good night. ‘Til next time.
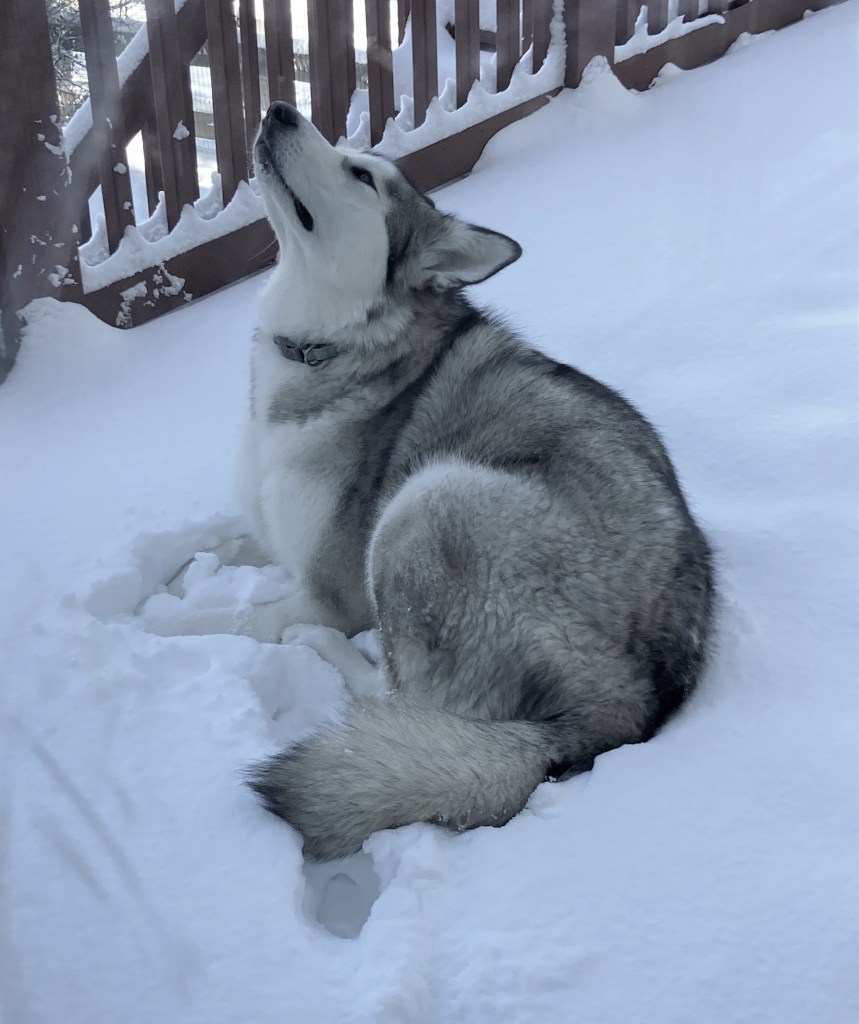
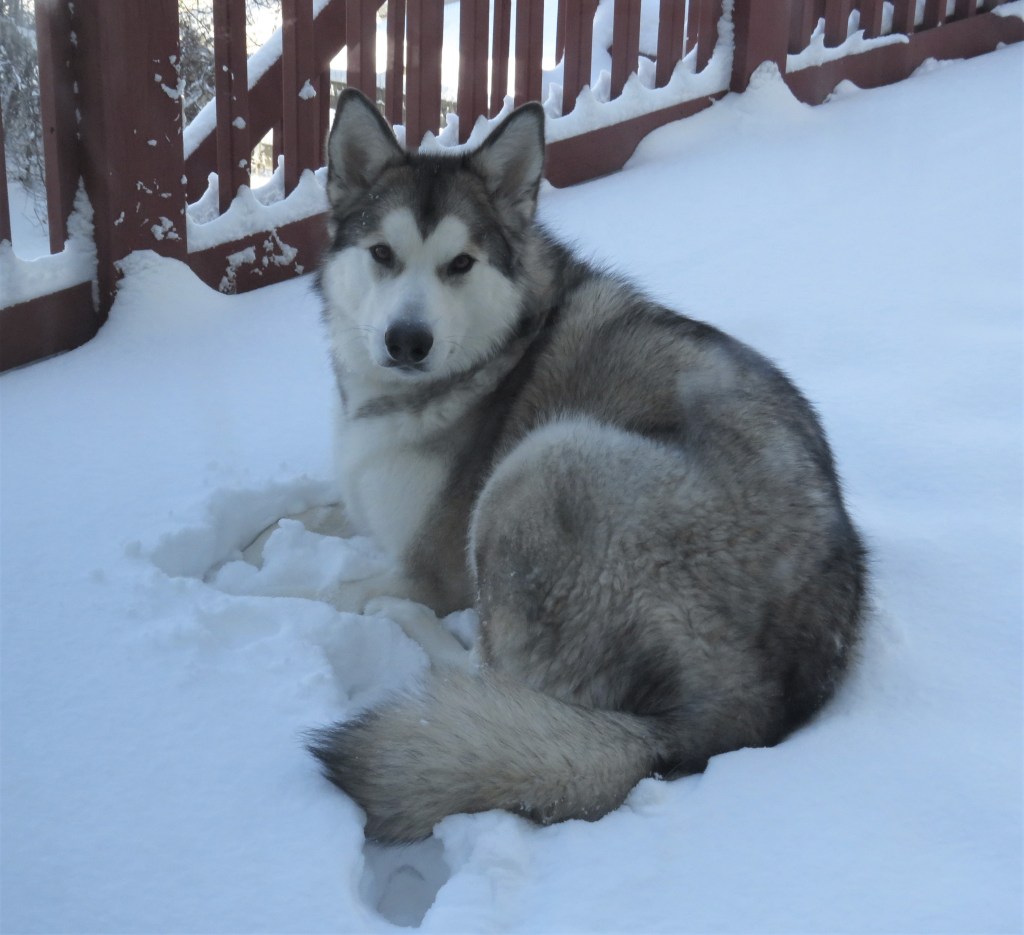
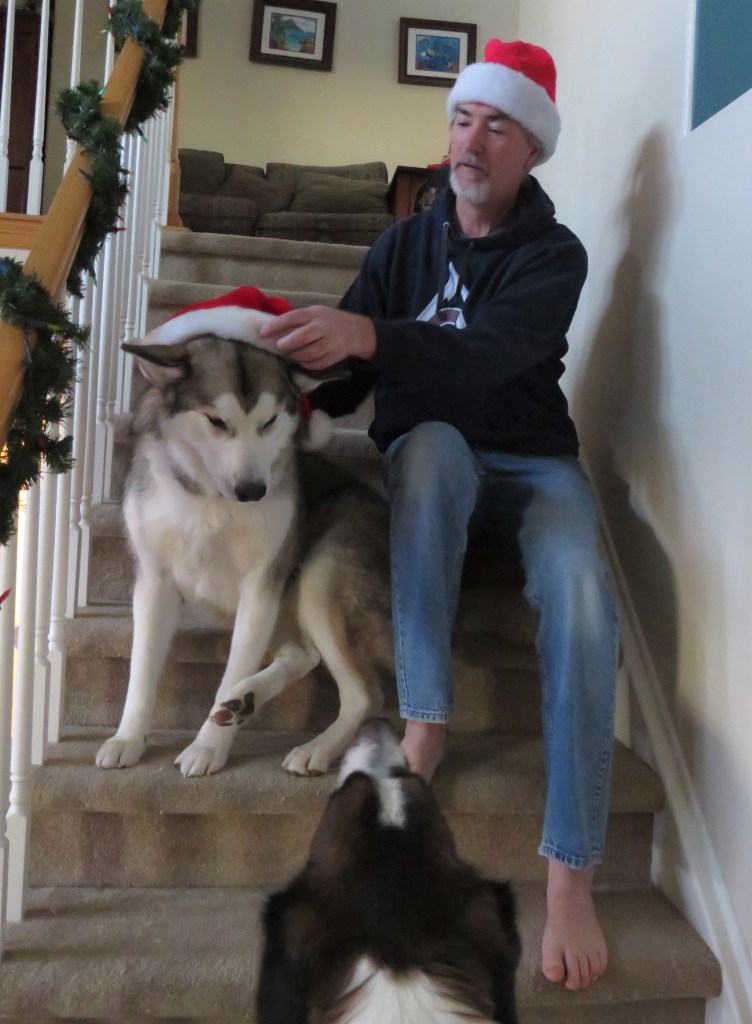
I laugh every time I see a meme or a post saying “keep your dogs inside during the cold weather”. For most dogs, I completely, whole heartedly agree. However, if you have snow dogs like I do, the colder the better for them. They LOVE the cold, snowy weather. Malamutes and Huskies, as well as Saint Bernards and Bernese Mountain dogs in particular, all have a double coat of fur, and they were made for the extreme cold weather.
Juneau was thoroughly enjoying herself in the snow and did NOT want to come in at all. It was just a perfect day for her. She couldn’t understand why I didn’t want to join her outside.
Eventually she did come in, but you can tell she wasn’t too happy about it. Vinnie was quite comfortable just lying on the floor, next to the door, where he could see all that snow, but he wasn’t about to move. Besides, Mommy was cooking. There might be goodies that fall on the floor and he would volunteer to clean them all up. He’s such a good boy. 🙂
Make the most out of every day. Live life to the fullest and take it all in stride.
The cookie baking has been going on all week. All my cookies are finally DONE!!!!!! I have a couple more yummy recipes to share with you before my Christmas Cookie series will be done too.
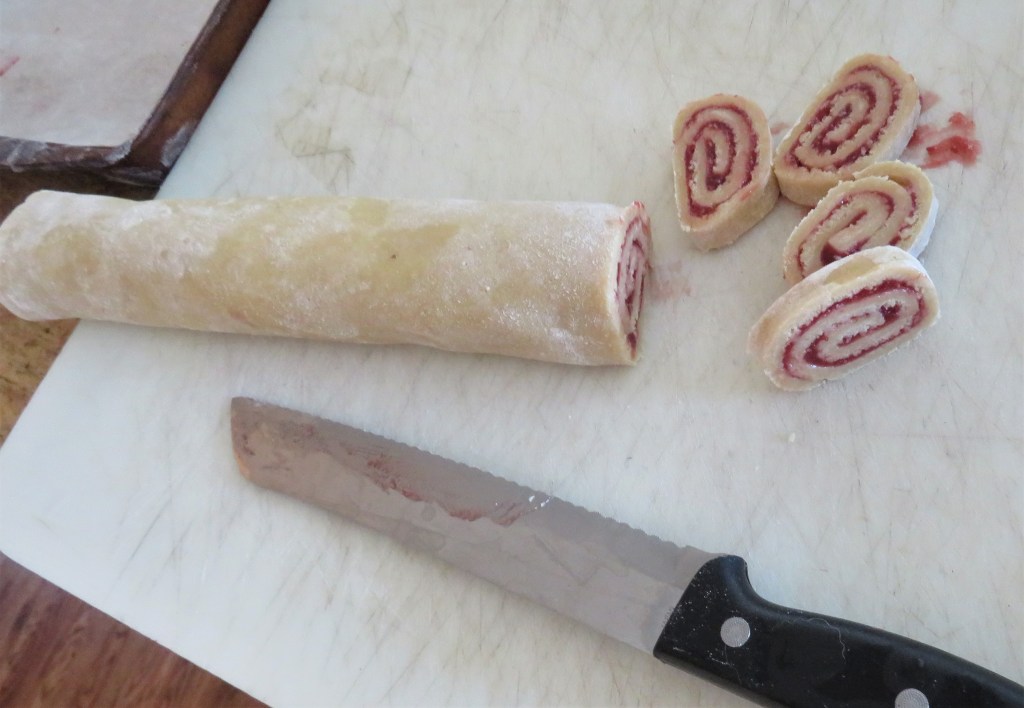
Today I bring you raspberry pinwheels. I dressed them up a bit though, and when they were completely cooled, I added a dusting of powdered sugar on top too.
Raspberry Pinwheels
You can use any kind of jam or fruit preserves for these. Mix them up a bit and make them with what you like. The recipe is pretty basic and can be left to your imagination to make it how you like it.
2 1/2 cup flour
1 tsp salt
1/2 tsp baking soda
1 cup or 2 sticks of softened butter
1/2 cup granulated sugar
1/2 cup firmly packed brown sugar
2 eggs
1 3/4 cup raspberry jam or jam of your choice
powdered sugar for dusting, optional
Combine the dry ingredients then set aside.
Mix butter and sugars together until creamy, then add the eggs, one at a time, mixing in between each addition. Add the flour mixture 1/2 at a time, mixing in between. Mix until everything is just blended together. Do not over mix.
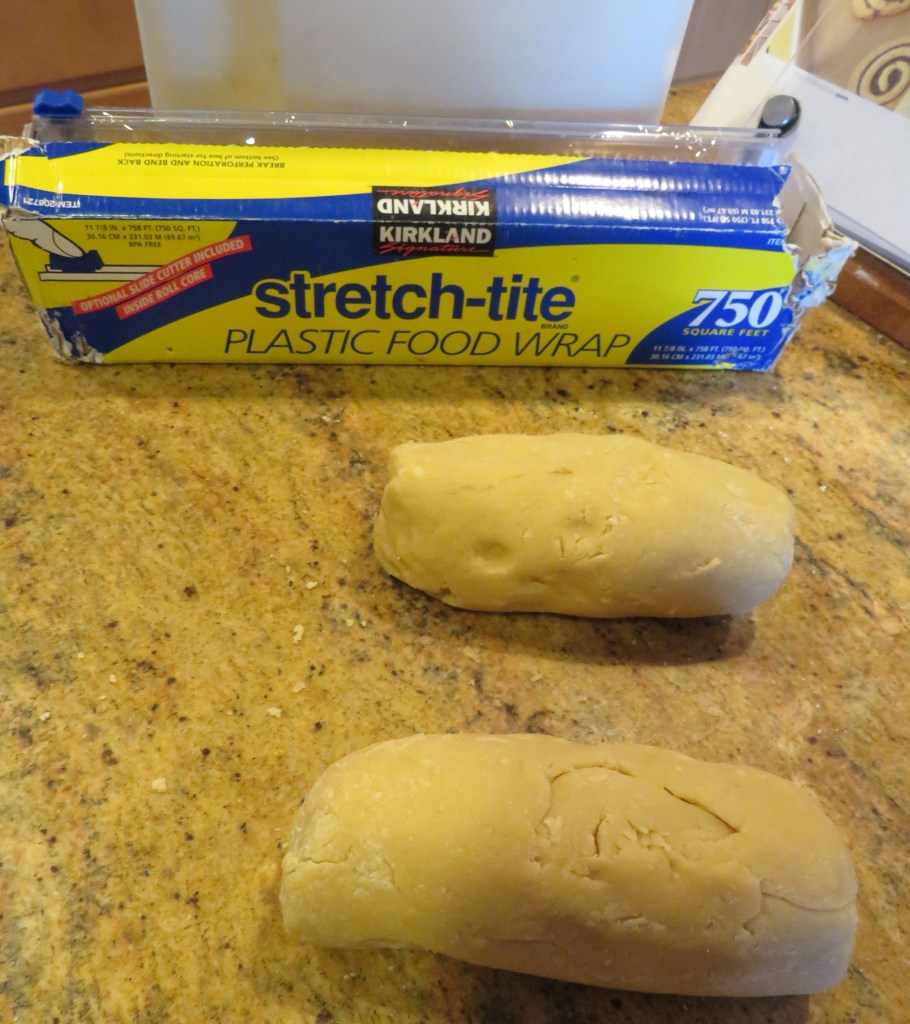
Form the dough into 2 dough balls, then shape into logs, wrap with plastic wrap and refrigerate for at least 1 hour and up to 24 hours before using.
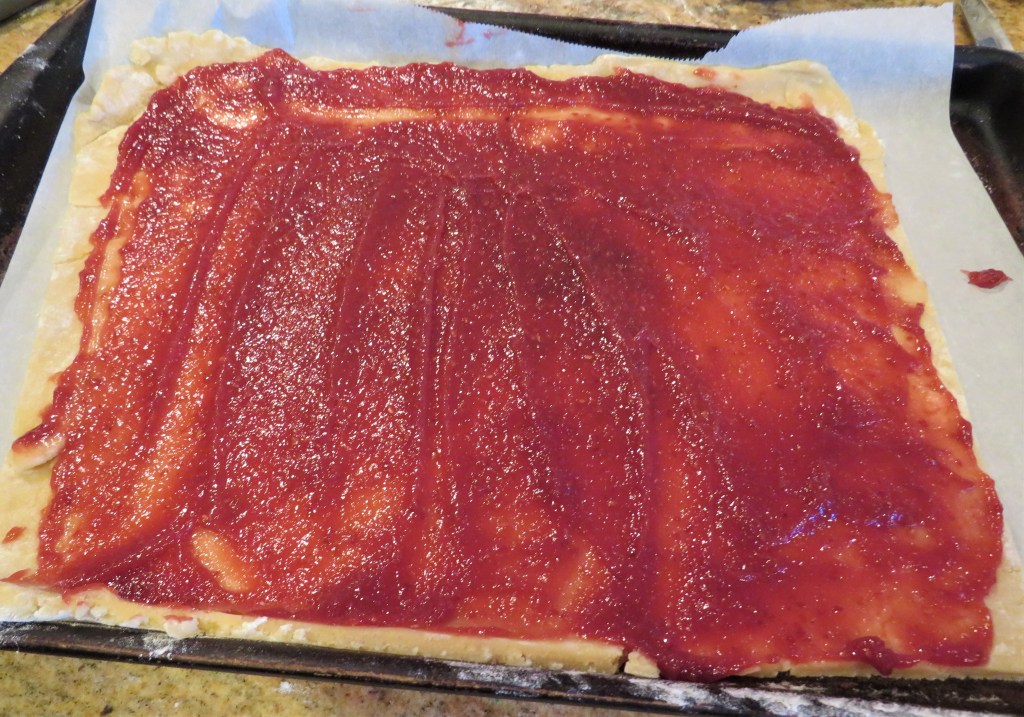
On a lightly floured surface, roll the dough out to a rectangle. Spread the jam over the entire surface, leaving a little bit around the edges.
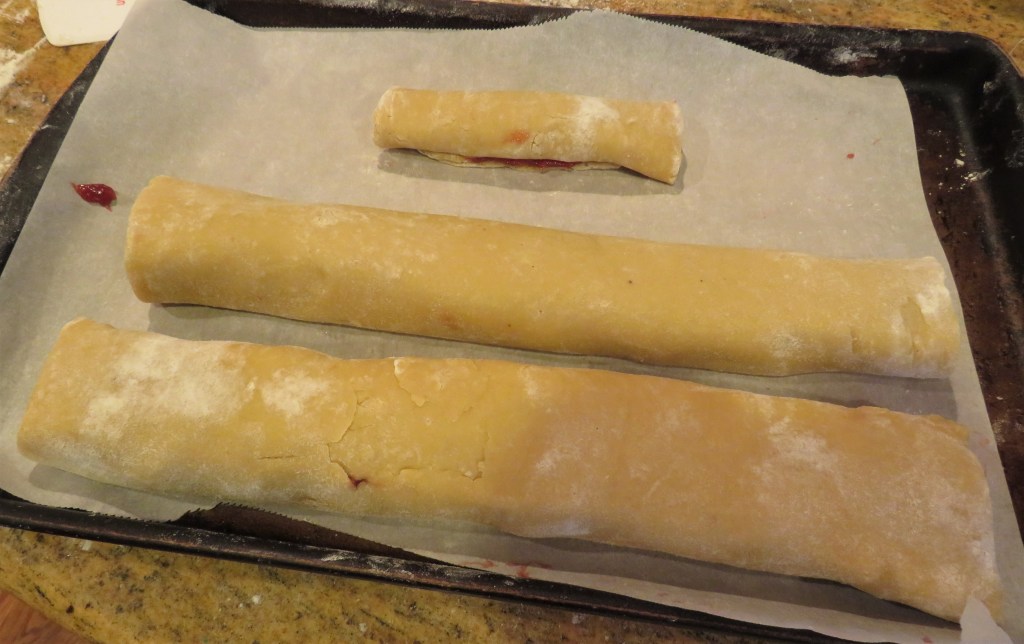
Roll the dough tightly from the long side to make your rolls. Cover with plastic wrap and once again, refrigerated for about an hour before slicing.
Preheat the oven to 350* F or 190* C.
Line the baking sheets with parchment paper.
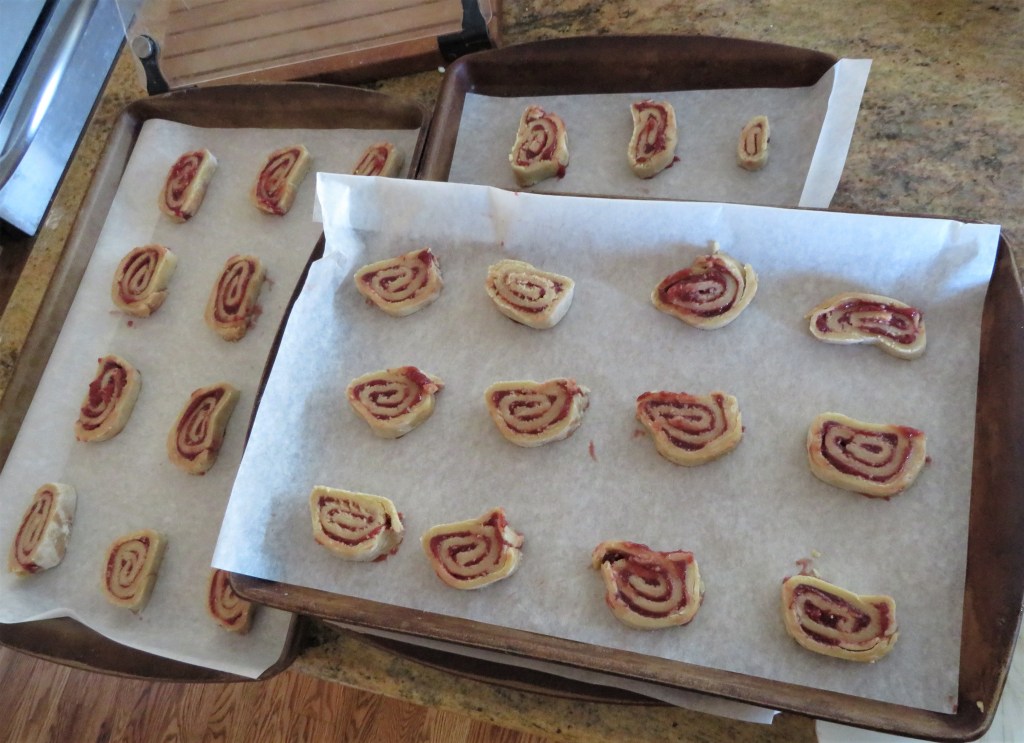
Slice the dough into slices about 1/4 thick with a sharp, serrated knife. Place the slices flat ono the prepared baking sheets, about 2 inches apart.
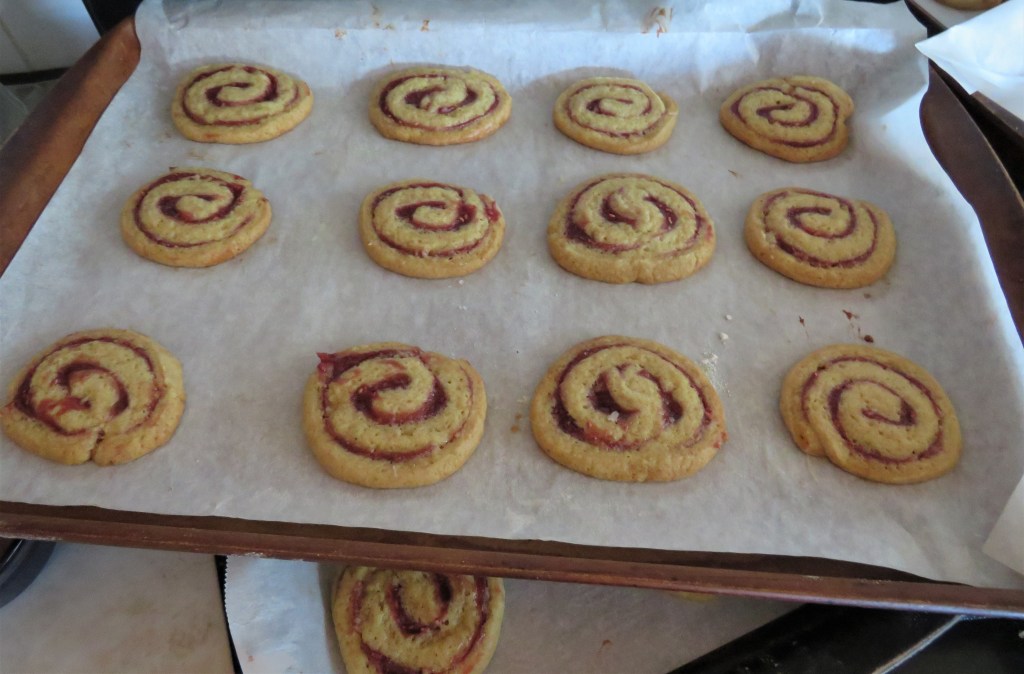
Bake for about 15-18 minutes, or just until the edges start to crisp up a bit and a are lightly golden.
You can definitely eat them as is, but they are not very sweet. So I added a dusting of powdered sugar once they had cooled completely. Besides, they look much more festive with the powdered sugar on top too.
Enjoy! Merry Christmas, Happy Chanukkah and Happy Holidays to all. May your holidays be merry and bright. Stay warm, stay safe and stay well. ‘Til next time.
Today is the first full official day of winter and boy did it come in with a BANG! This is a screen shot of today’s temperatures where I live. For those of you on Celsius, this is in FARENHEIT and believe me, this is VERY COLD! I know some of you are even colder right now.
This is the view from my bedroom window. All of our lakes/ponds are completely frozen over. Directly behind these trees in our backyard is a lake, but it is an ice skating rink right now. The geese are frozen in place.
With weather like this, I am very glad I will be indoors, baking today. It is a perfect day for baking more cookies.
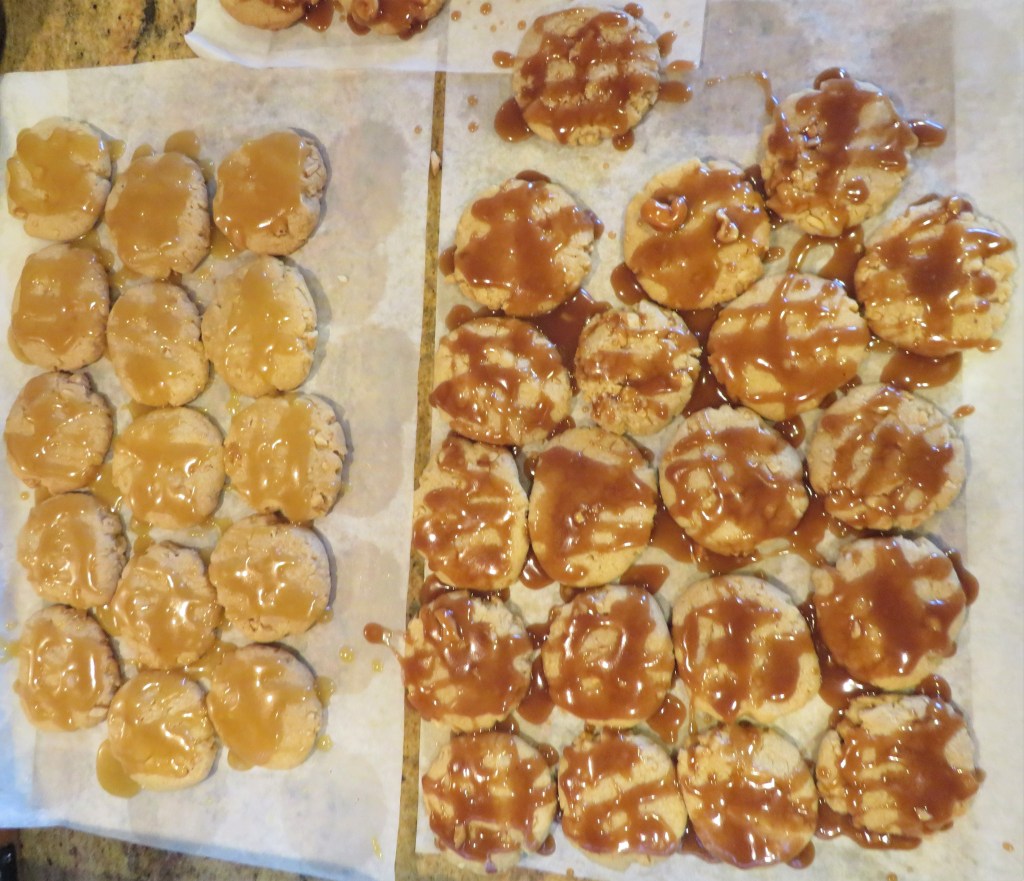
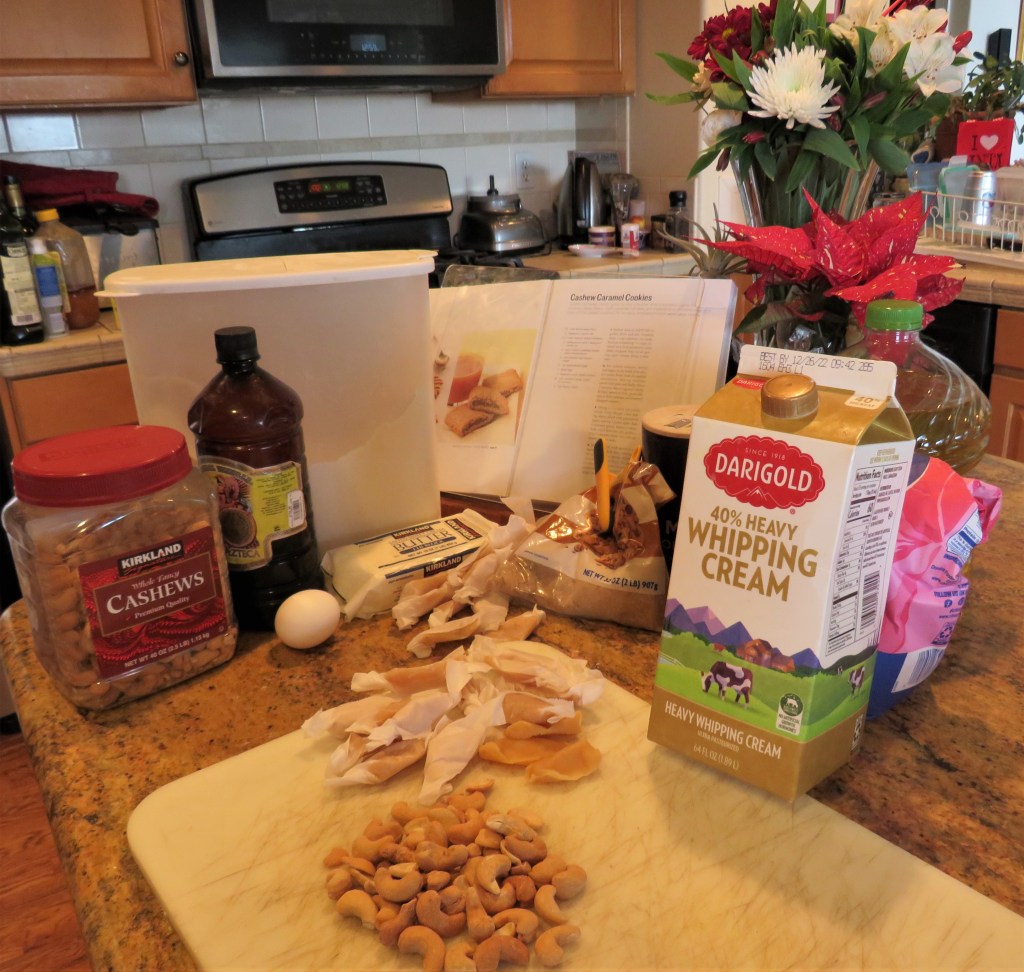
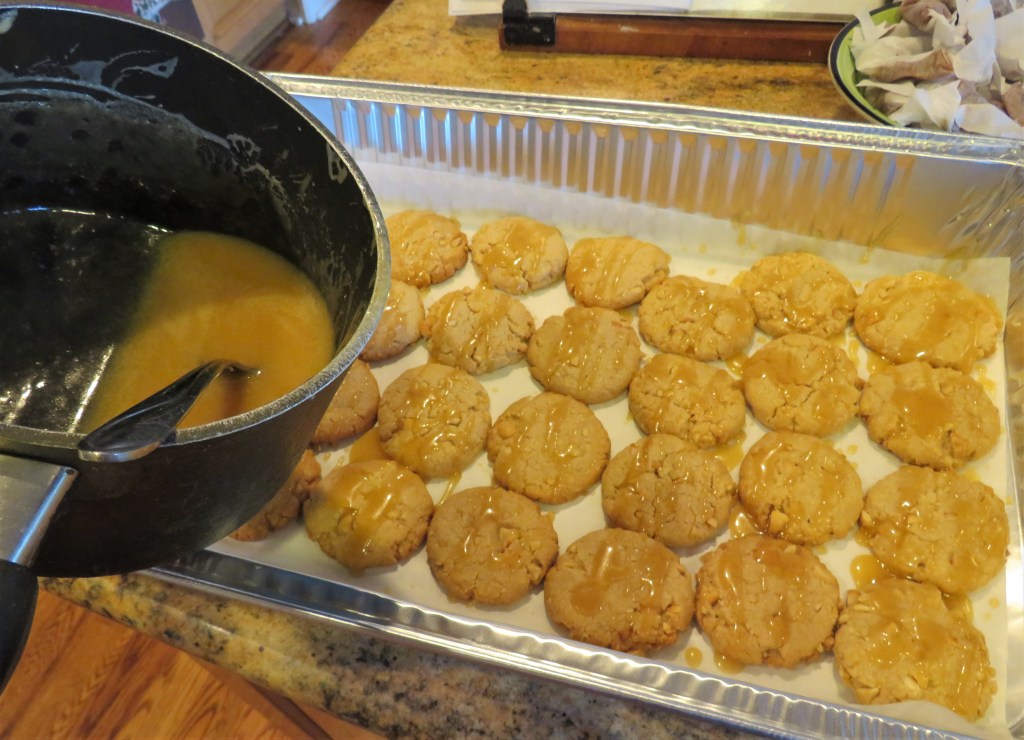
Today’s cookies are cashew caramel shortbread cookies. I used my own caramels for the sauce/topping. Some have plain caramels and some have the salted cashew and chocolate caramels. The Caramels Are Done! I have added another 6 dozen to my batch for tomorrow’s services. A couple of more batches, and tomorrow’s cookies will be done. Store bought caramels are perfectly fine to use as well. Don’t feel like you have to make your own. I just had some leftover from when I did make them, and I have to say, my caramels are MUCH BETTER than store bought ones. 🙂
Cashew Caramel Shortbread Cookies
1 2/3 cup flour
1/2 tsp salt
2 1/2 cups roasted, salted cashews, divided
2 TBSP + 1 tsp canola oil
1/2 cup or 1 stick of softened butter
3/4 cup firmly packed brown sugar
1/2 cup granulated sugar
1 egg
1 tsp vanilla
24 caramels or about 1 cup of cararmels
1/2 cup heavy whipping cream
Preheat the oven to 350*F.
Line cookie sheets with parchment paper.
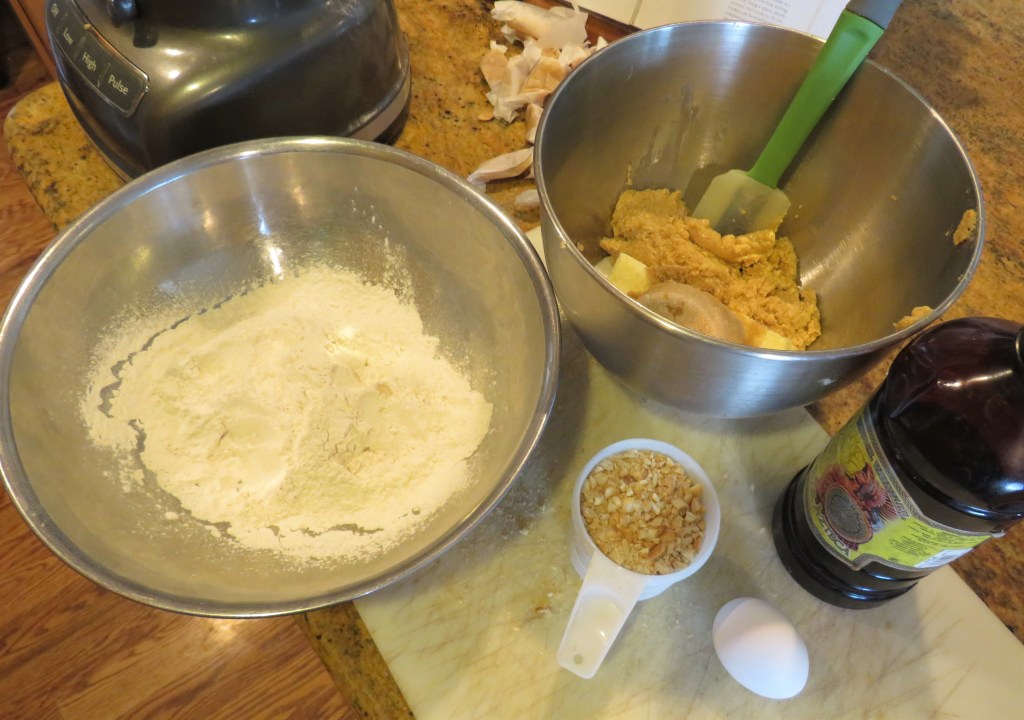
Coarsely chop 1 cup of the cashews and set aside. Put the remaining cashews, along with the canola oil into a food processor and pulse until you have a creamy butter, for about 2 minutes.
Combine the flour and salt together and set aside.
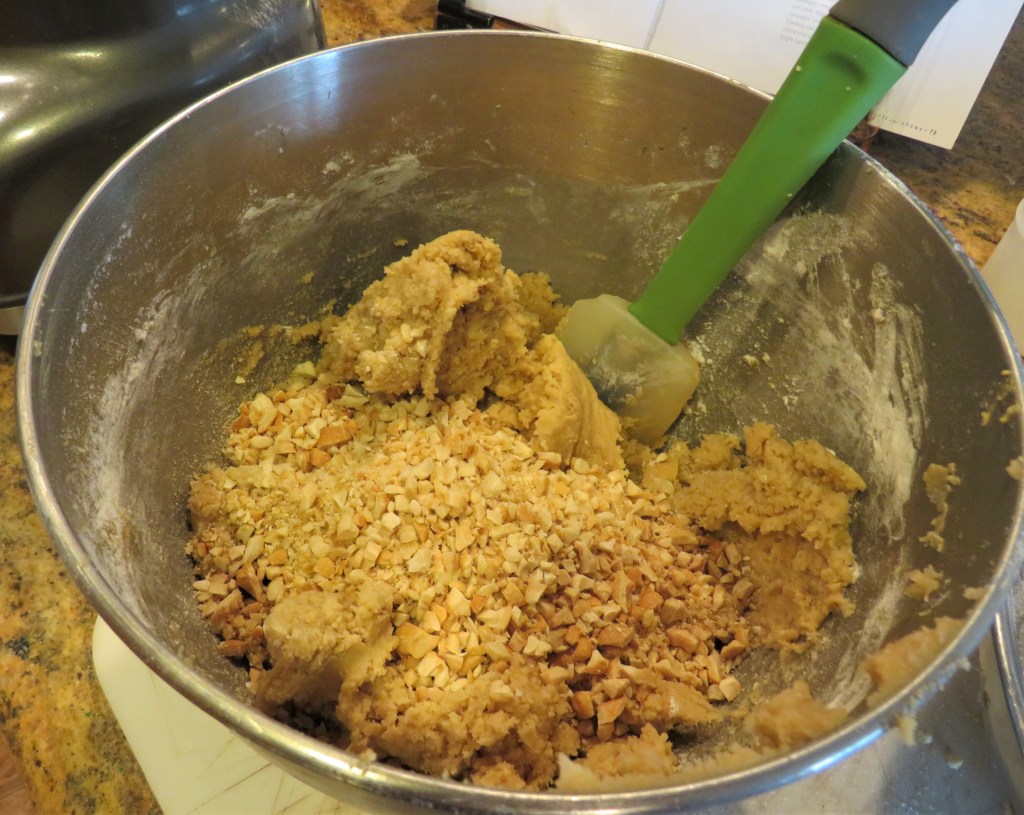
Mix the butter, sugars, egg, vanilla and cashew butter together, then add the flour and salt and mix just until everything is blended. Do not over mix or you will have tough cookies.
Fold in the chopped cashews.
Drop about 1 TBSP of dough onto the parchment paper lined baking sheets and form into a ball. Press lightly and bake for about 10-12 minutes, or just until the edges turn a light golden brown.
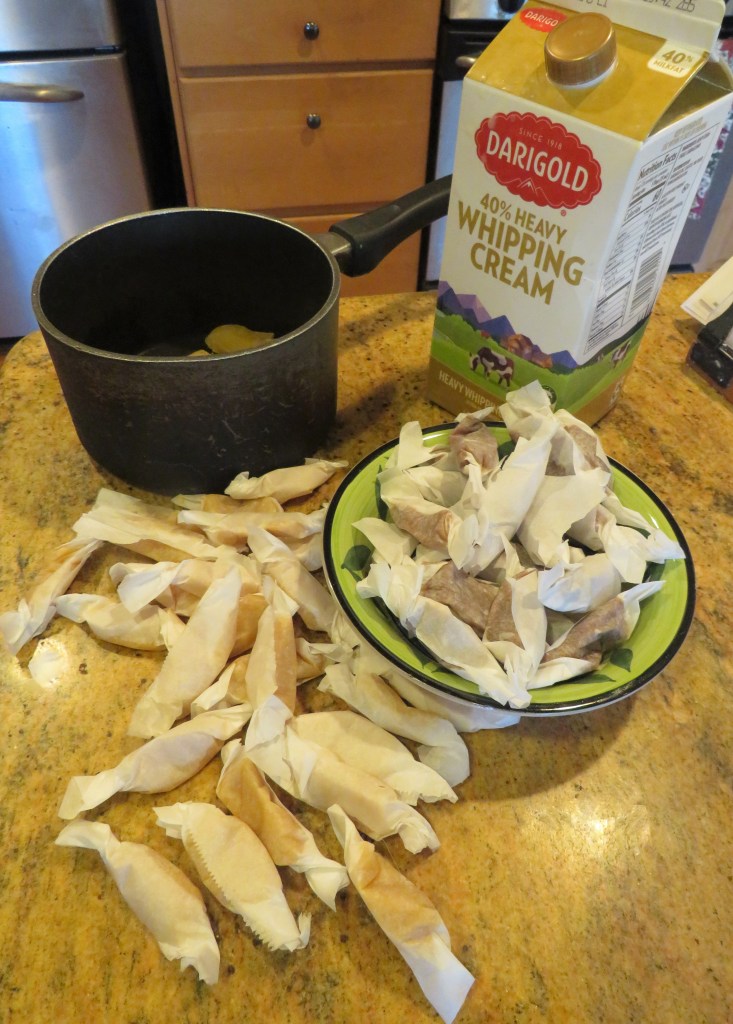
Allow the cookies to cool completely before adding the caramel topping. For the topping melt the caramels together with the cream until it is all melted and creamy. Then drizzle over the cookies.
Allow the caramel sauce to set, then you can store them until you are ready to eat them all up. YUMMY! They are rich and creamy and buttery and nutty all at the same time.
For those of you who live in these cold, frigid parts like I do, stay inside, stay warm, and stay safe. Merry Christmas, Happy Chanukkah and Happy Holidays to all. ‘Til next time.
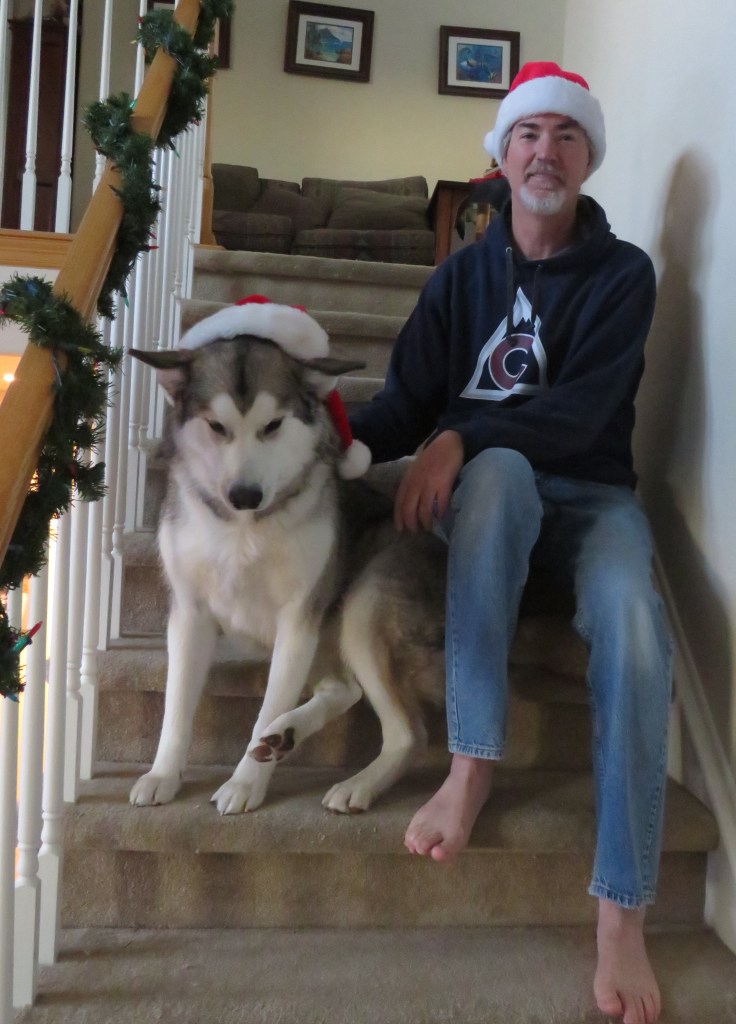
Juneau, Larry, aka the Daddy Dog and Vinnie all say Merry Christmas.
Yesterday I was literally in the kitchen for most of the day, baking cookies. I baked about 13 dozen cookies, but only two kinds so far. One I still have to finish and decorate, so you will see those later. I am only about half way done too. As soon as I finish writing this, I will be back in the kitchen once more, baking yet again.
I am sharing my chocolate mint thumbprints with you today. I ran out of the mint kisses, so there are two different kinds of chocolate mints used here, but they all taste good, and look good, too, which is really all that counts. 🙂
As usual, I took a recipe and made it my own. The recipe I used was way to dry and needed some more moisture, so I added an egg. Then I made it chocolate instead of plain. You can make these either plain of chocolate. If making them chocolate, just add 2/3 cup of cocoa powder to the mix. Initially I was going to roll them in sprinkles before baking them, but the sprinkles didn’t stick to the dough. No worries. Time for Plan B. I rolled them in sugar instead. They came out just fine. Delicious! 🙂
Chocolate Mint Thumbprints
Preheat oven to 350* F or 190*C.
Line your cookie sheets with parchment paper.
1 bag of chocolate mint Kisses (or whatever chocolate if you prefer)
1 cup or 2 sticks of softened butter
1 cup powdered or confectioner’s sugar
1/4 tsp salt
2 1/2 cups flour
1 egg
2/3 cup cocoa powder
sugar for rolling the dough balls in
Mix the butter, powdered sugar, egg and vanilla together until creamy, then add the chocolate flour mixture and mix just until everything is blended.
Form the dough into dough balls, then roll each ball into the sugar. Place on the prepared baking sheets. Lightly press the balls to flatten them. Press a well into the center of each cookie, gently with your thumb, and place 1 Kiss or chocolate in the center of the well.
Bake for about 10-15 minutes, or until the cookies are set. Allow to cool for a couple of minutes on the baking sheet then remove and transfer the cookies to a wire rack to cool completely.
There are plenty more cookies coming your way, so stay tuned. It’s cookie time!
Merry Christmas, Happy Chanukkah, and Happy Holidays. Stay safe and stay well Everyone. ‘Til next time.
Yesterday was devoted to making some little Christmas gifts for my BSF group. I had no idea they would take as long as they did. I have a tendency to just jump right into things first and working out the details as I go. But, it is always a learning experience, and often a challenge. I love challenges. These Christmas trees took the better part of most of yesterday to get them all done, but get them done I did. They are now done and are ready to give to my ladies tomorrow morning.
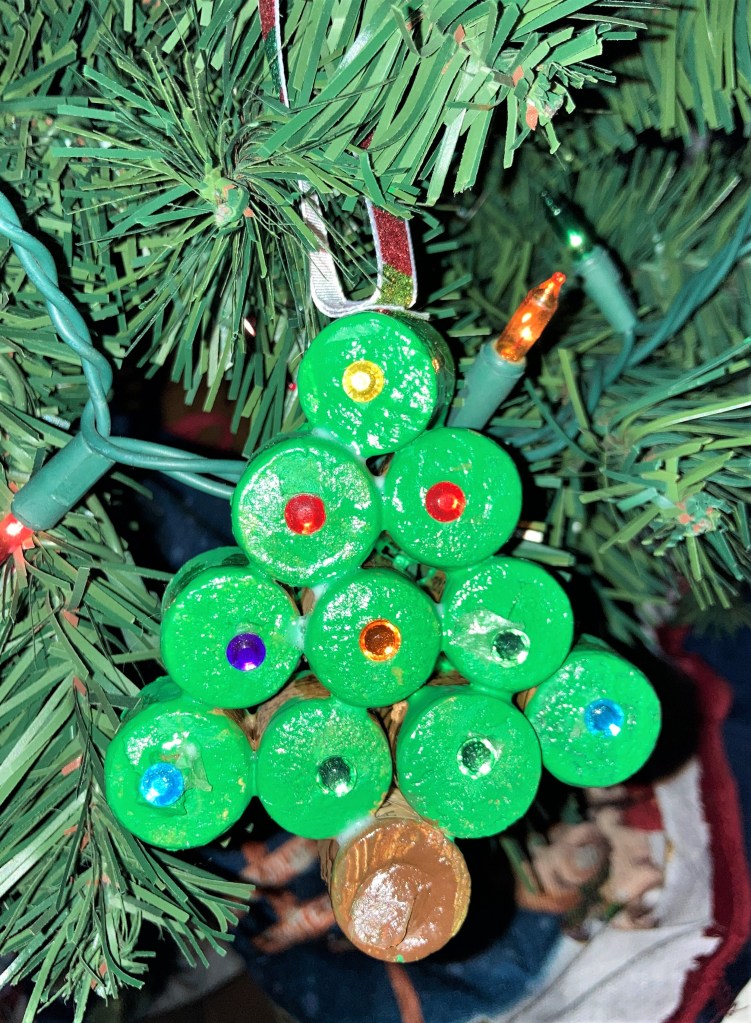
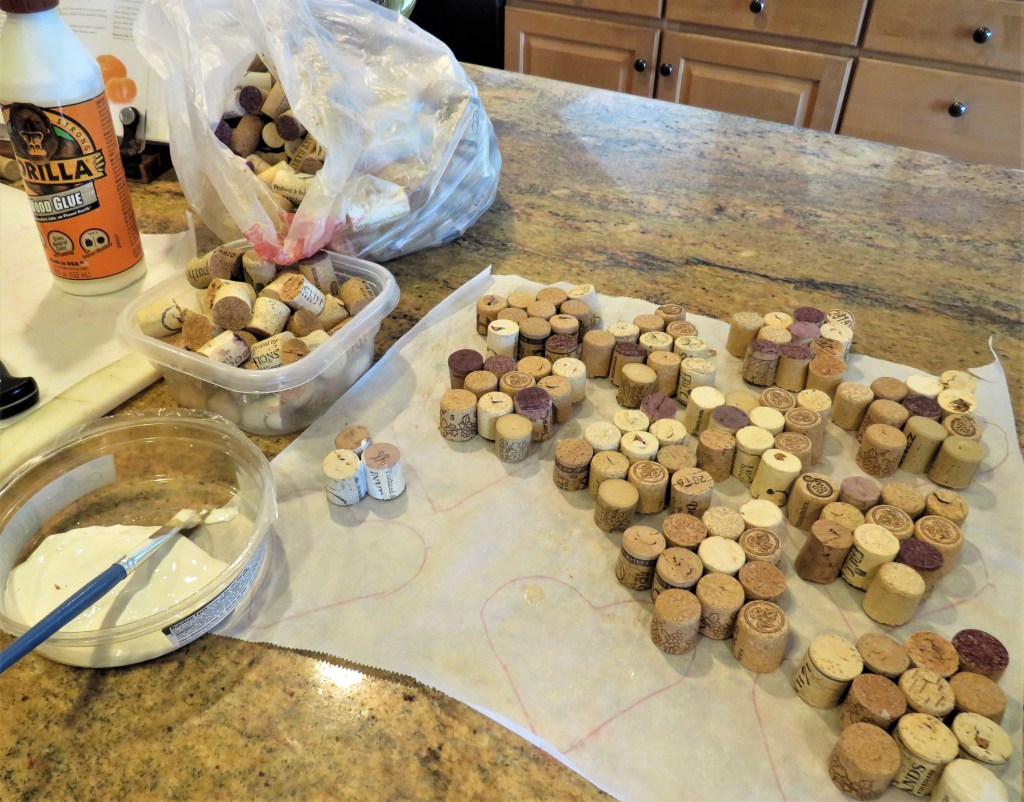
You all know I LOVE my wines, but I also love crafting too. I save my wine corks and bottles then creatively reuse them later. I turn them into all kinds of things. This is what I made with them yesterday. These are my little gifts for my BSF (Bible Study Fellowship) group.
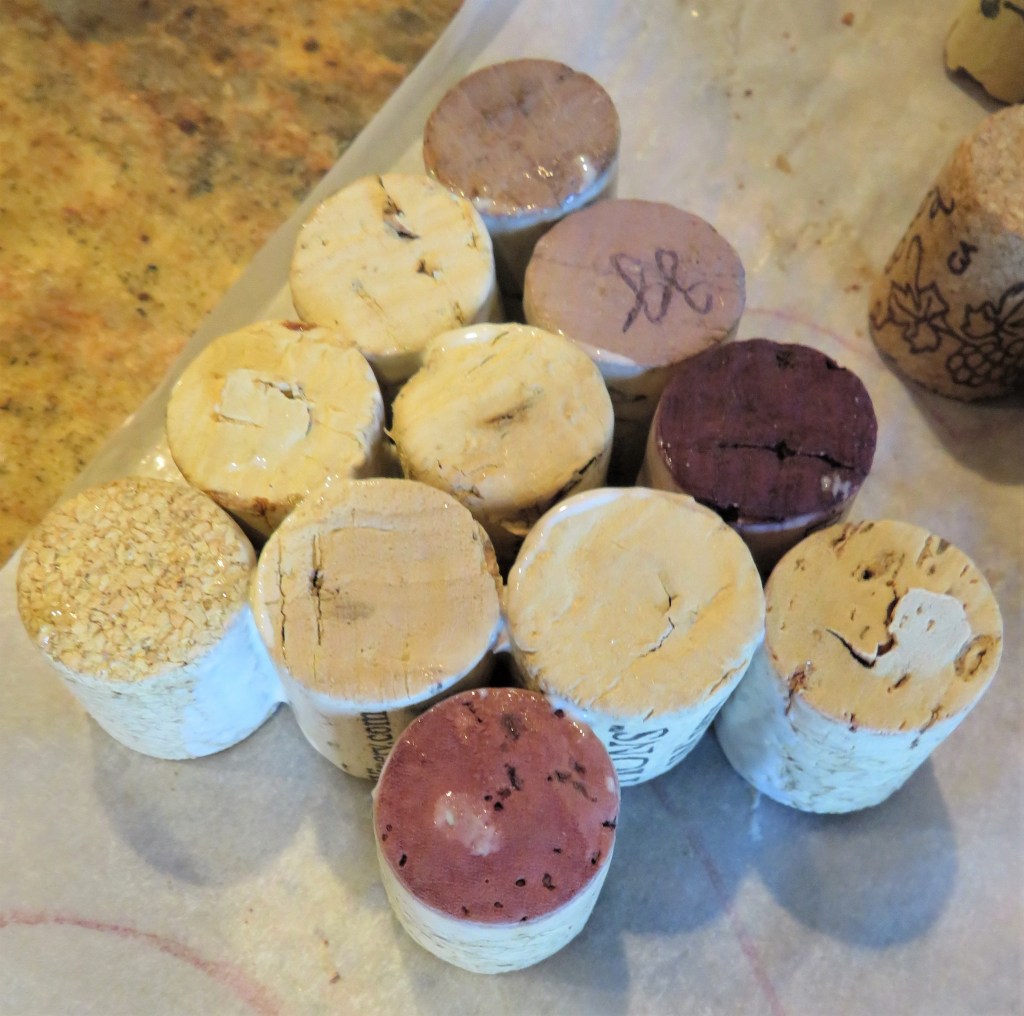
Making these was definitely a labor of love. Step 1) I had to cut the corks and glue them together in the shape of a Christmas tree. Before I could do anything else with them, I had to let the glue dry completely and let them set. That took a while. I actually started these on Friday or Saturday in order to let them dry completely. Because corks are a type of wood, I used wood glue. I have found this works the best for the first gluing.
Step 2) I painted all the trees, and once again, I had to wait until the paint dried before I could move on to step 3. I just used an acrylic paint.
Step 3) Adding the decorations. I found some little shiny dots that I used as my “lights” for the tree. Step 4) After placing the “lights” on the trees, I added another coating of glue. This time I used a MOD glue, that was not only a glue, but also makes everything nice and shiny. Again, I had to let it dry. So much of this little project of mine was waiting for things to dry and set before I could move on.
Step 5) The final step was to add the ribbons to the trees. I just cut some pretty, festive ribbon then nailed it on to the corks. I used the very tiny nails to hold my ribbons in place. And voila! My little wine cork Christmas trees are done. Don’t they look fun and festive?
I must have been channeling my mother while making these. She and I used to do all kinds of crafts together all the time. She would have been proud of these and would have been right there helping me with them too if she could have been.
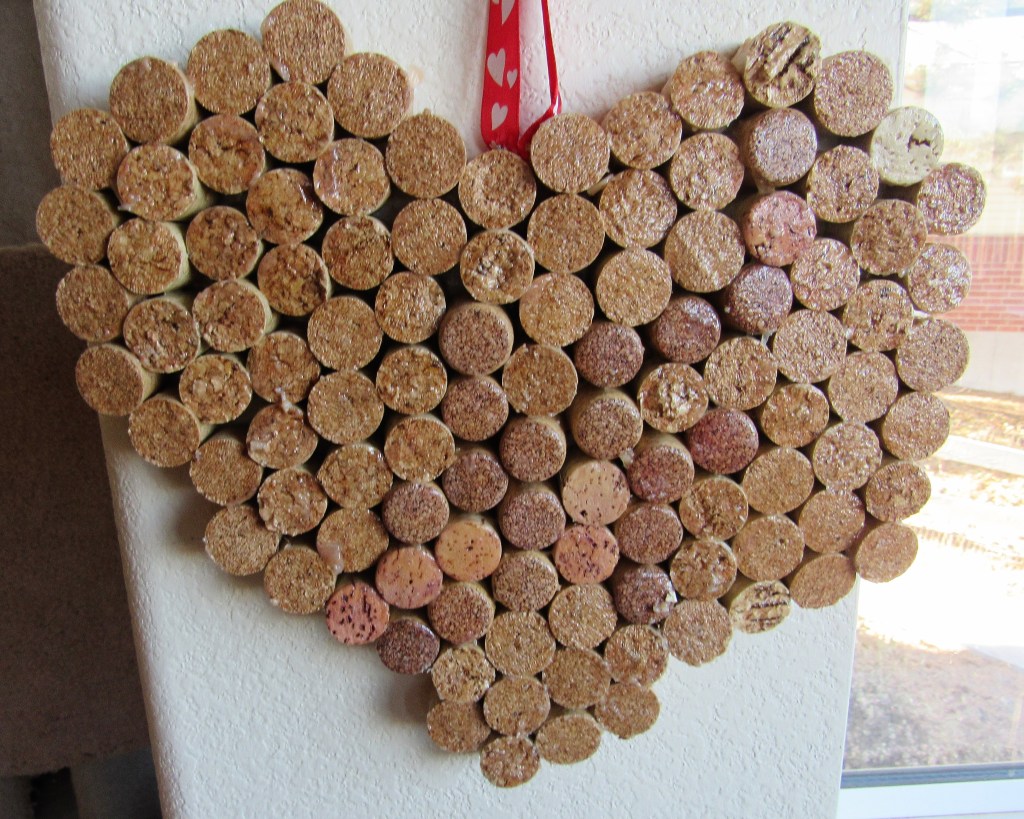
Here are some other ideas for both the corks and the bottles. I made this one a couple of years ago, and have made many others, and double hearts as well, since then. This was my first attempt at the corked heart.
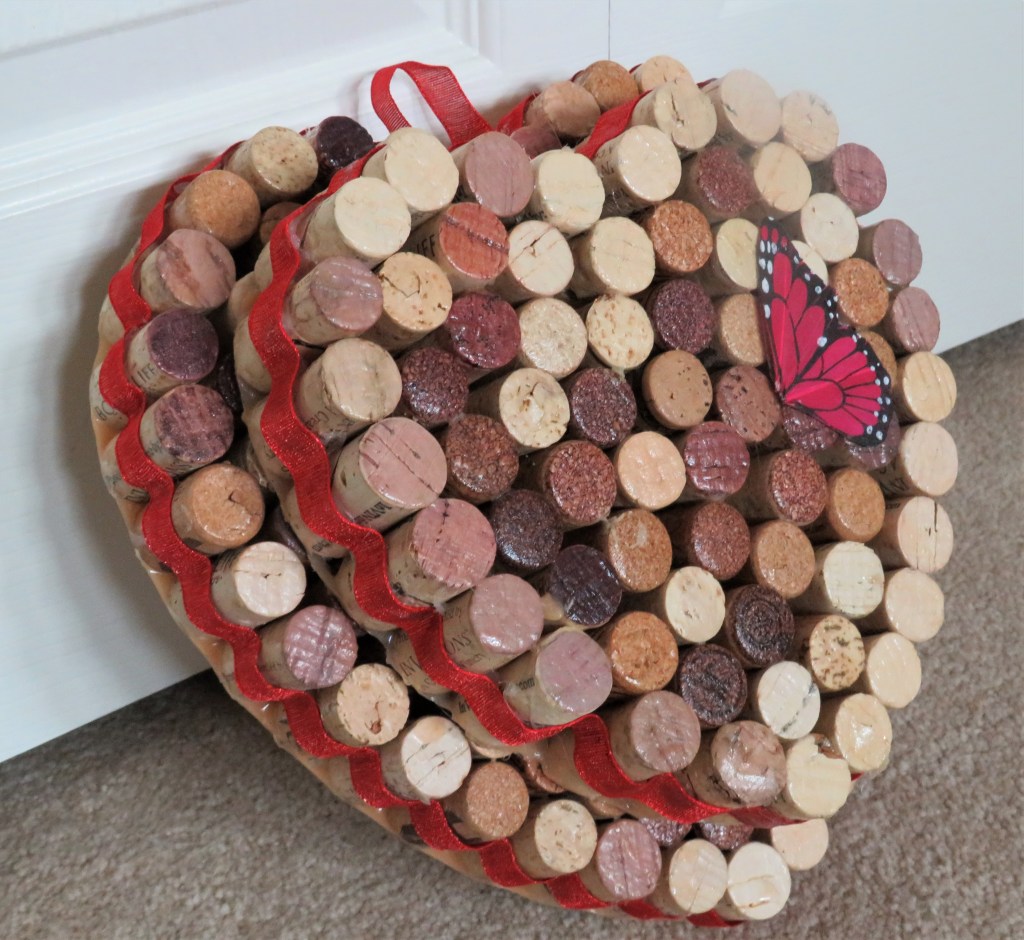
Since then, I have progressed and made them more elaborate.
My friend Roxann made this wine bottle dish. I actually have a few of them. I use them all the time for various things. I like to use them as a butter dish when I am entertaining.
I painted this wine bottle light too. You can’t see the little lights too well, but the cork has a little battery pack with mini lights attached to it.
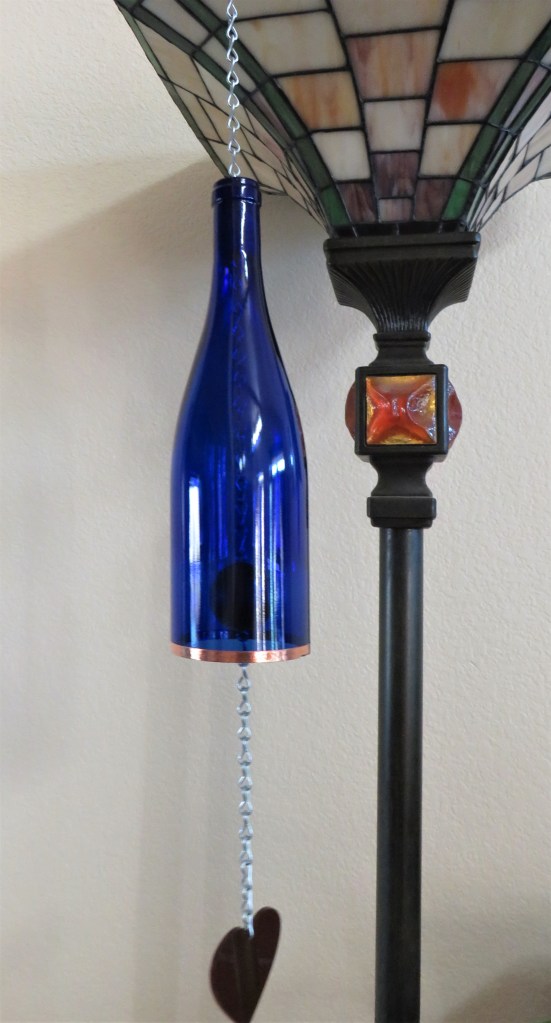
I did not make this wind chime, but I think I know how now, so don’t be too surprised if I make these at some point and you see it again.
I used to have a wine bottle succulent terrarium as well, but it broke. I love making these little funky, creative things. My point is, everything can be reused and repurposed. All it takes is a little imagination and lots of time and patience. Lots of time and patience. 🙂
Today and the rest of the week will be devoted to making cookies. Lots and lots of cookies. We have two services on Friday, and I need to make all the cookies for both of those for my coffee cart.
Merry Christmas and Happy Holidays Everyone. Make them merry and bright and stay safe and stay well. ‘Til next time.