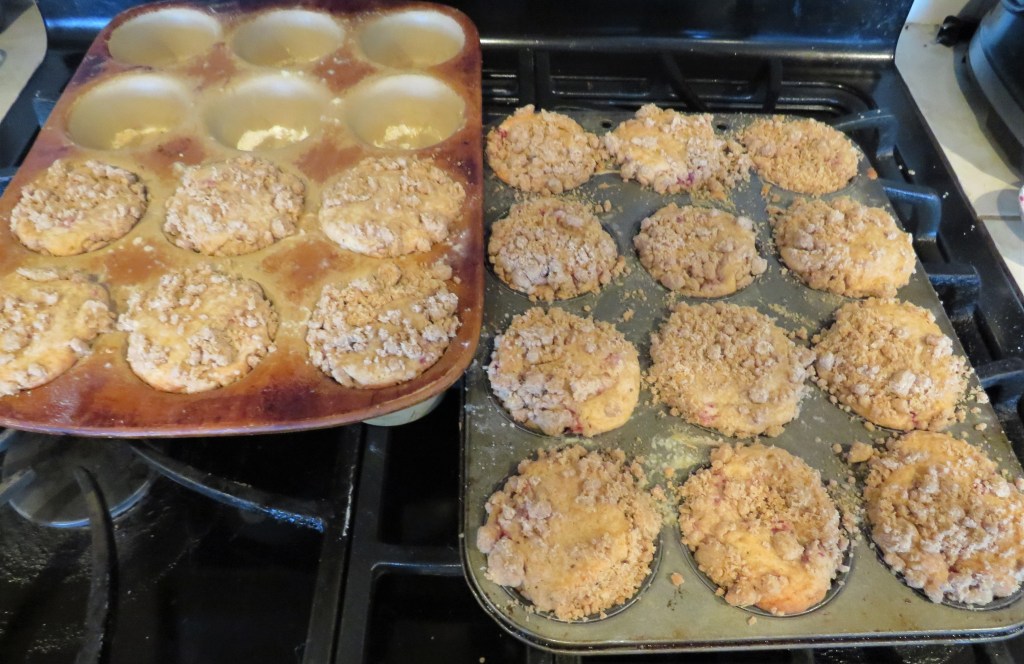
We have a time share in Playa del Carmen, Mexico and one our favorite treats to get when there is a Nutella banana crepe. There is something magical about the combination of rich creamy Nutella and bananas, mixed together with chocolate. In a word, fantistico! But Nutella and bananas also go very well when cooked together as brownies too. I made those as one of my treats for this morning’s coffee cart, and as you would expect, they were a huge hit. They all disappeared very quickly.

It is always a very rewarding and satisfying feeling when you make something and it all disappears.
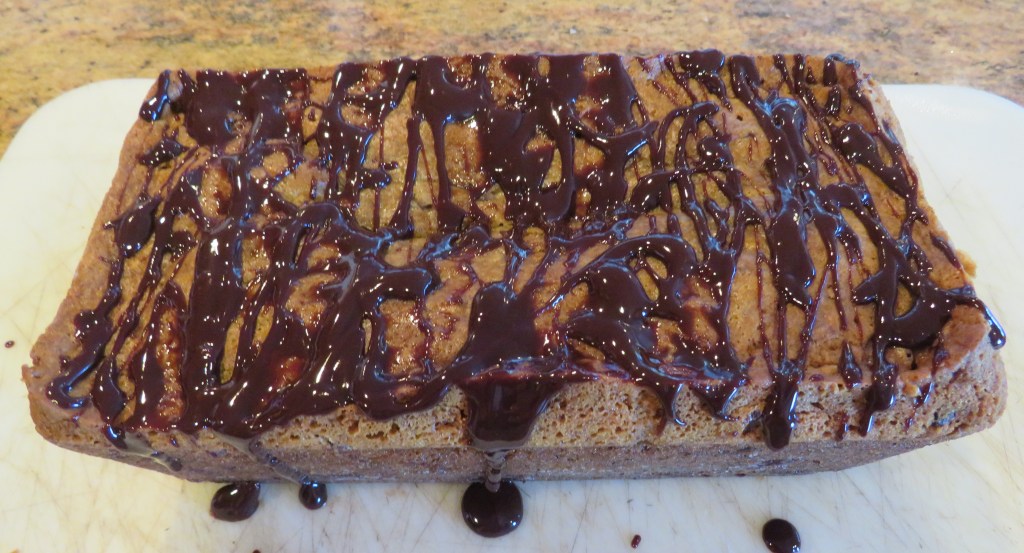
Nutella Banana Brownies
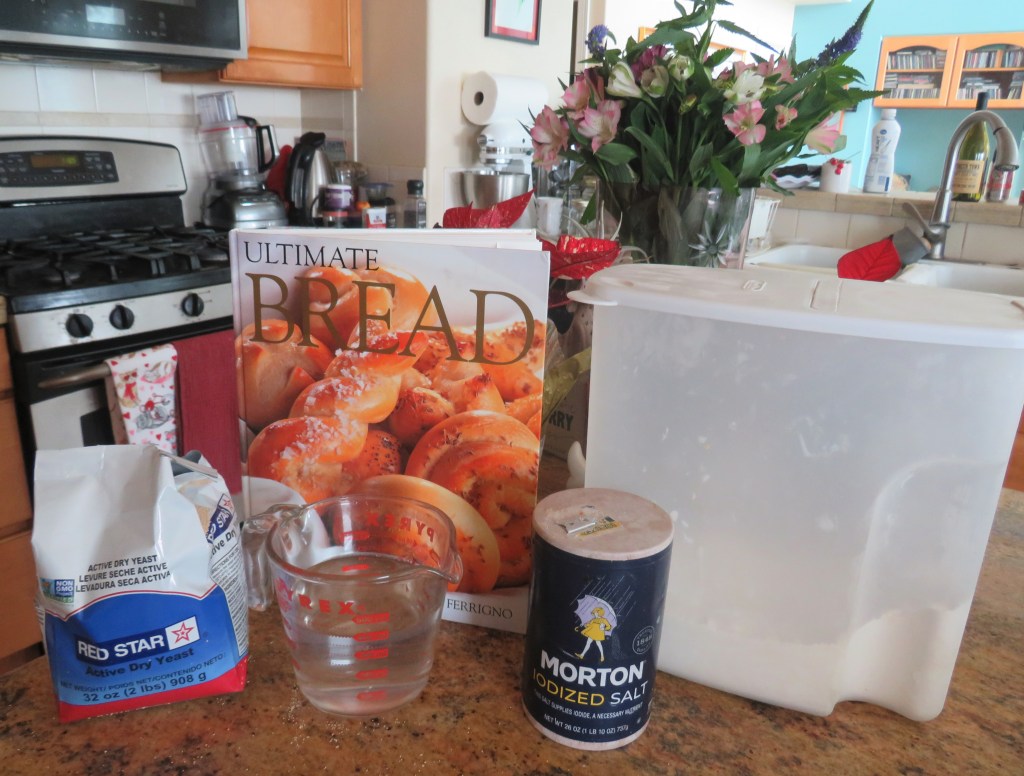
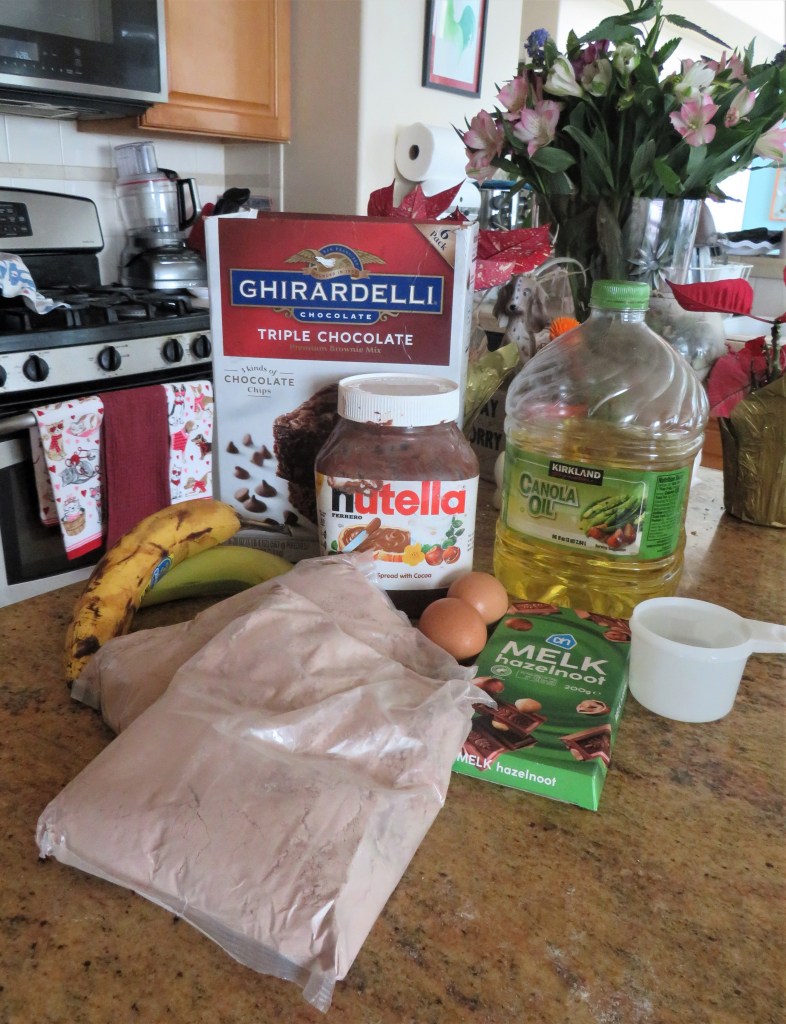
Once again, I cheated and used my Ghirardelli Brownie mix, but I will give you the full recipe. I love the Ghirardelli Brownies. They have been completely perfected, so why reinvent the wheel, right?!
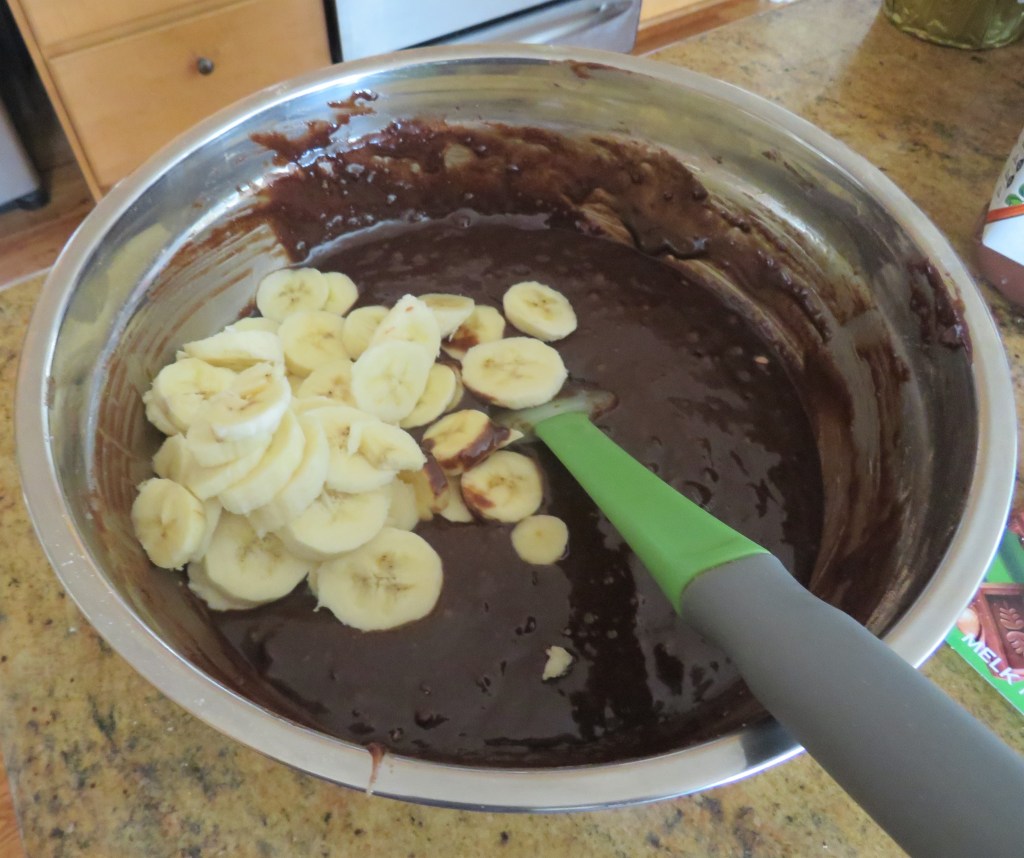
When baking with bananas, you want them freckled or even better, brown. That makes them nice and soft and flavorful and much easier to work with too.

Preheat the oven to 350* F or 180* C.
Spray cooking spray in a 9×13 baking pan.
3/4 cup butter
3/4 cup brown sugar
7 ounces dark chocolate, chopped
1 tsp vanilla
2 eggs, lightly beaten
2 ripe bananas, mashed or sliced
1 cup flour
1 tsp baking soda
1 tsp baking powder
2 TBSP cocoa powder
1/2 cup Nutella spread
1/2 cup chocolate chips
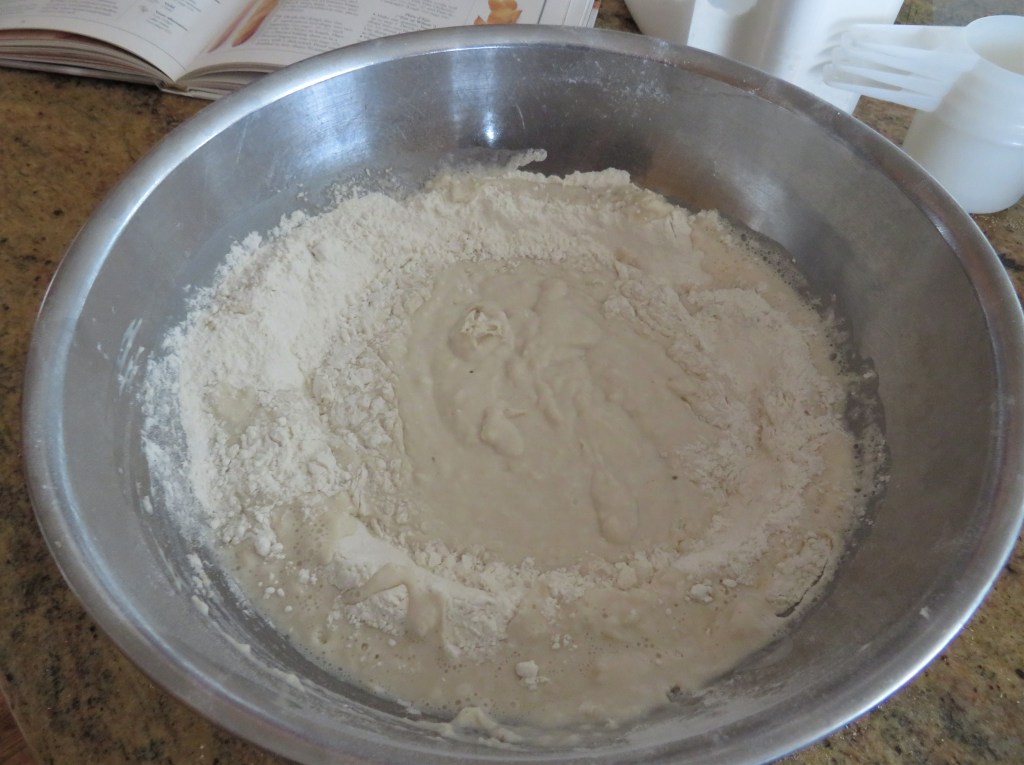
If you are making it from scratch, combine all your dry ingredients together and set aside.
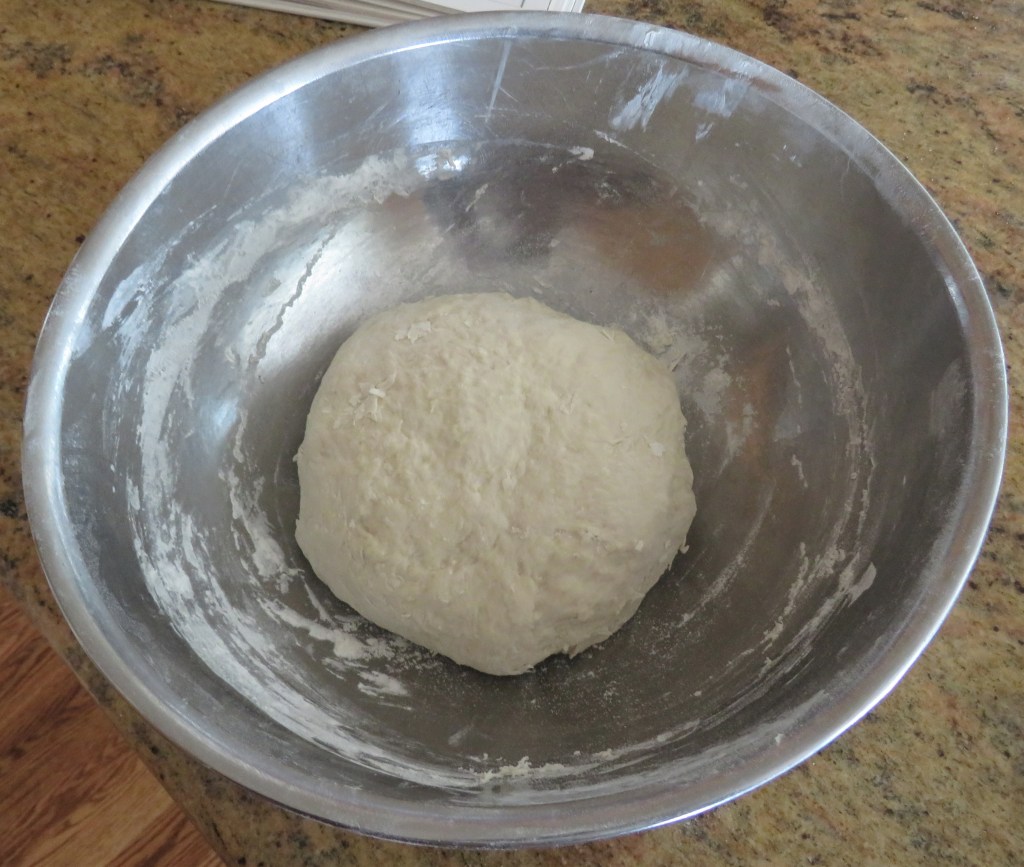
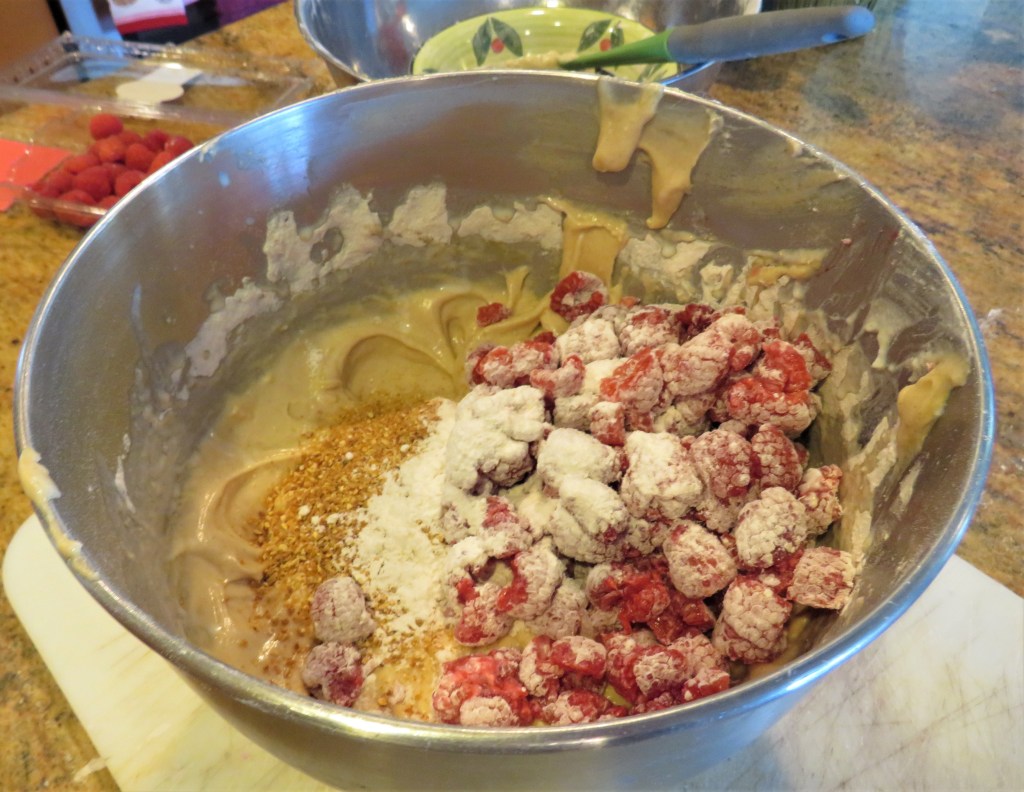
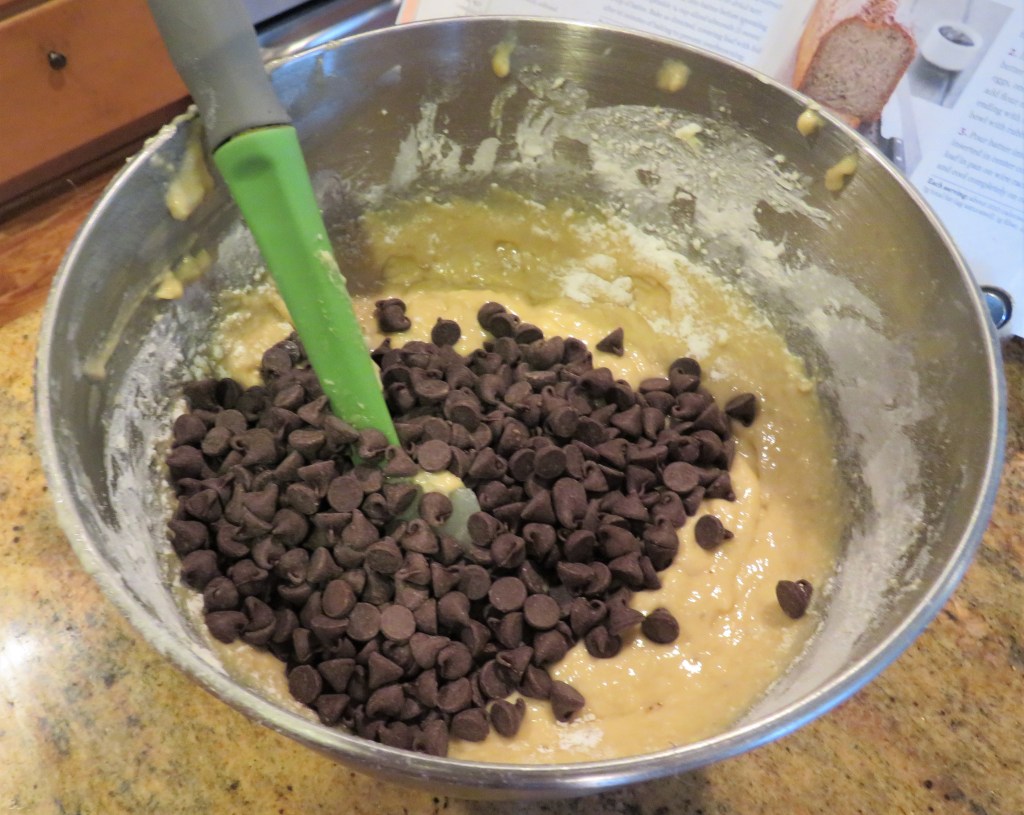
Melt the butter, brown sugar and chocolate together until smooth and creamy. Once it is all melted together, add the eggs and vanilla and mix well. Add to the chocolate flour mixture and add the bananas and chocolate chips. Gently fold together and spread evenly into the prepared baking pan.
I eliminated most of that though, t because since I cheated and used a mix. It was already done for me. As I have said many times before, if you have a good, reliable mix, there is nothing wrong with using that. You don’t always have to make everything from scratch all the time.
Once the batter is spread evenly in the baking pan, drop spoonfulls of the Nutella on top of the mix. Then take a a knife and swirl it into the mixture.
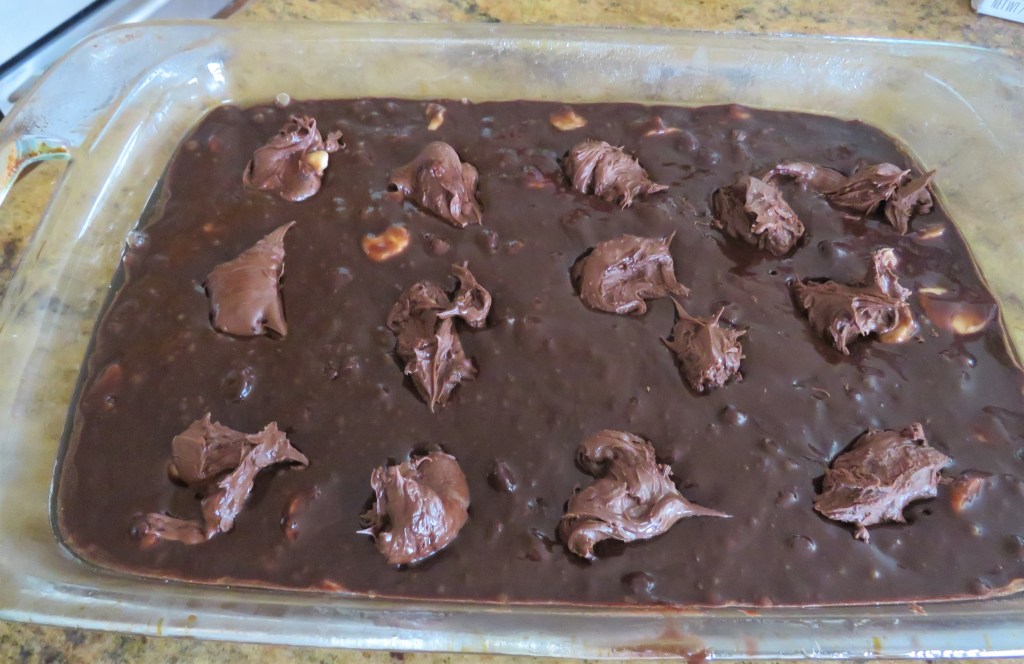
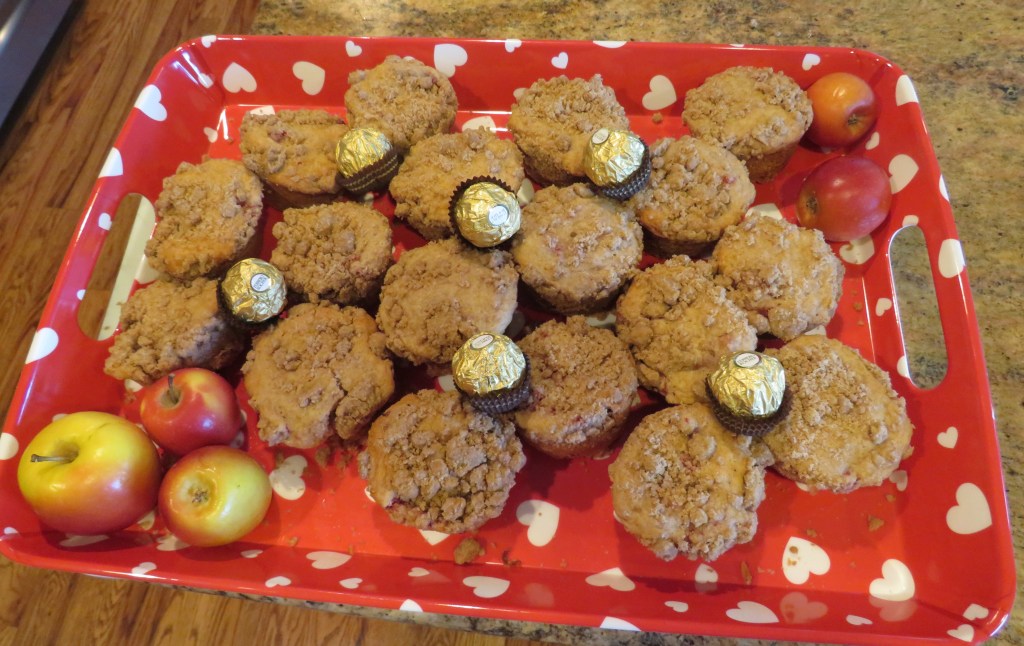
I just happened to have some chocolate with hazelnuts too, so I broke off small pieces and scattered them around on top of the brownies. This made them even more scrumptious.

Bake for about 35-40 minutes or until they are set and a toothpick inserted in the middle comes out clean. Allow the brownies to cool completely before removing from the pan and slicing to share with friends.
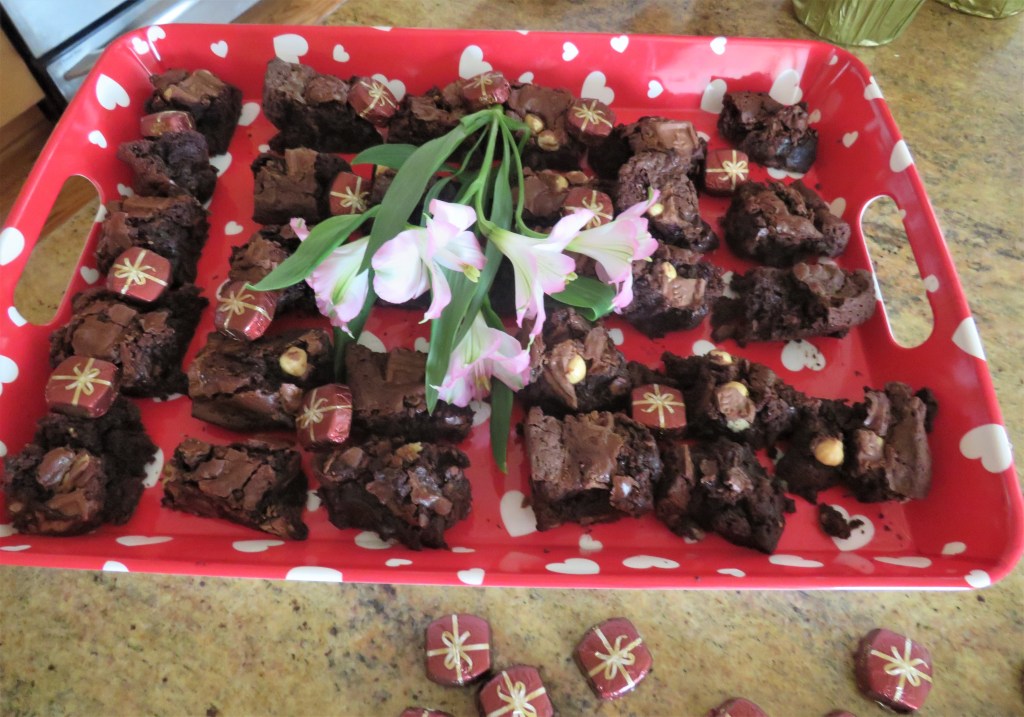
I heard so many comments of “YUMMY” and “SCRUMPTIOUS” today. They definitely brought a big smile to my face as I was watching everyone enjoy their brownies and lick their fingers clean. I even heard people say that normally they were not Nutella fans, but they loved these. My job here is done for the day. I left very content indeed. 🙂
Have a great day Everyone. Stay safe and stay well. ‘Til next time.