I have created this site to help people have fun in the kitchen. I write about enjoying life both in and out of my kitchen. Life is short! Make the most of it and enjoy!
Author: ajeanneinthekitchen
I have worked in the restaurant and catering industry for over 35 years. I attended 2 culinary schools in Southern California, and have a degree in culinary arts from the Southern California School of Culinary Arts, as well as a few other degrees in other areas. I love to cook and I love to feed people.
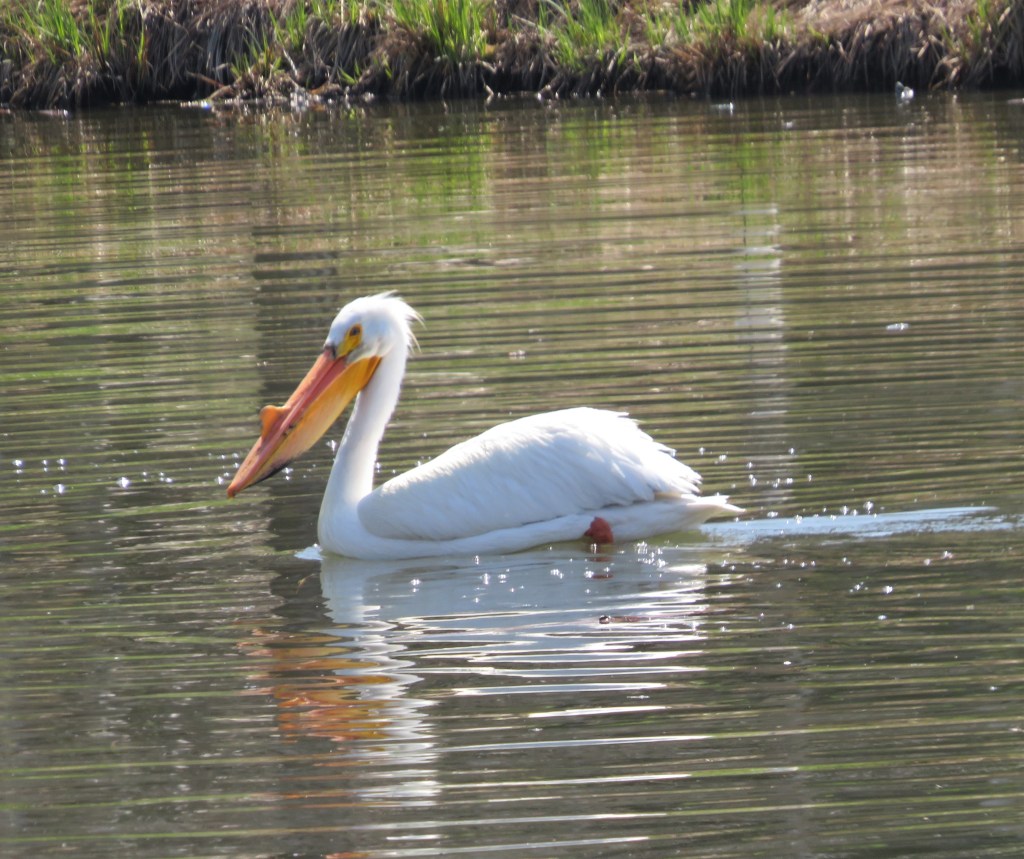
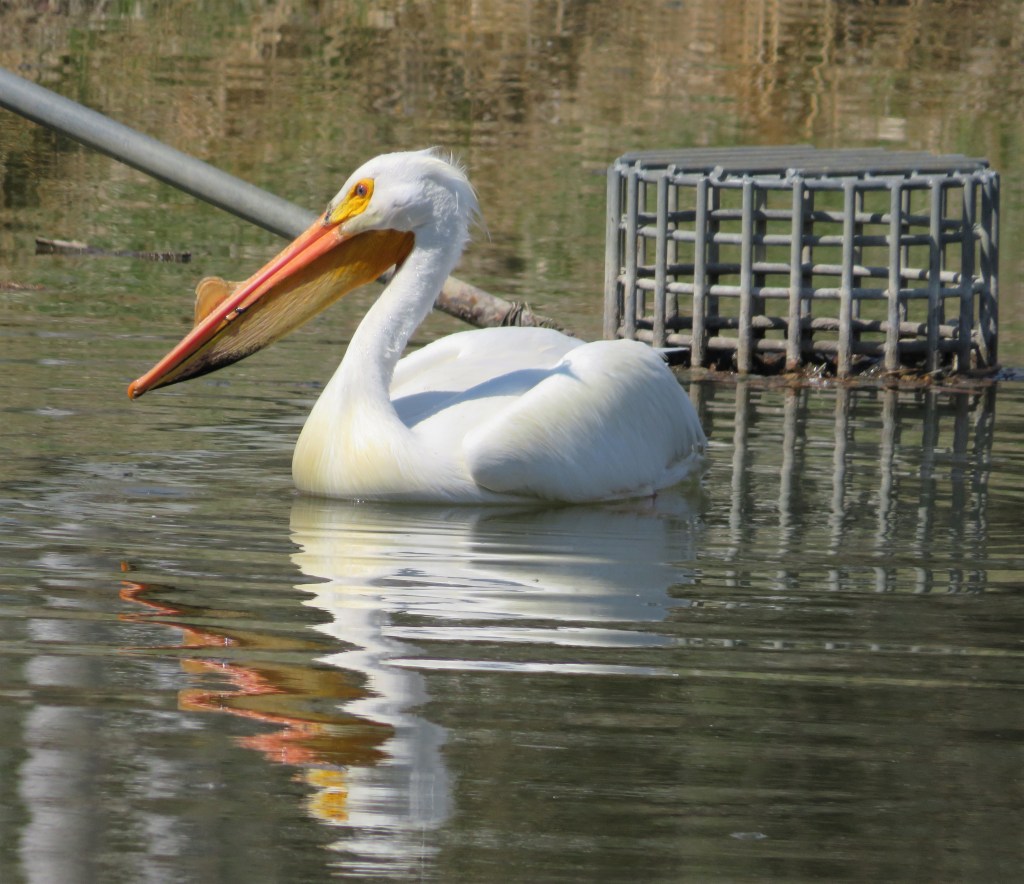
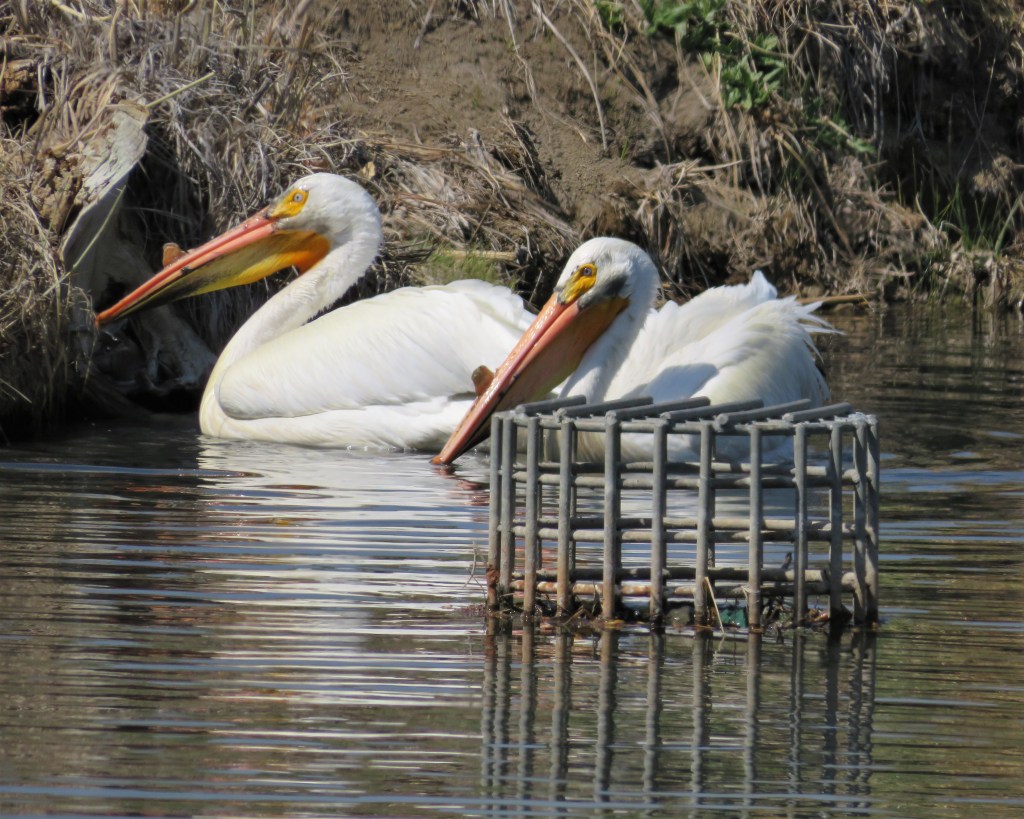
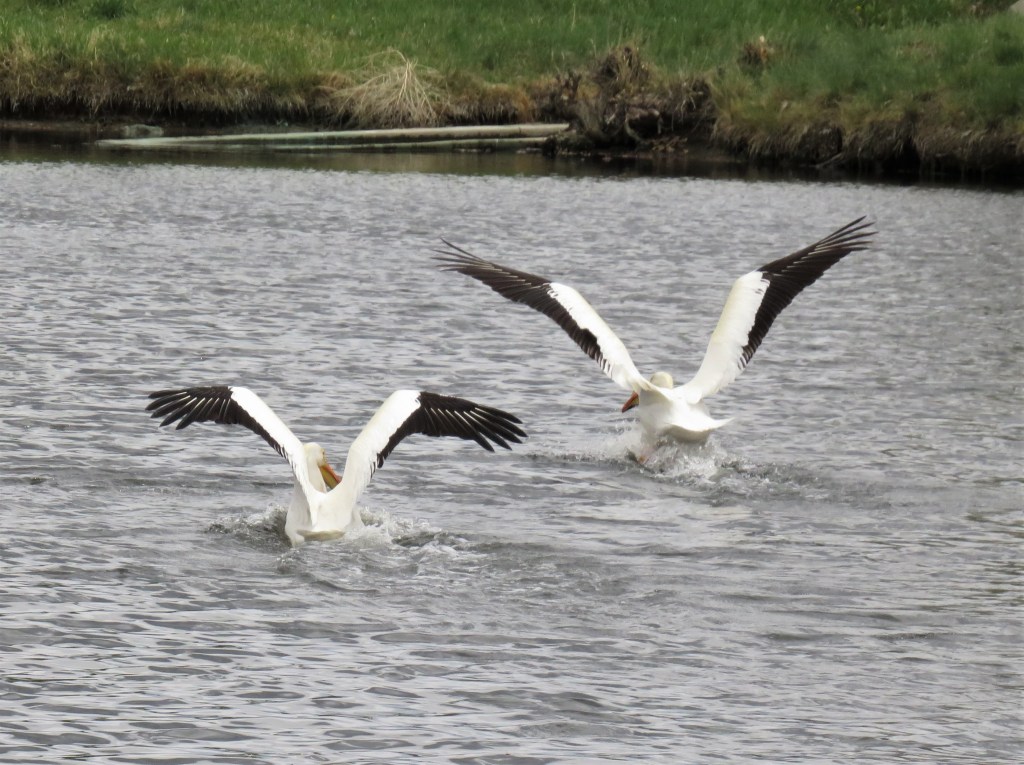
It is pelican season and they are definitely loving it here. And I am loving having them being here too. I never get tired of seeing all of our beautiful and BIG Pelicans. They are always spectacular to see.
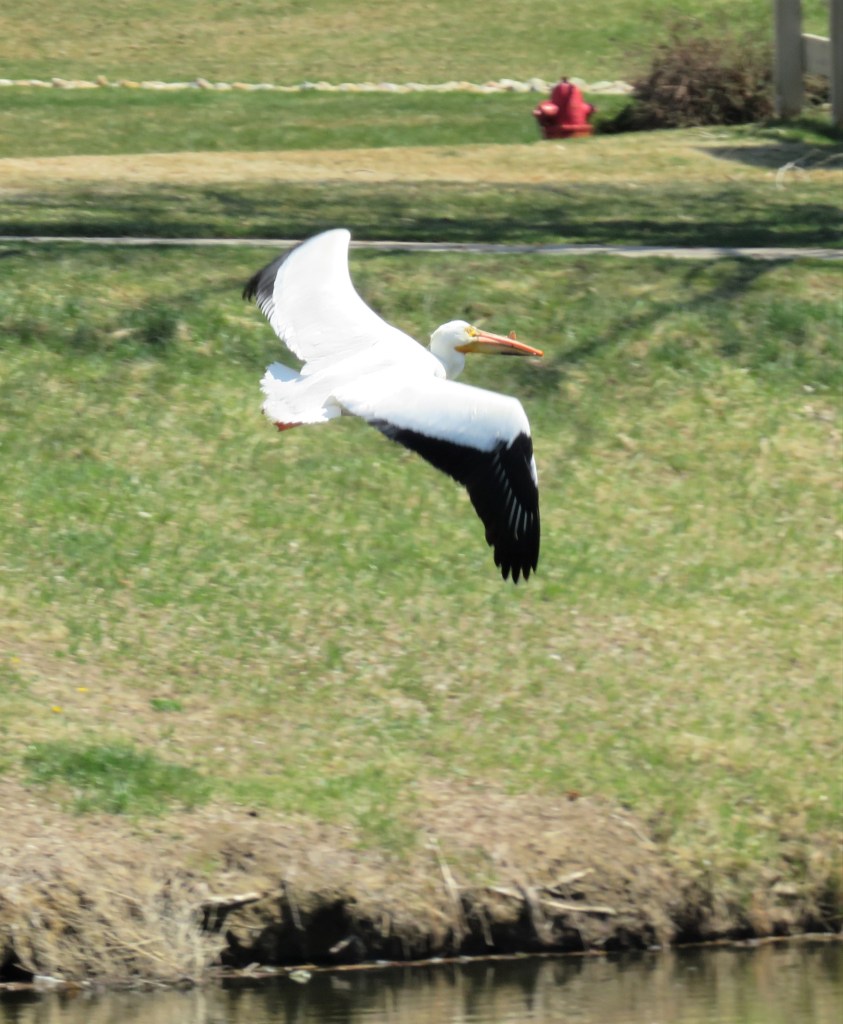
These were just very lucky shots. Getting good pictures of birds in flight is literally just about being in the right spot at the right time, and just clicking away in the hopes of getting at least one good shot. You never know how the shots will turn out.
Have a great day and make everyday great. Stay safe and stay well. ‘Til next time.
I may or may not be able to post tomorrow, but I will for sure be taking a small break for the rest of the week. We have friends coming in from California today and then we are all taking a small road trip out to the western Slope, or western Colorado. Mike and Lauren will be joining us as well. The 6 of us will be taking in some of the wineries and a lot of the famous sights over in the western portion of the state, and even venturing into a tiny portion of Utah, to Moab, for the Arches National Park.
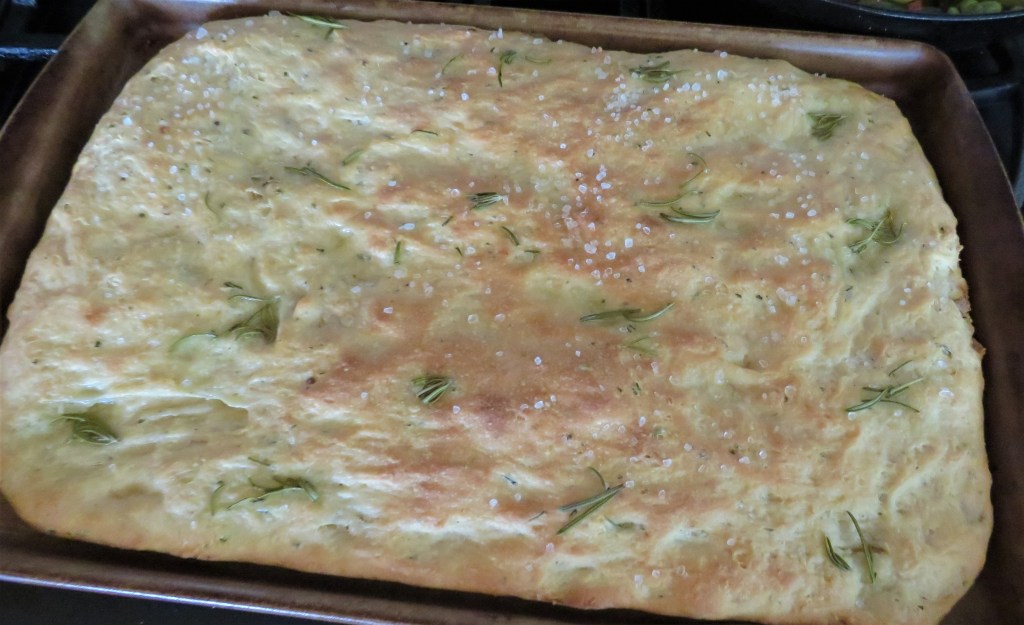
MMMMMM bread!!!!!! I can easily make a meal out of nothing but bread, and have many times too. As long as I have enough butter or olive oil, I could easily live on bread alone. 🙂 That being said, I made a delicious rosemary focaccia to go with my Southwestern Succotash Steak Salad. Southwestern Succotash and Steak Salad It was a perfect accompaniment to the delicious salad.
I think I enjoy baking all different kinds of breads as much as I enjoy eating all different kinds of breads. There is something very comforting about making breads to me. I tend to bake more breads in the winter and cooler months than I do in the warmer summer months, although to every rule there is an exception.
Focaccia is a flat leavened oven-baked Italian bread, similar in style and texture to pizza, and in some places, it is even called pizza, pizza bianca. Focaccia can be served as a side dish or as sandwich bread and it can be round, rectangular, or square shape. It is a yeasted flat bread. Focaccia is good anytime, but it is definitely best when served warm, not hot, but warm, dipped in even more olive oil. I say even more, because it is made with quite a bit of olive oil.
Focaccia does not get stale easily due to the high quantity of olive oil and other herbs, while traditional bread does. Regular bread is less expensive and has less gluten than focaccia. Most focaccia breads are dimpled. This is to reduce the air in the dough and prevent the bread from rising too quickly.
Rosemary Focaccia
I started off with a basic focaccia dough, then added the rosemary, both in the dough and on top. This delicious bread only takes a few basic ingredients too.
Start With A Sponge
1 tsp dry active yeast
1/2 cup warm water
3/4 cup flour
Whisk the yeast and water together and let rest for about 10 minutes, or until it gets frothy. Add the flour and let it rise for about 45 minutes.
Dough
1 tsp dry active yeast
1 cup warm water
3 TBSP olive oil
the sponge
3 1/4 cups flour
2 tsp salt
3-4 TBSP fresh rosemary chopped fine
Topping
1 1/2-2 TBSP olive oil
coarse sea salt
sprigs of fresh rosemary, cut very small
To make the dough, once again, mix the yeast with water and let it get frothy for about 10 minutes. Combine the flour salt and chopped rosemary and make a well in the center. Add the water and yeast combination, along with the sponge and the olive oil and slowly start mixing it all together.
On a lightly floured surface knead the dough for about 8-10 minutes or until it forms into a soft dough ball. The dough will be very soft. Add about 1 TBSP of olive oil to a large bowl, add the dough ball and cover to let rise for about 1 1/4 hours, or until the dough has doubled in size.
Once the dough has doubled, place it on a baking sheet. Get your hands wet with just a little water and slowly spread the dough out to cover the pan. You may need to let the dough rest for about 10 minutes.
Let the dough rise once again for about 1 hour or until the dough is full of air bubbles.
Preheat the oven to 425*F or 219* C.
Once the dough is ready, dimple it with your fingers, by just kind of lightly punching it down with your finger tips. Add the olive oil to the top and spread it to completely cover the top of the bread. Add the small rosemary sprigs and sprinkle with the coarse salt.
Bake for about 25-30 minutes, or until the focaccia is golden brown and the crust is a little crispy around the edges. Spray some water into the oven 3 times within the first 10 minutes of baking. Let it cool for about 10 minutes before slicing it and serving it. Focaccia is best served warm. !Mangia! !Buon Appetito!
Have a great day and make everyday great. Stay safe and stay well. ‘Til next time.
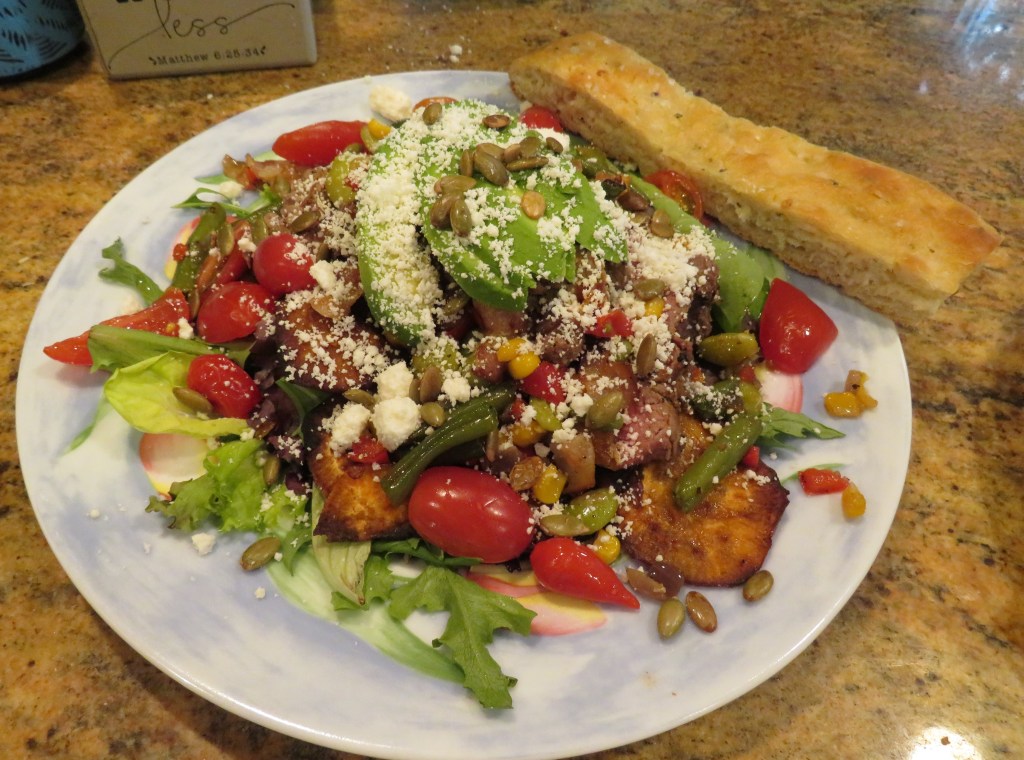
It was another steak night and it was also another salad night. I LOVE a good steak salad. This deliciously colorful salad was loaded with all kinds of good vegetables too. I counted them up and I think I counted 9 different vegetables I used for this salad. We shared this deliciously colorful salad with our friends Julia and Bruce. Yes, our very own Julia from http://retirementrvdream.wordpress.com/ We all enjoyed our dinner out on the deck, where over dinner we caught up with each other and had a great time.
Southwestern Succotash Steak Salad
There is a lot of alliteration in this name, for all you English majors out there. Yes, that includes me as well. 🙂
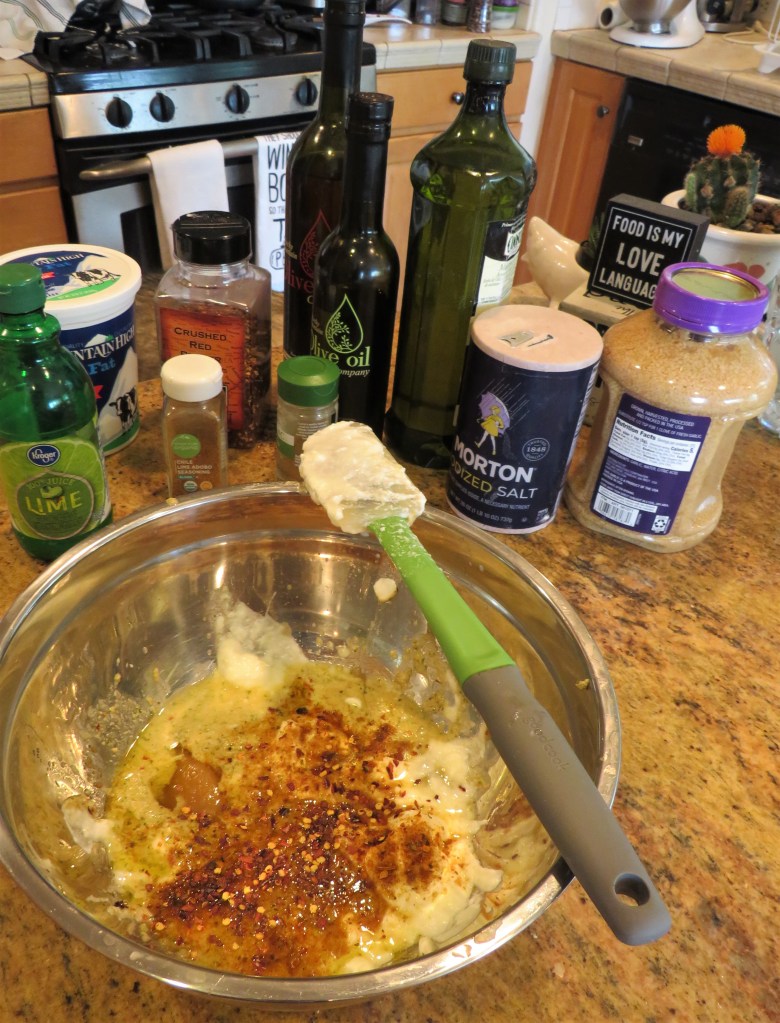
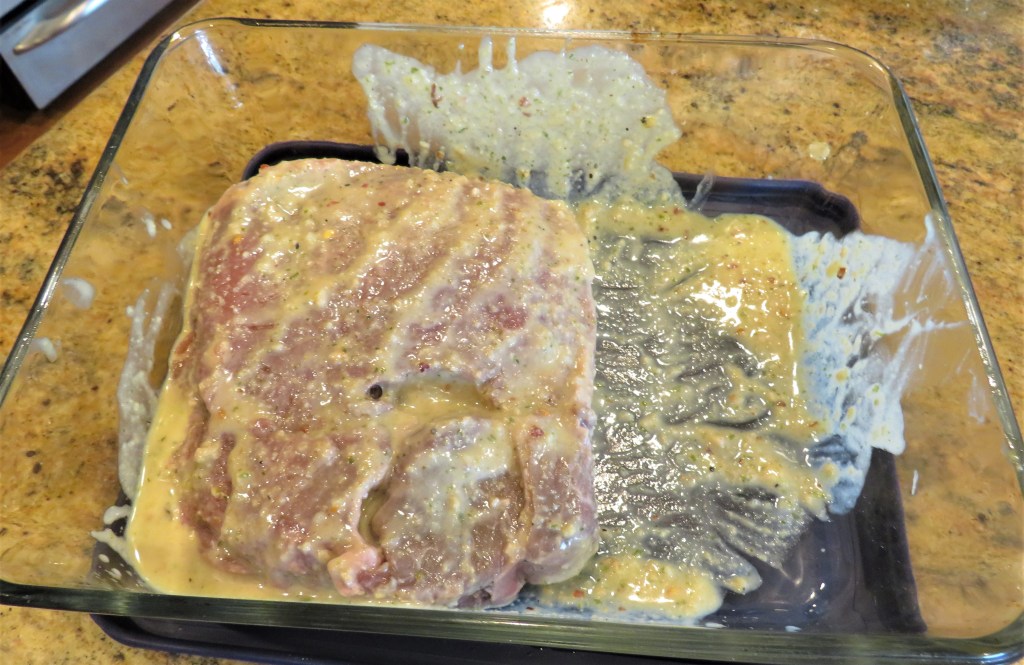
I made the dressing first because I also used it as the marinade for my steak.
The Dressing
1/2 cup yogurt
2 TBSP olive oil
2 TBSP lime olive oil
3 TBSP lime juice
3 TBSP lime balsamic vinegar
1 TBSP honey
1 TBSP garlic
1 tsp cumin
1 tsp chili lime seasoning
red pepper flakes to taste
1/3 cup fresh cilantro, chopped fine
Whisk everything together and marinate your steak in it as well as setting it aside for your salad dressing later.
The Salad
mixed baby greens
2 cups corn
1/2 cup bacon crumbles, optional
2 cups green beans, cut into pieces about 1/2 inch in size
1/2 red bell pepper, diced fine
1/3 cup Peruvian peppers, optional
1/2 red onion, diced fine
2 cups lima beans
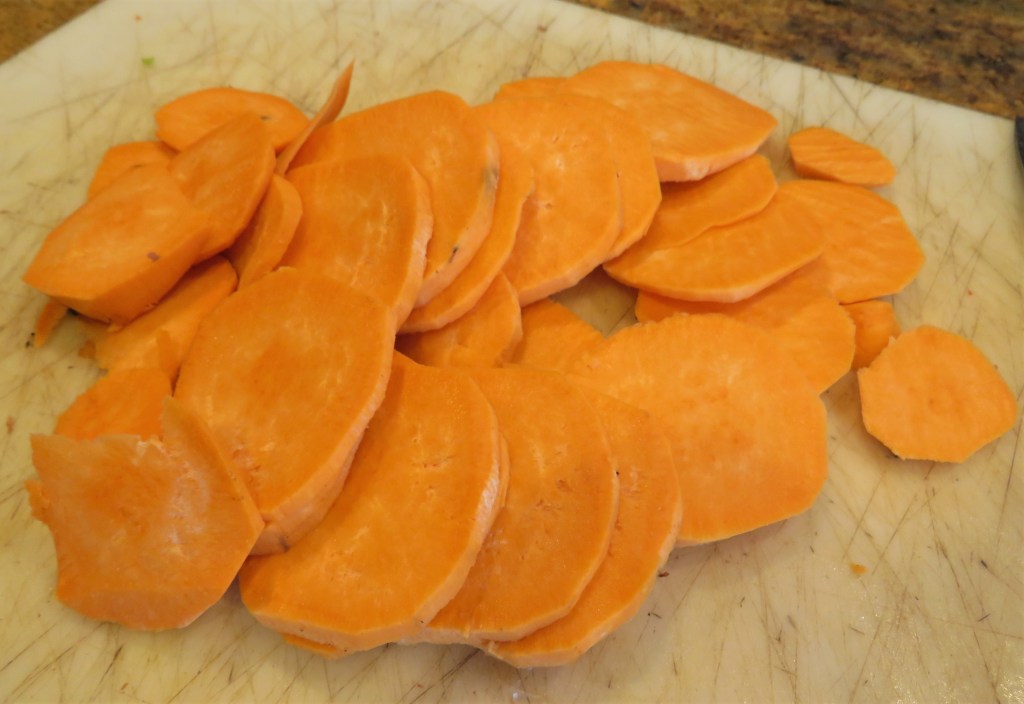
1-2 sweet potatoes, cut into thin round slices, pan-fried
Boil the green beans, corn and lima beans together for about 5-7 minutes, or until slightly tender, then drain.
In a hot skillet, saute the red peppers and red onions, and bacon if using, for about 2-3 minutes, then add the corn, green beans and lima beans. Continue to cook for an additional 3-5 minutes, stirring often. Add the Peruvian peppers, if using, at the very last minute. They are pretty delicate and don’t hold up to the heat very well.
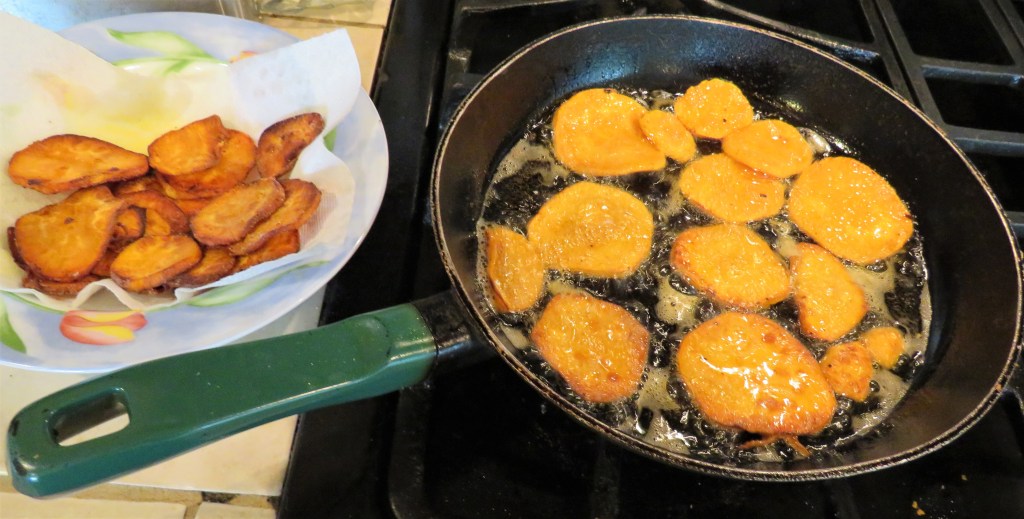
In a separate very hot skillet, add a combination of both olive oil and butter, then carefully add the sliced sweet potato slices. Do not over crowd them and cook them in batches if needed. Cook for about 3-5 minutes per side, or until lightly browned and slightly crispy. Drain them on a paper towel. You can add a little salt too if you like.
Start layering your salad, starting with the mixed greens, followed by a layer of the sweet potatoes, then some of the succotash. Slice the steak into thin strips, and add, followed by another layer of succotash. Top it all off with any combination of avocado slices, pepita seeds and/or Cotija cheese. Julia was the only one who had all three. Bruce and I both had the avocado slices and pepita seeds, whereas Larry only had the Coitja cheese. Then dress it all up with the dressing. I served it all with some fresh rosemary focaccia on the side, abd red wine, since after all, it was steak . It was all a big hit. We all thoroughly enjoyed this very tasty and colorful and healthy salad and all the good times shared around the table. !Delicioso!
The salad was very good, and is a definite do-over, but the best part of the evening was sharing it with our good friends, Bruce and Julia. 🙂 After dinner, we all played games and laughed away the evening.
Have a great day and make everyday great. Stay safe and stay well. Enjoy all the friendships that come your way. Our friendships are precious gifts. ‘Til next time.
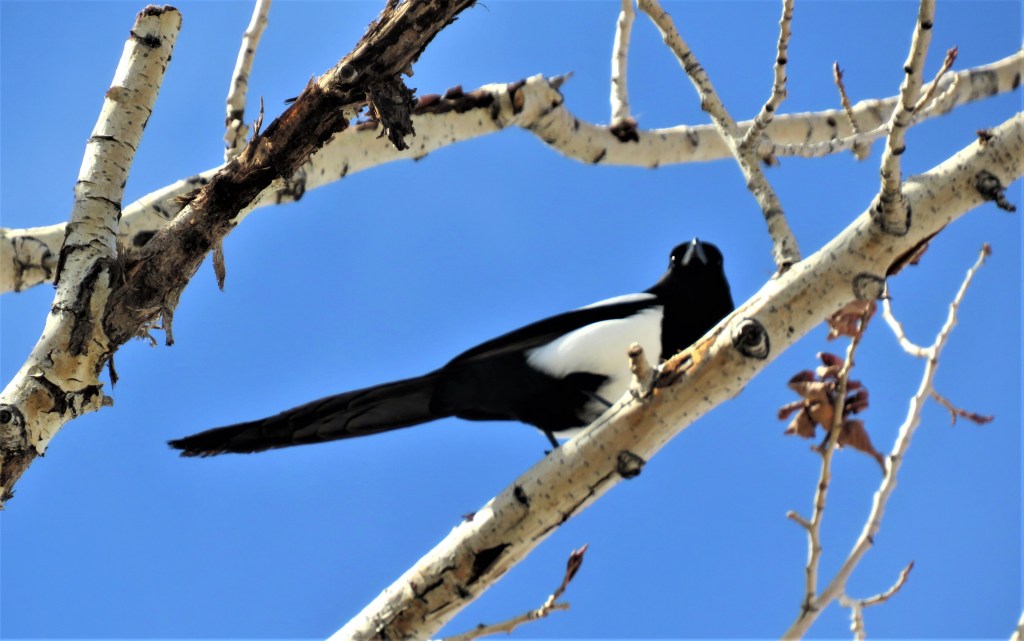
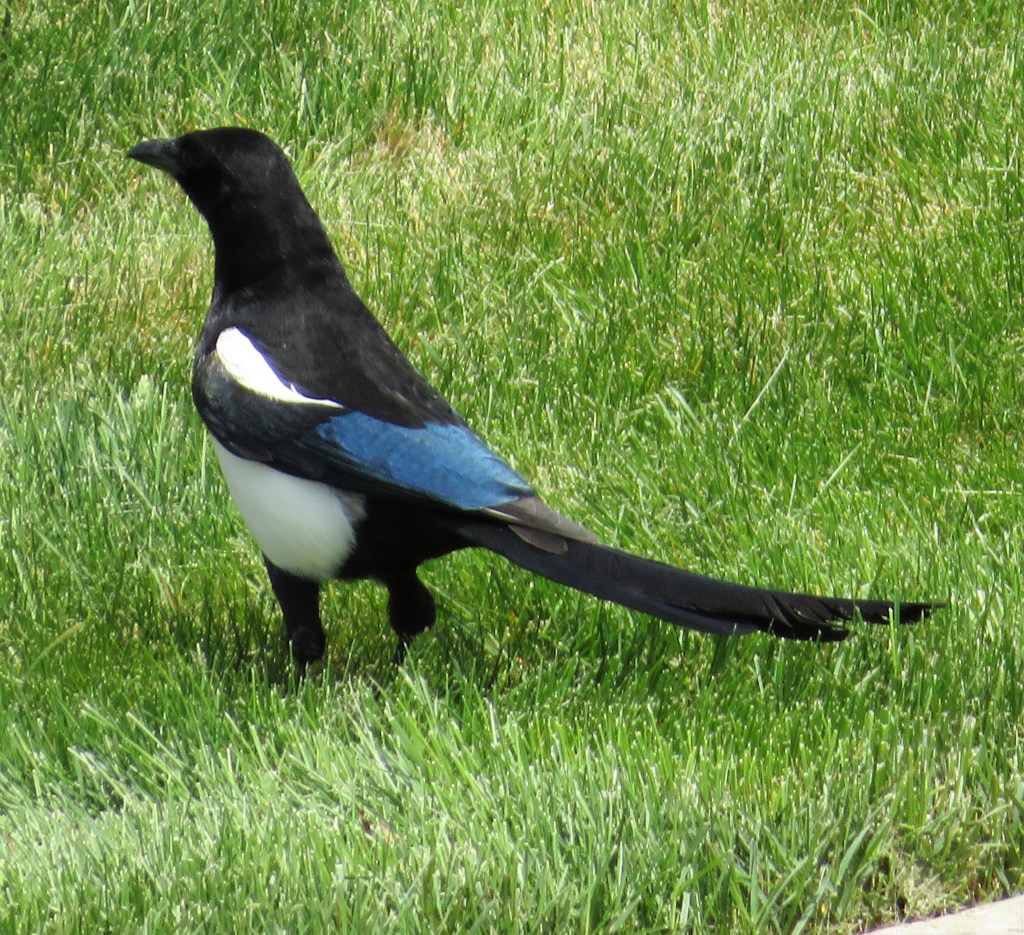
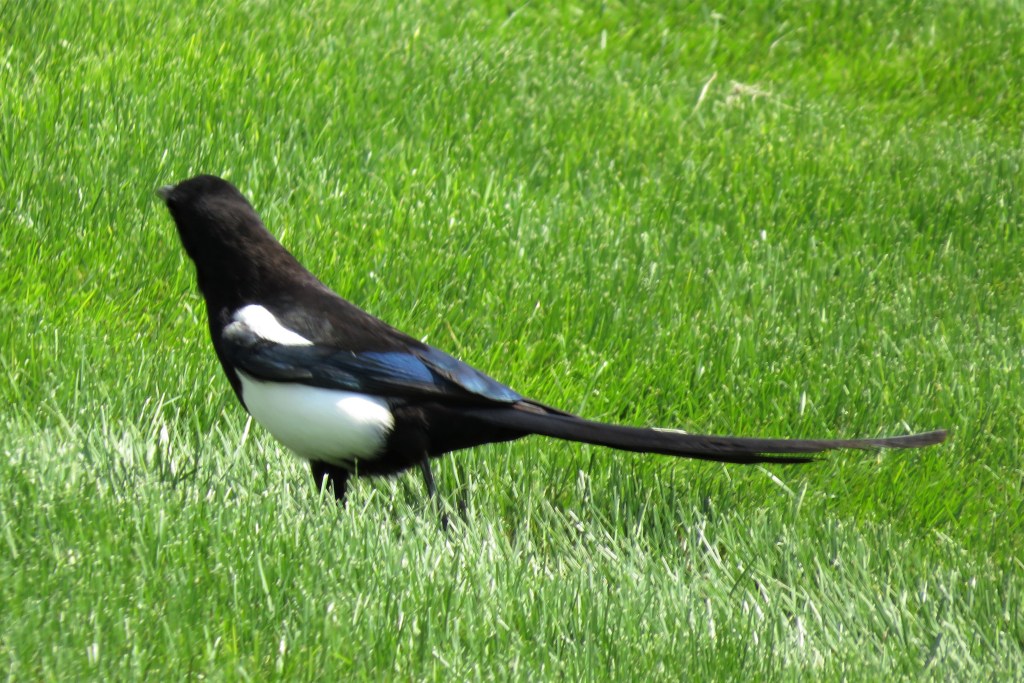
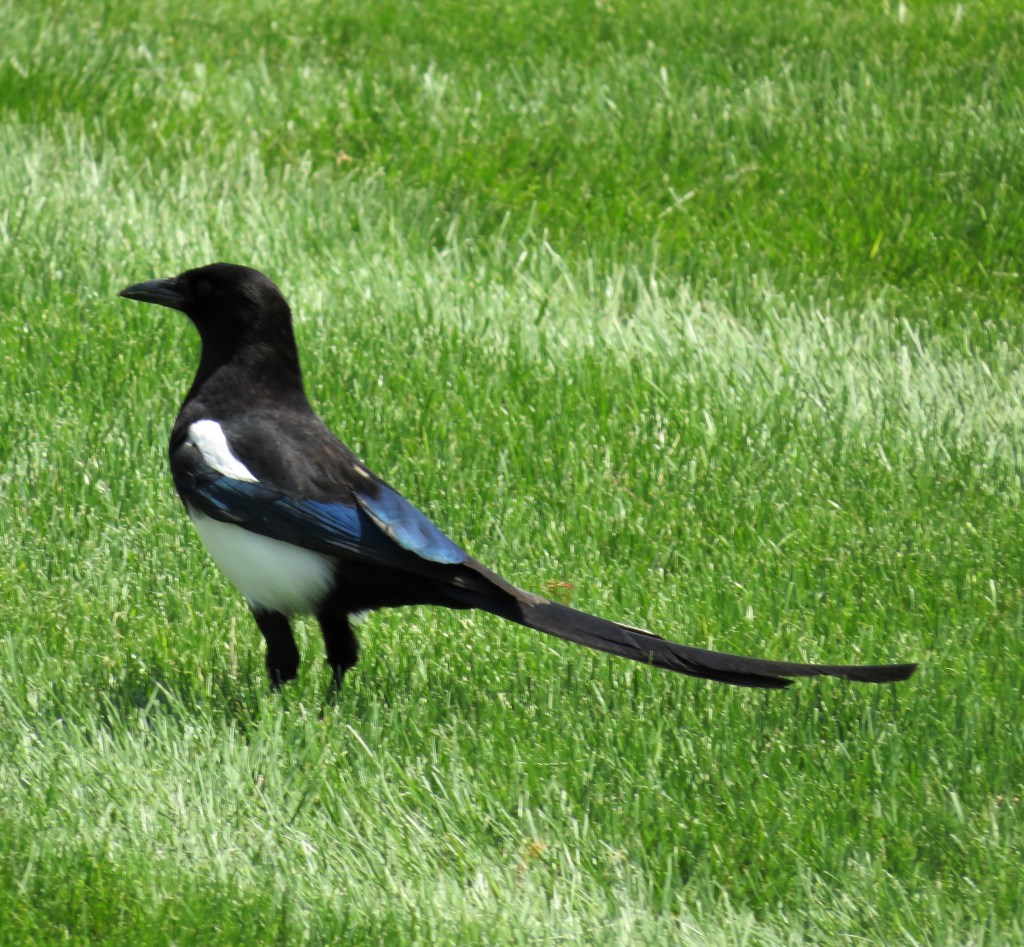
I love our beautifully colored black and blue magpies. They are found everywhere, and call Colorado home year round, though they seem to come out more in the spring and summer months. I have been seeing a lot of hem lately and I love every minute of it.
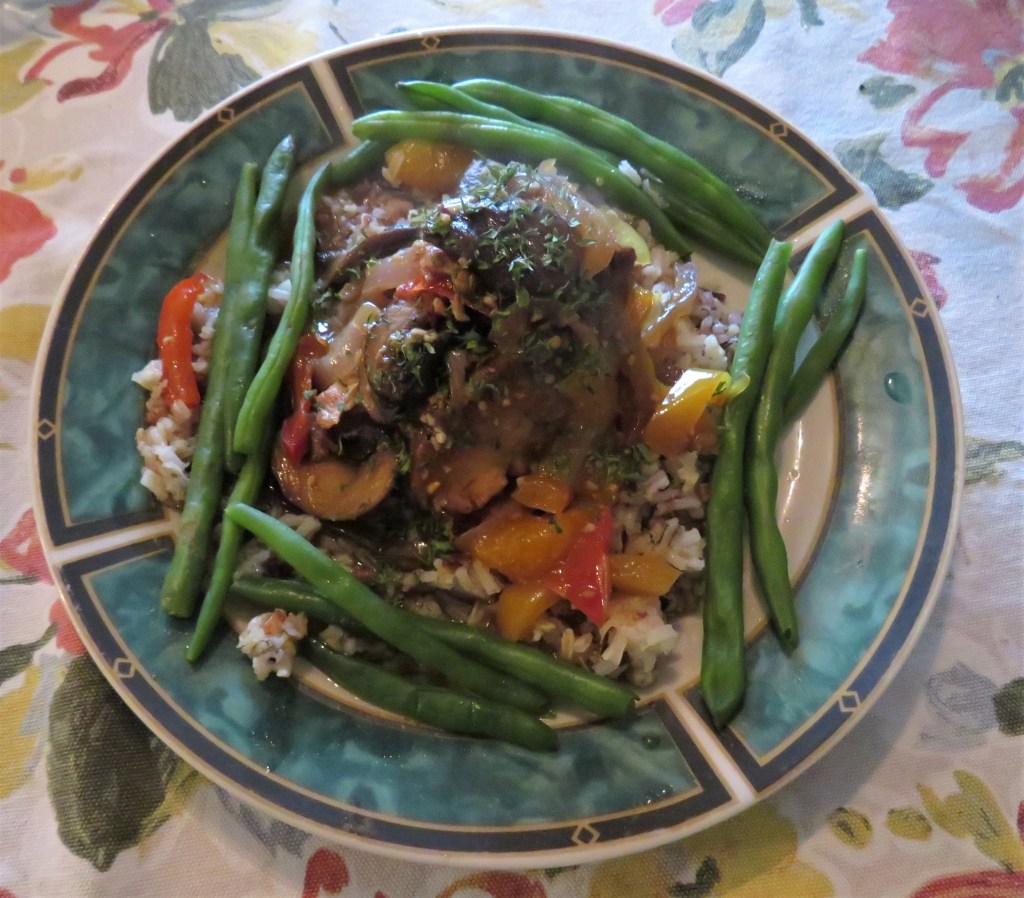
We all live very busy lives, yet we want good home cooked meals too. Sometimes the best way to blend these two realities is to bring out the slow cookers and go live life. I did just that and made a slow cooked chicken with a sweet and sour orange and mushroom sauce. I served it over wild rice with green beans on the side and a dry white wine to complete the meal. Delicious!
With the sweet and sour sauce, this chicken dish had a little bit of an Asian vibe to it.
Chicken with Oranges and Mushrooms
1-2 lbs chicken breast
1-2 TBSP flour
salt and pepper to taste
1 1/2 tsp paprika
1-1 1/2 cups sliced mushrooms
1/4 sliced onions
1/4 bell pepper, any color is fine, sliced into thin matchsticks
1/2 cup orange juice
red pepper flakes to taste
2 TBSP orange balsamic vinegar
1 TBSP garlic
1 1/2 tsp brown sugar
1/2 can of Mandarin orange segments
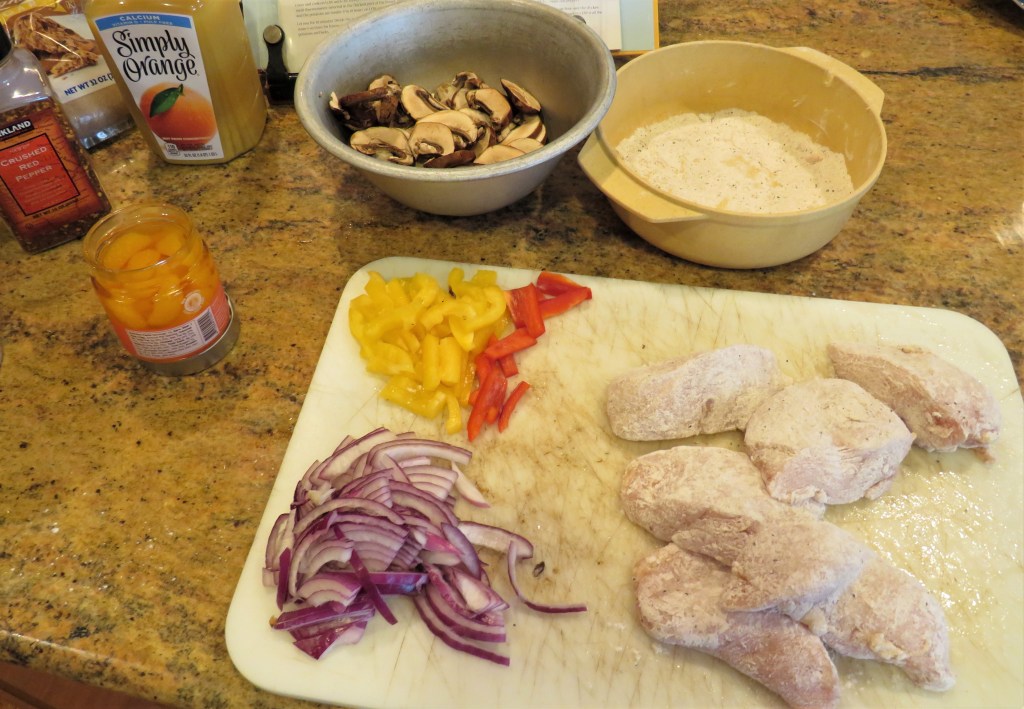
Combine the flour, salt, pepper, and paprika together and coat the chicken. I cut my chicken into smaller pieces.
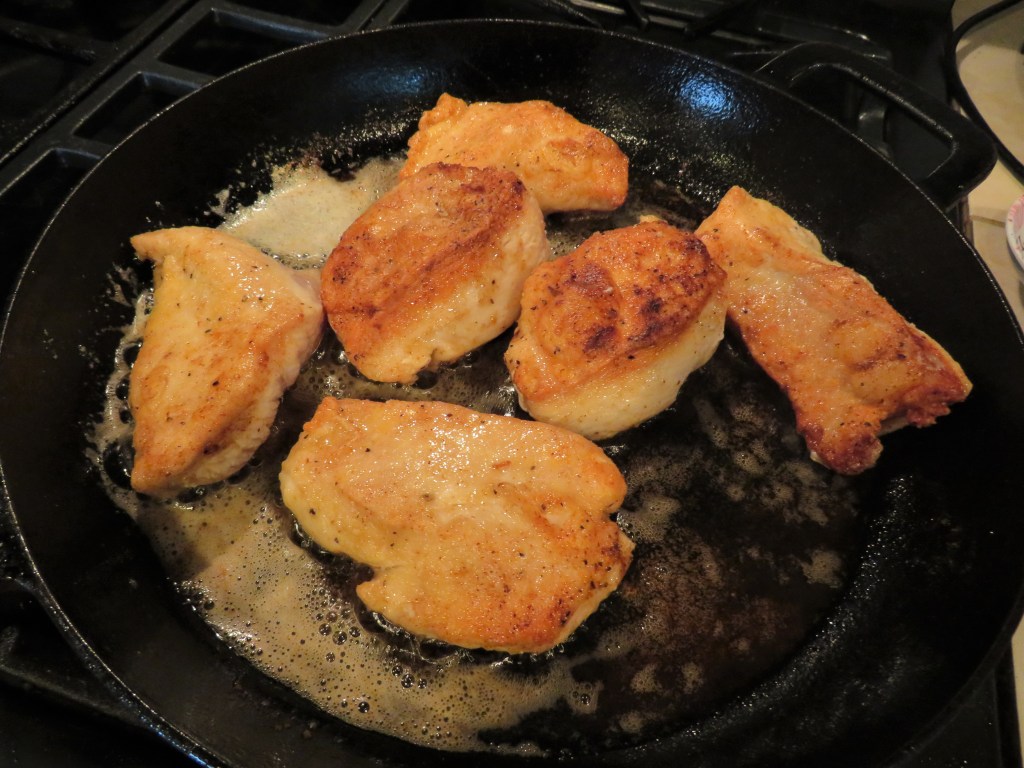
Get a skillet very hot and add a combination of butter and olive oil or sesame oil to cook the chicken. Cook for about 4-5 minutes per side or until it is completely browned.
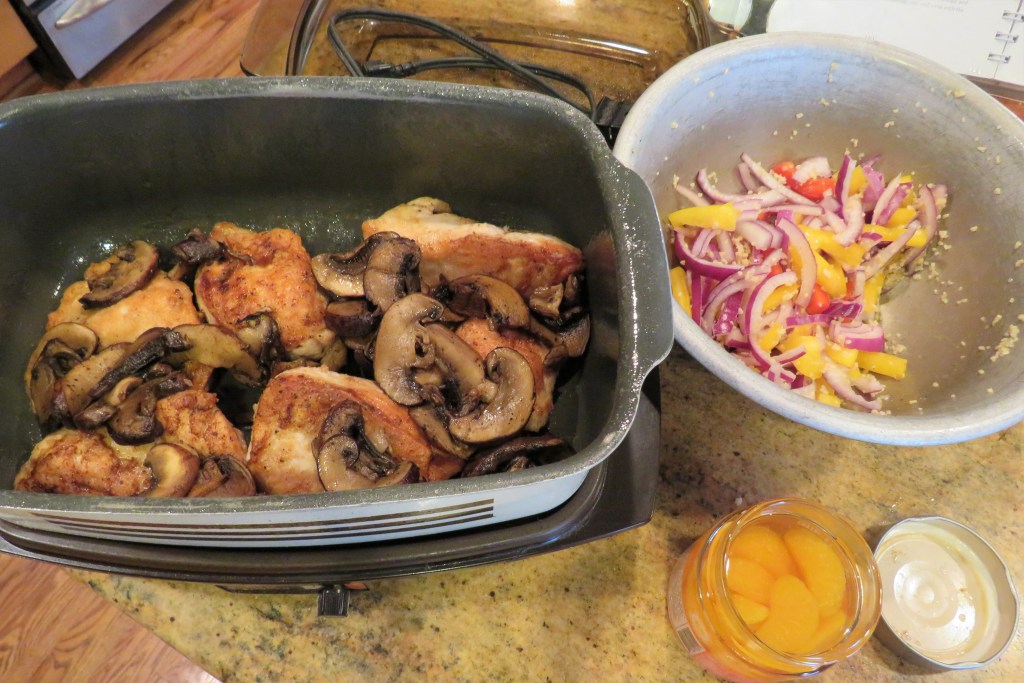
Remove and add to the slow cooker, which has been sprayed with cooking spray.
Add the mushrooms to the butter and oil and saute for about 3 minutes, or until browned, then add on top of the chicken pieces.
Combine the peppers, onions, garlic and oranges and add on top of the mushrooms.
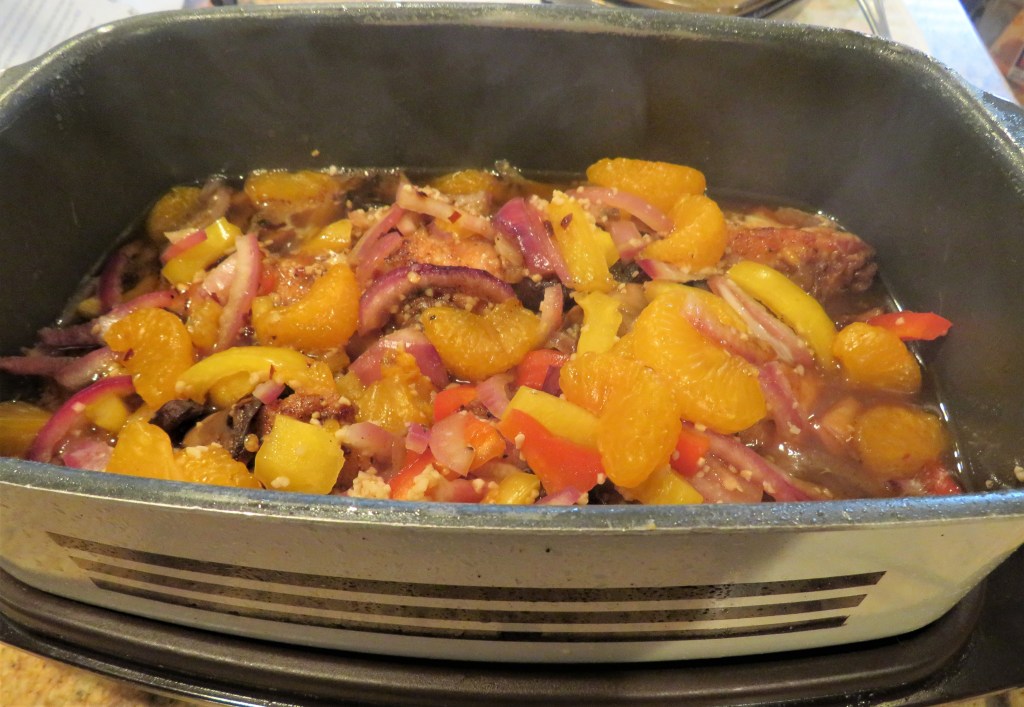
Combine the orange juice, brown sugar and balsamic vinegar and pour over the chicken and vegetables.
Then depending on how long you want to go out to do other things, you can either cook this on high for about 3-4 hours or at a low temperature for about 10-12 hours. Either way, it is going to make your house smell so good and the chicken and vegetables will come out so tender and full of flavor.
Cooking dinners in the slow cooker is sometimes the best of two worlds. You are not missing out on any of life’s adventures, but you are also still able to enjoy a good home-cooked meal too. Perfection! Whoever created the slow cooker was a genius. 🙂
Have a great day and make everyday great. Stay safe and stay well. ‘Til next time.
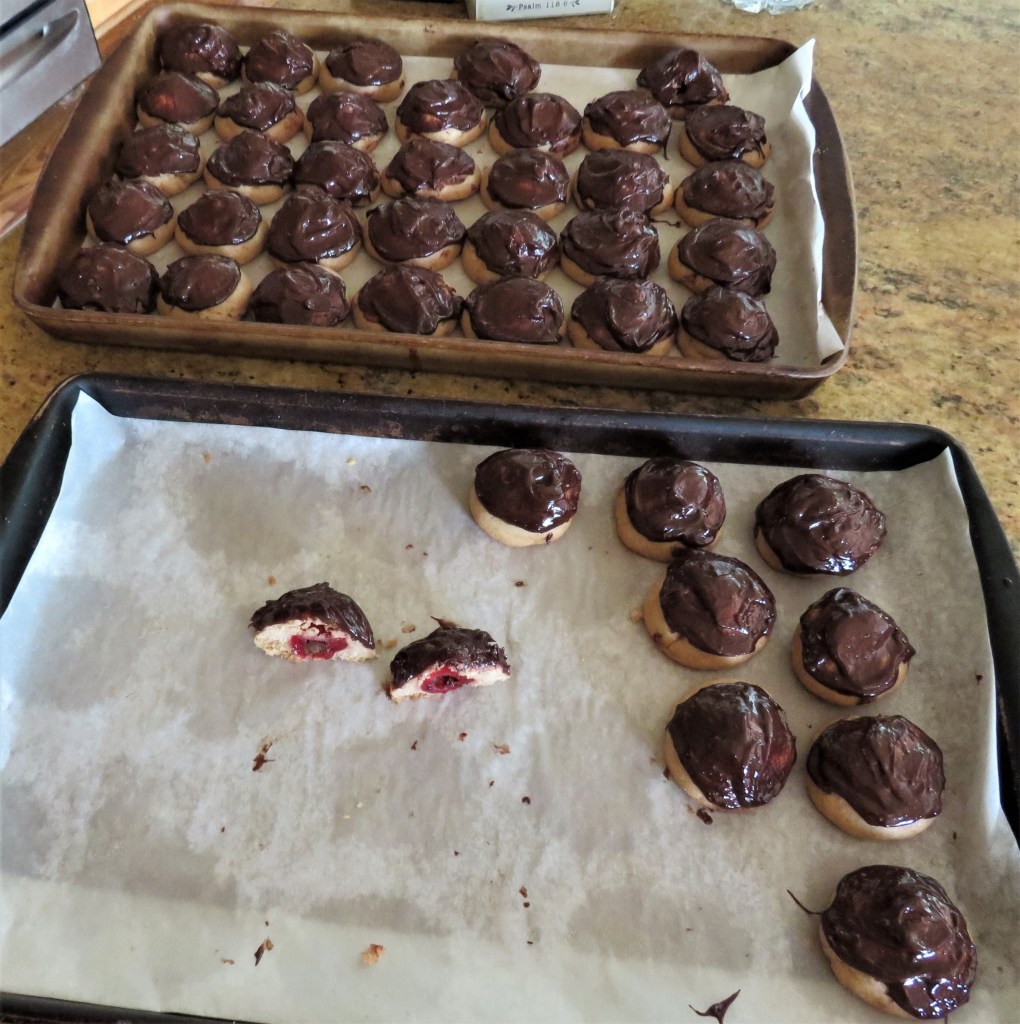
There is something just magical about the combination of cherries and chocolate. It’s like a match made in heaven. Chocolate and cherries are one of my favorite combinations. I paired them up again, only this time instead of using fresh cherries, like I normally do, I used maraschino cherries instead.
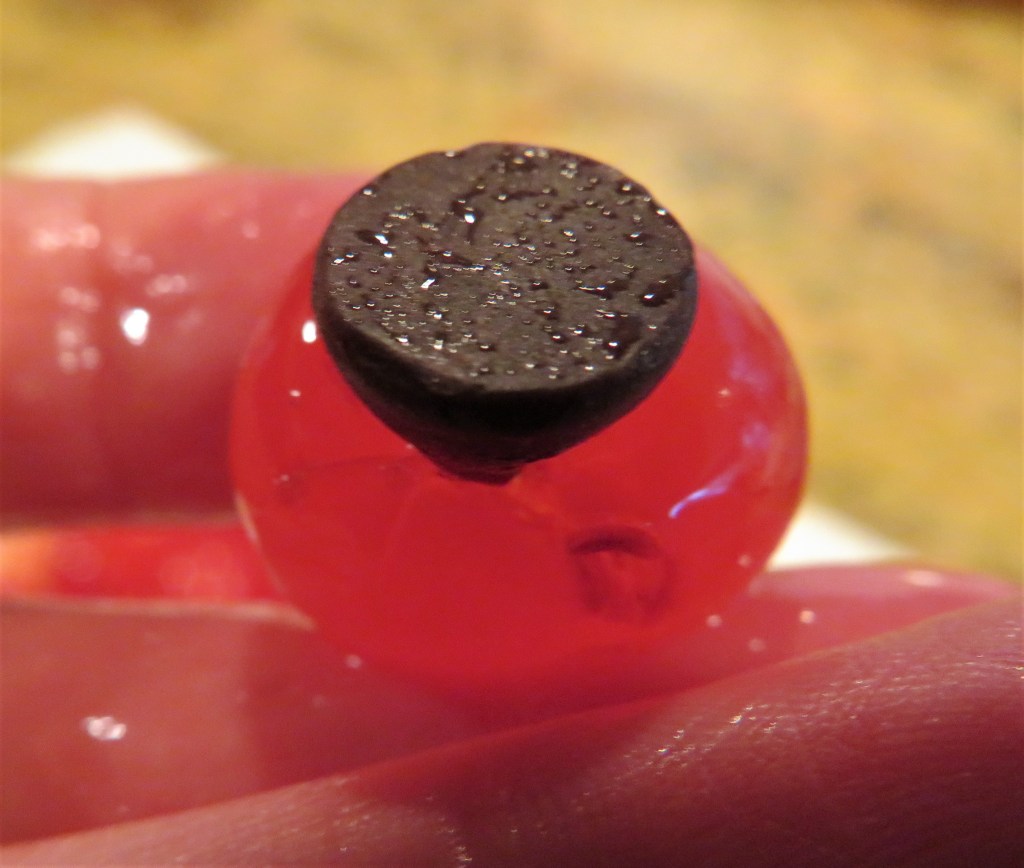
These cookies were full of cherries and cherry flavorings as well as chocolate. Each cookie was stuffed with a maraschino cherry that was stuffed with a chocolate chip. So each bite was a cherry chocolate explosion. YUM!
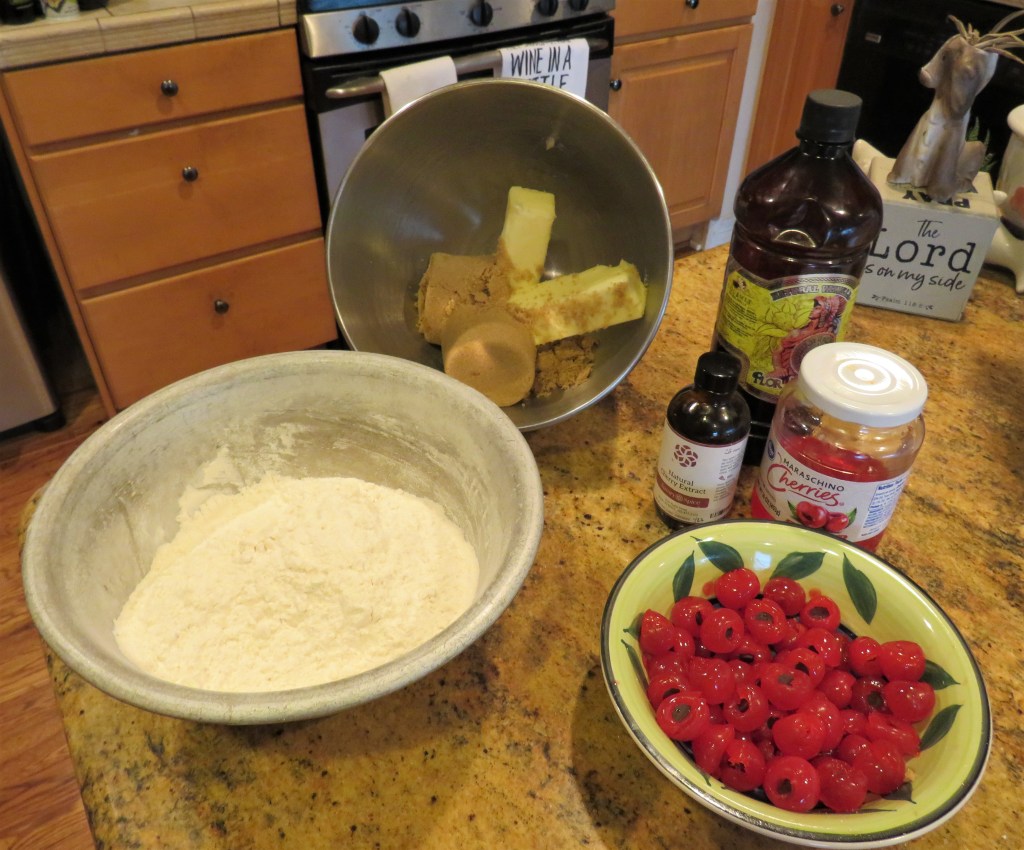
Chocolate Cherry Bombs
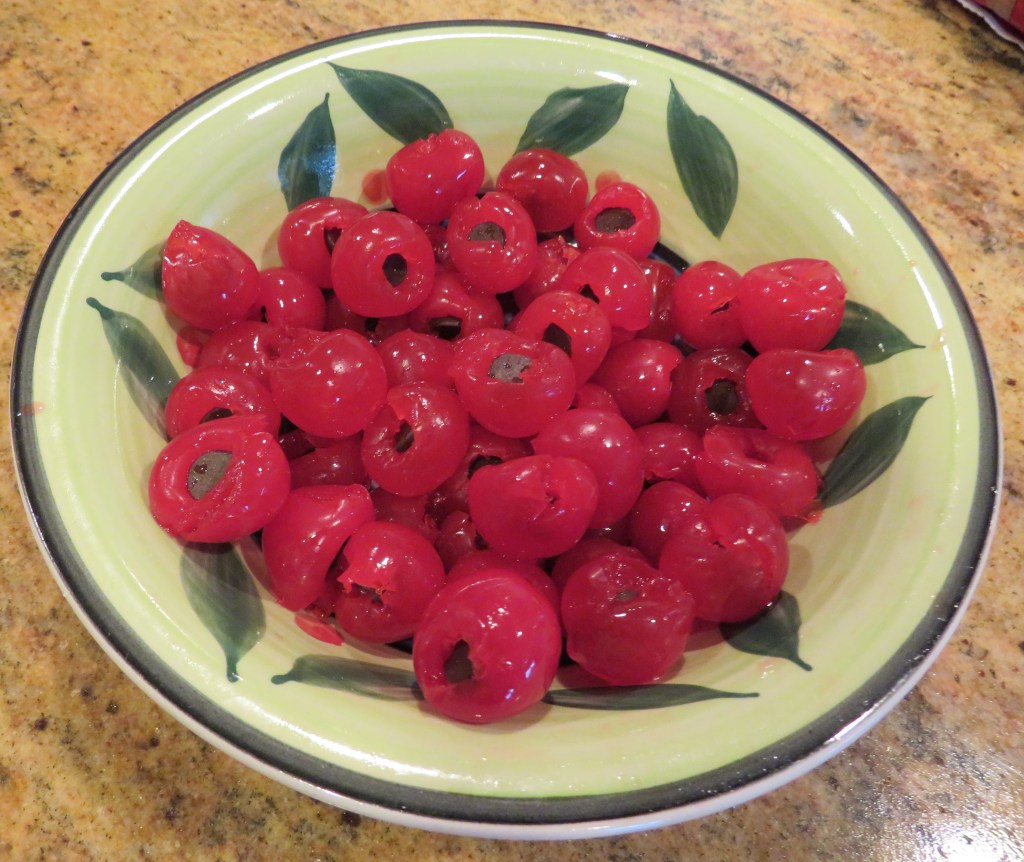
24 maraschino cherries, patted dry
1 cup chocolate chips
1/2 cup or 1 stick softened butter
1 egg
3/4 cup firmly packed brown sugar
1 TBSP maraschino cherry juice
1 tsp cherry extract
1 tsp vanilla
1 1/2 cups flour
1/8 tsp salt
1/2 cup heavy whipping cream
Combine all the dry ingredients together and set aside.
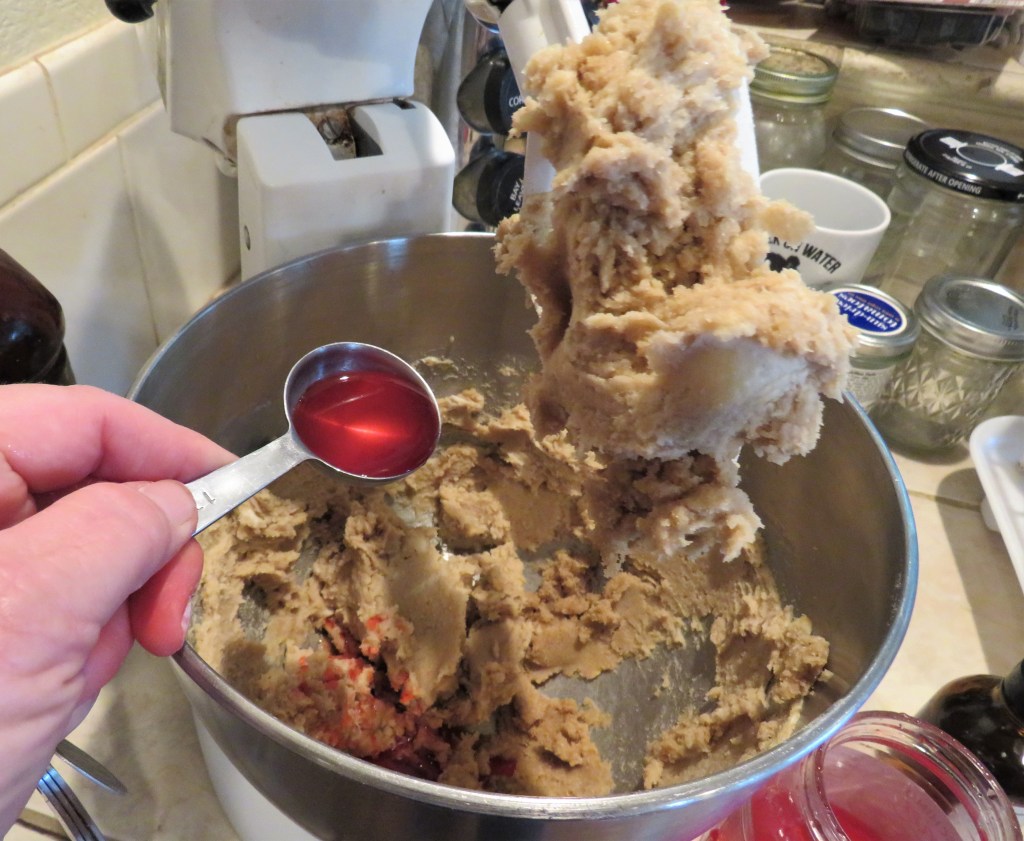
Beat the butter and brown sugar together until creamy, then add the egg, cherry juice, vanilla and cherry extract and continue to mix until all blended together. Add the flour 1/2 at a time and mix until everything is well incorporated together.
Place in the refrigerator for about 1 hour.
Carefully stuff 1 chocolate chip into the center of each maraschino cherry.
Preheat the oven to 350*F or 190*C. Line your baking sheets with parchment paper.
When the dough is ready, take 1 TBSP of dough and roll it into a ball in your hands. Repeat with the remaining dough. With your thumb, press into the center of each cookie and make a well. Place a cherry in the center of each well, then carefully wrap the dough completely around the cherry.
Bake for about 15-80 minutes or until the edges are lightly browned.
Allow the cookies to cool completely before adding the chocolate ganache topping. For the chocolate ganache topping, melt the remaining chocolate chips together with the cream, over a medium heat, stirring constantly until the chocolate is completely melted and is smooth.
Then either dip the top of the cookies into the melted chocolate or spread it on with a knife. I found it was easier to spread it on with a knife.
Once all the cookies were topped with chocolate, I placed them in the refrigerator for a bit to set. This is optional, but I wanted to stack them, so I needed them a bit more firm.
I used dark, bittersweet chocolate, but milk chocolate is fine too. It is really just a personal preference and whatever you prefer.
It’s a good thing I tried one before I served them today. They were ALL gone! I heard a lot of compliments on them too. I guess they were a big hit. 🙂
Have a great day and make everyday great. Stay safe and stay well. ‘Til next time.
It is such a gorgeous day out. The sun is shining brightly, the skies are blue and it’s not too hot. In other words, it was a perfect day to go walk-about. We took Juneau, and she was having fun taking in all the scents and smells. While Juneau was leading the daddy dog around, and I was busy taking pictures.
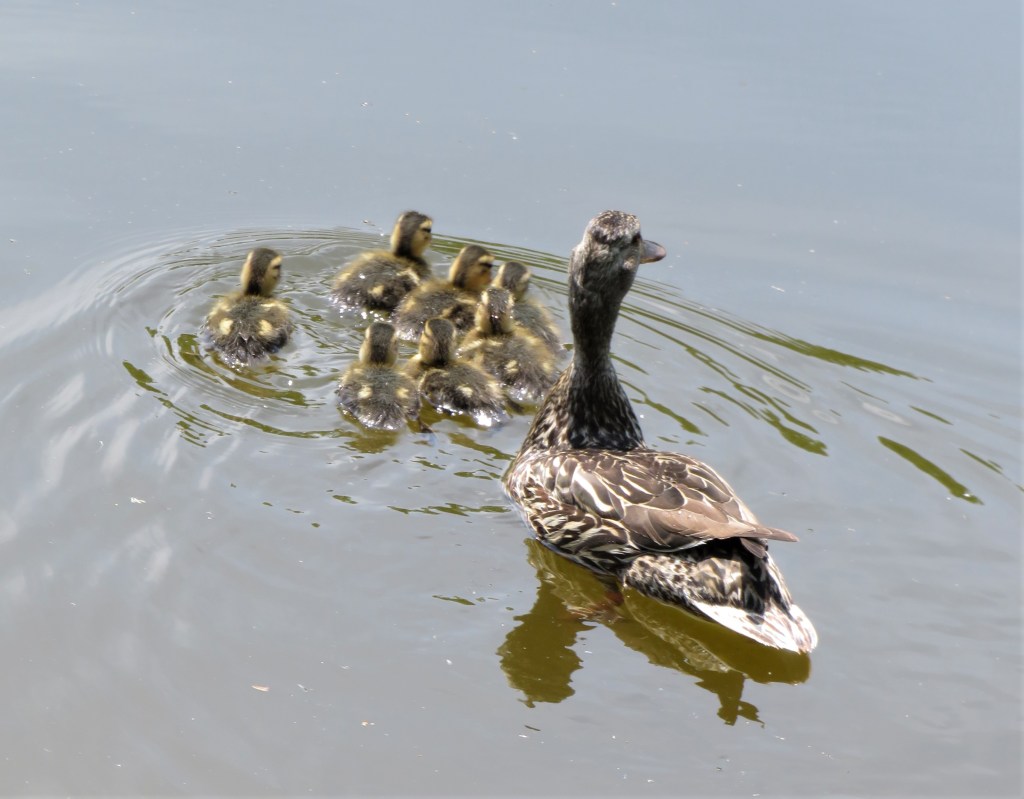
It was also a perfect day for the little “duck-a-lings” to be out for a swim too. There were two groups out swimming with mom. One was a small little family of three, while the other had eight little ones swimming alongside mom. Both moms were so proud.
Tis was the first duck family.
And this is the second duck family.
Have a great day and make everyday great. Stay safe and stay well. ‘Til next time.
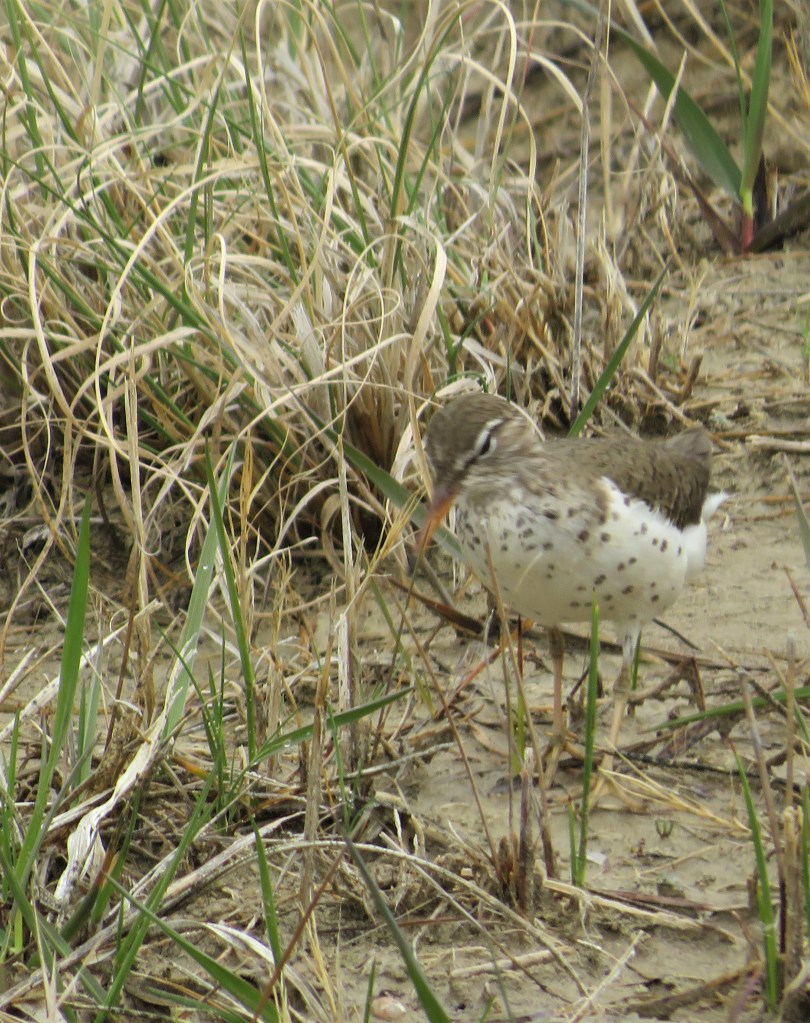
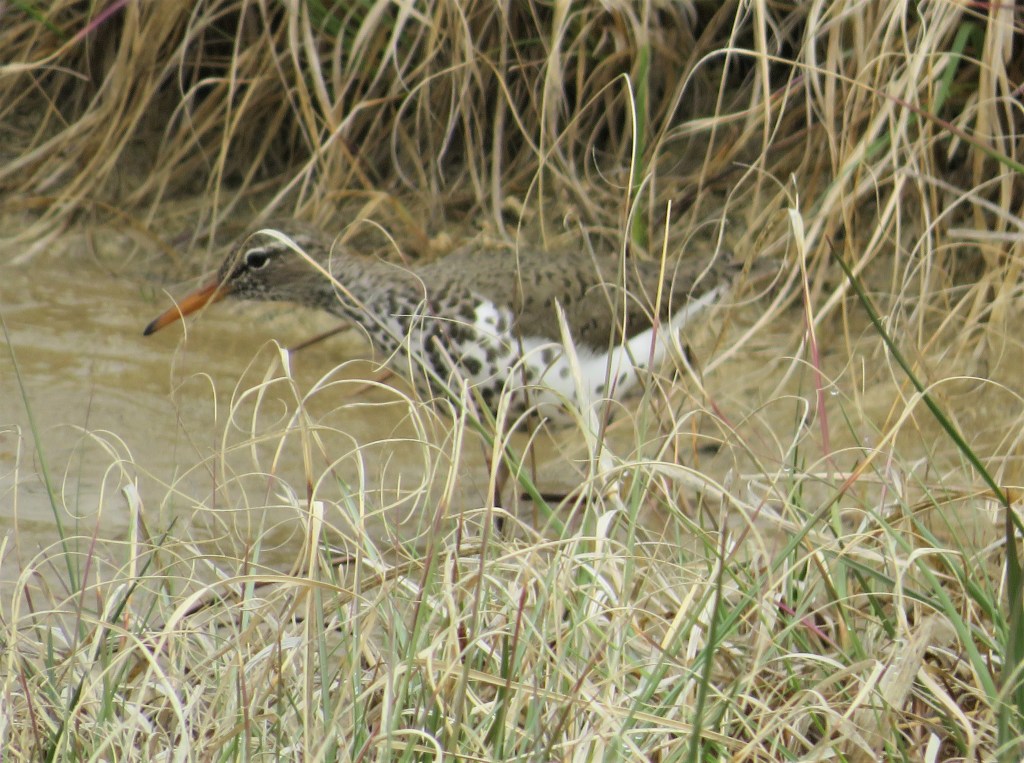
The spotted Sandpiper is not a new bird for our lakes, but I do not see them all that often. They like to call our lakes and muddy flats home in the spring and summer months, from April – September. I was lucky enough to see not one, but two the other day, though I could only capture one with my lens. I’ll take it though. I will gladly photograph whatever comes my way and I will always appreciate the opportunity to do so. As you all know, photography is yet another passionate hobby of mine.
I did not get a lot of photos, and I had to really zoom in + he was one the move. So I apologize for the quality of the photos.
Mother Nature offers us so much beauty. It is all around us. All we have to do is open our eyes and look. If you let yourself, you’ll be amazed at what you see. 🙂
Have a beautiful day and take in all that beauty that is around us everyday. 🙂
It is that time of week once again where I am in baking mode for my Sunday coffee cart. I usually offer three things per week. This gives variety as well as provides enough snacks and goodies for everyone to enjoy (hopefully, though I made need to start increasing what I make). Every now and then others contribute as well, but overall, I provide it all, and I enjoy doing it. It is my way of giving back to the community. Plus, I am good at it. I feed people. That’s just what I do. 🙂
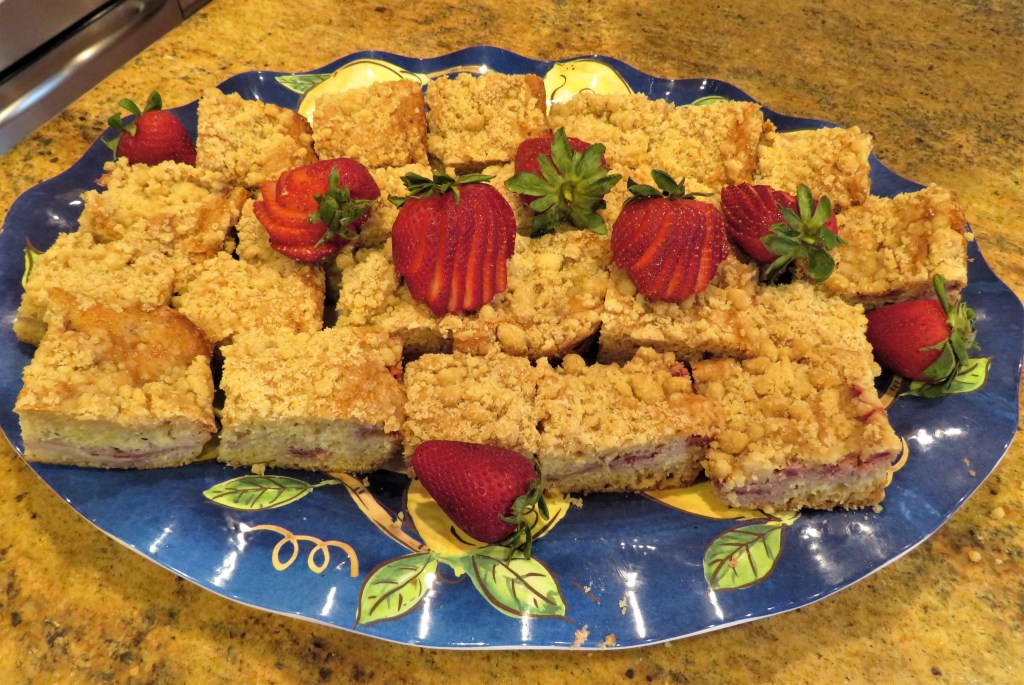
One of my features for this week is a strawberry cream cheese coffee cake. Once again, this recipe was an inspiration from our very own, Ohiocook and her blog https://beatcancer2010.wordpress.com/. As always, thanks for the great idea. Also per usual, I changed it and made it my own too.
Strawberry Cream Cheese Coffee Cake
Strawberry season is starting and the berries are coming out bright red and sweet. What better way to celebrate the season than by putting them to good use, such as in a delicious coffee cake, right?! 🙂
The Streusel
1/4 cup sugar
1/3 cup firmly packed brown sugar
2 tsp cinnamon
1/4 tsp salt
1/2 cup butter, melted
1 3/4 cup flour
Mix all the ingredients together and crumble until it all resembles coarse sand. Set aside. I had just enough streusel topping leftover from the last time I made a streusel, so I avoided this step. Lemon Cream Cheese Muffins
Cream Cheese Filling
8 oz cream cheese, or whipped cream cheese or strawberry cream cheese – I used strawberry cream cheese
1/2 cup powdered sugar
1 egg
1 tsp vanilla
Mix everything together with a mixer and set aside.
The Cake
1 2/3 cup flour
1 tsp baking powder
1/2 tsp baking soda
1/2 tsp salt
1 cup sugar
1/2 cup or 1 stick softened butter
2 eggs
2 tsp vanilla
1 tsp lemon juice
3/4 cup sour cream
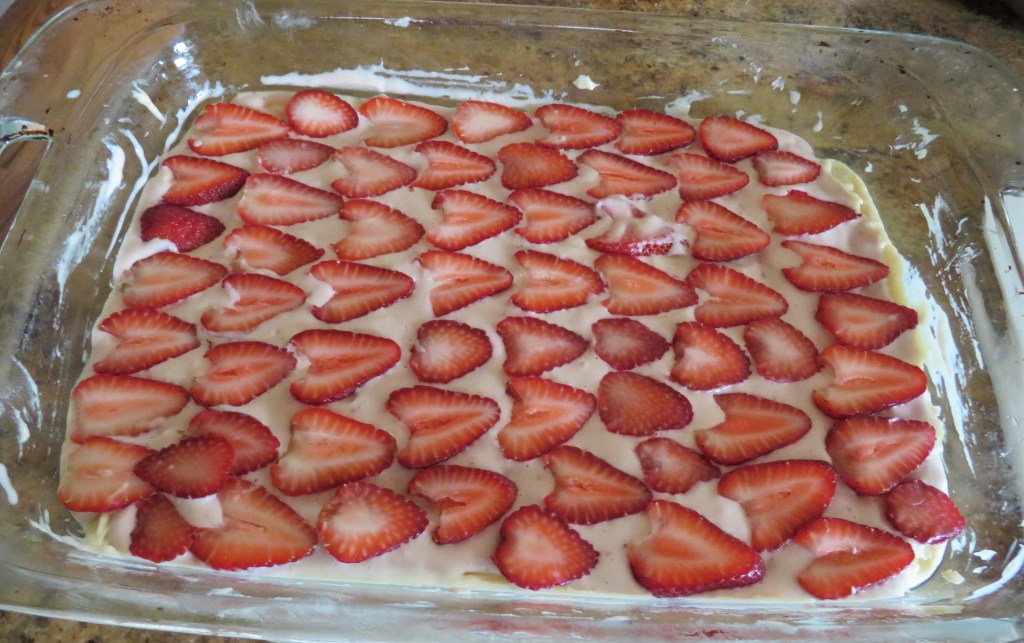
1 1/2-2 cups fresh strawberries, sliced thin
Preheat the oven to 350* F or 190* C.
Spray a 9×13 cooking pan with cooking spray.
Combine all the dry ingredients together and set aside.
Mix the sugar and butter together until creamy. Add the eggs 1 at a time, mixing in between each addition, then add the vanilla and lemon juice. Add 1/2 the flour mixture and mix, then add 1/2 the sour cream and mix, and repeat until it is all incorporated into the mix.
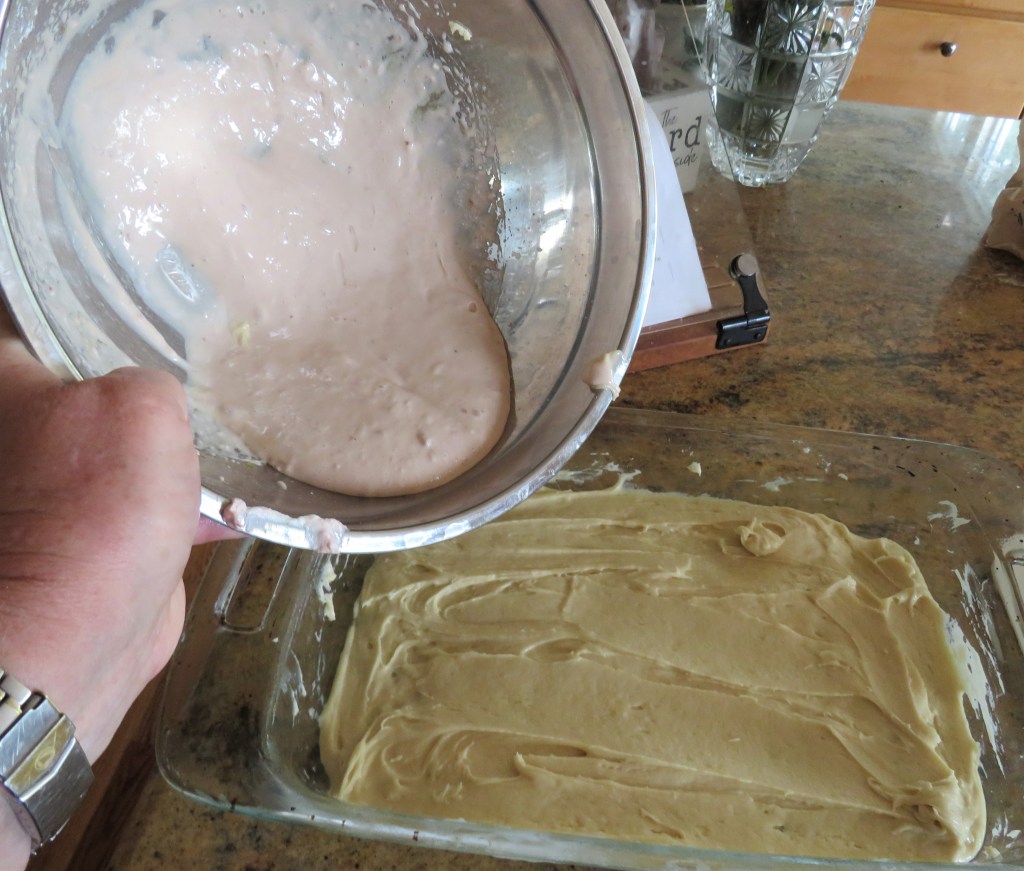
Spread 1/2 the batter into the prepared baking pan and spread evenly to cover the bottom.
Pour the cream cheese mixture over the top and spread evenly over the cake batter.
Layer the strawberry slices over the cream cheese.
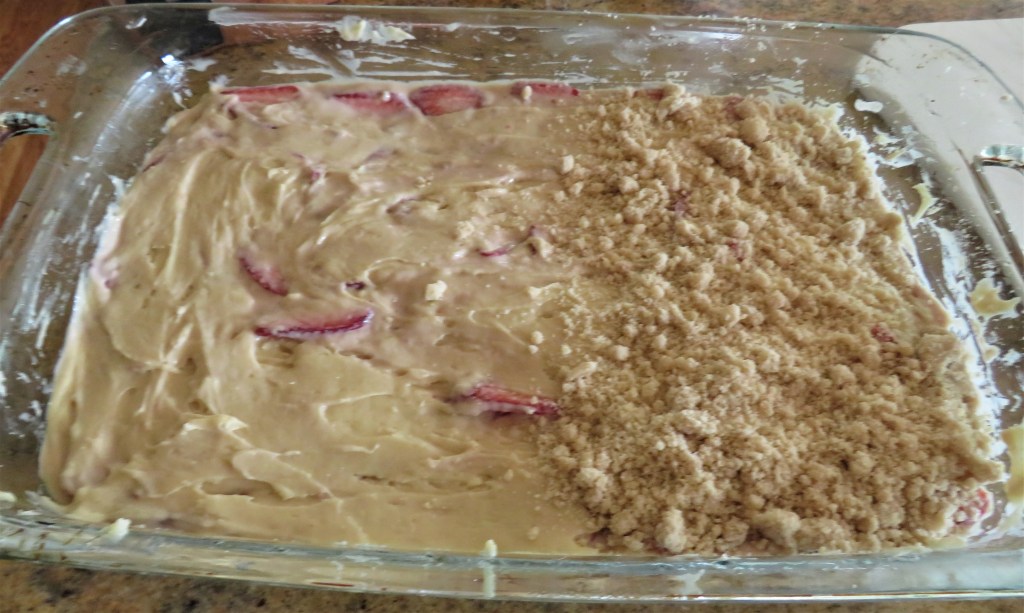
Add the remaining batter over the strawberries and carefully spread out to make it even.
Evenly sprinkle the streusel topping over the cake batter and place in the oven.
Bake for about 45-50 minutes, or until a toothpick inserted in the middle comes out clean and the center is set.
Allow the cake to cool completely before removing it from the pan and slicing. Share with friends and enjoy.
Have a great day and make everyday great. Stay safe and stay well. ‘Til next time.
You all know how much I LOVE my cookies. I think part of my love for cookies, cookies of all kinds, comes from when I was a little girl, and the very happy, fond memories I have of my friend’s mother making cookies for us everyday. My friend Kathy and I have literally known each other our whole entire lives, and we are exactly 1 year apart. We grew up next door to each other and were raised as sisters. Her house was my second home while growing up, and everyday, her mom, Mrs. Nash, was baking cookies. The house always smelled so fragrant and delicious. We always had fresh, homemade cookies for a snack and/or treat. I still love my cookies to this day. Cookies will ALWAYS, hands down, be my favorite dessert.
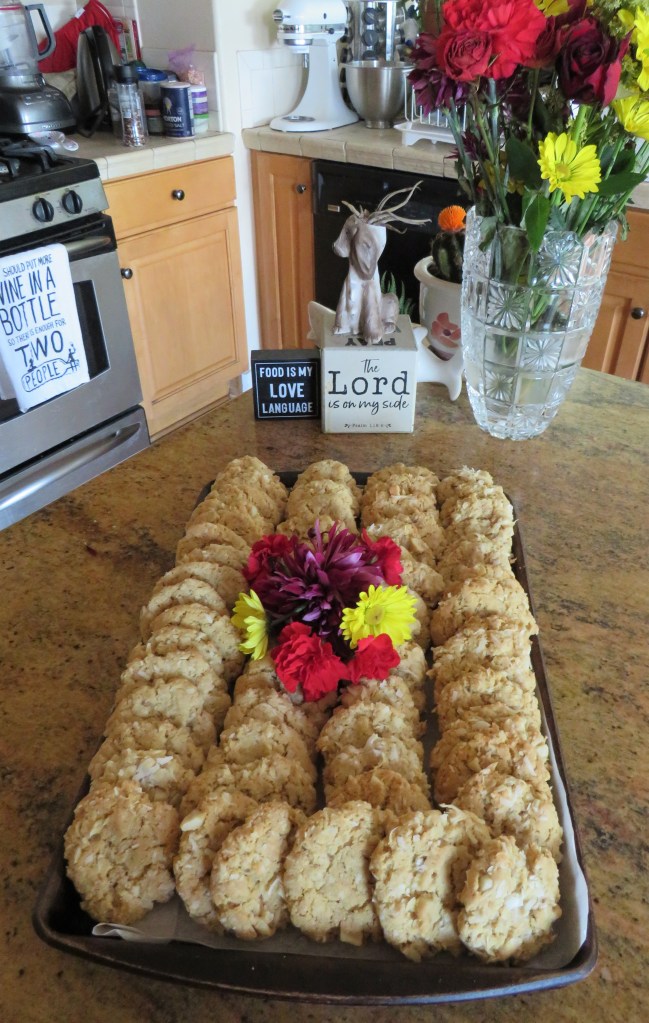
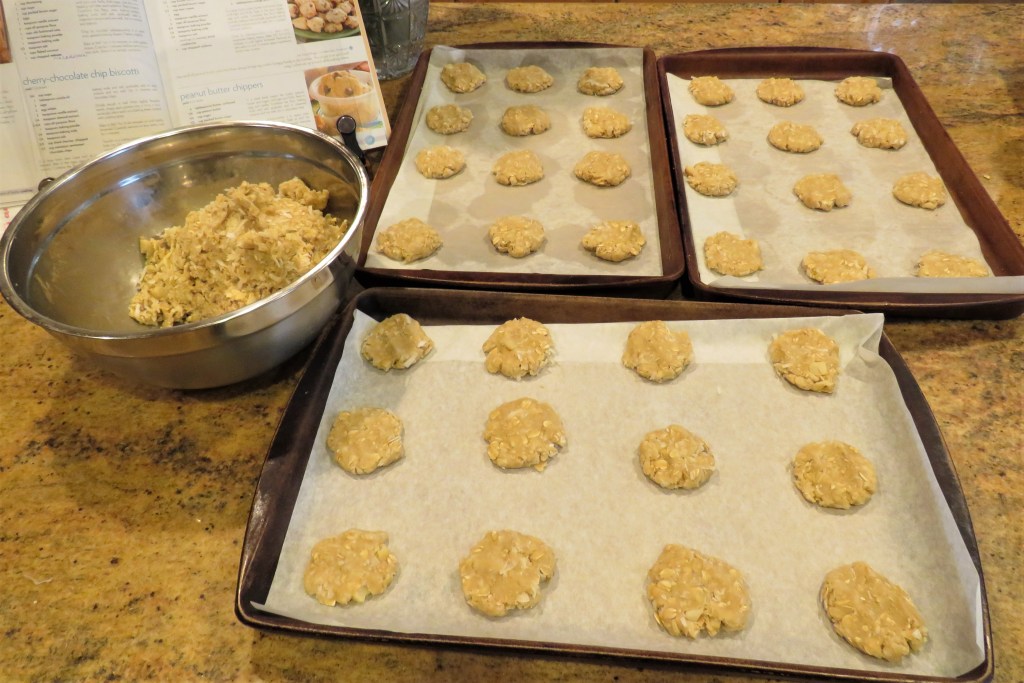
I make a lot of cookies too. I don’t bake them everyday, but I do bake a lot, especially for my weekly coffee cart. Today’s cookies, and some of this week’s cookies are a batch of tropical coconut macadamia cookies.
Once again, I was very pleasantly surprised and the recipe actually made the amount it said it would. This rarely happens. But this recipe made 5 1/2 dozen cookies, just like it said it would. AMAZING!
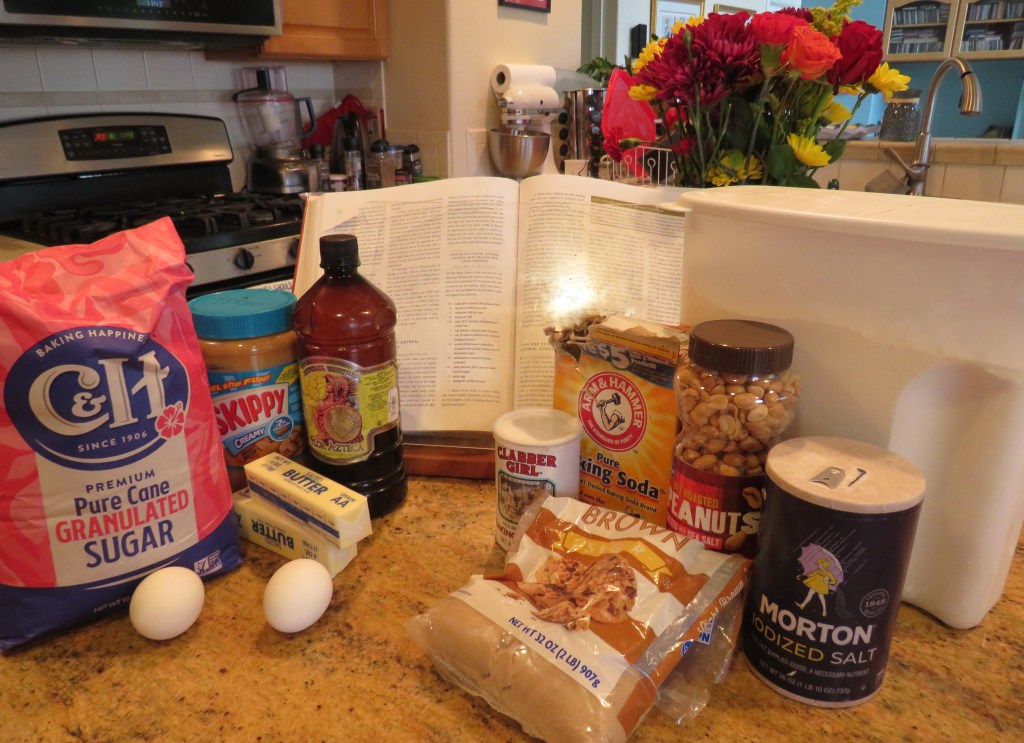
Coconut Macadamia Cookies
1 cup or 2 sticks of softened butter
1 cup sugar
1 cup firmly packed brown sugar
2 eggs
1 tsp vanilla
2 cups old fashions oats
1 1/2 cups flour
1/2 cup coconut flour
1 tsp baking powder
1 tsp baking soda
1/2 tsp salt
2 cups flaked coconut
1 cup chopped macadamia nuts
Preheat the oven to 350*F or 190*C.
Line your cookie sheets with parchment paper.
Chop the macadamia nuts and set aside.
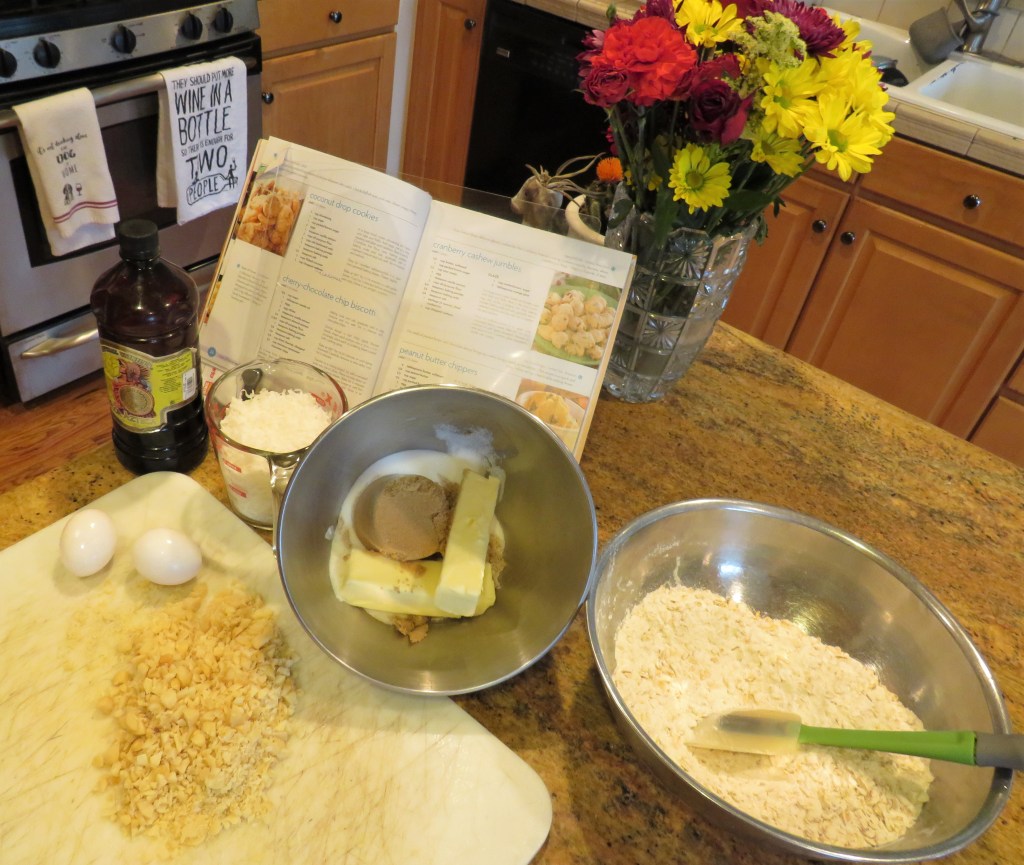
Combine all the dry ingredients together and set aside.
Mix the butter and sugars together until creamy, then add the eggs, one at a time, mixing in between. Add the vanilla and 1/2 the flour mixture and mix. Then repeat until everything is mixed together.
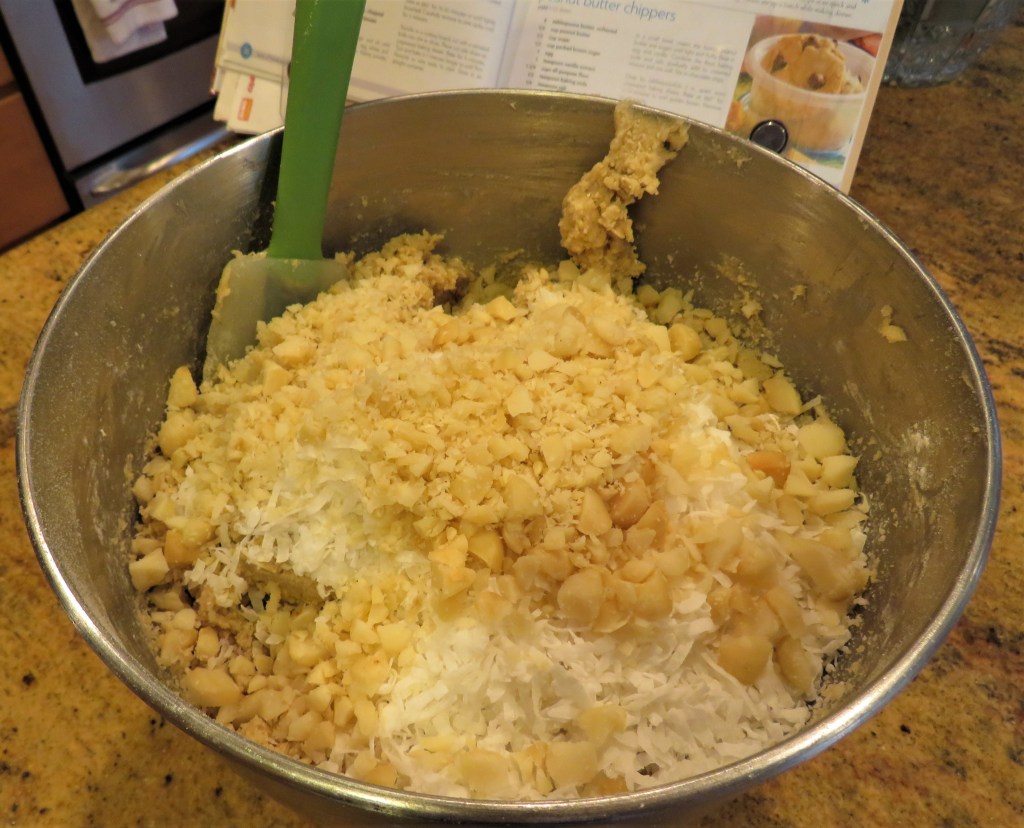
Fold in both the chopped macadamia nuts and coconut.
Take about 1 TBSP of dough and roll into a ball with your hands and place on the lined baking sheets. Lightly press the dough to flatten it out.
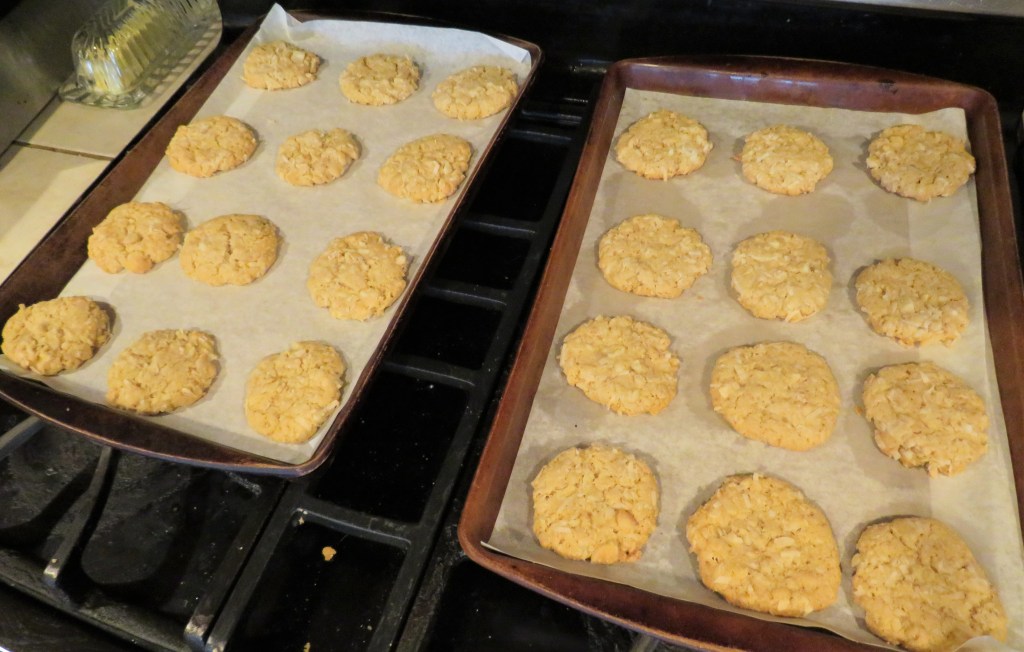
Bake for about 15-18 minutes, or until they are set and are slightly golden around the edges.
Allow them to cool slightly before removing them from the pan, then gobble them up and enjoy these tropical sensations. Make sure to share them with fiends too. In fact, the more you share, the more friends you will probably make. 🙂
Have a great day and make everyday great. Stay safe and stay well. ‘Til next time.