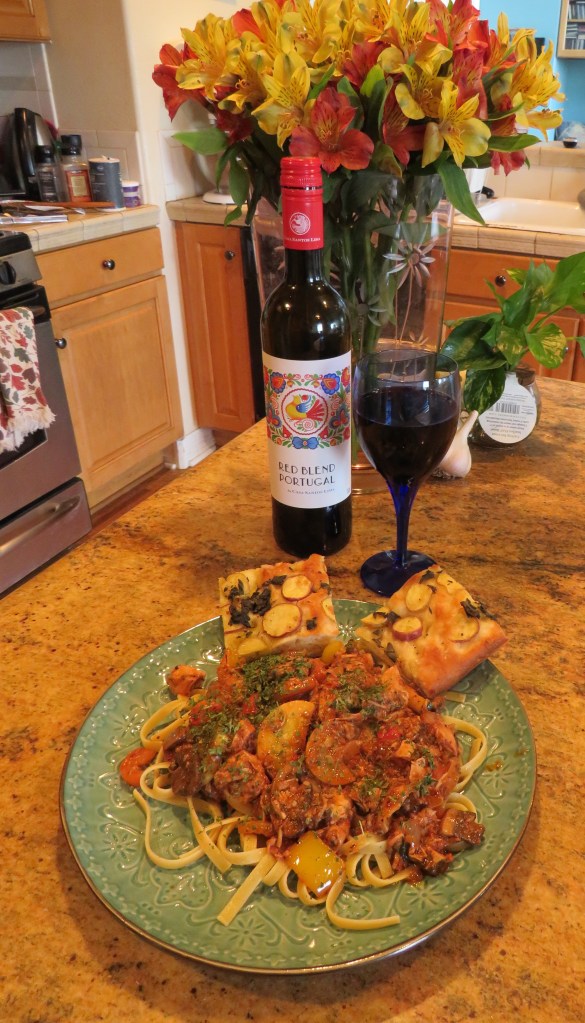
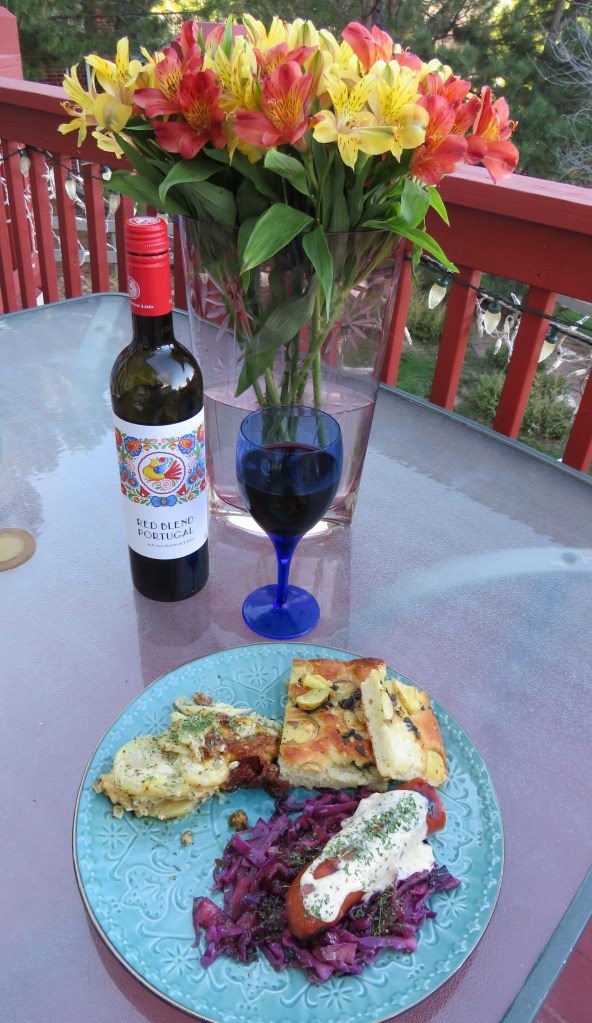
As you know, I love to cook with international themes. This allows me to sample foods and different cooking techniques from all over the world in the comfort of my own kitchen. We are quite the culinary travelers (although we are quite the real travelers too). I had some Kielbasa and decided to go with a German theme for side dishes. I made some red cabbage with apples and German scalloped potatoes. I also had some mustard cream sauce I used to top the Kielbasa and then served it with my potato focaccia Pugliese Potato Focaccia Pugliese and a smooth red blend. Larry is 100% German, so he was fine with this idea too. It was a perfect Bavarian meal. 🙂
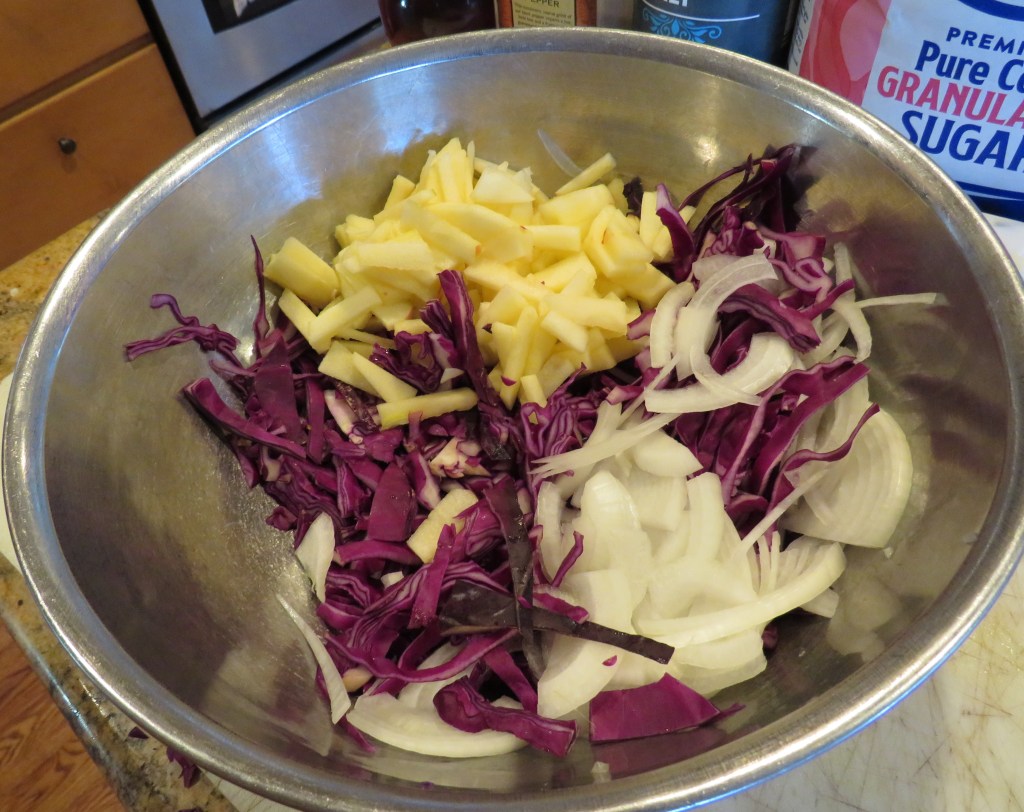
Red Cabbage and Apples
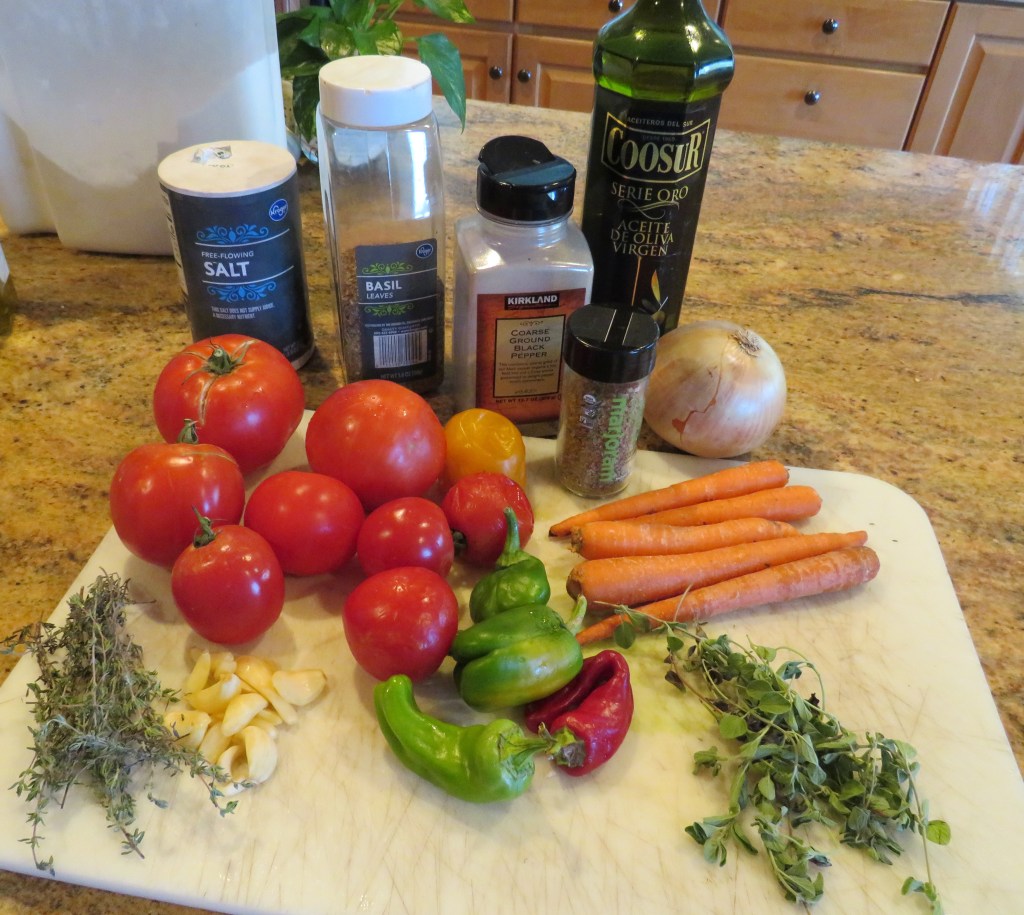
You can either bake this dish or cook it on top of the stove. I chose to cook it on top of the stove. It’s sweet and tangy and very colorfully delicious. This is another simple meal using basic ingredients.

1 red cabbage, shredded
1 onion, sliced very thin
2 apples, peeled and sliced into thin matchsticks
2 tsp red wine vinegar
2 TBPS water
1 TBSP sugar
salt & pepper tot tasdte
olive oil and butter for cooking
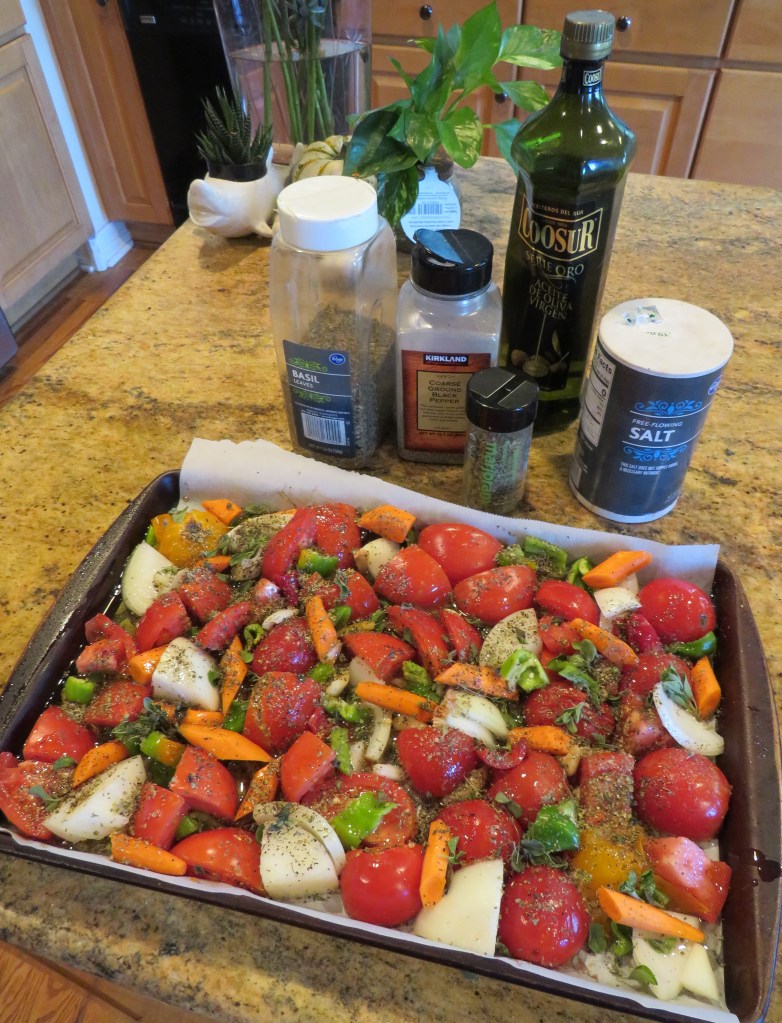
As I mentioned, I cooked mine on the stove in a skillet. I find this is a quicker way to cook it with the same results, or even better, than baking it.
Get a large skillet very hot, then add some olive oil and a little butter. Add all the ingredients to the skillet and cook, stirring frequently, until the cabbage, apples and onions are tender.

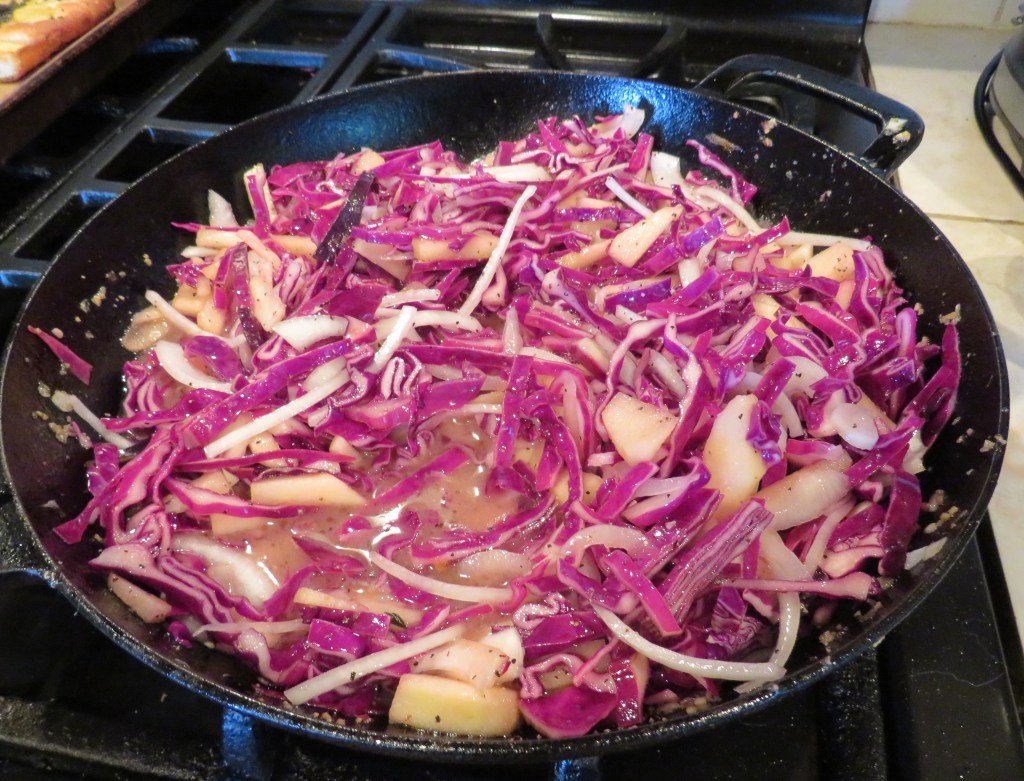
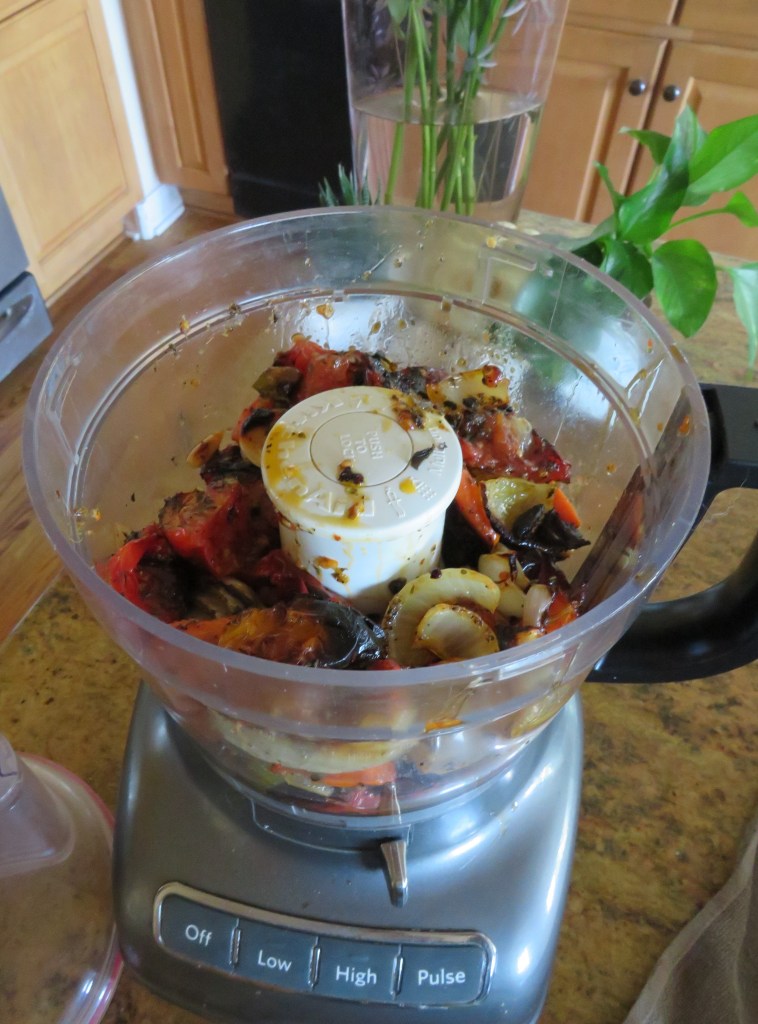
When everything is tender, it’s time to eat and enjoy. Wunderbar! This is perfect for all of your Oktoberfest celebrations.

Have a great day and make everyday great. Stay safe and stay well. ‘Til next time.