I’ll Have Some Peas Please

I know I am a very strange person, some would argue in many ways too. Right now though, I am only talking about my love of peas. There is not nearly enough time to discuss all my other strange ways. 🙂

I have always LOVED peas. I could easily eat a pound of cooked peas with butter and salt and be a very happy camper. I remember one time my parents and I had gone out to a fancy restaurant when I was just a little thing, and all I wanted was a big bowl of buttered peas. The waiter looked at me in total surprise and shock. I just can’t understand why so many people have such an aversion to them and hate them so much.

The pea is most commonly the small spherical seed or the seed-pod of the pod fruit Pisum sativum. Each pod contains several peas, which can be green or yellow. Botanically, pea pods are fruit, since they contain seeds and develop from the ovary of a flower. Peas are members of the legume family and are very healthy and nutritious. One cup of boiled green peas has 46% of your RDA of vitamin K-1, known for maintaining bone health and helping blood to clot to prevent bleeding. Peas are high in fiber and low in fat and contain no cholesterol. Plus, they’re a good source of vegetable protein. A type of legume, peas grow inside long, plump pods. As is the case with all types of legume, their sugars start to turn to starch as shortly after they’re picked, so they are best eaten just-picked. Frozen peas are put on ice very soon after being picked (within three hours) and the flavor can be superior to that of fresh peas harvested a couple of days previously. Peas are best when they are fresh, but most of us pea lovers who live in urban areas eat frozen peas, which we can get year round. But if buying them fresh, pea season is from May-November.

Peas and Pea Pods

There are three common types of peas, the English peas, also known as shelling peas, where the edible peas are found on the inside of the pods and the pods are inedible; snow peas, which are flat pods with smaller peas inside and you eat the whole thing, pod and all; and snap peas that are a combination of both the English peas and snap peas. Their pods are tender and edible and the peas inside the pod are larger, full sized peas. My favorites are the English peas, (maybe that is just the Aussie in me) although I love them all.

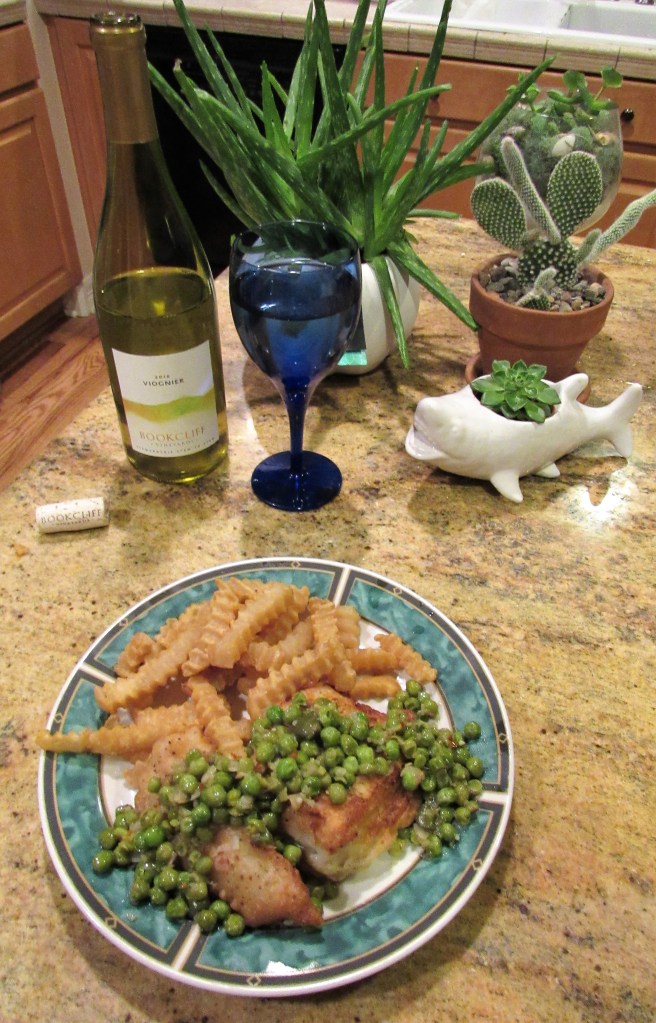
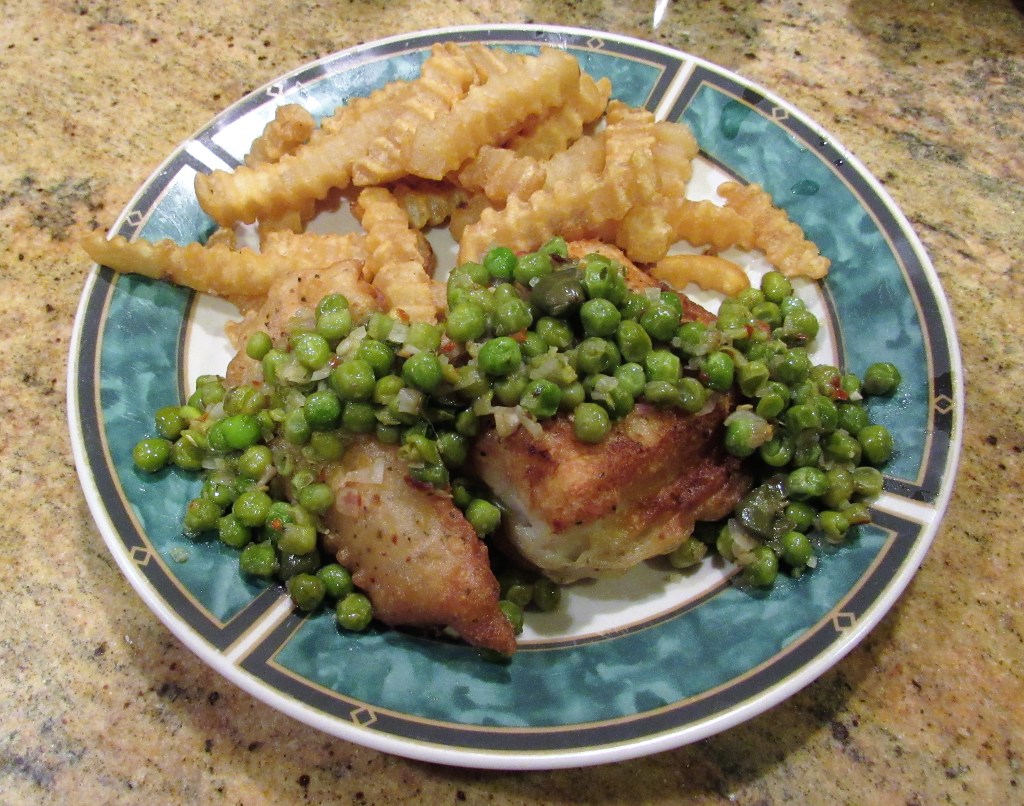
We hadn’t had any fish for awhile, and I took some cod out of the freezer. Larry said he wanted fish & chips, which I am always up for. Well peas and fish & chips just go together beautifully, and we haven’t had any peas in quite awhile either. So I knew peas were going to be served up alongside the fish & chips, though I wanted something a little different than just plain peas. As I was looking through my library collection of cookbooks, I was really surprised to see that in all my vegetarian/vegan cookbooks, there were NO recipes for peas. WHAT????? Do vegetarians and vegans NOT eat peas? I was shocked at this, considering how healthy they are. Finally though, I did find a really good recipe that actually was already paired up with cod. It was just meant to be.

I made an herbed pea relish. The recipe called for fresh oregano, but maybe because it is Thanksgiving, I could not find fresh oregano anywhere. That’s OK. That is exactly why I always have a wide array of dried herbs in my pantry. Dried herbs work just as well as fresh herbs.
Herbed Pea Relish
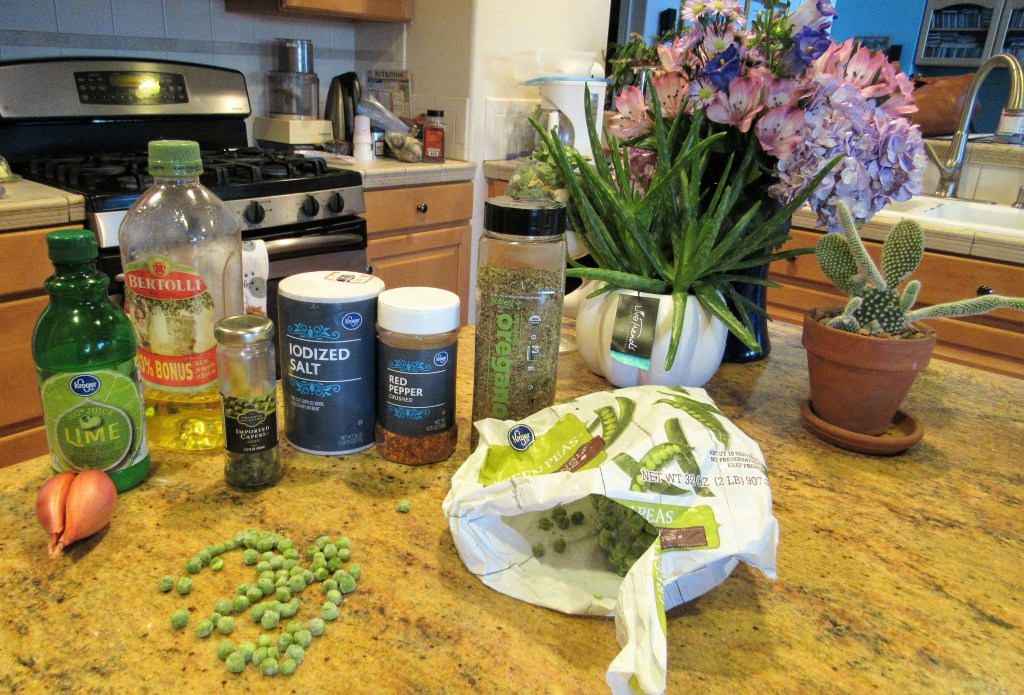
2 cups frozen green peas

1 1/2 TBSP fresh oregano, chopped or about 1 TBSP of dried oregano

1 large shallot, minced

2 TBPS capers

2 TBSP lime juice

2 TBSP olive oil

1/2 tsp red pepper flakes

salt and pepper to taste

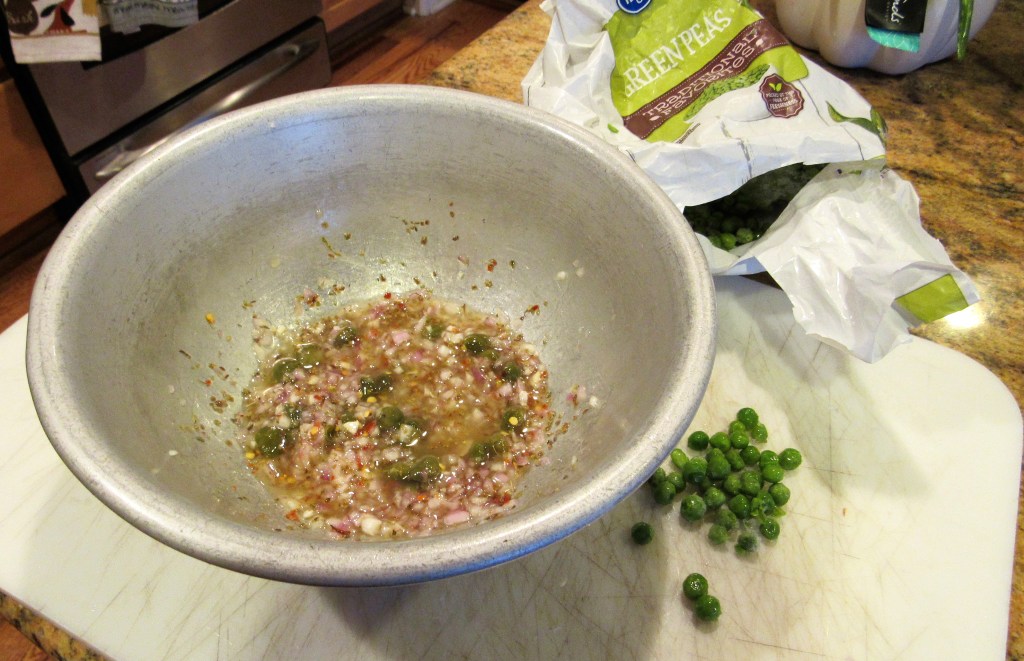
Mix everything together, except the peas. The cook it all in a hot skillet for about 7-10 minutes, or until the peas are completely cooked.
As the peas are cooking, in a separate skillet, in hot oil, cook your battered fish and cook your chips. We cook our chips in a deep fryer.

When everything is cooked, it is time to serve it up. Spoon the pea relish over the fried cod and sit down to a proper British meal. I served it with a dry viognier on the side to complete the meal. Cheers and Bon Appetit!
Stay safe and stay well Everyone. ‘Til next time.
Nature Walks – Out in the Fields

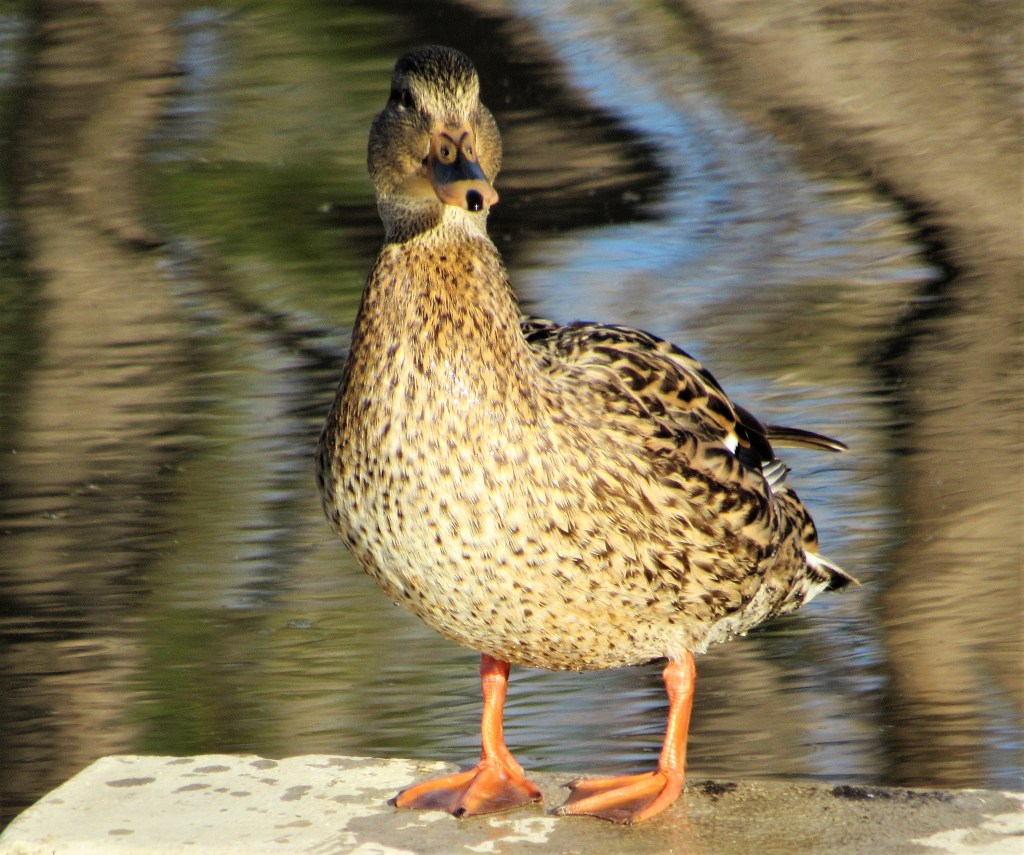
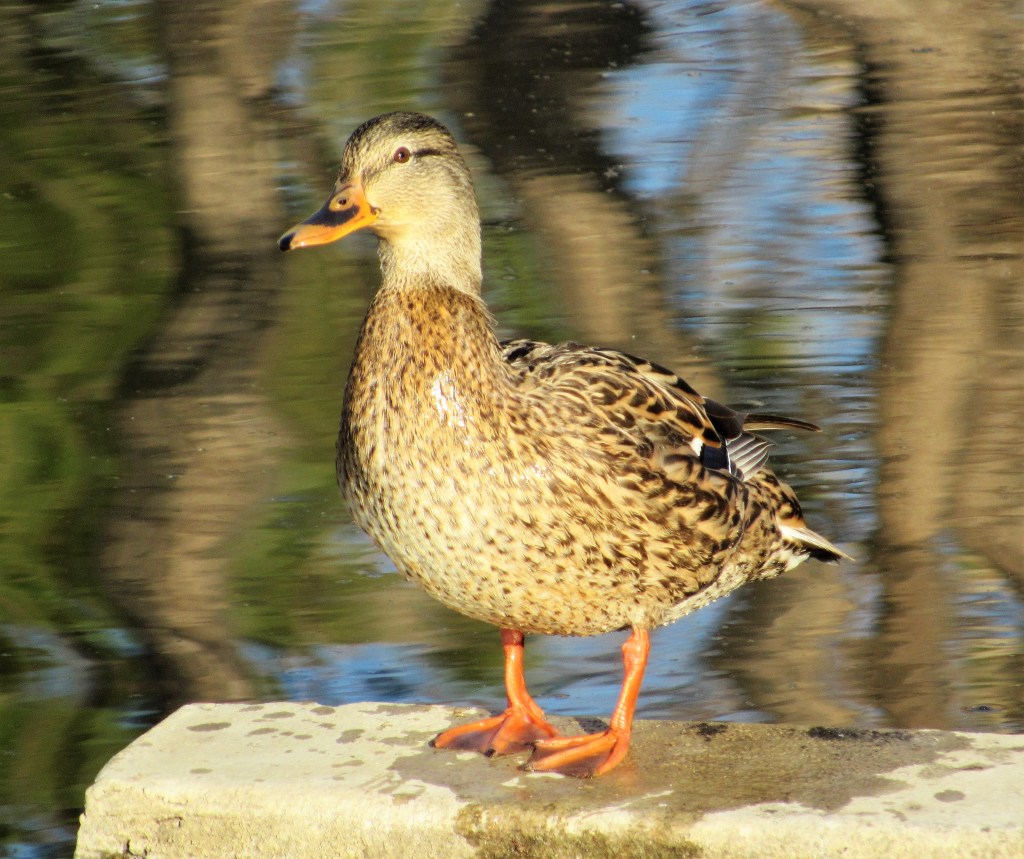
It was yet another gorgeous, sunny day, and it was also a good day to take Vinnie for a nice long walk around the lakes and through the fields. At first, we didn’t see too much. It was very quiet around the lakes, although I was able to get a couple of good shots of a lone female mallard. She was posing so prettily for the camera too.

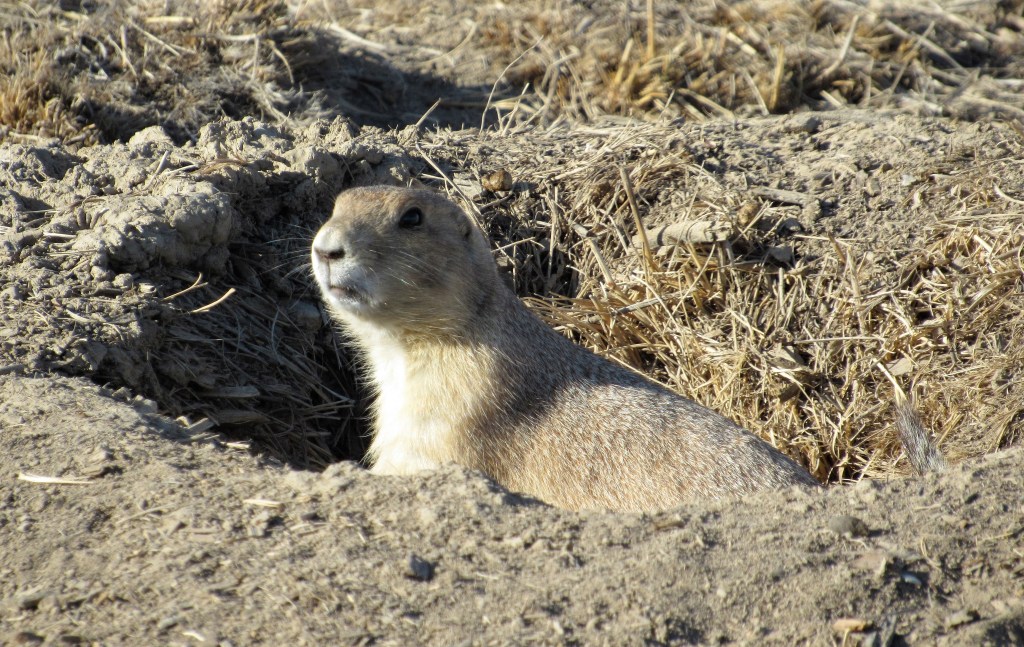
But once we got out into the open space and the fielded areas, it was a different story. The prairie dogs were out by the droves, just running all around enjoying themselves. Many of them were also in their holes, on the lookout for the big scary brown and white wolf on the loose. We even saw a coyote way off in the distance, but he was too far away and I could not get a good shot of him.

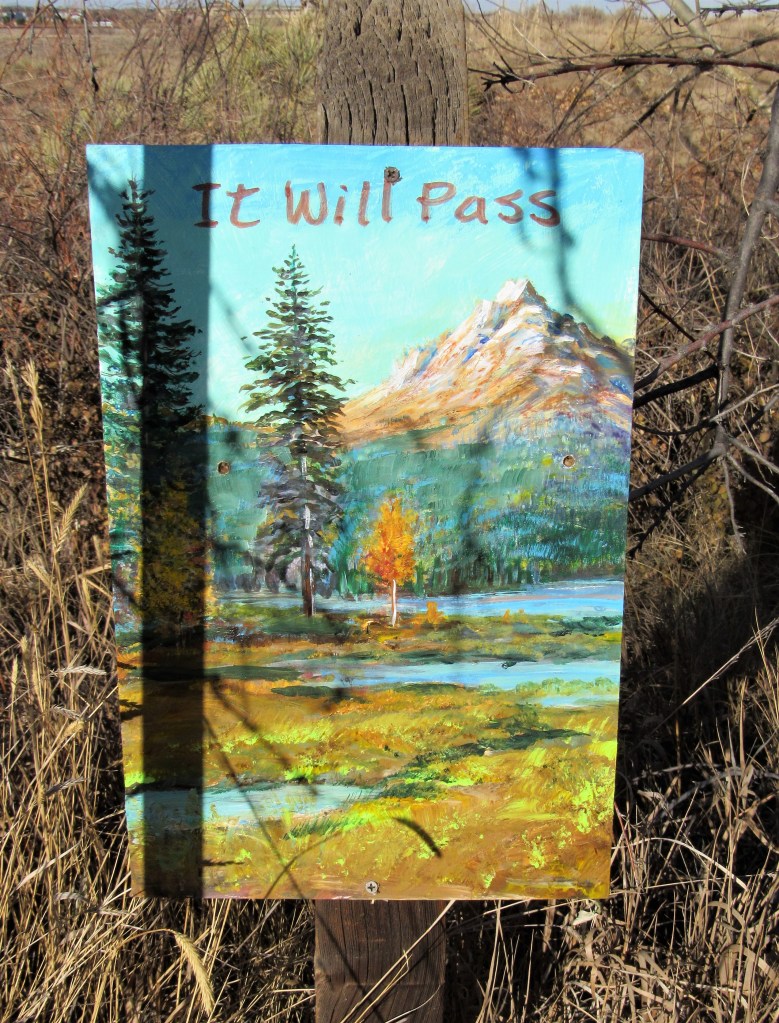
As we were out walking about, we came across this pretty picture of the fields. It was just out there in the open, for everyone to see and enjoy.

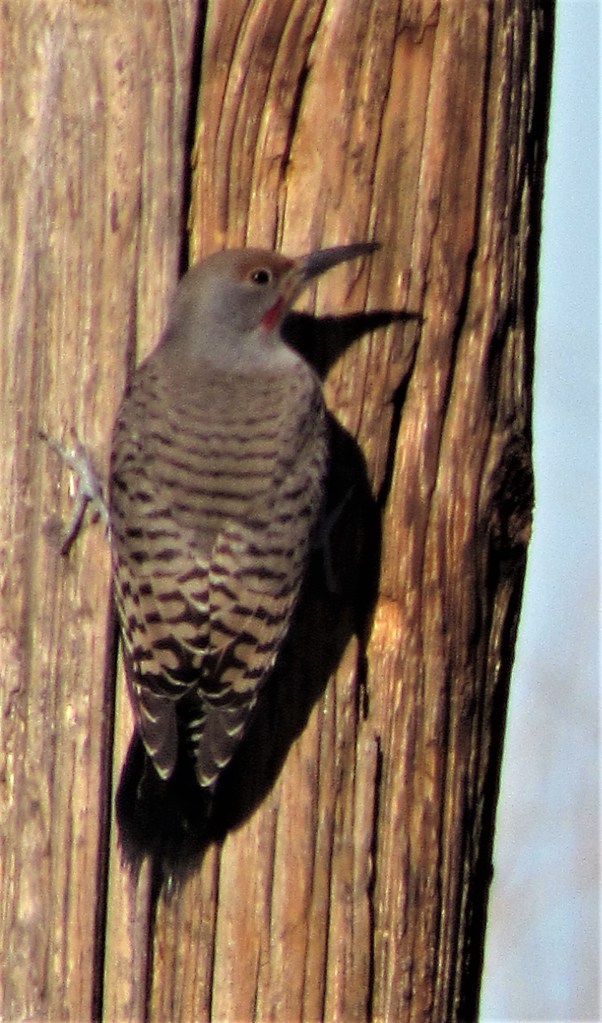
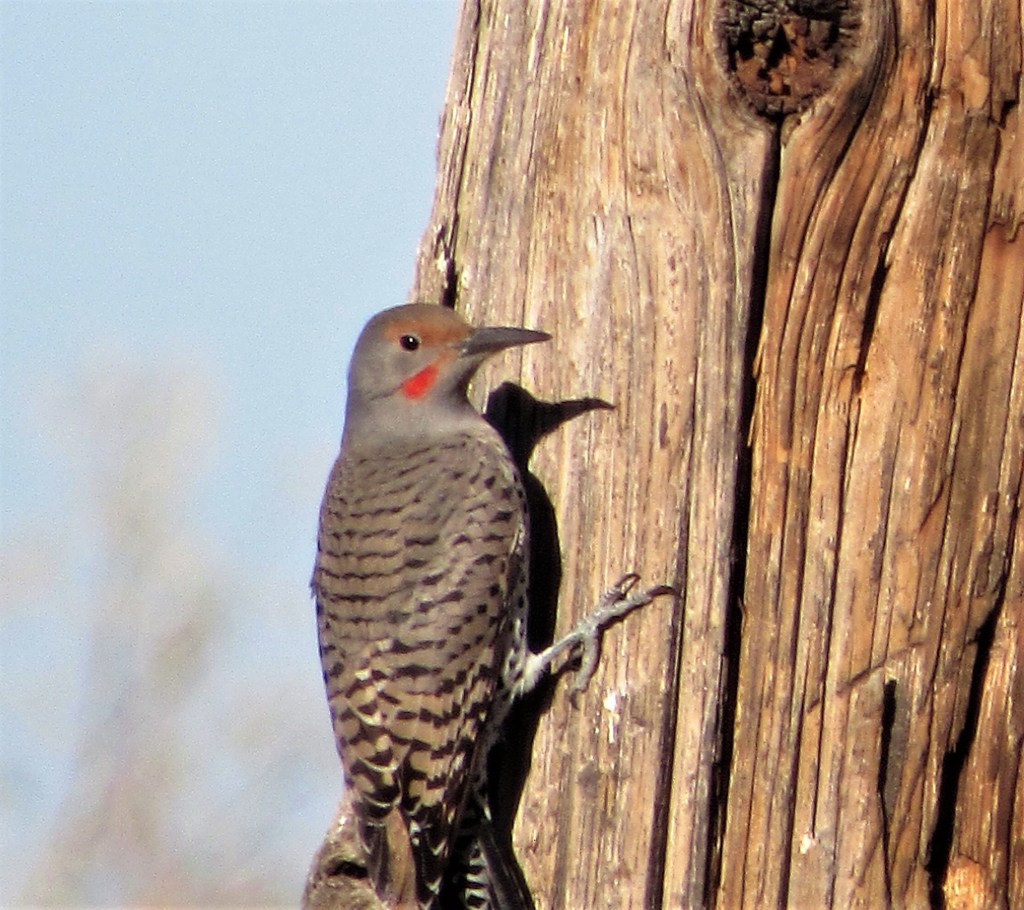
I was also able to catch a few good shots of some new feathered friends too. This is a Northern Flicker.

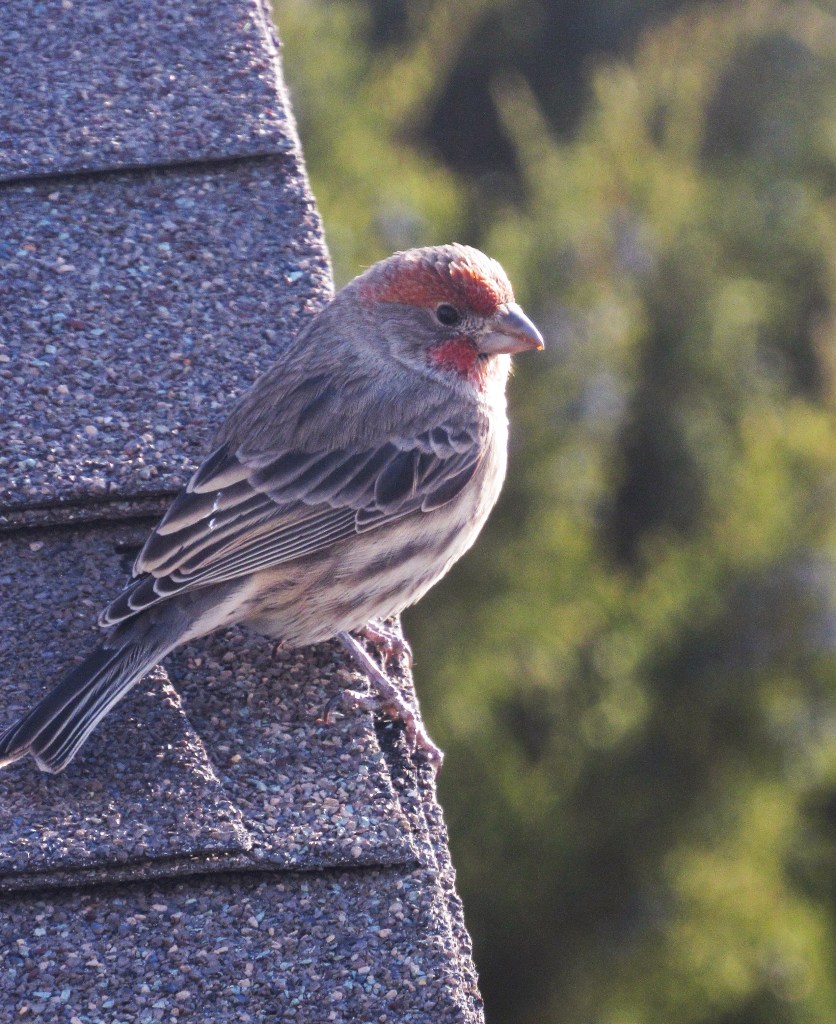
This Cassin’s Finch was perched on my roof, right outside my office window. At first there were four of them, all lined up in a row, but I was only lucky enough to capture this one.

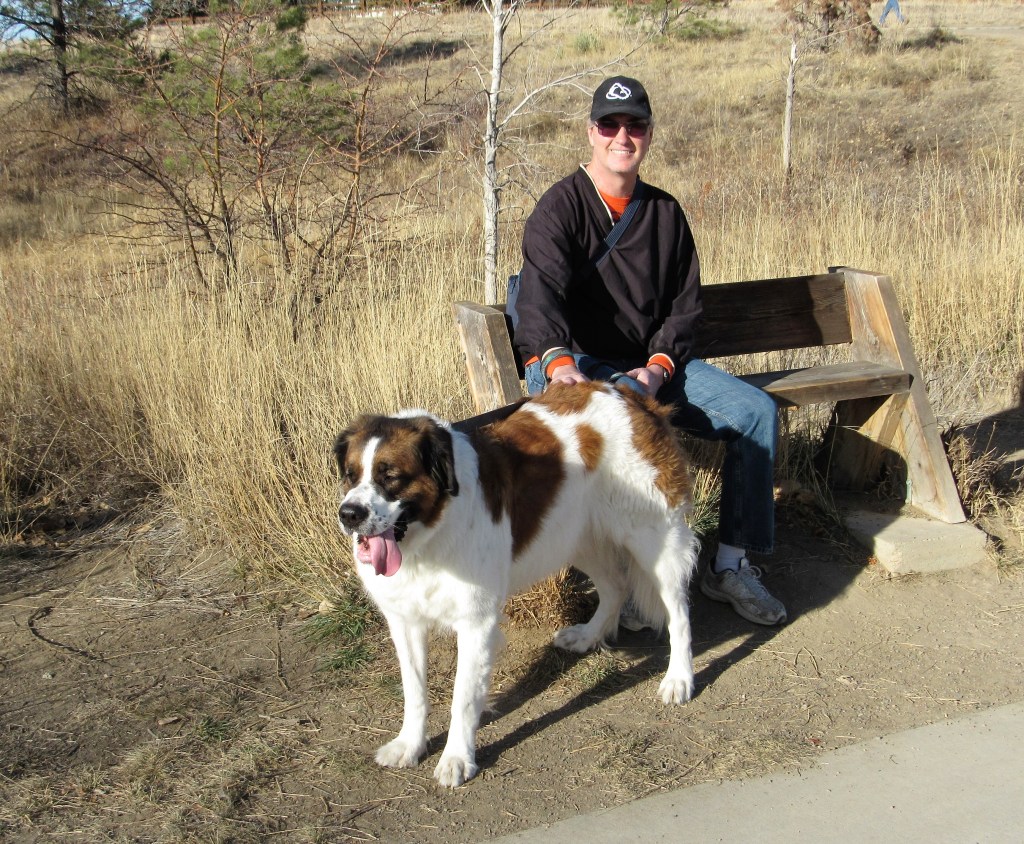
No matter what we see on our walk-abouts though, two of my favorite wild things are always Vinnie and the Daddy Dog, Larry.

Enjoy the sunshine and enjoy your days. Life is short. Take it all in and appreciate all the beauty around you.

Pumpkin Fries with a Spicy Honey Mustard Sauce

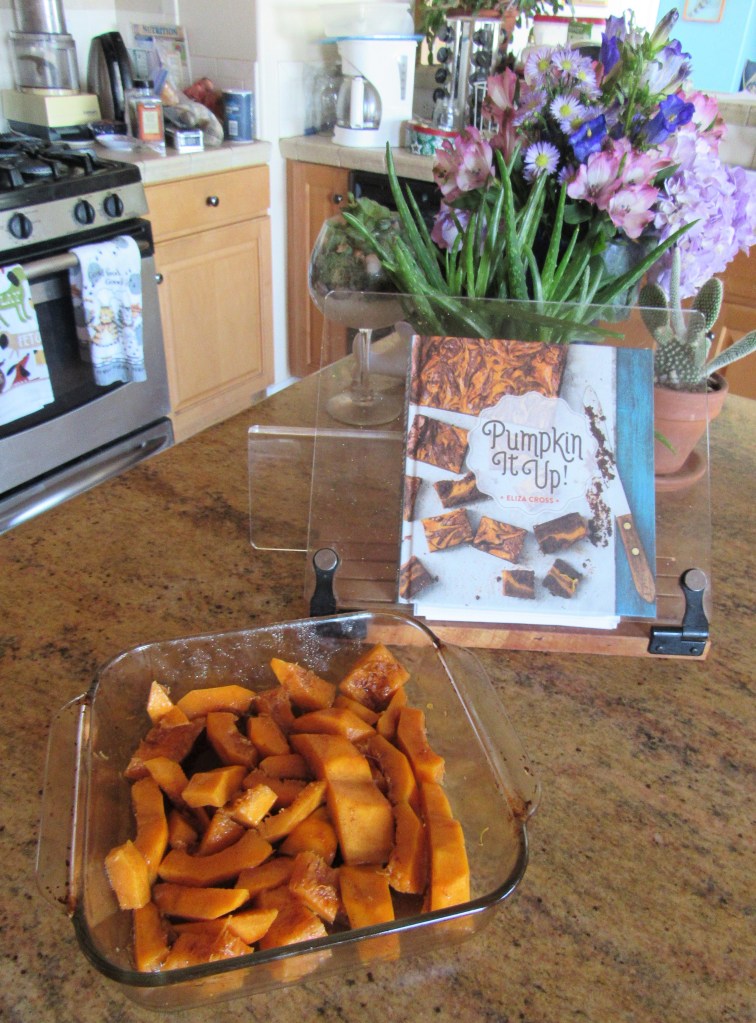
It’s pumpkin season, and I love pumpkins, so I am always looking for new and creative ways to prepare them. I came across this recipe for pumpkin fries and just had to try them. I know what you’re thinking … Pumpkin fries? WHAT????? But trust me, they are very tasty, and this sauce just really makes the flavors pop and come to life. Most Americans think pumpkin pie and pumpkin spice, especially for lattes, when they hear the word pumpkin, but pumpkins can be used for oh so much more. There really is no limit to how they can be used and cooked.

Pumpkin and squash are all part of the same family, and in many countries around the world, the two are interchangeable. A pumpkin is a cultivar of winter squash that is round with smooth, slightly ribbed skin, and is most often deep yellow to orange in coloration. The thick shell contains the seeds and pulp. The name is most commonly used for cultivars of Cucurbita pepo, but some cultivars of Cucurbita maxima, C. argyrosperma, and C. Is pumpkin a fruit or a vegetable? A pumpkin, from a botanist’s perspective, is a fruit because it’s a product of the seed-bearing structure of flowering plants. Vegetables, on the other hand, are the edible portion of plants such as leaves, stems, roots, bulbs, flowers, and tubers. So, a pumpkin is really a bit of both. They are also very healthy, high in fiber and low in calories too. Plus, they are absolutely delicious.

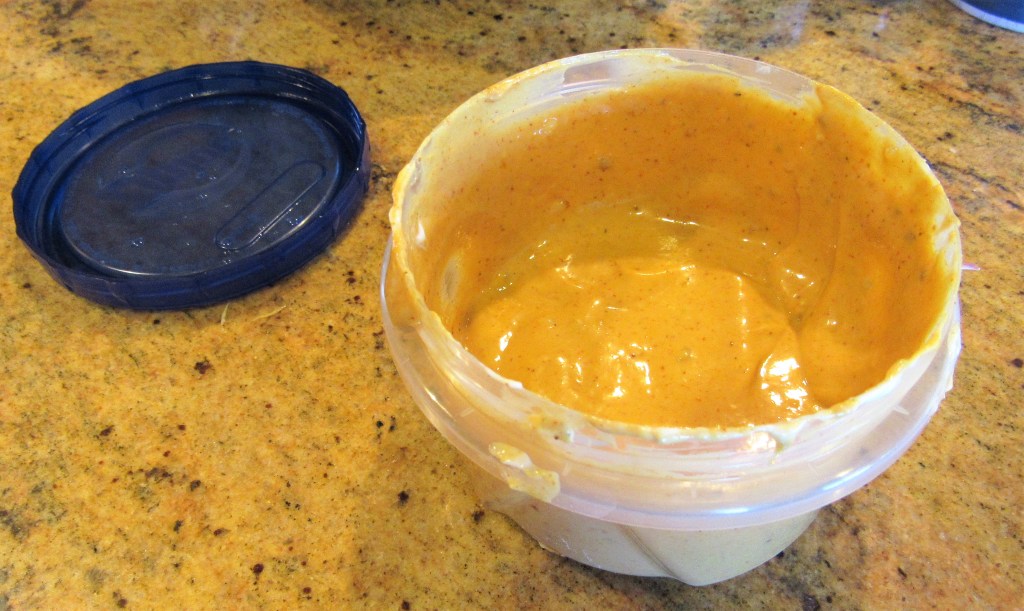
Pumpkin Fries with Spicy Honey Mustard Sauce

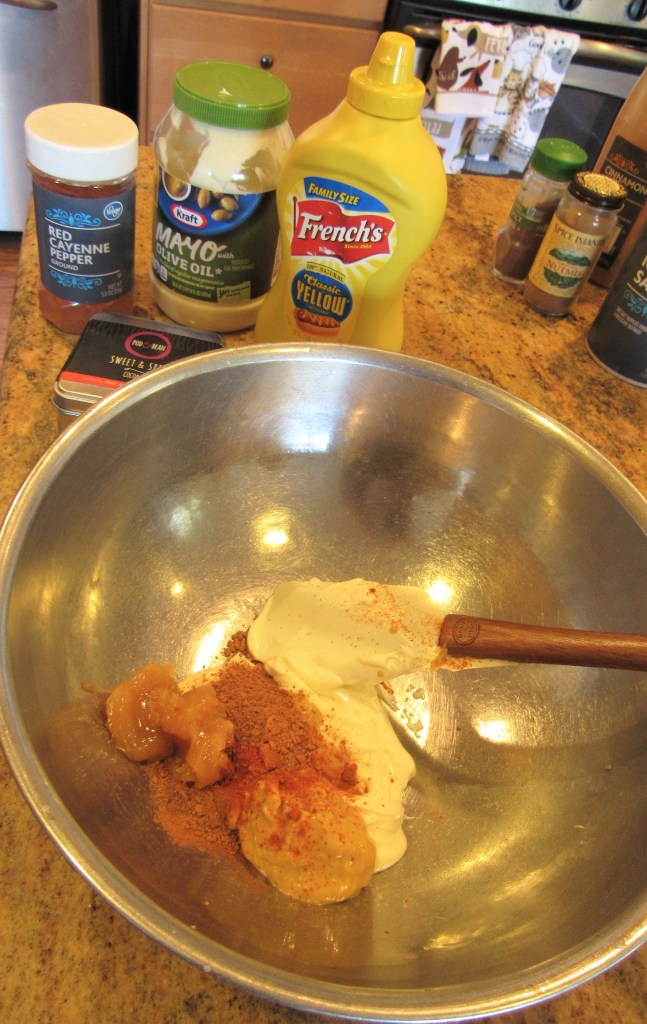
Spicy Honey Mustard Sauce

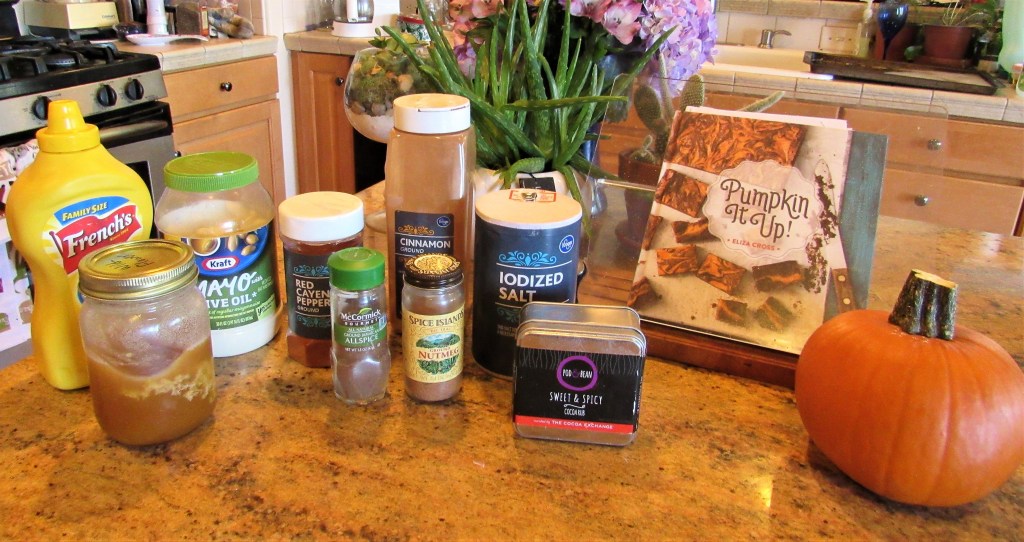
1/2 cup mayonnaise

1 TBSP yellow mustard

1 1/2 TBSP honey

1/2 tsp cayenne pepper

1 tsp chocolate chili powder, optional

Mix all the ingredients together and refrigerate until ready to use.

The Pumpkin

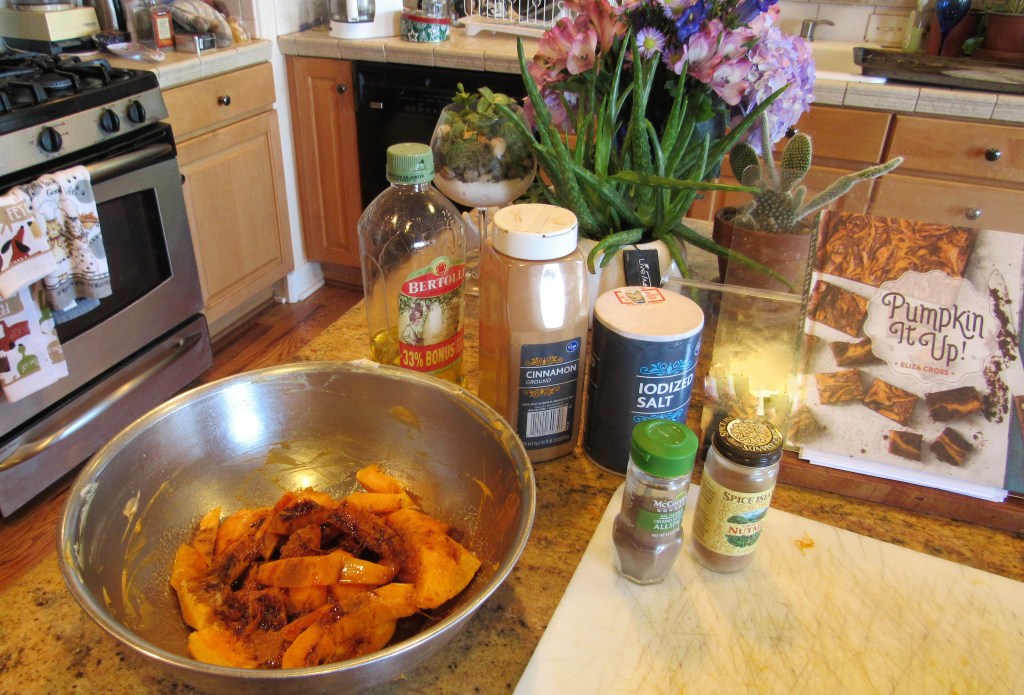
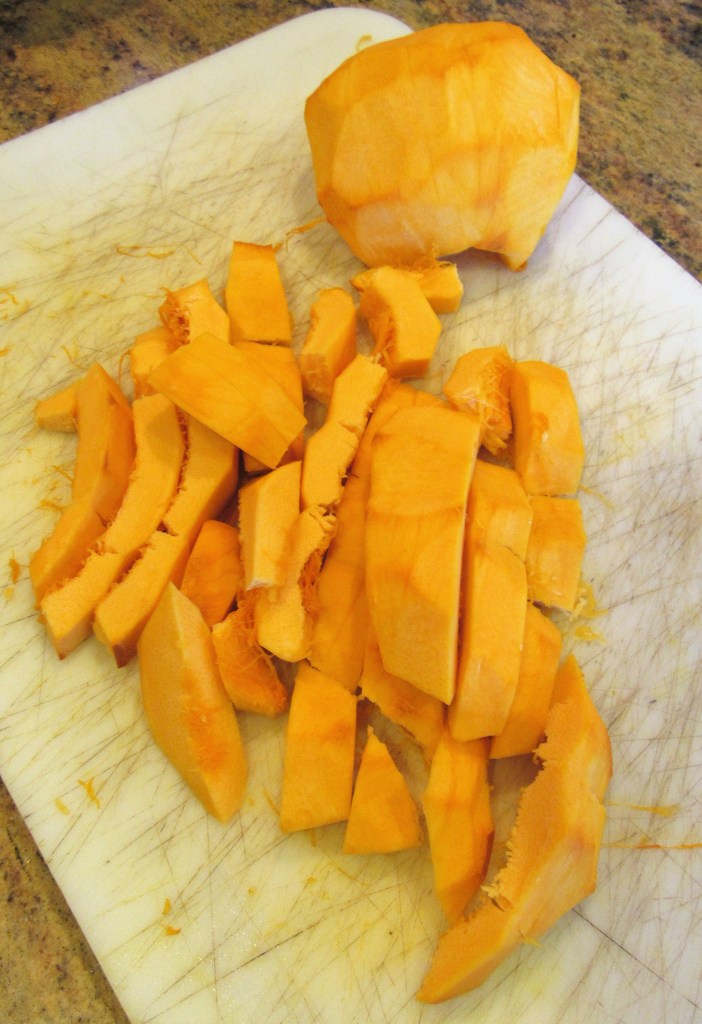
1 small pumpkin, peeled and sliced

2 TBSP olive oil

1 tsp cinnamon

1/4 tsp nutmeg

1/4 tsp allspice

1 tsp salt

Preheat the oven to 350* F or 180* C,

Spray cooking spray into a baking pan.

Mix all the spics and olive oil together then toss with the pumpkin slices until they are all thoroughly coated.

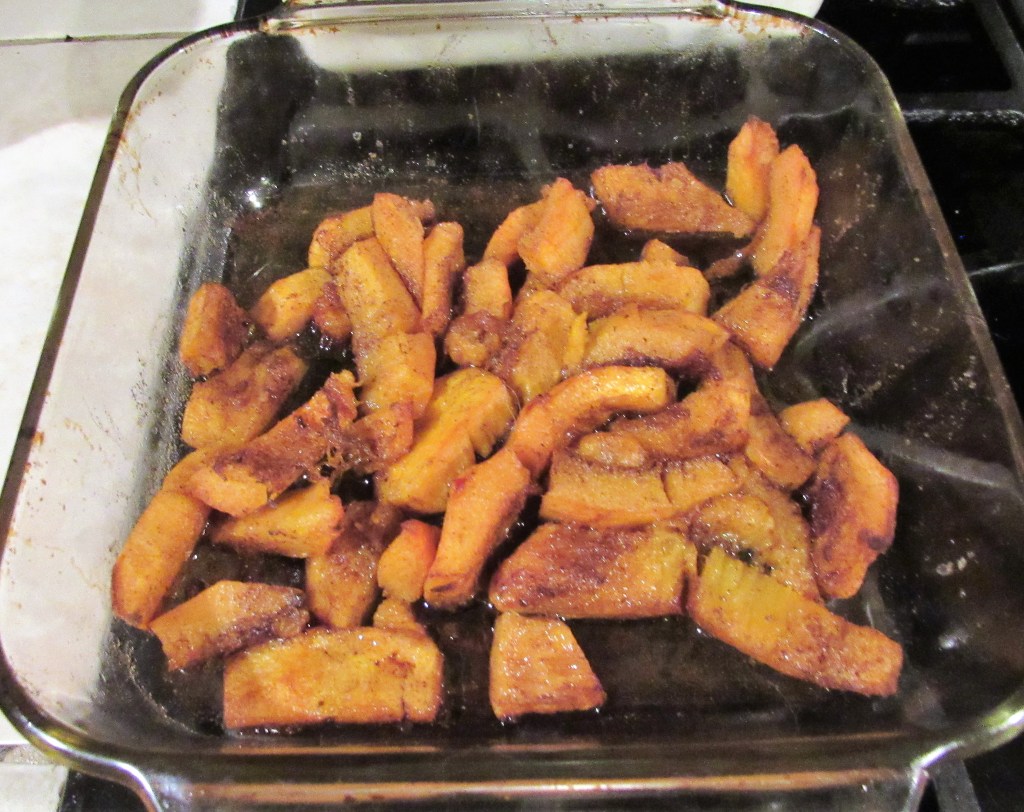
Spread the pumpkin slices in a single layer in the baking pan and roast for about 30-40 minutes, or until they are just tender. Make sure to stir them occasionally while they are cooking.

When you are ready to eat them, serve them with the mustard sauce on the side.

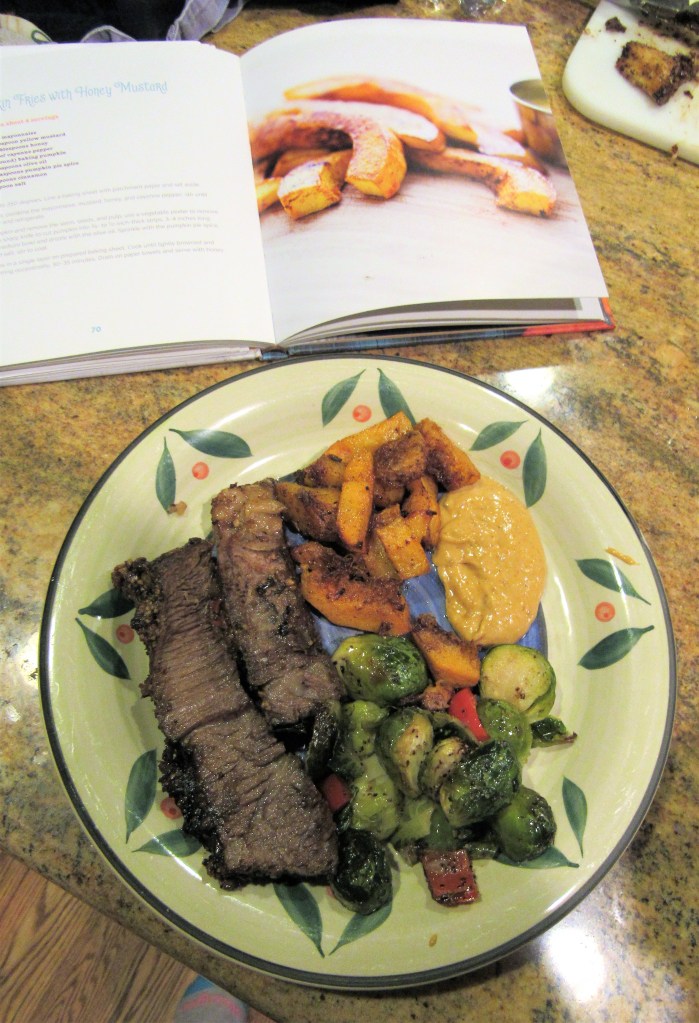
I served my pumpkin fries with a roasted medley of winter vegetables and my marinated beef roast to make for a perfect wintery meal. Marinating the Beef Roast

This sauce is so good. I have plenty left over, so don’t be surprised to see some more creative recipes coming your way to use this sauce. It would go very well with chicken or pork too, or even as a spread for sandwiches too.

Stay safe and stay well Everyone. ‘Til next time.
Natures Walks – Birds, Bunnies, Squirrels and a Puma and a Panther

When we go walk-about, we just never know what we’re going to see. Sometimes, we see a whole bunch of stuff, and other times, nothing. But today, we saw a lot and even met 3 “new feathered friends”.

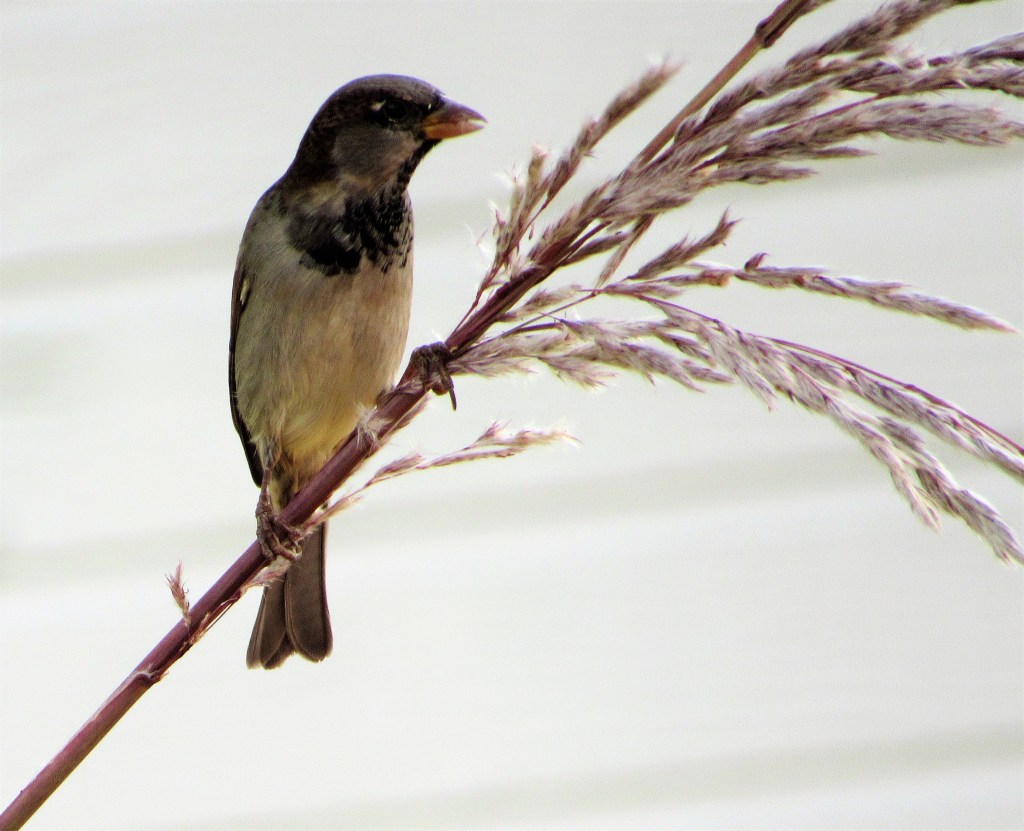
I saw a Harris sparrow, hanging out on the willows.

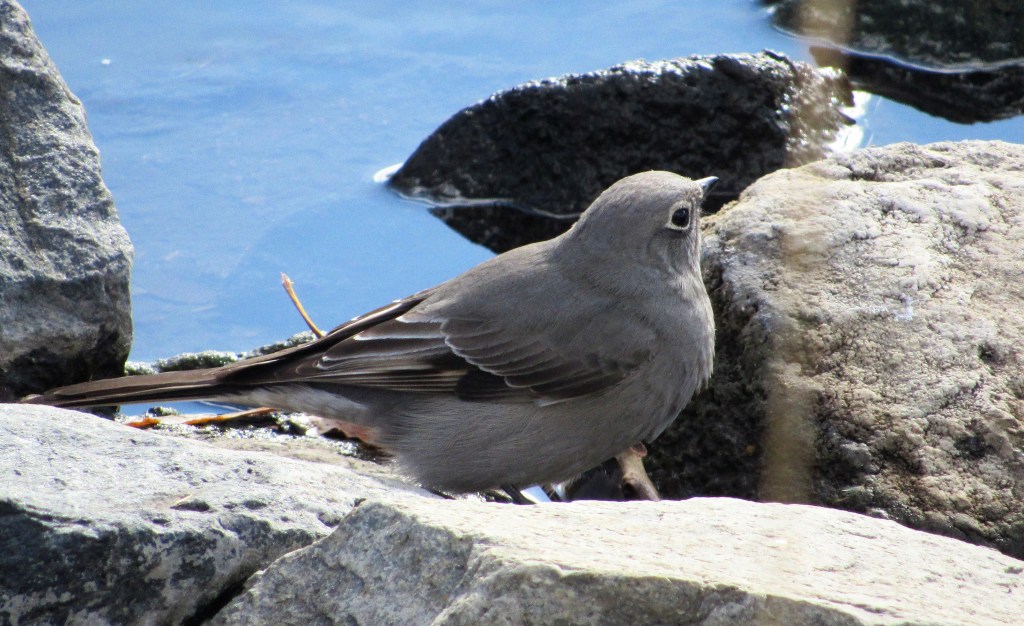
A Clark’s Nutcracker playing on the rocks.

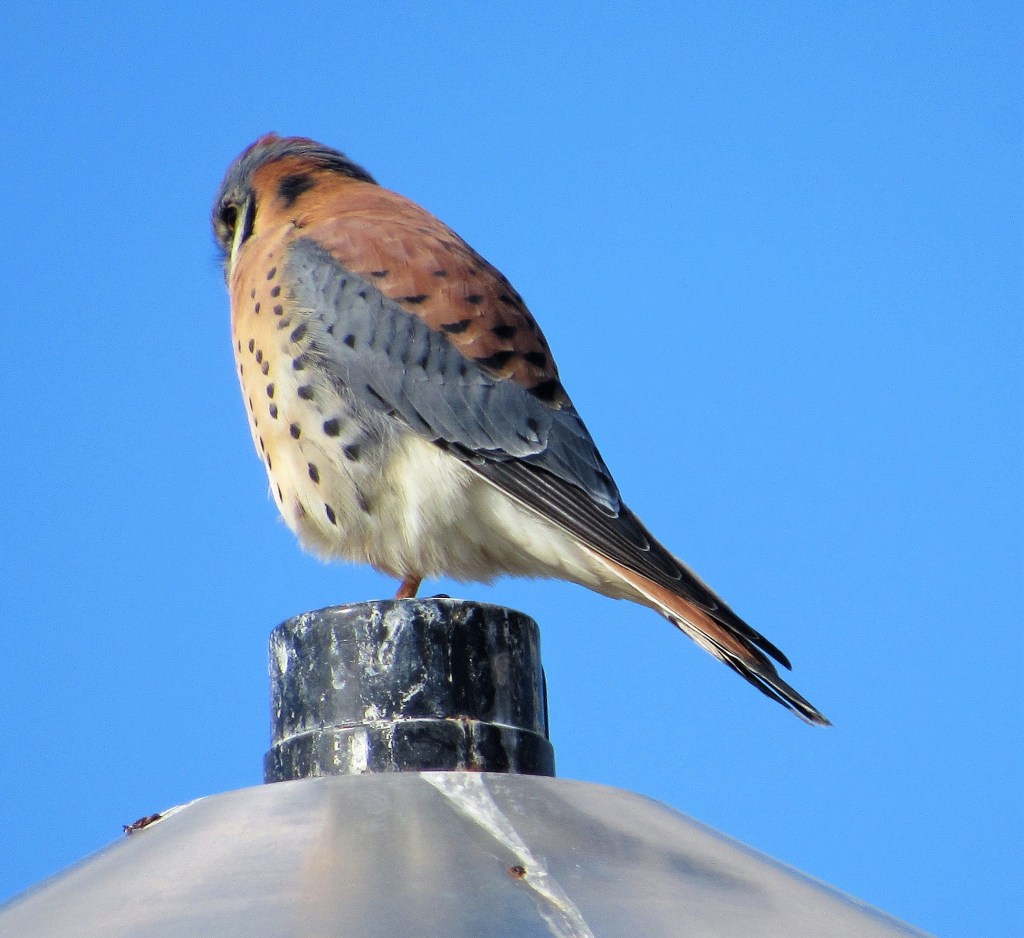
But my favorite new friend that I met today was a beautiful American Kestrel. Isn’t he just gorgeous?

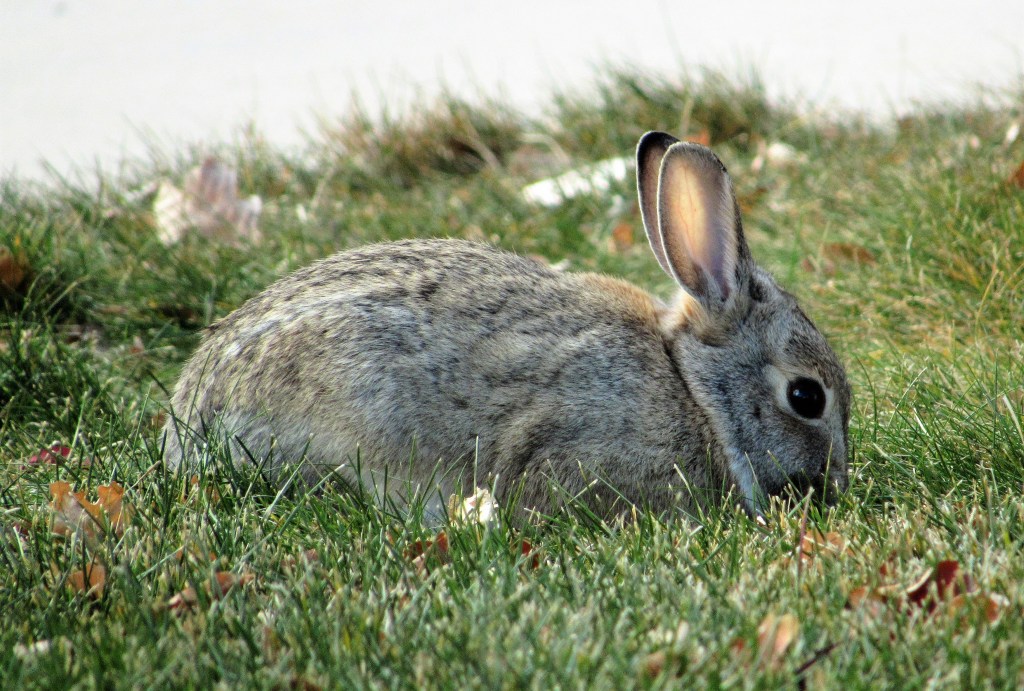
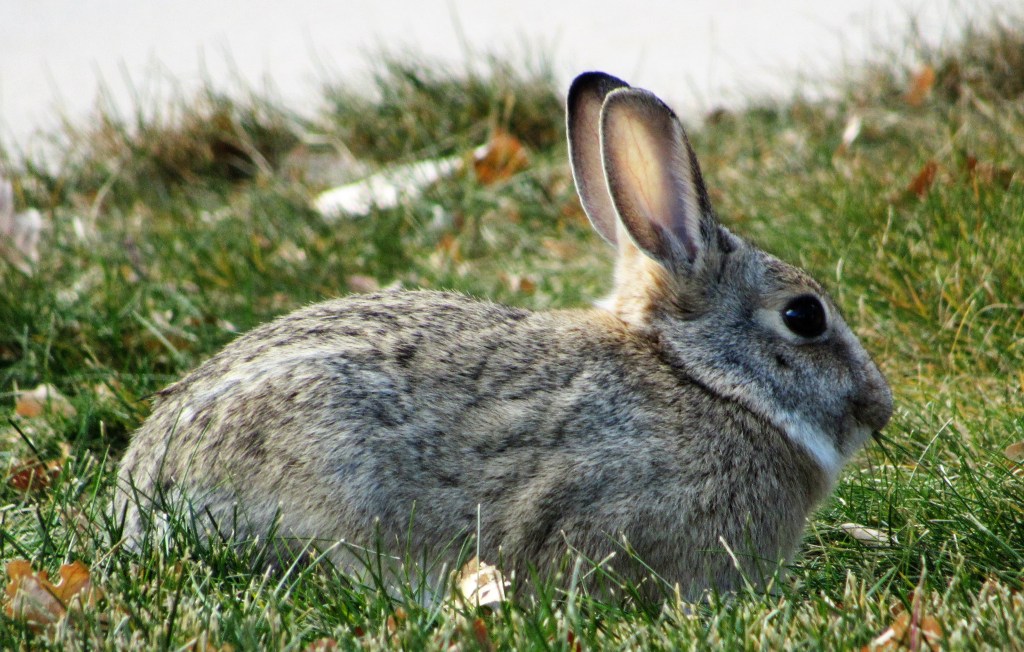
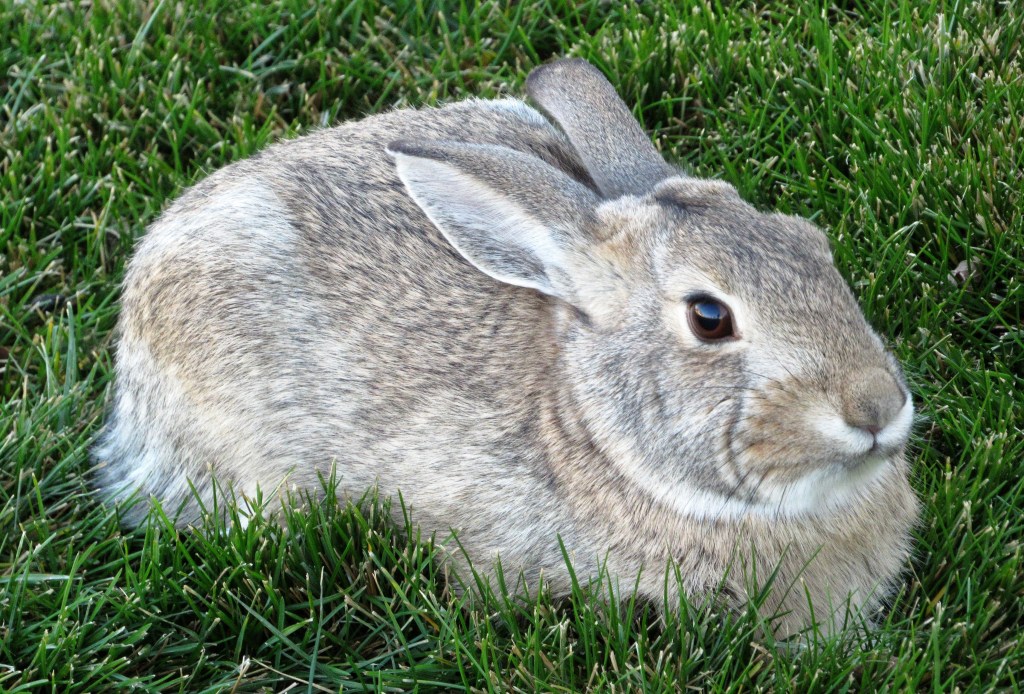
We saw a couple of bunnies who were trying their best not to be seen.

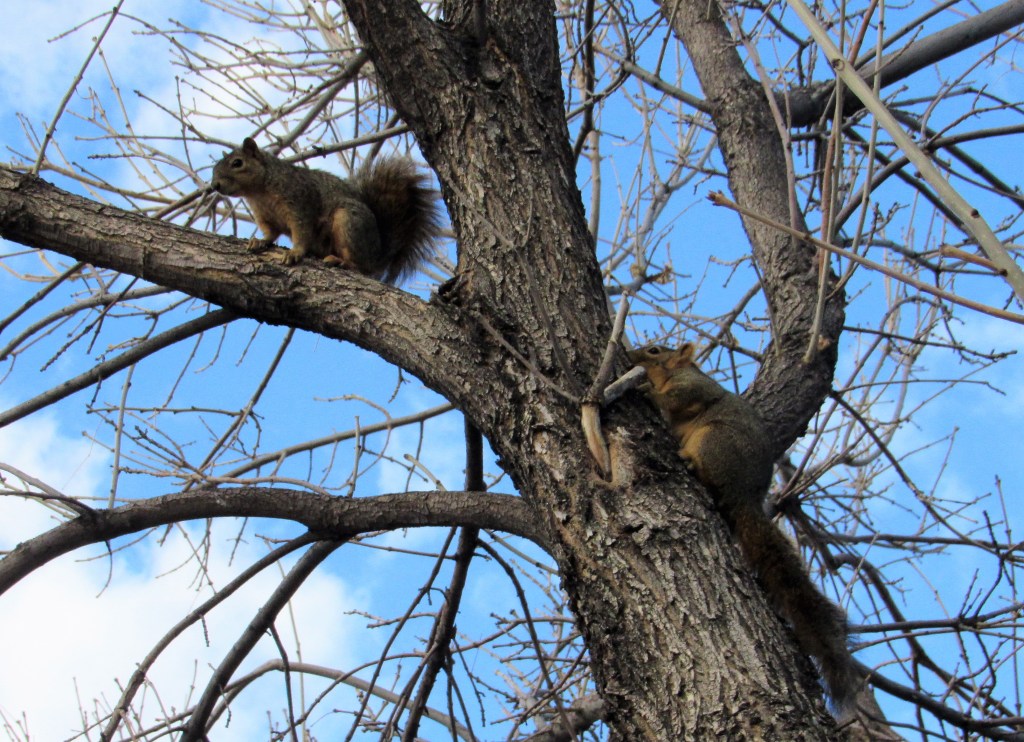
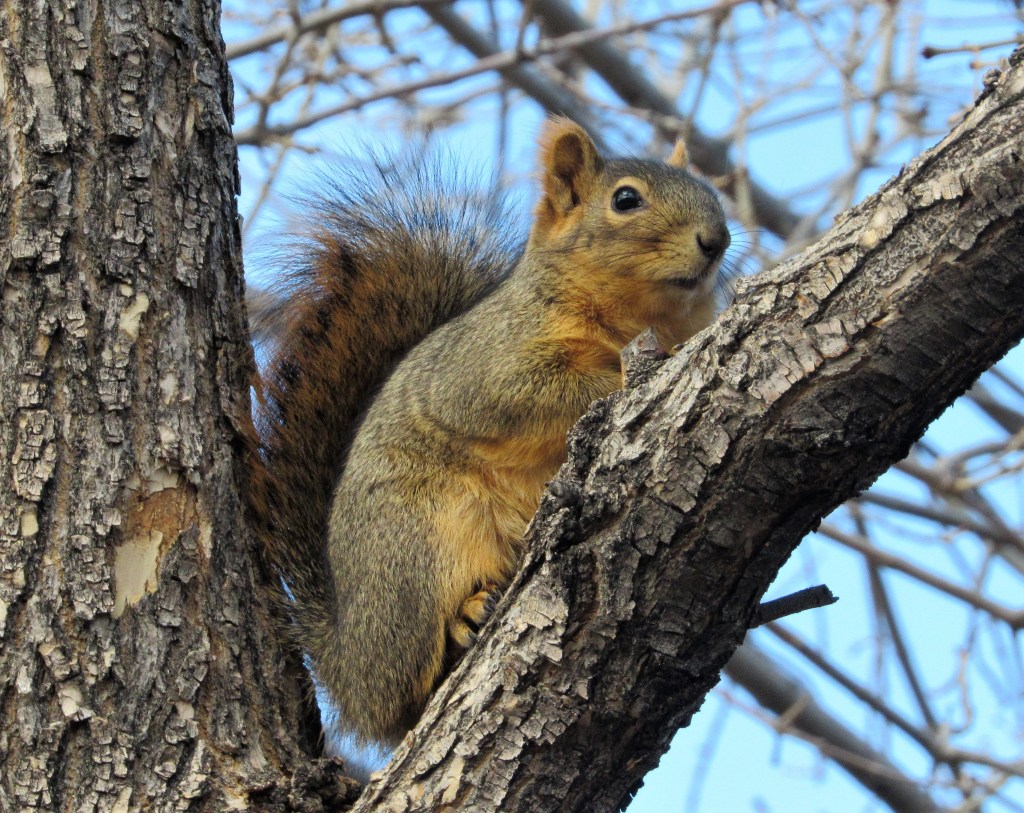
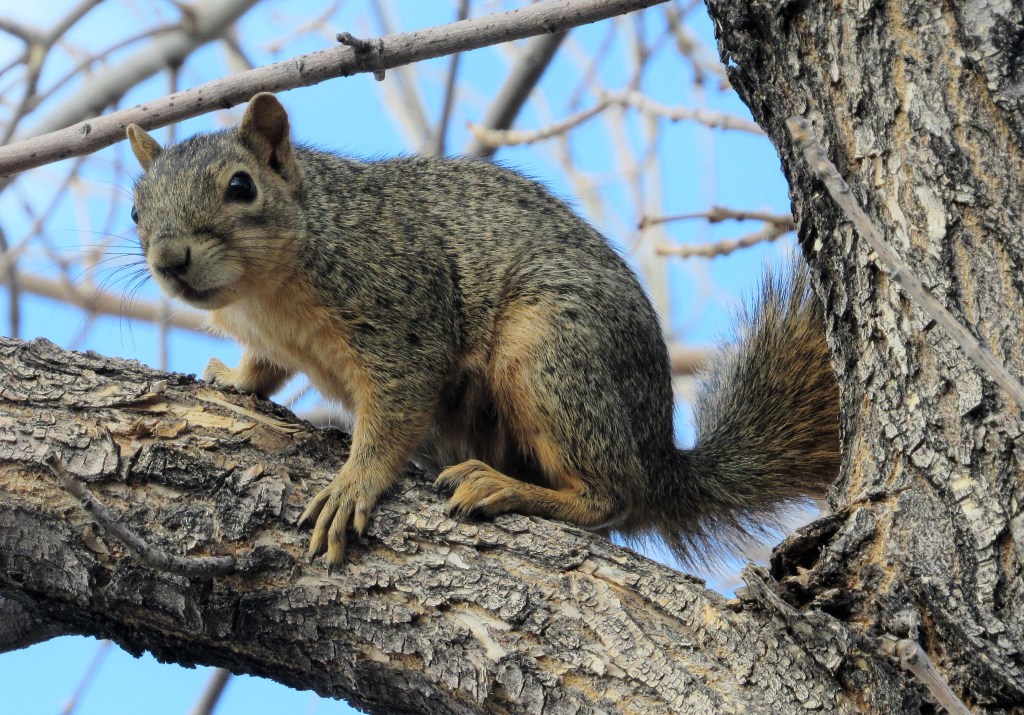
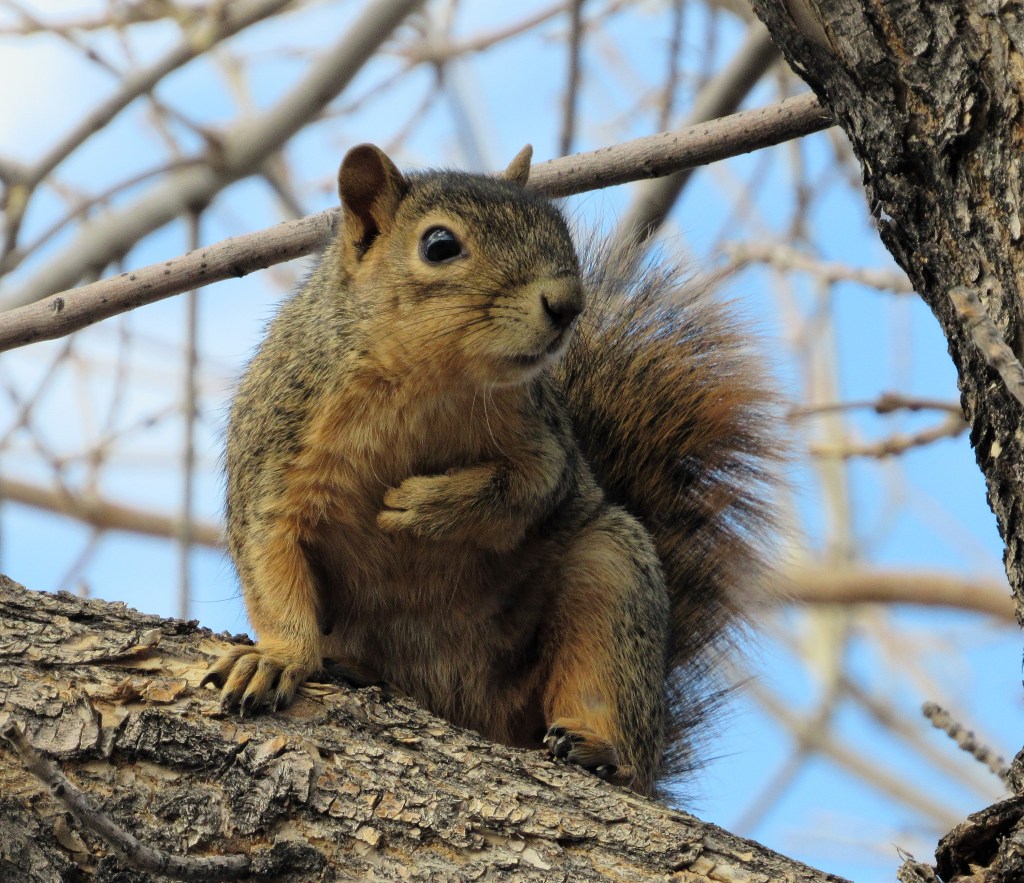
There were a couple of playful squirrels up in the tree.

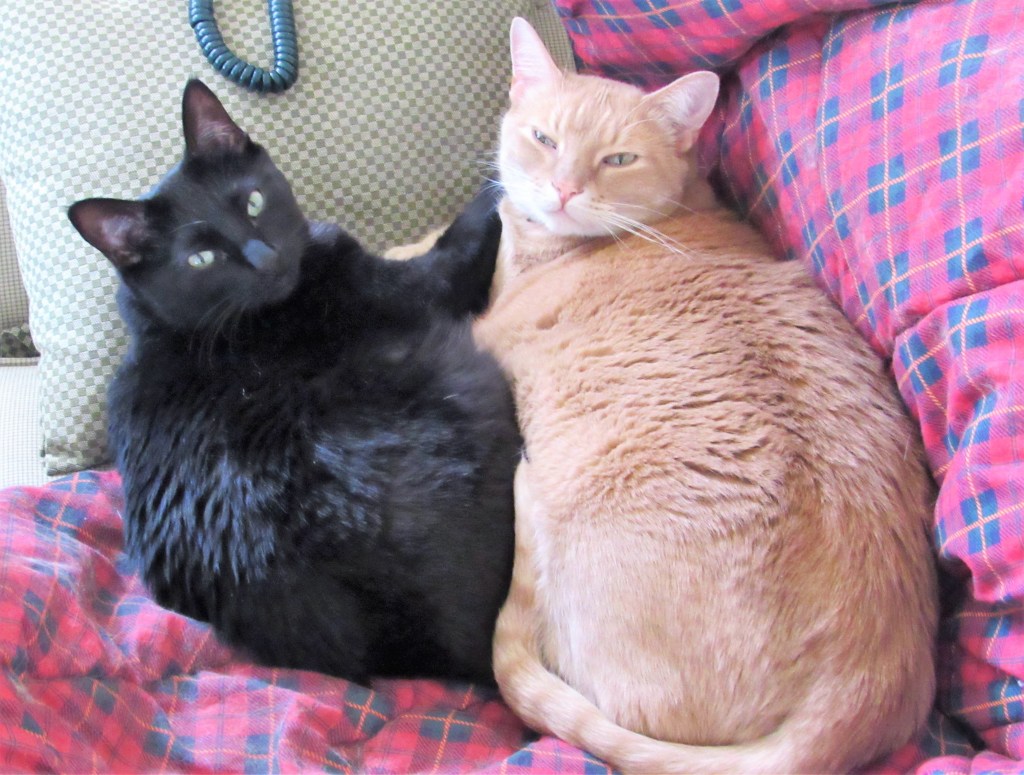
And a puma and a panther waiting for us once we got back home.

It was most definitely a good day for a nice walk and a good day for pictures too.

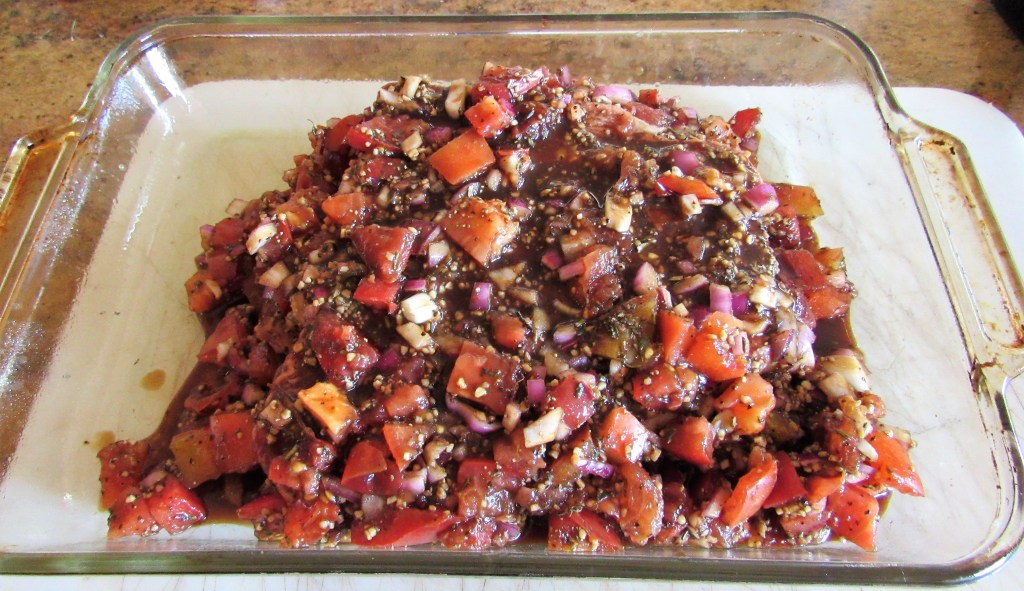
Marinating the Beef Roast

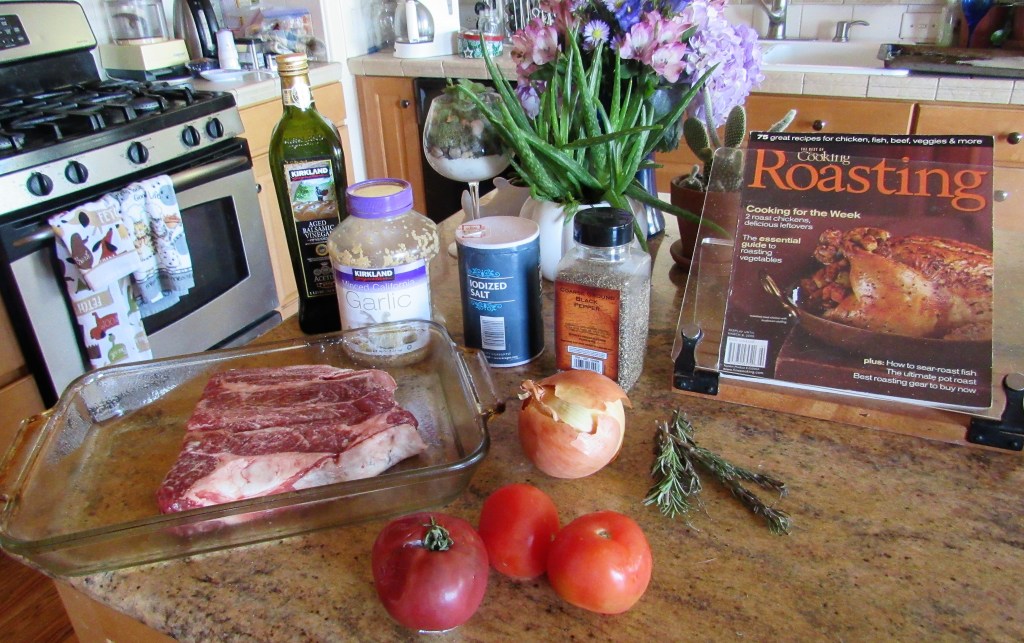
Because I am usually only cooking for the two of us, I don’t make beef roast all that often. But every now and then, a beef roast will come into the cooking rotation. And I am always glad when they do. And I am always looking for tasty ways to prepare them too. If found a delicious recipe that only required a few basic ingredients and a few hours to marinate. This is one of the recipes that the longer all the flavors get to combine with each other, the better it will be. An overnighter would be perfect, but if you don’t have all night to let it rest, let it rest for at least 3-4 hours before cooking.

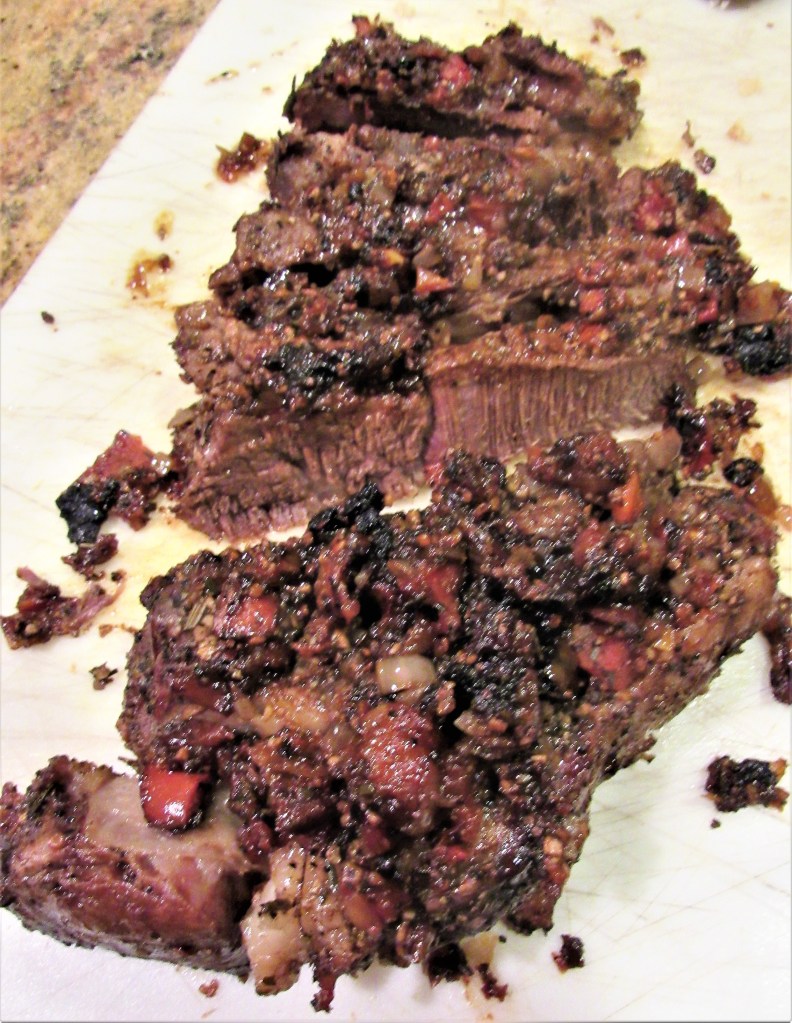
I marinated the beef roast with tomatoes, balsamic vinegar, onions and garlic. YUM! You can’t go wrong with any of those flavors, and the roast came out so flavorful and so tender. It was almost tender enough to cut with just a fork.

Beef Roast with a Tomato Balsamic Vinegar Marinade

2 1/2-3 lb beef roast

2 TBSP garlic

1 cup balsamic vinegar

2 TBSP fresh rosemary, chopped fine

2 onions chopped

3-4 tomatoes, medium dice

salt & pepper to taste

Mix all the ingredients together and pour over the roast. Marinate in the refrigerator for at least 3-4 hours. Overnight is best though.

When you are ready to cook the meat, preheat the oven to 350* F or about 180* C. Cover the meat with aluminum foil and place it in the oven. Let it roast for 3-31/2 hours, or until it is tender and the juices are clear.

Remove the roast from the oven and let it rest for about 5-10 minutes before slicing. Top with some of the sauce and serve it up. The meat will just melt in your mouth. You’re going to love it. I promise you.

I served it with some roasted Brussels sprouts and pumpkin fries with a spicy honey mustard sauce and a velvety red on the side. Ah! Perfection on a plate.

Stay safe and stay well Everyone. ‘Til next time.

Video #18 – Making Caramels with Priscilla

My friend Priscilla and I have been friends our whole entire lives. We are familia. Every year we get together and have a tradition of making big batches of caramels that we share with family and friends over the holidays. We have perfected these caramels too. We make the plain, traditional caramels as well as chocolate pecan caramels. And we have made all the mistakes already, so rest assured, these are fool proof now. With the Holidays just around the corner, it is the perfect time to share this video and share the caramels with everyone too.

As always, if you like what you see, please subscribe to my YouTube page and share it with your family and friends too.

Stay safe and stay well Everyone. ‘Til next time.
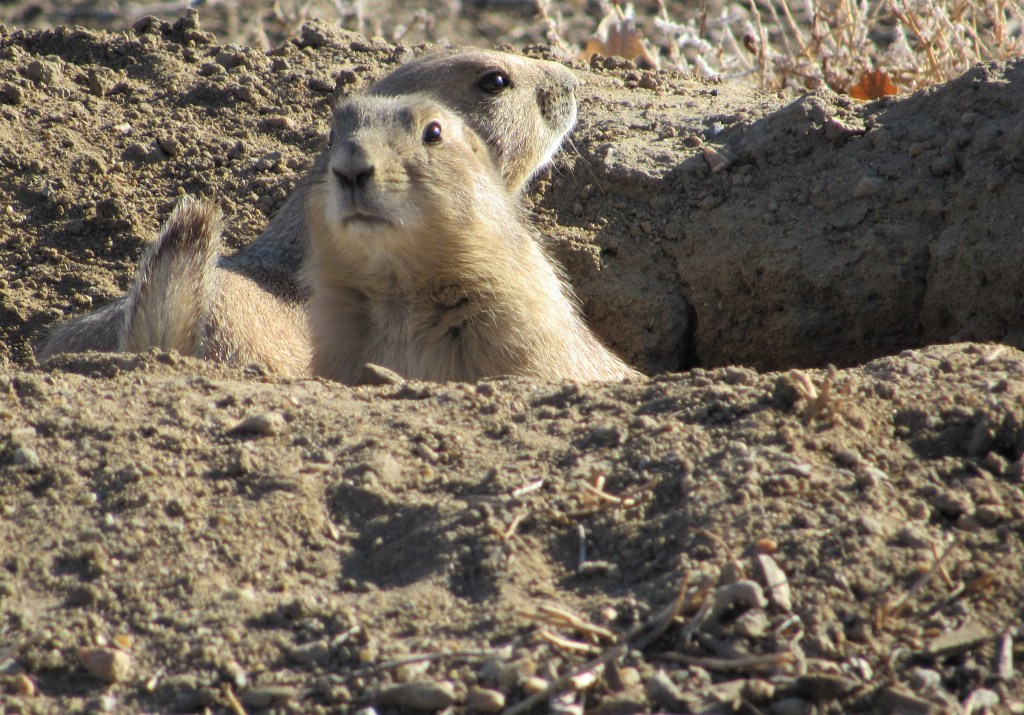
Signs on the Wall

Sometimes, you just need to have a little fun and do something out of the ordinary, although I am always doing something out of the ordinary. That’s just me and just who I am. I always like to do something unexpected just to get your attention.

Last night I made chicken and broccoli Alfredo, which you have certainly seen me make many times, since it is one of my favorites. Fettuccine Alfredo with Chicken, Broccoli and Mushrooms

I didn’t have any new recipes to share with your today, so I am sharing something else instead. Today I thought it would be fun to do show you the signs on the walls. Signs that pretty much sum up life at my house and tell you exactly who I am as well.

Obviously, you all know I love to cook and you all know how I love my wines too.

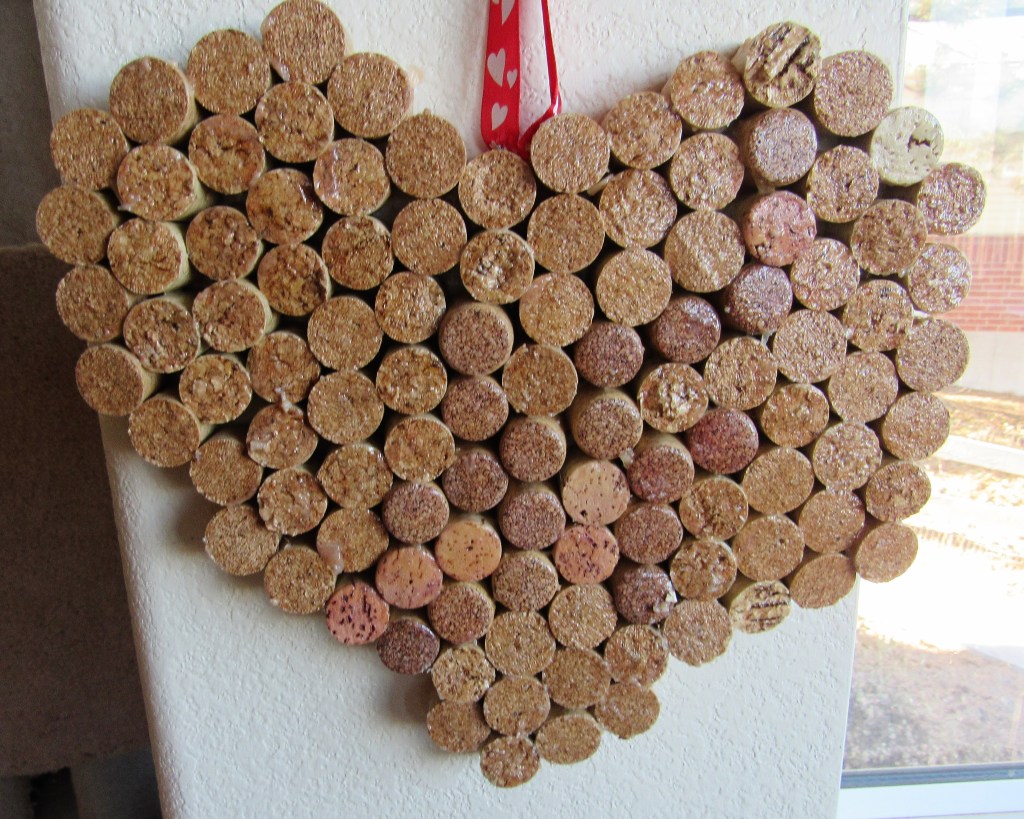
I am also very crafty and enjoy working with my hands.

And you all know I am a big dog lover, and I do mean a BIG DOG lover too. Signs of the dog.

My two loveable Saints, Lucie and Vinnie. RIP Lucie Lu. Mommy loves you and misses you very much.

I needed something fun and whimsical today. I hope you did too.

Life is short, live it up. Stay safe and stay well Everyone. ‘Til next time.
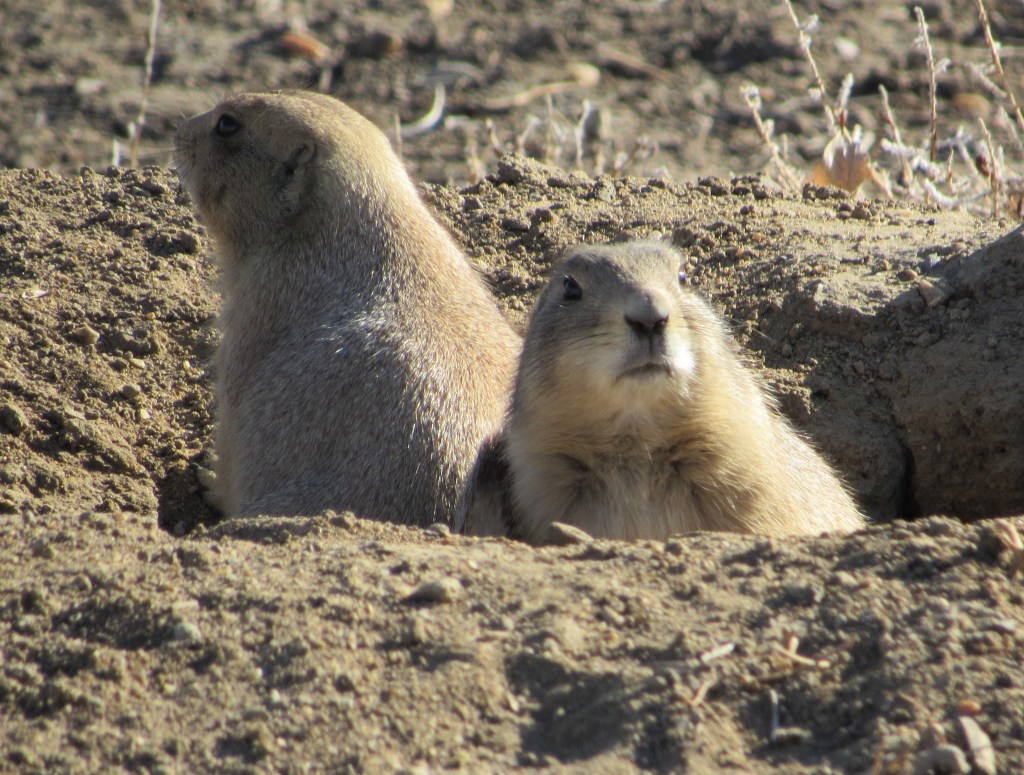
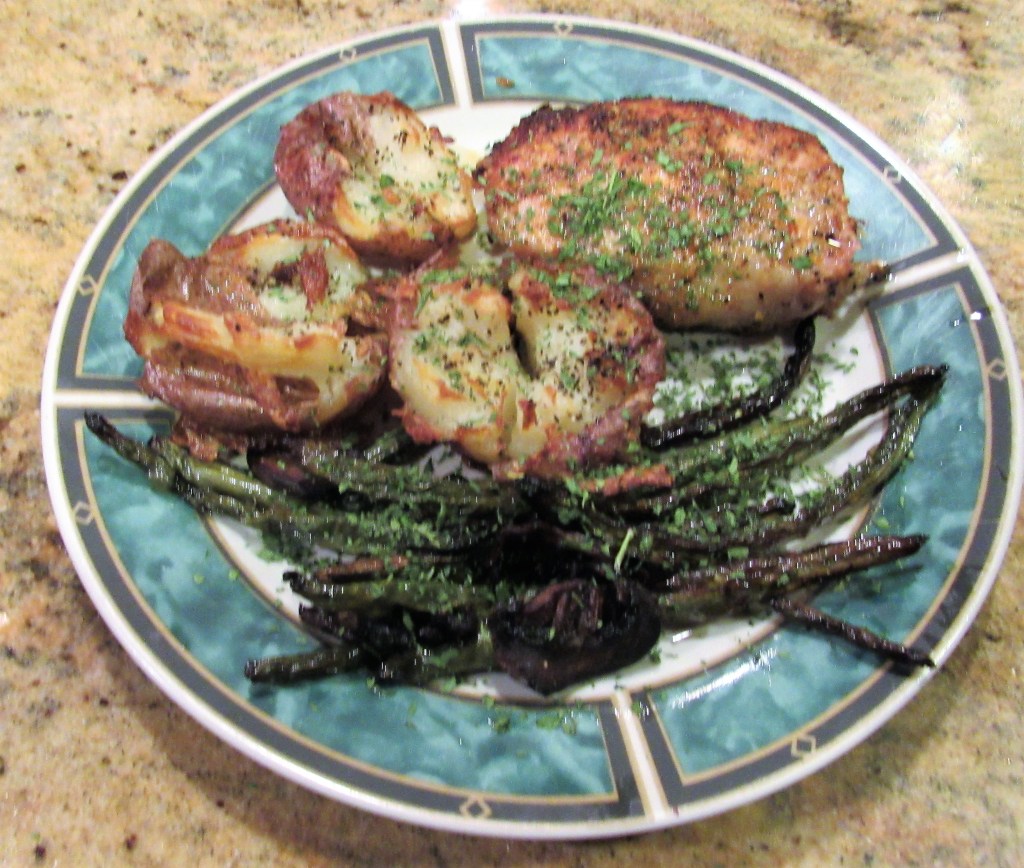
Balsamic Roasted Green Beans and Mushrooms

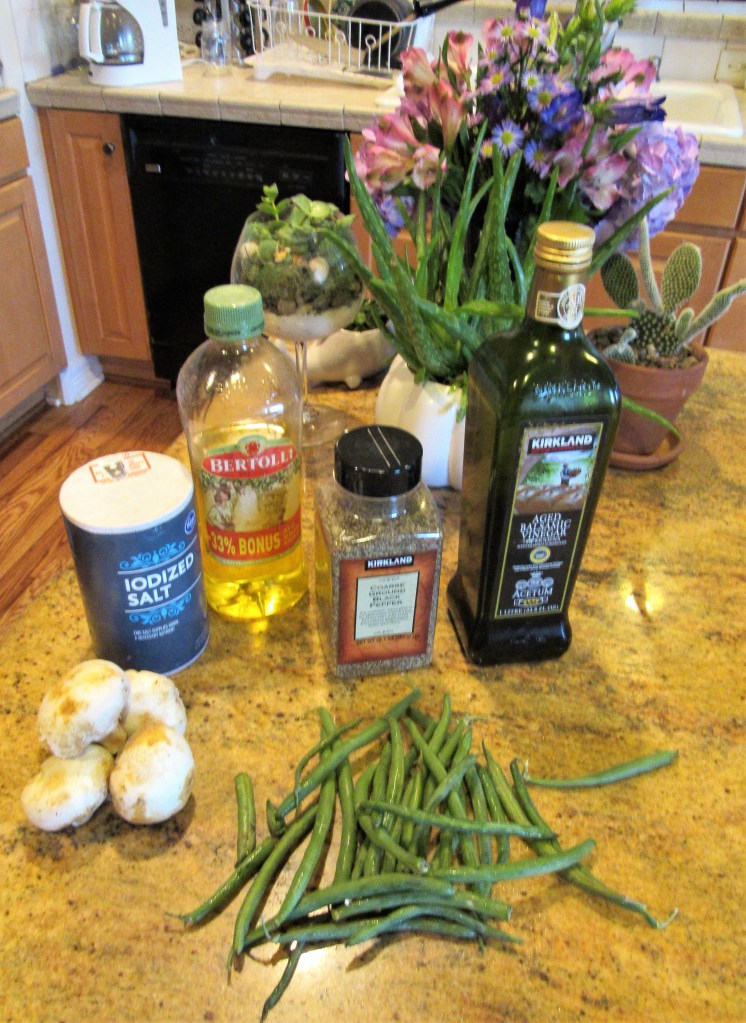
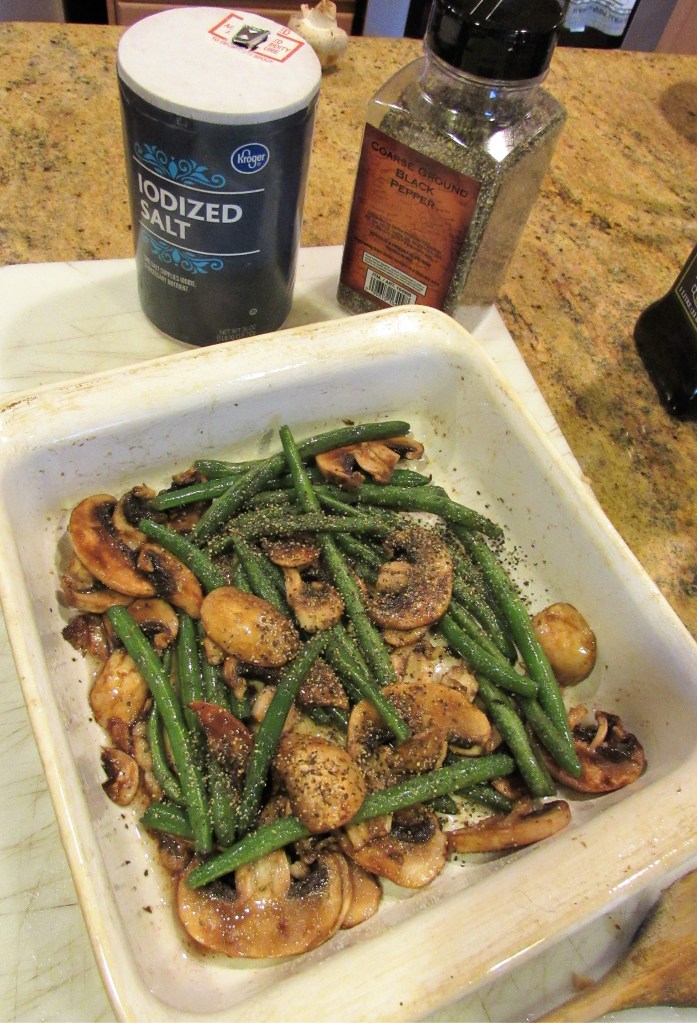
It was just a simple roasted dinner. Roasted pork chops, smashed potatoes and roasted green beans and mushrooms with balsamic vinegar. YUM! Sometimes, simple is best. I saw this recipe and thought it sounded so delicious. I just had to try it. And so I did. It was very tasty and one I will definitely be doing again in the future.

This simple yet tasty recipe only requires a few basic, everyday ingredients, and voila, a taste sensation is created. I ran out of Parmigiano cheese, so I did not add it this time around. I also made a smaller amount because I didn’t have as many green beans as needed. That’s what happens when you think you have enough of something and you don’t go to the store. 🙂 Oh well. “These things, they do happen”, Carlotta, from the Phantom of the Opera. But since it was just the two of us eating, it was actually just the right amount, so as always, it all worked out just fine.

Balsamic Roasted Green beans and Mushrooms

1 lb green beans, trimmed

1- 1 1/2 cups sliced mushrooms

2 TBSP olive oil

1- 1 1/2 TBSP balsamic vinegar

salt & pepper to taste

shredded Parmigiano cheese for topping, optional

Preheat the oven to 450* F or 230* C

In a pan of boiling water, par cook the green beans first for about 5 minutes, then drain.

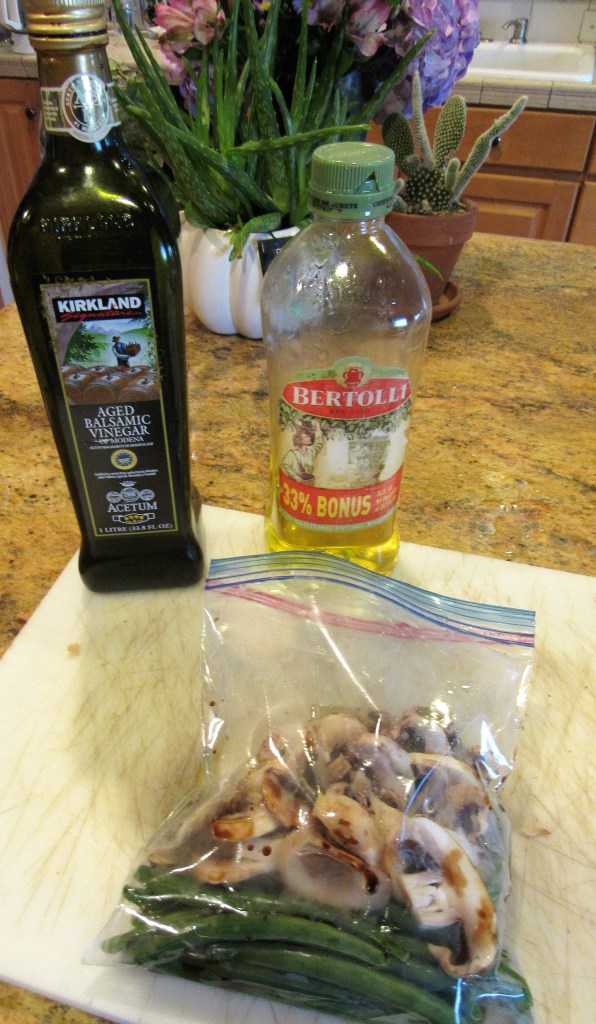
Place the sliced mushrooms and the green beans in a plastic bag and add the olive oil and balsamic vinegar. Gently mix everything together to coat the vegetables.

Once the vegetables are thoroughly coated, place them in a baking dish. I also added a bit of cooking spray to the pan. Season the vegetables with salt and pepper to taste and roast for about 25-30 minutes, or until the green beans are tender and the liquid has evaporated.

If topping with Parmigiano cheese, add it once the vegetables have been removed from the oven and enjoy on the side with your favorite main dish. This recipe is just the way I like it – simple, basic ingredients, and delicious!

Stay safe and stay well everyone. ‘Til next time.
Nature Walks – … Squirrel …

Our weather is all mixed up. It’s the middle of November and it is a warm, sunny day. When I was out walking, I saw a few people in shorts. Shorts in November? Who would have thought?

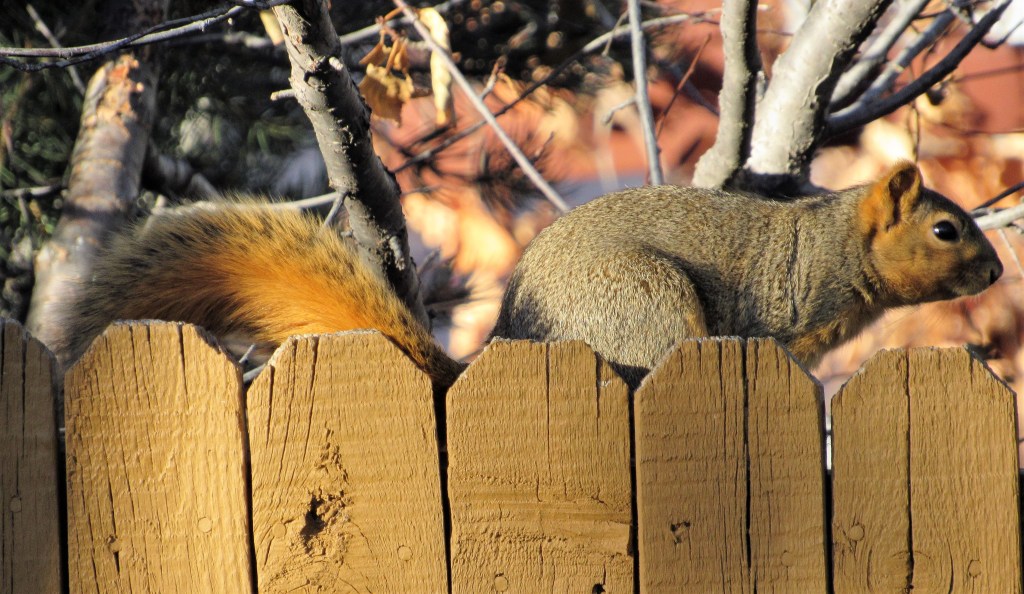
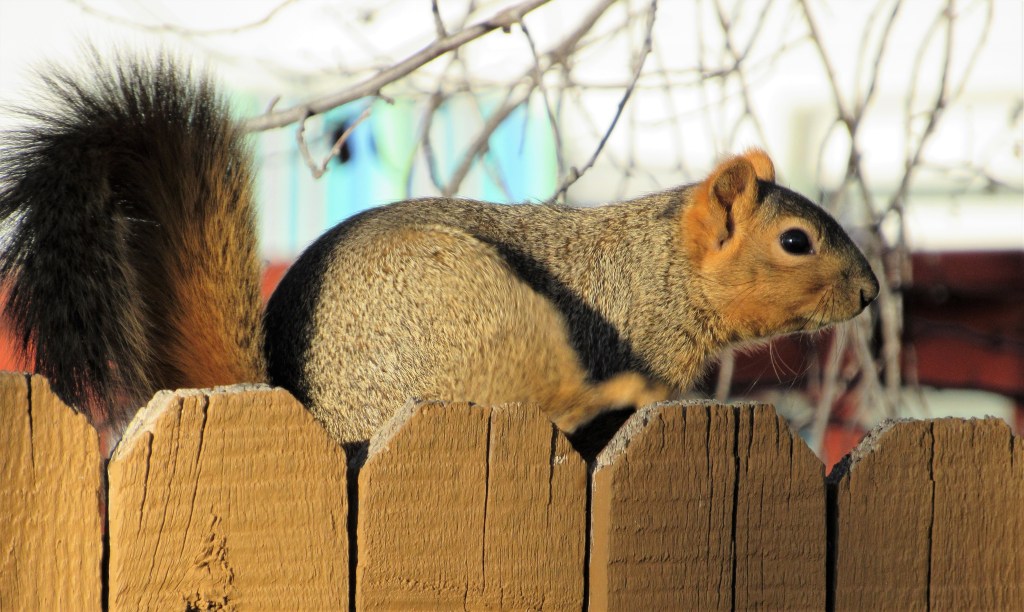
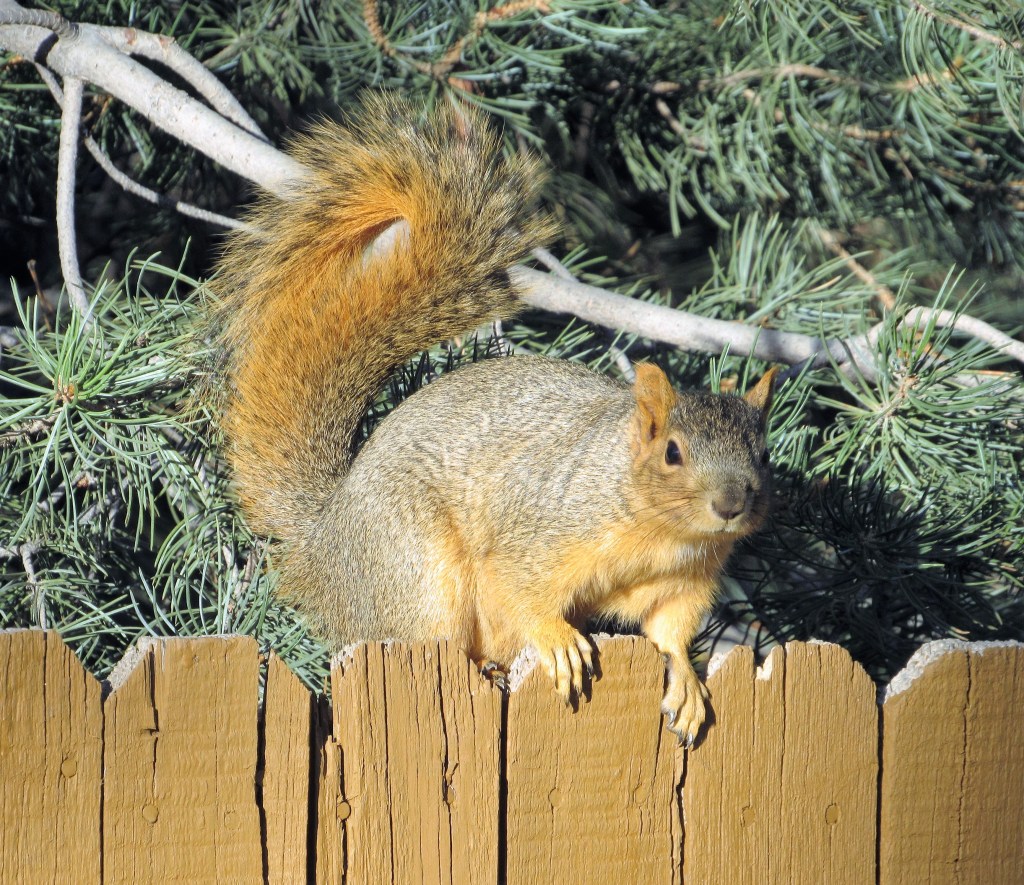
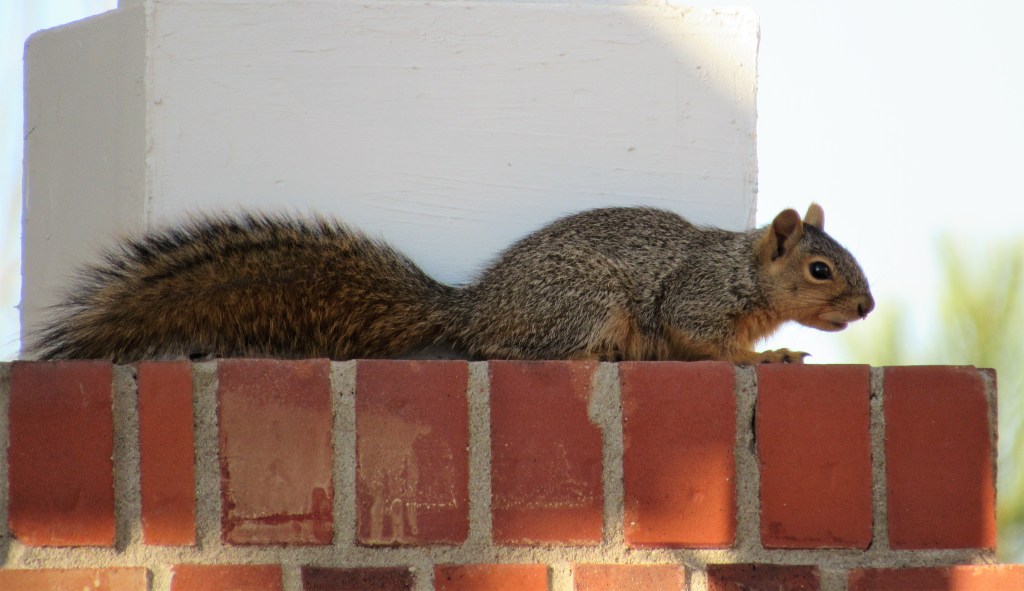
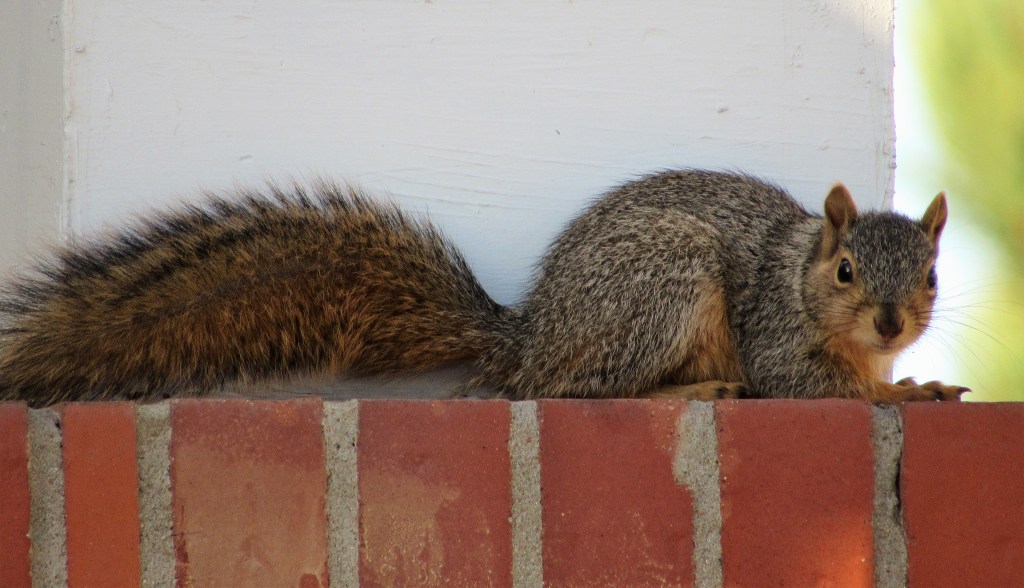
The ducks and geese were leisurely swimming across the lakes, but there were a couple of playful squirrels that caught my lens today. I just couldn’t resist. They were just too darn cute.

This one was running along the fence.

This one is playing on the porch.

And then they were gone. Now you see them, now you don’t.

Shrimp Quesadillas

I make quesadillas quite often. They are simple and easy to make and are always delicious, or should I say delicioso! They are also extremely versatile. Sometimes we are just not in the mood for a big dinner or something that requires a lot of work and quesadillas are a perfect solution for that. You can make them with any filling you like. You can add chicken, beef, pork, seafood, shrimp, or vegetarian. There is NO right or wrong way to make them. The only necessary ingredients for quesadillas are cheese or queso, and tortillas. Other than that, just use your imagination and create what you like. Because there are no rules for making quesadillas, I am just going to show you the “hows” of making them rather than giving you an actual recipe.

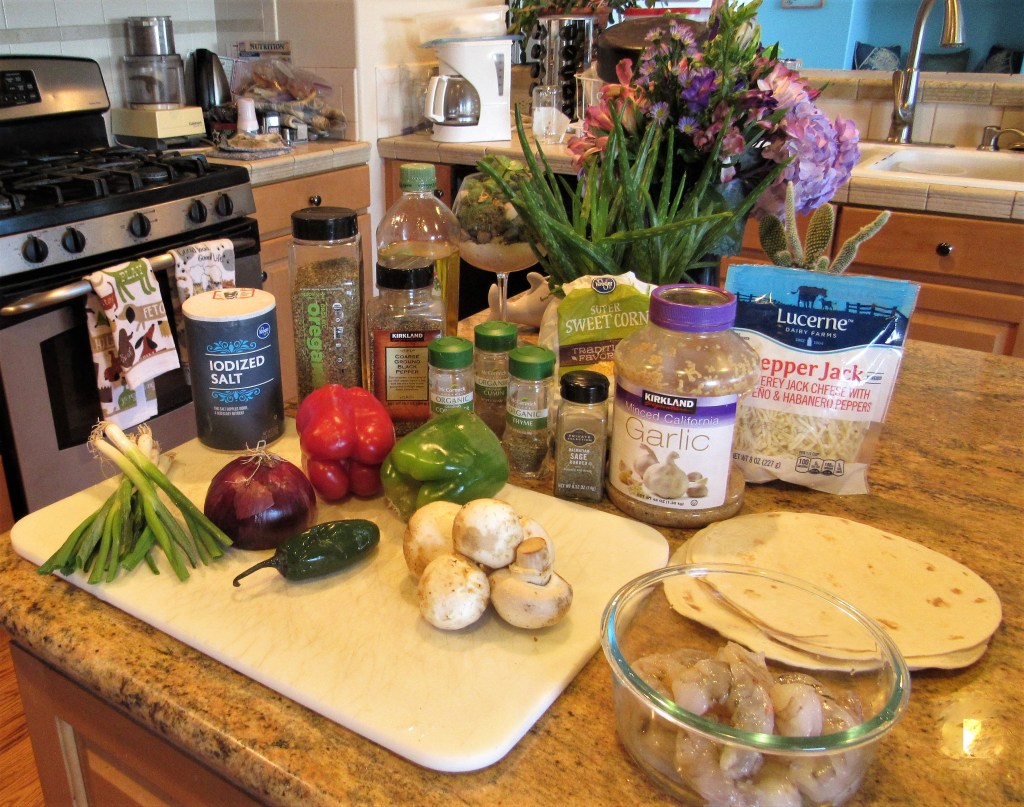
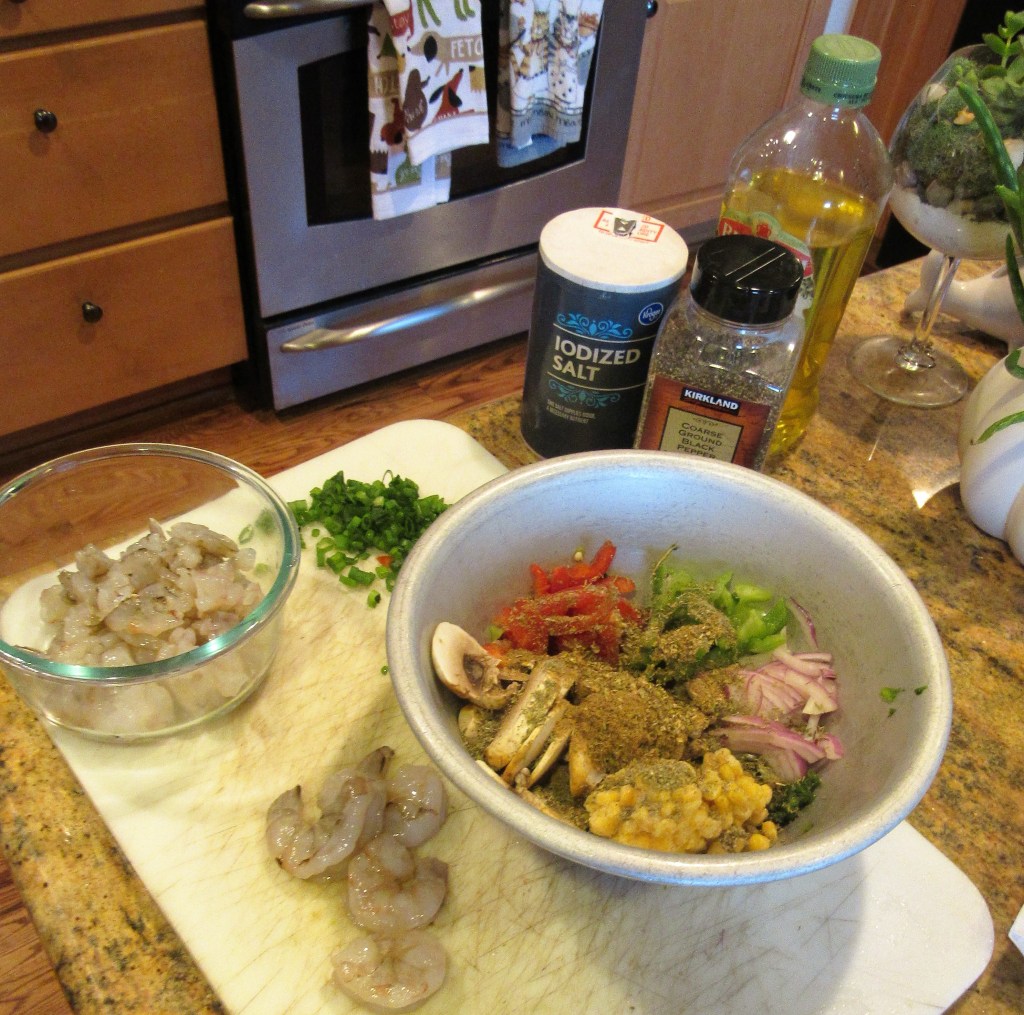
Start by getting all your ingredients prepared. Once you start making the quesadilla themselves, they cook in no time at all. I make quesadillas with different ingredients all the time, although I try to always keep them Spanish in nature. I almost always add a bunch of different vegetables to whatever meat I am using as well. This time I used red and green bell peppers, a jalapeno, red onions, mushrooms and corn – all Spanish/Mexican vegetables that are found in most Mexican cooking. You can use any kind of cheese you like as well. I used jalapeno jack for mine, but Larry wanted a cheddar/jack mix for his.

Again, to make my quesadillas more authentic, I also use a variety of different Mexican spices and herbs, like thyme, oregano, cumin, coriander and cayenne pepper.

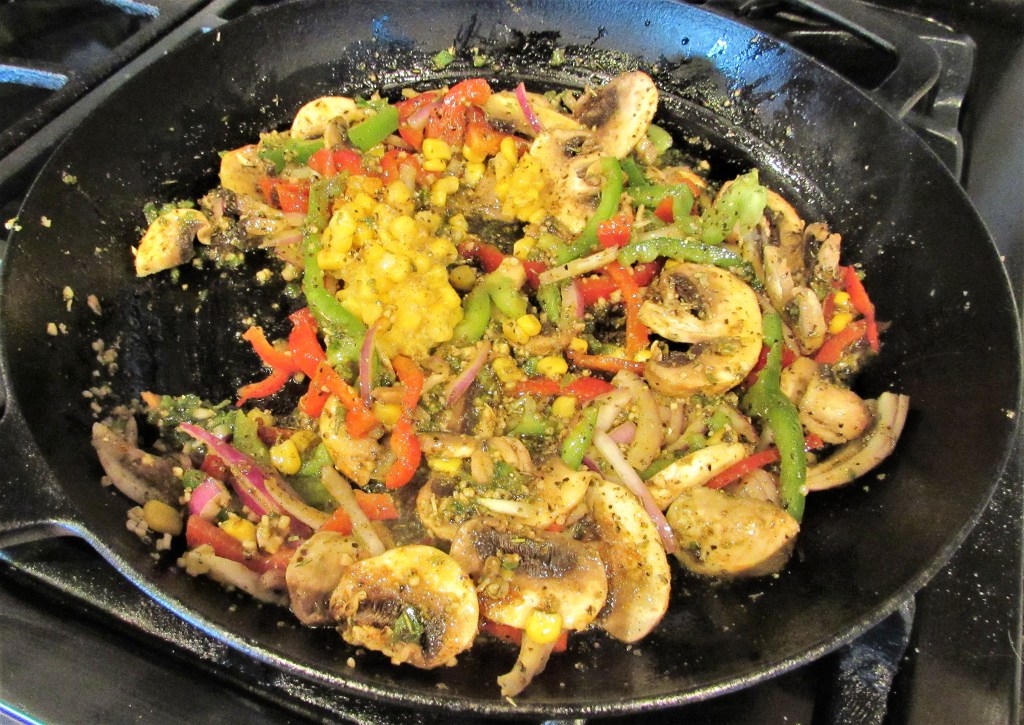
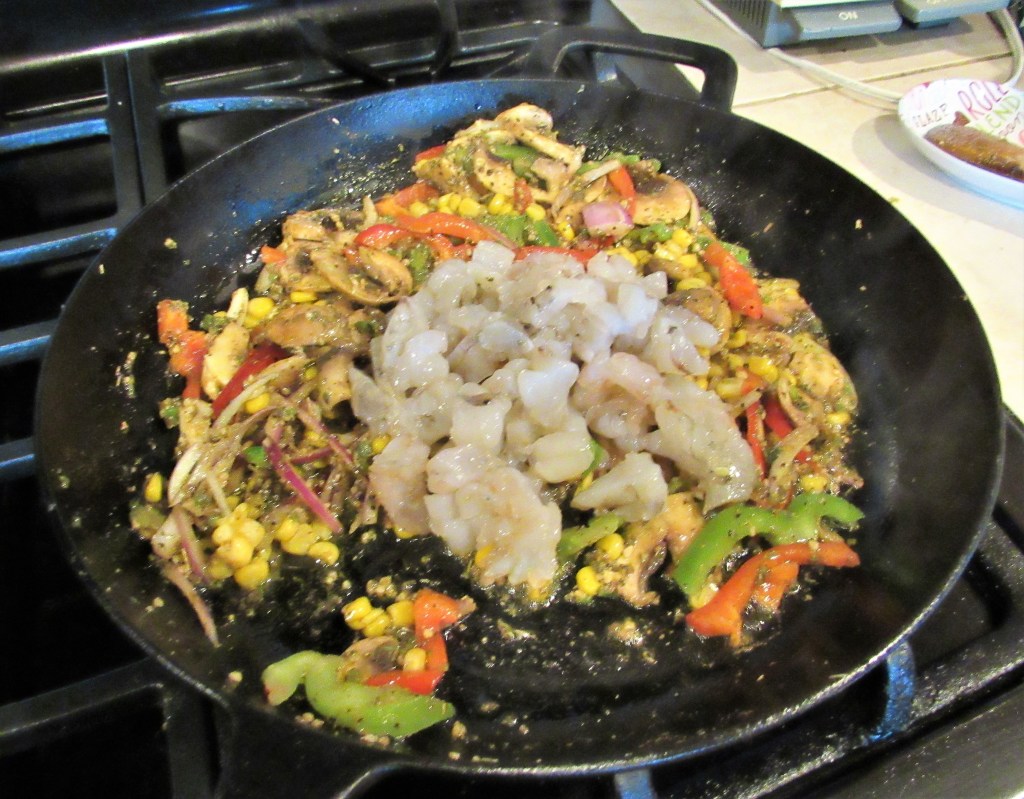
I cooked my vegetables first, then added the shrimp. I cut my shrimp into pieces, because it just makes it easier to eat, but you do not have to.

In a separate pan, lay a tortilla on the bottom of the pan and add a layer of cheese.

After the cheese is completely melted, remove the tortilla and repeat with another tortilla, so you have both a top and bottom. Add your filling to the second tortilla then top with the first tortilla and press to stick them together.

Remove the tortilla from the skillet and top with your favorite toppings. I usually add salsa, lots of salsa, and either avocadoes or guacamole and either cilantro and/or green onions. Larry also adds sour cream to his. They are always very messy, but they are always so worth the mess.

My quesadillas are always so good, it is really difficult for me to eat them anywhere else. After eating mine, I have been very disappointed in so many quesadillas we have purchased, that I have given up eating them anywhere but home.

Stay safe and stay well Everyone. ‘Til next time.