I have created this site to help people have fun in the kitchen. I write about enjoying life both in and out of my kitchen. Life is short! Make the most of it and enjoy!
As you know, I love taking pictures from my walks. You never know what you are going to find. Sometimes there is a lot to see, and other times, not so much. But it has certainly trained me to keep a sharp eye and to look in places I might not normally look. This time, I focused on the first of our spring flowers. I am also connecting this with Cee’s challenge flower of the day challenge. https://ceenphotography.com/Flower of the Day (FOTD) Challenge
Challenge rules, why not join in?
1.Feel free to post every day or whenever you you feel like it. You can either post new flower photos or dig back into your archives.
2. Depending on the time of year, you can post any of these types of things for your FOTD.
Single flowers
Buds
Multiple flowers
Bouquet
Flower fields
Wildflowers
Tree or bush blossoms
Autumn leaves
Spring leaves
Decorative Cabbage
Berries
Still life
Fake or Silk Flowers
It seems the purples and the yellows are always the first of the spring flowers to arrive. This time I saw some yellow daffodils and purple crocus and hyacinth. They are so pretty. They are also a bit on the brave side, since we are getting more snow again today. But it is only a light little spring snow. It’s not so bad. Our flowers are hearty just like we are. A little snow doesn’t bother them. In fact, it just makes them stronger.
This little flower is trying so hard. She is even popping up through the bricks.
Why do things always sound so much more romantic and interesting when they are spoken in a different language? English can be so …. BORING sometimes. This is certainly the case with my Pane con le Olive, as it is known in Italian. In English, it’s just simply known as olive bread. Regardless of how it sounds though, whether you say it in Italian or in English, it is the taste the really counts, and this bread is delicious!
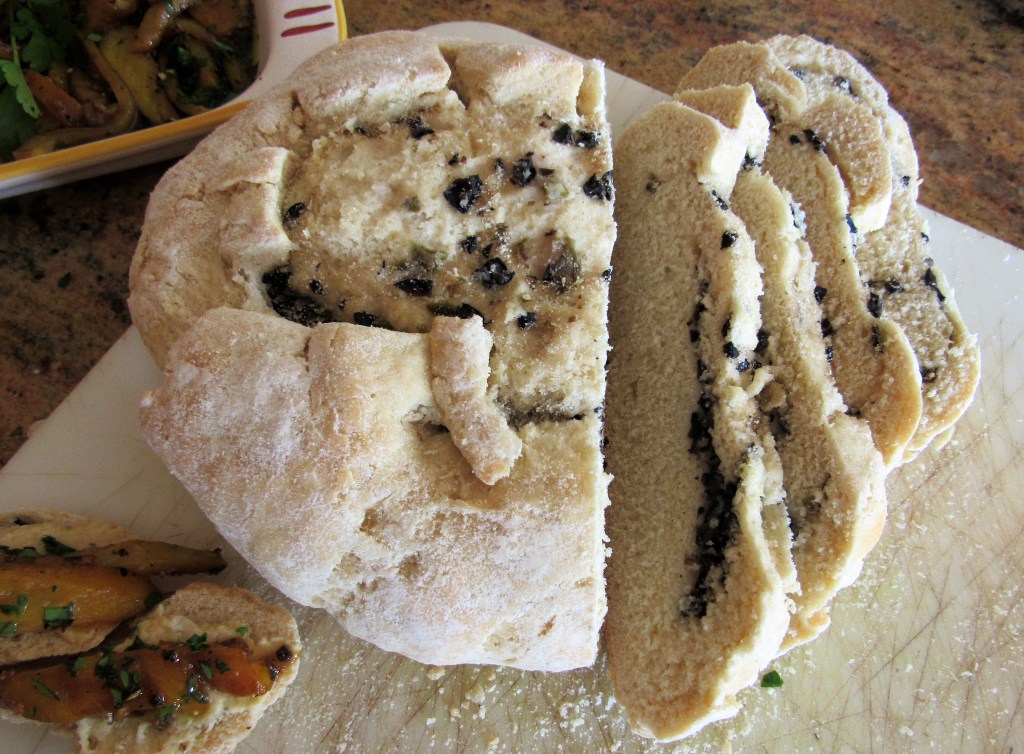
I made this Pane con le Olive to take with us when we went to InVINtions Video #17 – INVINtions, A Creative Winery the other day, as part of our wining extravaganza. More Wine, More Nibblies I used it as the base for both my lemony garbanzo spread and my roasted peppers. All the flavors just complimented each other so well. And since the recipe made two round loaves, I repeated the same taste sensations this morning to take with me to my women’s group as well. These combinations were a big hit at both gatherings.
I have made many other versions of olive bread. I like them all. I do not have a favorite version, though I do love trying all the new recipes and different styles and “personalities” of each new recipe. 🙂 As long as I have enough butter and/or spread to go with my breads, I could easily live on breads from all over the world. I LOVE bread.
Pane con le Olive – Italian Olive Bread
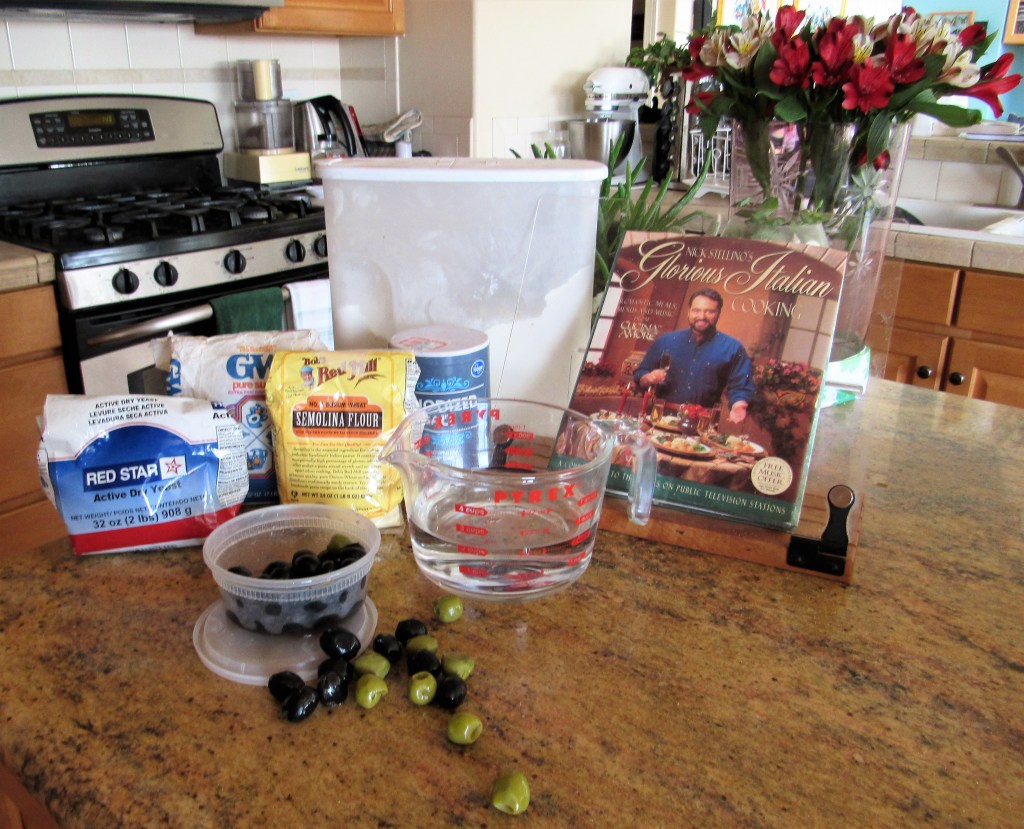
about 5 1/2 cups flour, divided
1 TBSP sugar
1 1/2 TBSP active dry yeast
2 1/2 cups warm water
2 cups semolina flour
2 tsp salt
8 oz olives, chopped fine. – I like to mix and match my olives
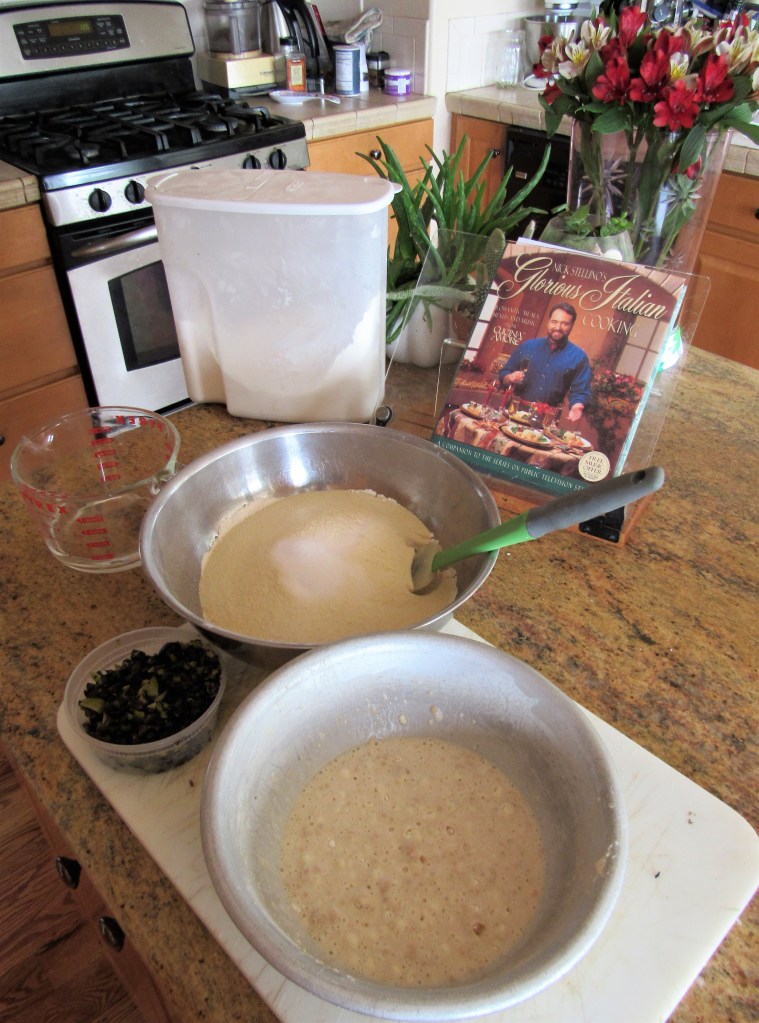
Make a starter in one bowl by mixing 1 cup of the all purpose flour with the sugar, yeast and 1 cup of warm water. Mix it together and let it set for about 15 minutes or until it doubles in size and becomes bubbly.
In another bowl, mix 3 1/2 cups of the all purpose flour, the semolina flour, and salt. Add the yeast mixture and the rest of the water and combine everything together well. You can either mix in a mixer or by hand. If you are mixing it in a mixer, switch to the dough hook and mix. Mix for about 8 minutes then turn the dough onto a lightly floured surface and knead for about 10-12 minutes or until the dough forms into a ball and has a soft, elastic texture. Once the dough forms into a ball, place it in a bowl that has been lightly coated with olive oil (I actually like to coat my bread as well) and cover. Let the dough rise for about 1 1/2 hours, or until it doubles in size.
Once the dough has doubled in size, again, turn the dough out onto a lightly floured surface and divide in 1/2. Form the dough into rectangular shapes and roll out. Spread the olives evenly on top of the surface, and press them into the dough. (This is how the recipe calls for it, however, next time I make this bread, I cam going to mix the olives in before I do the first rise, so the olives are more evenly distributed).
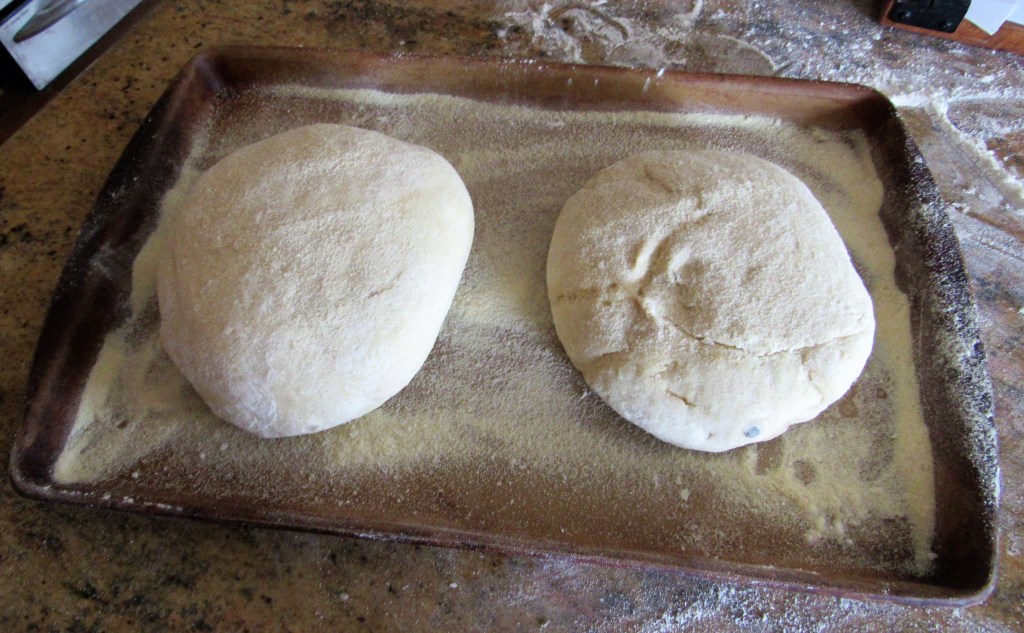
Fold the edges into the center and form into a ball. Spread some semolina flour on the bottom of your baking pan and place both dough balls on top of the flour.
Cover the dough again and let it rise one more time, from 45-60 minutes, or until it doubles once more.
Preheat the oven to 375* F or 190* C.
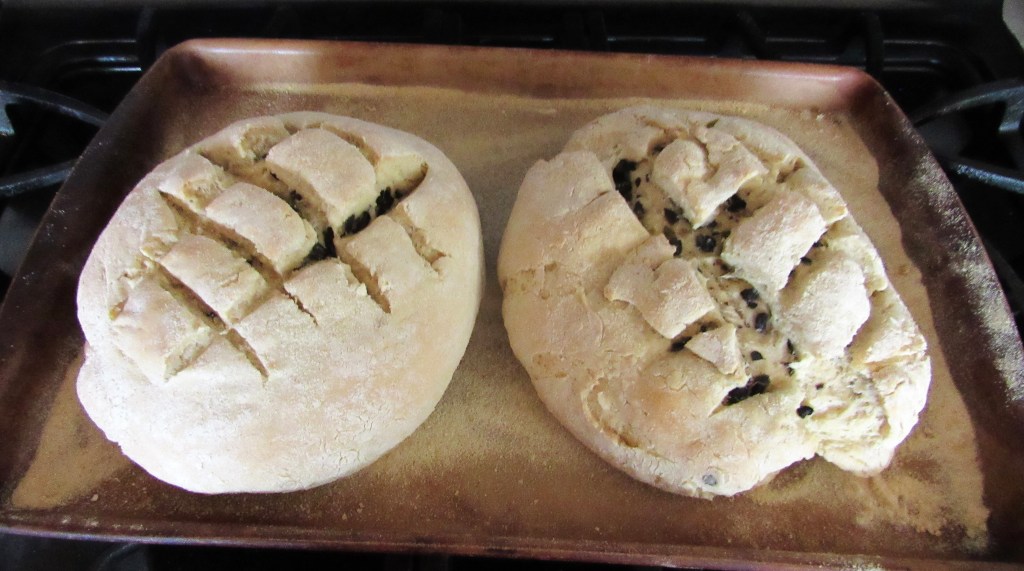
Sprinkle some more semolina flour on top of the dough and score the top in a criss-cross fashion.
Bake for about 40 minutes or until the bottom sounds hollow when tapped. Let the bread cool completely before slicing it, then top with either the lemony garbanzo spread Lemony Garbanzo Spread or butter e mangia! This bread is very tasty. !Buon Appetito!
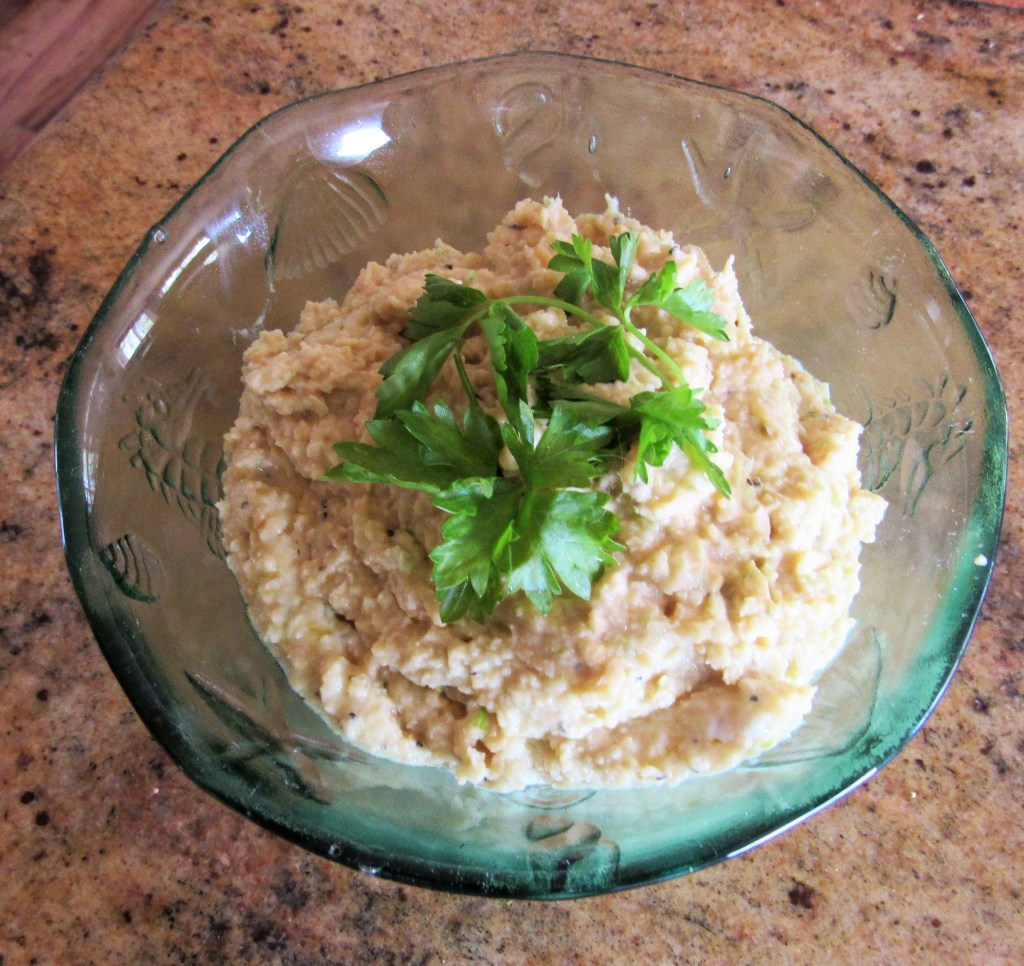
One of the other dishes I made to take with us on our latest evening of wining More Wine, More Nibblies was a lemony garbanzo spread, or as it is known in Italian, the Pure di Ceci al Limone. It always sounds so much more exotic and romantic in Italian than it does in English. I think that makes it tastes better too. 🙂
This healthy, traditional Mediterranean spread is made from garbanzo beans, also known as chickpeas, has added zest and zing to centuries of eating and enjoying breads of all kinds. It is also good as a dip for fresh crispy vegetables. It is similar to hummus, but it has its own style and personality as well. Hummus is not as lemony and usually has a smoother, creamier texture. This delicious spread has a very distinct lemony flavor and is a thick spread that went perfectly with my olive bread and the roasted peppers or peperoni arrosti. All the flavors just really complimented each other very well.
Just like the roasted peppers in balsamic vinegar, this was yet another very easy, simple dish to make, using only a handful of everyday ingredients.
Lemony Garbanzo Spread or Pure di Ceci al Limone
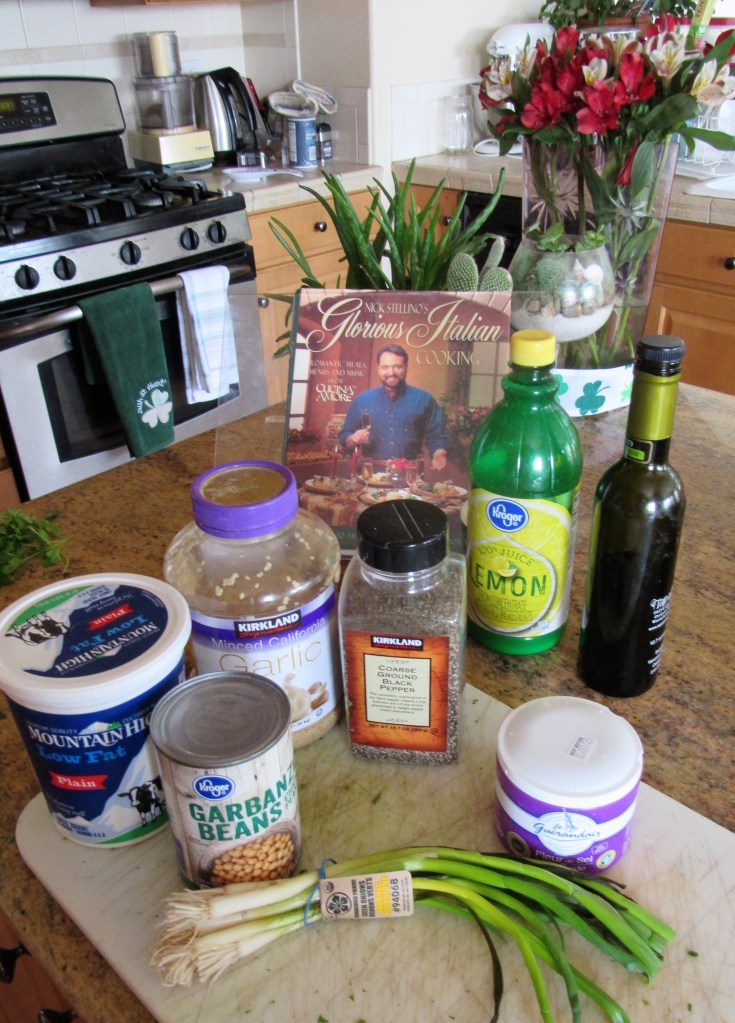
1 can of garbanzo beans, drained and rinsed
1 TBSP garlic
2 green onions, sliced
2 TBSP lemon juice
2 TBSP extra virgin olive oil
1/4 tsp salt or a little fleur de sel
1/4 tsp black pepper
2 TBSP plain yogurt
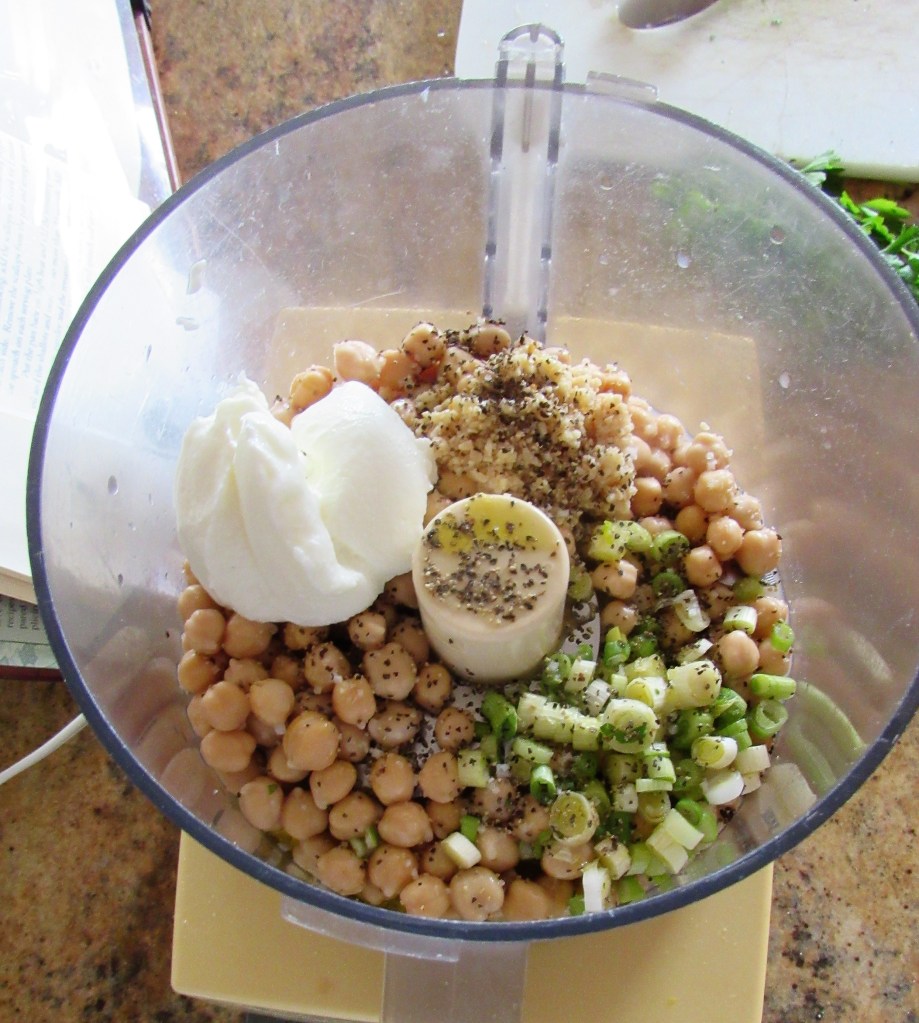
Just place everything in the food processor and pulse it up until it is a thick, creamy spread. You can also add curry and/or cumin as well as other herbs too if you want to change it up a bit.
Once the spread is made, keep it cool in the refrigerator until you are ready to spread it on your favorite bread or use it as a dip for your vegetables.
This spread is very healthy. It is very low in fat and high in protein. Plus, it is absolutely delicious. You just can’t go wrong with this simple spread, and you are really going to love it. I promise. 🙂
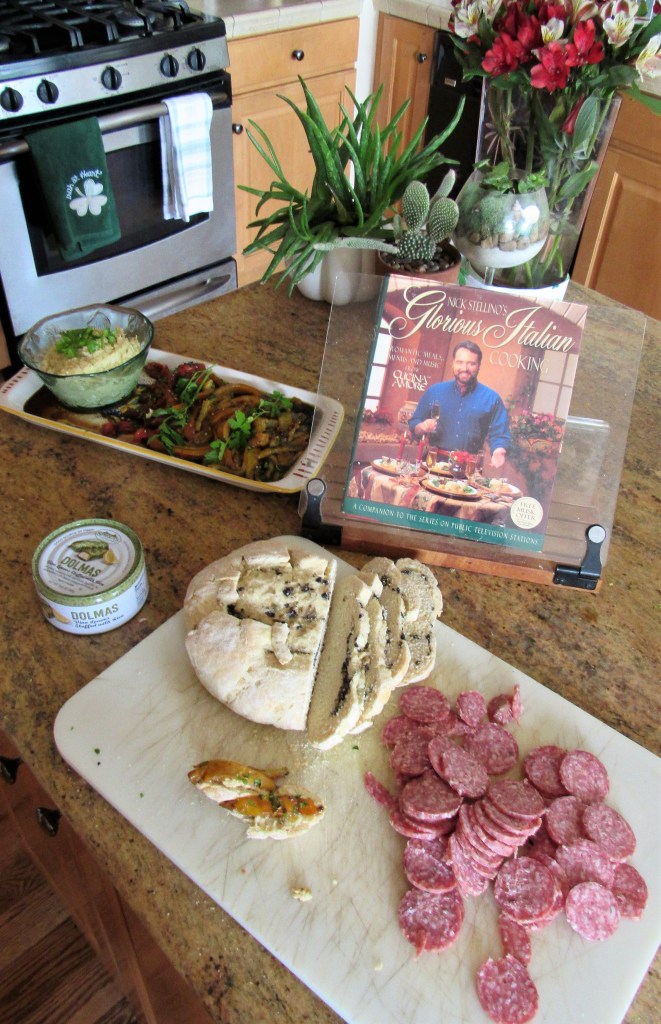
Whenever it is time to go for a wine run, it is also a fun excuse to make a bunch of delicious nibblies to take along with us, not that I really need an excuse though. This time was no different. We went a-wining last night and I packed us a tasty spread of Italian antipasti to enjoy with our wines.
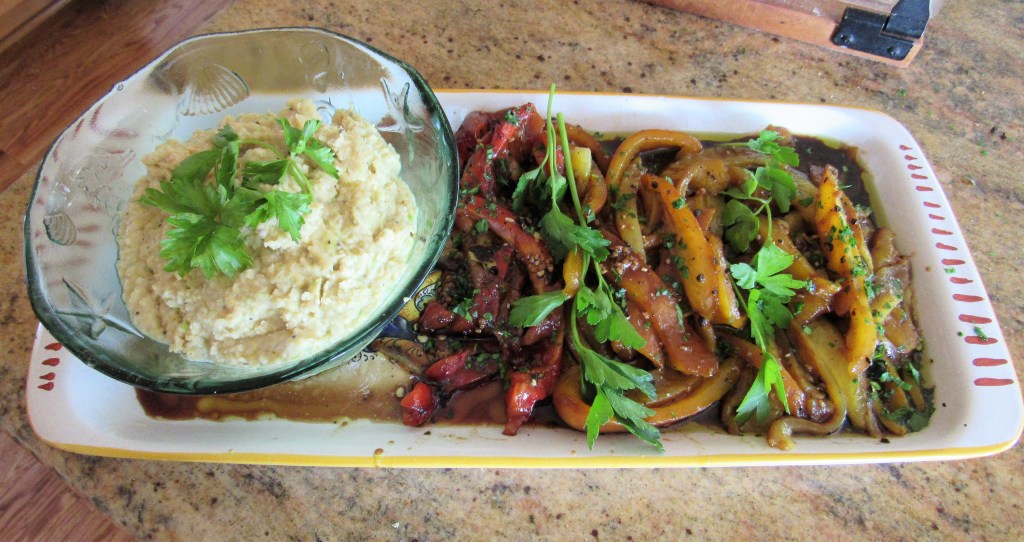
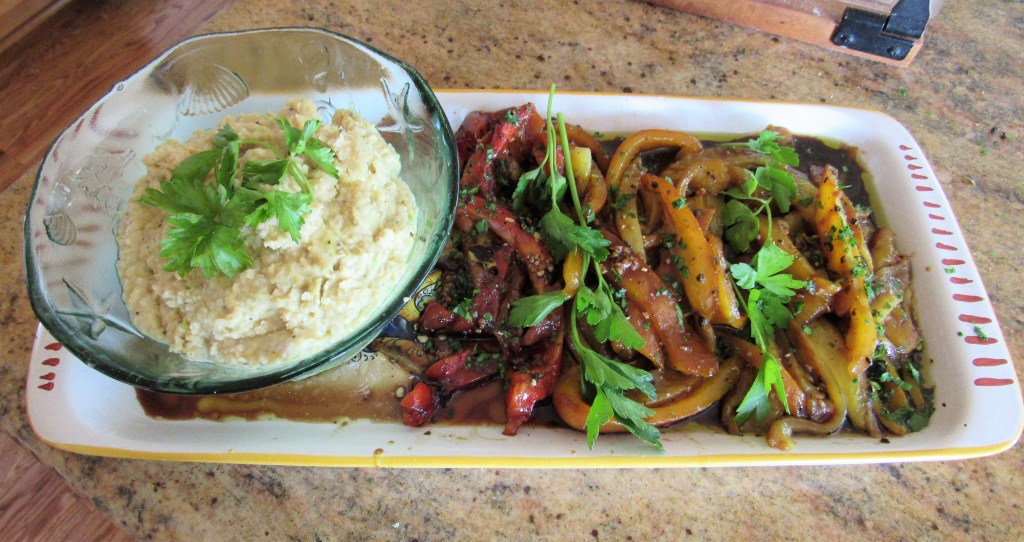
I made some fresh olive bread or Pani con le Olive, a Pure di Ceci al Limone or lemony garbanzo spread and Peperoni Arrosti or roasted peppers in balsamic vinegar, to go with the olive bread. I also sliced up some salami and had a can of dolmas or stuffed grape leaves to complete our antipasti platter. !Delizioso! We enjoyed our wines and our antipasti thoroughly. There was not much left at the end of of wining expedition. We were all very content.
Of course you will get all the recipes for these healthy and tasty dishes. Have I ever held back??????? For those of you who know me, what kind of a silly question is that? 🙂
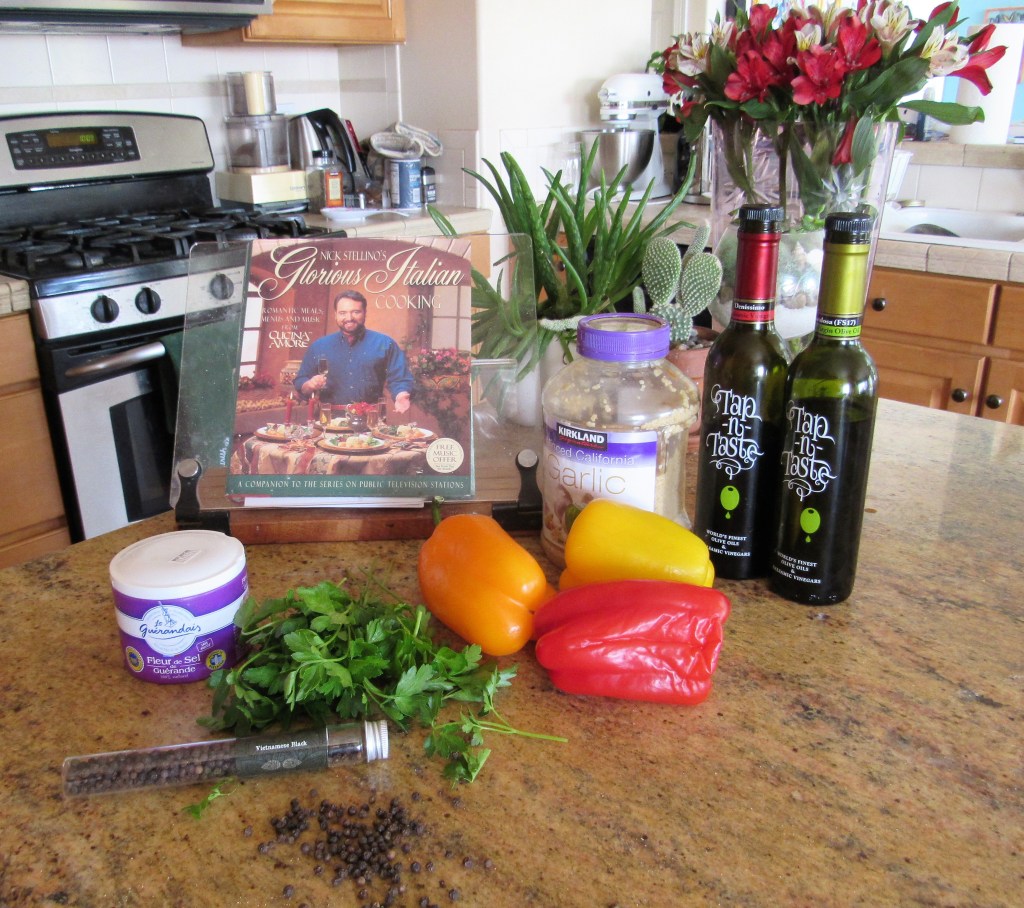
Today, I will start you with the Peperoni Arrosti. I served it on top of my Pure di Ceci al Limone and the Pani con le Olive, but you can also serve it on its own or as a side dish to compliment something else as well. It is definitely my kind of recipe. It is quick, easy, healthy and VERY tasty, plus it only requires a few simple and basic ingredients too. Splurge a little and use a really good quality olive oil and balsamic vinegar for this. You will be really glad you did too.
Peperoni Arrosti or Roasted Peppers in Balsamic Vinegar
8 bell peppers – I used red, yellow and orange
8 TBSP extra virgin olive oil
1 TBSP garlic
2 TBSP good quality balsamic vinegar
1-2 tsp crushed black peppercorns
a sprinkling of fleur de sel or about 1/2 tsp salt
fresh parsley, chopped
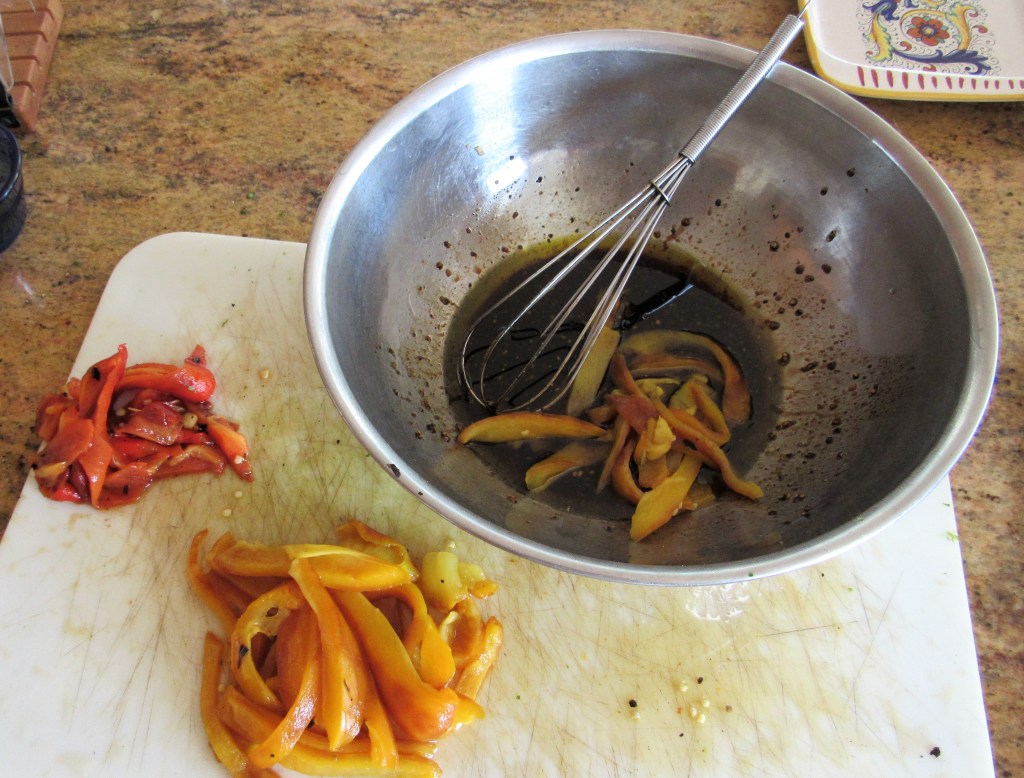
You can either oven roast your peppers or fire roast them. If you are oven roasting them, cut the peppers in sections and seed them. Place them on a baking sheet and roast in the oven at 500*F or 260* C. Brush the peppers with olive oil, skin side up and roast for about 20 minutes or until the skin in completely blackened and charred. I prefer to fire roast my peppers by placing them directly on an open flame with no oil and I get the same effect, though I keep my peppers whole. Either way is fine. Once the peppers are blackened and cooled, completely remove the charred skins and seeds with your finger tips and rinse the peppers. Then slice them into thin strips.
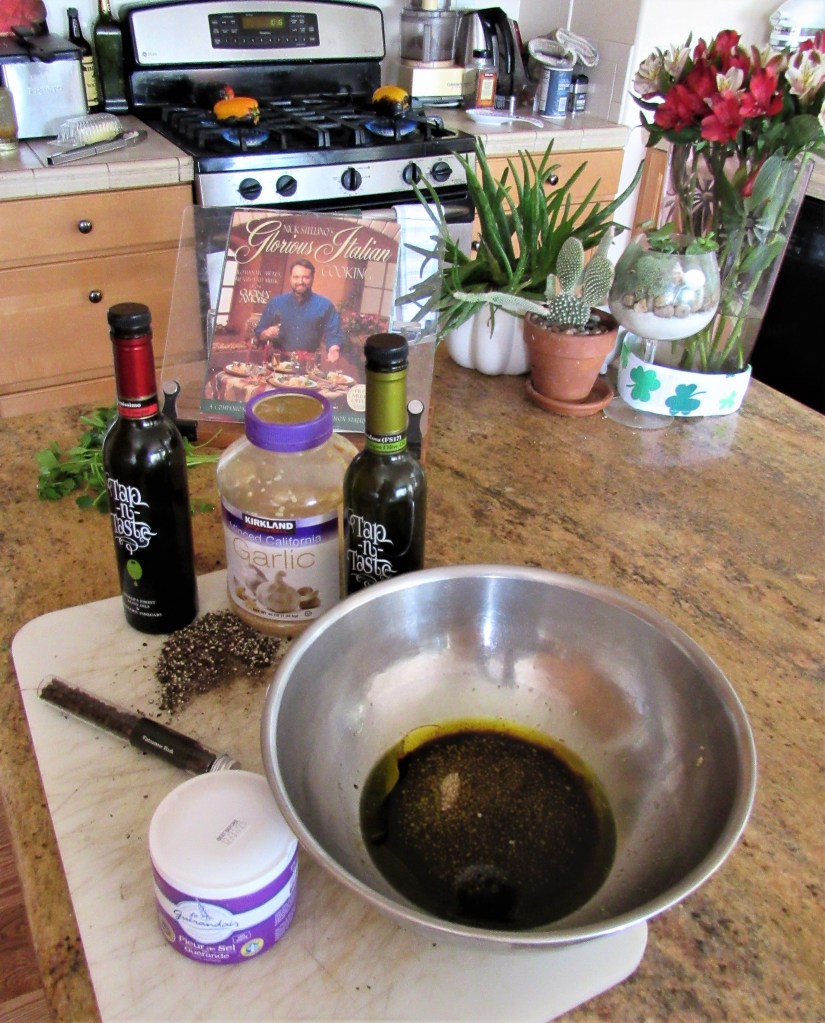
Mix all other ingredients together. Add the peppers to the balsamic mixture and coat completely by rolling them around in the sauce. Because I wanted to keep my colors separated, I coated my pepper strips 1 color at a time.
Place the peppers on your serving platter and sprinkle with the parsley. I think these are best when served at room temperature.
!Buon Appetito e Mangia! It’s like a little bit of Italy with every bite.
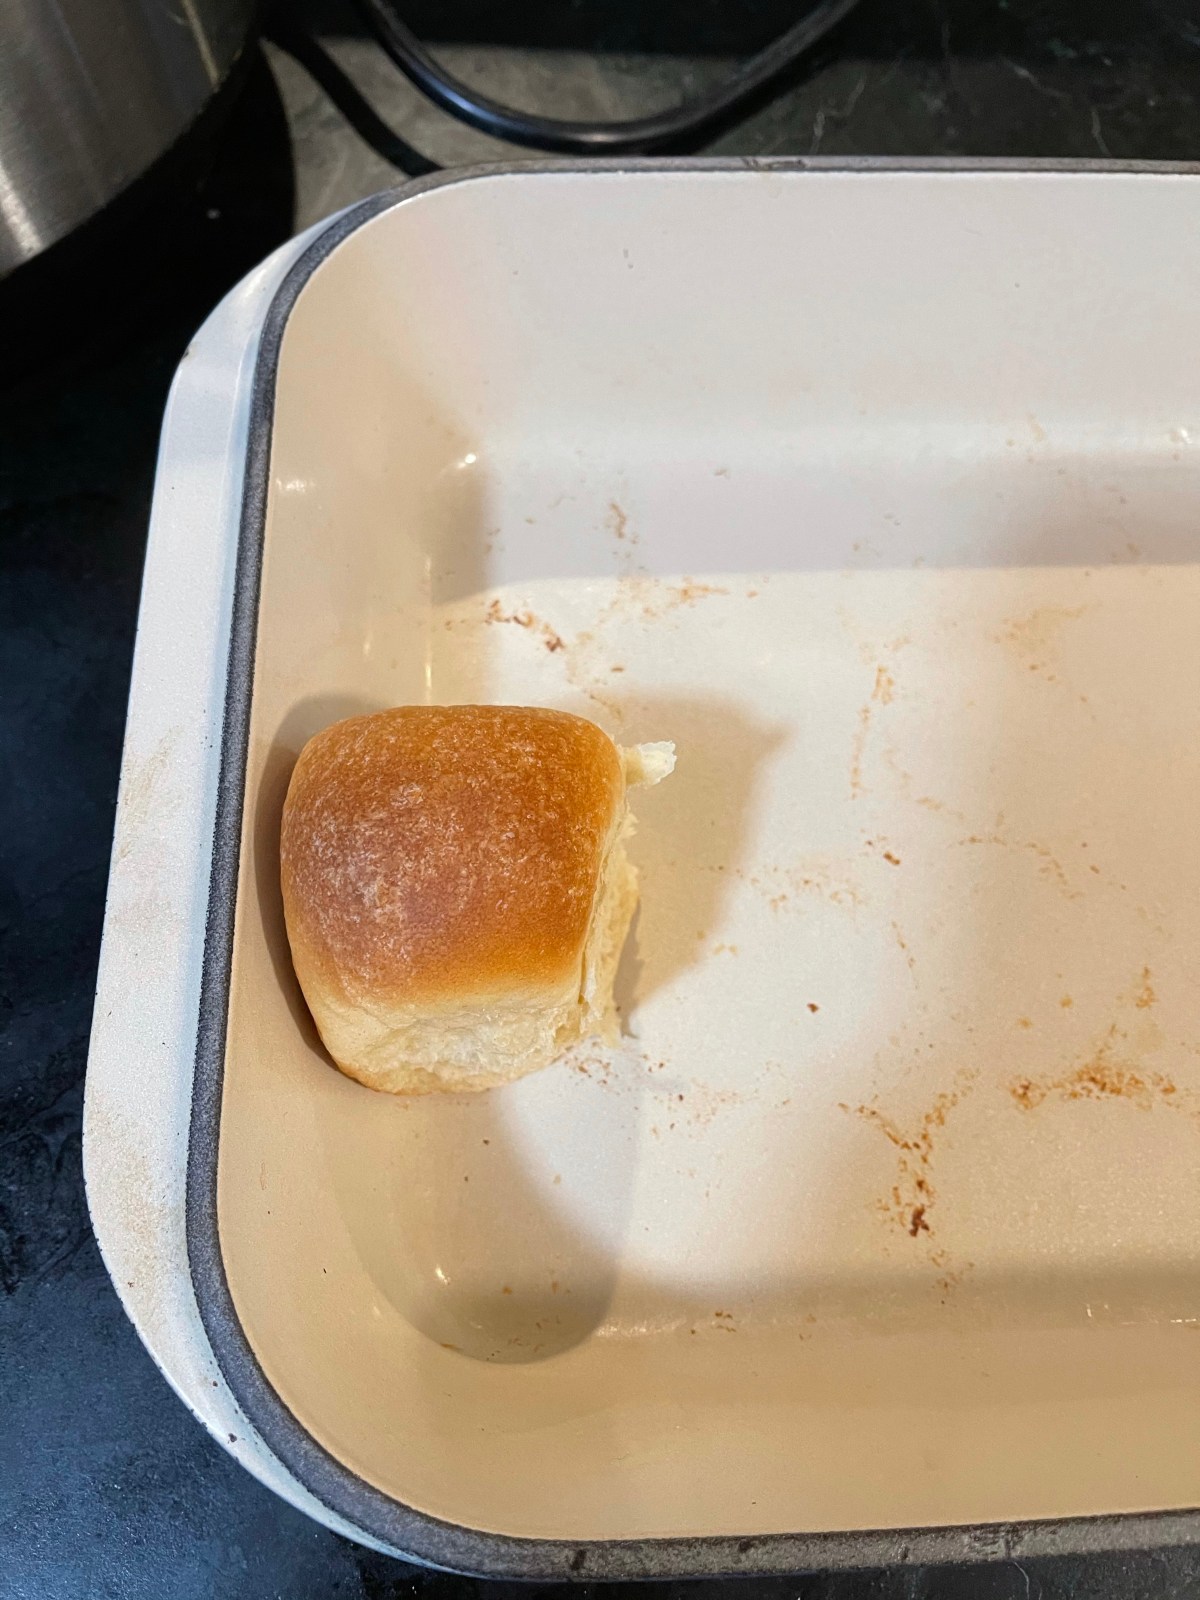
Julia brought these absolutely fabulous rolls to share with everyone when we had our Carnivores’ Gathering. They were so light and fluffy and just melted in our mouths. Julia is a FABULOUS Chef and her breads are always amazing.
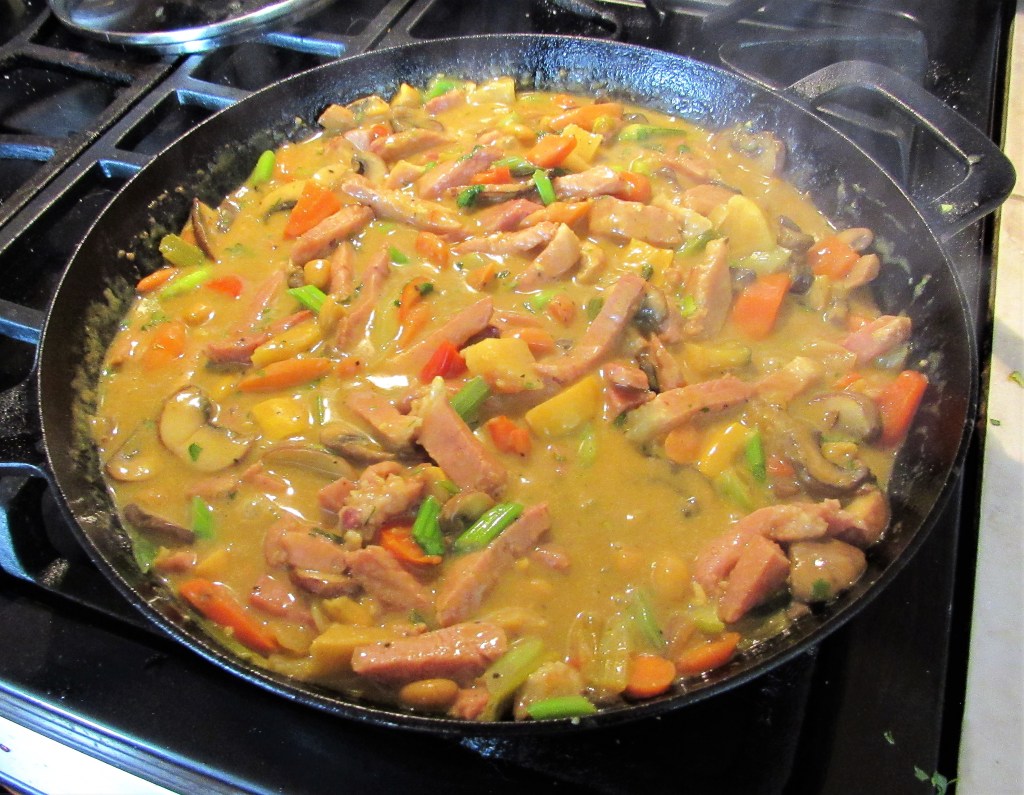
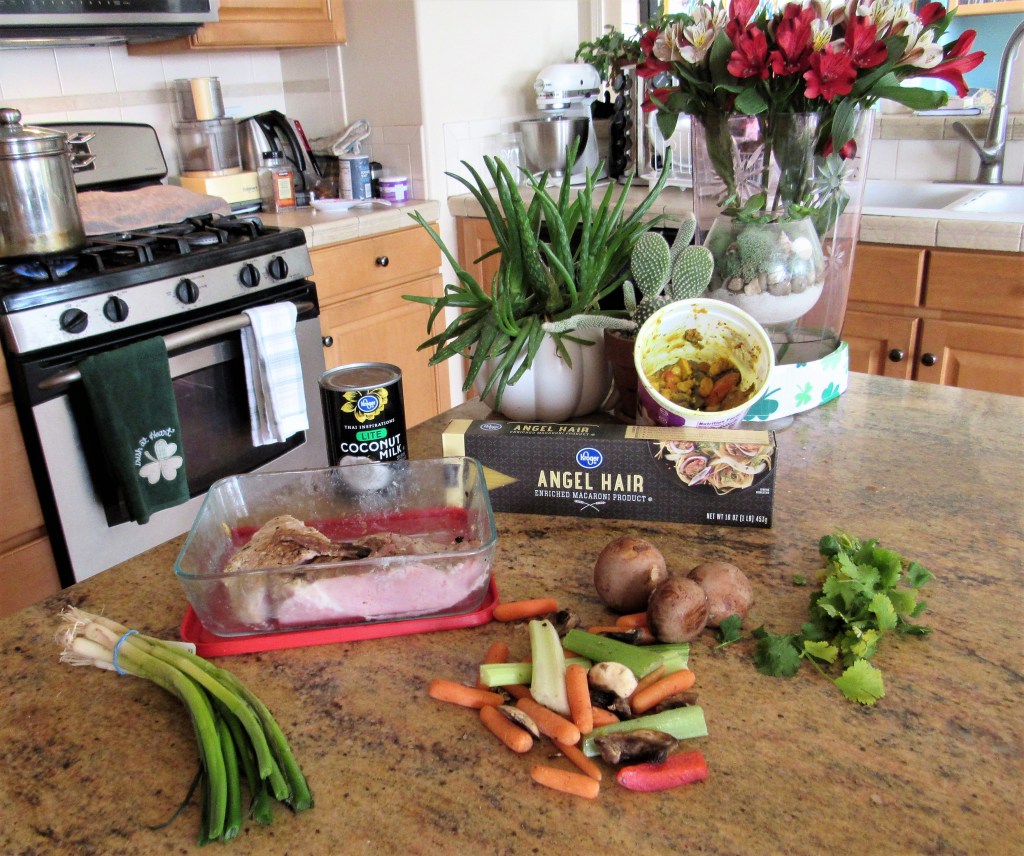
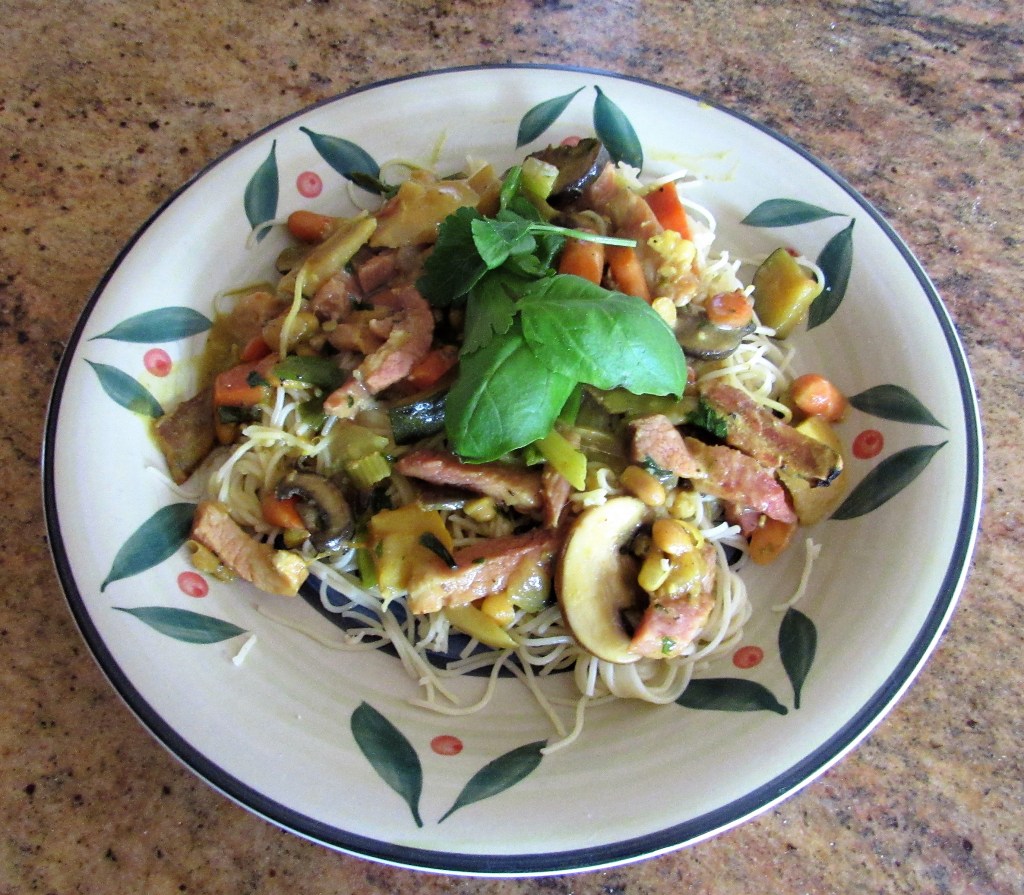
It was time to clean our the fridge again, so once again, I invited my dear friend, the “Queen of Leftovers” to come help out and offer some inspiration. This time around, I had some ham, vegetable casserole An Irish Vegetable Casserole and some cut vegetables from when we had our Carnivores’ Gathering A Carnivores’ Gathering. Since the vegetables already had curry-like seasonings, it was real easy to make the whole meal a curried meal. All I had to do was cook up some pasta and add some coconut milk and throw it all together. The rest was already cooked. We had a great meal and now I have more room in my refrigerator for the next round of leftovers. 🙂
I could have served this dish over rice, but we just had couscous, which is very similar to rice, so I chose angel hair pasta instead. Again, there is no real recipe for this since it was all just leftovers thrown together. But hopefully I can inspire you on how to creatively recreate dishes just by looking inside your refrigerator and using what you have.
This few simple ingredients were all that was needed to make my curried ham. It went from this
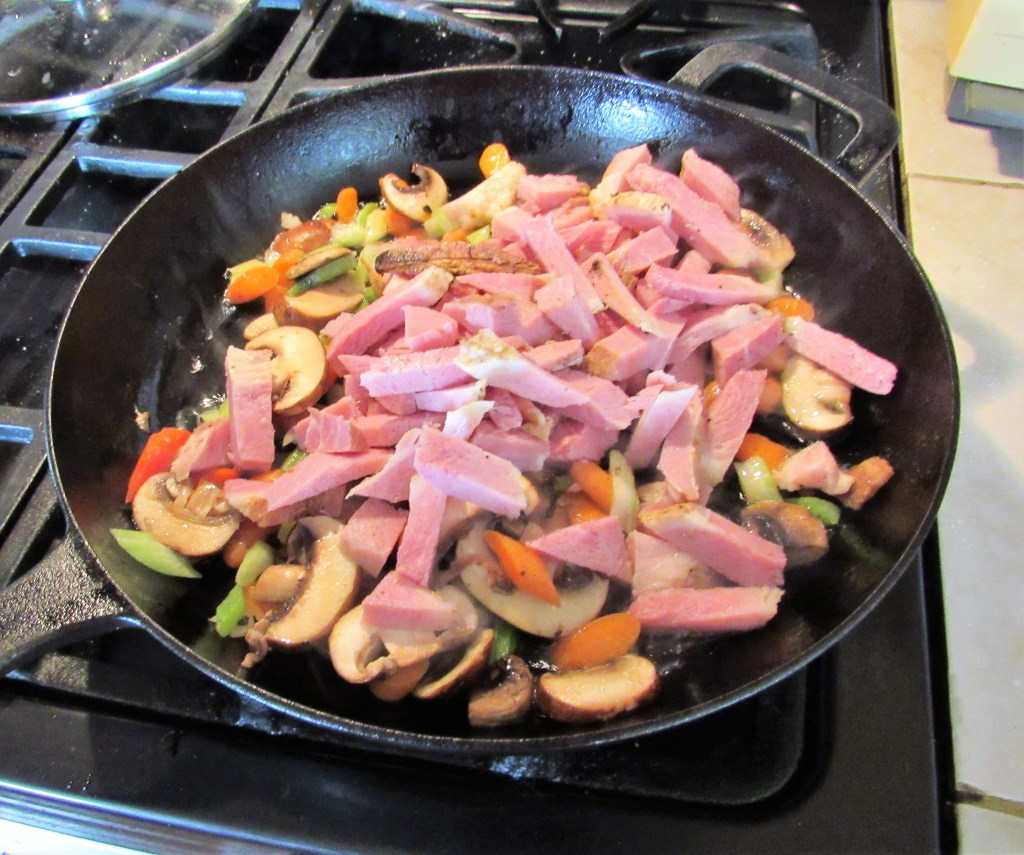
to this in just a few short minutes.
All I had to do was combine everything together and cook it up. I am always amazed at what can be done with just a little bit of creativity and imagination. I just have so much fun when I can create like this. 🙂
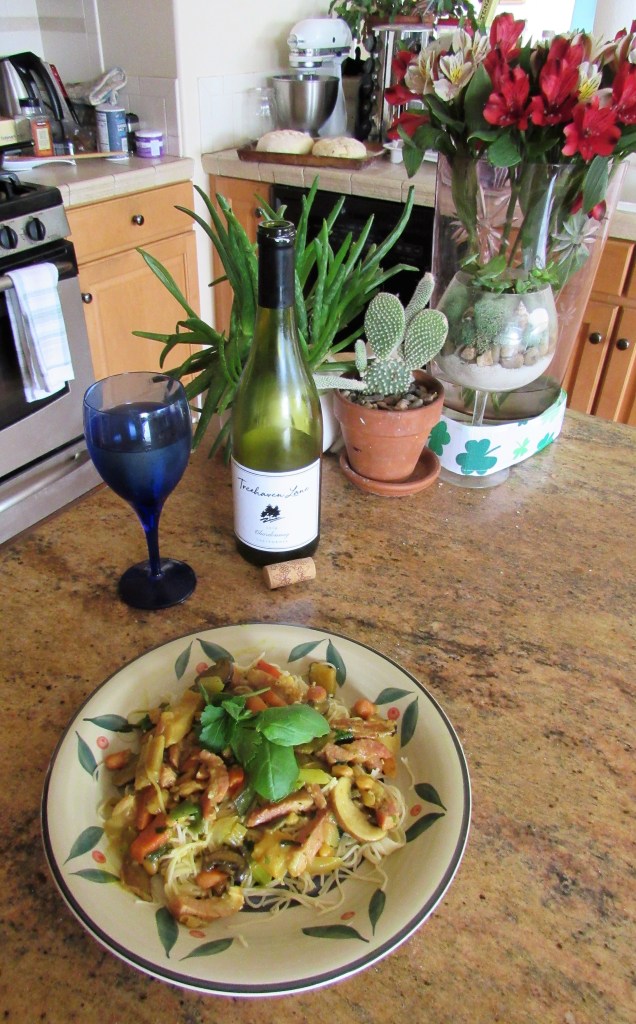
I served everything with a cool crisp chardonnay and then dinner was served.
Play with your food. Be creative. You’ll be amazed at what you can come up with. 🙂
There is a very large Armenian community in Pasadena, CA, where I grew up. And because there is a very large Armenian community, there are a lot of restaurants that offer some great Armenian dishes as well. You will know where they are once you walk into these restaurants and are instantly greeted with all the fabulous aromas of all the fragrant and aromatic spices that are used. One such restaurant I loved and frequented was Burger Continental, on South Lake Street. The foods they served were a combination of Armenian, Greek, Lebanese and Mediterranean. No matter what time of day, it was always packed, and on the weekends, there was always live music and belly dancing.
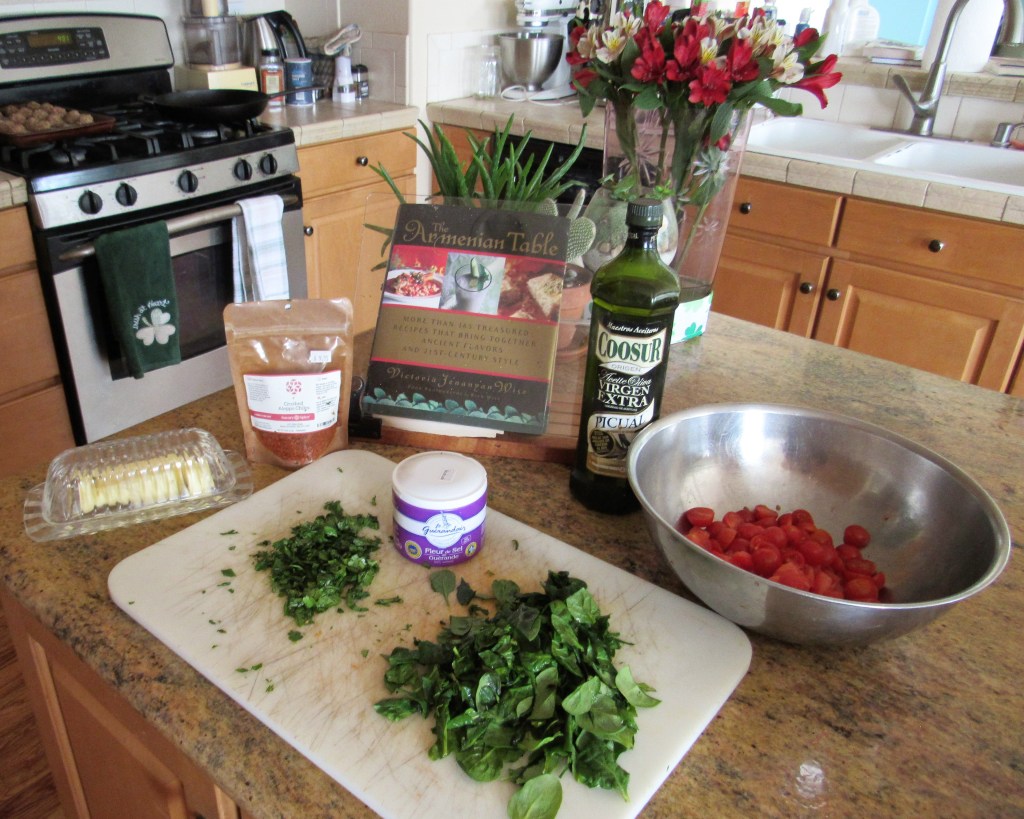
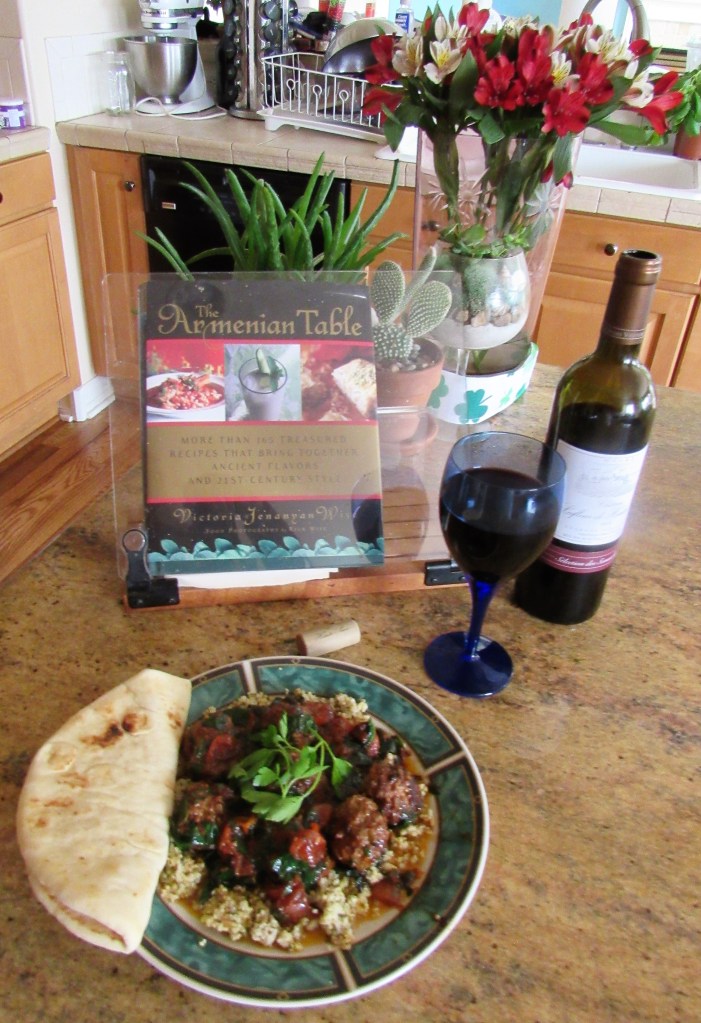
Armenia is a small country located in Eastern Europe. It borders Turkey to the east, Iran to the south and Georgia to the north. All these countries influenced the foods and customs of the Armenian people. There are also influences from all the Mediterranean counties and the Middle Eastern Countries as well. In sum, the Armenian culture is multi ethnic in its roots. “Throughout history, as they migrated from their lush homeland in the center of the spice route and on to new worlds, Armenian cooks have embraced new foods, integrating them into their daily fare to create a rich and varied cuisine”. (p. 9, The Armenian Table, Victoria Jenanyan Wise).
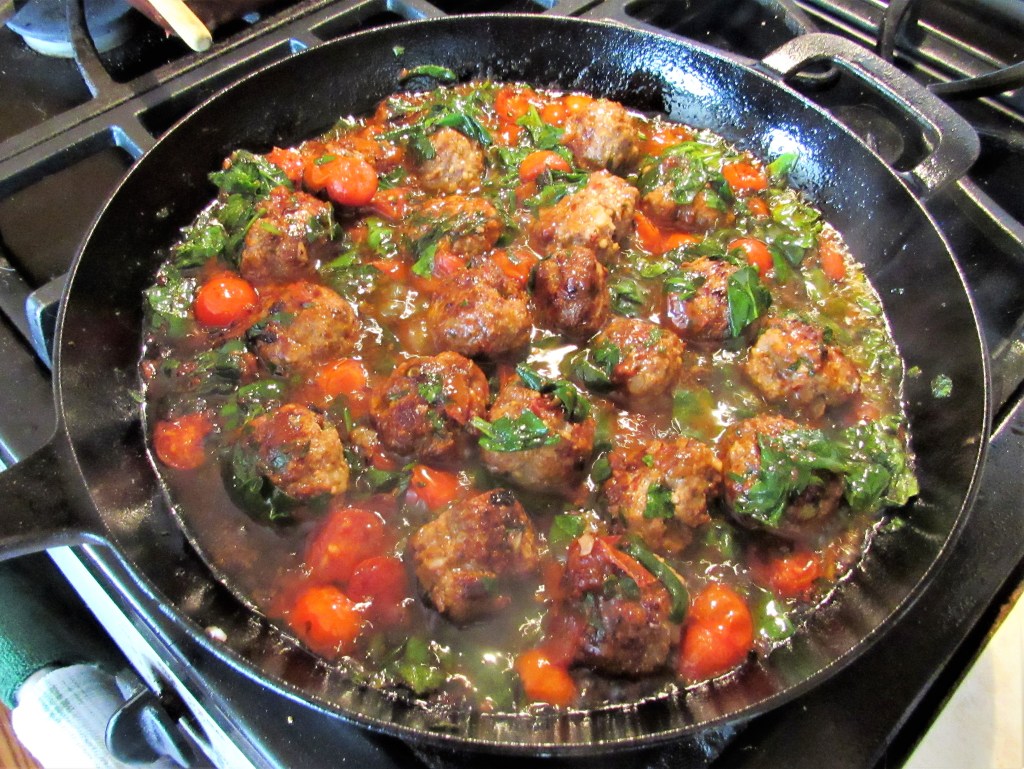
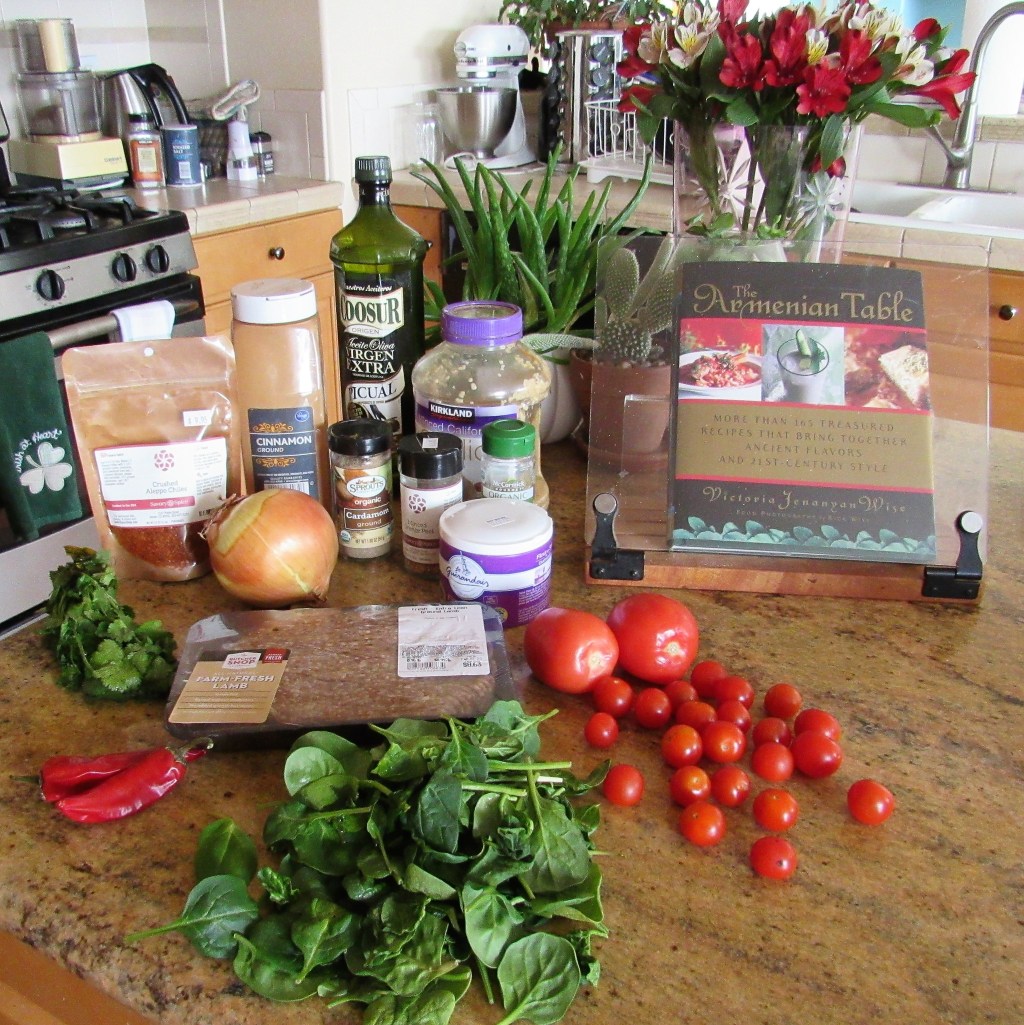
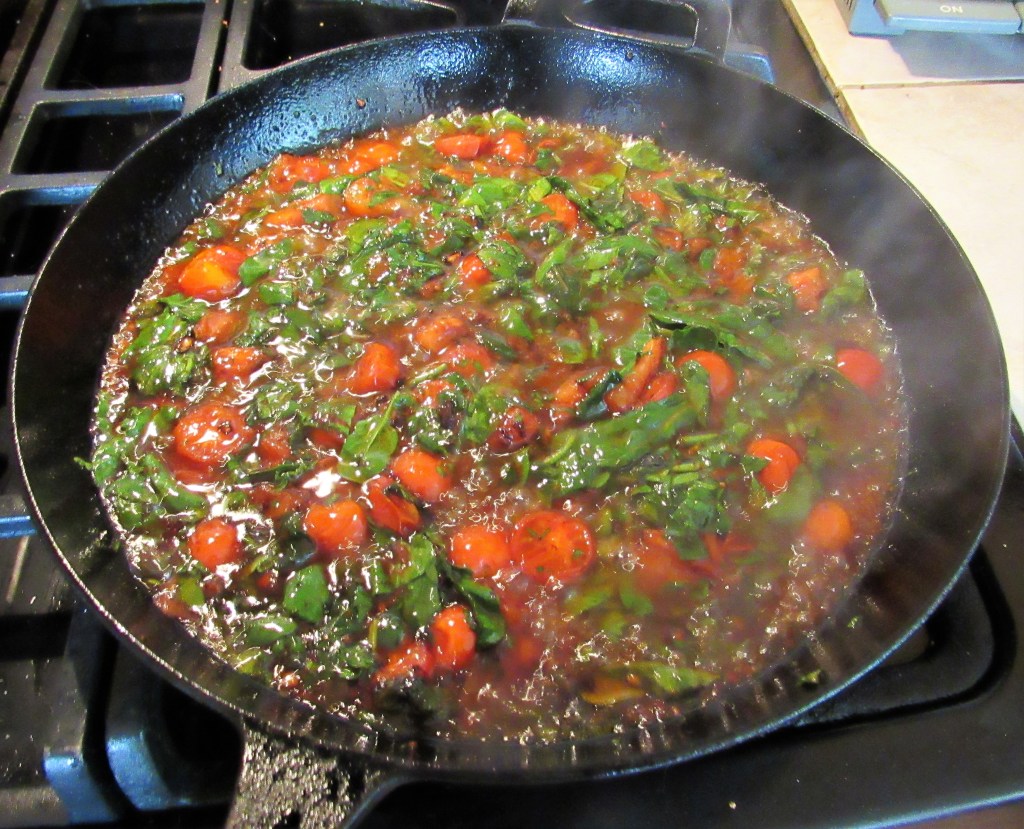
We had some ground lamb that was in our meat rotation, ready to be cooked. I had to do it justice, so I went through my ever-growing culinary library and found a perfect way to cook that ground lamb. I decided on an Armenian recipe, making them into spiced lamb meatballs with a tomato-spinach sauce. It was a great choice too. We both thoroughly enjoyed this spicy, exotic lamb creation.
Spicy Lamb Meatballs with Tomato-Spinach Sauce
The Meatballs
3/4-1 lb ground lamb
1 1/2 TBSP garlic
1/2 white or yellow onion, diced fine
2 small red chili peppers, diced fine or brunoise cut
1/2 tsp cumin
dash cinnamon
1/8 tsp cardamom
2 tsp orange zest
olive oil for cooking
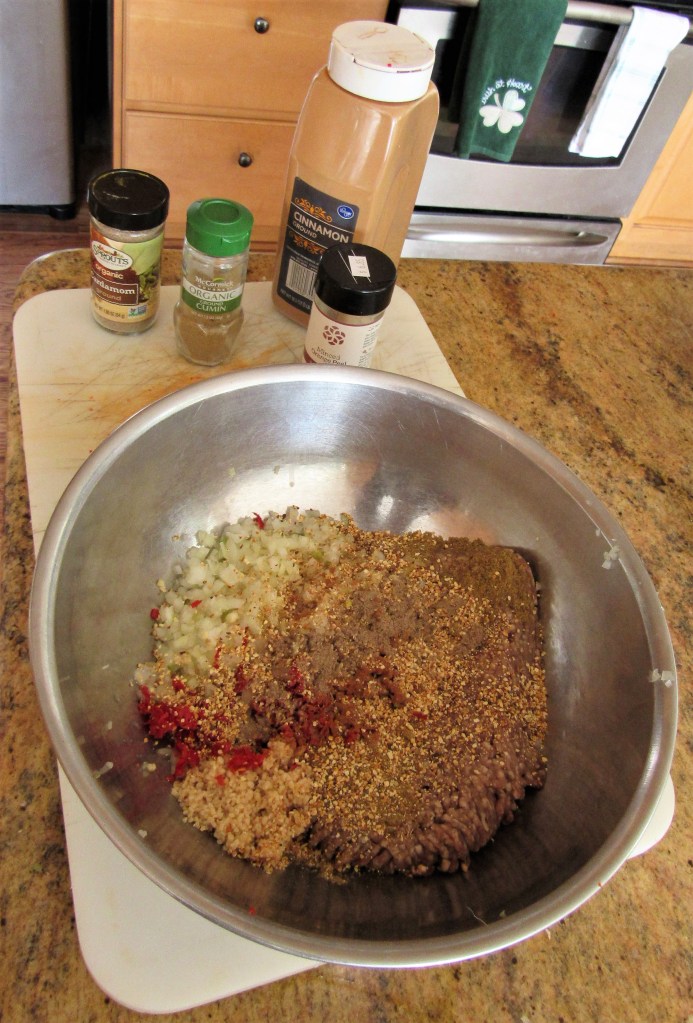
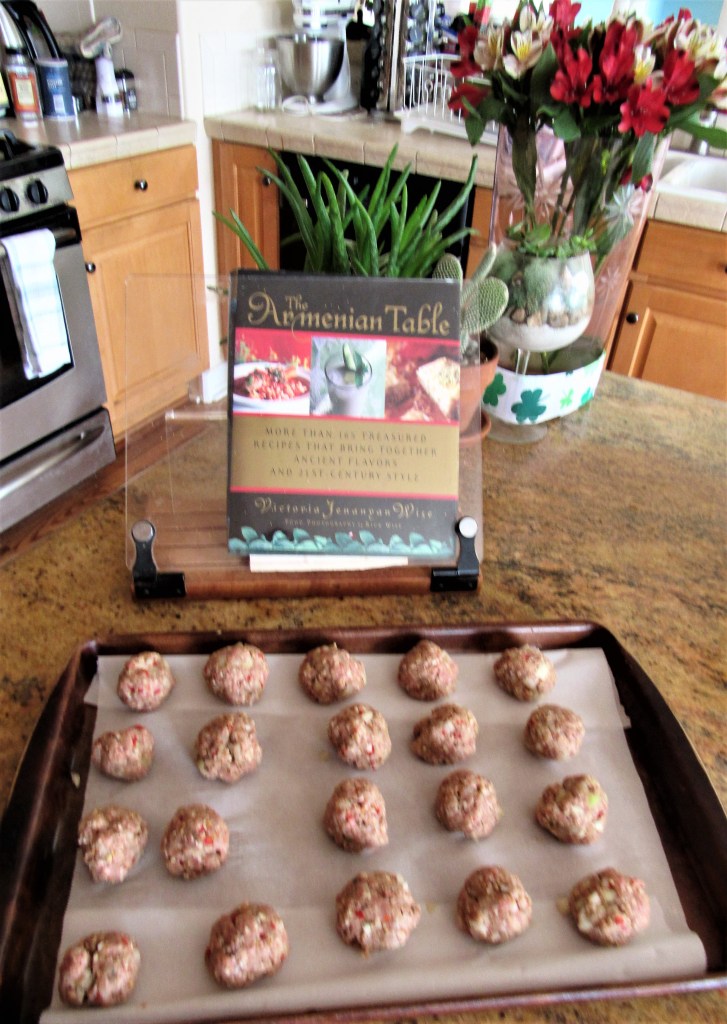
Mix all the ingredients together well and form the meat into meatballs about the size of a walnut.
Place the meatballs on a a piece of parchment paper and place in the refrigerator anywhere from 30 minutes to overnight, to set.
The Sauce
2 TBSP butter
4 tomatoes diced medium – I like to mix and match my tomatoes
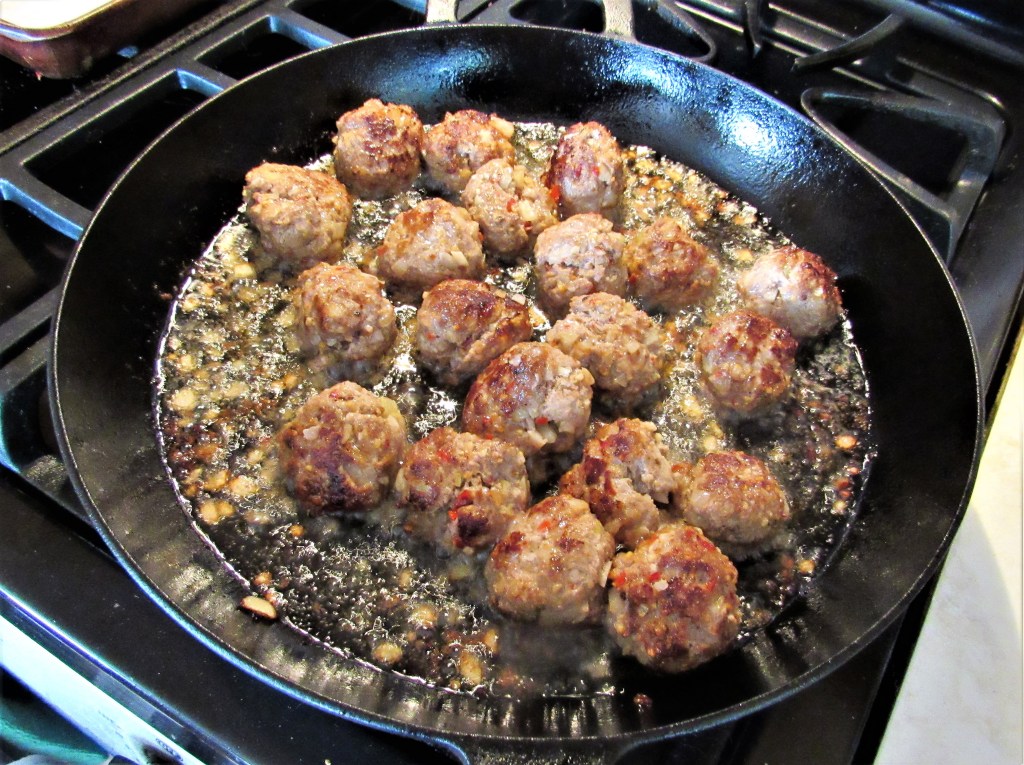
When ready to cook, take the meatballs out and let set at room temperature for about 20 minutes. Then heat the olive oil in a large skillet. When the oil is hot, carefully place the meatballs without overcrowding them. Cook until they are completely browned on all sides. Once they are cooked, removed them from the skillet and set aside.
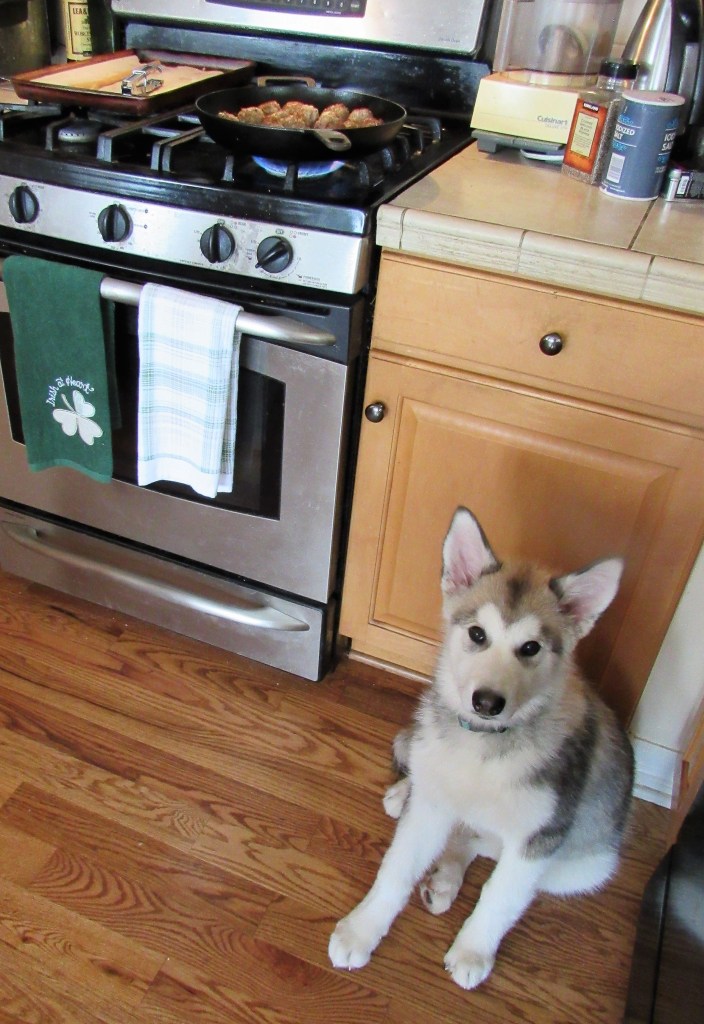
As you can see, I had an eager little helper too.
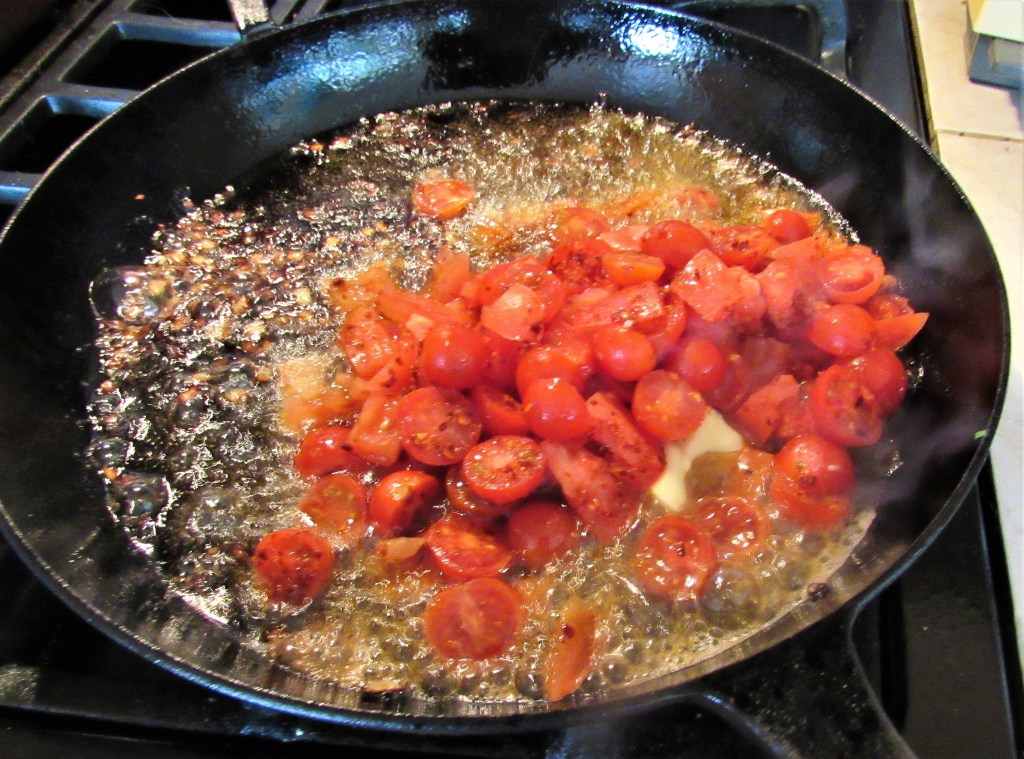
Add the butter to the olive oil and add the tomatoes and spices. Cook over a medium heat until the tomatoes start to break down, then add the spinach and the cilantro. The spinach and cilantro do not take long to cook.
Add the meatballs into the mixture and roll them around to get them nice and saucy. Once the meatballs are thoroughly heated, serve everything on top of a bed of couscous. I also served it with pita bread and hummus, along with a delicious Malbec on the side.
Lamb is an acquired taste and not everyone likes it. That’s OK. You can always substitute ground beef instead.
Your taste buds will really come alive with this spicy, aromatic, exotic dish. Hamegh or delicious in Armenian.
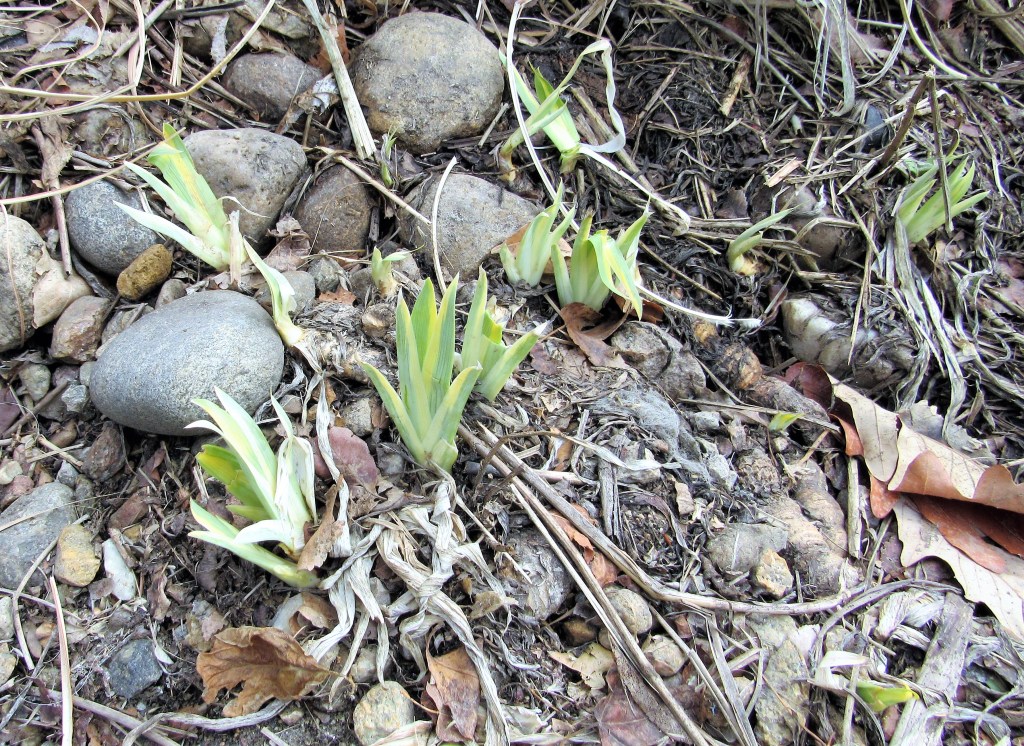
According to the calendar, it is Spring and Mother Nature is wasting no time in showing off her Spring beauties. Most of the snow has melted, and the skies were a little cloudy and over cast, but the temperature wasn’t too bad.
My irises are starting to pop up and soon, they will be in full bloom.
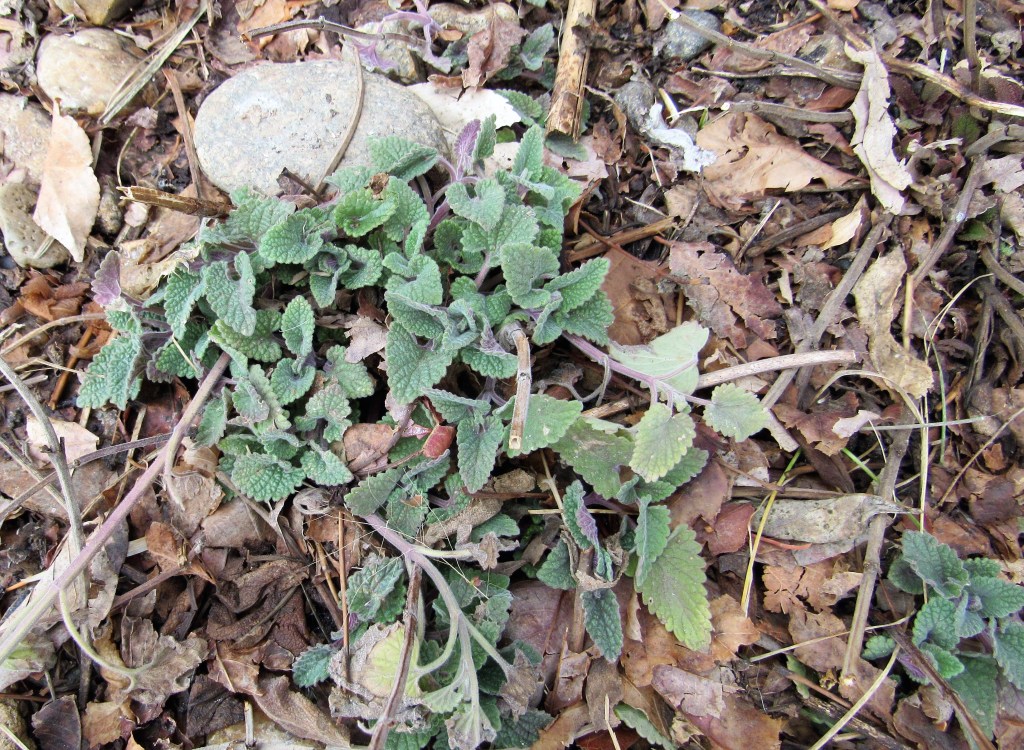
My groundcover is staring to come up too.
I heard a whole bunch of birds singing today, from the red-winged blackbirds and common crackles to the chickadees. But they were all still very camera shy today. The only birds that would pose for my camera were birds that look most like Savannah sparrows, but it was hard to get a good shot and or view so I am not really sure what they are.
There were a few ducks and geese out, but still not too many. There were some ring-necked ducks and some mallards, I didn’t get any good shots of them though. But there were some hooded mergansers out and about, both males and females, that were ready for their headshots.
Soon my lakes will be once again filled with all kinds of geese, ducks, birds, squirrels, and all kinds of other fun and interesting neighbors.
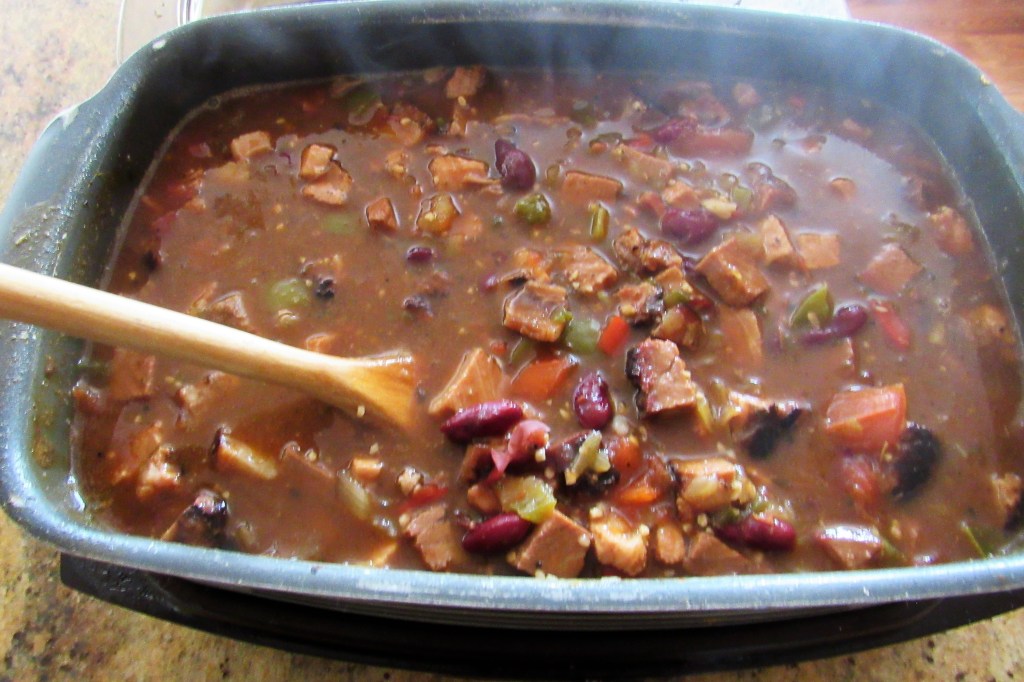
I am still using up portions of the meat we smoked from our Carnivores’ Gathering A Carnivores’ Gathering, and as usual, I am trying to use it in as many different ways as I can. This time, I made chili con carne, and believe me, it was full of carne or meat. I used some of the smoked brisket and the rest of the smoked bacon wrapped pork loin as well to make this very hearty, meaty, delicious stew.
Chili is a thick soup or stew containing chili peppers (sometimes in the form of chili powder),meat (usually beef), tomatoes and kidney beans. Other seasonings may include garlic, onions and cumin. The dish originated in Northern Mexico and Southern Texas. There is NO ONE way to make chili. In fact, the possibilities are endless. Carne is meat. Since beef was the main meat consumed by the Spanish colonizers at the time when they were in Mexico and South America, beef is the primary meat used for chili con carne. Chili largely originated with working-class Tejana and Mexican women and soon spread to the masses and became a staple all over Texas and Northern Mexico.
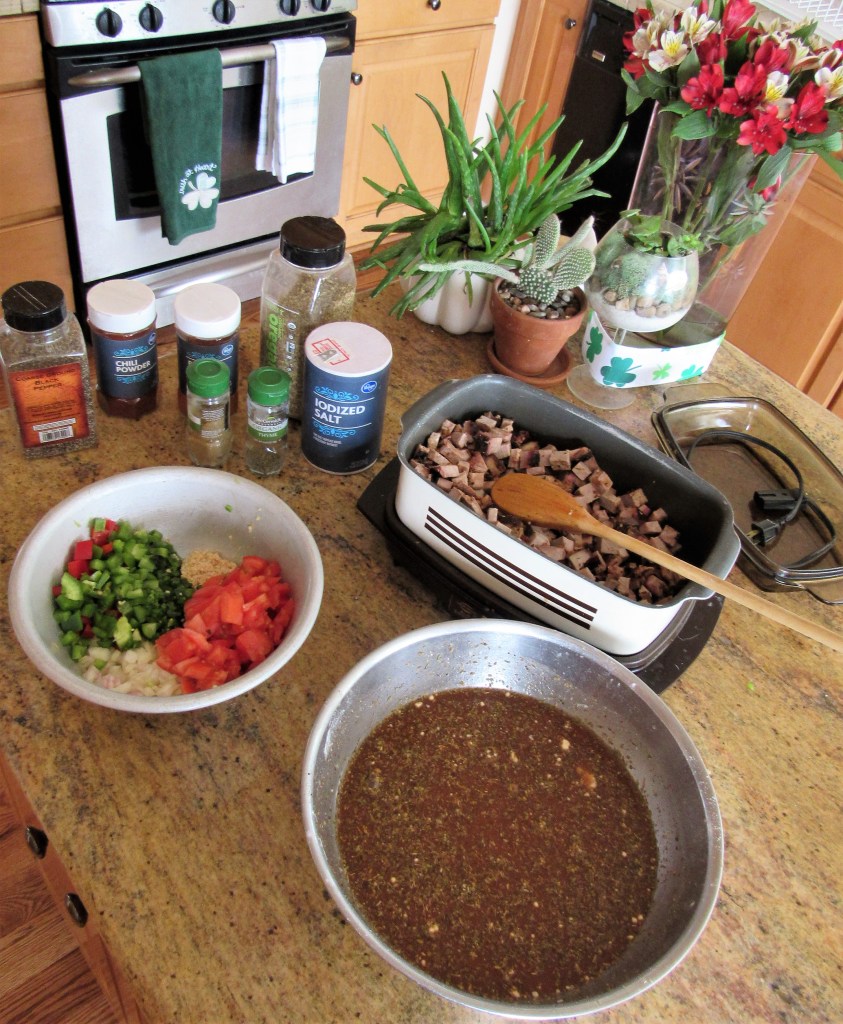
Because there are so many different varieties of chili, and I make it different all the time too, I am not going to give you an actual recipe. But I used all the traditional ingredients – beef, pork, garlic, onions, tomatoes, green bell peppers, jalapeno peppers, cumin, chili powder, kidney beans, oregano and thyme. As always, it came out very filling and very tasty. It was a meal all by itself.
I diced everything up and placed it all in the slow cooker, then walked away and forgot about it until it was time to eat. I like to add the meat first, then the vegetables and I mix all the wet ingredients together and then pour them over the top and mix it all together. Everyone has their own ways and they all work just fine too.
We love chili at our house. As I have said many times, my mother was from Port Arthur, Texas, which is definitely chili country, so every time I make chili con carne, I am honoring my mother and my Southern Texas roots.
When we had our Carnivores’ Gathering, we smoked A LOT of meat. A Carnivores’ Gathering Larry thinks he smoked about 50 lbs of meat in total. We ate as much as out tummies would hold. We gave a lot of it away to our guests. And we still have A LOT left over. There was no way we were going to go through 50 lbs of meat all at once. Some of it we put in the freezer, to pull out for another time, and some we are eating right now. One of the things we left down was the bacon wrapped pork loin.
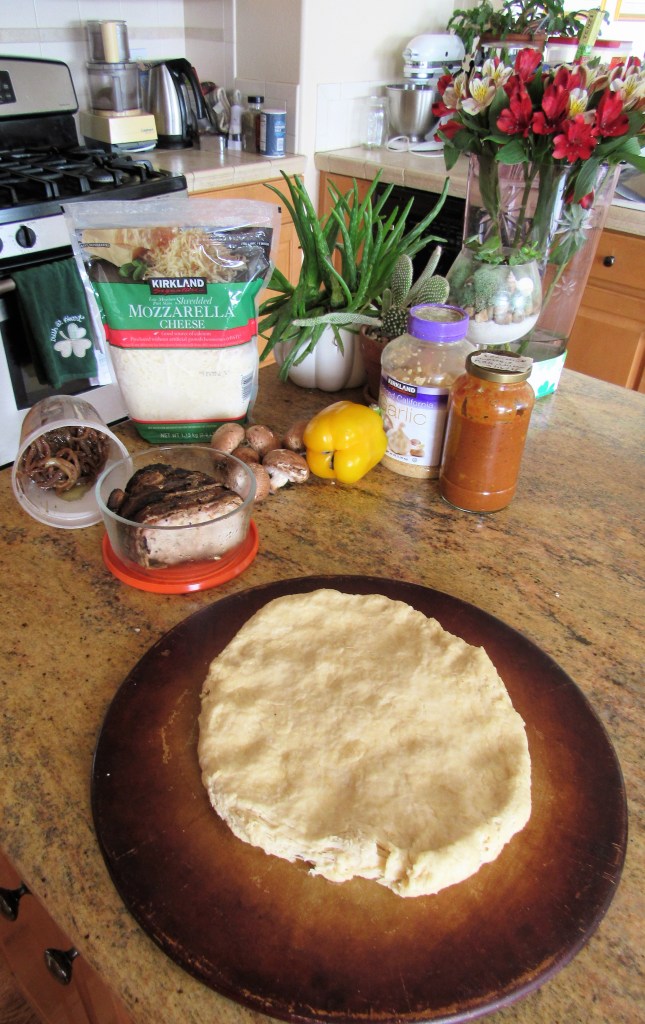
I hadn’t made pizza in quite awhile, especially a pizza with BBQ sauce, so that was what I decided to make. I used my South Carolina mustard BBQ sauce Saucing It Up, our bacon wrapped pork loin and some of my caramelized onions from when I made my caramelized onion tart, Olive and Caramelized Onion Tart along with some mushrooms and yellow bell peppers. It was definitely a yummy combination and our tummies were very happy.
I made my pizza dough BBQ Pork Pizza then started layering it up with all kinds of goodness, most of which was just using up my leftovers. 🙂 You would be amazed at how many compliments and comments I get about how I am always creatively using up my leftovers. It’s a gift. 🙂
Pressing the dough onto my pizza stone was first, followed by the sauce and cheese. I used both cheddar and mozzarella. Larry likes cheddar and I prefer mozzarella.
Next, came the toppings followed by more cheese. I sauteed my mushrooms and peppers with a little garlic first though, to soften them up.
Once the toppings and the cheese were loaded up onto the pizza, it was time to bake it at 375* F or 190* C for about 40-60 minutes, or until the dough was done and all the cheese was completely melted.
Once the pizza is completely cooked, all that is left to do is pour yourself a glass or two of either your favorite red wine or beer and enjoy.















 A Jeanne in the Kitchen