Cooking With the Boys Again – 2

It was another Friday funday. I was cooking with my boys again, Micah, Asher and Noah. Even though they are all brothers, it is two separate lessons, with different menus.

Micah and Asher made an apple and cheese salad and vegetable quesadillas. They were having a lot of fun making them both and they certainly enjoyed eating them when they were done too.

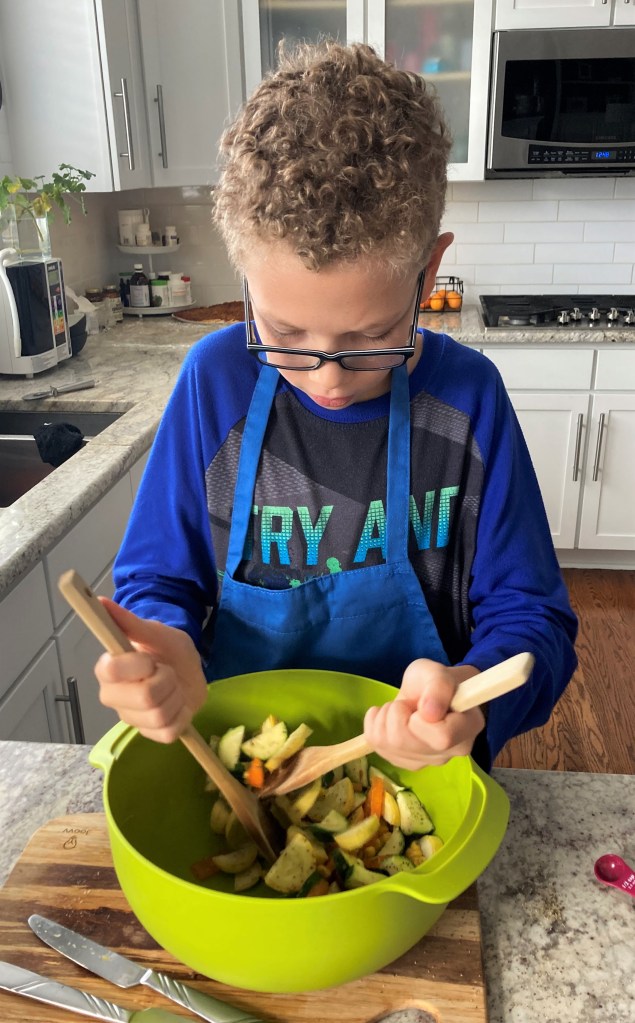
Let the fun begin. Micah is preparing the vegetables for the quesadillas.

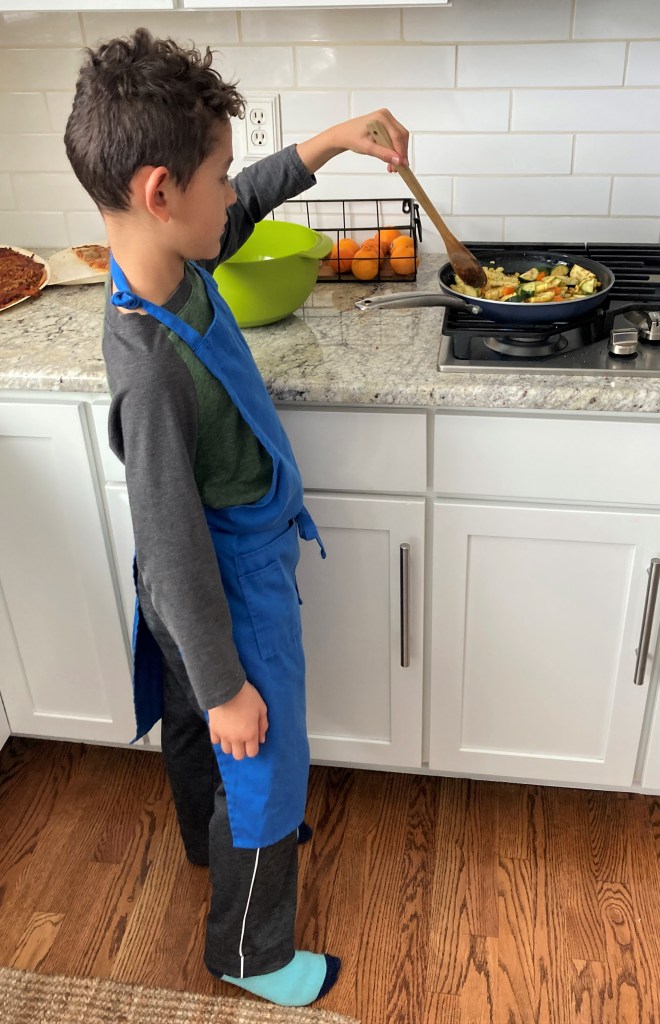
Asher is cooking them up just right.

The main ingredients for quesadillas are cheese, or queso, and tortillas, other than that, anything goes. This time we used zucchini, yellow or crookneck squash, corn and bell peppers mixed with 1 tsp cumin, 1 tsp oregano and salt & pepper to taste. We sauteed the veggies first in olive oil and set them aside for a bit. Then we placed one small tortilla in a small hot skillet and added some cheese on top. The boys wanted mozzarella cheese. When I make them for me, I prefer jalapeno jack cheese. Once the cheese was melted, we removed that tortilla and added another one, which we topped with the vegetables and then added the first tortilla. Lightly press the top tortilla to “glue” it to the vegetables and continue to cook for about 2-3 minutes, or until the cheese is completely melted. Remove it from the pan, cut and serve. Serve immediately. These are best when served hot. I like to add both salsa and either fresh avocados or guacamole on top of mine.

We did all the prep work for both the salad and the quesadillas before we started cooking. Here the boys are preparing the salad.

Apple & Cheese Salad

1 head lettuce, chopped or torn – we used Romaine, but you can use any kind of lettuce you like or spinach or kale, or a combination thereof

1 apple, again, your choice, sliced very thin – we used a gala apple

2 oz cheddar cheese or your choice of cheese, cubed

1/4 cup toasted pecans, optional

Dressing

1 shallot, diced fine or minced

1 TBSP lemon juice

2 TBSP apple cider vinegar

1 TBSP honey

1/3 cup olive oil

salt & pepper to taste

Mix all the dry ingredients together.

Whisk together all the ingredients for the dressing and only add as much as is needed right before serving so the lettuce does not wilt. Do not add to much or the salad will be swimming in dressing. This is supposed to be a light salad.

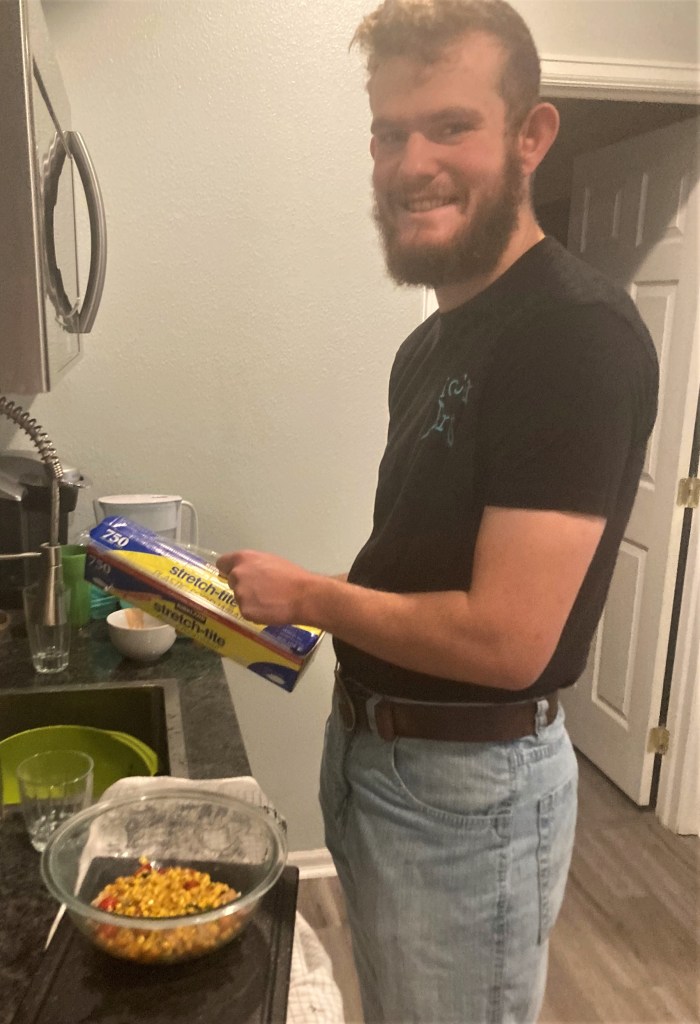
Once the boys were enjoying their lunch I went downstairs to work with Noah. The last time Noah and I worked together, he mentioned he loved BBQ, so his menu was BBQ chicken and a corn and tomato salad to go on the side. You have seen this corn and tomato salad many times. It is so easy to make and is one of my favorites.

Corn & Tomato Salad

2 cups frozen corn, completely thawed

1 cup grape tomatoes, cut in half

1 small shallot, sliced very thin or 1/4 red onion sliced very thin

1 TBSP fresh basil chiffonade, or cut into very thin strips

2 TBSP olive oil

1-2 TBSP balsamic vinegar

salt & pepper to taste

Combine it all together and chill in the refrigerator before serving.

Noah’s BBQ chicken was still cooking when it was time to go, so I did not get any pictures of his chicken, but here is the recipe.

2 lbs chicken pieces

2 onions, cut into thick slices

salt & pepper to taste

olive oil

The Sauce

1 1/2 cups ketchup

1 cup brown sugar

1/2 cup water

1/4 cup apple cider vinegar

1 TBSP worcestershire sauce

1 TBSP molasses

1/2 tsp garlic powder

1 TBSP dried onion

1/4 tsp dry mustard

salt & pepper to taste

Preheat the oven to 425* F or about 210* C

Combine all the ingredients for the BBQ sauce. Add the chicken pieces and marinate for about 30 minutes. Reserve some of the sauce before adding the chicken so you can top the chicken later, after it is cooked.

Toss the onion in the salt, pepper and olive oil and line the bottom of a baking sheet with the onion mixture.

Place the chicken on top of the onion slices and bake uncovered for about 40-60 minutes, or until the chicken is completely cooked. Once the chicken is cooked and the juices will be clear, then remove it from the oven and serve. Add more sauce to the chicken before serving it. Enjoy!

It was another fun day in the kitchen. Everyone had a good time and everyone enjoyed what we made. Always a good sign. 🙂

Stay safe and stay well Everyone. ‘Til next time.

More Fall Colors – 30

This is the last of my fall colors series. I hope you have enjoyed it as much as I have. The colorful leaves are gone and have blown away. Winter is coming. It’s on it’s way.

These are the remains of our amazingly beautiful fall season of 2021.

To every season, there is a beginning and an end. Every season has its charms. Every season has its beauty. When one season’s beauty fades, it leads us to the beauties of another. And the cycle continues.

An American Pot-Au-Feu

What is pot-au-feu? Pot-au-feu, or pot on the fire, is the French version of a pot roast or beef stroganoff. It is thought to have originated in the Alsace region of France, but no one really knows for sure. It is a thick, hearty stew made with beef and vegetables in a cream sauce. Some version of a pot-au-feu has been around since the days of the Ancient Romans, but it made its appearance to the general population somewhere around the 12th century. At the time, it was a humble dish enjoyed mostly by the poor. The ingredients varied by what the people had and where they were. Every pot was different, and they differed each time they were made, even in the same household.

The name pot-au-feu, or pot on the fire, came from the fact that most peasant households had a single hearth, in which a small fire would be kept burning for most of the day. Suspended from a hook, or nestled in the corner, was a large earthenware pot. In the morning, the ingredients would be thrown into this, covered with water and left to cook slowly for several hours. At lunch – then the main meal of the day – the meat and most of the vegetables would be consumed, while the thick broth that remained would be left to bubble away over the fire until the evening, when it would be served for dinner. The ingredients may have differed from household to household, but the method of cooking it was the same everywhere you went. It was usually only eaten for special occasions though, since meat was rarely eaten by the poor, and even then, it was only when times were good. During the lean times of the 16th century, however, pot-au-feu went from being a humble dinner for the peasants, to a dinner served to the more affluent, since the poor could no longer afford such a “luxurious” meal, and even the wealthier people were experiencing tougher financial times.

The origins of the beef stew dish can be traced to King Henry IV of France who ruled between 1553 and 1610. He was quoted as saying that all peasants should afford chicken in their pot at least once a week on Sundays. But as soon as money was more readily available, it once again was thought of as a dish for the “lower classes”. In the 20th century, when more people had more access to more money, it once again rose to popularity throughout the general populations, and has remained popular ever since.

This dish is made with simple, everyday ingredients. You can use chicken, beef or pork, and a combination of whatever root vegetables you have and that you like. It is then served over a hearty pasta or noodles of your choice.

American Pot-Au Feu or Beef with a Mustard-Mushroom Sauce

2-2 1/2 lbs of beef roast

cooking oil or olive oil mixed with butter

3/4 cup beef broth

1 tsp thyme

1 tsp marjoram

salt & pepper to taste

1 TBSP garlic

4 cups mushrooms, cut in half

2 cups small whole onions, peeled

2 cups carrots, cut into small pieces about 1-1 1/2 inches in size, or baby carrots

1 8-oz container of sour cream

1/4 cup Dijon mustard

1/4 cup flour

cooked noodles or pasta

Heat a large pot or Dutch oven until it is sizzling hot, then add the butter and/or oil and add the meat to brown. Brown the meat completely on all sides.

Combine the beef broth, garlic and seasonings and add to the beef once it is completely browned. Cover it and bring everything to a rapid boil, then reduce the heat to a low simmer and continue to cook for 1 1/4 hours. Then add the mushrooms, carrots and onions and return to a rapid boil and reduce the heat to a low simmer. Continue to cook for an additional 30-40 minutes or until the vegetables are tender.

When the vegetables are tender, remove the meat and vegetables and set aside. Combine the flour, mustard and sour cream and mix well. Add enough water to the juices to make 1 1/2 cups of liquid. Then add the sour cream mixture and incorporate it thoroughly with the pan juices. Cook for about 2 minutes, or until it is thick and bubbly.

Re-add the meat and the vegetables and incorporate them into the sauce.

Before serving I sliced the meat into thin strips and then served it all over penne pasta.

The meat and vegetables were very tender and the sauce divine. Since this is a beef dish, with a very rich and thick creamy sauce, I served it with some rolls and a glass of a bold red zinfandel to complete the meal.

C’est si bon, or French for oh so good.

Stay safe and stay well Everyone. ‘Til next time.

More Fall Colors – 28

Another fall shot before we loose our leaves and loose our season. You can see the leaves are thinning out and the trees are not nearly as full as they once were. They colors are all a bit muted too, and not as vibrant as they were earlier. And if you look closely, you can see snow on he mountain tops, in the far distance. The seasons are once again changing, and soon we will have snow.

A Quick Quiche

I make quiche quite often, and I have shared them with you many times. I love quiche. The basic ingredients are eggs and a little bit of cheese. The rest is up to you. I like to make a “mile-high” quiche, using 8 eggs. It comes out so light and fluffy. I also like a crust for my quiche. Many people prefer it without a crust. I like meat in my quiches, many people like it with just vegetables. Use your imagination and add what you like. There is no right or wrong way to make a quiche. As with most things, the most important ingredient is LOVE.

The other day, some friends and I were chatting about quiche, and ironically I was planning on making one the next day too. My friend Stacie said she would love to see what I put in mine. So, Stacie, this one is for you. Enjoy. 🙂

I like my quiches nice and fluffy and that means a lot of eggs. I also bake them in a springform cake pan so they can rise to their peaks. My dough is my basic dough that I use for just about everything.

Jeanne’s Basic Dough

1 1/2 cups flour

6 TBSP cold butter, cubed

1 tsp salt

1 egg

5-6 TBSP heavy whipping cream

Combine the flour, butter and salt in the food processor and pulse for just a few seconds, or until it all resembles a fine sand. Then add the egg and the cream and mix together until it all forms into a ball. Wrap the dough ball in plastic wrap and refrigerate for at least 30 minutes before rolling out to use.

This time I added some lemon pepper to the dough as well, for a little extra flavor. Then I added the ham, asparagus and red peppers and a shallot, diced fine as well.

Once the dough (if using one) was placed firmly in the pan, I added a layer of mozzarella cheese. You can use most cheeses, like Jack, cheddar, Swiss, mozzarella, or something similar. Then I added the ham and the vegetables and shallots. I usually prefer to just scatter them around randomly, giving it a more rustic personality, but you can arrange them nice and neat too if you prefer. I cooked the asparagus first for about 5-7 minutes, then cut them into pieces about 1 inch in size. I diced the red pepper this time. For quiches, I tend to dice things and randomly scatter them, but when making a tart, I usually place everything neatly for a better presentation.

After the “filling” is in place, it is time for the eggs. I whisked together 8 eggs, about 1/2 cup of heavy whipping cream, a dash of salt and pepper and a pinch of both nutmeg and cayenne pepper. I prefer to use black pepper, but often times with eggs, people use white pepper. White pepper is a bit more subtle than black pepper. But when am I ever subtle???? 🙂 If you do not like your quiche this fluffy, use less eggs and you can put it all in a shallow baking dish, like a tart pan or a quiche dish.

Once it was all set, I baked it uncovered at 375* F or about 190* C for about 1 1/4- 1 1/2 hours. You want to make sure the center is cooked completely, and you can tell that by the touch. Lightly place your hand on the center. If it is firm, your quiche is done. If it still wiggles a bit, it needs to cook a bit longer. If the crust is browning to quickly, just cover it with aluminum foil until the quiche is done.

Let it cool for about 5-10 minutes before cutting, then serve it up with your favorite side dishes. I served it alongside a small salad and some roasted potatoes, with a glass or two of a rich, creamy chardonnay. C’est manifique!

Enjoy your days and make the most of them all. Stay safe and stay well Everyone. ‘Til next time.

A Fall Salad

Typically I like to eat salads more in the spring and in the summer, when the temperature is warmer rather than in the cooler months of fall and winter. Salad and cold weather just are usually not a good match for me. However, as with anything, there are always exceptions. There are plenty of good salads to enjoy during the fall and winter months too.

I have made a similar version of this salad before, and it never ceases to wow. Salad with Roasted Butternut Squash and Pomegranate Dressing It is warm and inviting salad, perfect for cooler temperatures and the fall weather. This time I made the salad as a meal rather than a side dish, so I added some turkey and some toasted pecans.

I used a white pumpkin instead of either an orange pumpkin or acorn squash this time. A white pumpkin is just that, white and not orange, with a more subtle flavor than its orange cousin. It is still tasty and still healthy though. It just gives you a chance to shake things up a bit and add a bit more variety.

After peeling the pumpkin and removing the seeds, I cut into thin strips, then coated it with salt, pepper, garam masala and olive oil. I roasted it at 400*F or 200*C for about 20-25 minutes, or until it was tender.

When it was done, I added it to the the salad, topped it with the turkey and pomegranate seeds, then topped it all with the pomegranate vinaigrette. YUM!

Larry is more of a cheese eater than I am, so his salad was topped with some goat cheese as well. Not only is this a pretty and colorful salad, but it is so good and so tasty too. This is a good, healthy way to help fight off the fall and winter blues.

Stay safe and stay well Everyone. ‘Til next time.

Garlic Parmigiano Puffs

Back in my younger years, when I lived in the San Francisco Bay area and money was tight, I would take the bus into work everyday and then walk from the bus station to work, about 1-1 1/2 miles each way. I had to pass by Beaudoin’s Bakery everyday, and I would stop in to get a mini sourdough baguette that was breakfast and then some. I had it timed perfectly so that as soon as I walked into to work, I was just finishing my last bite. If I could only eat one thing for the rest of my life, I could easily say it would be bread. I love bread, of all kinds. Bread is after all, the food of life, and has been since the beginning of time.

Not only do I love to eat bread, but I love to bake breads too, and once again, breads of all kinds. I was making a salad for dinner and I needed a good fall bread to go with my fall salad. Hence my garlic Parmigiano puffs or rolls. They paired perfectly with the salad, plus they were easy to make and delicious; two of my favorite things. 🙂

Garlic Parmigiano Puffs

3 rolls of 11-oz pre-made French bread dough

3 TBSP butter

3 TBSP olive oil

2 TBSP garlic

2 tsp dried oregano

shredded Parmigiano cheese

parsley

Preheat the oven to 350* F or 180*C

Combine the butter, olive oil, garlic and oregano in a microwave safe dish and melt the butter completely.

Cut the dough into enough small dough balls for 3 balls per roll. Roll the dough into balls, then completely coat them in the butter mixture. Place them in a muffin pan.

Once the dough is placed in the muffin pan, sprinkle the Parmigiano cheese on top of each roll, and then add the parsley.

Bake for about 20-25 minutes or until the rolls are golden brown. Serve immediately. These are best when served hot. You can do the same thing with cheddar cheese or another cheese of your choice to change things around a bit too.

Stay safe and stay well Everyone. ‘Til next time.