Well Hello Dolly!

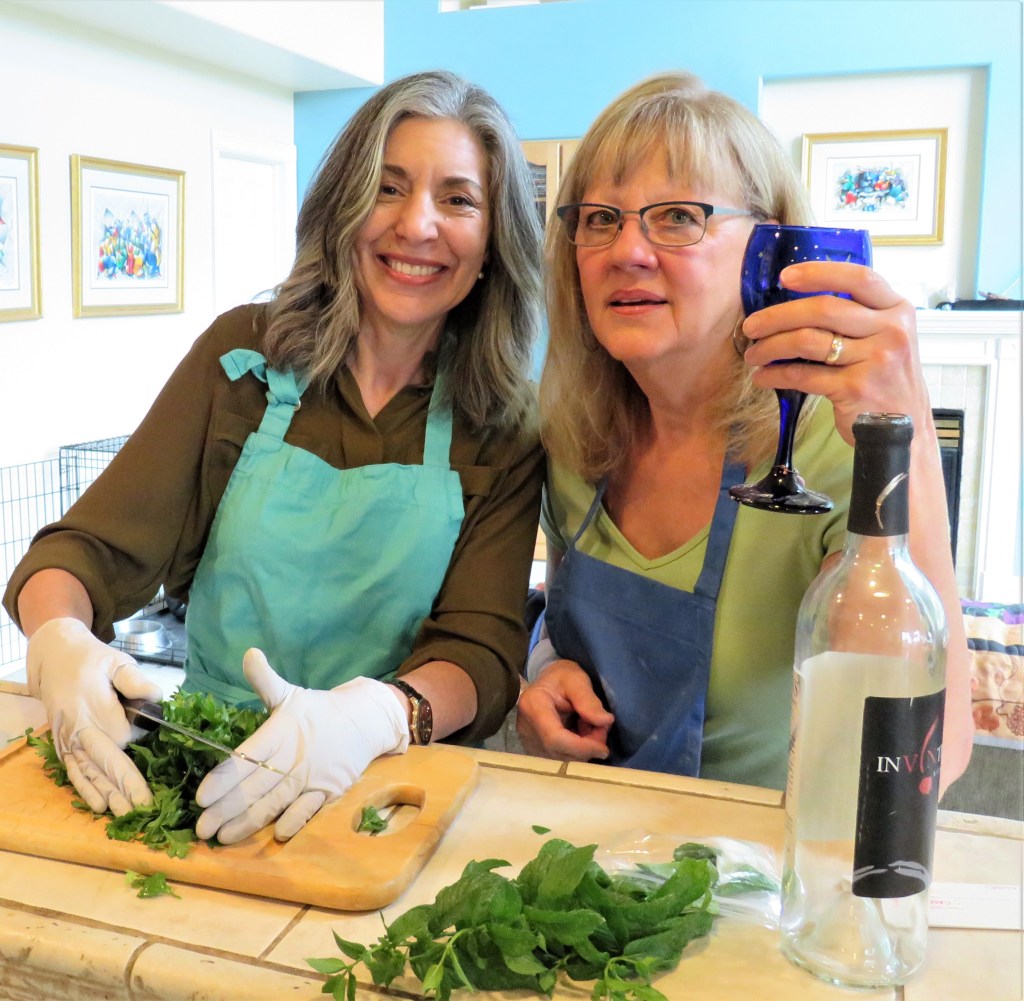
Our very own Dolly Aizerman is back as a guest chef, once again. Though Dolly and I have never met in person, as of yet, we both just know that once we do, we are going to be great friends. We have so much in common. Don’t you just love her beautiful and vibrant smile? I know I sure do. 🙂

Dolly, can be found at https://koolkosherkitchen.wordpress.com/. She is famous for her very intriguing food facts and stories, as well as her delicious recipes. She has a real joie de vivre, and it shows in everything she does. Today, Dolly is bringing us her Oriental Express Ahi Tuna, in her own words and videos. Please be sure to click onto the video websites too. You don’t want to miss a thing. Most of these clips are from the movie Amadeus, a great movie from quite a few years ago, starring Tom Hulce.

Ancient Romans called the entire Eastern part of the Roman Empire Orient, from Latin oriens, which means East, or literally, rising, like the rising sun. The Land of the Rising Sun, i.e. Japan, was unknown to them. Yet as Europeans explored lands further and further eastwards, the concept of Orient kept expanding, eventually reaching Far East, which included China and Japan. By 18th century, everything even remotely Oriental became fashionable in Europe. However, in European minds, it still included everything exotic to the east of what they considered “civilized countries.” One of those exotic places was Turkey, with its mysterious harems, or seraglios, as they were called in Europe, and fantastic tales of sultans and pashas with their numerous wives and concubines.

It is no wonder, then, that when Mozart was commissioned by Austrian Emperor Joseph II to create an opera in German, he chose a lighthearted, ridiculously comical story of a pining lover Belmonte who manages to abduct his betrothed Konstanze from Selim Pasha’s seraglio, ably and hilariously added by his servant Pedrillo and Konstanze’s maid Blonde, an English girl. They get caught, of course, and are about to be executed, but at the last moment, Pasha grows a heart and lets them go (the following scene is filmed on location in Topcapi, the former Sultan’s Palace):

Don’t be surprised: this was the very first full-size opera written and sung in German, rather than Italian. The music, of course, is Italianized to the point that Emperor, who obviously loved it, still remarked:

“Too many notes” was, perhaps, an unfair assessment, but who else would write a part for a bass coloratura? Have you ever heard one? I haven’t! Besides, that same bass aria includes the lowest notes in the entire world bass repertoire, so the singer has to have an incredible range. But the actual “too many notes” appear in a different aria, the one every coloratura soprano in the world cuts her singing teeth on:

You might remember this scene from Amadeus, a beautiful and widely acclaimed film, and you might have noticed that the costumes are not exactly Turkish, but conforming to the fashion of Mozart’s times. Well, if they could do it in eighteenth century, why can’t our opera houses do the same in our days? And they started doing it: Pagliacci set in American Dust Bowl, Carmen in a contemporary bar, and Abduction from Seraglio? To preserve at least some Turkish flavor, a few opera companies, including our Florida Grand Opera, brought on stage … The Orient Express. Yes, the set recreates the legendary train, the epitome of grand luxury, “the rolling palace,” as it has been known since the end of 19th century and its maiden voyage. Dressed as the characters of Dame Agatha Christie’s Murder on the Orient Express, Mozart’s personages love, fight, and gloriously sing inside the splendid train.

But what about the Orient as we know it today, or the Far East: A full hundred years after Mozart, P.I.Tchaikovsky and the famous choreographer Marius Petipa have inserted this delightful piece into everybody’s beloved Nutcracker (these are kids dancing, Beautiful People, from the renown Kirov Ballet Academy):

Now you see that you don’t have to be oriental to celebrate the Orient, and thus I have taken the liberty of creating this fast and fun recipe:

Dolly’s Oriental Express Ahi Tuna

INGREDIENTS

  • 2 Ahi tuna steaks
  • 2 -3 garlic cloves
  • ½ inch ginger, grated
  • Large handful of fresh cilantro
  • 1 tblsp Worcestershire sauce
  • 1 tblsp oy sauce
  • 1 tblsp dry sake (rice vinegar may be used)
  • 1 tblsp sesame oil
  • Allspice to taste
  • White sesame seeds to garnish

PROCEDURE

  • Mix all ingredients, except sesame seeds. Marinate tuna steaks for at least an hour in refrigerator.
  • Grill for 2 minutes on each side, reserve marinade.
  • To serve, pour remainder of marinade over hot tuna steaks, sprinkle sesame seeds on top.

Enjoy! I know I sure will enjoy this scrumptious dish. I LOVE ahi tuna! I know you will enjoy it too. Thank you my beautiful friend, Dolly. I so look forward to the day when we can actually meet, in person. I know we are going to have so much fun. Until we do actually meet, jusqu’a ce qu’on rencontre, mon Amie! Je l’adore!

Always make the most of your days, or carpe diem! Stay cool, stay safe and stay well Everyone. ‘Til next time.
Chocolate Banana Bread

Years ago, when I lived up in San Francisco, I worked at a public relations firm. Most of our clients were food clients, and one of those clients was Ghirardelli Chocolate. One of the many perks of the job was not only creating great recipes and promos for our clients, but we also got some great gifts from them too. You all know how much I love and value my cookbooks, so one of my favorite gifts from that time was a little Ghirardelli cookbook. I have used it many times, and have made many great recipes from this book. One of those recipes is this delicious chocolate banana bread.

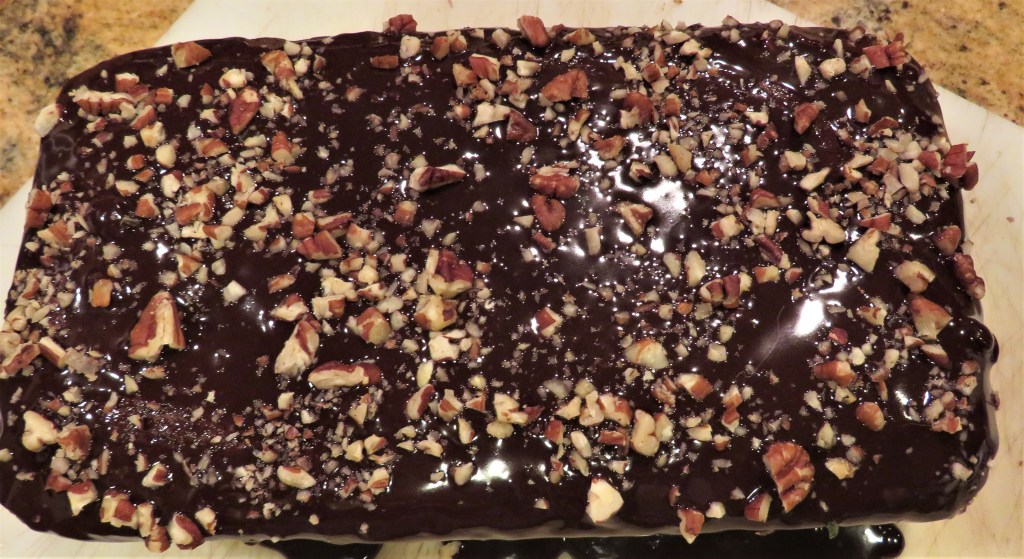
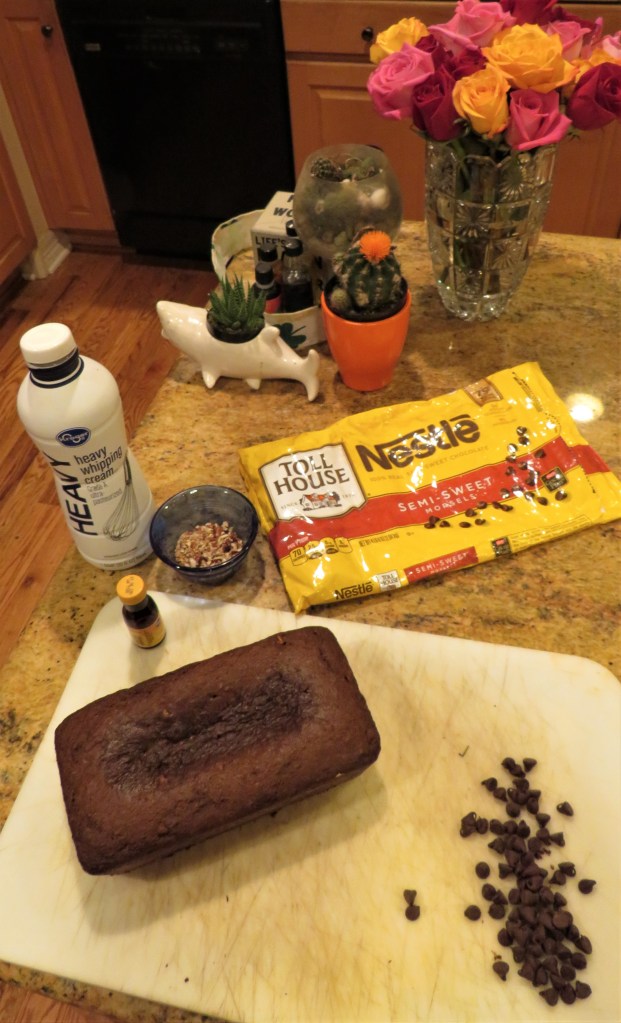
I started off with the basic Ghirardelli recipe, and then expended upon it from there. I know. You are all stunned that I would actually change a recipe and recreate it to make it my own. 🙂 I substituted pecans for walnuts. That was one change. I LOVE pecans. Walnuts, not so much. I added some banana extract to the mix as well, to enhance the banana flavor of the bread too. I also made a chocolate ganache to top the banana bread and added more chopped pecans. The chocolate ganache and nut topping really added more pizzazz and personality to the basic banana bread, making it really come to life. It was good before, but great after.

Chocolate Banana Bread

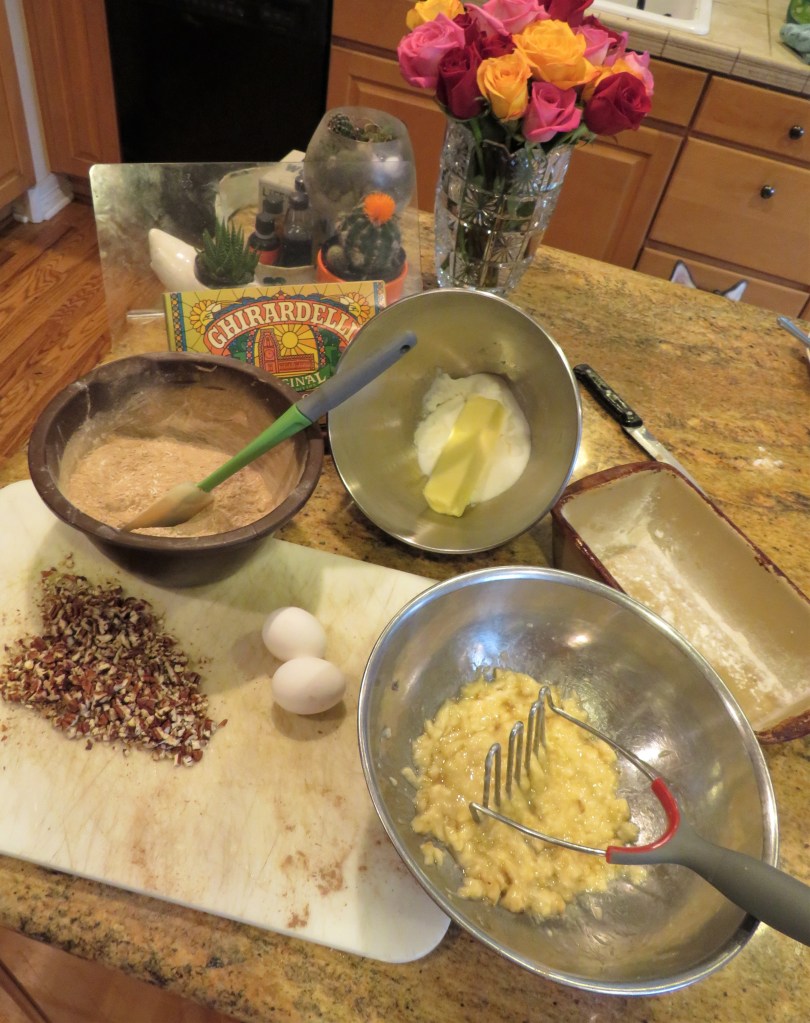
Yes, I really did use Ghirardelli chocolate, and NOT the King Arthur’s seen here in the picture. I forgot I had Ghirardelli chocolate at first, but then found out that I did. 🙂

Preheat the oven to 350* F or 180* C.

Spray cooking oil in a loaf pan and then dust lightly with flour.

1/2 cup or 1 stick butter, softened

1/2 cup sugar

2 eggs

1 tsp banana extract

2/3 cup cocoa powder

1 1/2 cups or about 2 large bananas, mashed

3/4 cup chopped pecans or walnuts, divided

1 3/4 cup flour

1 tsp baking powder

1 tsp baking soda

1/2 tsp salt

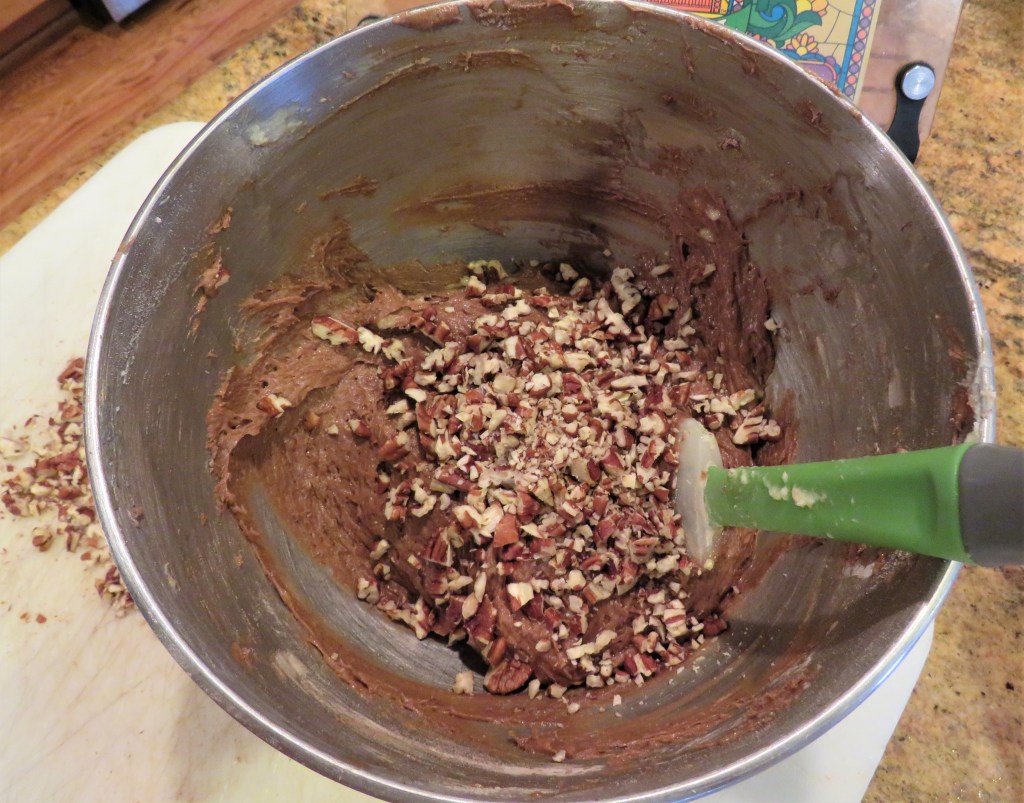
Mix the butter and sugar together until it becomes creamy, then add the eggs, one at a time, beating in between. Add the mashed bananas and banana extract and mix again.

Combine all the dry ingredients together and mix well. Then add all at once to the butter and egg mixture. Mix just until everything is just blended together. Do not overmix, or your bread will be tough.

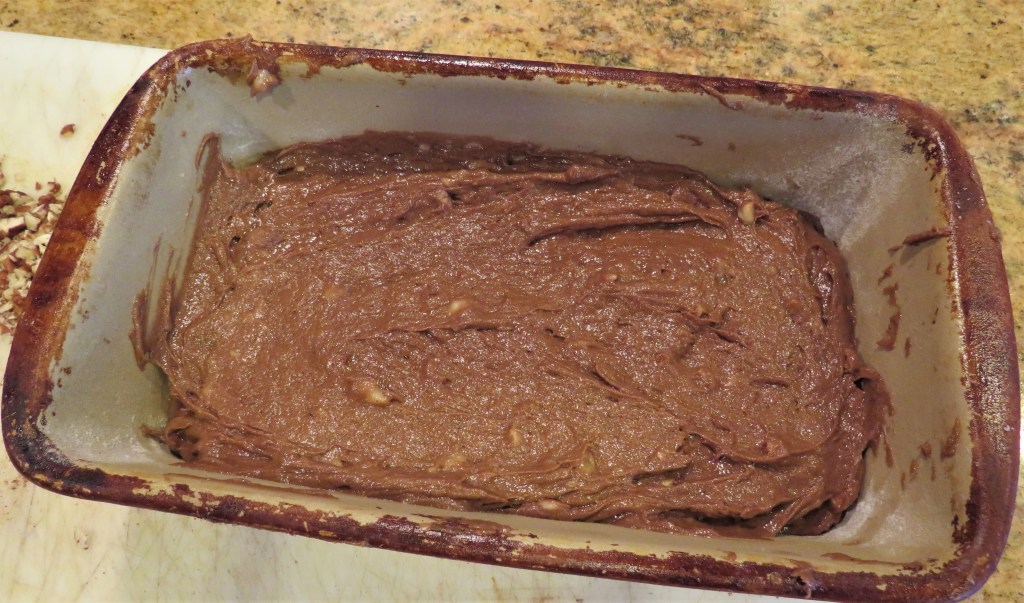
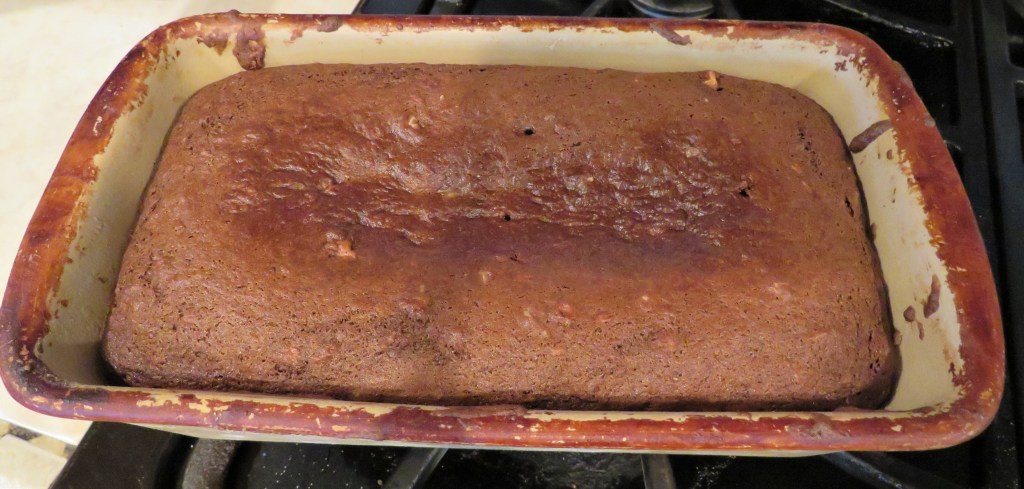
Once everything is combined, gently fold in about 2/3 of the chopped nuts. Then pour into the prepared loaf pan and bake for about 1 hour, or until a toothpick comes out clean when inserted in the middle.

Allow the bread to cool completely before adding the ganache.

Chocolate Banana Ganache

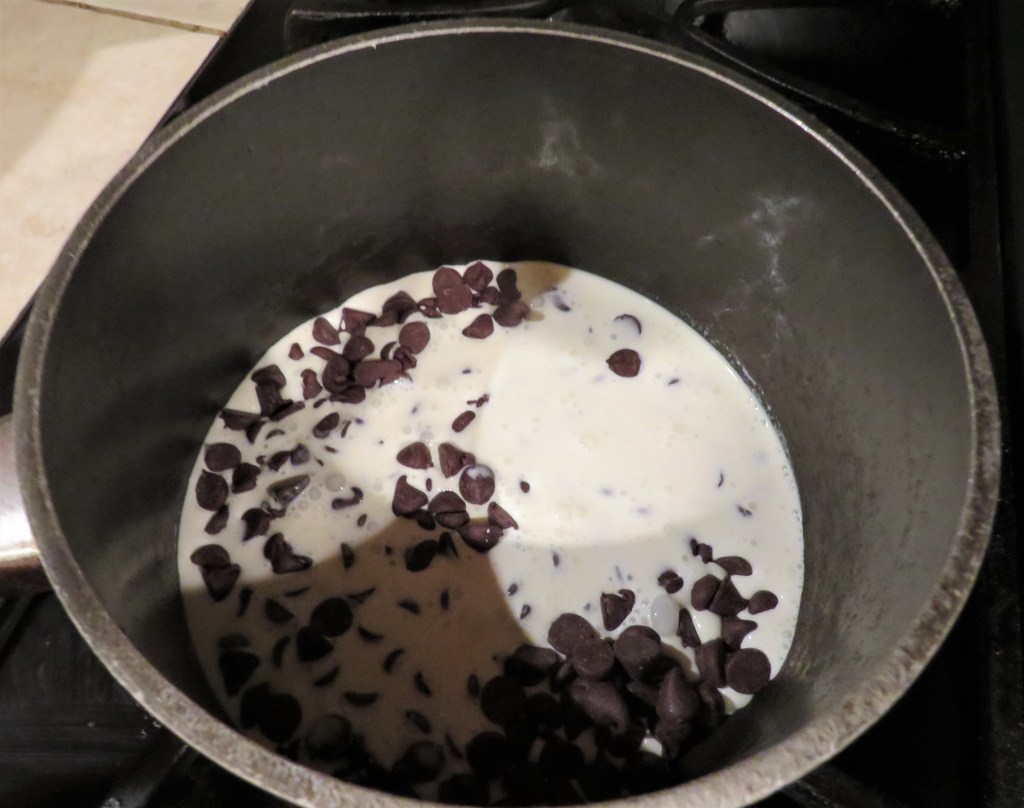
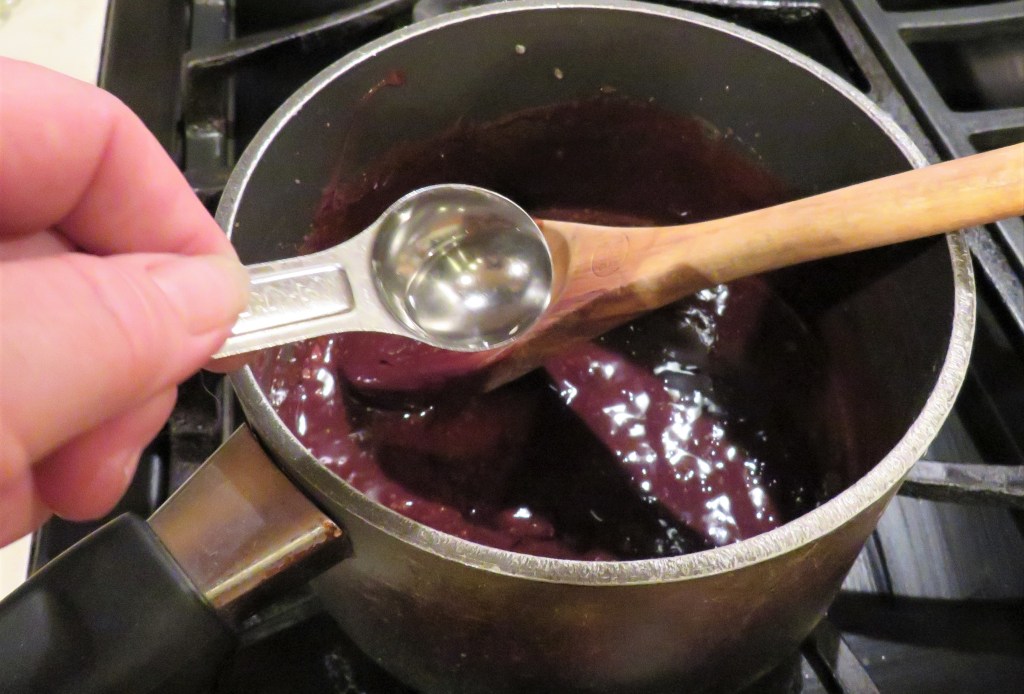
Equal parts chocolate and heavy whipping cream in a saucepan. Melt the chocolate complete while stirring constantly at a medium-low temperature. Add 1 tsp of banana extract and mix in thoroughly. I use chocolate chips a lot when making a ganache. It saves me the time of chopping the chocolate into small pieces. Plus, it tastes great too.

When the ganache is ready, pour it over the bread and top with the remaining chopped nuts. This is delicious on its own, or served with ice cream and a bit more of the chocolate ganache as well.

We all need chocolate in out lives. Chocolate is a food group all on its own. 🙂

Stay cool, stay safe and stay well Everyone. ‘Til next time.
The Empanada Party – Part 4 – Pumpkin Picarones

This is the last installment of my Empanada Party series. The Empanada Party – Part 1 – Beef Empanadas; The Empanada Party – Part 2 – Chicken Empanadas; The Empanada Party – Part 3 – Una Gran Ensalada Latina We are ending on a very sweet note. Today, I bring you dessert. Today, I bring you pumpkin picarones or pumpkin donuts. We served them with ice cream and a light brown sugar sauce. I made the dough ahead of time and kept it in the refrigerator until we were ready to use it. By refrigerating it, the dough would not rise any more than I wanted it to.

Picarones are found all over Peru. Like a lot of recipes, they were created by accident and then became a huge and very popular dessert all over Peru. They were first created as a replacement for the traditional bunuelos, which were a type of donut brought over from the Spanish conquistadors, around 300 years ago. The bunuelos were becoming to expensive for the locals to make and the ingredients were hard to find, so they started improvising and using local and regional ingredients, such as squash (pumpkin) and sweet potatoes. In Peru, they are usually made with fermented chicha, or a fizzy Andean corn beer, but yeast is a good substitute, and here in the United states, yeast is much more readily available. Once the donuts are made, they are served in a syrup that was originally made from solidified molasses, known as chancaca or or with a panela syrup. I usually only make them with pumpkin, but the traditional recipe calls for both pureed sweet potato and pumpkin.

Picarones con Salsa Panela

1/4 cup lukewarm water

1 tsp + 1 1/2 TBSP sugar

2 tsp dry active yeast

1/4 cup milk

1 large egg, slightly beaten

1/2 tsp salt

2 TBSP butter, melted

1 can pureed pumpkin

2 3/4-3 cups flour

canola or peanut oil for frying the donuts

Mix the water, 1 tsp of sugar and the yeast together and let sit for about 5-10 minutes, or until it becomes foamy and frothy.

Mix the egg, milk and melted butter together and add to the yeast mixture when it is ready.

Then add the pumpkin and/or sweet potato (cup) and whisk together until is is all blended together and smooth. Next, add the flour and mix together until you have a soft, sticky dough.

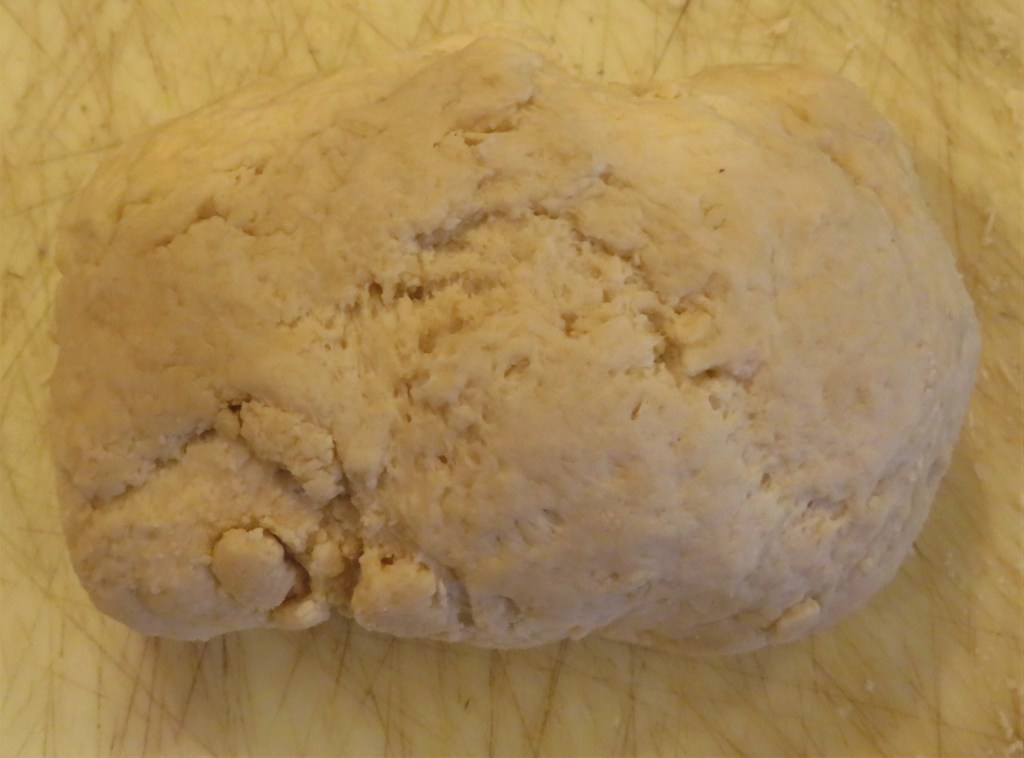
Transfer the dough to a lightly floured surface and knead for about 5 minutes. Add more flour as needed. Shape into a ball and cover to let rise for about 1 hour, or until it has doubled in size.

Punch the dough and let it stand for about 10 minutes, before starting to work with it. Pull off small pieces of the dough and form into small balls, about the size of a walnut. Roll the dough ball into a thin rope, then bring then ends together to form a circle and pinch tightly.

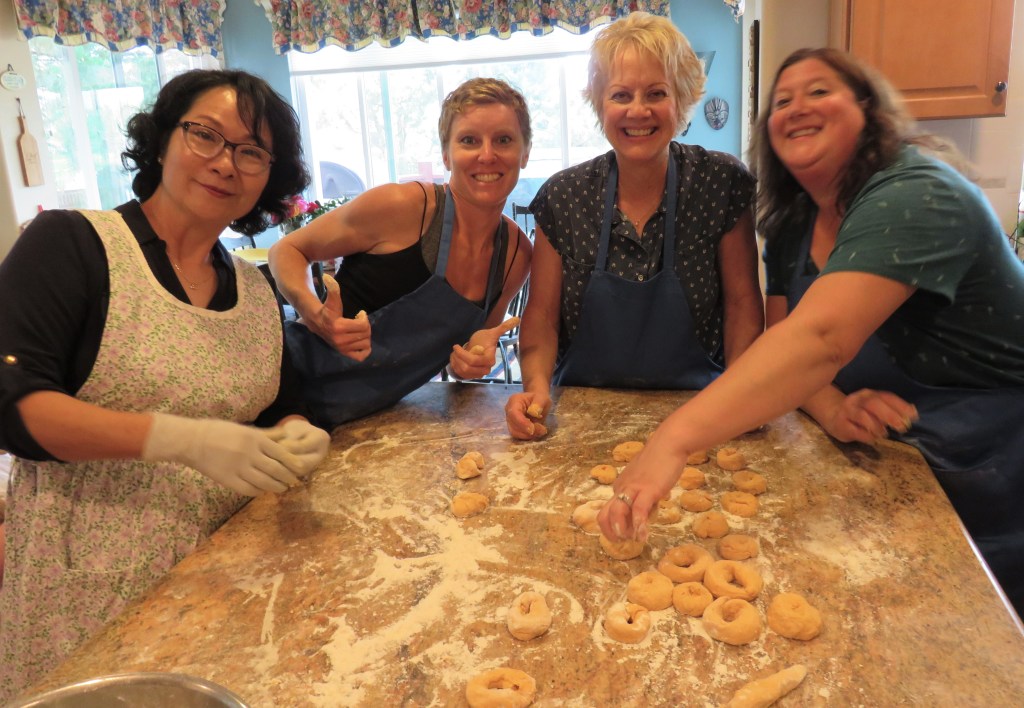
Su, Elizabeth, Peggy and Amy are starting to work on the donut making process.

Our donuts were all different sizes, but they were all delicious.

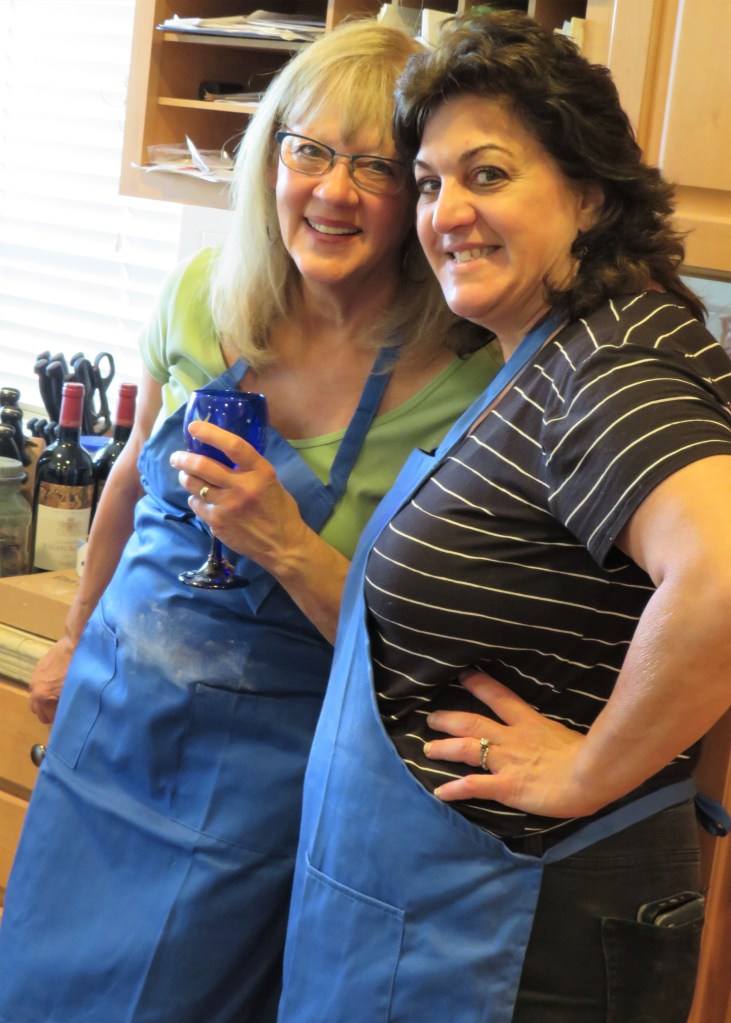
Linda and Lauren were supervising, making sure the donuts came out just right.

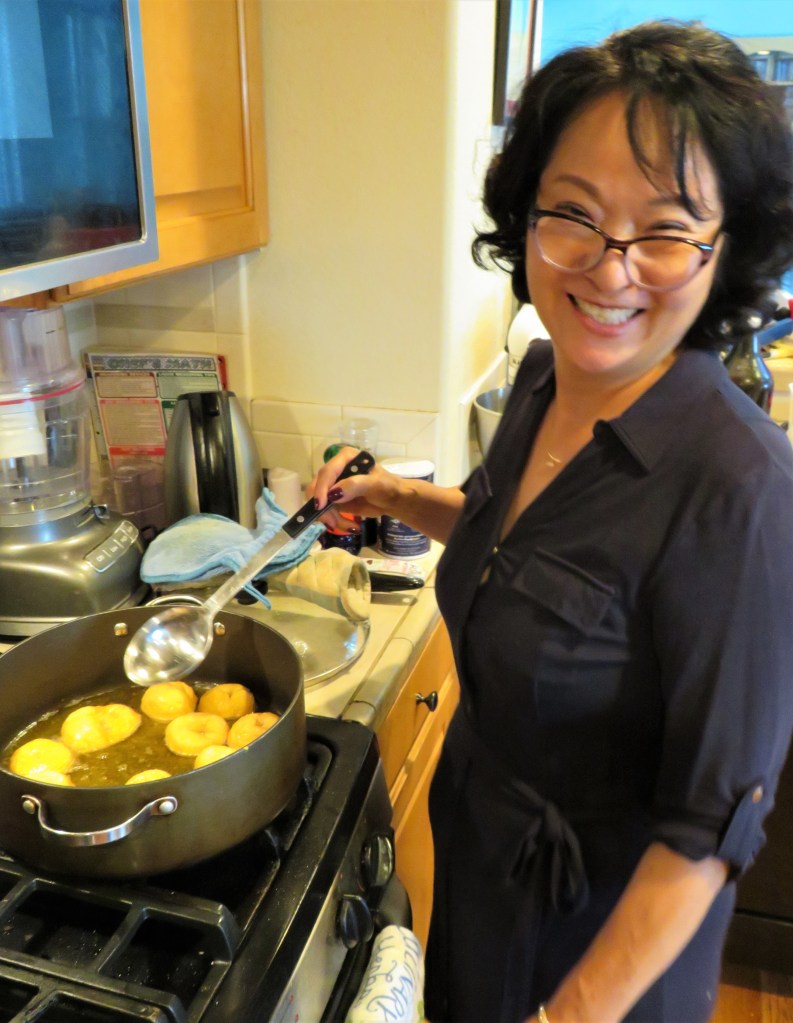
Once the donuts are all prepared, get the oil to 360* F or 190* C. Then carefully add a few donuts at a time, making sure NOT to overcrowd them. Fry them for about 2-3 minutes, or until they start to rise to the top and they are golden brown and puffy. Drain them on a paper towel to absorb the excess oil before serving.

Su is frying up the picarones.

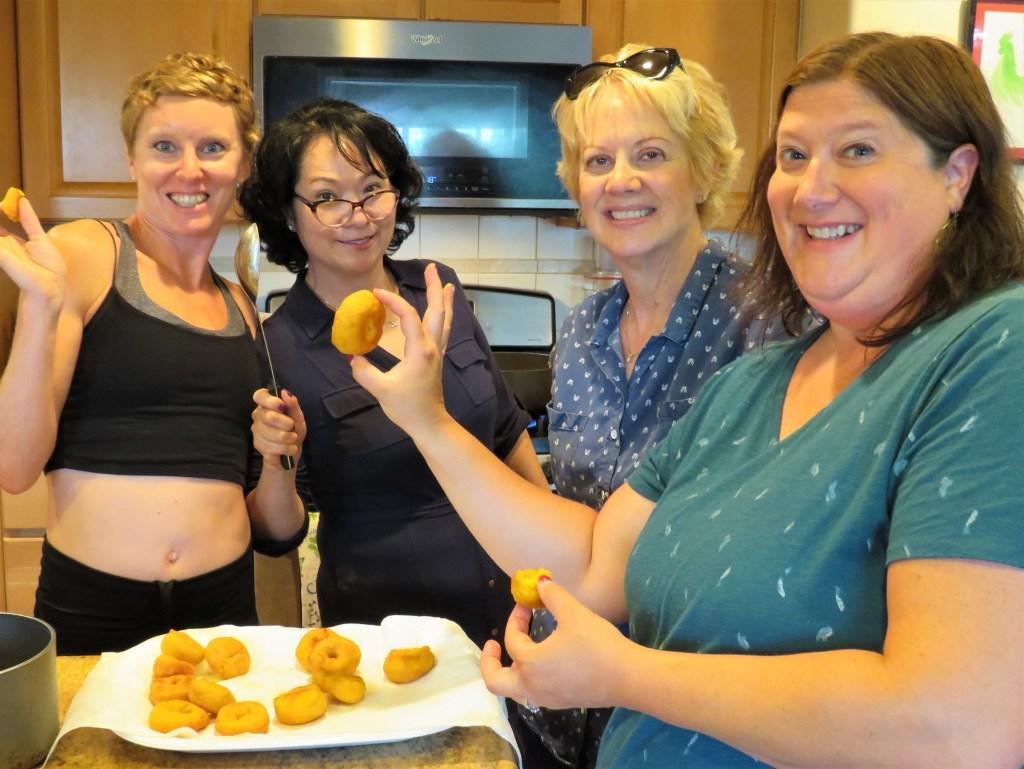
They have passed inspection. The donut ladies have all given them the thumbs up and the OK sign.

As the donuts are draining, make the panela sauce.

Panela Sauce or Salsa de Panela

1 1/2 cups brown sugar

3/4 cup water

1 cinnamon stick

1/2 tsp ground cloves

1 TBSP orange zest

1/4 cup spiced rum, optional

1-2 TBSP lavender sugar, optional

Place everything together in a saucepan, bring to a boil, stirring constantly. Cook until all the sugar is melted and you have a smooth, liquid sauce. Immediately pour over the donuts and serve. Ice cream is optional, but it is a good addition.

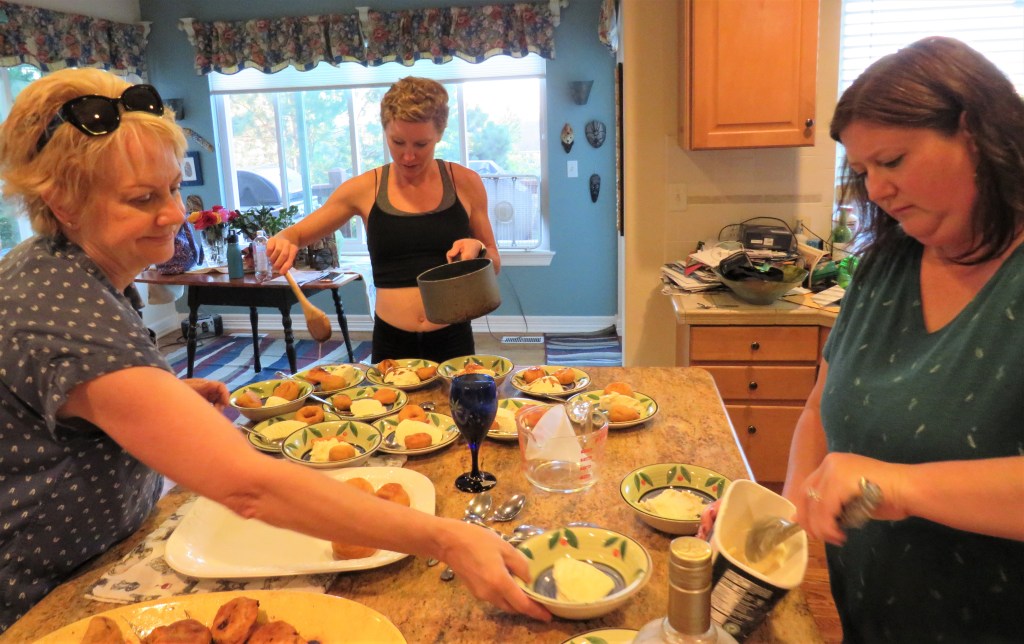
Peggy, Elizabeth and Amy are busy plating up the picarones and topping them with the panela sauce. They were oh so good too.

These are best when eaten fresh and hot, and eat them you will. They will literally just melt in your mouth. You’re going to LOVE these little pumpkin picarones. The dough makes a lot, so make them all up and share with friends and loved ones. You will be very popular indeed. 🙂

Stay cool, stay safe and stay well Everyone. ‘Til next time.
The Empanada Party – Part 3 – Una Gran Ensalada Latina

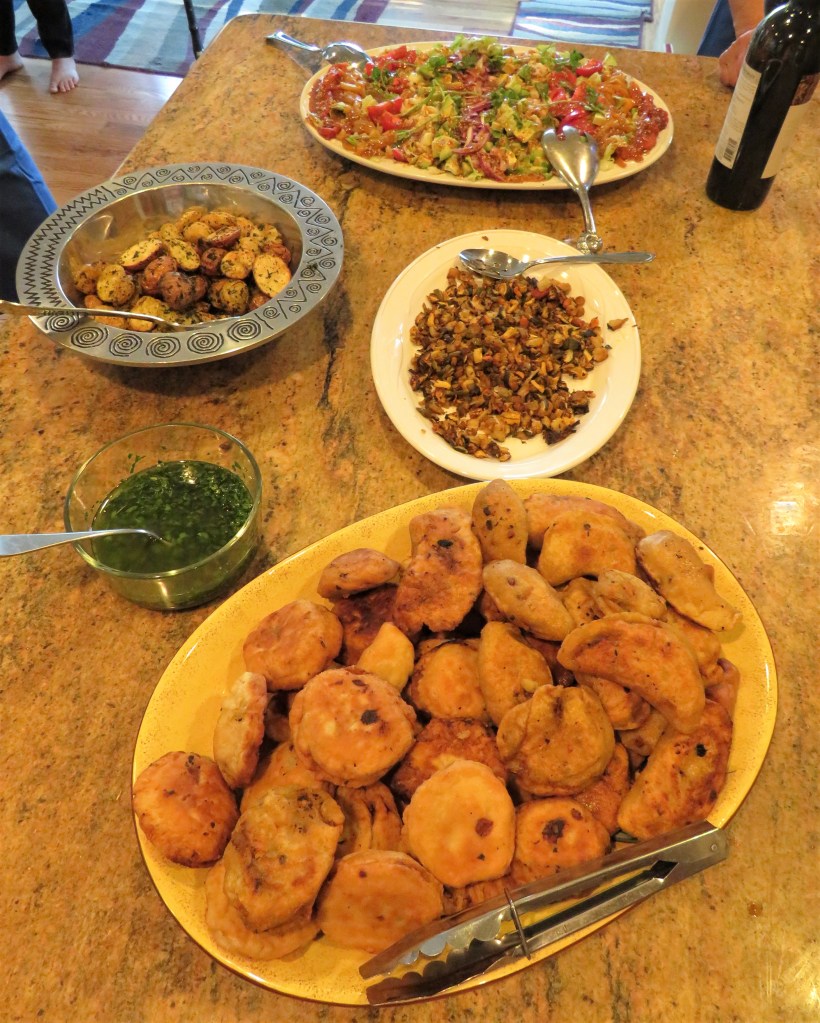
We had so much fun making our empanadas at our empanada party, but we could not ONLY eat empanadas, now could we?! The Empanada Party – Part 1 – Beef Empanadas; The Empanada Party – Part 2 – Chicken Empanadas We had to have side dishes to go with our delicious empanadas. I roasted some baby potatoes and then we all made a big, beautiful and colorful salad, una gran ensalada Latino, as well.

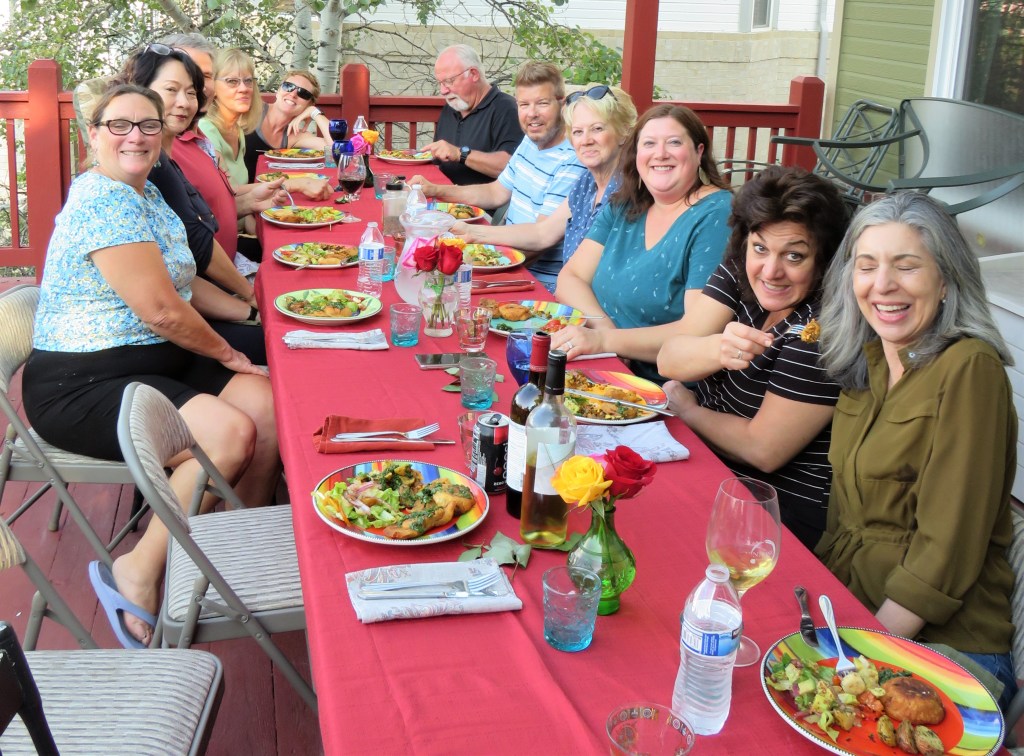
The whole meal was a group/class effort, made by all. We all joined in to make the empanadas. Once the empanadas were done, we moved on to make the rest of the meal. As a time saver, I had already roasted and cut up the peppers and onions.

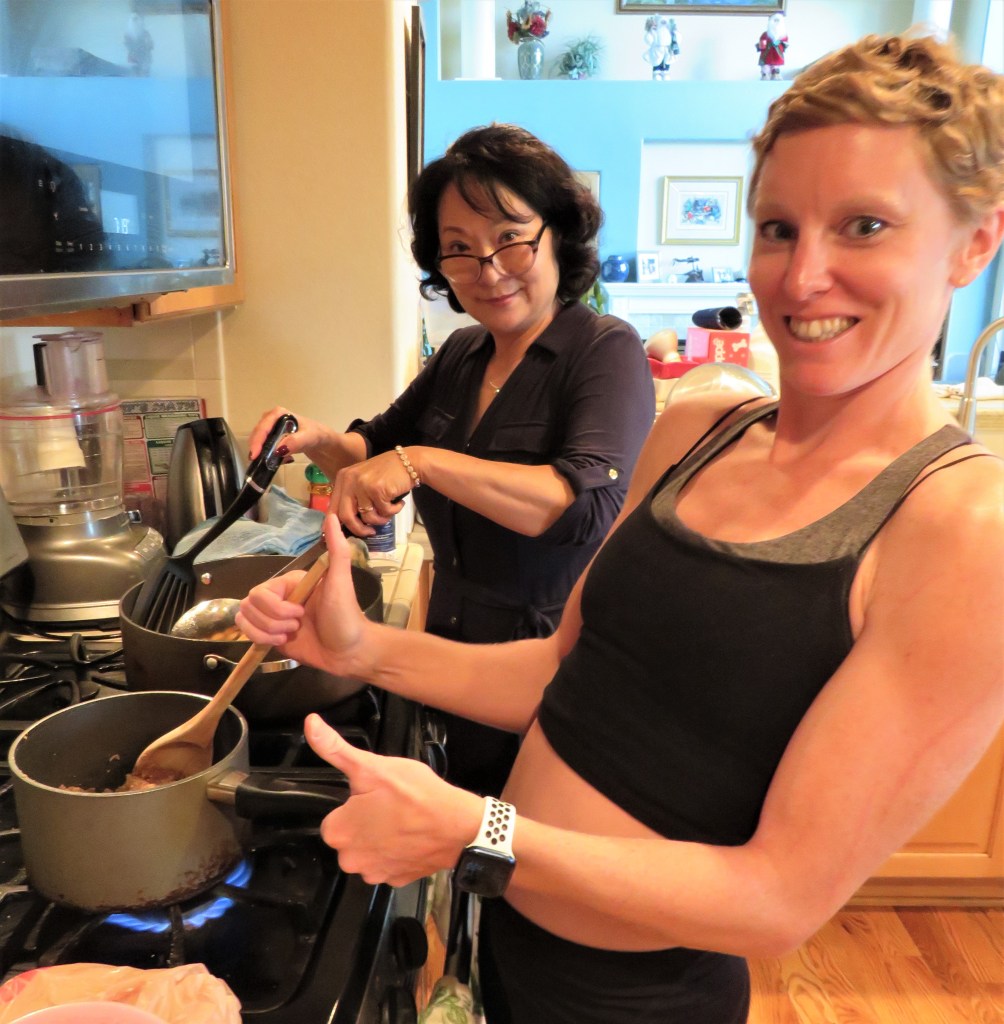
Priscilla was in charge of the Argentine chimichurri sauce, with help from Linda.

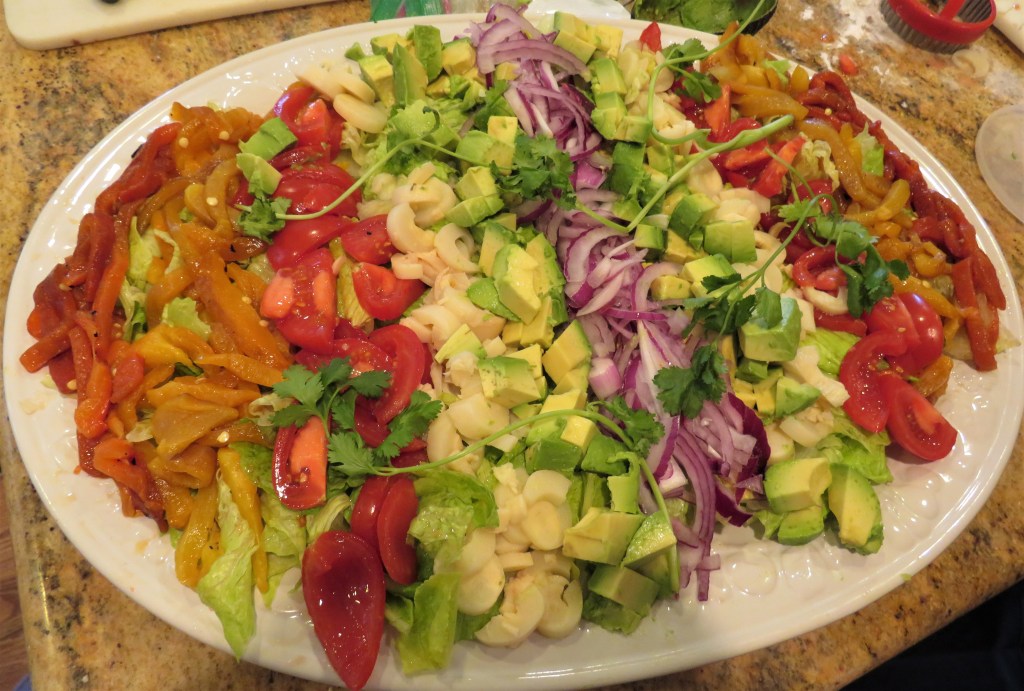
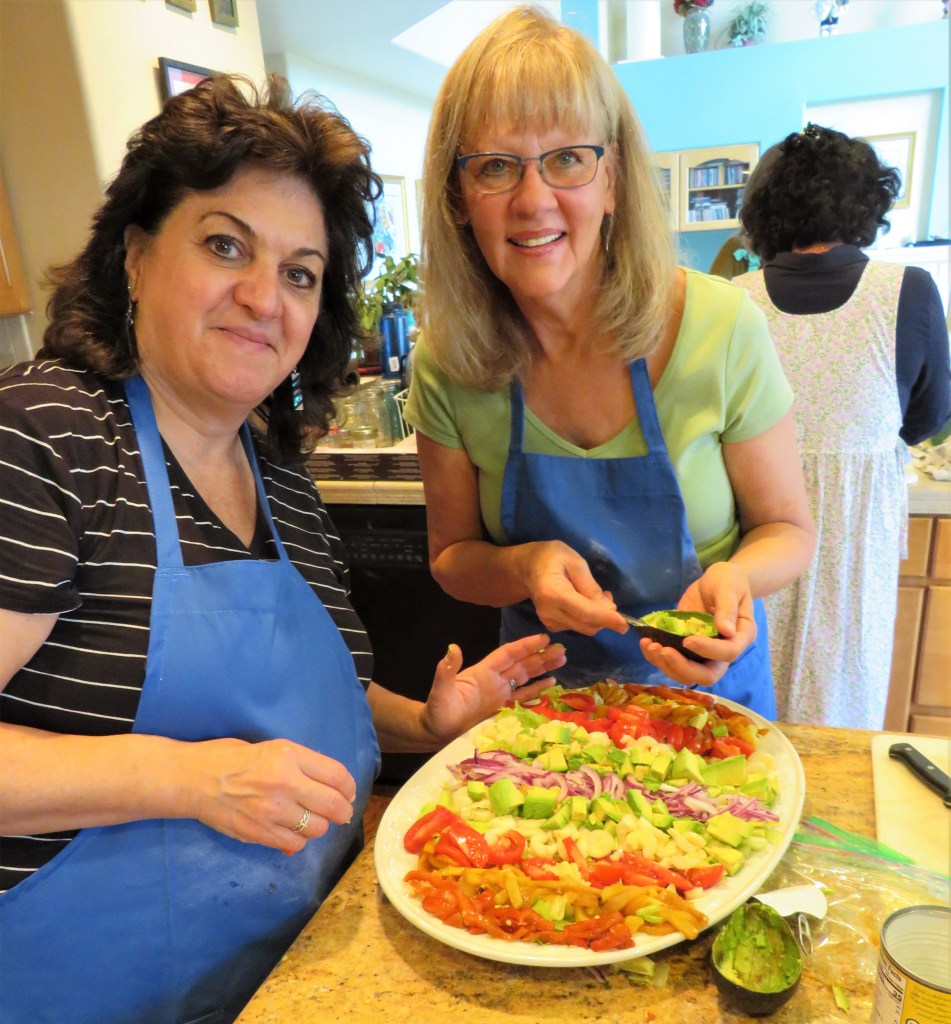
Linda and Lauren were in charge of making the gorgeous gran ensalada Latina. This is kind of a generic salad that is popular all over South America, hence the generic name. With all salads, everywhere, not just in South America, the fun part comes from experimentation and throwing in whatever fresh vegetables you have, as well as coming up with some fun dressing that matches the salad. Amy and Peggy were in charge of making the dressing, and I thought I had a picture of that, but alas, I do not. Sorry Ladies.

Gran Ensalada Latina

1 head of Romaine lettuce, chopped rough cut

1 yellow, 1 orange and 2 red bell peppers, roasted, rinsed, seeded and cut into thin strips

4-5 ripe tomatoes, diced medium

2 avocados, diced medium

1/2 red onion, sliced very thin

1 can hearts of palm, drained, rinsed and sliced into small rounds

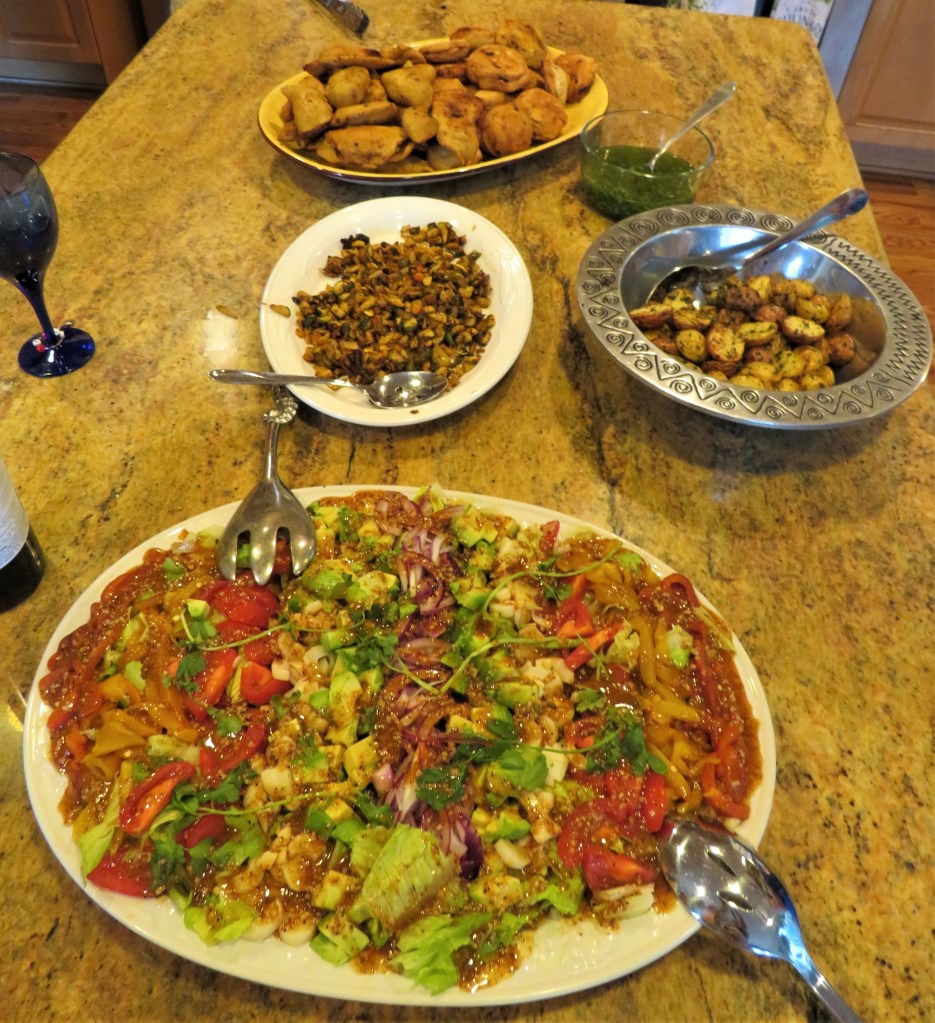
Once everything is cut to perfection, all that is left to do for this beautiful salad is to creatively and artistically arrange it all on a big platter. Then top it with the dressing and a few cilantro leaves.

The Dressing

Dressings for much of the Spanish world are just simple dressings made with a few spices, some kind of an acidic juice and olive oil. This is to best bring out the flavors of all the fresh vegetables rather than the flavors of the dressings.

1 TBSP Dijon mustard

1 1/2 TBSP garlic

1/4 cup lime juice

2 TBPS white wine or white balsamic vinegar – We used white balsamic vinegar

2 tsp chili powder – ajo or garlic chili powder

2/3 cup olive oil

salt & pepper to taste

Whisk everything together and add to the top of the salad. Serve immediately after adding the dressing. You don’t want the vegetables or lettuce to get soggy.

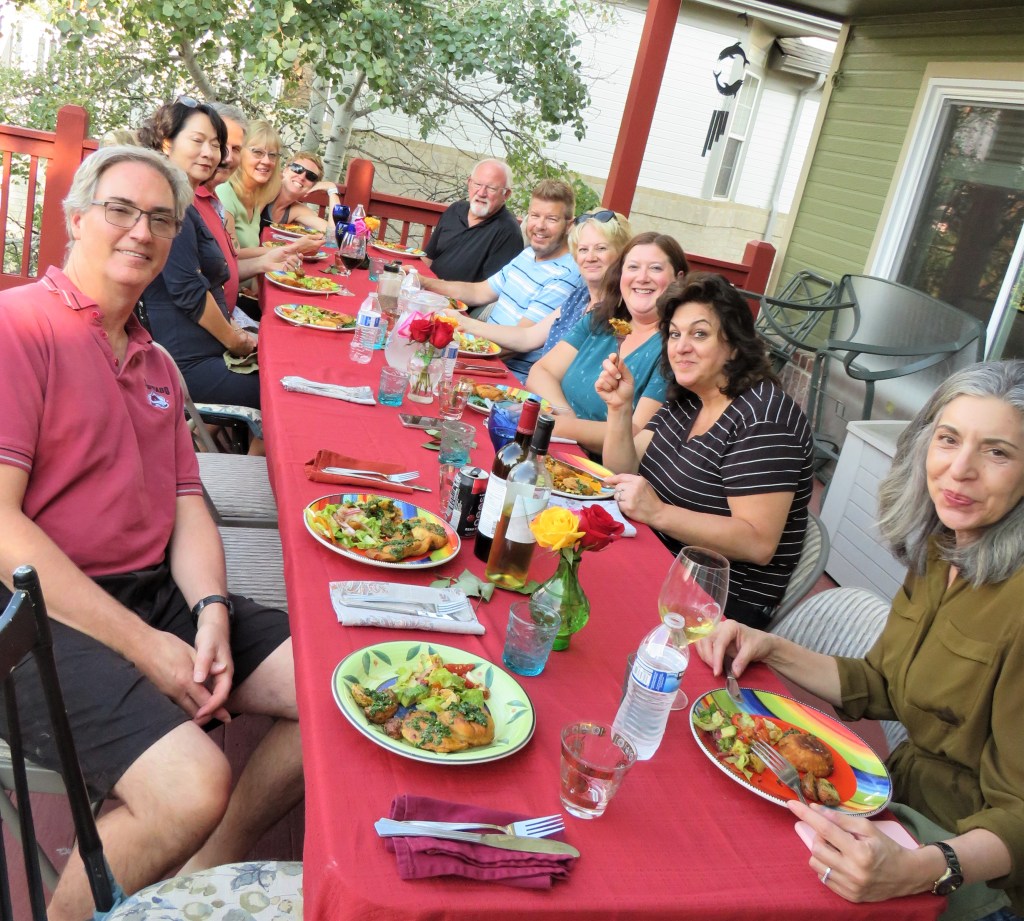
We prepared our dessert before we all sat down, with the boys, to enjoy our fabulous comidas Latinas, but you will just have to wait a little longer for the dessert portion of the meal. 🙂

Good food and life in general is always best when served with good friends. Have fun. Make the most out of every day.

Stay cool, stay safe and stay well Everyone. ‘Til next time.
The Empanada Party – Part 2 – Chicken Empanadas

In Part one of this series, I gave you our recipe for the beef empanadas we made. The Empanada Party – Part 1 – Beef Empanadas Today, I am giving you the recipe for the chicken empanadas. These empanadas are also from Venezuela. These are called empanadas de guiso de pollo in Venezuela. The filling is known as the guiso de sofrito., or a stewed filling with a blend of spices and herbs. The process of making them was the same, although I used a different type of dough for these. But again, we fried them rather them baked them. I like the fried version much better than I like the baked version.

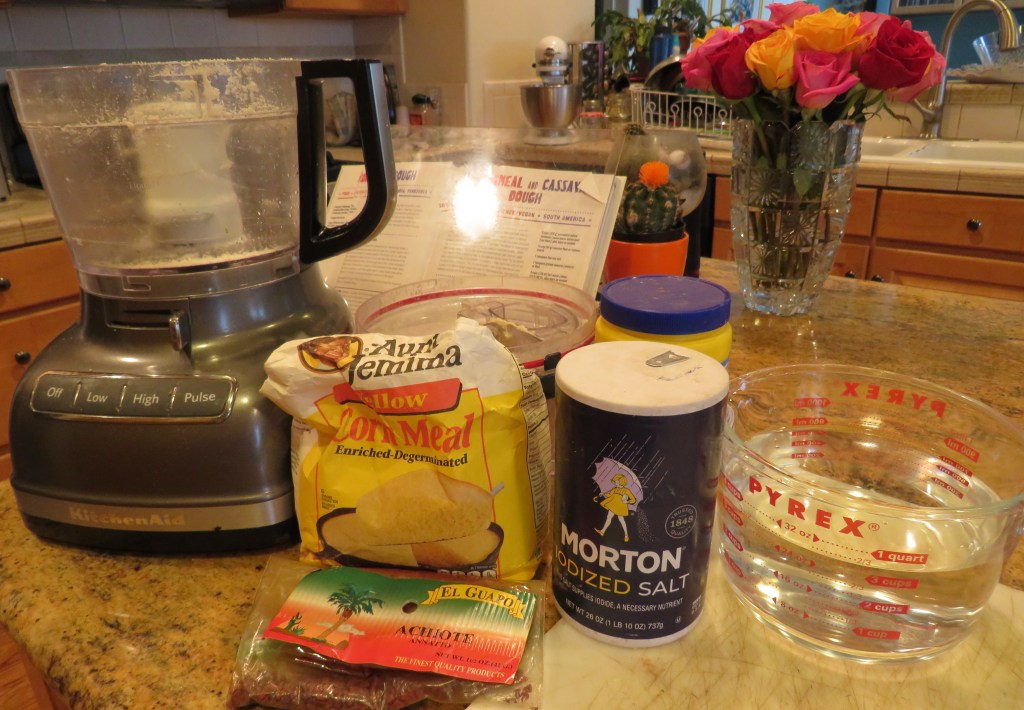
Chicken Empanadas in a Corn Meal Dough

The Dough

3 cups yellow cornmeal

1/2 cup tapioca starch or cassava flour

1 tsp salt, or to taste

1 tsp ground achiote or annatto peppers

3 cups hot water

Mix all the dry ingredients and spices together first, then add the hot water and mix until everything comes together and forms a ball. Add more water if it is to dry or add more cornmeal if it is to sticky. Once again, I mixed everything in my food processor.

Turn the dough onto a lightly floured surface and knead it all together until it resembles the consistency of play dough. Wrap in plastic wrap and chill for at least one hour before using.

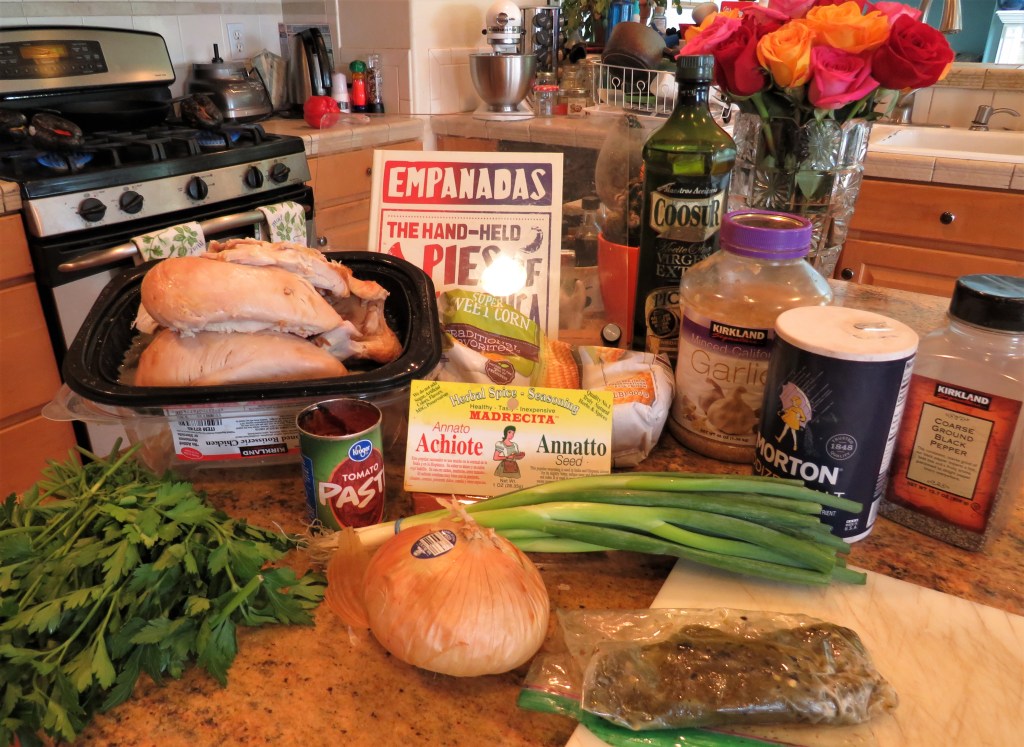
The Guiso Sofrito

3 cups chicken, cubed small

2 tsp achiote seeds

1 cup white onion, diced fine

1 1/2 TBSP garlic

2-3 Hatch chilies or serrano chilles, diced fine

1/4 cup tomato paste

1-1 1/2 cups corn

2 TBSP fresh parsley, chopped fine

1/4 cup green onions, chopped fine

salt & pepper to taste

olive oil for cooking

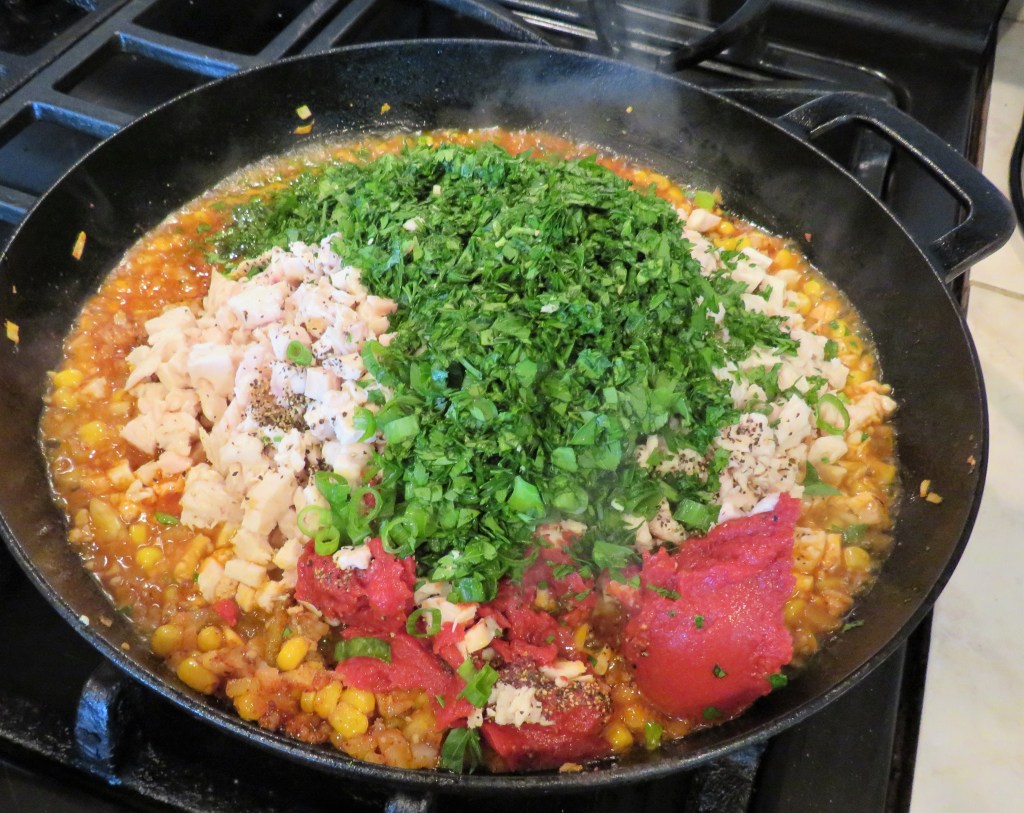
Get your skillet nice and hot then add the oil, the onions, peppers, achiote, corn and garlic and cook for about 1-2 minutes.

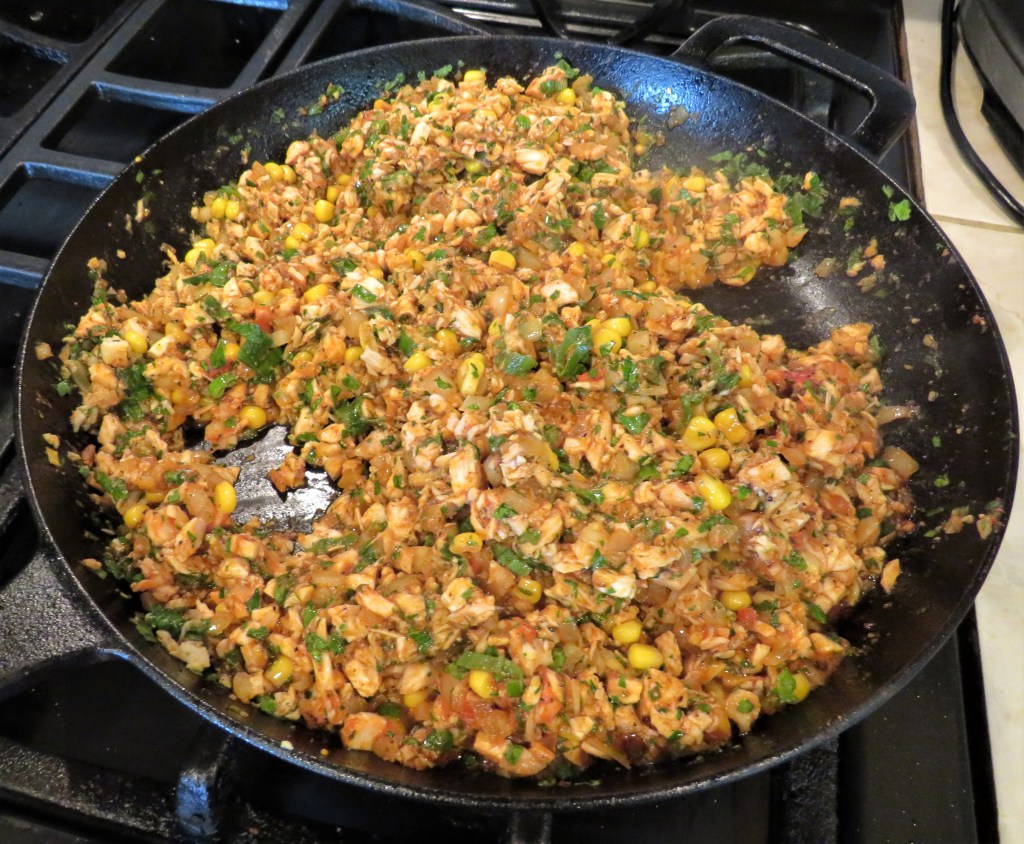
Once the onions are translucent and aromatic, add the rest of the ingredients and cook until everything is done, stirring frequently.

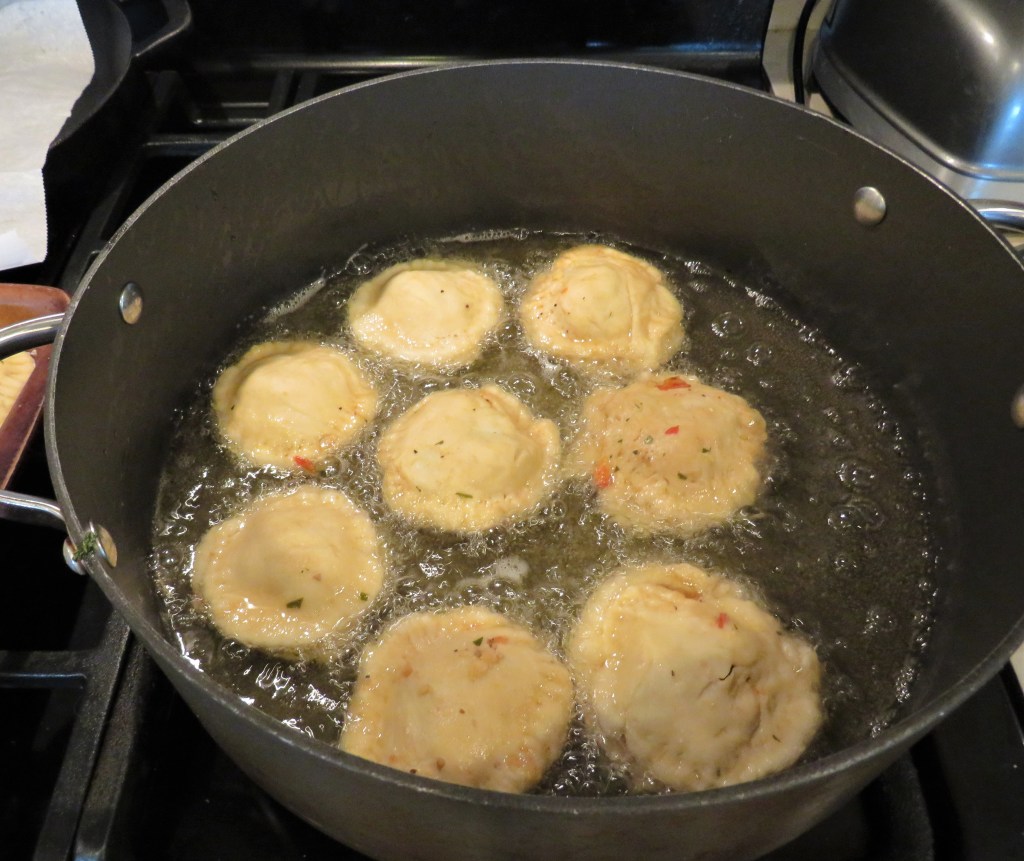
Allow to cool for a bit before using. Everything else is the same as making the beef empanadas. Shape the dough how you like, then add 1 heaping TBSP (or as much as the dough will hold without over flowing) of filling and fold and shape the dough. Crimp it and seal the edges tightly. If frying, add to hot canola or vegetable oil and cook for about 2-3 minutes per side or until golden brown.

If you are baking the empanadas, preheat the oven to 400* F or 200* C. Place the empanadas on a baking sheet lined with parchment paper and bake for about 8-12 minutes, flipping half way through, or until golden brown on both sides. The baked version will be softer than the fried version, but are still very good.

!Desfruitas! I just know you are going to love these.

Stay cool, stay safe and stay well Everyone. ‘Til next time.
The Empanada Party – Part 1 – Beef Empanadas

Yesterday I gave you all a teaser and told you a party was being planned. All I told you was that it was going to be a South American Fiesta. Another Adult Cooking Class It was most definitely a fun fiesta indeed. It was an empanada party, complete with two different kinds of empanadas, and two different types of doughs for the empanadas, with an array of other South American to dishes to accompany the empanadas as well.

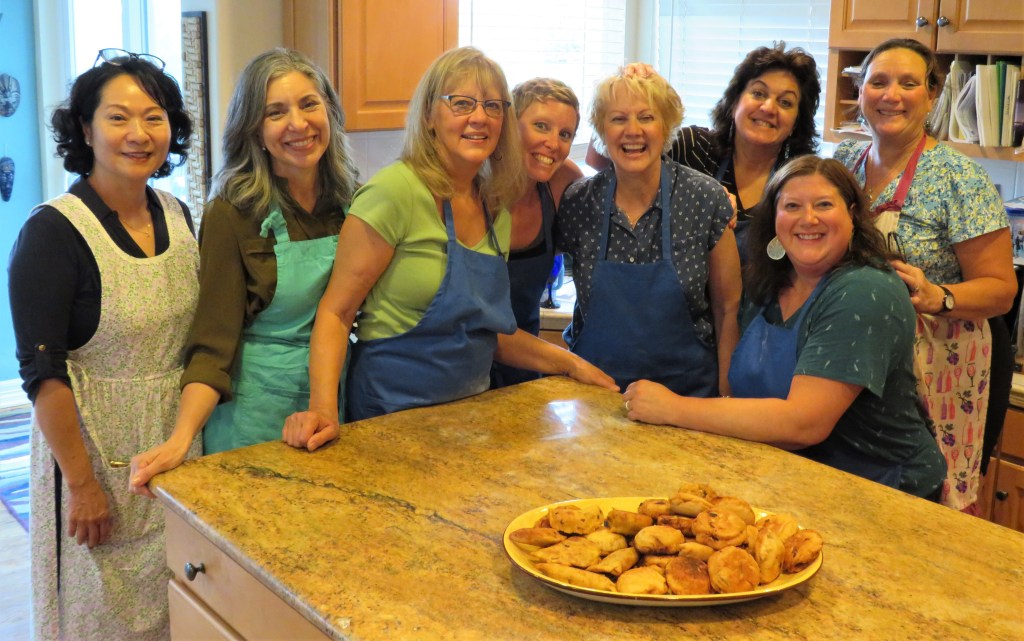
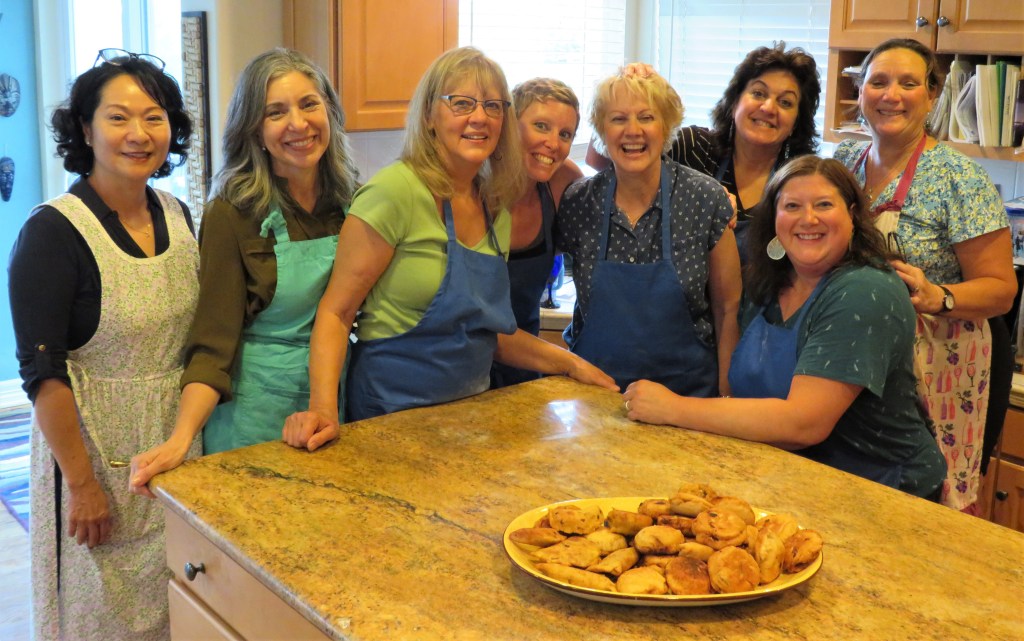
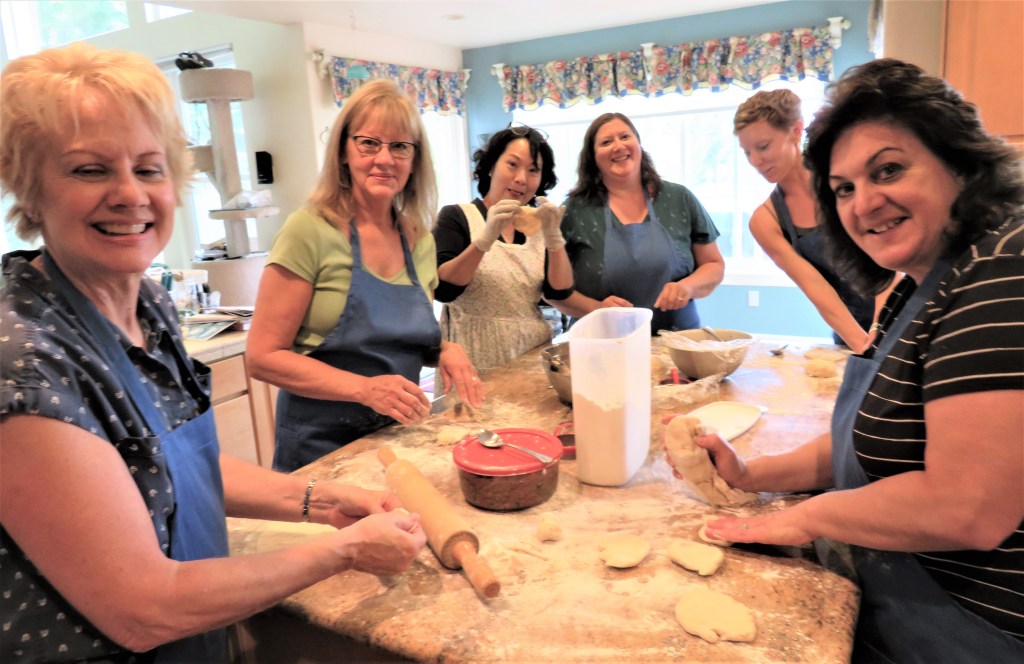
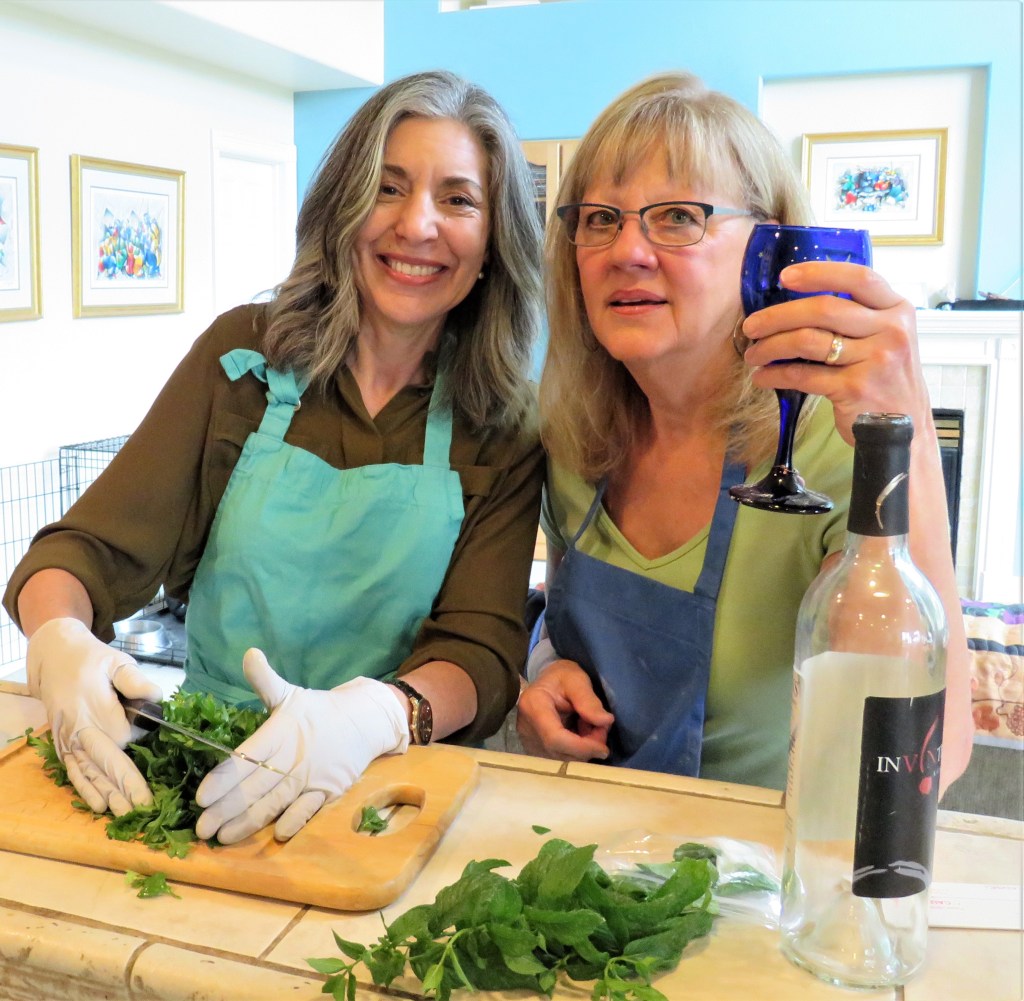
The Empanada Girls – Me with my sous chefs, from left to right – Su Yeun, Priscilla, Linda, Elizabeth, Peggy, Amy, and Lauren and I in the back. My Sous Chefs and I made everything beforehand and the boys all joined us later to help us eat the fruits of our labors.

Empanadas are staples all over the Spanish speaking parts of the world. They are hand held pockets of bread filled with meats, vegetables or sweets. They are traditionally fried or baked. It just depends on how you like to eat them. I have had them both ways, many times, and I prefer them fried over baked.

The name empanada comes from the Latin in panis which means in bread. In Spanish empanar means to encase in bread. The early ancestors of the empanada seem to have originated in Persia around 250 BC. The early Persians made foods in a bread dough as a form of helping to preserve them as well as making them more easily transportable for the nomadic cultures that lived in those times. Empanadas started appearing wherever the Ottoman Empire left its mark. Once The Spanish laid their claim to these hand held pies, they went wherever the Spanish Conquistadors went and simply became known as empanadas. Every Spanish speaking country has their own particular version of empanadas, and they all have their own unique personalities.

Today, I am presenting you with the beef empanadas we made. For these empanadas, I made a basic flour dough. There are so many different varieties of empanadas. This is only one of endless possibilities. I made the doughs and the fillings earlier in the day before everyone arrived so all we had to do was assemble them. We had a lot on our plates, both literally and figuratively. This was a big time saver.

Beef Empanadas with a Master Dough

The Dough

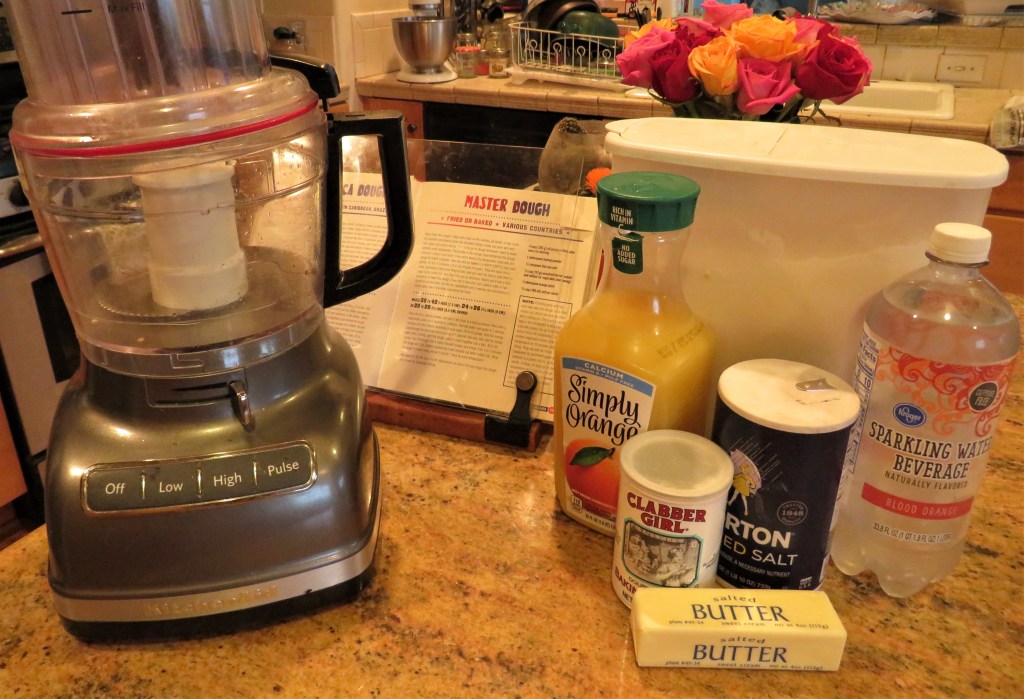
This dough is very similar to my own master dough that I call my go-to dough that I use for many different recipes.

3 cups flour

1 TBSP baking powder

1/4 tsp salt

1/2 cup or 1 stick of cold butter, cubed

1 TBSP orange juice

2/3 cup seltzer water – I did not have any regularly seltzer water, so I used one of my flavored “fizzy waters” as I call them. It worked just fine. Since I was using orange juice, I chose a blood orange fizzy water.

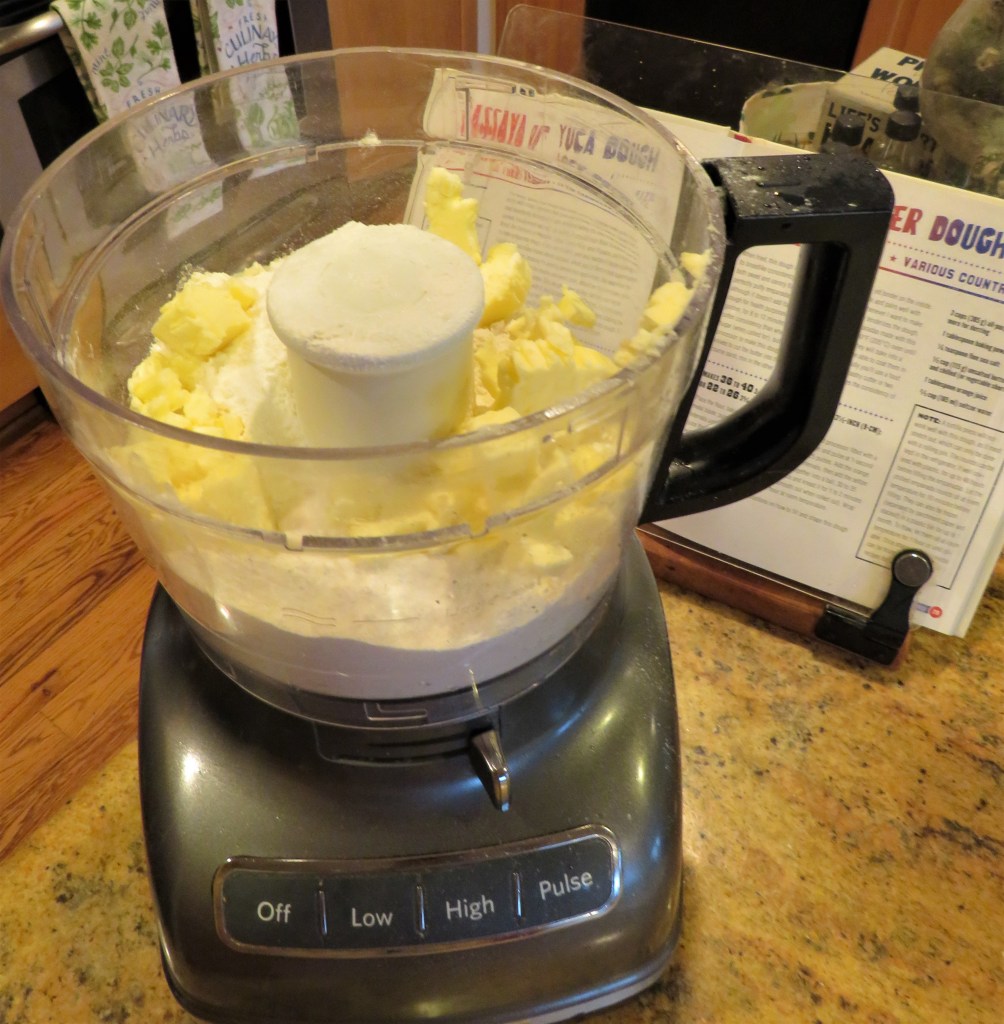
Pulse all the dry ingredients and butter together in a food processor until they resemble a coarse sand, then add the orange juice and seltzer water and pulse again for about 1-2 minutes, or until it all forms into a ball. Wrap in plastic wrap and chill in the refrigerator for at least an hour before using.

The Beef Filling

Beef is very popular in the Spanish world, so there are many, many different beef recipes. Most of them are regional, using what is readily available. It wasn’t planned, but both varieties of empanadas we made were from Venezuela. These empanadas are known as empanadas de carne mechada. Part of what makes them so distinctive is the cumin used in the mix. These empanadas de mechada are very popular in Caracas.

1 1/2-2 lbs steak, cubed very small

1 cup yellow onion, diced fine

1-1/2 cups tomatoes, diced fine – this time I used Compari tomatoes

1 red bell pepper, diced fine

1 1/2 TBSP garlic

salt & pepper to taste

1 tsp cumin

1 cup beef broth

1/3 cup fresh parsley chopped fine

olive oil for cooking

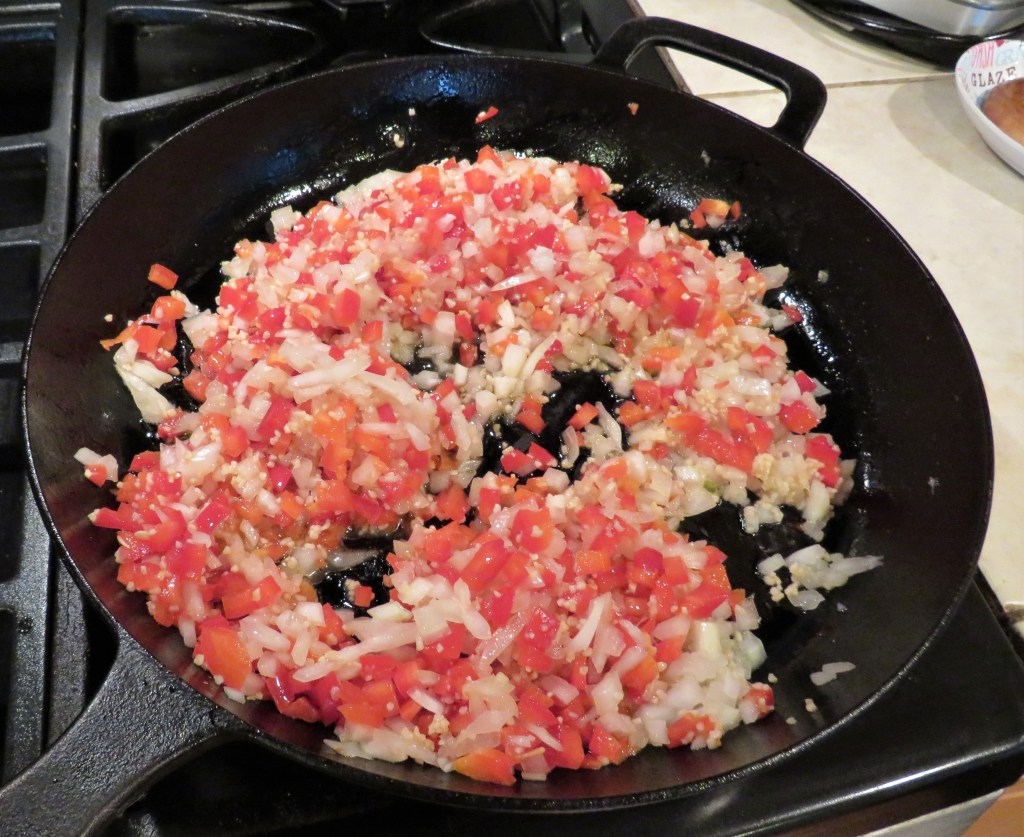
Get the skillet very hot, then add the olive oil and pepper, onions and garlic. Cook for about 2 minutes, then add the beef, tomatoes, beef broth and parsley.

Continue to cook for about 5-7 minutes, or until everything is completely cooked and most of the liquid is absorbed. Cover and chill for at least an hour or two before cooking. Overnight is fine too. Mine rested overnight before using it.

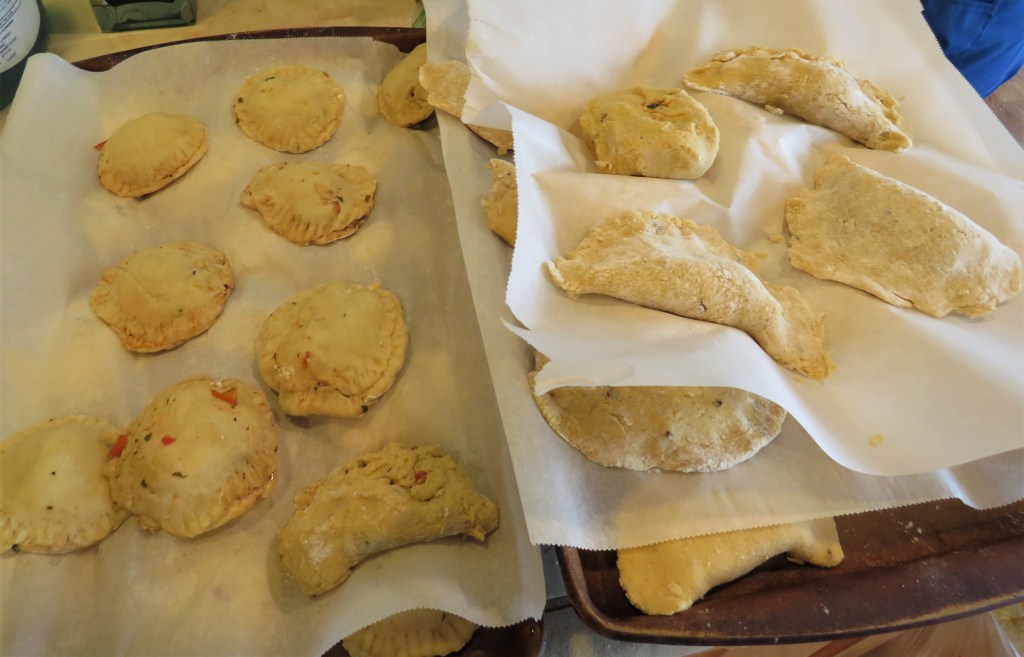
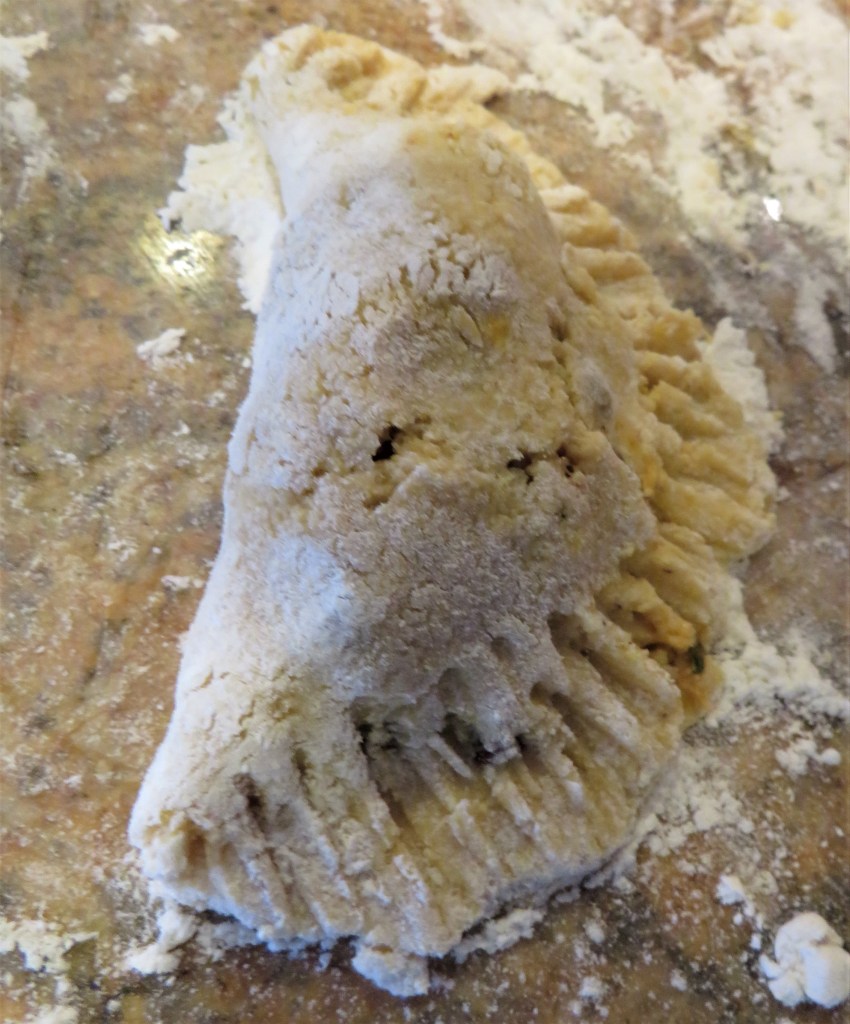
When you are ready to fill the empanadas, lightly flour your work area and start rolling out the dough. Roll the dough nice and thin, to about 1/4 inch in thickness. You can make your empanadas any size and any shape you like. We made two different shapes for the two different types of empanadas. We made them about 3 inches in diameter. Add about 1-1/2 heaping TBSP of filling to each round, then fold over and shape how you like. Do not over fill the meat pockets or they will over flow and will be hard to seal. Press the edges tightly and crimp together to form your seal.

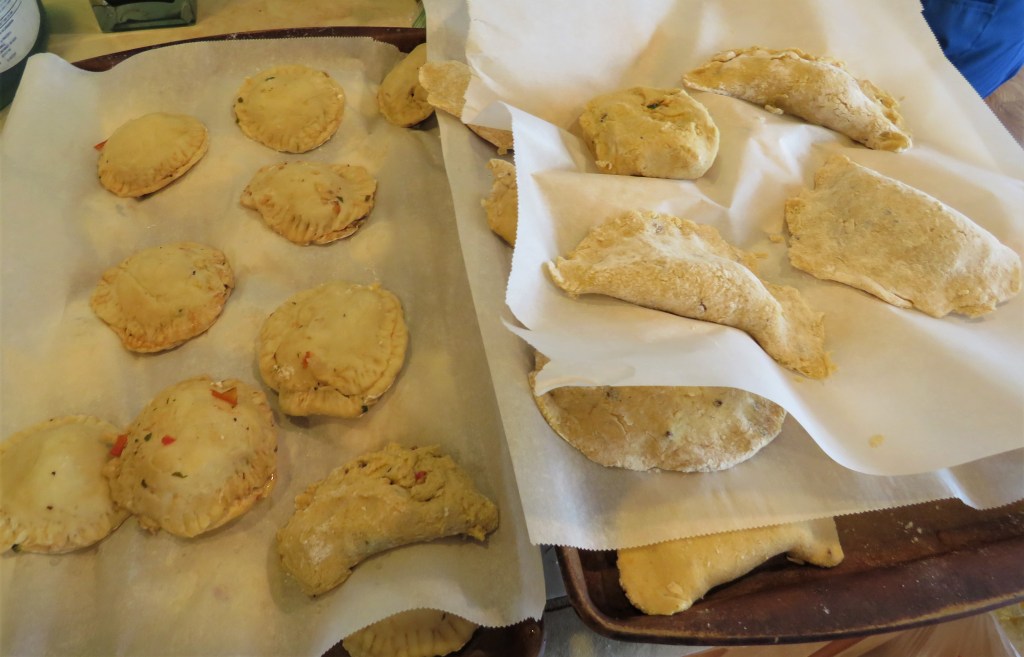
We made a whole bunch of empanadas; two very full batches, with plenty of fillings left over for more yet to come, or something completely different. 🙂

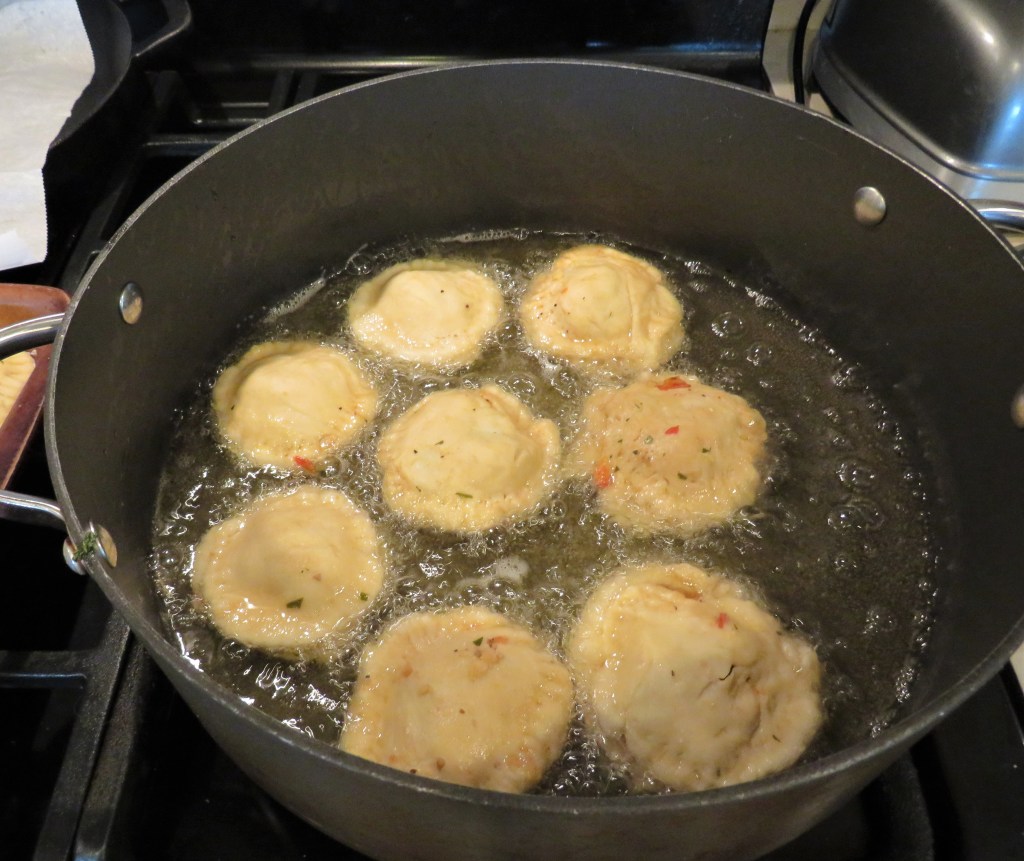
We fried our empanadas in HOT, HOT, HOT canola oil. Make sure the temperature is about 350* F or 190* C. Then carefully place the empanadas in the hot oil and cook for about 2-3 minutes per side, or until they turn a nice golden brown.

We served them with some fresh chimichurri sauce, Argentine style. Priscilla, my resident Argentine, made the chimichurri with lots of fresh parsley, lots of garlic, olive oil, salt & pepper and red pepper flakes. Linda is supervising and toasting her efforts for a job well done.

Proiscilla is adding the final touches.

I am going to leave this here for today. I have so much more fun times and delicious food to share. This was definitely a very fun cooking class. We It was made really fun because it was good friends gathering together to celebrate good times with good food.

Stay cool, stay safe and stay well Everyone. Make everyday a fiesta. ‘Til next time.

Another Adult Cooking Class

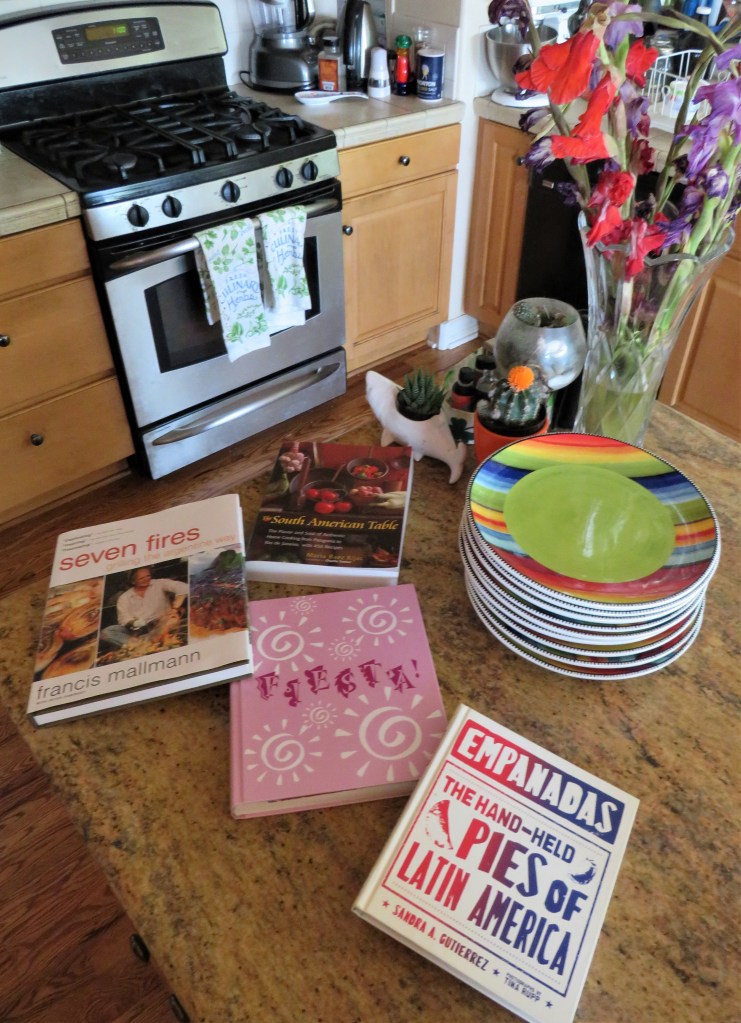
This is going to be very short today. It’s going to be a teaser for things to come. I will be busy in the kitchen prepping for yet another fun cooking class with friends. The girls are coming over around 4:00 PM and the boys are going to join us all around 6:00 PM. You can probably guess by the colors and the cookbooks that it is going to be a South American fiesta. So stay tuned. There will definitely be more good things coming your way very shortly. Now …. back to the kitchen for more prepping for today’s lesson. I’ve got a lot left to do. 🙂

Stay cool, say safe and stay well Everyone. ‘Til next time.
Time For More Fun Food Facts

I thought I would take a break from giving you my recipes and throw in some more fun food facts for everyone to enjoy today. I don’t know about all of you, but when I do these “fun food facts” pieces, I always learn a lot. There is so much to learn about food. Who knew? After today’s post hopefully we will all know a little bit more than we did before.

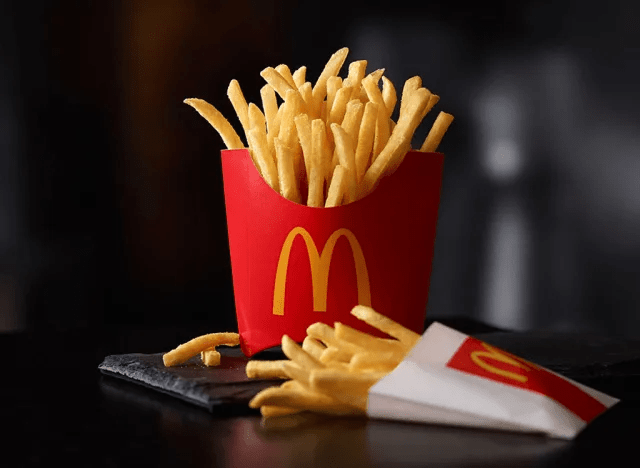
  1. The MacDonald’s franchises around the world make about 9 million lbs of fries a day. Most of all us have grown up with MacDonald’s and their French fries. I used to LOVE their fries. They were the best. Part of what made them so good and so unique is that originally they were cooked in beef tallow. Ray Croc, the founder of MacDonald’s, was inspired by his favorite hot dog stand in Chicago, Sam’s. The MacDonald fries were cooked this way until about 1990. In 1990 they switched from frying them in beef tallow to frying them in vegetable oil, thinking it would make them healthier. WRONG. Not only were the fries even worse for our health than they were originally, but they didn’t taste as good either. MacDonald’s stocks starting falling too. There were two more changes made to the frying oil in recent years, in 2002 and again in 2008, and each time, the taste of the fries paid the price. Today, MacDonald’s cooks their fries in a trans-fat free oil. I don’t even eat them any more. They are not worth the calories to me. And for all you vegans out there who think that MacDonald’s fries are vegan friendly, WRONG again. Their natural flavor is made of “wheat and milk derivatives.” So there isn’t any actual beef product in the fries—although they aren’t vegan-friendly, thanks to the hydrolyzed milk that’s used.

2. The Otis Spunkmeyer brand of cookies and treats is a combination of the names of football player Otis Sistrunk and Orville Redenbacker, the famous popcorn maker. The name came from a 12 year-old little girl whose dad just happened to be Ken Rawlings, the founder of the company.

3. SPAM. We’ve all heard of it, and probably most of us have eaten it and used it at some point too. In fact, Spam has been around for a very long time and has entered its third quarter-century on the rise. More than eight billion cans have been sold since the Hormel Corporation unleashed the product in 1937; it’s currently available in 44 countries throughout the world. But did you know where the name “SPAM comes from? SPAM is a combination of the words “spice” and “ham”.

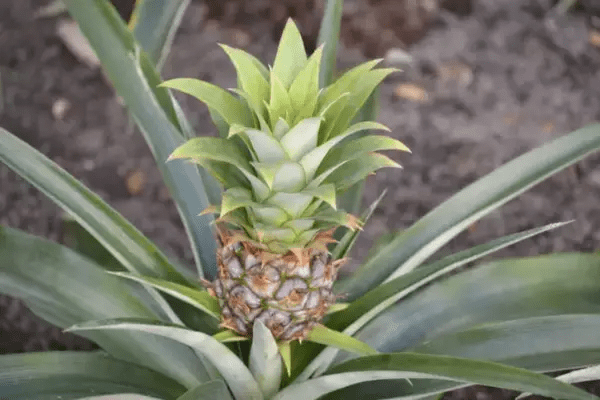
4. Who doesn’t love pineapple? It is one of Hawai’i’s most treasured items. But it doesn’t just grow on trees. No, no. It actually grows from the ground, and each pineapple takes about 2-3 years to reach maturity. The pineapple plant doesn’t reproduce from seeds, but instead new plants form from the roots of the main plant or from the crown of the fruit.  Each pineapple plant can only flower and fruit once, but the main plant usually produces offsets once it begins to flower.

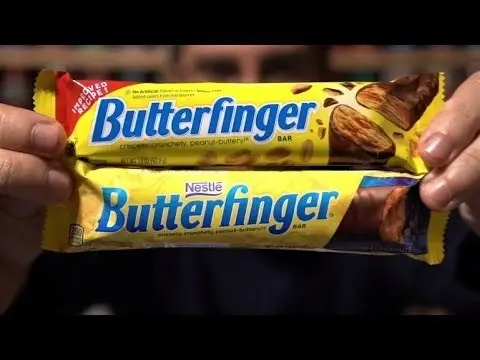
5. The Butterfinger candy bar, a beloved chocolate concoction here in the United States, has gone through some transformations since it’s American debut. While the original Butterfinger made its debut in 1923, it’s had a few different corporate “homes” over the years, from its originator — Curtiss Candy Company — to Nestle, to, as of April 2018, Ferrara, an American candy company owned by (as of December 2017) Luxembourg-based Ferrero, which then added Nestle’s U.S. product line (including Nerds and Baby Ruth) to its portfolio earlier this year. Butterfingers were started with the key ingredients — peanuts, cocoa, and milk — behind this bar that people are obsessed with and love, and looked at how we could make it even better,” Ferrara Marketing Senior Director Kristen Mandel told me. “The Ferraro philosophy is that quality always wins.” Those higher quality ingredients include U.S.-grown jumbo peanuts which, according to Mandel, allow for a more “uniform and well-rounded roast.” The cocoa in the chocolate-y (not technically full-on “chocolate”) coating has been upgraded as has the amount of milk in the mix, with the goal of a smoother, less gritty mouthfeel and stronger chocolate flavor. At the moment, there are no artificial flavorings or coloring used to produce these delicious treats either. The chocolate-flavored coating is less waxy, less cloyingly sweet, and more cocoa forward. The famous “crispety, crunchety” interior is still flaky but boasts a more natural-tasting roasted peanut flavor. There’s also a richer aftertaste that lingers on the roof of the mouth, which, unlike the old recipe, feels as though it’s a side effect of eating peanut butter rather than candy.

I hope you all enjoyed your food lessons for the day. I hope you all learned something new about some of our favorite foods that many of us have enjoyed for years, if not a lifetime.

Stay cool, stay safe and stay well Everyone. ‘Til next time.
Simply Shrimp

It was time for something shrimpy again. We love shrimp, no matter how it is cooked. Even though we love all kinds of seafood, shrimp is one of our favorites. We don’t eat nearly as much seafood as you would think unless we are off diving though. The main reason we don’t eat as much seafood as we would like is because we prefer fresh seafood, and Colorado, being landlocked, in pretty much the middle of the country, isn’t really known for its “fresh seafood” unless it is trout. We do however make exceptions to frozen when it comes to shrimp or shellfish. Colorado is more of a rancher’s state, known mostly for its cattle, although we also have a lot of pork, lamb, bison, and wild game. All of which are fantastic.

When I cooked our shrimp this time, I was shooting for yet another Mediterranean styled dish. I think it came out more Moroccan though, and that’s OK. Morocco is still considered to be part of the Mediterranean. There are 21 countries that surround the Mediterranean Sea, and Morocco is certainly one of them. The Mediterranean identifies countries that have a coastline or cultural similarity.  It doesn’t really matter to me what it’s specific origins were, since it is was really my own creation anyway. It was still just simply shrimp that was simply delicious.

I marinated the shrimp in a Mediterranean/Moroccan styled marinade for only about 45 minutes before skewering them and then putting them on the grill. If you are using kind of a marinade with any kind of acidic juices for shrimp, or seafood in general, the acids will “cook” (think ceviche) the seafood and if in for too long as well as being really cooked on top of that, the seafood and or shrimp will be tough and chewy. This is also a very Spanish styled shrimp dish, but Spain and Morocco border each other and their cuisines are very similar. You could easily use this same marinade for chicken too.

Mediterranean/Moroccan Shrimp

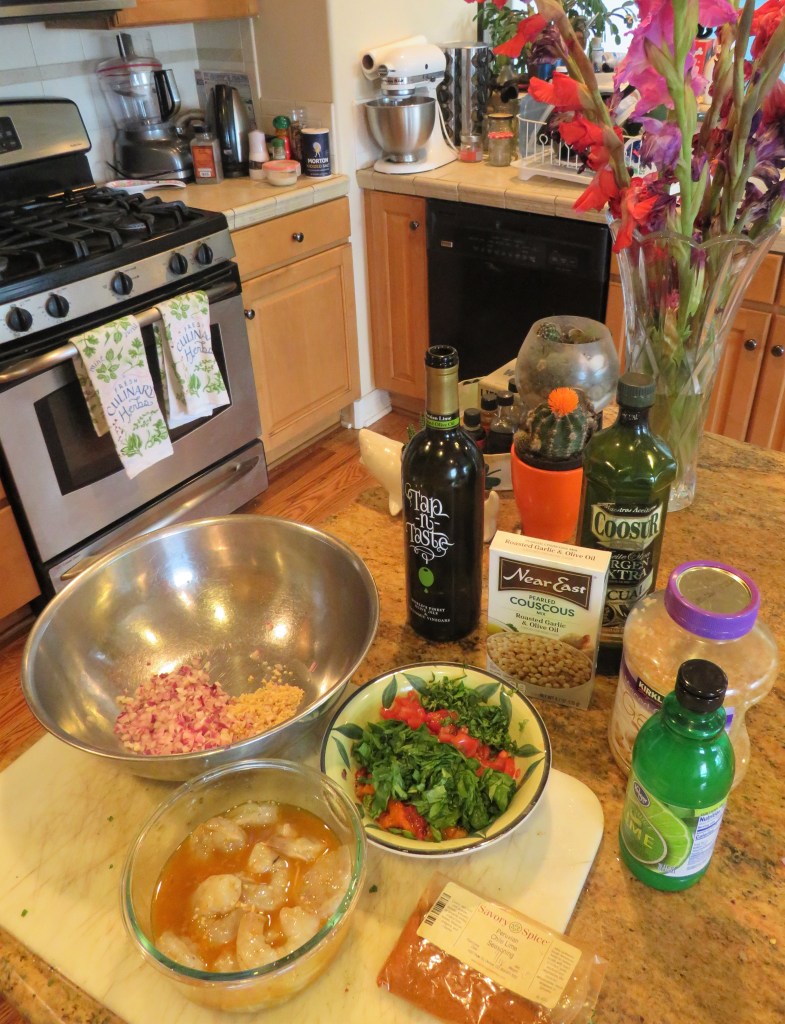
1 1/2-2 lbs large shrimp, peeled and deveined

1/2 cup lime juice

1 TBSP garlic

2 TBSP lime olive oil

2 TBSP olive oil

2 tsp chili lime seasoning

1 tsp red pepper flakes, or to taste

Combine all the ingredients together and completely cover the shrimp. Cover and chill until ready to use. As I mentioned above, do not let the shrimp stay in the marinade for too long.

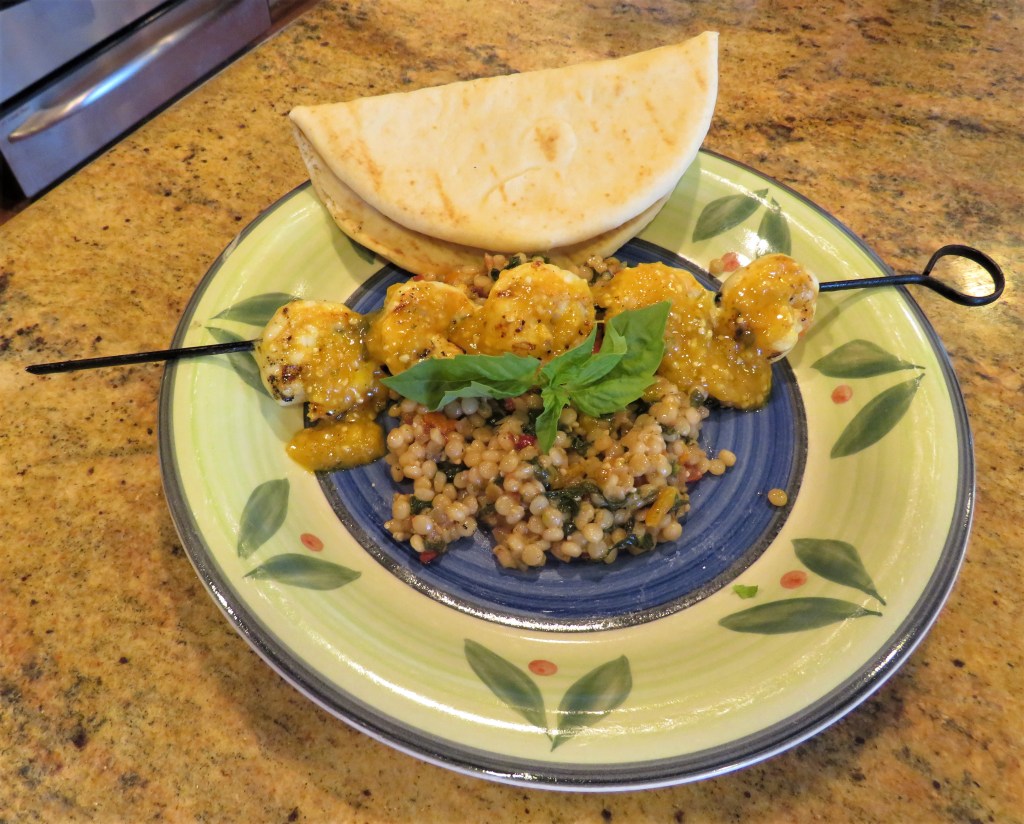
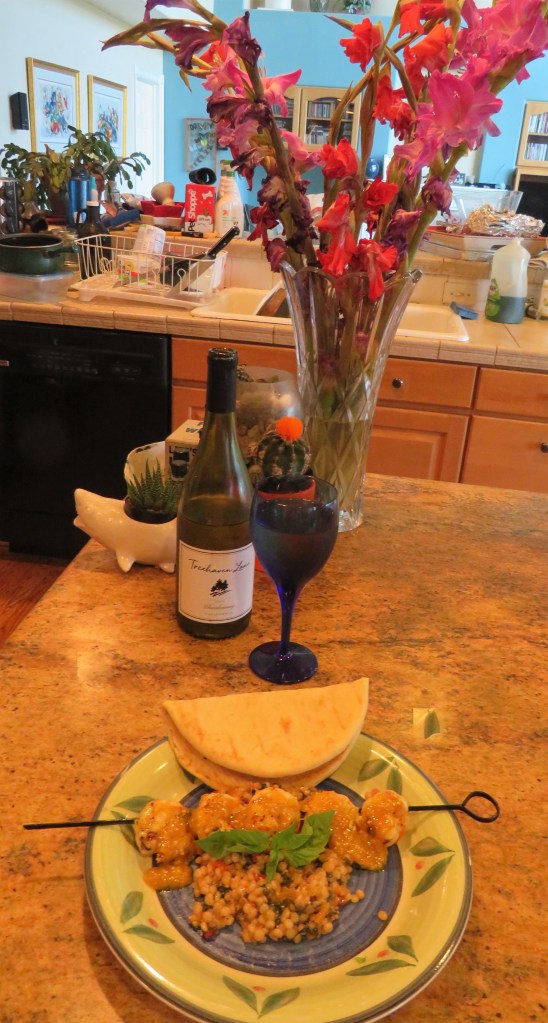
I served my shrimp over couscous with a mixture of garlic, onions, spinach, roasted peppers, tomatoes and basil to give it a little more flavor and personality. I also served some warmed pitas and, of course, a cooled crisp chardonnay on the side.

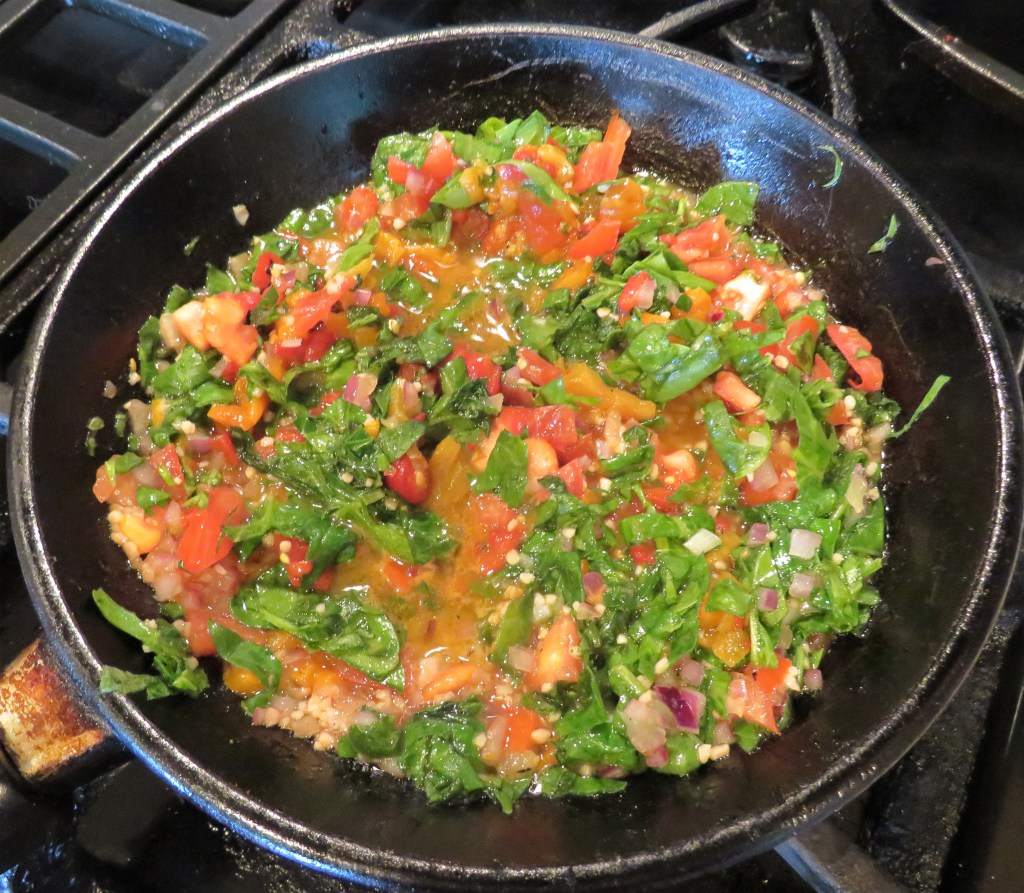
Follow the directions on the package for the couscous. In a separate pan, saute the onions, garlic, peppers and spinach together in olive oil for about 3-5 minutes, or until the onions are soft.

Then add the tomatoes and basil and cook just long enough to heat thoroughly.

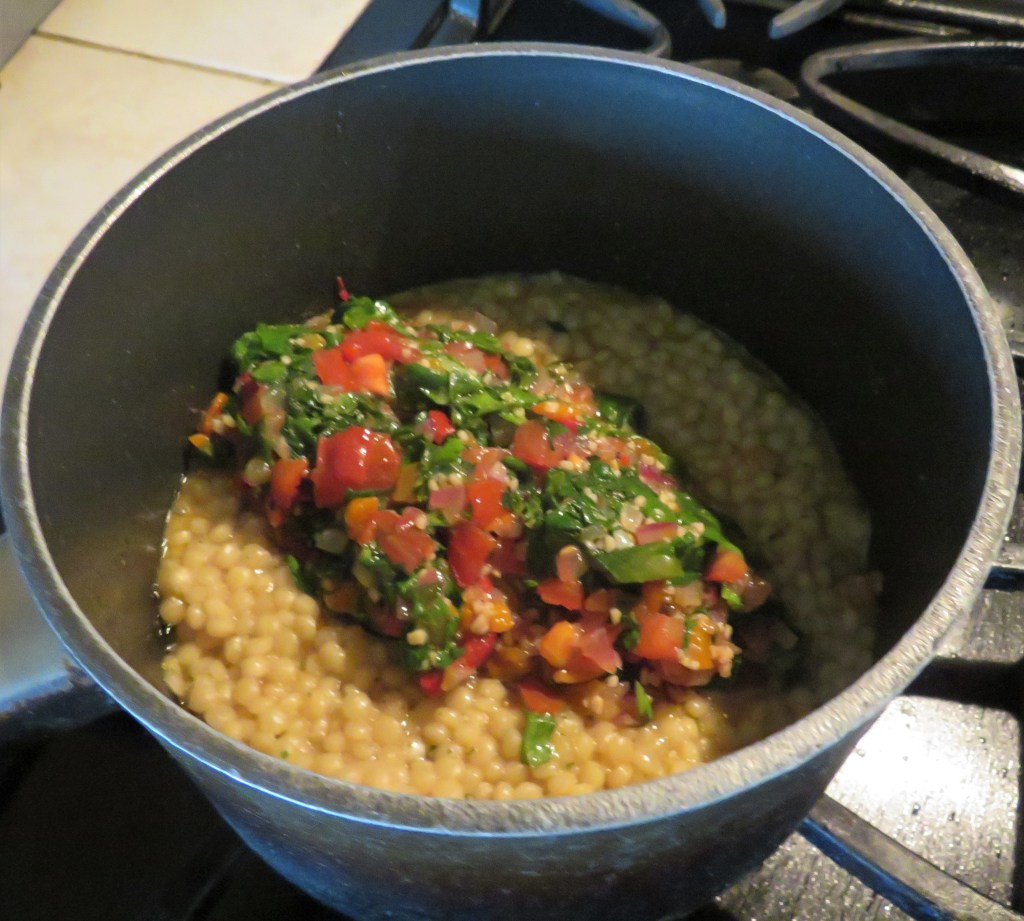
When the couscous is cooked, just add the spinach mixture to the couscous and combine mix together well.

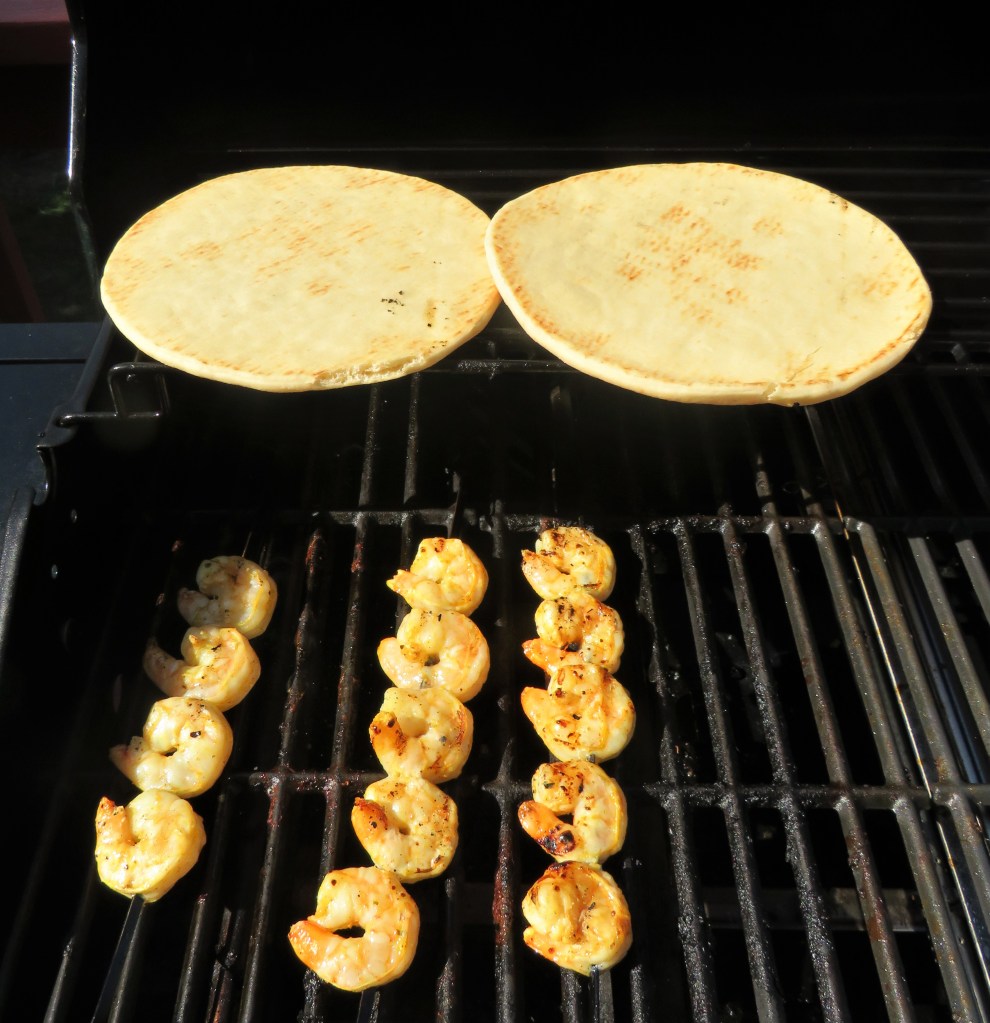
I skewered the shrimp and put them on a hot grill along with the pita bread, which was at a lower heat. Cook the shrimp for about 2-3 minutes per side.

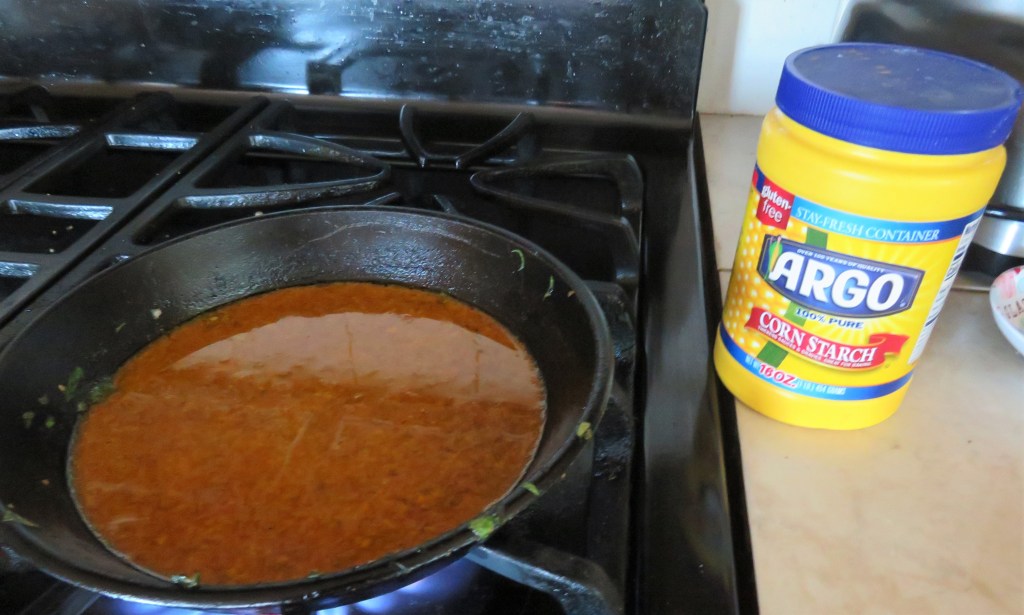
Heat the marinade in a saucepan and bring to a boil, then add about 1 TBSP of cornstarch mixed with some water. Bring to a rapid boil once again then reduce the heat to a simmer and continue to cook for an additional 3-5 minutes, stirring constantly.

When everything is ready, plate it up and spoon the sauce over the shrimp and enjoy.

This was a light dinner for us, but when the mercury rises, we tend to eat much lighter than we do when the weather is cooler and the mercury drops again. Besides, a light dinner allowed us to save room for popcorn later. 🙂

Stay cool, stay safe and stay well Everyone. ‘Til next time.
Pork Chops with Apple Rosemary Mushroom Cream Sauce

We had a brief break in the heat and it felt SO nice. It was almost cool. ALMOST. So with the weather being a bit cooler, I made something a bit richer and heavier for dinner. We had pork chops down so I made them with a creamy apple rosemary mushroom sauce. Oh they were so good too.
I had some leftover apple rosemary syrup Pork Chops With Apple Rosemary Syrup I thought would be a good base for these delicious pork chops, and YES, it was. Apparently the German in us comes out (yes, I have a lot of German in me too, but I am not full German like Larry is) when I make pork chops. I like the apple/pork combination. It is both sweet and savory at the same time, and it’s like perfection. This sauce would also be very good with chicken too though. In fact, I have some chicken and more sauce leftover, that I will be using over the chicken too. I hate for food to go to waste. So I try to re-use and recycle it as deliciously as I can, as often as I can.

Pork Chops with Apple Rosemary Mushroom Sauce

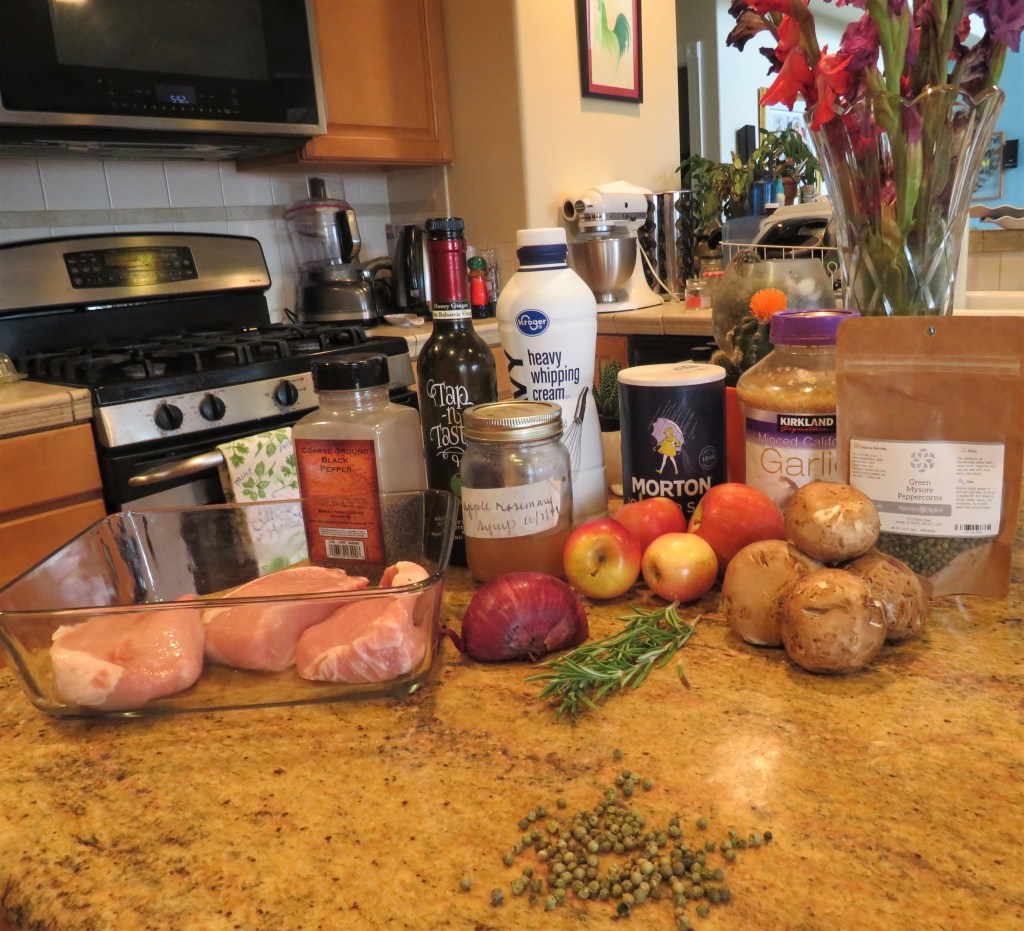
1 1/2-2 lbs pork chops or loin

1 TBSP cracked peppercorns – this time I used green peppercorns

1 cup apple-rosemary syrup

salt & black pepper to taste

2 large apples or more smaller apples, sliced thin and cored

1/4 red onion sliced thin

2 TBSP honey ginger balsamic vinegar

1 TBSP garlic

1 cup sliced mushrooms

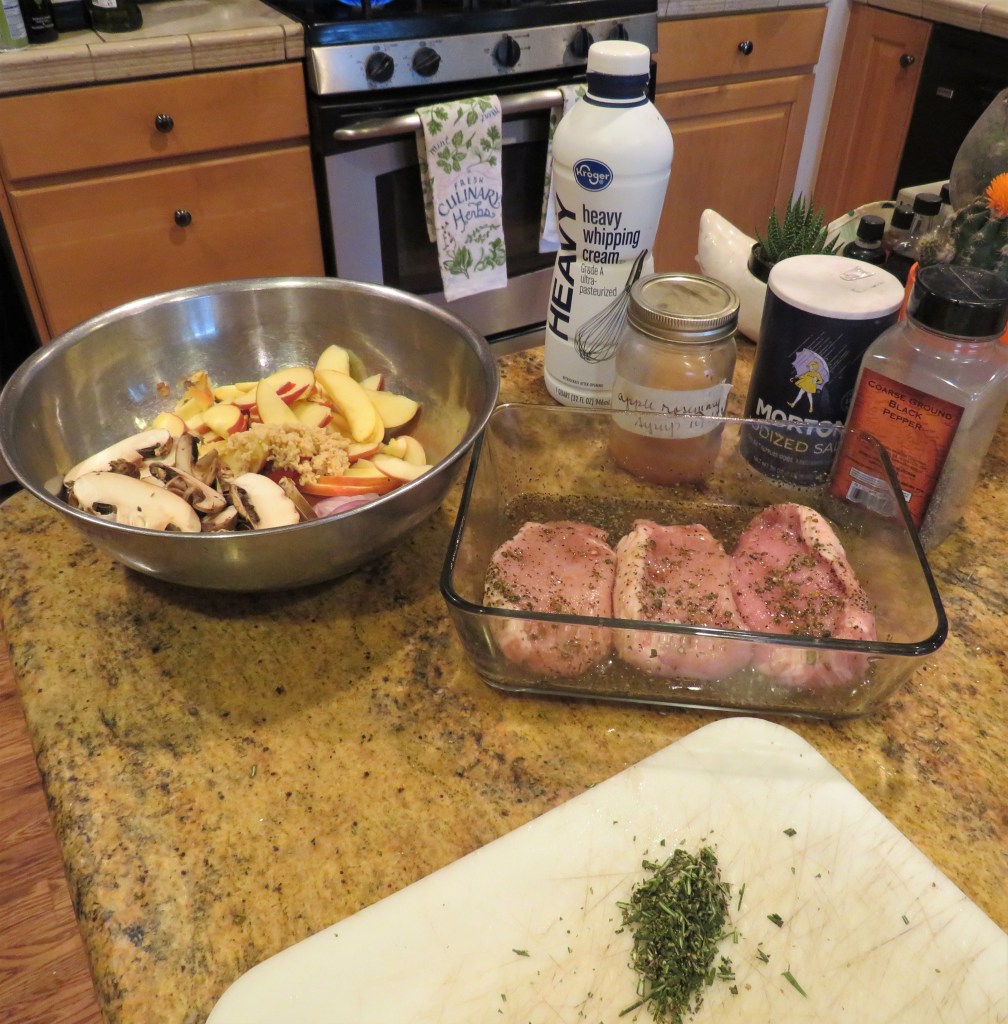
1-2 TBSP fresh rosemary, chopped fine

1 cup heavy whipping cream

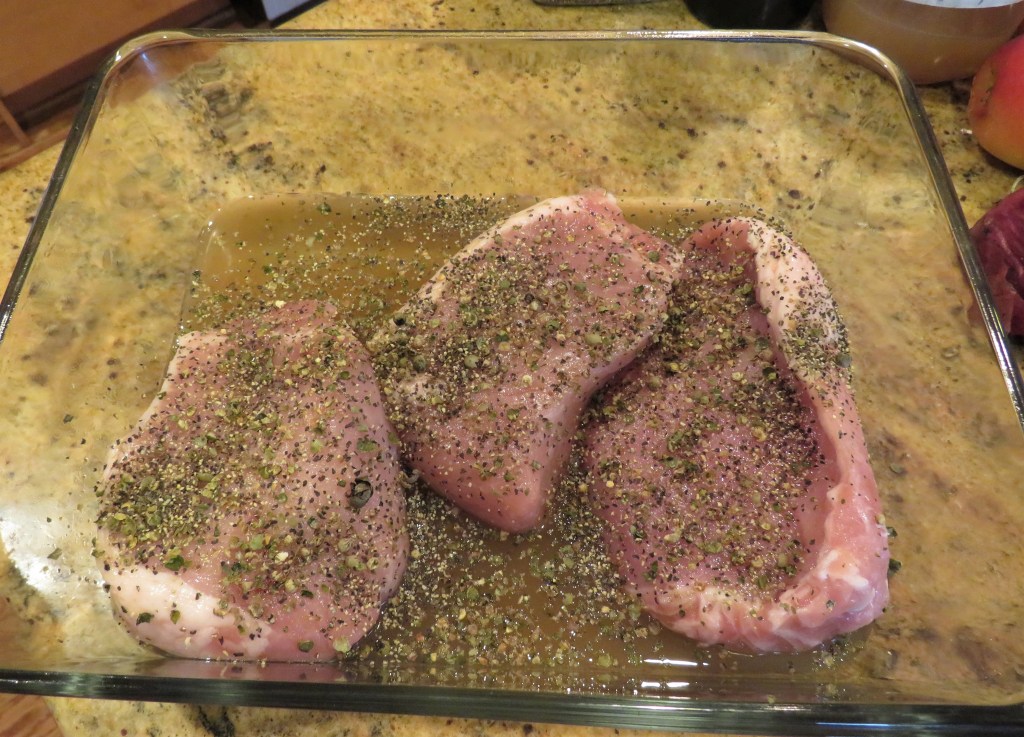
Combine the apple rosemary syrup, honey ginger balsamic vinegar, garlic, salt, black pepper and crushed peppercorns and pour over the meat. Let marinate for at least 1-2 hours before cooking.

Get a large skillet VERY hot and add some olive oil and butter to the pan. Carefully add the pork chops and sear for about 3 minutes per side, or until a nice crust forms all around the meat. Once the pork is completely browned, remove it from the heat and seat aside.

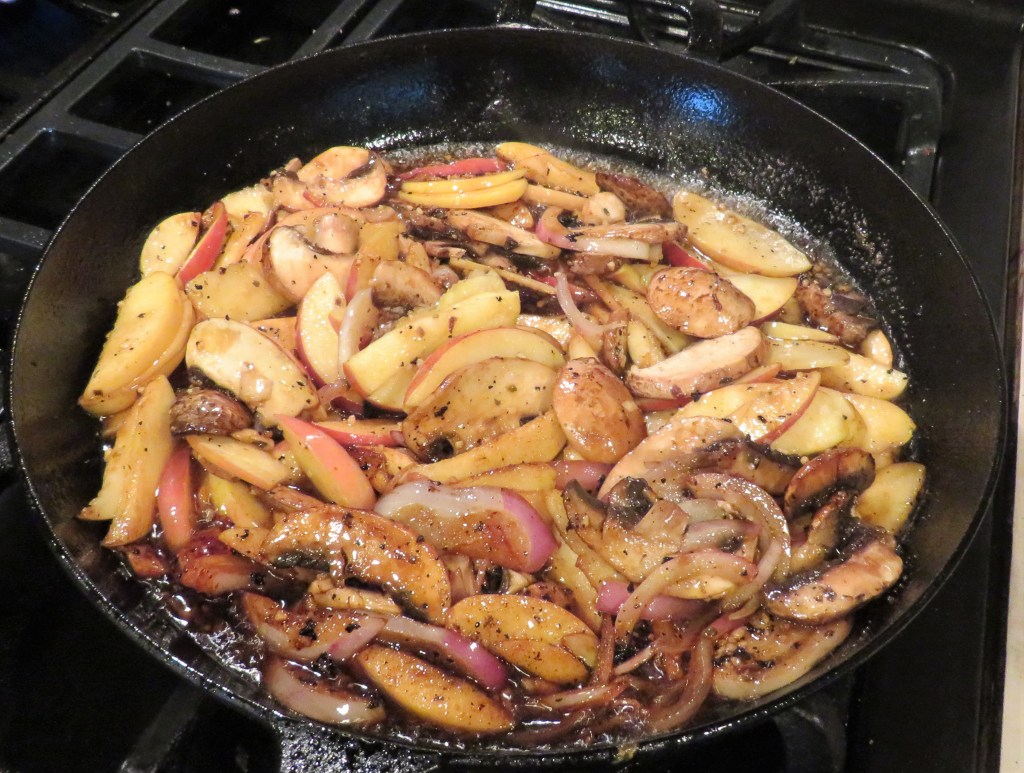
In the same pan, add the apples, mushrooms and onions, along with the remaining marinate and cook for about 5-7 minutes, stirring frequently. Make sure to scrape all the brownings off the bottom of the skillet.

Add the cream and the fresh rosemary and incorporate well. Then re-add the pork to the sauce. Reduce the heat to a simmer and continue to cook for about 7-10 minutes or until the pork is completely cooked in the center, or at about 165* F for an internal temperature. Stir often.

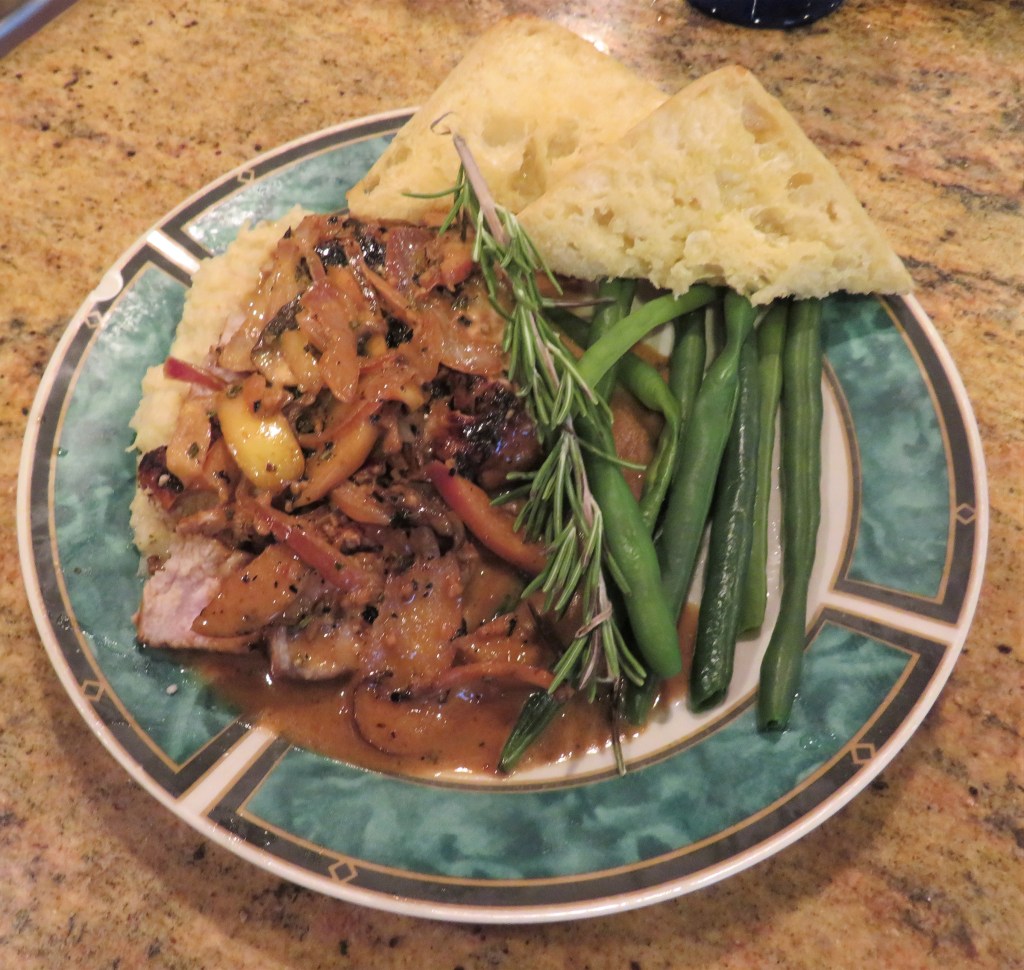
Because this is a rich, creamy sauce, I think it goes best with either mashed potatoes or mashed sweet potatoes or yams. This times, I served it over some mashed white yams. I made these with some of the apple rosemary syrup as well, and of course, lots of butter. I also added some green beans, some warmed bread and a cool, crisp chardonnay to complete the meal.

It was delicious, or in German, Es hat sehr gut geschmeckt!

Stay cool, stay safe and stay well Everyone. ‘Til next time.