Edible Flowers

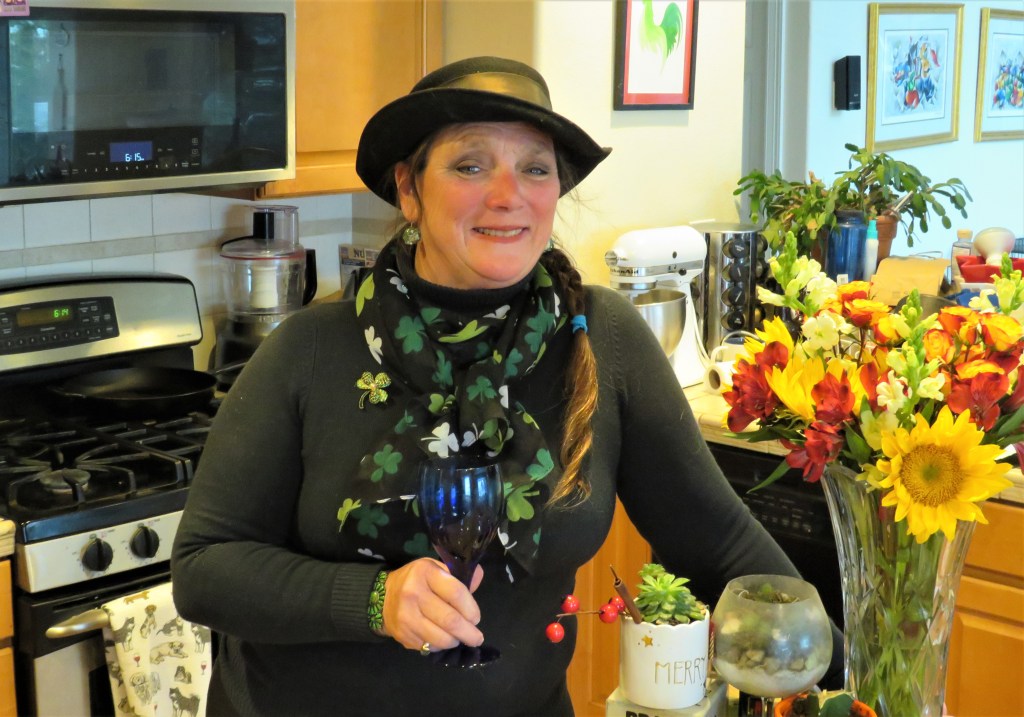
A few days ago, my friend Cyndee asked me to do a piece on edible flowers. So here it is, just for you.

Beauty and fragrance have always affected the human senses. Flowers draw us with their color and scent. It was only a matter of time before it was necessary to also taste them. Curiosity and creativity ran rampant in our ancestors and birthed the use of flowers as food. Past cooks also thought of the medicinal benefits as well as the culinary ones when using flowers in food preparation. People have been eating all types of flowers as far back as Ancient Greece, Rome, and Egypt. The first recorded use of edible flowers was in 140 B.C. Edible flowers are still eaten worldwide, but the focus today is more on aesthetics rather than on nutritional value.

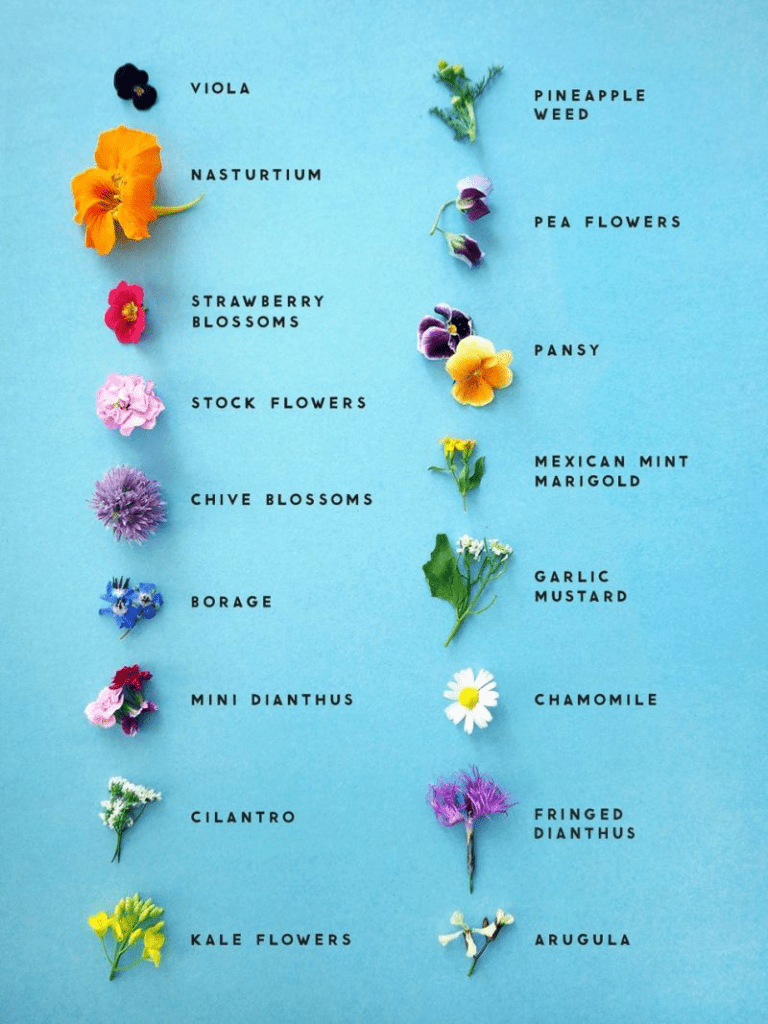
Historically, flower petals were eaten most often fresh in salads or as garnishes. The petals of carnation, bee balm, borage, sage, violet, nasturtium, daylily and calendula were commonly eaten. They were thought to be cleansing for the body as well as attractive. It was common to dry the petals and include them in tea blends. Popular tea flowers were hibiscus, rose, jasmine and bee balm. Bee balm was used as a tea substitute when black tea became unavailable during the Boston Tea Party in 1773. To preserve violets, medieval monks would make a sweet syrup from the petals. The Victorians, who associated edible flowers with elegance, candied the flowers of violet and borage to decorate cakes and desserts.

There are similarities among edible flowers that likely helped our ancestors decide on their safety. The majority of edible flowers are also butterfly staples, as the larvae eat the petals as a major food source. If they had contained dangerous compounds, the larvae would have likely succumbed. Our ancestors also knew that the flowers of culinary herbs like sage, lavender and oregano contained lower levels of the same constituents as the foliage. Their brave experimentation allows us to eat these edible flowers today without concern. Unfortunately, the poisons present in such flowers as monkshood (Aconite) were discovered in the same manner.

Here are some historical uses for edible flowers from other countries and cultures.

  • Victorians candied violets to decorate desserts. 
  • During the Renaissance, audiences of plays enjoyed rose-petal water and stewed primroses.
  • Carnation petals were a key ingredient in Chartreuse, a liquor created by French monks during the 1600s.
  • Bee balm was used a substitute for black tea during the Boston Tea Party of 1773, when tea was unavailable.

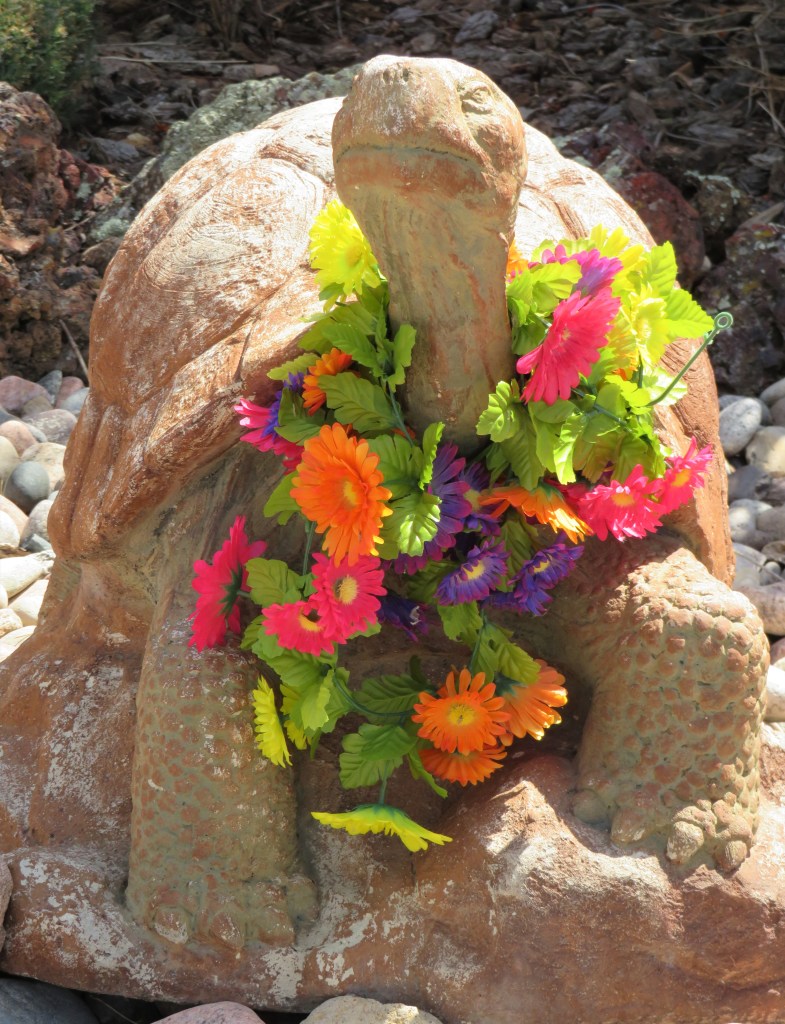
Floral arrangements can really add something special to an otherwise ordinary dish. Their fun colors and elegant features can make any dessert or meal really pop.

Here are some more great ideas for edible flowers: 

  • Use petals to garnish cupcakes or cocktails.
  • Mince flowers and add to butter or spreads.
  • Dried flowers can be used to flavor teas.
  • Squash blossoms can be stuffed with cheese.

Other countries appear to use flowers for culinary uses more often than we do. For example, in China and Japan chrysanthemum petals are stirred into soup or included with tea. Edible flowers are however making a slow comeback in America, primarily as garnishes for desserts. 

In addition to being utilized in cooking, flowers have long been recognized for their medicinal qualities. Red clover, for instance, has been known to help with coughs, colds, and as a blood cleanser.

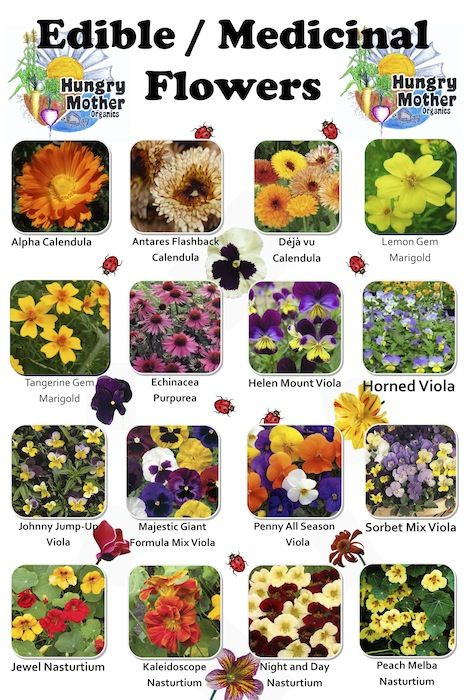
There is a safety factor when experimenting with edible flowers as well – they have to be grown organically, preferably from your own garden. Flowers cultivated for commercial use have pesticides, and flowers you pick from near a road could have been exposed to pollution. Again, growing your own is best. If you are interested in growing your own edible flowers, there are plenty of books available to help you grow your garden. Here are a few suggestions to help get you started.

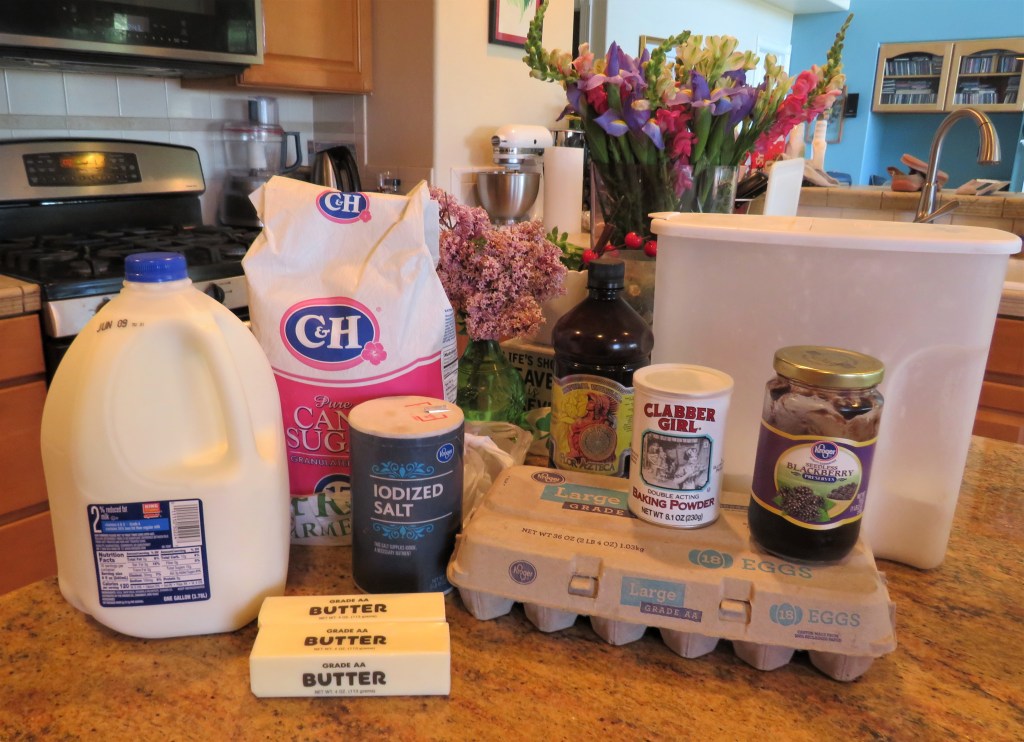
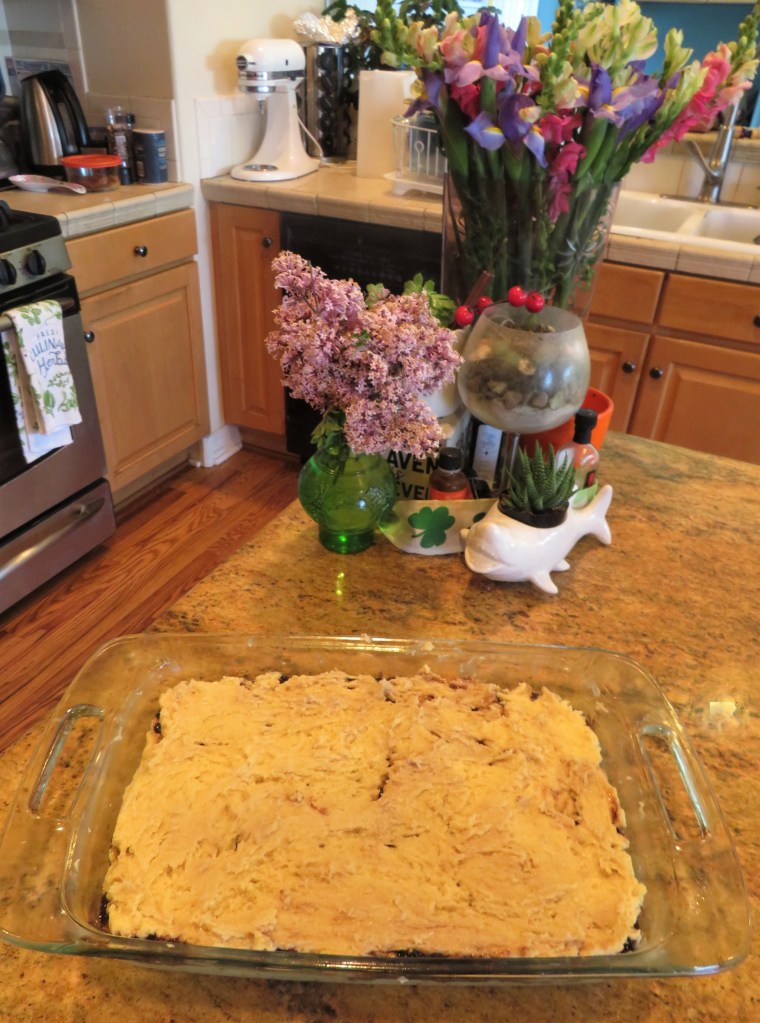
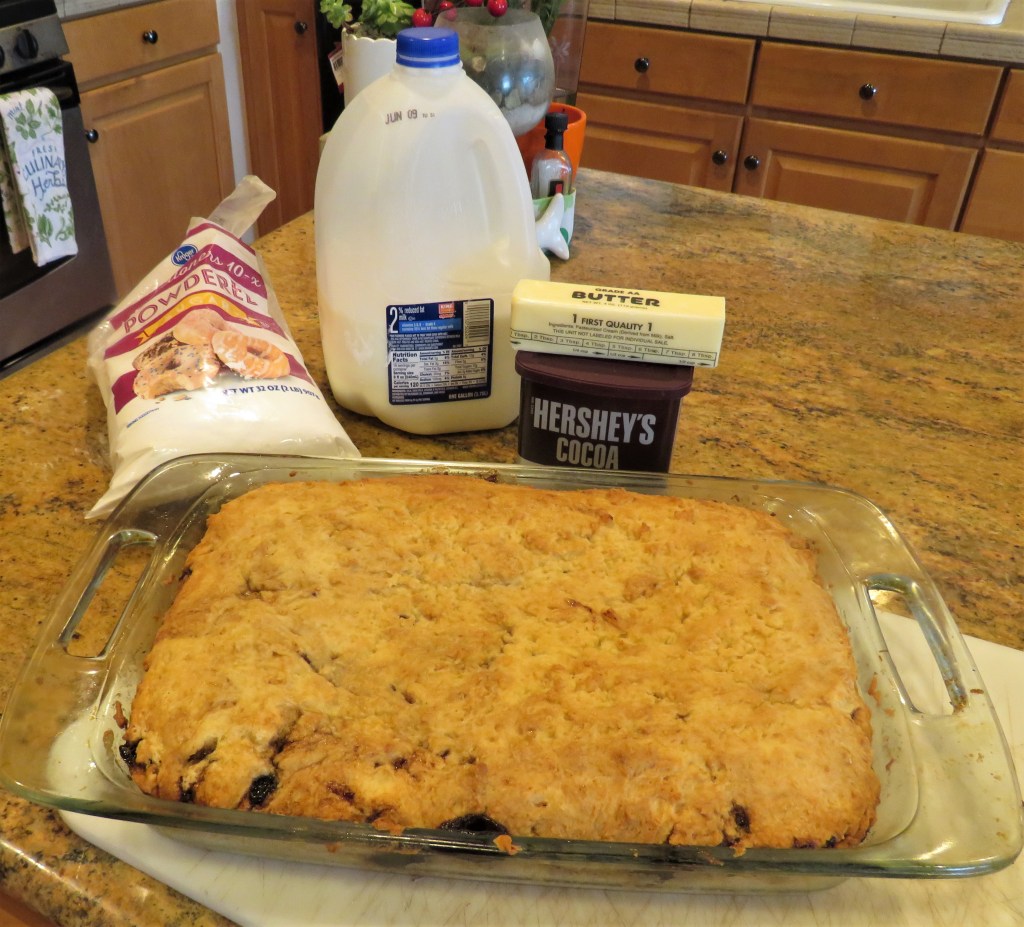
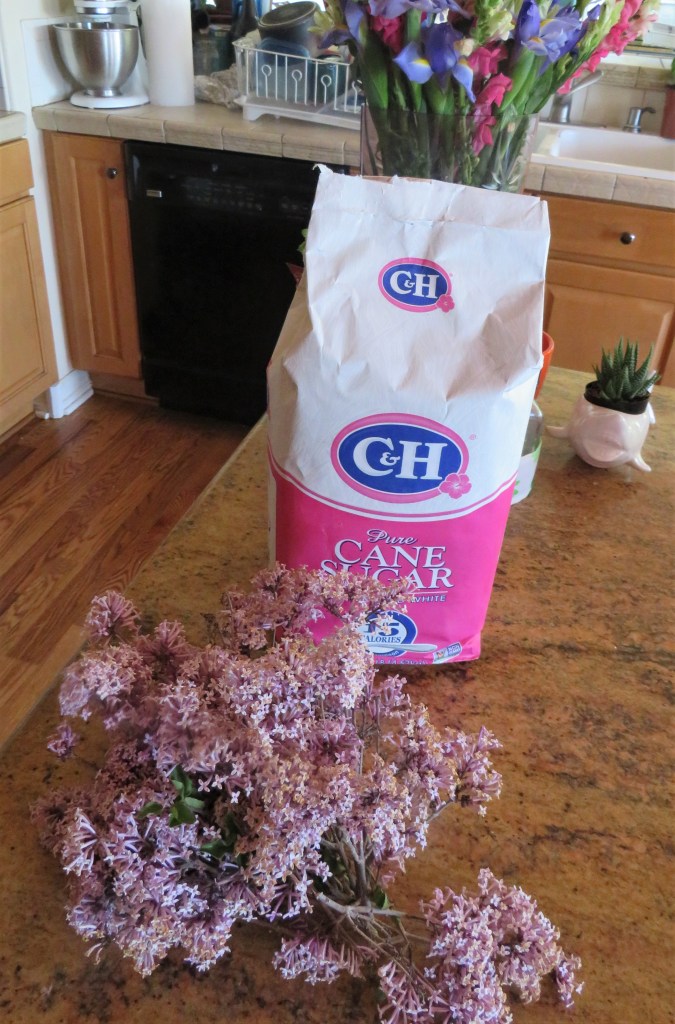
I don’t really care for edible flowers much. I’ve eaten them plenty of times, but I don’t really find them adding much to my meals, other than pure aesthetics. They do look pretty, but that’s about it for me, although this being said, I did just make some lilac sugar that I am excited to use. Gail’s Lilac Sugar I don’t really care for their taste much, but every rule has its exception though. Now I love decorating with flowers, and of course, I use fresh herbs all the time, but actual flowers in my food, only on rare occasions.

Enjoy the flowers whether you eat them or appreciate them for their beauty. Stay safe, stay well and carry on. ‘Til next time.

Nature Walks – More Goslings

I have to show you pictures of the goslings while I still can. They are growing up so quickly, that soon they will be teenagers, and then will fly the coop. Yesterday, the goslings were on the move. Nature Walks – Walk This Way Today, they were napping. They are just so darn cute.

Sometimes, a little nap is just what we need.

Pesto Pasta with Shrimp, Vegetables and Prosciutto

For the most part I have free reign when it comes to making the foods we eat. Larry just says “we have this down to use” but offers no other suggestions. My response is SWEET!!!!! This was one of those times. We had shrimp down, but Larry didn’t give me any indications of how he wanted it.

I just love pesto. It’s one of my favorite types of sauces. I had made some earlier, but I didn’t think I had enough to make a meal for both of us, so of course I made more. Usually I make my pesto with pine nuts or pignoli, but they are getting so expensive, that I chose not to this time, although my original batch was made with pine nuts. For my extra batch, I used toasted pecans instead, to give it an even nuttier, more rustic flavor. Also, once again, the lemon verbena is beginning to take over my backyard, so I added some of that along with more basil, giving my pesto a real lemony spring flavor. In addition to the lemon verbena, I also added some lemon olive oil as well as the regular olive oil.

So now that the pesto is made, and I have more than enough for pasta, I needed to come up with other tasty ingredients to add. As you know, there is never any shortage of vegetables in our hose. We eat a wide variety of vegetables all the time. This time, I added some zucchini and crookneck, along with mushrooms, red onions, and my favorite little Peruvian peppers to the mix. And our main protein was shrimp, but I also had some prosciutto that I had as well. This was a last minute decision to spruce it up a bit. I liked it. A lot! This dish had a lot of layers and textures going on.

I cooked the shrimp first, then removed them and added the vegetables to the pan. Once the vegetables were cooked, I added the shrimp back to the mix. In a separate pan, I cooked the prosciutto in olive oil until it was crunchy. The angel hair pasta is also cooking. Once everything was ready, I just did my thing to make it all deliciously presentable.

I added some wine along with some of my jalapeno cheese bread, and dinner was complete. Jalapeno Cheese Bread !Mangia!

Keep it simple. Often times, those are the best meals. It doesn’t have to be fancy to be delicious. It just has to be made with love.

Stay safe, stay well and carry on. ‘Til next time.

Nature Walks – Walk This Way

It seems like just yesterday my little goslings were just tiny babies. Now they are almost teenagers. They are getting into the normal mischief that teenagers find too. Soon they will be all grown up. Mom and Dad are having a tough time keeping everyone in line. There are those who are insisting on going their own way and doing their own thing.

Here there were still small, but were still a handful.

And look at them now, one week later.

The goslings are going all over the place, in all directions.

Lamingtons

I’m back in the kitchen, where I belong. I feel fine. The only thing that remains is a bit of a lingering cough, but other than that, I am back to 100%. My first recipe for you is a big batch of Lamingtons. These were some of my dad’s favorite desserts while growing up. So Daddy, these are for you. I hope you enjoy them, wherever you are.

Lamingtons are a sponge or butter cake dipped in chocolate and covered all over with desiccated coconut. Inside you might find a layer of cream or perhaps even jam, if that’s your… jam. They were originally created in Queensland, Australia around 1896, by the chef of the territory’s 8th Governor, Lord Lamington, to feed unexpected guests. As with many great recipes, they are thought to have been created by accident. Much of the Lamington’s iconic status probably derives from its suitability for the Australian climate, as sponge cake lasted much longer in the heat when it was iced in bite-sized squares and covered in coconut. Their popularity soon grew to cover all of Australia, and obviously they made their way south down to Melbourne, because as I mentioned, they were some of my dad’s favorite desserts. But then again, if it was something sweet, chances are my dad was going to love it. He had a real sweet, sweet tooth. 🙂

Once again, I am learning new things as I share them with you. I originally thought Lamingtons were British in origin, and I thought they made their way to Australia via England. I contacted my friend Karen for her feedback on the jam, but she had no idea what they were and Karen is originally from England. So even though I grew up with Lamingtons, I always thought they were British in origin and not Australian. We all learn something new everyday.

I had always remembered Lamingtons as having either a cream or jam filling, but the recipes I found didn’t call for either, so it had me questioning what I remembered. But, upon further research it turns out I was correct. Not that it really mattered much to me anyway. You should all know by now that I am going to do my own thing and will always add my own personality. I made them with a layer of blackberry jam in the center. Recipes are just guidelines. Creativity comes from expanding upon those guidelines, and that I do all the time. 🙂

Australian Lamingtons

Make your sponge cake, filled with either pastry cream, custard or jam, at least one day in advance. Then cover it tightly and store in the refrigerator until ready to dip into the chocolate and coconut. You want the cake to be firm so when you start dipping it, it won’t fall to pieces and become all crumbly. When it is cold and firm, it is much easier to handle and work with. It will also allow the flavors to really pop too.

The Sponge

2 cups flour

2 tsp baking powder

1/4 tsp salt

1/2 cup softened butter

3/4 cup sugar

2 eggs

1 tsp vanilla

1/2 cup milk

about 1/2 cup of either strawberry, raspberry or blackberry jam, or custard or pastry cream, all of which are optional

Preheat the oven to 350* F or 180* C.

Spray a square cake pan with cooking spray. Because I doubled the recipe, I used a 9×13 baking pan.

Just like with any batter, mix your dry ingredients together and set aside. Then mix your butter and sugar together, and gradually add the eggs and vanilla, mixing in between each addition. Add 1/2 the flour mixture and beat again, then the milk and repeat until everything is incorporated together. Do not overmix or your sponge will be tough and not spongy.

Evenly spread about half the batter in the prepared cake pan, then carefully spread the jam or filling over the batter. Cover the filling with the remaining batter and evenly spread it over the jam to completely cover it.

Place the cake into the oven and bake for about 30-40 minutes, or until it is golden brown and a toothpick comes out clean when inserted in the middle. Allow the cake to cool completely, still in the pan, then cover tightly and refrigerator for at least one day.

Once you are ready to make your Lamingtons, cut the cake into bite-sized squares. I doubled my recipe, so I have a lot, but you will get a goodly amount as it is.

Make your chocolate sauce and fill a bowl with your dried coconut.

The Sauce

3 1/4 cup powdered sugar

1 cup milk

2/3 cup cocoa powder

1/3 cup melted butter

dried coconut

Line some baking sheets with parchment paper.

Whisk everything together until smooth and creamy.

Cut your cake into bite-sized squares and completely coat with the chocolate sauce. Shake off the excess, then roll into the coconut and completely coat all sides.

Once all your Lamingtons are coated in both chocolate sauce and coconut, cover again and refrigerate for at least an hour to set. Then share them with friends and enjoy. Good on ya mates, and Aussie, Aussie Oi!!!

Stay safe, stay well and carry on. ‘Til next time.

Guest Chef Steve Axelrod

I haven’t been cooking at all since COVID entered the house. Neither of us has had an appetite and it just doesn’t make a whole lot of sense to cook just to cook, when neither of us is really going to eat or enjoy what I am cooking. But just because I haven’t been cooking doesn’t mean others haven’t been cooking.

Today, I give you a scrumptious sour cream coffee cake made by Guest Chef Steve Axelrod. Once again, the wonderful world of blogging has “introduced me” to my new friend, whom I actually have yet to meet in person, Steve’s wife Sandy. Sandy and Steve are living the RV dream and are traveling around the country in their RV, Ladybug, with their adorable Yorkie, Hershey. Life in the RV though, is not all about taking in the sights. They do have to eat as well. So in his downtime, Steve baked us this wonderful coffee cake.

I am letting Sandy tell us about Steve’s cake in her own words. She did an excellent job of describing Steve’s masterpiece. I wish I was there enjoying it with the two of them right now. It looks mouthwateringly delicious. Steve did a fantastic job!

I’m always on the lookout for baking recipes that are easy enough for a novice baker. My hubby Steve started baking in March and has been doing an amazing job. As soon as I read Ina Garten’s recipe for Sour Cream Coffee Cake, I knew it would be perfect.

The Barefoot Contessa, Ina Garten, has become a very trusted source for both savory and sweet recipes. I find her directions to be easy to follow, no matter how much or how little experience you have. Her recipe for this luscious Sour Cream Coffee cake is no exception.

It was so easy to follow, that Steve was able to get the cake in the oven without asking me even one question! I did guide him to make a couple of changes out of necessity. Ina’s instructs us to use a tube pan. Since we live on an RV I had whittled down my baking pans to a bundt, a 9-inch X 13-inch, an 8-inch X 8-inch, two 8-inch rounds, a muffin tin and 1 tube pan that is tucked away in a hard to get to spot. With the bundt in easy reach, I suggested that he use it. Plus I love how bundt cakes look.

Steve’s Sour Cream Coffee Cake, from Ima Garten

A moist and flavorful cake that is filled with cinnamon streusel goodness. The fragrance alone will have you craving more that just one slice!

  • Author: Adapted from Ina Garten’s Recipe
  • Prep Time: 10 minutes
  • Cook Time: 1 hour
  • Total Time: 1 hour 10 minutes
  • Yield: 12 servings
  • Category: Dessert
  • Method: Baking
  • Cuisine: American

Ingredients

UNITS USM

For the cake:

12 tablespoons (1 1/2 sticks) unsalted butter 

at room temperature 

1 1/2 cups granulated sugar

3 extra-large eggs at room temperature 

1 1/2 teaspoons pure vanilla extract 

1 1/4 cups sour cream

2 1/2 cups cake flour (not self-rising)

2 teaspoons baking powder 

1/2 teaspoon baking soda 

1/2 teaspoon kosher salt 

For the streusel:

1/4 cup light brown sugar, packed

1/2 cup all-purpose flour

1 1/2 teaspoons ground cinnamon 

For the glaze:

3/4 cup confectioners sugar

3 tablespoons freshly squeezed orange juice 

1 teaspoon orange zest 

1/4 teaspoon kosher salt 

3 tablespoons cold unsalted butter, cut into pieces 

Instructions

  1. Preheat the oven to 350 degrees F. Grease and flour a 10-inch bundt pan.

2. Cream the butter and sugar in the bowl of an electric mixer fitted with the paddle attachment for 4 to 5 minutes, until light. Add the eggs 1 at a time, then add the vanilla and sour cream. In a separate bowl, sift together the flour, baking powder, baking soda, and salt. With the mixer on low, add the flour mixture to the batter until just combined. Finish stirring with a spatula to be sure the batter is completely mixed.

3. For the streusel, place the brown sugar, flour, cinnamon, salt, and butter in a bowl and pinch together with your fingers until it forms a crumble.

4. Spoon half the batter into the pan and spread it out with a knife. Sprinkle with the streusel. Spoon the rest of the batter into the pan and spread it out. Bake for 50 to 60 minutes, until a cake tester comes out clean.

5. Let cool on a wire rack for at least 30 minutes. Carefully transfer the cake onto a serving plate. Whisk the confectioners’ sugar, orange juice and zest together, adding a few drops more juice if necessary, to make the glaze runny. Drizzle as much as you like over the cake with a fork or spoon.

Notes

If you love nuts in your coffee cake you can add 3/4 cup chopped walnuts to the streusel.

This Sour Cream Coffee Cake is so good you will have a hard time resisting another slice. Or two. Or three!

So moist and full of cinnamon streusel goodness!

The only other swap was that the recipe calls for a maple glaze which I know would be delicious. However, we had leftover orange glaze from the previous cake Steve had baked. And it was so tasty that he used that instead.

Another change was that Ina has us pouring half of the batter in the pan, then part of the streusel, the remaining batter on top of the streusel and the rest of the streusel on top of that. I had Steve putting all of that yummy streusel in the middle of the cake.

Thank you Sandy and Steve for sharing this delicious cake with us. Well done Steve!!!!!! If you are interested in learning more about Steve and Sandy’s adventures on the road, or the foods they eat while out and about, you can follow Sandy at any one of these social media outlets:

TheTravelingLocavores.com

instagram.com/TheTravelingLocavores

pinterest.com/TheTravelingLocavores

twitter.com/SandyAxelrod

facebook.com/TheTravelingLocavores

Trust me, you will be glad you did. And who knows? You might just make a new friend or two like I did too. Thank you again Sandy and Steve. Kudos!

Stay safe, stay well and carry on. ‘Til next time.

COVID in the House

Our niece’s wedding last week was beautiful, but unfortunately, it was also a COVID super spreader. We know of at least 16 people who all came down with COVID after the wedding, us included. Larry got it first. I was keeping my distance, and we have a big house, so it was pretty easy to do. He slept upstairs in our bedroom and I was downstairs in the guest bedroom. Then Friday afternoon, it hit me too. There was no escaping it.

I know COVID affects everyone differently, but for us, it was nothing more than a bad cold. It kicked our butts, but I am only 2 days into it and I am already feeling much better. Larry is now 4 days into it and is almost well. I have had other viruses that are far worse than this, such as the norovirus. Fortunately, we are both on the mend and are feeling much better. We should both be back to normal (whatever that is) within a matter of days.

Stay safe, stay well and carry on. ‘Til next time.

Nature Walks – The Ducklings Are Growing

Yesterday was such a fabulous day for a walk. There was so much life all around my ponds. Life was flourishing and it came in many different forms. I saw so much. Everyone was out enjoying the day.

The ducklings were out and about too. They are growing up so quickly. They were having so much fun playing around. Here, they are getting some swimming lessons. They are still just tiny babies here.

That was just last week. Now, one week later, look at how much they have already grown. They have progressed from swimming to diving lessons.

It’s hard to believe what a difference one week makes. Soon they will be all grown up.

Gail’s Lilac Sugar

All the lilacs are still in bloom and the air smells so fragrant and sweet. The other day when I posted about the blooming lilacs Nature Walks – Lilacs in Bloom my friend and our very own Gail, from https://snapshotsincursive.com/ sent me this delicious recipe for lilac sugar, to capture the essence of the lilacs a bit longer. I had never heard of lilac sugar before. But thanks to Gail and her fabulous idea, I have now made some and am anxiously waiting to use it. I already have a scrumptious idea in mind for it too.

This is Gail’s picture of her lilac sugar. Gail is a bit shy, but I am still featuring her as a “Guest Chef” for this delicious idea. Gail has many, many great recipes. If you are not already familiar with Gail and snapshotsincursive, you should definitely stop by and say hi. You will be in for a whole world of fabulous treats.

Gail sent me the recipe, and it is just 2 ingredients. Yes, that’s right, just 2. Fresh lilac flowers and sugar.

I picked a whole bunch of lilacs from my front yard so, I made a whole bunch of this fragrant, sugary treat. Gail’s recipe calls for 2/3 cup of sugar and 1/2 cup of fresh lilac flowers, but I just kept going. I wanted to use all the lilacs I picked and didn’t want any of them to go to waste. So I just kept adding layer after layer of lilacs and sugar and filled my jar.

Rinse the lilacs and let them dry, then remove the blossoms from the stems. Add a layer of sugar, then a layer of blossoms, and repeat until all the lilacs and sugar are used, or in my case, until the jar is filled. Seal the jar tightly and gently shake the jar, then place in a dark cabinet and store for 1 week. Make sure to gently shake the sugar jar once a day while it is in storage.

After one week of storage in a dark cabinet, sift the sugar and spread it out onto a baking sheet lined with parchment paper. Store it in a safe place for another week, and then use it creatively. Gail says it goes very well with anything lemony. I hate to admit it, but I am so anxious to try it, that I am NOT going to wait that long before using it. Soon you will see what I create with my lilac sugar. 🙂 Thank you so much Gail for this wonderful idea.

Keep an open mind and an open heart, and we will all learn new things everyday. Stay safe and stay well Everyone. ‘Til next time.

Nature Walks – Turtles in the Sun

Yesterday was a beautiful day. It was just perfect weather. Not to hot, not to cold, and everyone was out enjoying the day. I took so many great pictures. Today I am sharing my turtle pics. I had both Red-Eared Sliders and Snapping turtles out sunning themselves.

The Red-Eared Slider

The Snapping Turtles

And then there is a our resident turtle who always dresses for the season.

Have a great day Everyone.