Southwestern Turkey Chowder

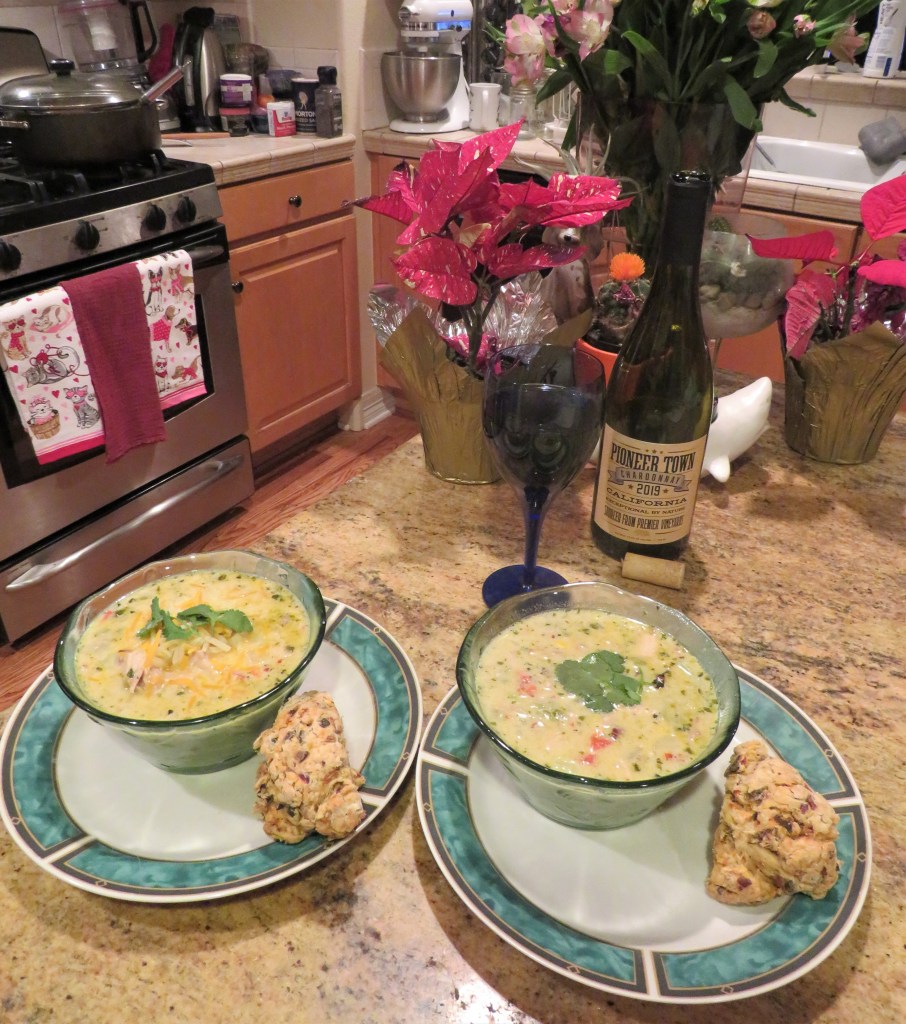
We have had snow on the ground all throughout December and all of January so far. And we have had quite a few big storms in that time from as well. This is pretty unusual for us. Usually it snows and then it melts fairly quickly. But I love it; as long as I don’t HAVE TO drive in the middle of a storm. It is gorgeous to look at. It is also perfect weather for soups, stews, chowders, and of course lots of baking. I have been doing a lot of baking these days, and I also made a huge pot of a delicious Southwestern turkey chowder to go along with my olive and tomato bread. Rustic Olive and Tomato Bread They paired perfectly with each other as well as a glass or two of chardonnay.
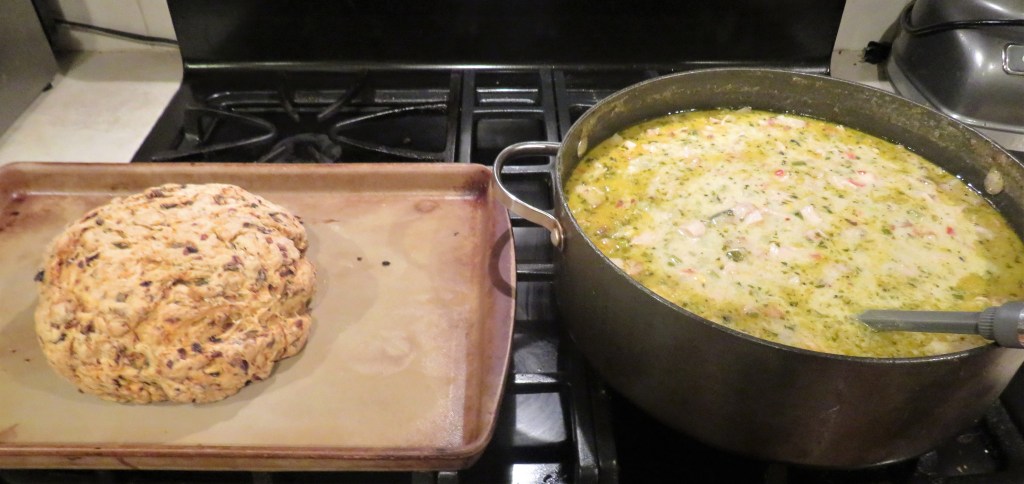
Southwestern Turkey Chowder

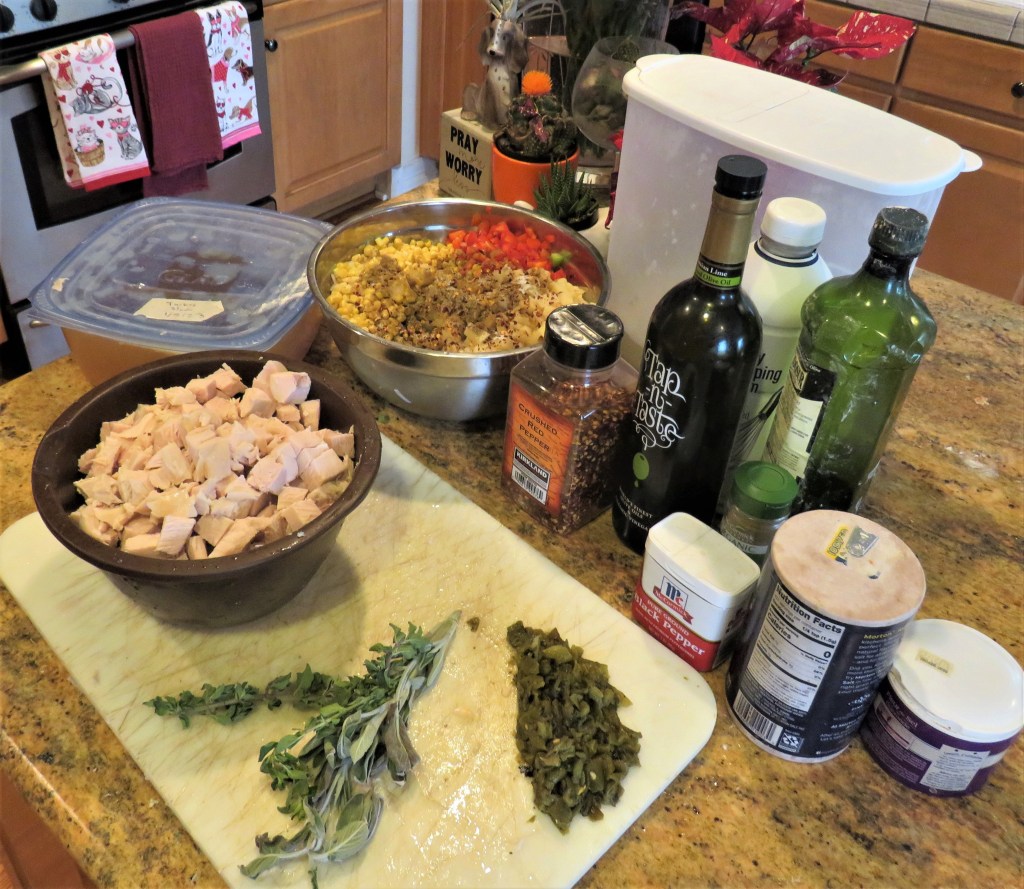
This chowder was filled with all kinds of hearty goodness and tons of vegetables. When I make soups and chowders, I just throw in all kinds of stuff and never bother to measure anything. I stop when my pot is full.
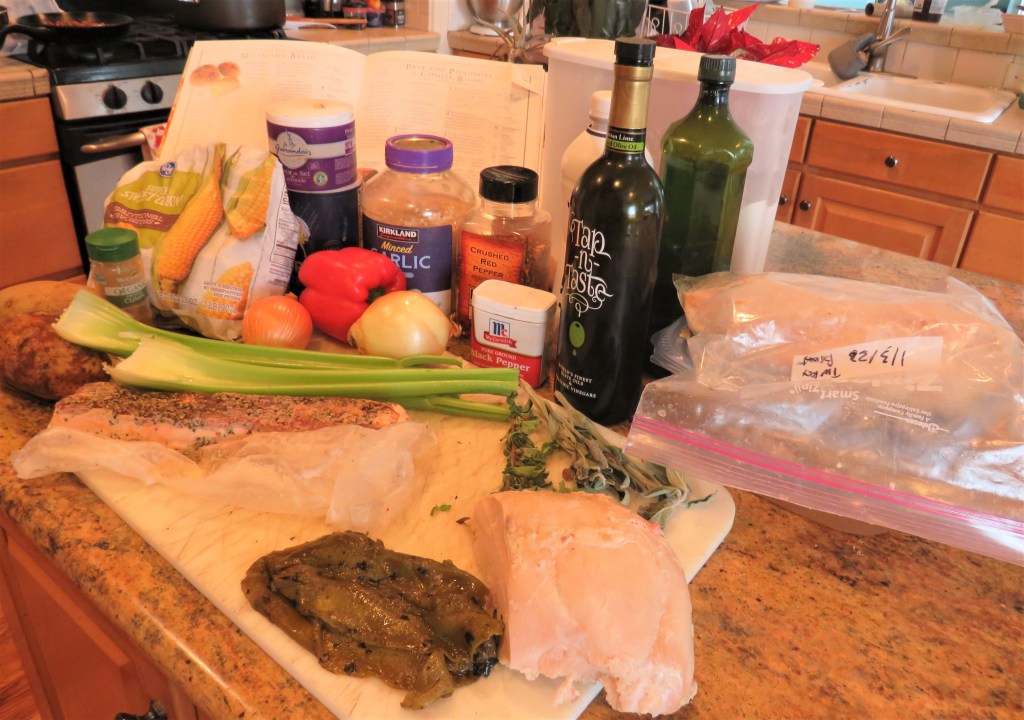
5-6 bacon, cut into pieces and cooked

3-4 celery ribs, diced

1 onion, diced

2 cups corn

1 red bell pepper, diced

2 TBSP garlic

2 potatoes, diced

3-4 roasted Hatch chilies, diced

3 lbs cooked turkey breast, cubed

6-8 cups turkey stock

2 cups heavy whipping cream

1 cup flour

olive oil and lime olive oil (optional)

salt & pepper to taste

red pepper flakes to taste

2 TBSP fresh oregano and thyme chopped fine

2 TBSP fresh cilantro, chopped fine

Cook the bacon with a little olive oil until it is to your desired doneness.
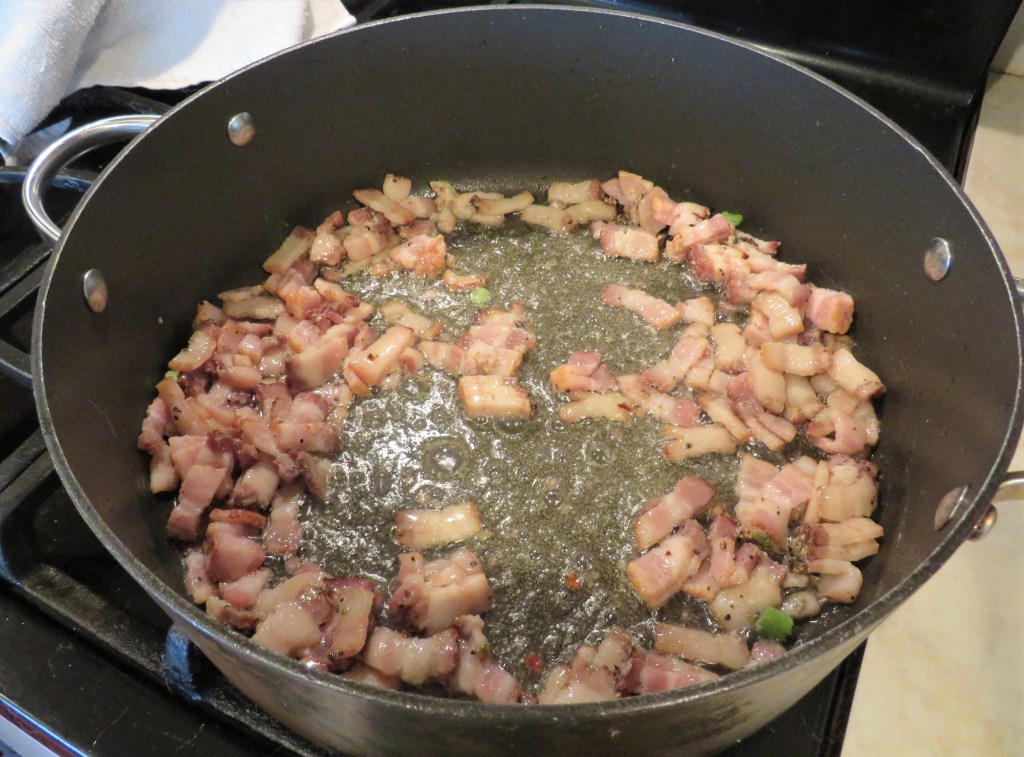
Add more olive oil and/or butter, then add the onions, potatoes, corn, peppers, celery, garlic and red pepper flakes and cook for about 5-7 minutes, or until they are tender and the onions are translucent. Add the flour, mix in well and continue to cook for an additional 5-7 minutes, stirring constantly.
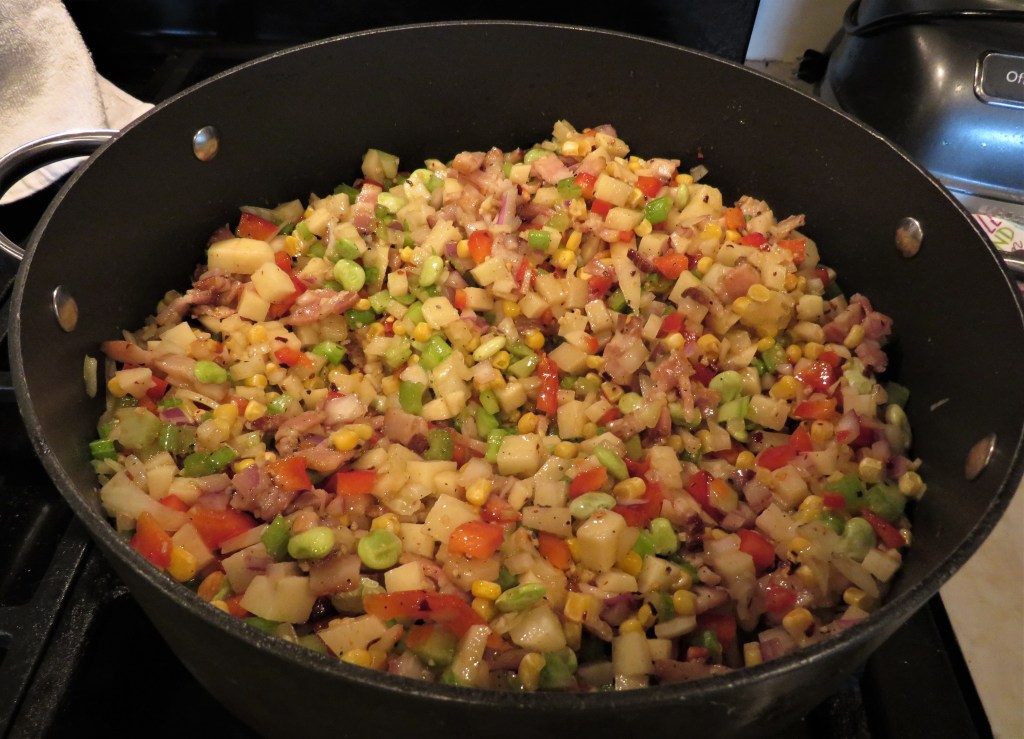
Add the turkey and stock and seasonings. Combine well, cover and bring to a boil. Then reduce the heat to a simmer and continue to cook for about 30-40 minutes, stirring frequently.
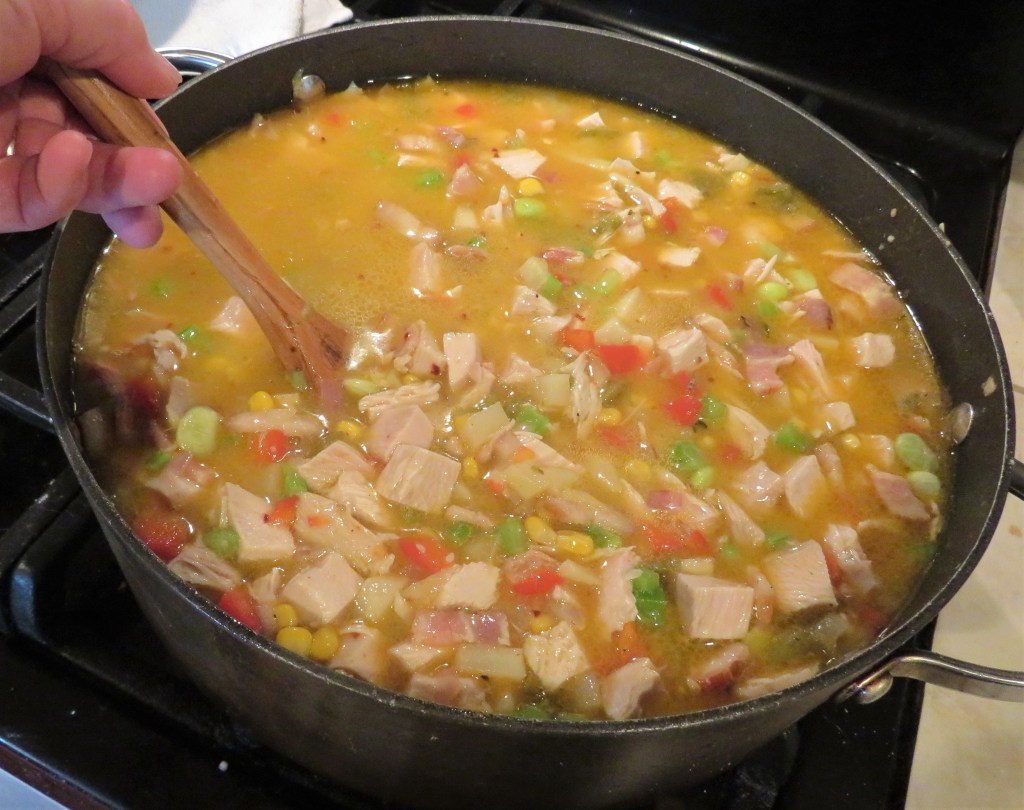
Add the cream and mix in well. Adjust the seasonings as needed. Bring to a boil once again, then reduce the heat to a simmer and continue to cook for about 10-15 minutes, stirring frequently. Add the fresh herbs towards the end of the cooking process.
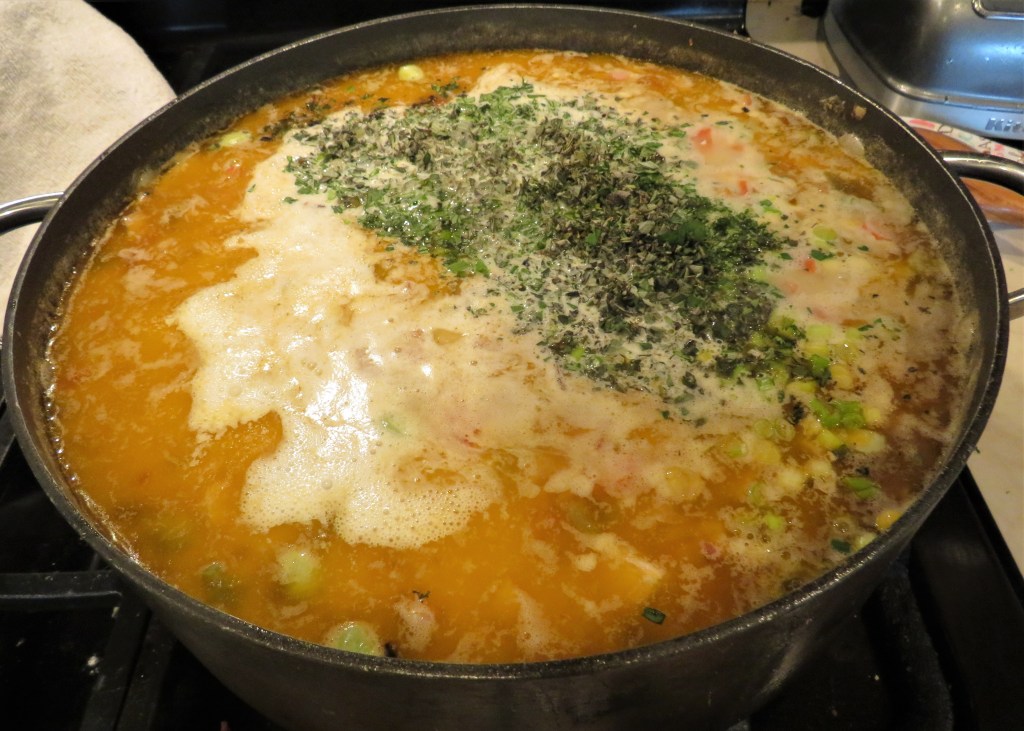
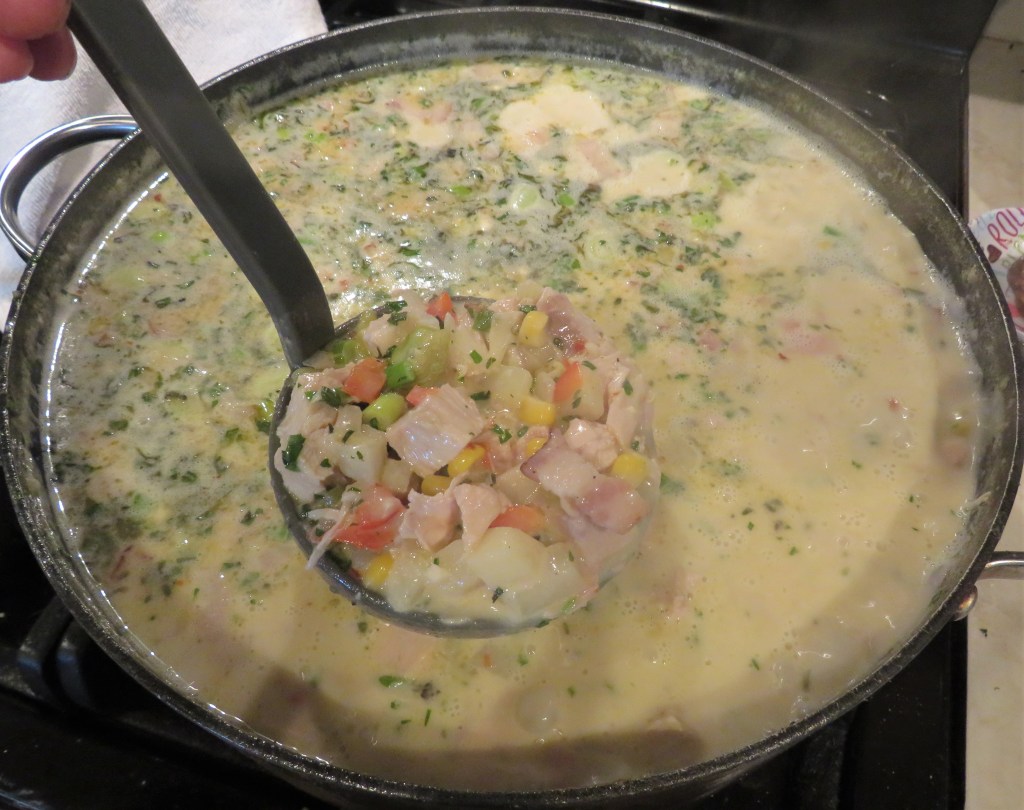
When the chowder is ready, ladle it up and enjoy. Larry topped his with some shredded cheddar cheese too. It just melted into the soup like velvet.
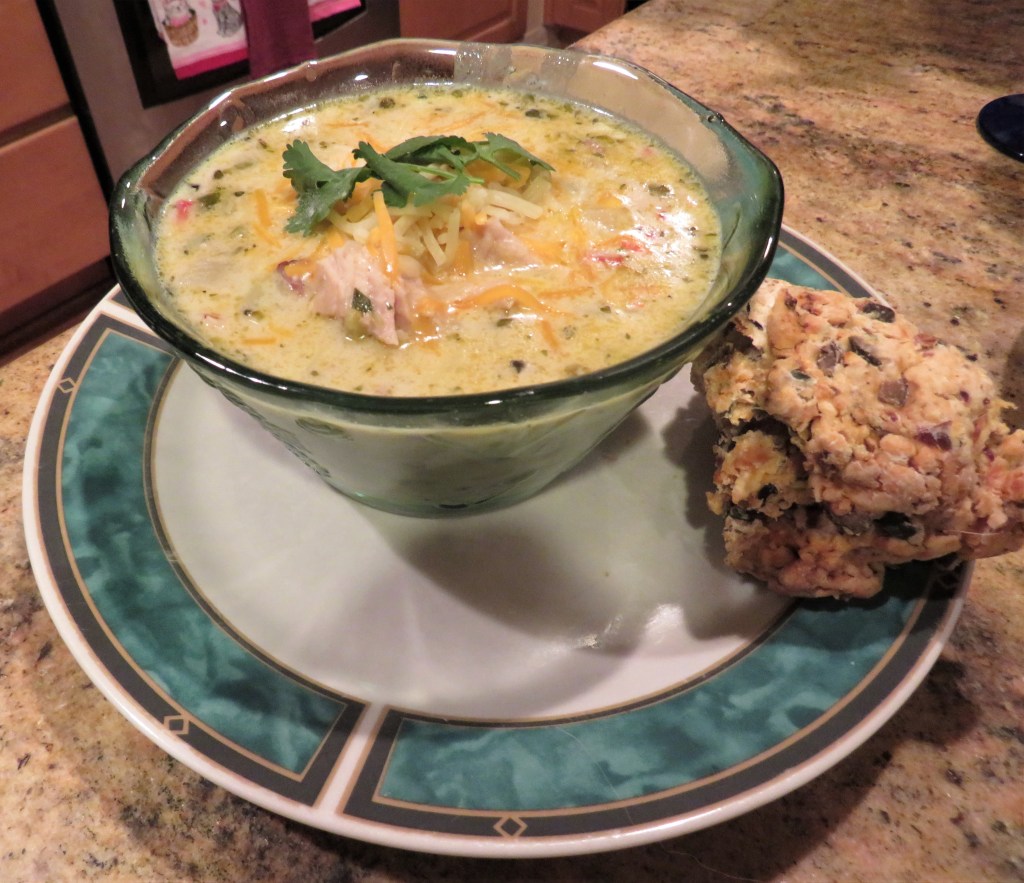
If you live in cold country like I do, stay warm from the inside out. There is nothing better than a hot chowder to help warm you up too. Stay warm, stay safe and stay well Everyone. ‘Til next time.
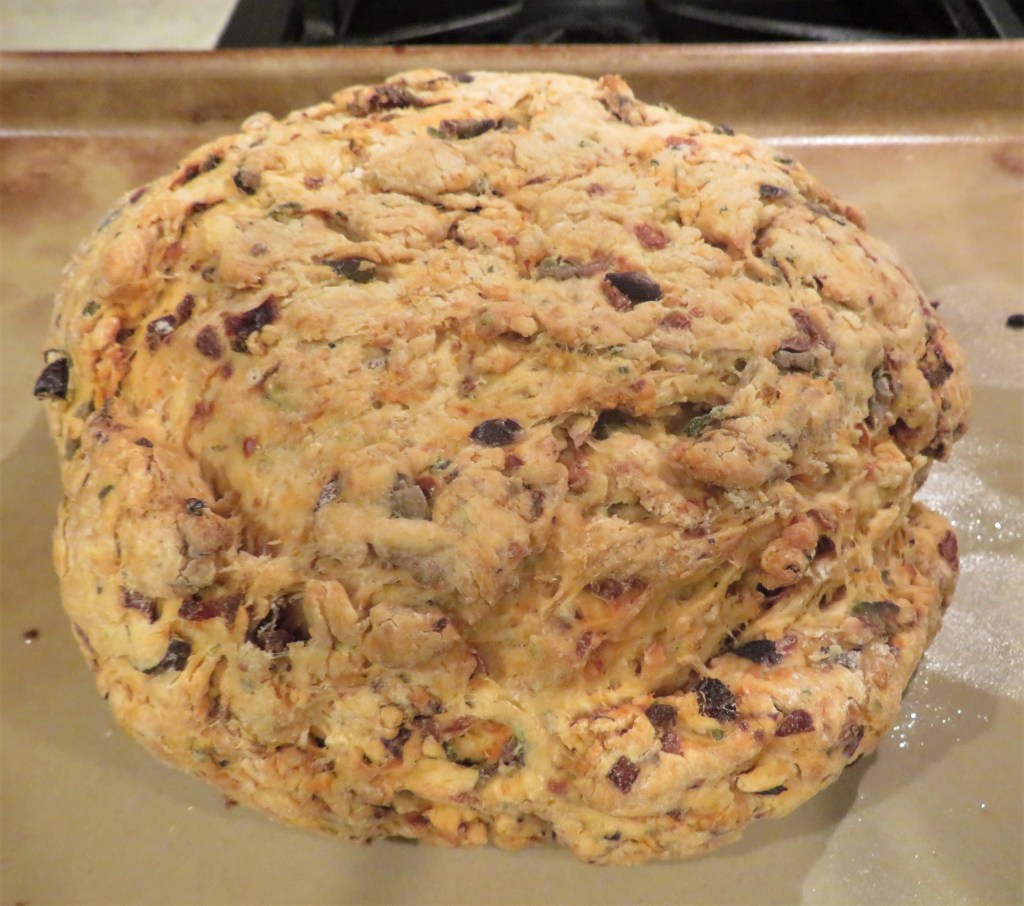
Rustic Olive and Tomato Bread

Both yesterday and today are very good days for baking. We are in the midst of what the weather forecasters are calling another “snowmageddon”, though the last time they predicted this, it turned out to be a big nothing burger. However, today, it seems to be pretty true. We’ve already had about 5 inches of snow, and it is still snowing and the winds are beginning to blow too. When the winds blow, it often creates white-out conditions and the visibility gets pretty bad. It is definitely a good day to stay indoors. At the moment, we are blanketed in a thick layer of white snow. We are currently under a weather advisory to stay indoors if possible.

Yesterday’s baking was a rounded loaf of a rustic bread filled with olives, sun-dried tomatoes, onions and garlic. YUM! I served it alongside a delicious Southwestern turkey chowder.

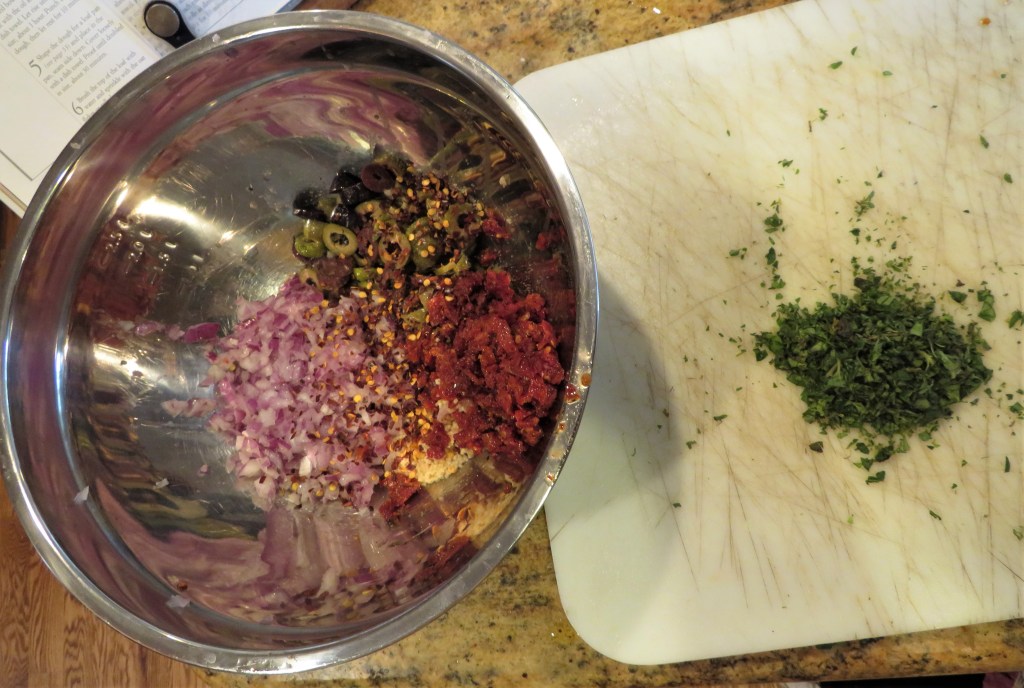
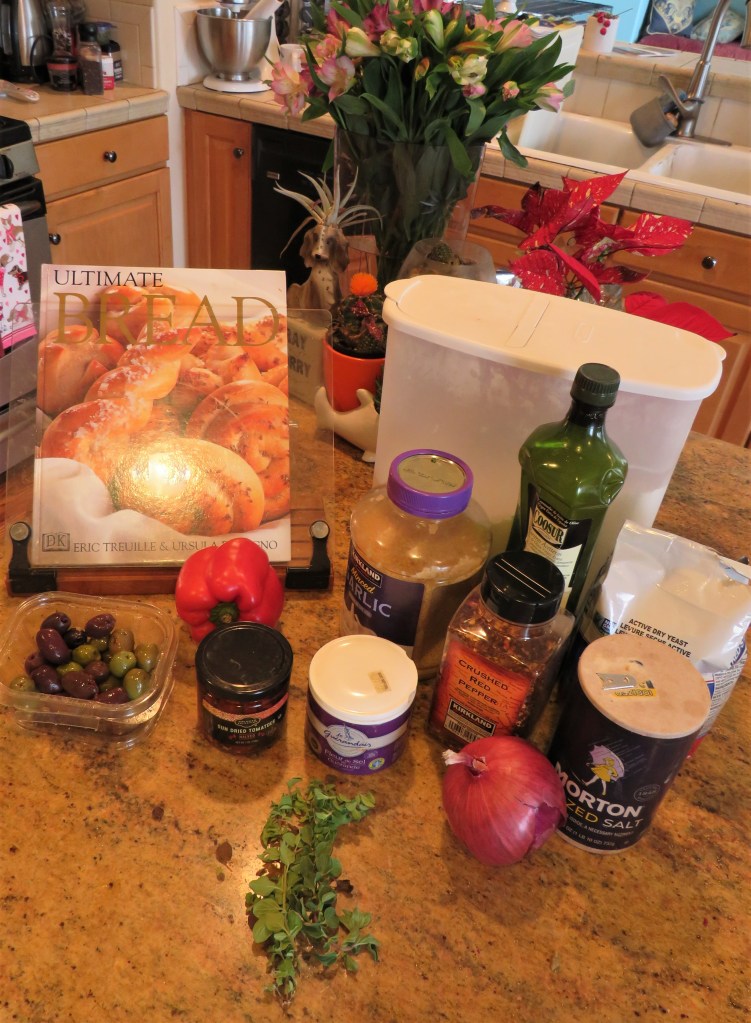
This delicious bread was filled with all kinds of goodness. I used a bunch of mixed olives, sun-dried tomatoes, fresh oregano and garlic and red onions. It’s almost a meal all by itself. i could easily eat the whole thing in one sitting. 🙂

Rustic Olive and Tomato Bread

3 1/2 tsp dry yeast

2/3 cup lukewarm water

3 1/2 cups flour

2 tsp salt

1/2 cup sun-dried tomatoes in oil, chopped fine

1 cup olives, sliced

1/2 red onion, diced fine

2 TBSP garlic, minced

1 tsp red pepper flakes

3 tsp fresh oregano, chopped fine

olive oil for the bowl

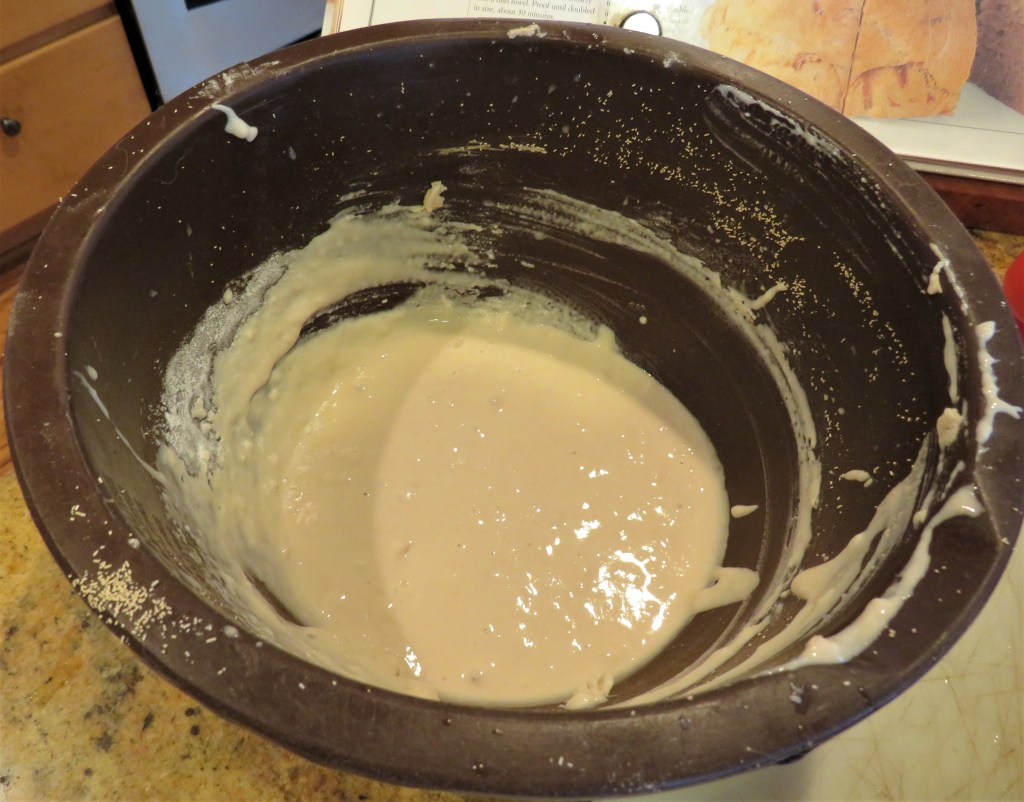
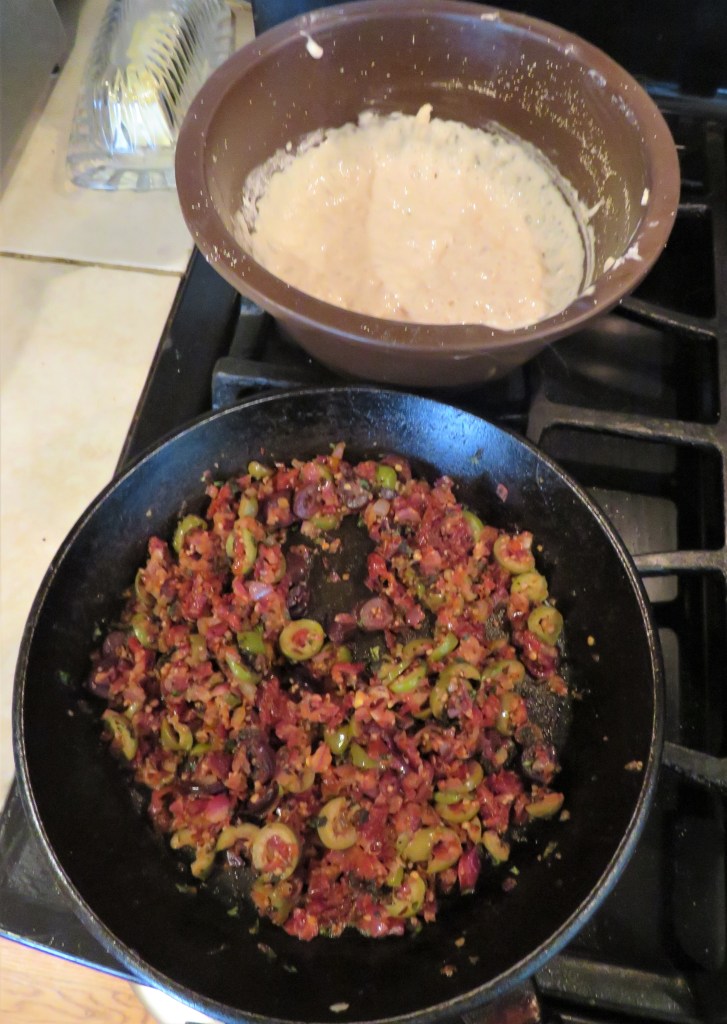
This bread needs a starter sponge. To make the starter, combine the yeast and water and let stand for about 5-10 minutes. Add about 1/2-1 cup of flour to make a thick paste, then cover and let rise for about 1 hour.

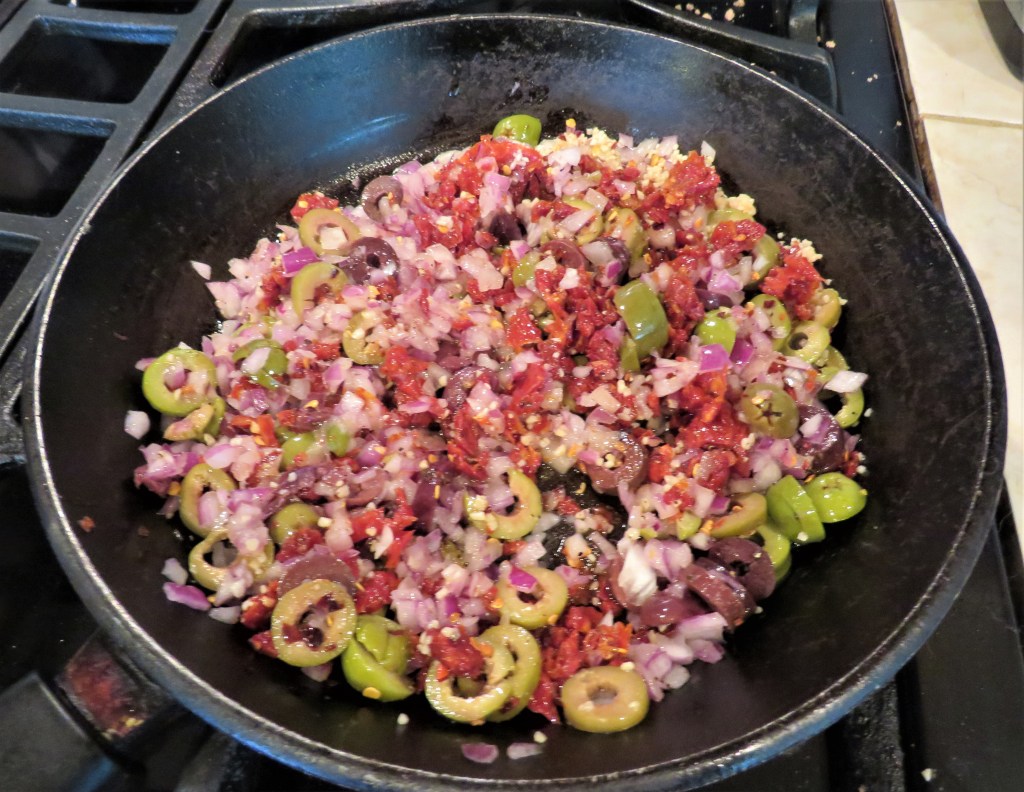
While the starter sponge is rising, cook the onions, tomatoes, garlic and olives in olive oil for about 5-7 minutes, or until the onions are soft and translucent. Add the chopped oregano and mix well. Then add to the sponge.

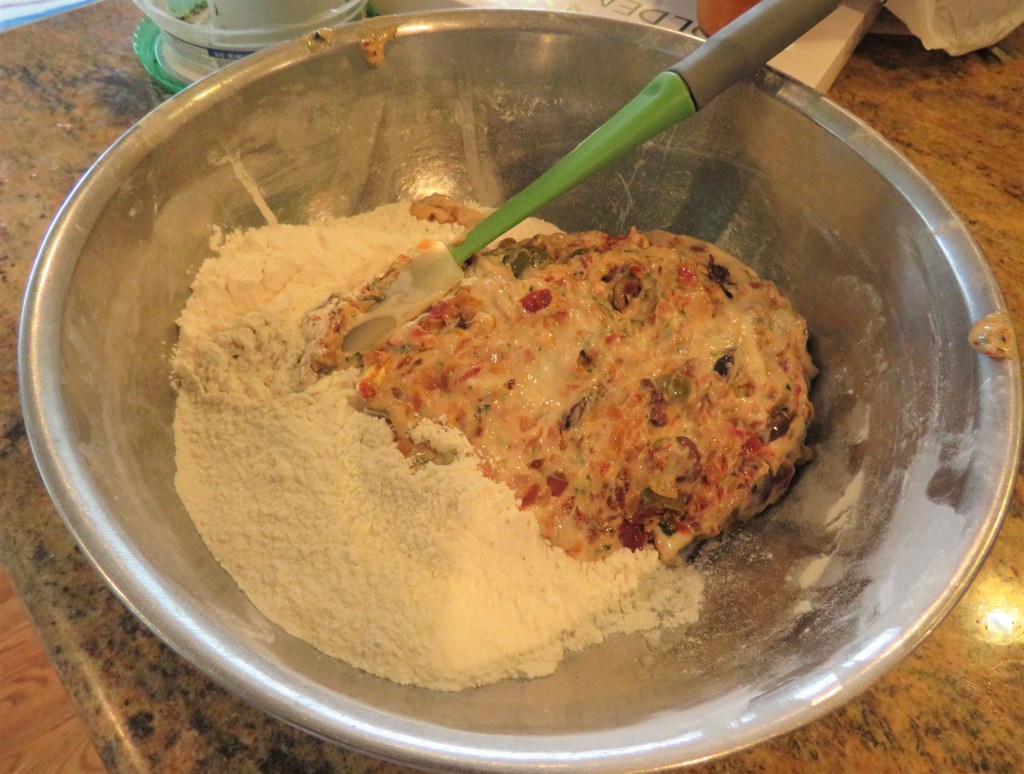
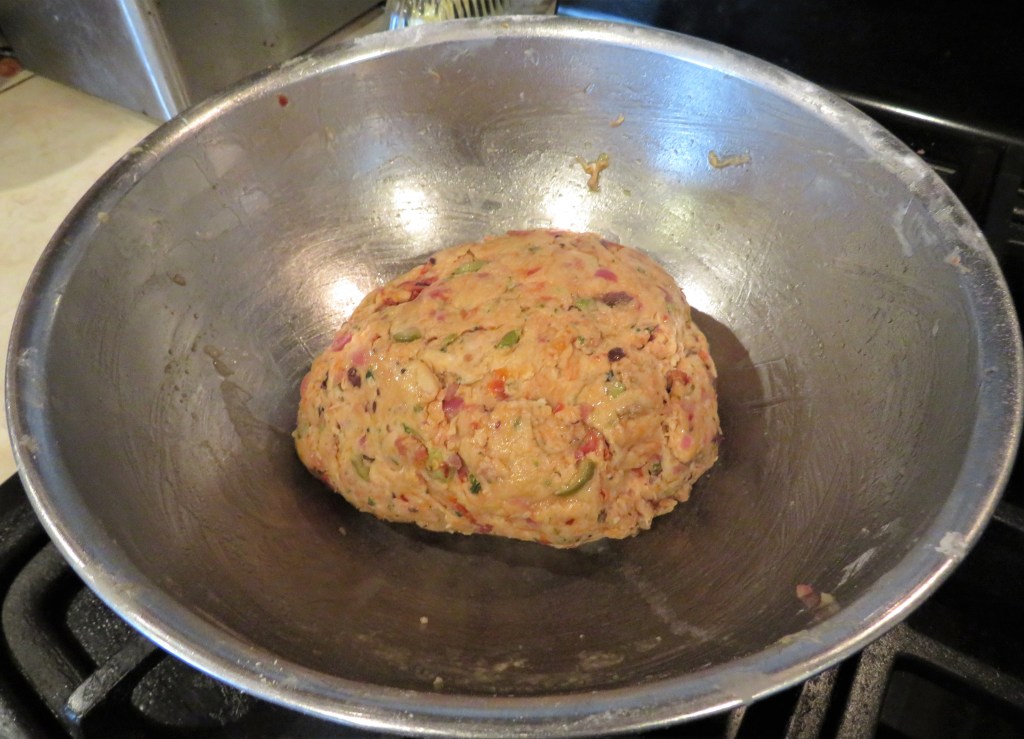
Add everything to the remainder of the flour and knead for about 8-10 minutes until everything is combined and you have a soft, sticky dough. Form it into a ball, lightly coat a large bowl with olive oil and add the dough. Cover it and let it rise for about 1 hour, or until it doubles in size.

Punch it down and shape it into a ball, which is known as chafing the dough. Cover it and proof it once more, for about 45 minutes, or until it doubles in size once again.

Preheat the oven to 400*F or 200*C.

Spread a thin coating of olive oil onto a baking sheet and place the dough on the pan. Bake for about 45 minutes, or until it is hollow when tapped on the bottom. You can add some steam every so often too if you like. Let it cool for about 5-10 minutes before slicing it. Then mangia! Enjoy!

On a day like today, if you don’t have to go out, don’t. Stay warm, stay safe and stay well. ‘Til next time.

Another Batch Of Food Funnies

Sometimes life is hard and gets way too stressful. Sometimes we all need a break and we just need to step back and have a good laugh at life in general. Laughter is the best medicine after all, and today, it seems like with so many other things, laughter is in short supply. So hopefully some of these food funnies will bring a smile or two and help you lighten your loads a bit.

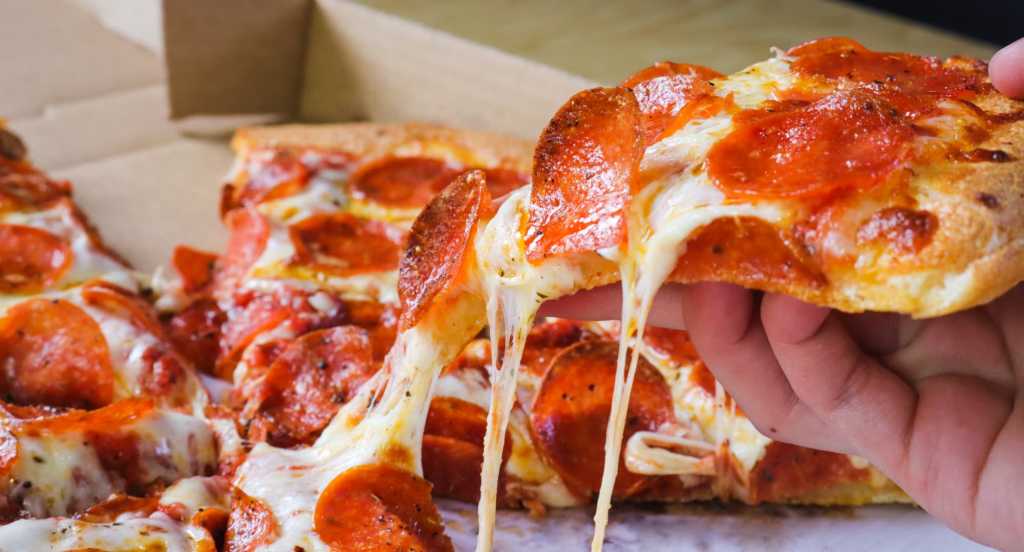
Who doesn’t love pizza, right?

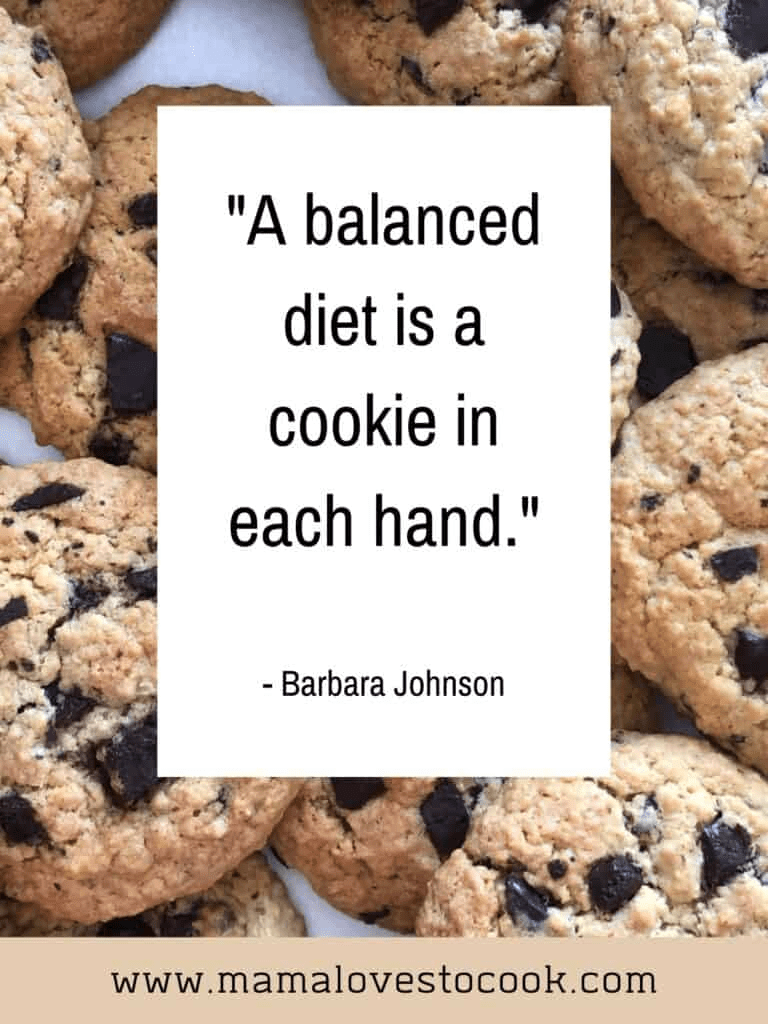
Truer words were never spoken.

I can most definitely relate to this one.

Have a great day Everyone. Stay safe, stay well, and have a few laughs along the way. ‘Til next time.

Raspberry Orange Muffins

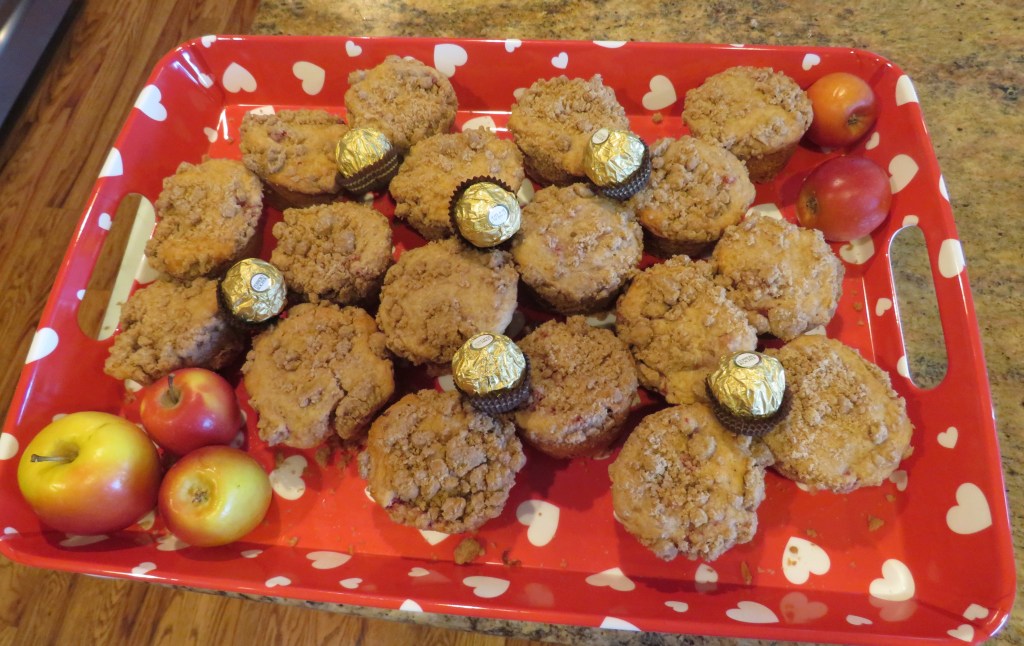
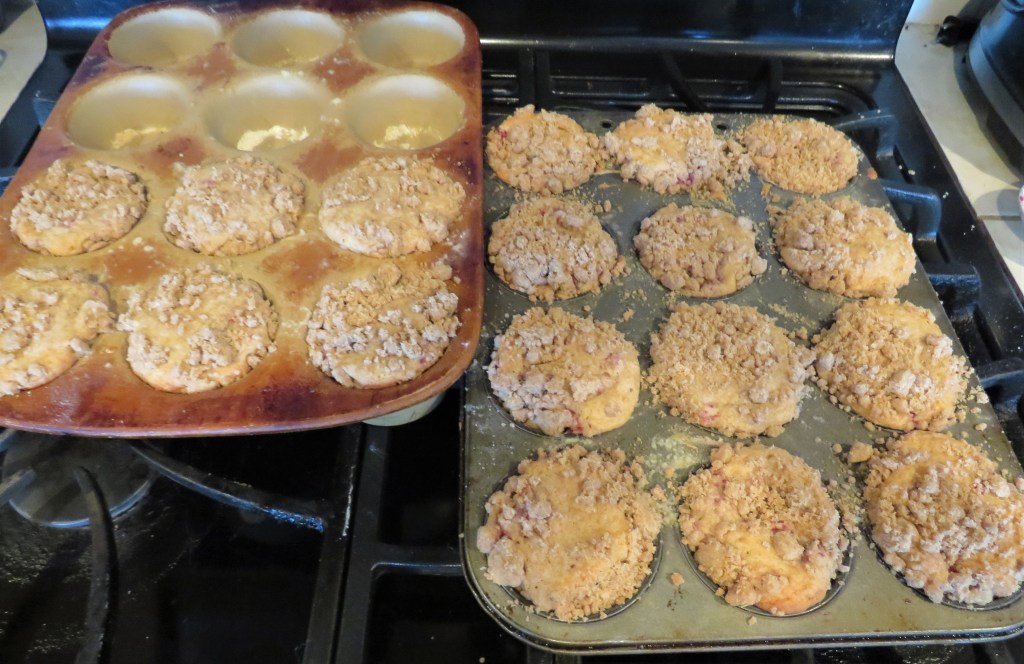
As you know I am always trying out new, delicious recipes for my church coffee cart. Anything goes, as long as it is delicious. Since our services are in the mornings, I like breakfast type foods and or cookies. Just something light that people can pick up an munch on within a couple of bites or so. This week, we had some cookies (no I didn’t make those this time), chocolate chip banana bread Chocolate Chip Banana Bread, some gluten free cupcakes that were donated by a friend of a friend and my raspberry orange muffins. I did not get a chance to try the cupcakes, but they all disappeared within a blink of an eye, as did everything else. Always a good sign. 🙂

Raspberry Orange Muffins

The Muffins

2 cups flour

2 1/2 tsp baking powder

1/2 tsp salt

1 tsp cinnamon

1/4 tsp cardamom

1.2 cup or 1 stick melted butter

1 cup sugar

2 eggs

1/2 tsp orange extract

1/2 cup yogurt

1/2 cup milk

2 TBSP orange zest

Preheat the oven to 350* F or 190* C.

Spray muffin tins with cooking spray and/or use paper muffin cups inserted into the pans.

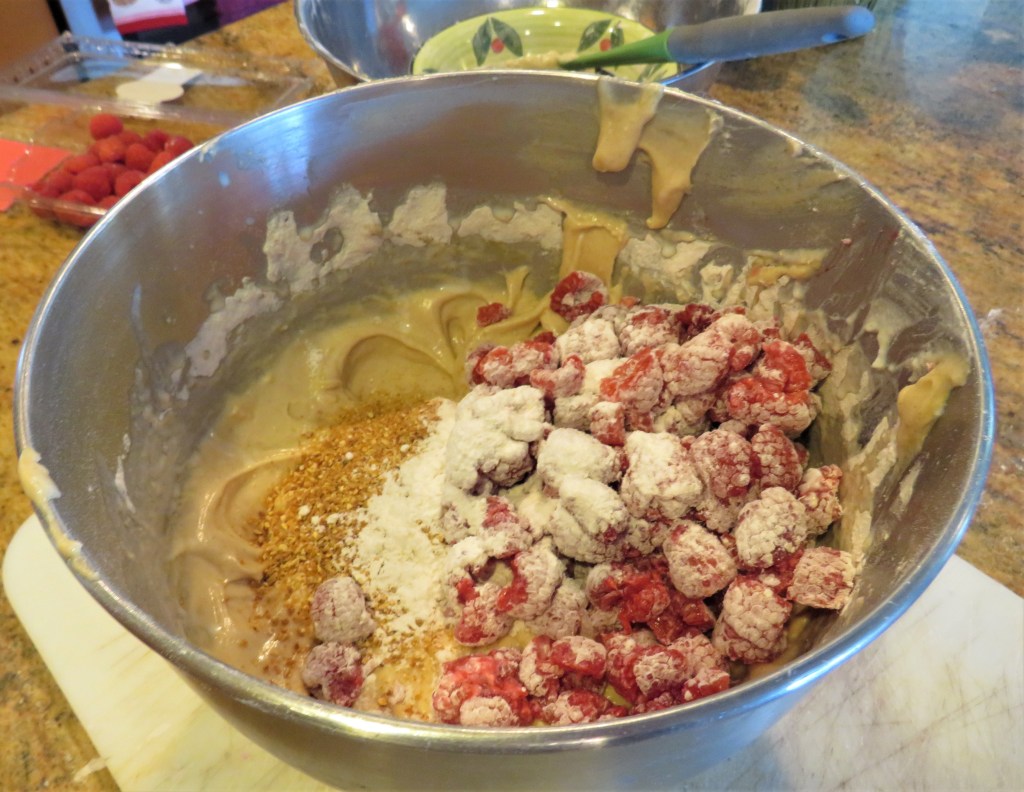
2 cups raspberries, cut in 1/2 and mixed with about 1/2 cup of flour. Gently coat the raspberries with the flour and set aside. Make the streusel topping and set aside as well.

Streusel Topping

1/3 cup packed brown sugar

1/3 cup sugar

1 cup flour

dash of salt

1 tsp cinnamon

1/2 tsp nutmeg

1/4 tsp cardamon

6 TBSP melted butter

Mix everything together until crumbly.

Mix all the dry ingredients together and set aside.

Combine the butter and sugar together until creamy, then add the eggs, one at a time, mixing in between each addition. Add the orange extract and mix. Add 1/2 the flour mixture and mix, then 1/2 of the milk and mix, and repeat until everyhing is all combined together.

Once the batter is made, gently fold in the raspberries and the orange zest. You do not want to go to fast or you will break the raspberries and they will “bleed” into the batter.

Fill the muffin cups to about 3/4 full, then top with the streusel topping.

Bake for about 25-30 minutes, or until they are golden brown and a toothpick that is inserted in the middle comes out clean.

I love the combination of raspberry and orange. Delicious. The only complaint, and it is the same complaint I often have with recipes in general, is that the recipe was supposed to make about 2 dozen muffins, and I only got 18 out of mine. Other than that, they were a huge hit and everyone loved them.

Have a beautiful and great day Everyone. Say well and stay safe. ‘Til next time.
Some Fun New Gifts

I can’t deny it. I love presents and gifts. The unexpected ones are the ones I like best too. Today, I got not one, but two fabulous gifts from two different friends. One is a belated Christmas gift from my best friend Andrea, out in CA, and the other one was a fabulously fun gift from my friend Katelyn. Both are so very much appreciated and will definitely be put to deliciously good use. 🙂

My dear friend Andrea and I go way, way, way back and have known each other our whole lives. We have been through it all together; lots and lots of good times, and unfortunately a few sad times as well, but we have always been there to support each other and that will never change. This morning, as I was leaving for church, I noticed a big box out on the front porch. I brought it in and then had to run. I didn’t get a chance to open it until after I returned home. When I did open the box, I was totally amazed at what was inside. There were four absolutely gorgeous, iridescent champagne flutes. I can’t wait to properly try them out and initiate them with some good bubbly to celebrate more good times.

!Te amo mucho Chica!

But the fun and excitement didn’t end there. Everyone knows how much I love to cook. No secrets there, right?! 🙂 My friend Katelyn gave me a delicious box of spices today too. There are great spices used for a lot of Indian and Middle Eastern foods, and I use them all the time. I think I see some more Indian and/or Middle Eastern foods coming my way in the very near future. WHOOOOO HOOOOO!!!!!

HMMMMM!!!! I think champagne and Indian foods go well together. But I just might have to do a little research to be sure. 🙂 Thank you both Andrea and Katelyn for your love, friendship and generosity. I am a very lucky girl indeed.

Make everyday special. Every day is a gift. And the gifts of love and friendship are the best gifts anyone can ever have. Stay safe and stay well Everyone. “Til next time.

Denver Botanic Gardens

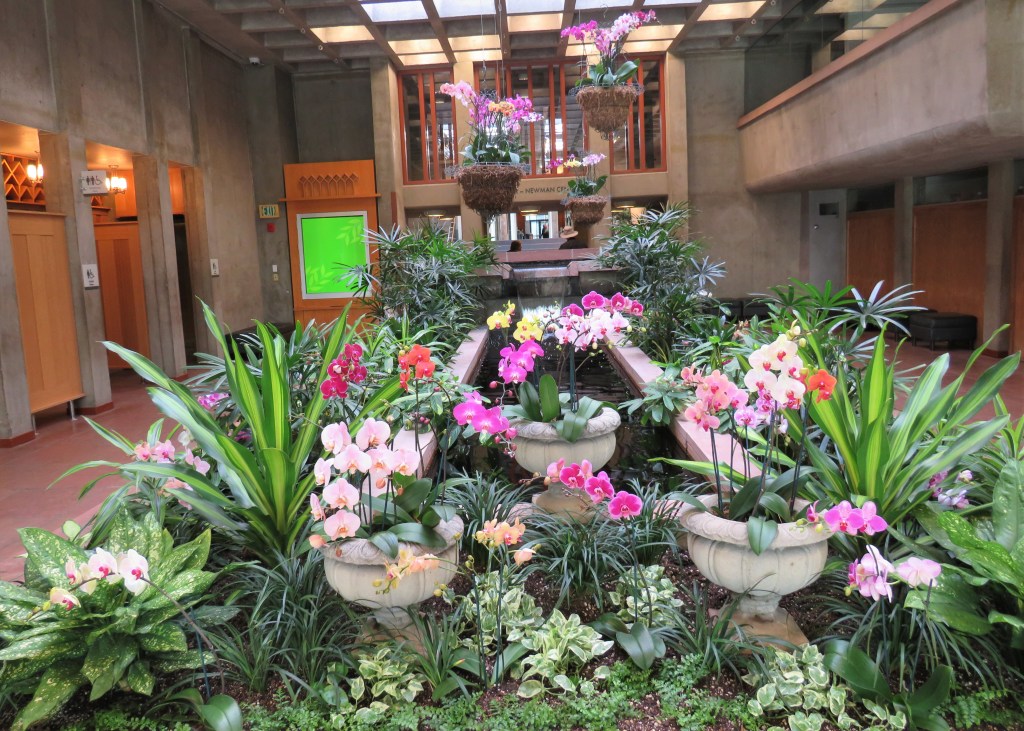
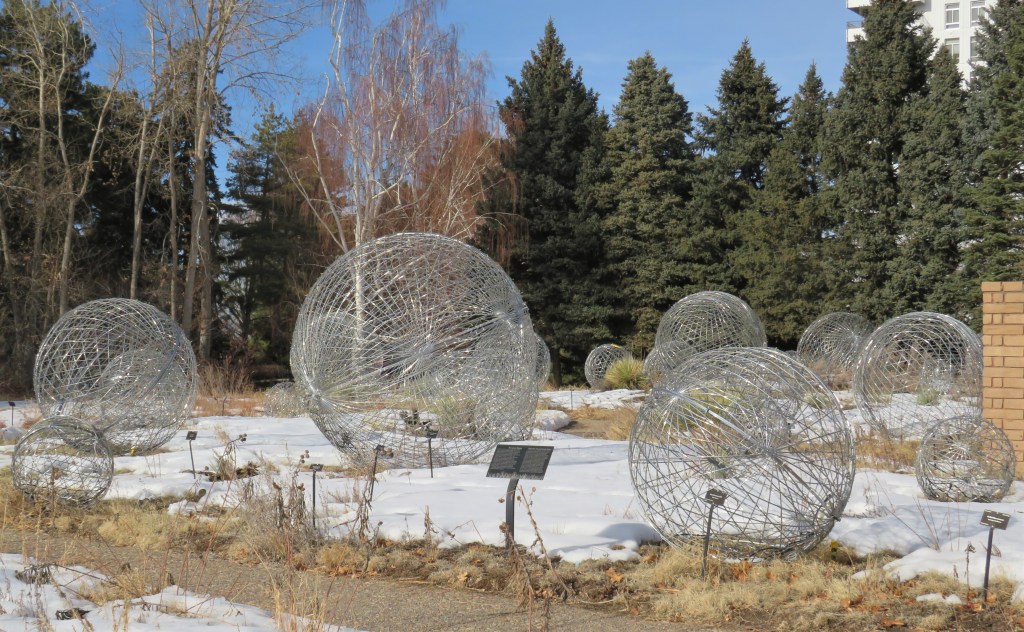
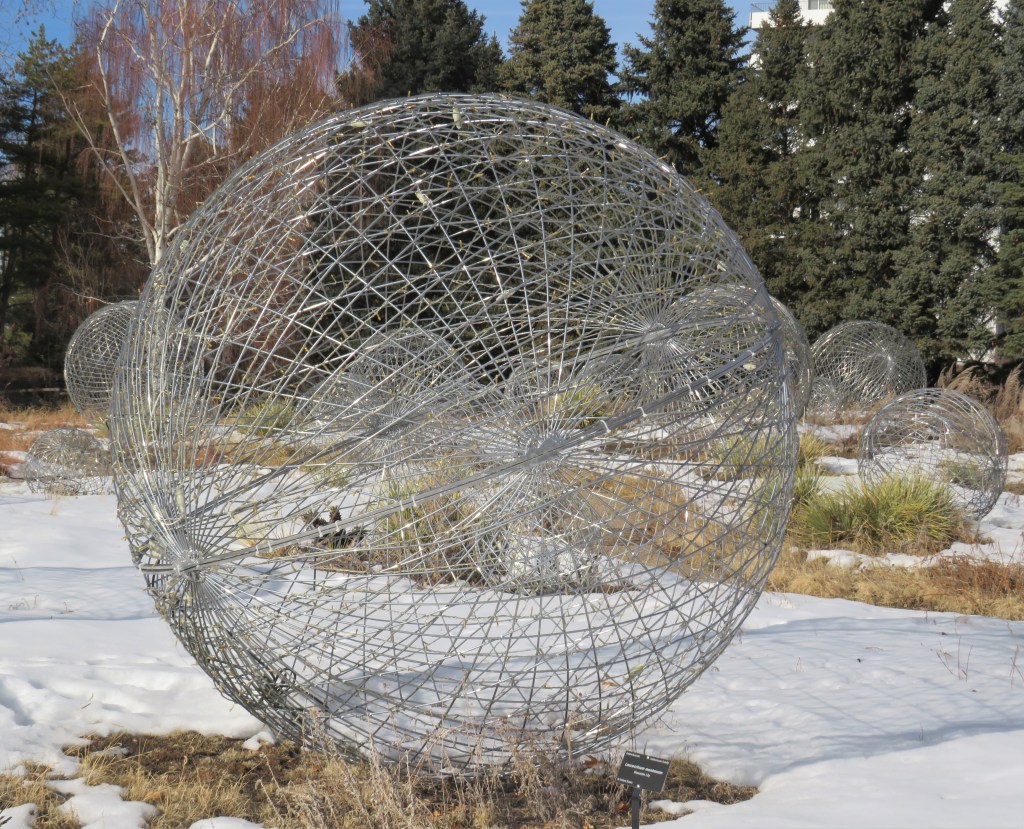
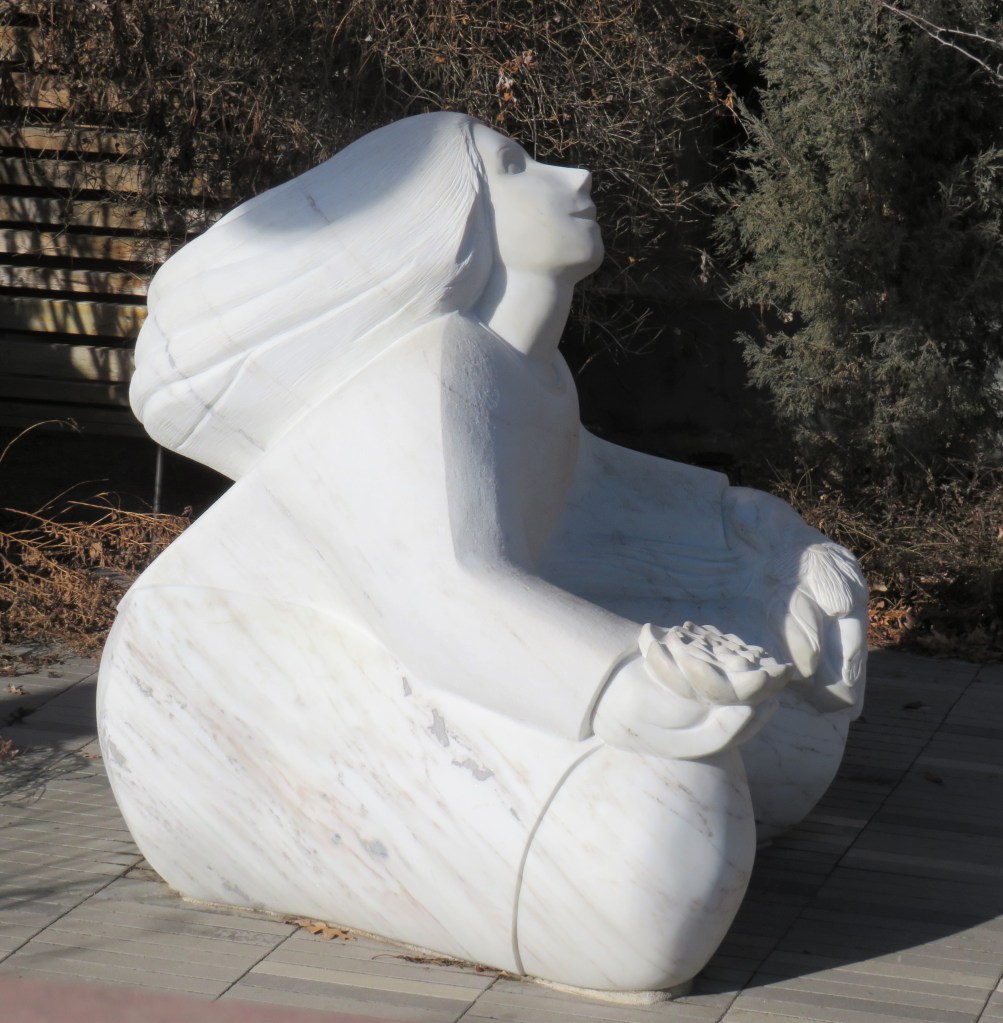
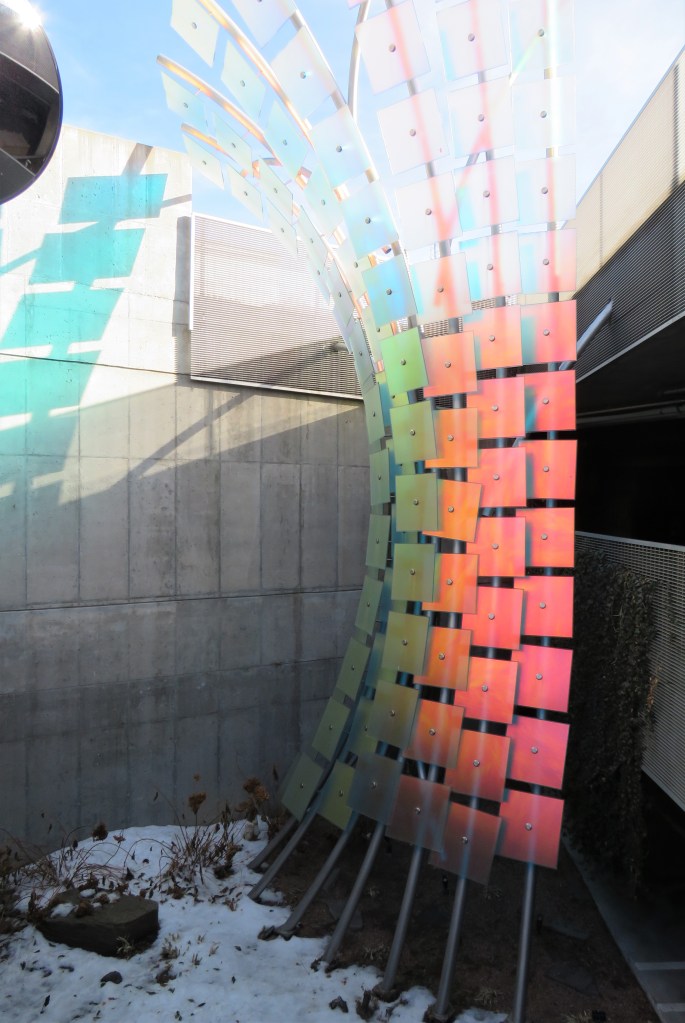
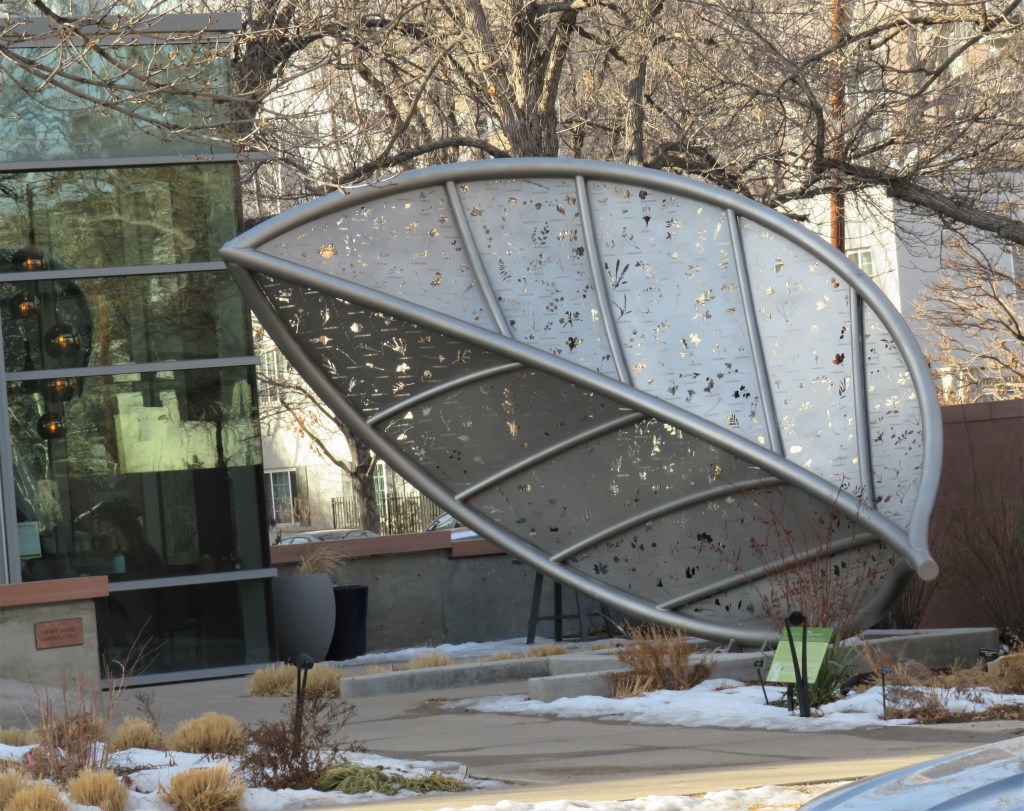
Yesterday, Lauren and I had a girl’s day out. We strolled through the Denver Botanic Gardens. Even though there was still a ton of snow, the sun was shining brightly and it was a beautiful day. The outside gardens were hibernating for winter, but the inside gardens, and especially the orchids, were amazingly beautiful. We always have so much fun together, regardless of what we do.

Here is just a small sampling of some of the gorgeous plants and flowers we saw. As usual, I took a ton of pictures, so I won’t share them all with you.

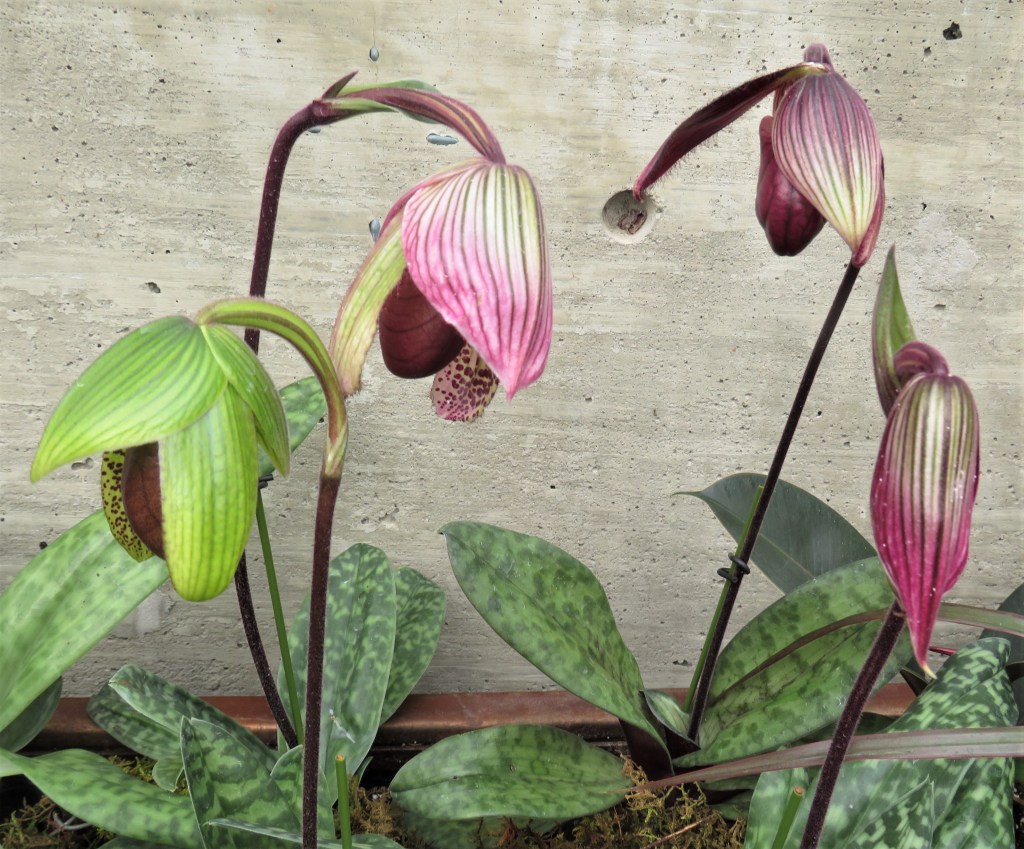
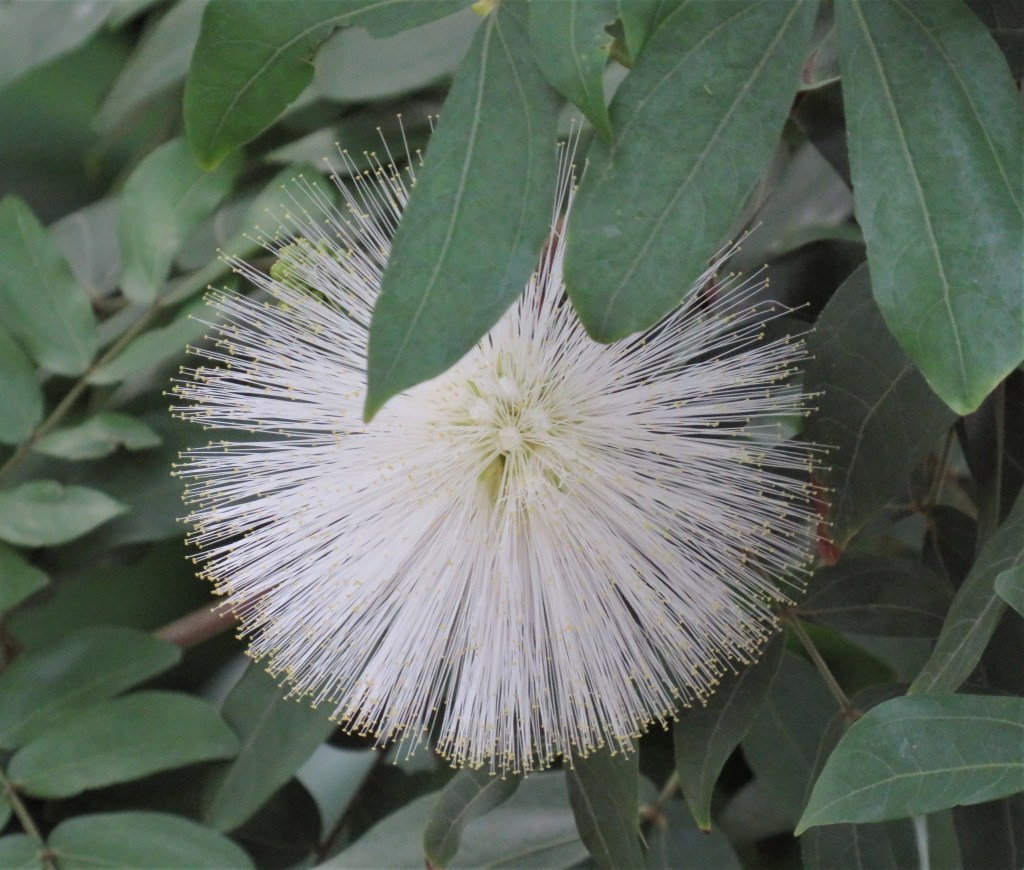
There is a photo contest taking place for the orchids, since it is their annual orchid show. Photographers can submit up to three and three only pictures for the contest. Here are my submissions. We’ll see what they think. There were a lot of photographers out and about with really fancy cameras, so who knows how mine will rate. But I liked them, and that is really all that counts; that, and whether or not you like them too.

And a runner up that I thought about too, but if more than three were submitted, then all of them were DQed so it was not submitted. I was looking for things that maybe someone else might not have picked up on.

There were so many beautiful, exotic and interesting plans and flowers though. Needless to say, we had a great day together and saw so much beauty.

This Hibiscus was HUGE. By far, the largest one I have ever seen.

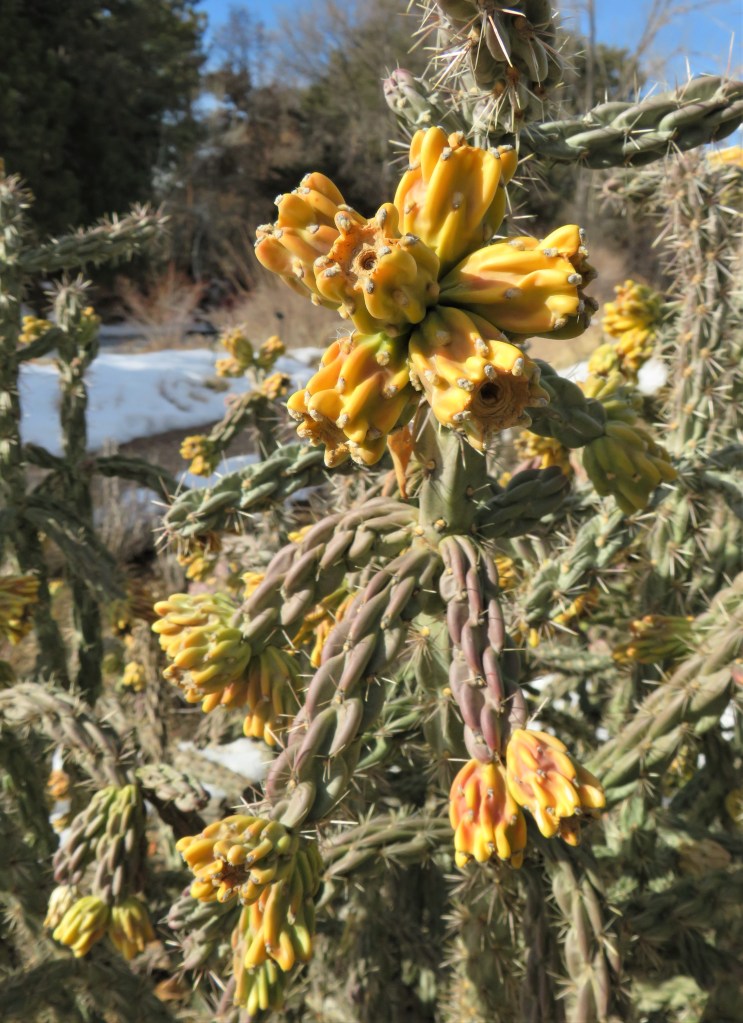
These were all taken inside. Here are some of the photos I captured outside.

Every season has its beauty.

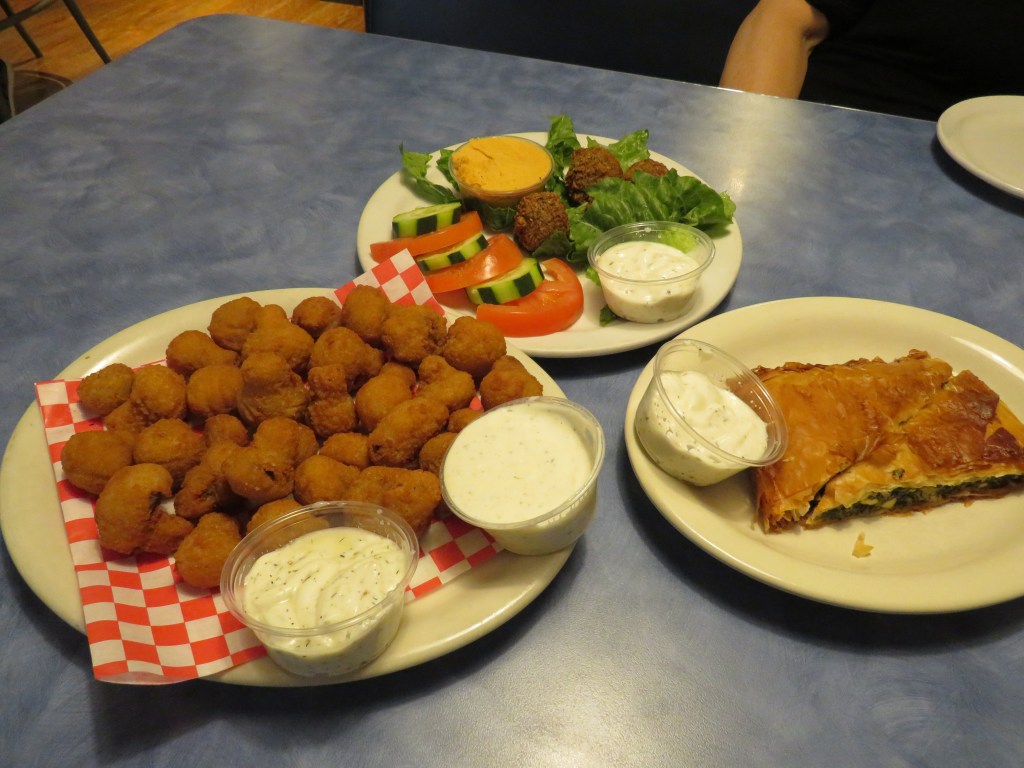
After strolling through the gardens, we went out for a late lunch of small Greek tapas at Chef Zorba’s. A Golden Day

Enjoy all the beauty in your world and make everyday beautiful. Stay safe and stay well. “Til next time.

Chocolate Chip Banana Bread

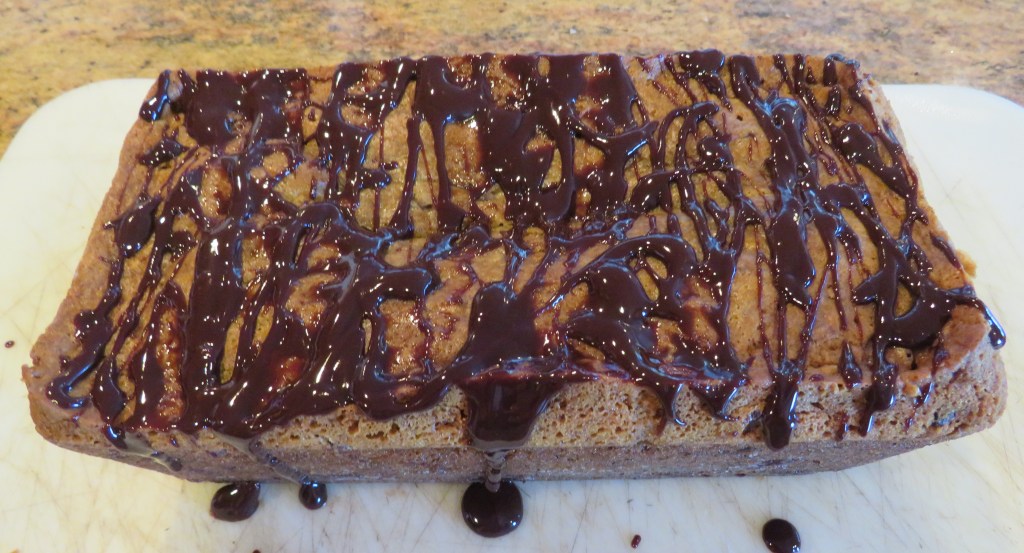
As usual, I am always busy baking towards the end of the week, getting things prepared for my Sunday morning coffee cart. I do my best to provide different goodies every week, so I am always on the lookout for new, tasty treats to make. I already have a couple of things prepared, including a loaf of chocolate chip banana bread. I topped it with a chocolate ganache because I just hate serving “naked foods”. To me, foods just aren’t complete unless they have some kind of sauce. 🙂

Chocolate Chip Banana Bread

This is just a basic banana bread recipe with some chocolate chips mixed in. As you all know, I like stuff in my stuff.

Preheat the oven to 325* F or about 165* C.

Spray a loaf pan with cooking spray and dust it with a little flour.

2 cups or 4 ripe bananas, mashed

2 cups flour

3/4 tsp baking soda

1/2 tsp salt

1 tsp banana extract or vanilla

1/2 cup or 1 stick of softened butter,

1/2 cup sugar

1/2 cup brown sugar

2 large eggs

about 1-1 1/2 cups chocolate chips,

Combine the dry ingredients together and mix well.

Mix the butter and sugars together, beating until creamy. Add the eggs and banana or vanilla extract, beating in between each addition. Add the mashed bananas and mix again. I used banana extract to really give it a good banana flavor.

Larry had eaten my ripe bananas that I was saving for making this bread. So since I didn’t have really ripe bananas on hand, I added a dash of cream to my bananas to help them mash a bit easier. Ordinarily, you want really ripe bananas that are soft and full of freckles.

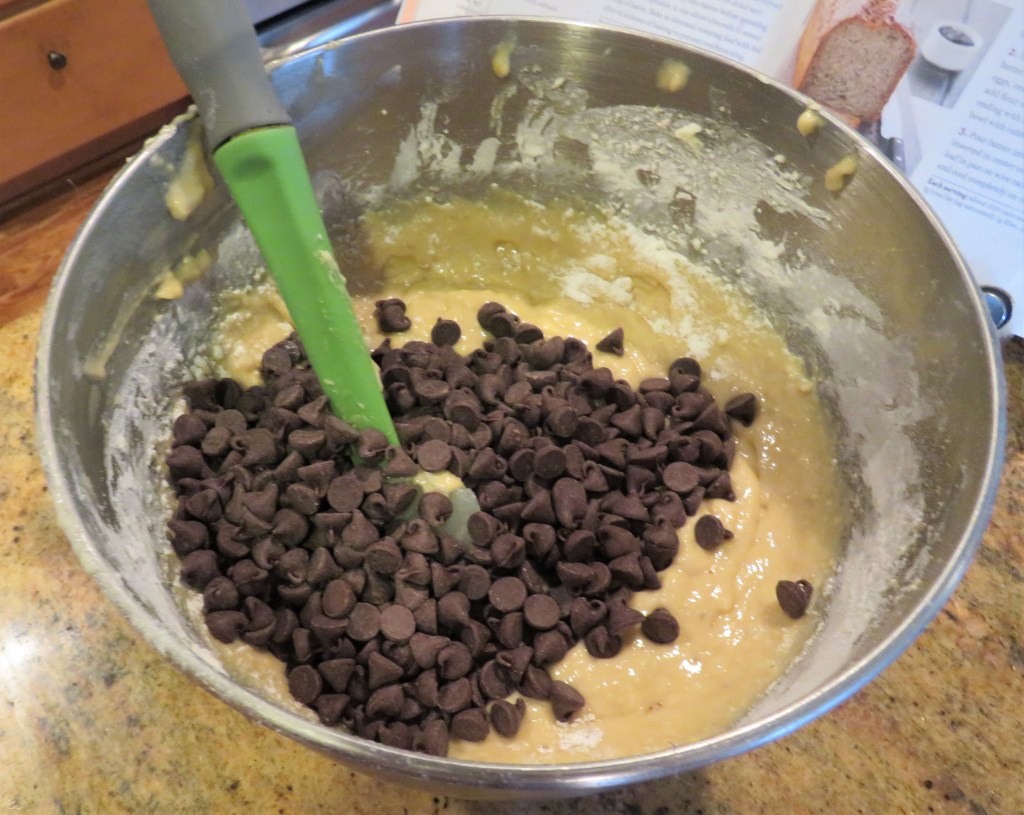
Add the flour mixture, 1/2 at a time, mixing in between each addition. Fold in the chocolate chips.

Evenly spread the batter into your prepared loaf pan. Bake for about 1 hour, or until a toothpick inserted in the middle comes out clean.

You can easily serve it plain if you like. You can also add chopped nuts too. Allow the cake to cool completely before removing from the pan and slicing.

Since I added chocolate chips to the batter though, I decided to top it with a chocolate ganache as well. A chocolate ganache is super easy to make. It is just equal portions of heavy whipping cream and chocolate melted together until it is smooth and creamy. Stir constantly to prevent burning.

Have a great day Everyone. Stay safe and stay well. ‘Til next time.

Nature Walks – A Northern Flicker

it was a beautiful sunny day, despite the fact that there is still a lot of snow around. This is typical for Colorado though. Even though we have a ton of snow, we also have a lot of sunshine. So when the sun is shining, even if there is snow, it is still a beautiful day out.

I didn’t see many birds today, but I did a Northern Flicker sitting up high in a tree. Apparently he thought it was a beautiful day out too.

Yes, these shots will be available to purchase too, under the name of “Photos by Jeanne”. I am still just getting everything started. 🙂

Make everyday a beautiful day.

Paella vs Jambalaya

Paella vs Jambalaya. What’s the difference between the two? Not much really. They are close kissing cousins to each other. Jambalaya and paella are both one pot rice dishes loaded with medleys of meat, seafood, and vegetables. To me, the main differences are in the spices that are used. Spices differentiate jambalaya and paella. Saffron is the main spice flavoring paella, but it is not in jambalaya. Cayenne pepper gives jambalaya a bolder flavor profile than paella. Jambalaya is more French and paella is Spanish. Again, very similar, yet with subtle differences.

I very rarely actually use the real saffron, which means I guess I make more of a jambalaya than a paella. But considering I have strong southern roots and I am not Spanish, I guess that makes sense. Besides saffron is way too expensive for my tastes and if Larry really knew how much saffron was, he would NEVER allow me to use it under any circumstances. The name of the dish doesn’t really matter though. The taste of a dish is really all that counts.

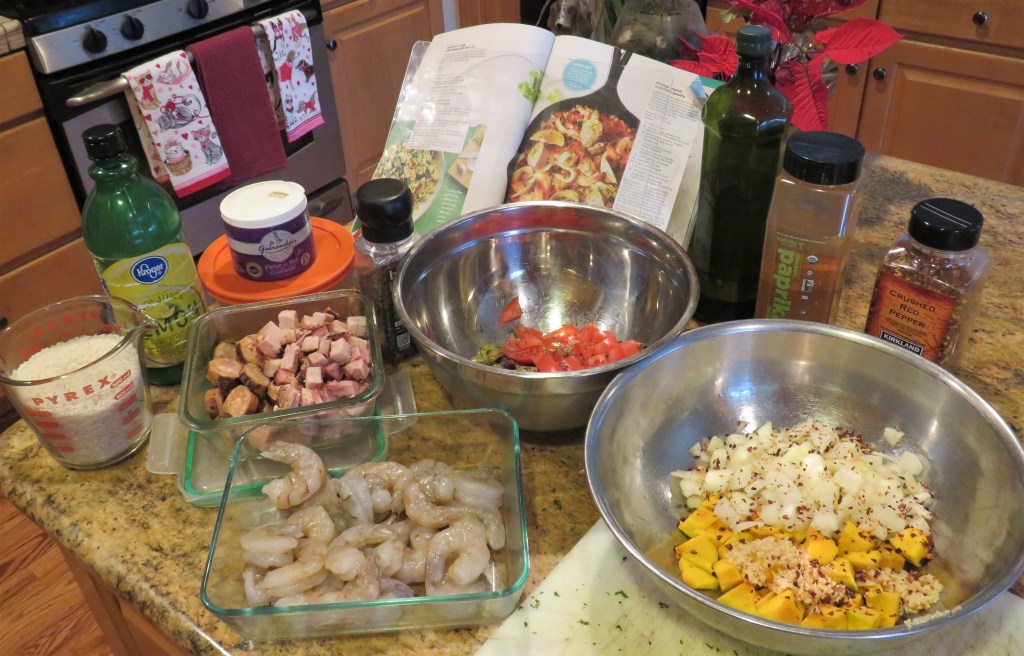
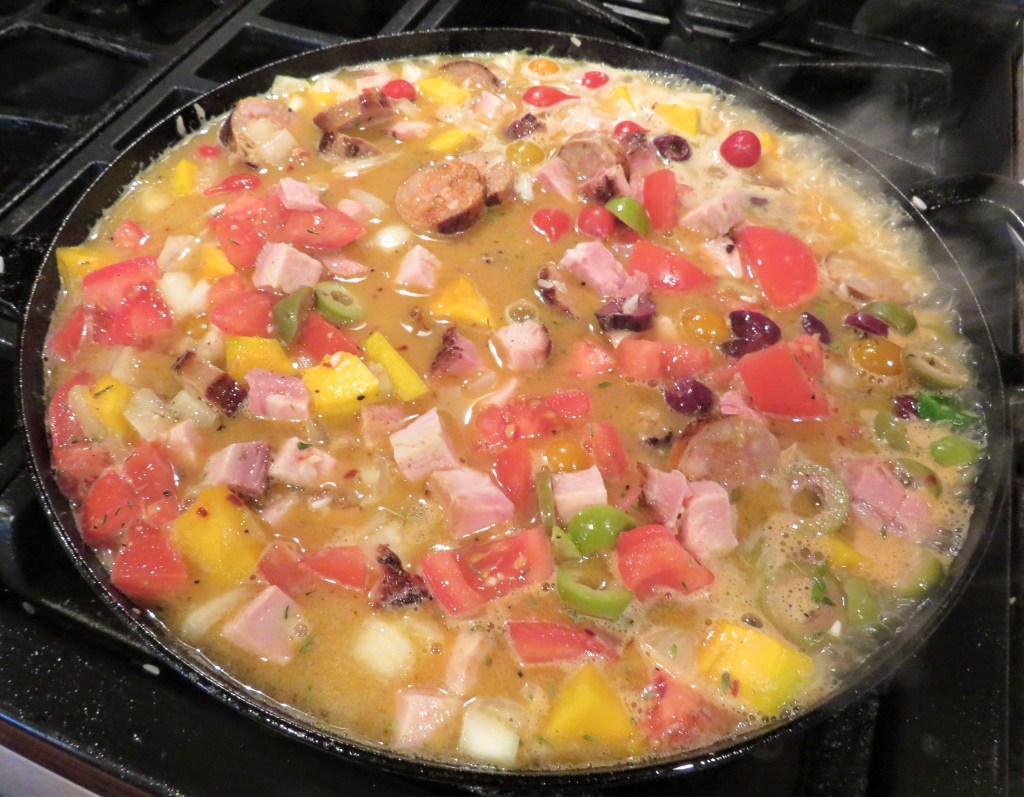
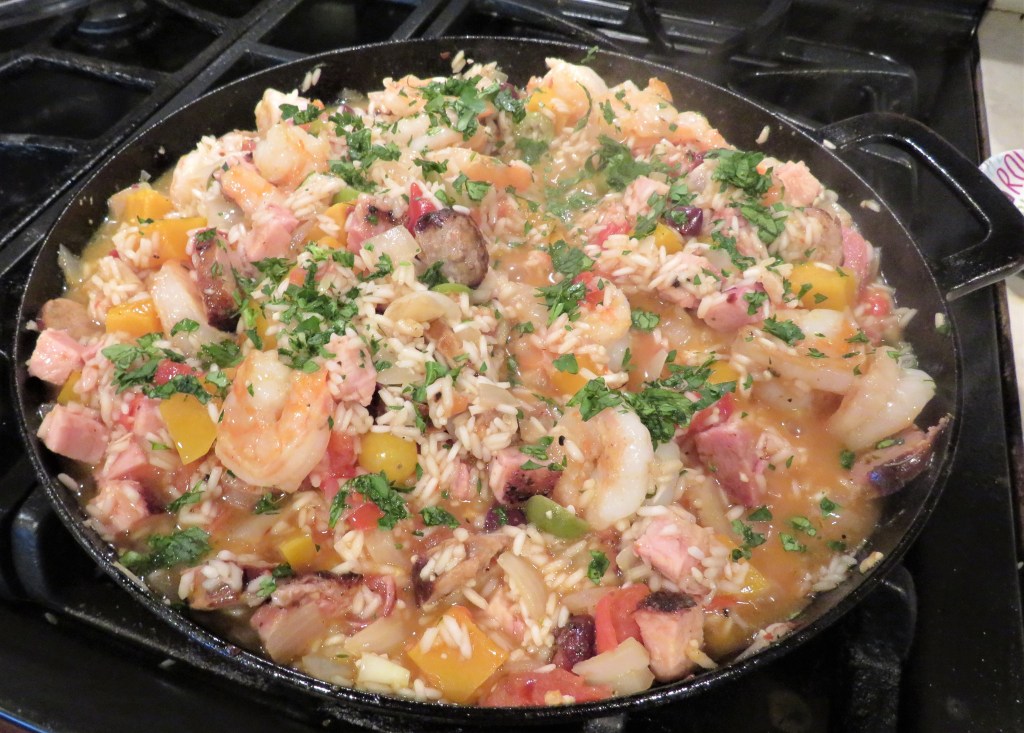
My latest jambalaya/paella dish was loaded with shrimp, sausage and pork loin. Both the sausage and pork loin were leftovers from other dishes, which made me even happier. I got to use up my leftovers while cooking up something else completely different. This is a win/win for me, as you all very well know. I almost added mussels too, which would have made this dish even meatier, but there was so much meat already the dish didn’t need anything more.

I added all kinds of goodness to this recipe. Shrimp, sausage, pork loin, tomatoes, onions, garlic, pumpkin, olives, Peruvian peppers, rice and a dry white wine. My recipe was kind of a paella jambalaya fusion. I used parts of each and mixed and matched them until the flavors were just right, as well as adding my own personal touches too.

There are so many different and delicious versions of both paella and jambalaya available, so I am not really going to give a specific recipe, but instead will give you the cooking methods. Both paella and jambalaya are traditionally “poor man’s” food, and they are made with whatever you have on hand, and vary from region to region, as well as from household to household. You can add whatever you like and discard what you don’t like. You can also change it everytime you make it too. There are no rules.

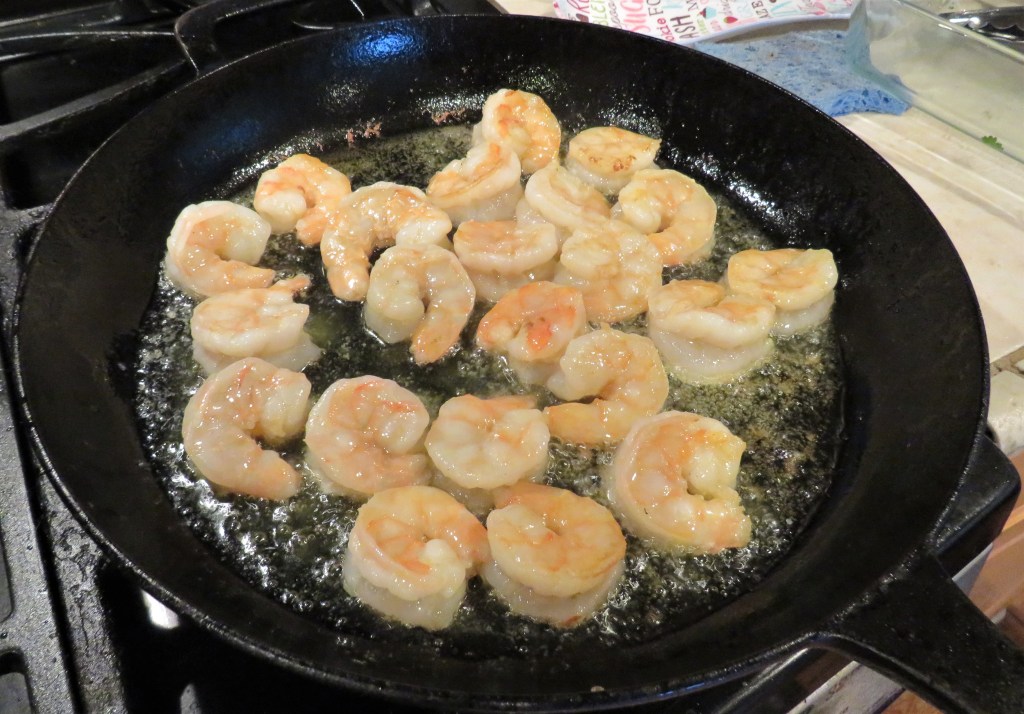
In a very hot skillet, with olive oil and some lemon olive oil (optional), I cooked the shrimp first until they were done. Then removed them from the heat until later.

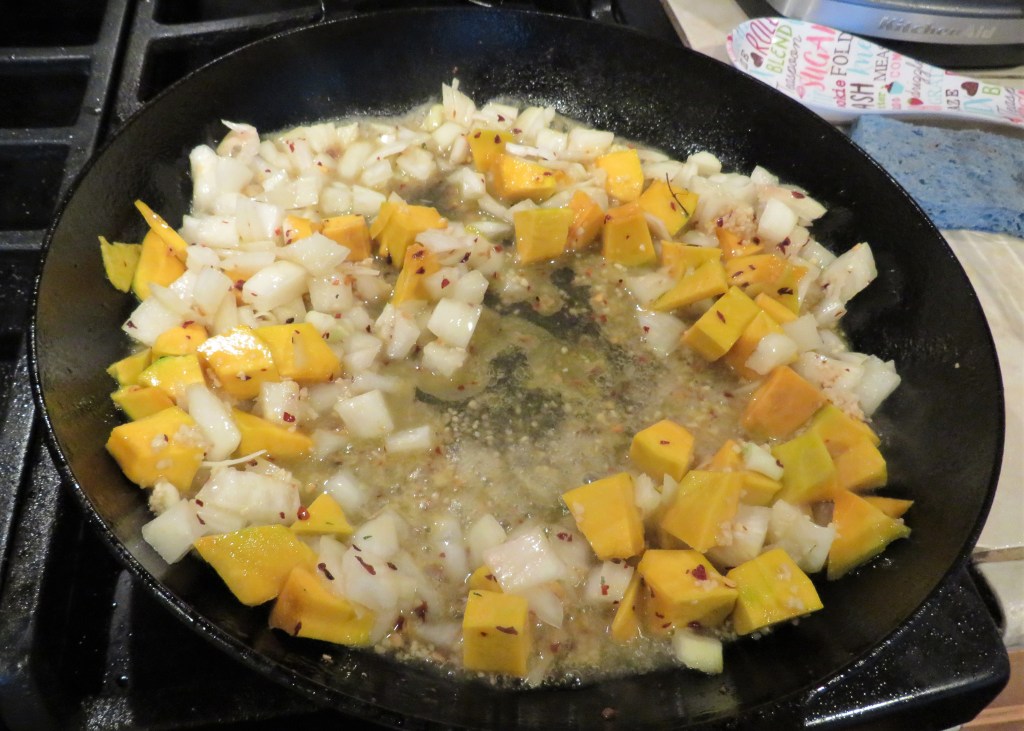
Once the shrimp were cooked, the onions, garlic, pumpkin and red pepper flakes were next. I cooked them for about 7-10 minutes, stirring frequently, until they were tender and the onions were translucent.

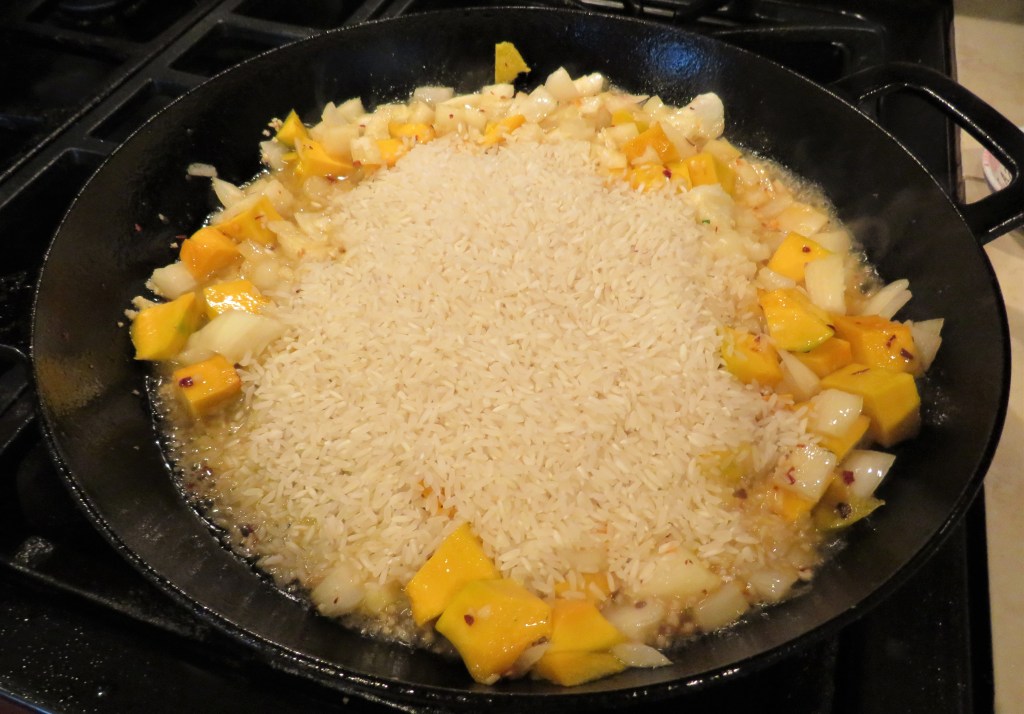
Next came 1 1/2 cups of rice and about 1 cup of dry white wine. I sauteed the rice for a few minutes, then added the rest of the ingredients, including about 3 cups of chicken broth.

Bring everything to a full, rapid boil, then reduce the heat to a simmer, add your spices and seasoning and continue to cook for about 30-40 minutes or until most of the liquid has evaporated, stirring often to make sure the rice doesn’t stick. Although, a true Spanish paella is cooked with the rice sticking and forming a slight crust on the pan. It even has its own special name – arroz crujiente, or a socarrat, which means to lightly toast. This happens when the rice is not cooked evenly and it crusts onto the pan. This is more of a Spanish layering and cooking technique, that can take years to master. However, most Americans prefer their rice to be cooked more evenly, so we tend not to use this method as much. I like the arroz crujiente, but Larry does not.

I re-added the shrimp towards the very end, just to reheat it and not to overcook it. Over cooked shrimp is very rubbery and tough. Once everything was cooked and mixed together, a final touch was to add some lemon juice on top of everything, to really enhance the flavors.

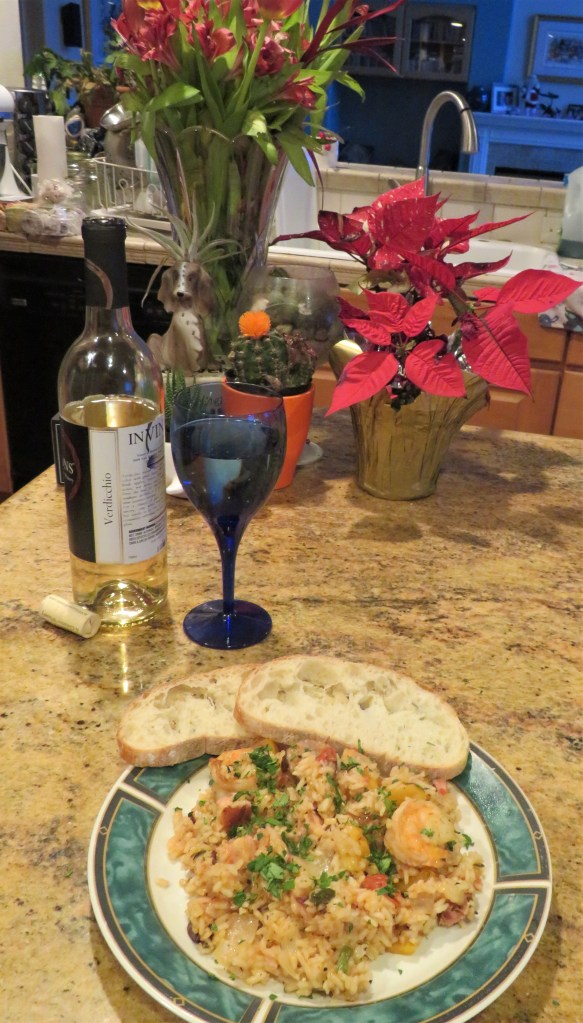
Sticking with Spanish tradition, of course I served it with a warmed bread and some dry white wine on the side. !Deliciosa!

Que tengas un lindo dia or have a great day Everyone. Stay safe and stay well. ‘Til next time.
A Fun Little Project

As you all know, I love to do things with my hands and love to be creative. I appreciate creative projects of all kinds and have many different interests. My talents are ever-growing and expanding. I love exploring all areas, both new and old. I love to do all kinds of crafty projects too. My mother and I used to do them all the time, so in a way, when I do things like this, it is like having my mom around with me too.

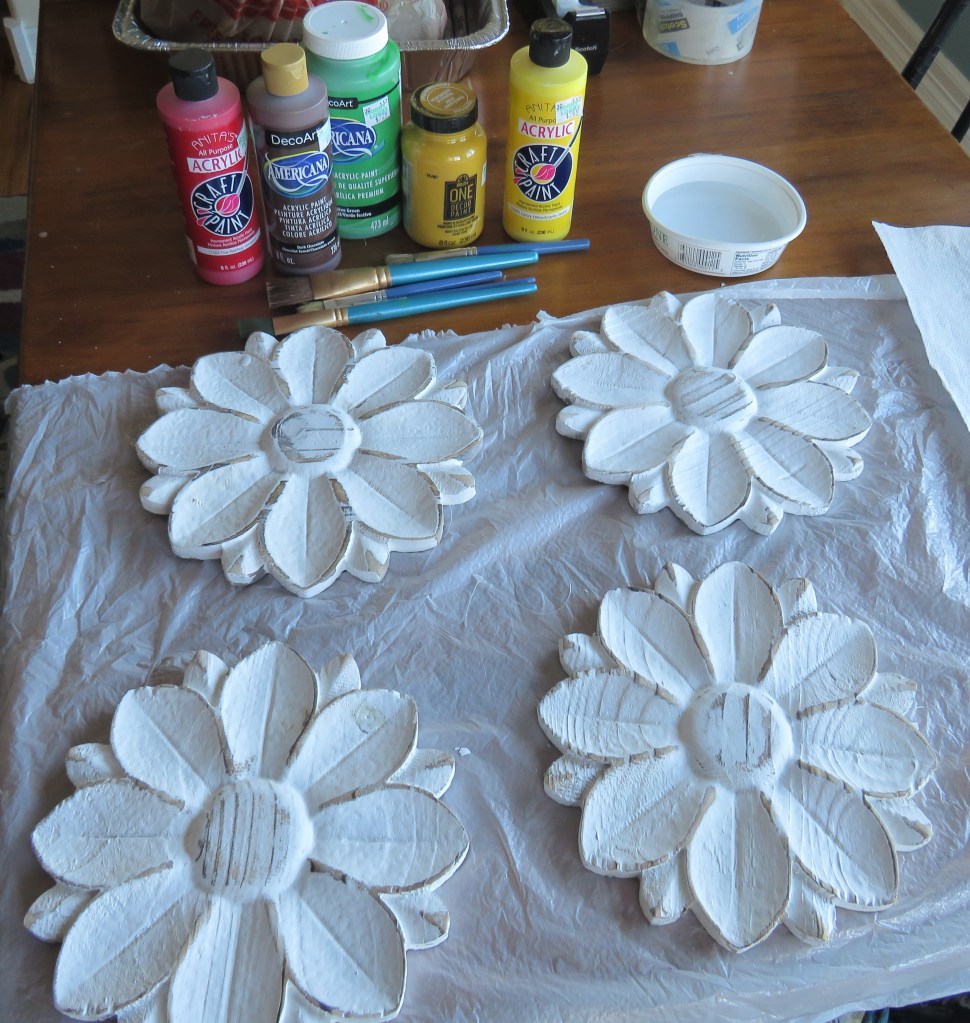
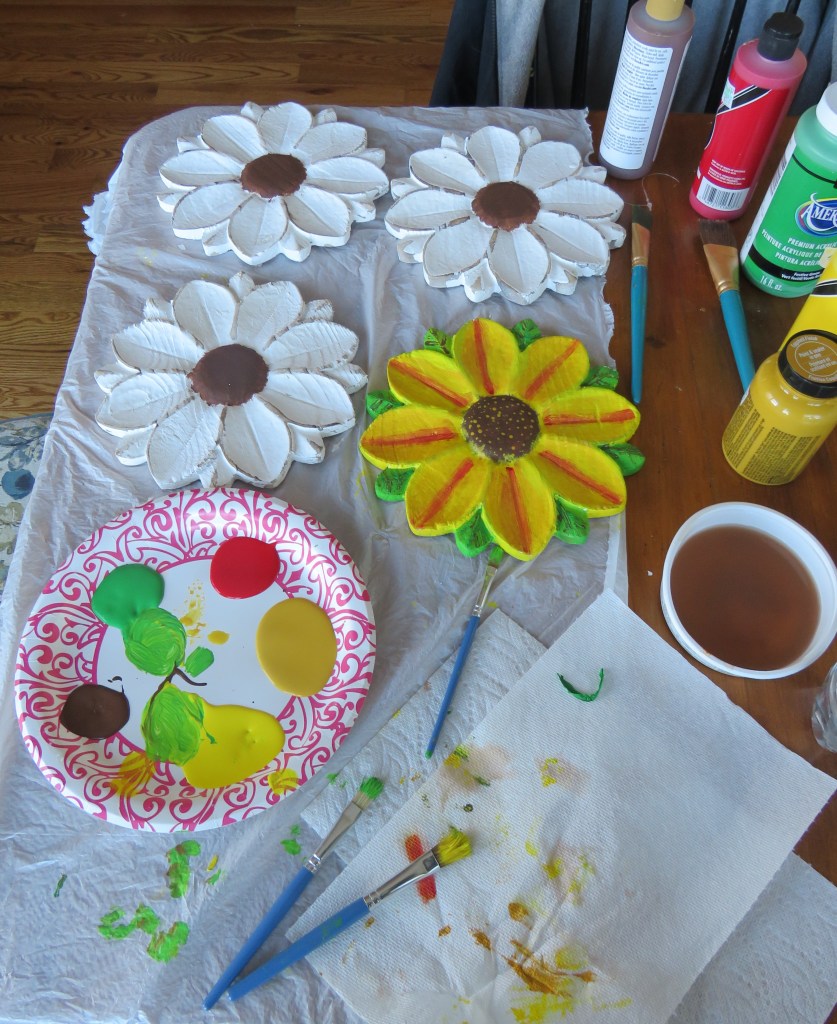
I was in Hobby Lobby the other day and saw these little sunflowers that looked like they needed some color. So I brought them home and colored them up.

To me, they looked like sunflowers, at least this time. Who knows? Maybe next time, they will look like a different kind of flower. 🙂

My sunflowers have bloomed and blossomed. I am just waiting for the paint to dry then my flowers will be rearranged.

Hopefully these will help brighten up your day a bit. Have a great one. Make it colorful.