I have created this site to help people have fun in the kitchen. I write about enjoying life both in and out of my kitchen. Life is short! Make the most of it and enjoy!
I am not seeing too many Herons these days. For the most part, they have flown the coup, and are residing in their winter homes. But I did see one yesterday. He let me get a few good shots of him before flying away too. At first, he was resting at the top of the tree, scanning the area, looking for a good fishing spot.
Then off he went, to destinations unknown.
Have a great day and make everyday great. You just never know what surprises life has in store for you. Be open to all of them. 🙂
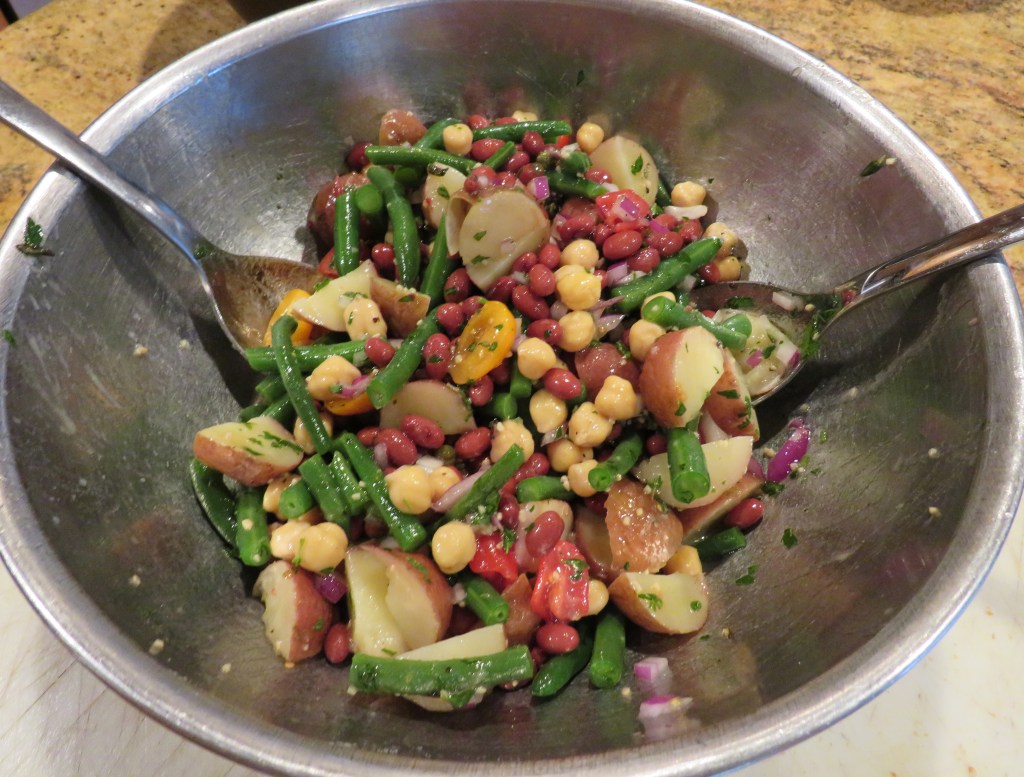
We had some leftover fried chicken last night for dinner, and I needed a good, healthy side dish to go with it. I decided to make an Italian bean & potato salad, which was the perfect choice. I loaded it up with all kinds of colorful goodness. Thank you to both The Ohio Cook at My Meals Are on Wheels at https://beatcancer2010.wordpress.com/ and Health Continuum at https://healthcontinuum.org/ for this delicious idea. I changed it a little, to make it my own, but that’s just what I do. 🙂
Italian Bean & Potato Salad
1 cup green beans or haricot verts, ends trimmed, cooked and cut into pieces about 1-1 1/2 inches in size
1 lb new potatoes, boiled and quartered
1/2 red onion, diced fine
1 can red beans, drained and rinsed
1 cup garbanzo beans, drained and rinsed
1 cup mixed cherry tomatoes, halved or quartered
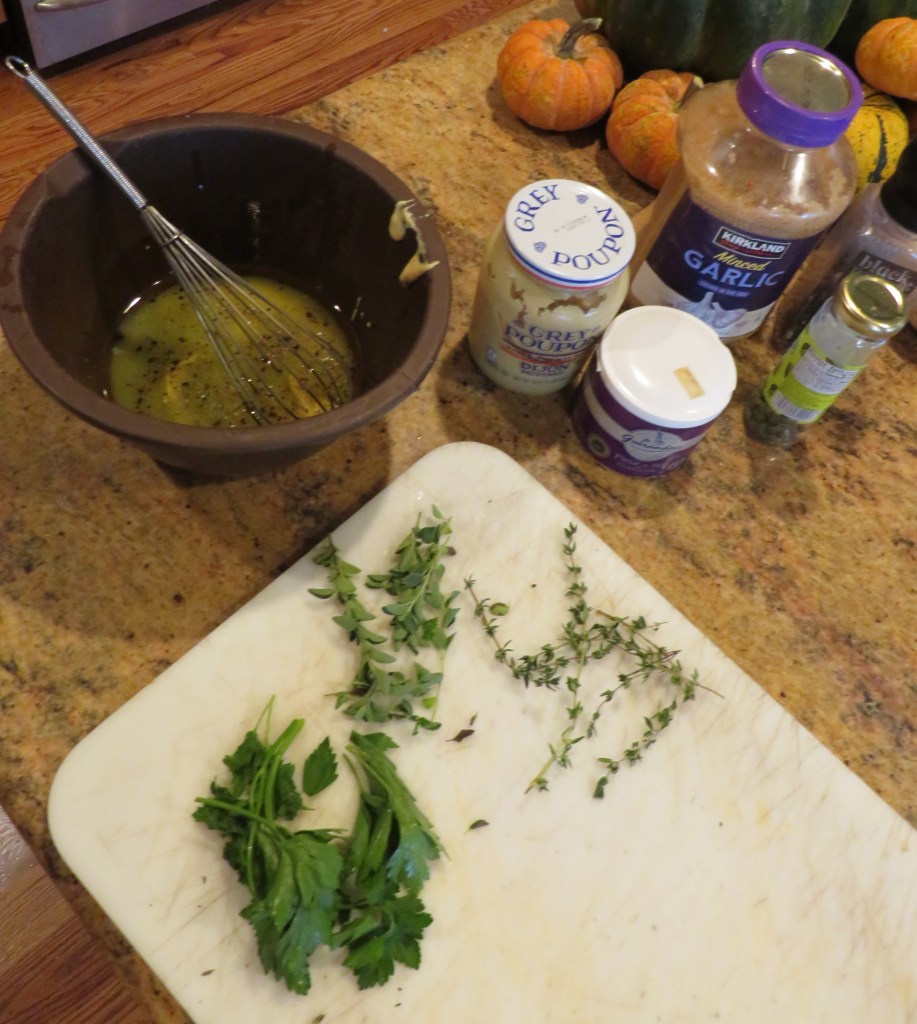
Lemon Vinaigrette
1/2 cup lemon juice
1/2 cup olive oil
1 tsp Dijon mustard
1 TBSP maple syrup
1-2 tsp garlic
salt & fresh ground black pepper to taste
1 tsp each fresh thyme and fresh orgeano, chopped
1/4 cup fresh parsley, chopped
Whisk everything together to make the dressing and set aside.
Boil the potatoes for about 12 minutes, then rinse and let cool for a bit.
Cook the green beans for about 5-7 minutes, then drain and cool. Once the potatoes and green beans have cooled a little, add to the rest of the ingredients and toss together well. Add the dressing, and toss again, making sure everything is well coated. Add enough dressing to give it all a lot of flavor without drowning the vegetables. You can serve either warm or at room temperature.
This quick, easy, colorful salad will go well with anything. If you want to make it more of a meal, add it all to a bed of lettuce, spinach or mixed greens and add some chicken, salmon or shrimp, and voila! You have now made it a meal. This just might be a new favorite salad of mine. 🙂
Have a great day and make everyday great. Stay safe and stay well. ‘Til next time.
Red beans and rice has been a staple in the deep south for generations, particularly in Louisiana and its bayous and Southeast Texas. Southeast Texas and Louisiana share the same cultures and cuisines. They are literally kissing cousins. Red beans and rice is a staple dish of Louisiana Creole cuisine with origins in African, Spanish, and French culinary traditions. My mother was from Southeast Texas and I grew up with red beans & rice. We are going back down to that region for Thanksgiving to spend the holiday with my cousins, so I thought it was time for some red beans & rice here at home too.
As I was cooking it, I send pictures to my cousin Donna. She said I “did it proud”. Her mother, my Aunt Gloria, was always cooking up good Cajun and Creole dishes. I learned from her. She would be busy cooking in the kitchen and I would sit up at the counter coloring in my coloring books, watching and learning from her all the time.
Every family and every household has a slightly different version of of this delicious Southern staple, so there is no one recipe. Traditionally, in Louisiana, and New Orleans specifically, red beans & rice was served on Mondays after the family had enjoyed a ham for Sunday dinner. It’s a hearty, flavorful Creole dish typically made with red kidney beans, sausage, and a blend of savory seasonings, traditionally served on Mondays.
Red Beans & Rice
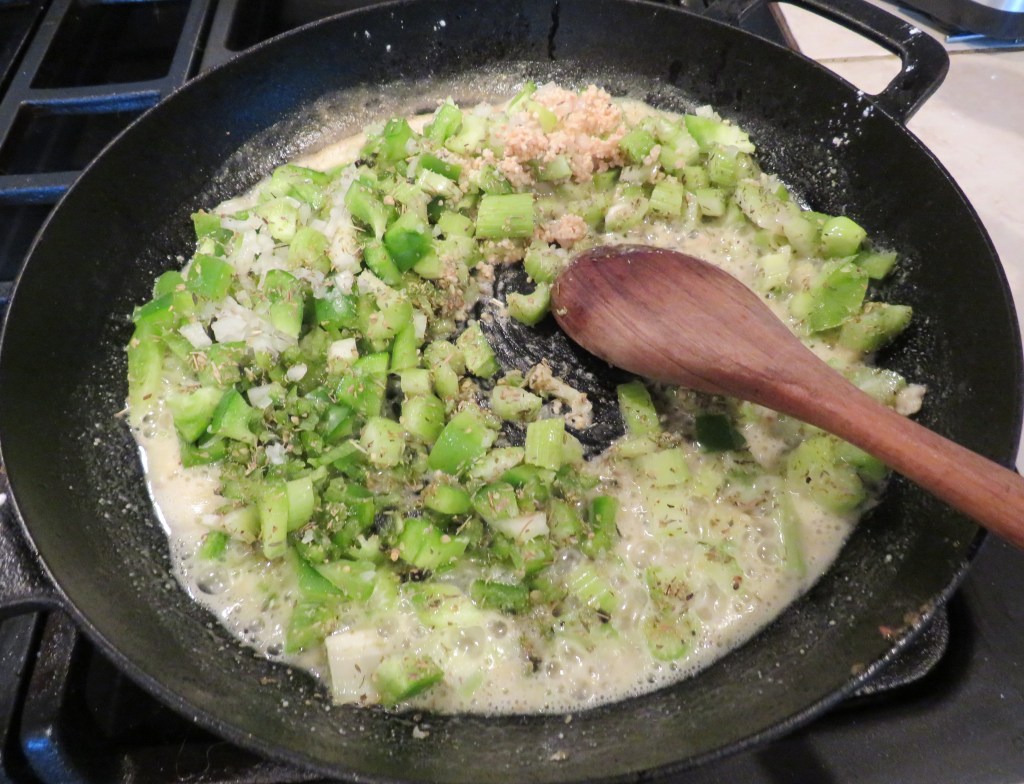
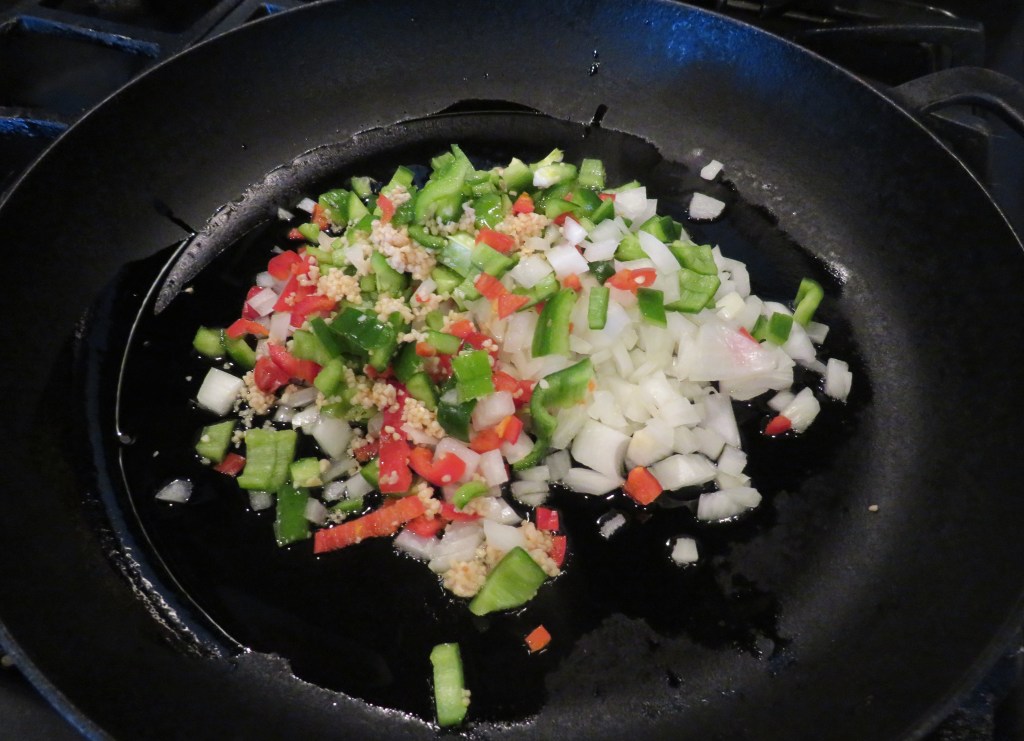
Of course I started out with the “Holy Trinity” of Cajun cooking, celery, onions, green peppers, and then I added garlic and jalapenos to it as well. No Cajun or Creole cooking would be complete or authentic without these ingredients.
1 green bell pepper, diced
1 onion, diced
3 celery stalks, diced
1 TBSP garlic
1-2 jalapenos, diced
1/2 cup flour
butter/oil for cooking
1-1 1/2 lbs Andouille sausage, sliced
1 can red beans
1-2 tsp dried oregano
1-2 tsp dried thyme
1-2 tsp dried marjoram
salt & pepper to taste
6 cups chicken stock
2 bay leaves
1-2 tsp Cajun seasoning
cooked rice
In a hot skillet or large pot, cook the vegetables, garlic and seasonings in oil and/or butter until softened, for about 5 minutes, stirring frequently. Add the flour and mix together thoroughly. You are making a roux. The longer you cook the flour, the darker the roux will get, which will change the flavor and texture of the dish. There is no right or wrong way. It is all dependent upon your own personal preferences.
Add the sausage and continue to cook until the sausage is cooked.
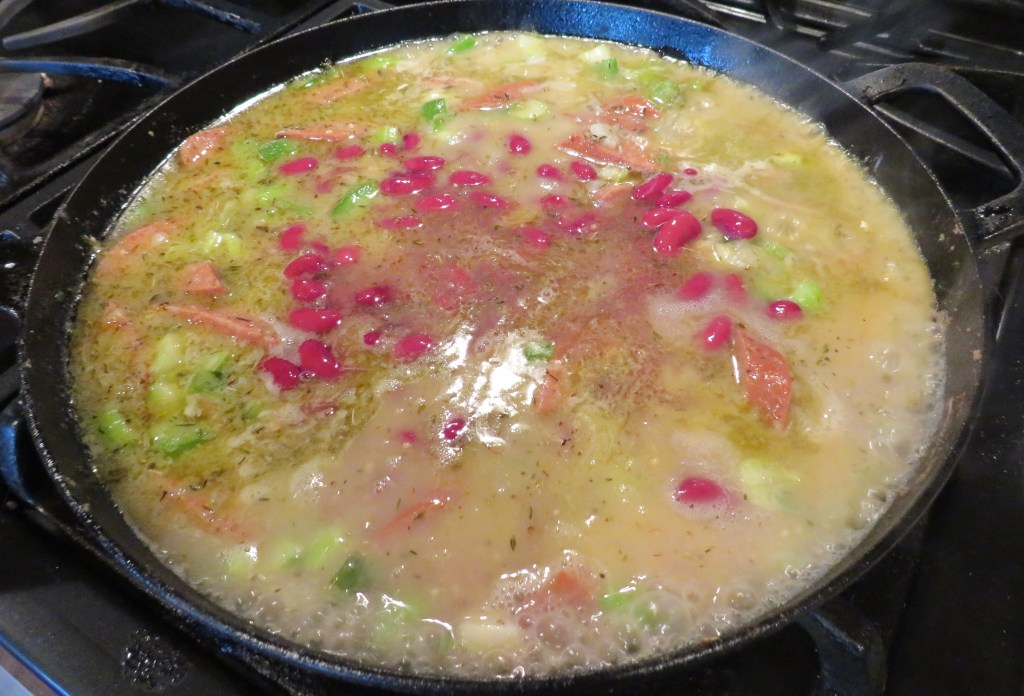
Add the chicken broth, and adjust the seasonings as needed. Bring to a boil then reduce the heat to a simmer. Now here comes the tricky part. You can slow cook the stew for up to 8 hours if you choose, but you can also cook it at a higher temperature for a lot less time too. Again, it all comes down to your own personal preferences. If you are are using dry beans, that you soak overnight, the cooking process will take longer too. If you use canned beans, it doesn’t take that long to cook.
Some people like to drain the beans first. I do not. I like the flavor and texture of the added “bean broth”. Add the beans around the last 30 minutes of cooking and mix together thoroughly.
When the stew is cooked, serve it in a bowl and add the cooked rice in the center. This can be a meal on its own, served with buttermilk biscuits, like I served it, or as a side dish to be served with fried chicken and greens, or any other Southern specialties. Any wine will go well with red beans & rice, but I chose a red wine to go more with the sausage.
Laissez le bontemps roulez! Have a great day and make everyday great. Stay safe and stay well. ‘Til next time.
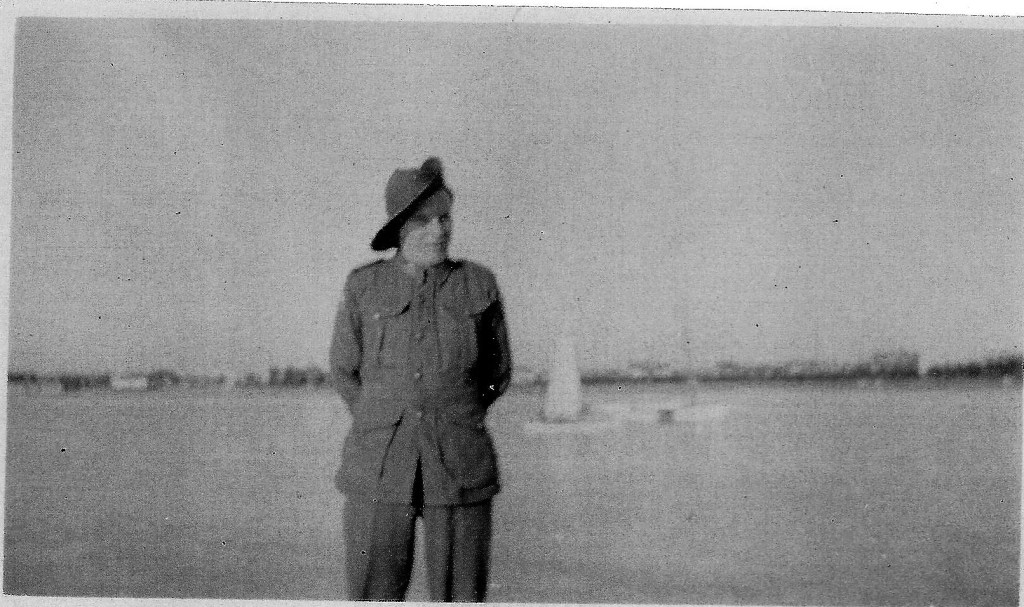
Sometimes, the best way to honor those who served, and to those we lost is to remember the past.
Thank you to all the brave men and women who served and continue to serve today. You are all heroes in my eyes and in my heart.
This is my daddy in his Australian Army uniform, circa 1940. He was a very young lad when he was shipped off to fight in North Africa, and returned home a man.
In Flanders Fields
BY JOHN MCCRAE
In Flanders fields the poppies blow
Between the crosses, row on row,
That mark our place; and in the sky
The larks, still bravely singing, fly
Scarce heard amid the guns below.
We are the Dead. Short days ago
We lived, felt dawn, saw sunset glow,
Loved and were loved, and now we lie,
In Flanders fields.
Take up our quarrel with the foe:
To you from failing hands we throw
The torch; be yours to hold it high.
If ye break faith with us who die
We shall not sleep, though poppies grow
In Flanders fields.
May we never forget those who fought for our freedoms. May we always honor those who sacrificed and those who gave their all.
Bread and butter are some of my favorite things. If bread and butter were all I had to eat, I would be a very happy camper indeed. I love all kinds of bread; it doesn’t matter what kind.
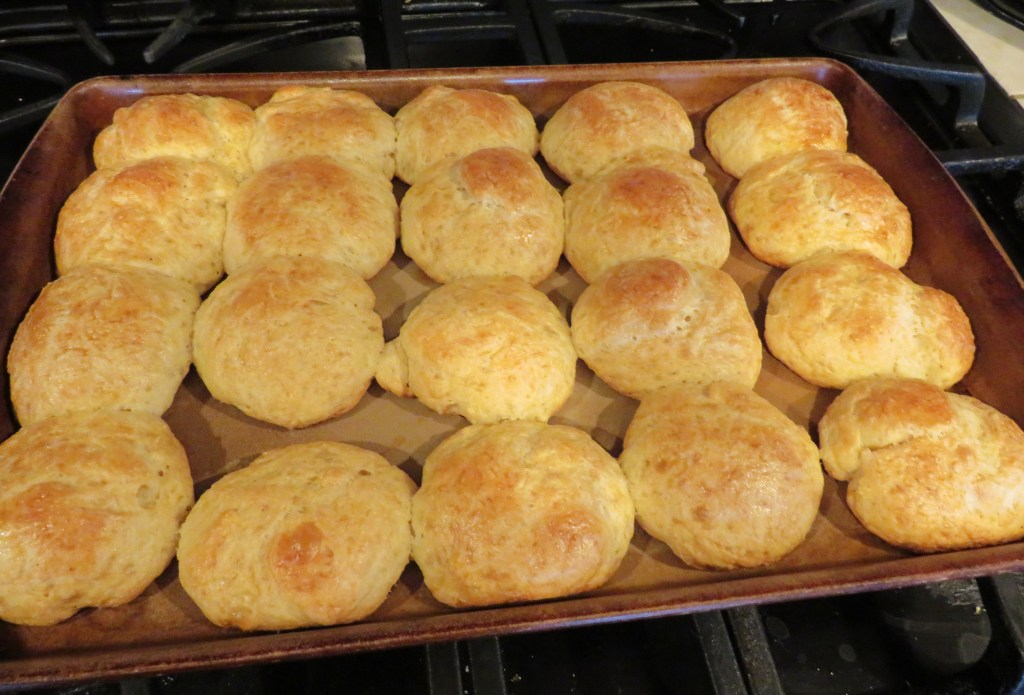
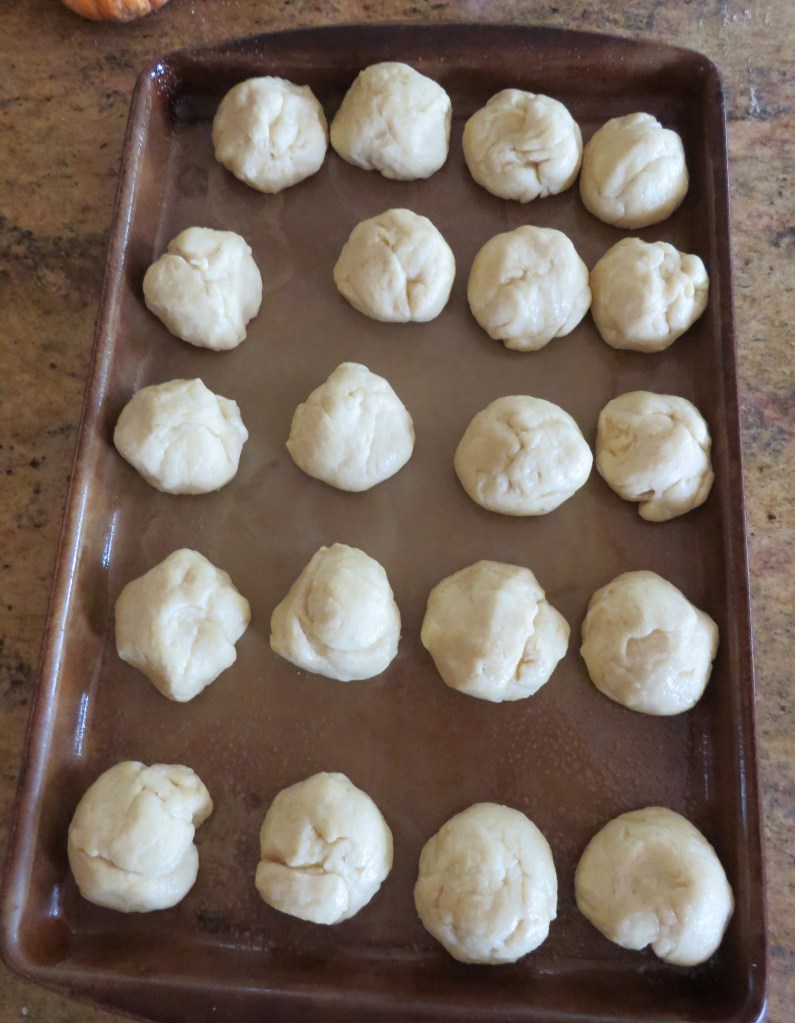
The other day I made some milk bread rolls. They didn’t quite come out how they were supposed to according to the picture, but they were still very good and a definite do-over. I followed the recipe exactly, and I literally mean exactly this time, something I rarely do, but …. Sometimes things just happen that way. 🙂
When I think of breads and rolls, I don’t think of Japan, but believe it or not, these delicious, airy rolls were first made in Japan of all places, during the Meiji Era (1868-1912): Japan opened to the West, and Western-style bread was introduced as an alternative to rice. A British baker named Robert Clarke opened the Yokohama Bakery in 1862, and his bakery is often cited as a possible point of origin for milk bread, though this is unconfirmed. After WWII, when Japan experienced rice shortages, these milk bread rolls once again gained in popularity, and the soft white loaf known as shokupan became a Japanese staple. The key to their signature softness is the tangzhong method, a Chinese technique of pre-cooking flour and liquid into a paste that is then added to the dough. This technique, combined with the use of milk and butter, creates the rich, soft, and fluffy texture of modern milk bread rolls.
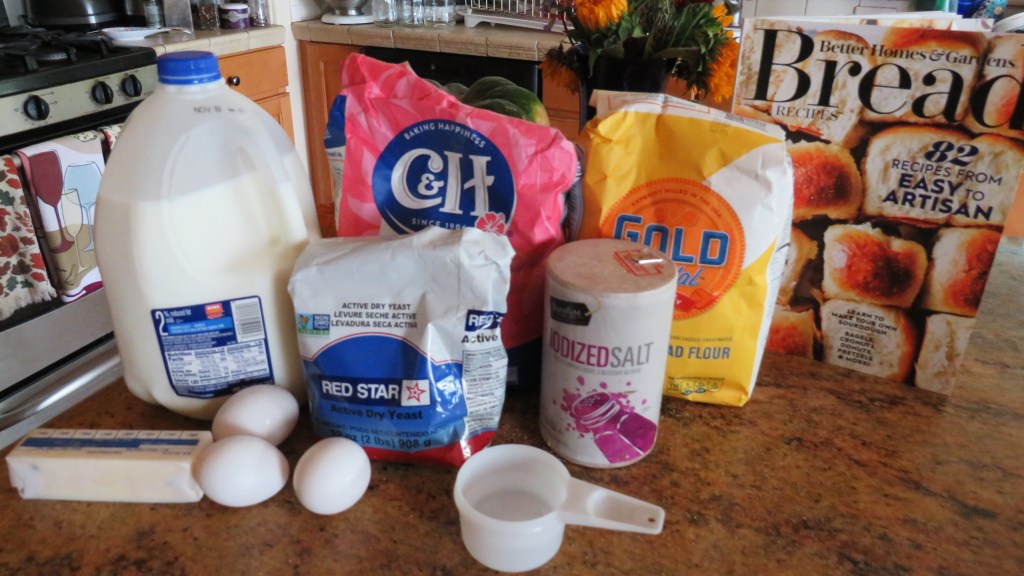
Milk Bread Rolls
1/3 cup water
1 1/3 cups milk
3 1/2-5 cups bread flour
4 1/2 tsp dry active yeast
1/2 cup sugar
1/2 cup butter
2 tsp salt
2 eggs
egg wash
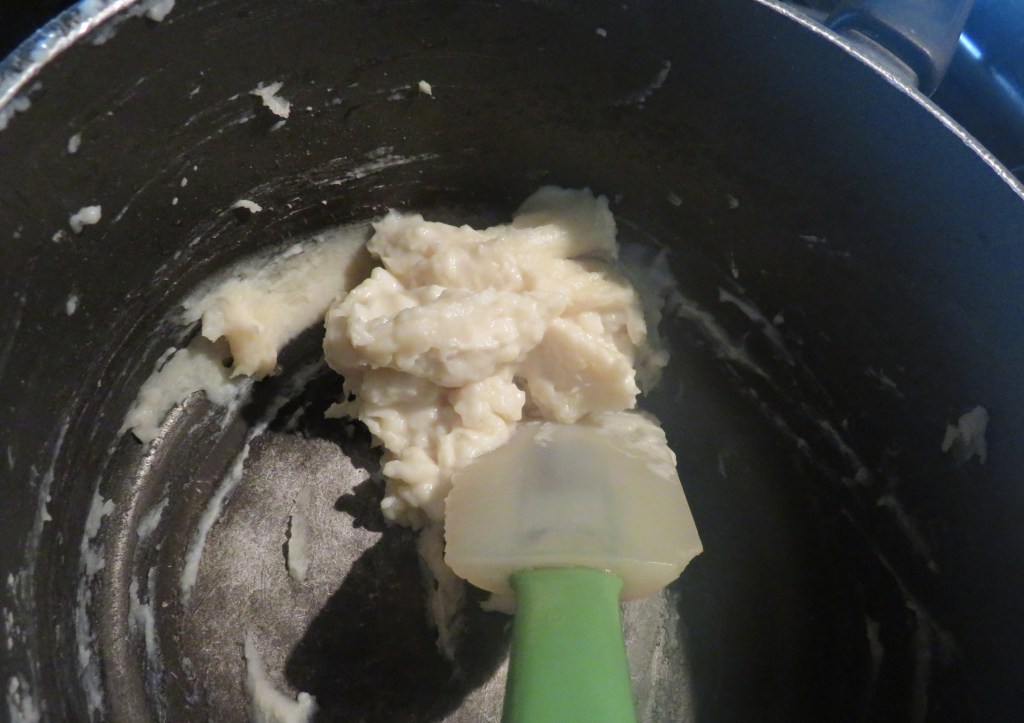
Whisk the water, 1/3 cup of milk and 1/4 cup of flour together in a small saucepan. Cook and stir over a medium heat until the mixtures forms into a thick roux or paste. It will resemble a pate a choux paste. Remove from the heat and let rest for 30 minutes.
While the flour and milk paste is resting, combine 2 1/2 cups flour, yeast, and 1 cup of milk, sugar, butter, cut into smaller portions and salt in a saucepan and heat and stir until it reaches about 120-130*F or until the butter is almost completely melted.
Whisk in the flour/milk paste until it is all mixed in and the batter is completely smooth.
Add two eggs and mix again until everything is thoroughly blended together and smooth once again. This will form a very soft dough. Turn it onto a floured surface and incorporate as much of the flour as the dough will hold while still remaining a very soft dough. DO NOT over work the dough.
Put the dough in a lightly oiled large bowl, cover and let rise for about an hour, or until it doubles in size.
Punch the dough down and let rest for about 10 minutes. Then form the dough into equally portioned balls. You should get 20. Place the dough balls onto a greased baking pan. Cover and let rise again for about 45 minutes.
Preheat the oven to 350*F or 1810*C.
Make an egg wash – 1 egg and 1 tsp water, lightly beaten, and brush the rolls with the egg wash right before placing in the oven.
Bake for about 30 minutes or until golden brown. If you like, brush with melted butter immediately after removing from the oven. Eat while still hot, fresh out of the oven. Delicious!!!!
Have a great day and make everyday great. Stay safe and stay well. ‘Til next time.
Flamenco originated in southern Spain, particularly Andalusia, from a fusion of cultures including Andalusian, Romani (Gypsy), Moorish, and Jewish influences, beginning around the 15th century. The art form evolved from an intimate, family-based tradition to being showcased in public venues, and by the 19th century, it had spread globally. Its evolution includes periods of singing dominance in the 18th and 19th centuries, followed by the rise of professional cafés cantantes, and later the integration of more complex choreographies in the 20th century. Flamenco is a live, musical, oral, gestural and social art.
When the word “flamenco” is used today, it evokes a dance, the playing of a flamenco guitar, the rhythm of clapping palms and the cry of flamenco voices. Flamenco is a whole musical and expressive universe unequivocally associated with the territory of Southern Spain. There is no doubt about this place of origin. Flamenco was first and foremost singing and rhythm, solo. Its creators were those who alone and anonymously sang while working in the fields, threshing, tilling, walking; or the miner who sang coming and going from the mine; the blacksmith in the forge; the tavern goer who livened up the atmosphere or shared his feelings with those around him in the bar; or the women working or celebrating any family event. Its origin is in the moment when a singer feels something and sings it out. The individualistic and rebellious personality of the Andalusian and the gypsy and their adverse social circumstances, in the face of injustice and despair, lead them to liberate themselves through singing, expressing their sorrows and joys. Flamenco is the voice of the people.
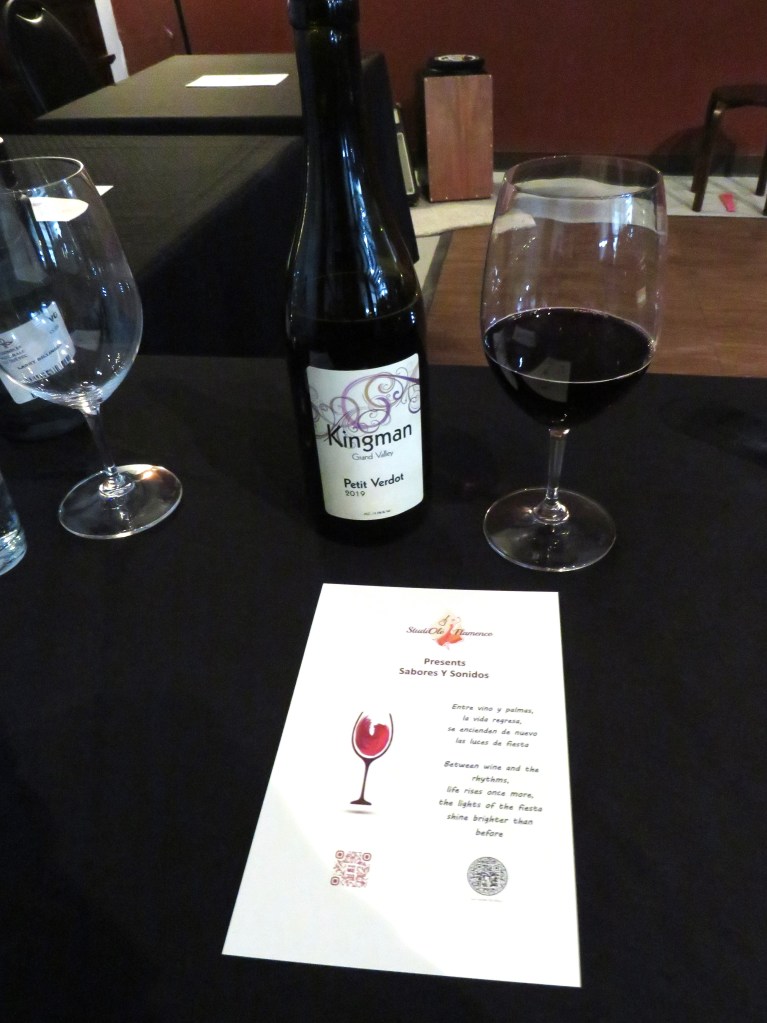
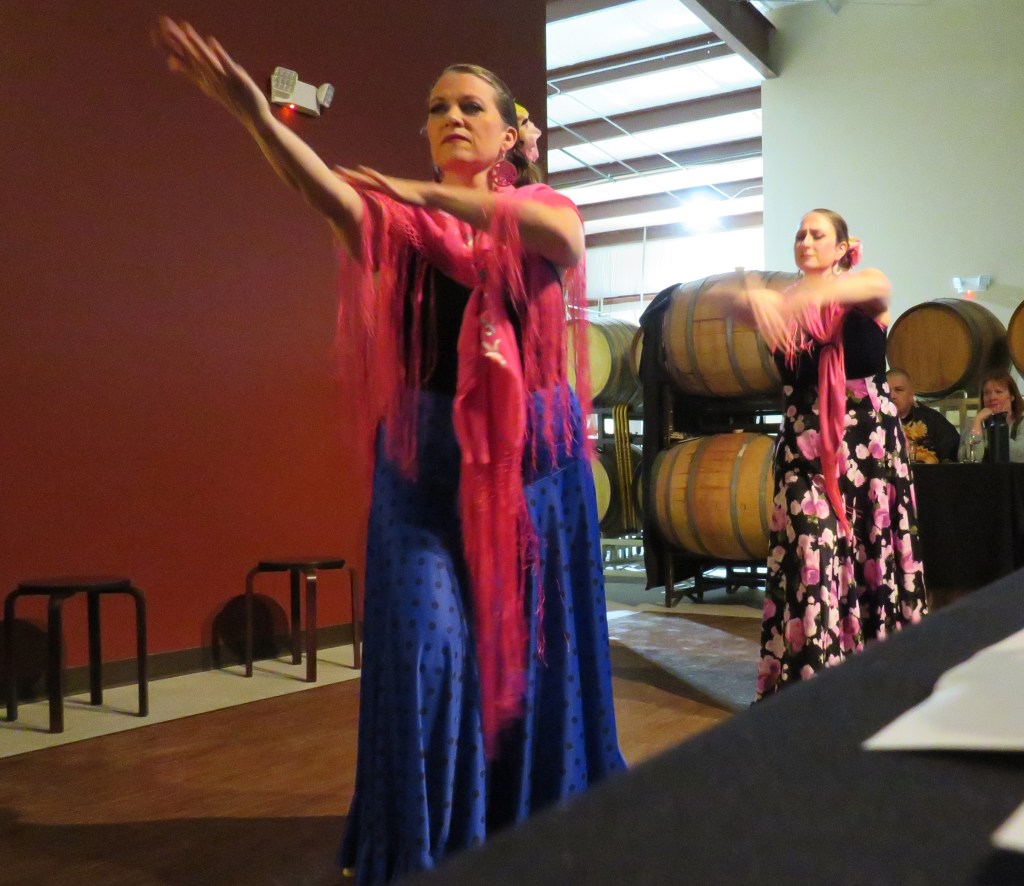
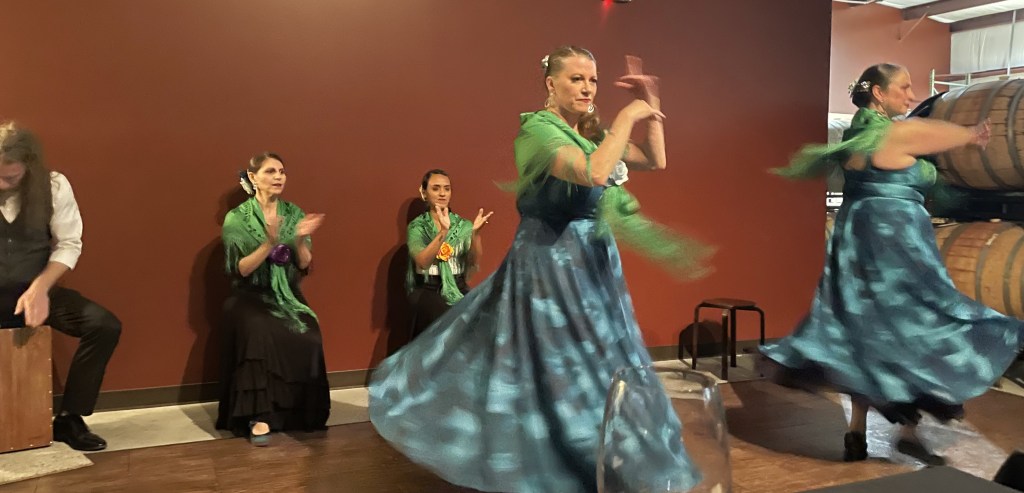
I love Spain and I love Flamenco. I love the music, the dance and the passion. We have been lucky enough to see Flamenco performances in Madrid, Barcelona and now in Westminster and Denver, CO too. Last night we had a night of Flamenco at Kingman Winery, one of our nearby, local wineries. The New Kingman Winery, Another Fun Night At Kingman Winery. The local Flamenco dance company, StudiOle Flamenco performed for a small group of very lucky guests. They were fantastico! Before we were entertained by the bailar and musica, we enjoyed some locally prepared paella and of course, some delicious Kingman Petit Verdot wine.
The Petit Verdot paired perfectly with the paella.
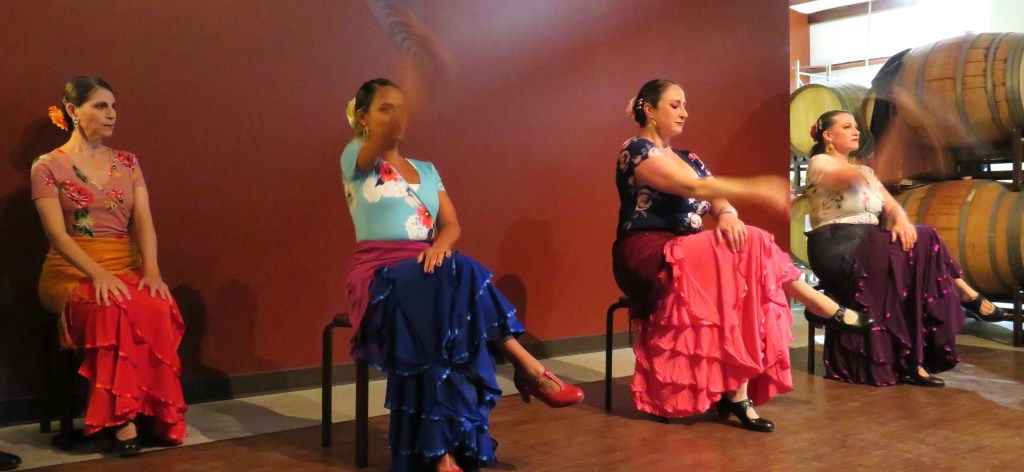
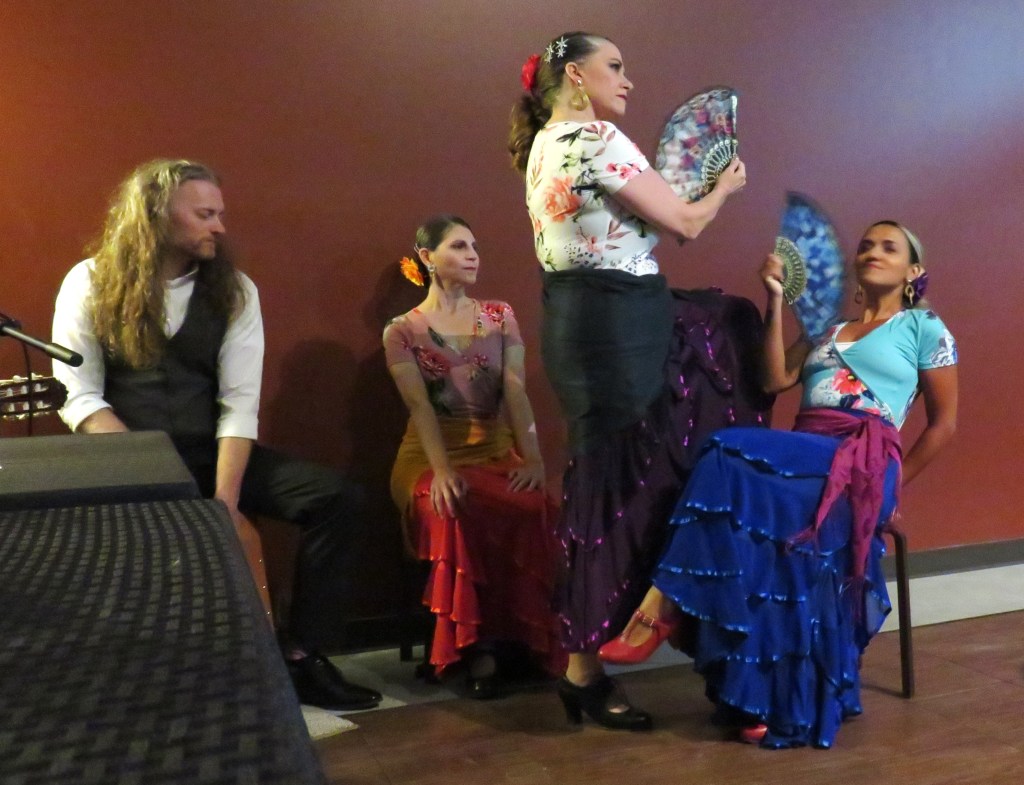
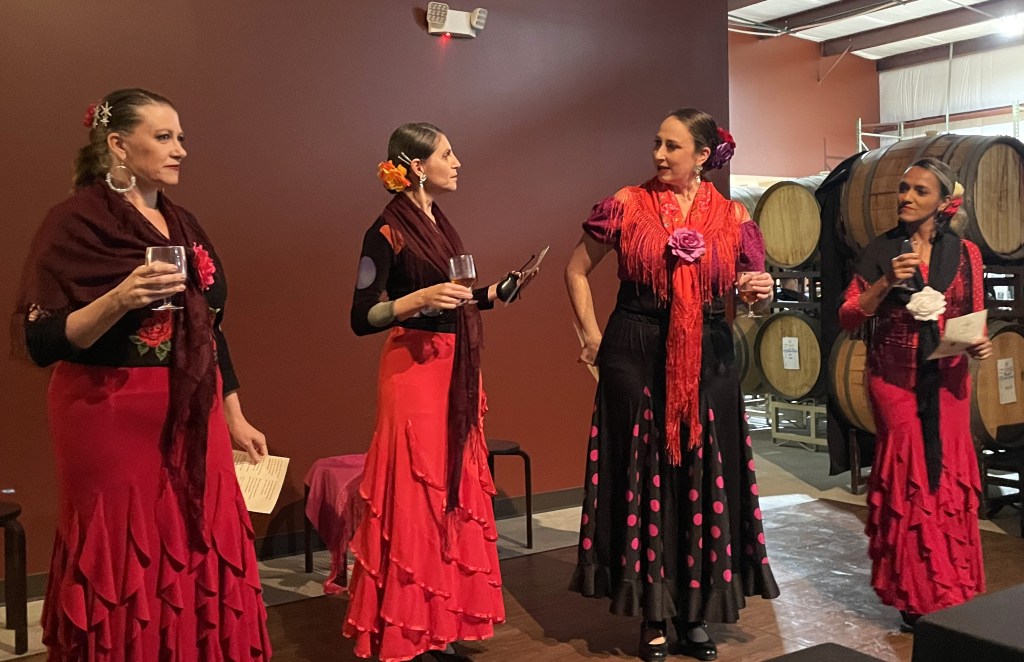
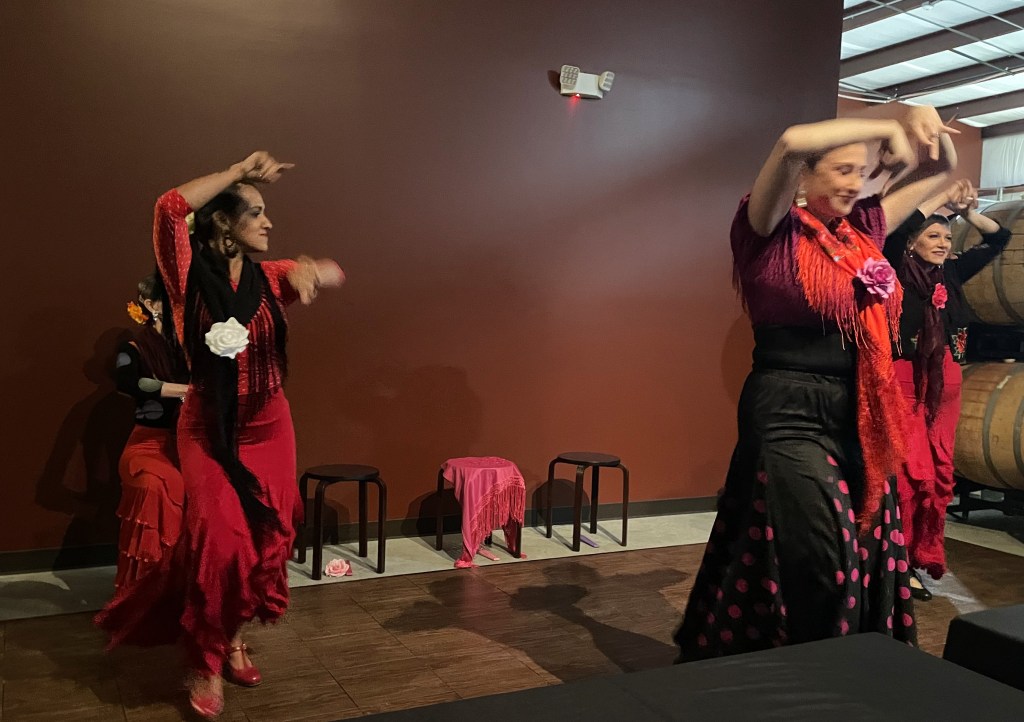
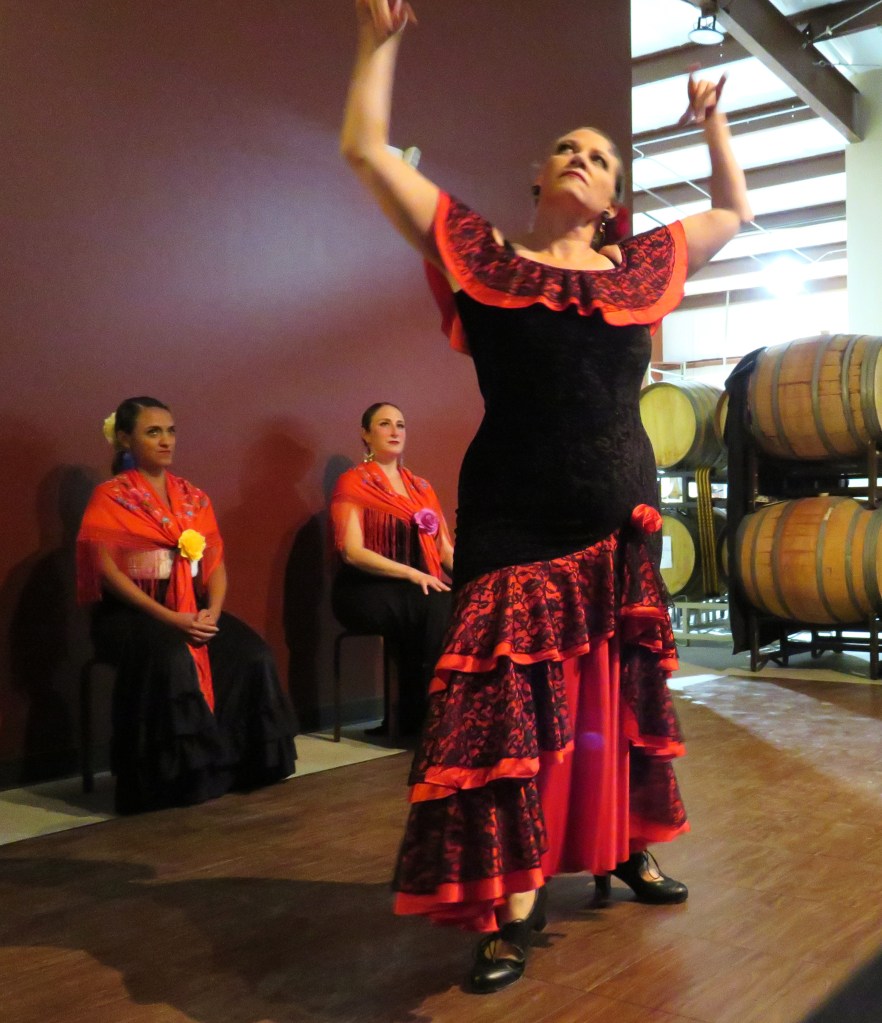
After the dinner plates were cleared, the performers took the stage. What happened next was magical. The dancers performed a lot of different numbers, all telling different stories about love, passion and life’s struggles. They had numerous authentically colorful outfits for each story too. Last night’s story:
~Sabores y Sonidos~
Flavors and Sounds
~Entre vino y palmas, la vida regresa, se encienden de nuevo las lucas de fiesta.~
Between wine and the rhythms, life rises once more, the lights of the fiesta shine brighter than before.
I apologize for the poor quality of the photos. It was hard to get good photos of the dancers as they were dancing.
The whole ensemble – 1 guitar/singer, 1 percussionist, and 4 lovely dancers.
It was a very fun and festive evening. We thoroughly enjoyed our romantic date night. We are already looking forward to spending another romantic evening with StudiOleFlamenco, and of course more fun times at Kingman Winery.
Have a great day and make everyday great. Live life to the fullest and enjoy every moment you can. And when life gives you struggles, turn it into la musica Flamenco. Stay safe and stay well. ‘Til next time.
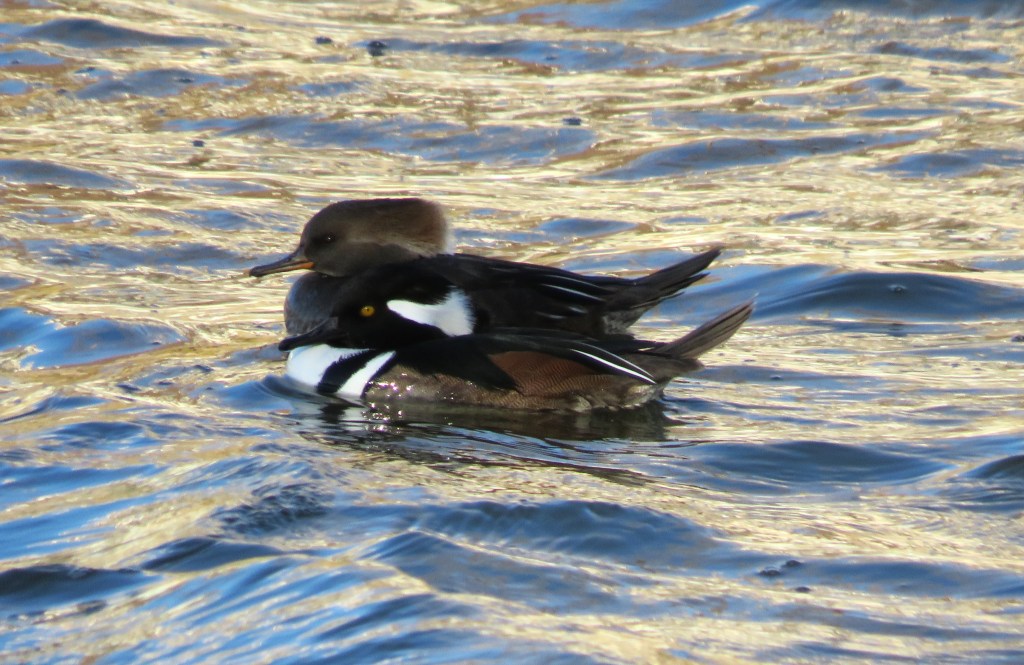
It is so nice to see all my feathered friends back on my lakes. I missed them, but I know they all like to travel to other places, just as I do. I don’t mind them traveling, but I love it when they return. All my feathered friends are coming back, including a lot of my Hooded Mergansers.
Mr. and Mrs. Merganser are enjoying a nice fall swim.
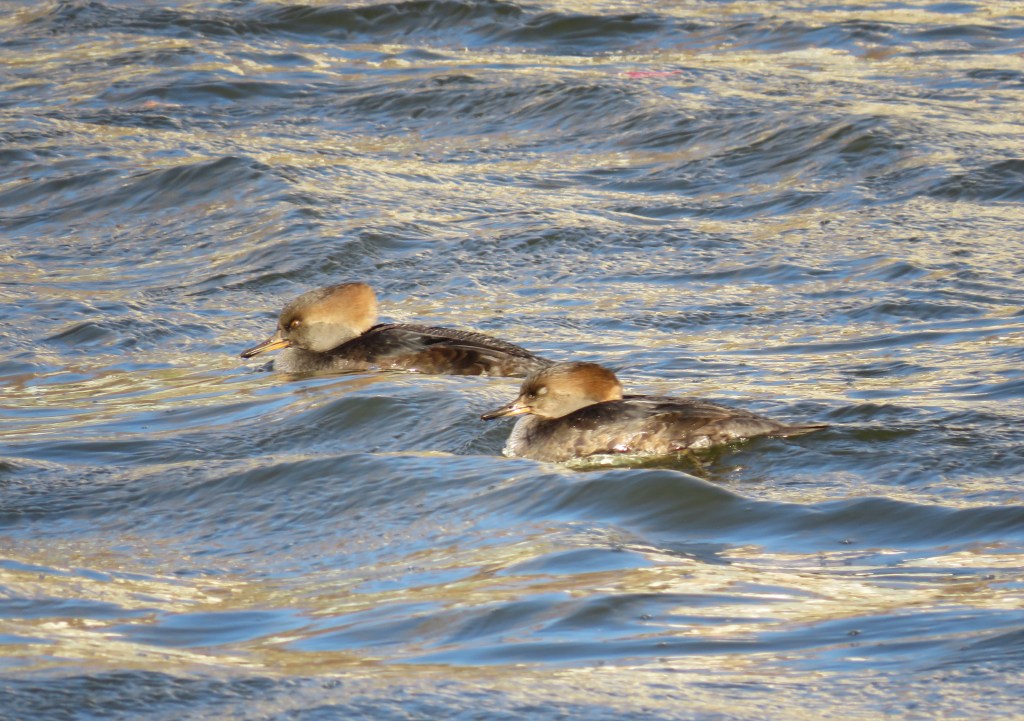
Riding the waves, having some girl time without the boys.
They’re having a swim party.
Have a great day and make everyday great. Always make time to enjoy your days with friends of all kinds. 🙂
A tamale is a traditional Mesoamerican dish made of a corn-based dough (masa) that is filled with various ingredients, wrapped in a corn husk or banana leaf, and steamed. The filling can include meats, cheeses, or other ingredients, and the wrapping is discarded before eating. I love tamales. They are a traditional dish usually served around the holidays or for special occasions, mainly because they are labor intensive and take a lot of time and effort to prepare. You can fill them with anything you like from sweet to savory.
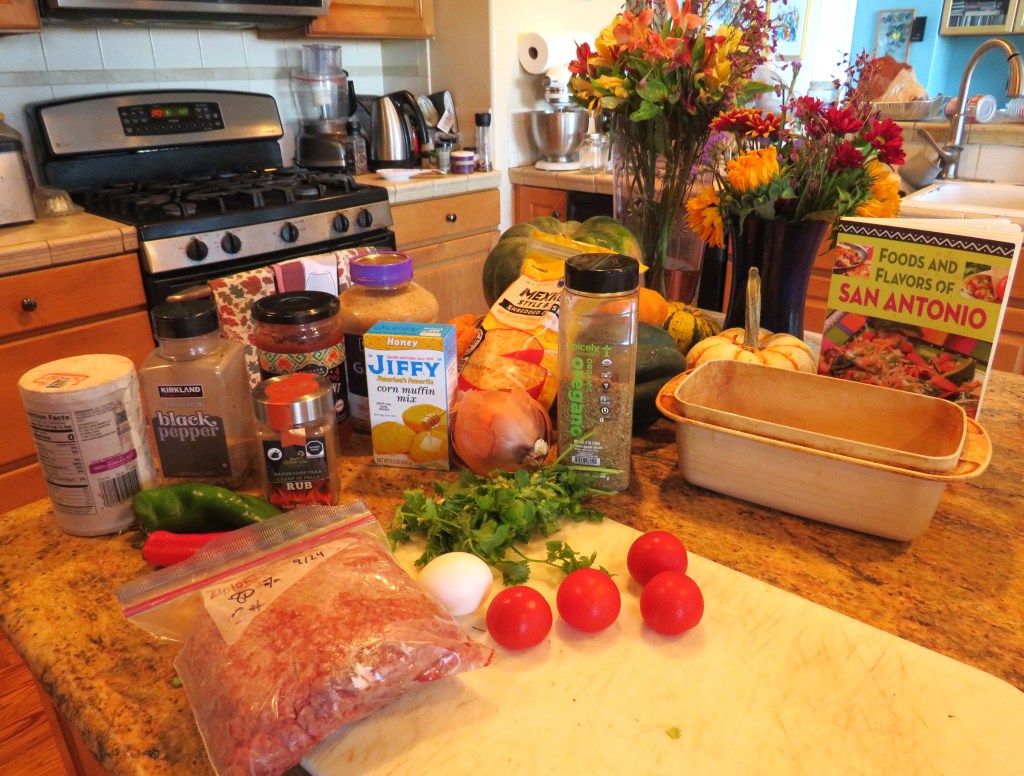
If you like tamales but you don’t have the time to make them, a good alternative is either a tamale pie or a tamale meatloaf. I am getting into my Texas and Tex-Mex frame of mind since we are heading out to Texas for Thanksgiving with some of my cousins. Ground beef was in our weekly meat rotation, so I made a tamale meatloaf. It had all the goodness of a tamale without the hassle. It was all baked underneath the cornbread topping. 🙂
Tamale Meatloaf
Preheat the oven to 350* F or 180* C.
Spray a loaf pan with cooking spray.
1- 1 1/2 lbs lean ground beef
1 egg
1 onion, chopped
1/2 cup salsa
2 TBSP chili powder
salt & pepper to taste
4-5 tomatoes, chopped
1 jalapeno, diced fine
1 Anaheim pepper, diced
1 TBSP garlic
1/4 cup fresh cilantro, chopped, plus more for topping
1-2 tsp dried oregano
1 8.5 oz package corn muffin mix
1/2 cup shredded cheese
Saute the onions, peppers and garlic for about 3 minutes or until softened and the onions are translucent.
Combine all the ingredients together, except for the corn muffin mix and mix together thoroughly. Put it all in the prepared loaf pan and pat down firmly. Bake for about 40 minutes.
Remove from the oven after it has cooked and drain off the excess grease. Prepare the muffin mix according to the package directions and spread on top of the meat mixture.
Bake again for an additional 20-30 minutes, or until the cornbread is cooked and golden brown. Immediately top with the shredded cheese, salsa and a little more fresh cilantro and serve next to your favorite Mexican side dishes. Esta mui rico!
The cornbread muffin mix I got was very sweet, which I think took away from the dish itself. I don’t like my cornbread sweet. You can easily make your own cornbread too, and I should have, but I ran out of time and “cheated”. Next time, I will make my own cornbread. But it is nice to know you can use a mix in a pinch. 🙂
Have a great day and make everyday great. Stay safe and stay well. ‘Til next time.
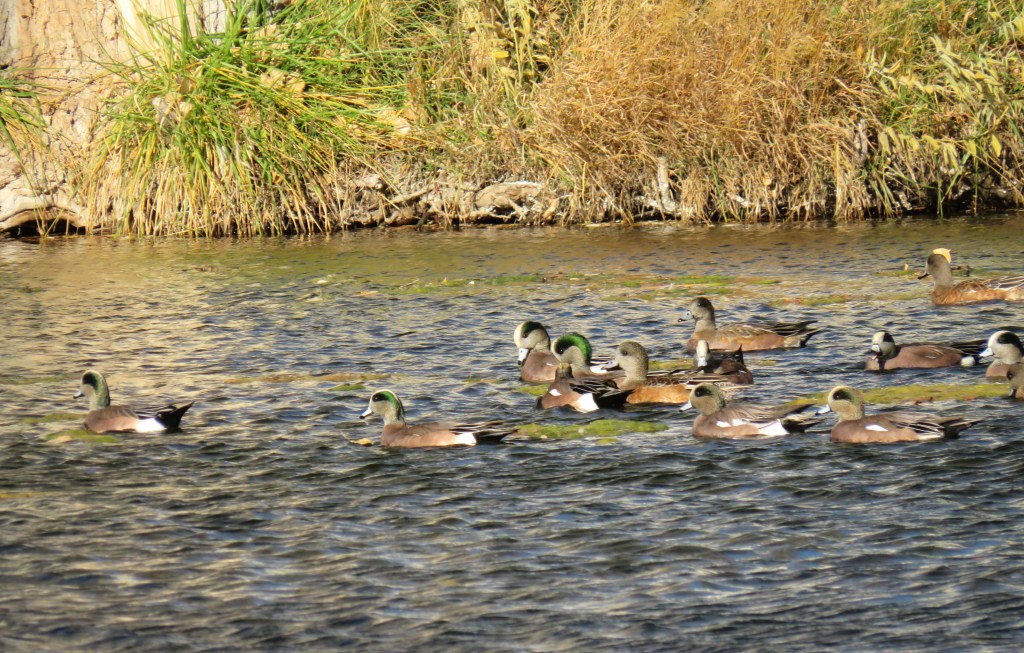
My lakes have been pretty quiet for the last fee months, but now all friends are beginning to come back and come back in droves too. I had a lot of American Widgeons on the water too. More than we usually have, and that is perfectly OK by me. 🙂
I love it when all my friends come back to my lakes. 🙂
We ate a lot of French and French inspired foods while on our Canada trip. Since we’ve been home, I have continued with that theme a bit too. Although, to be fair, we eat a lot of different ethnically inspired foods all the time. 🙂 Canada, even Quebec, is a blend of French, Irish, Scottish and British influences, and these different cultures are all still represented in their foods and culture today.
While up in Canada, I purchased a French/English cookbook too, to help me to continue to learn more about more French inspired foods from our neighbors north east of us.
Seafood pies, also known as fishermen’s pie, or stargazer’s pie, have their origins dating back to the Medieval times, where most religious people were abstaining from eating meat on Fridays. Seafood pies were popular both in British and Celtic regions specifically, though they were also popular anywhere along a coastline. Legend has it that 500d years ago, on a cold and stormy eve in the Cornish village of Mousehole, the sea was so violent that no fish could be caught for the community. Unable to watch the village starve, fisherman Tom Bawcock braved the elements and brought home a catch so large that no one went hungry. Originally they were made with cheaper leftover pieces of fish that was readily available to the masses; seven types of fish were used in the pies made: sand eels, horse mackerel, pilchards, herring, dogfish, ling and an unknown seventh fish. They were also very popular in WWII as well, when people would eat whatever was available. Today, things have changed and they are made with a variety of good quality fish. Originally they were made with a pastry crust, like how I made mine, but today, they are also made with a mashed potato or cheese “crust” like what is used to top a Shepherd’s pie.
Some believe eating seafood and seafood pies were made popular after Julius Caesar and the Romans were in Britain as early as 55 BC. Fish was eaten to honor the Roman goddess Venus.
Seafood Pie
For my seafood pie, I used large prawns and some of my Cole’s Tinned Salmon and and Smoked Muscles. I was definitely not skimping when it came to quality or amounts of seafood in my pies. But then I never skimp on anything I cook. 🙂
I started off making my go-to dough for the crust.
The Crust
1 1/2 cups flour
6 TBSP cold butter, cubed small
1 tsp salt
1 egg
5-6 TBSP heavy whipping cream
In a food processor, blend the flour, salt and butter together until it resembles a coarse sand. Then add the egg and the cream and blend again until it all comes together in a dough ball. Wrap the dough in plastic wrap and refrigerate for at least 30 minutes before using.
The Seafood Filling
You can use any kind of seafood you like. I used what I had. Juneau and Dorrie were happy too, because they got the fish oil mixed in with their food too. Nothing goes to waste in our house and we are all happy. 🙂
1- 1 1/2 lbs large shrimp or prawns, peeled, rinsed and deveined
1 can Cole’s Tinned Smoked Muscles, drained
1 can Cole’s Tinned Smoked Salmon, drained
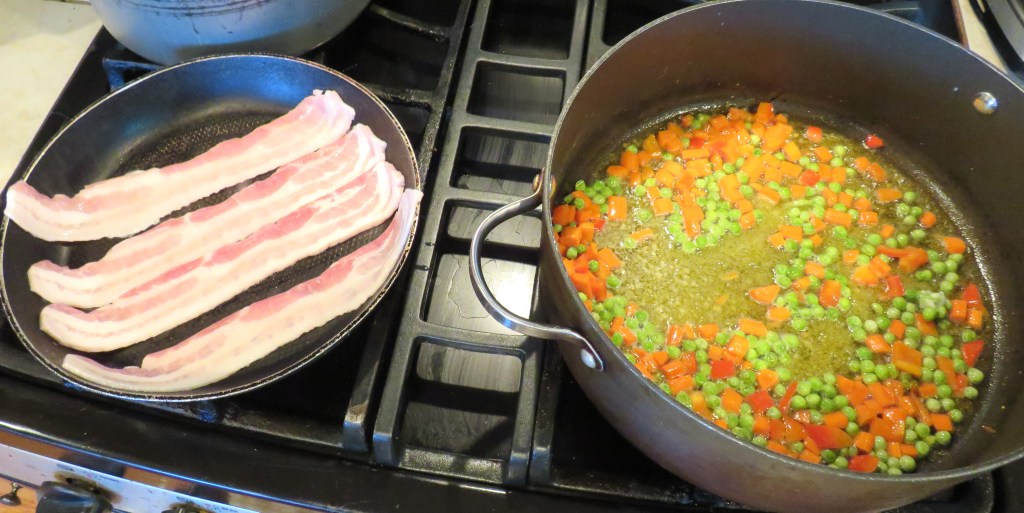
3-5 slices of bacon, cooked and cut into small pieces.
1-2 potatoes, diced
2 carrots, diced
1 cup peas
3-4 green onions, sliced
1/2 red bell pepper, diced
1-1 1/2 cups heavy whipping cream
1/2 cup flour
salt & fresh ground black pepper to taste
1 tsp dried thyme
olive oil for cooking
Preheat the oven to 375* F or 191* C.
Spray medium ramekins with cooking sporay.
Cut the shrimp into pieces and cook in olive oil for about 3 minutes, or until completely cooked. Remove and set aside.
Cook the bacon to a medium-crisp. Let cool for a bit until it is cool enough to work with, then cut into small pieces.
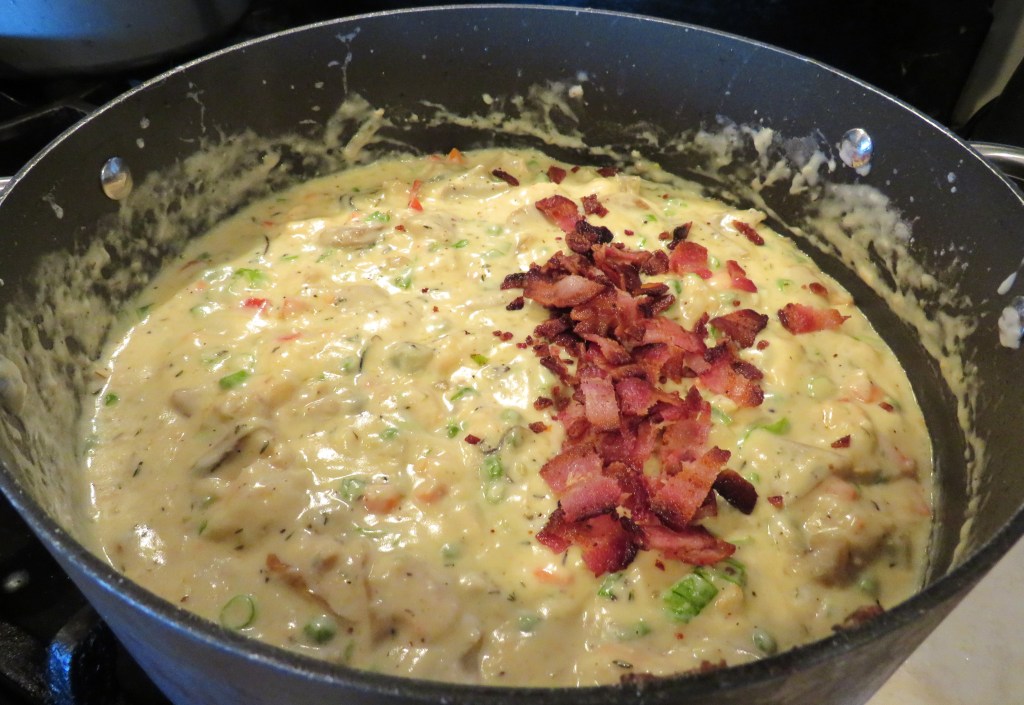
Cook the carrots, potatoes and peas until softened. I used leftover potatoes that were already cooked. When done, add the cooked shrimp, cream, flour and seasonings. You are looking for a sauce with a medium consistency, like a bechamel sauce.
Mix together well and bring to a boil, then reduce the heat to a simmer and continue to cook for about 5-7 minutes, stirring frequently. Add the tinned fish, bacon and green onions. Mix together thoroughly once again and turn off the heat.
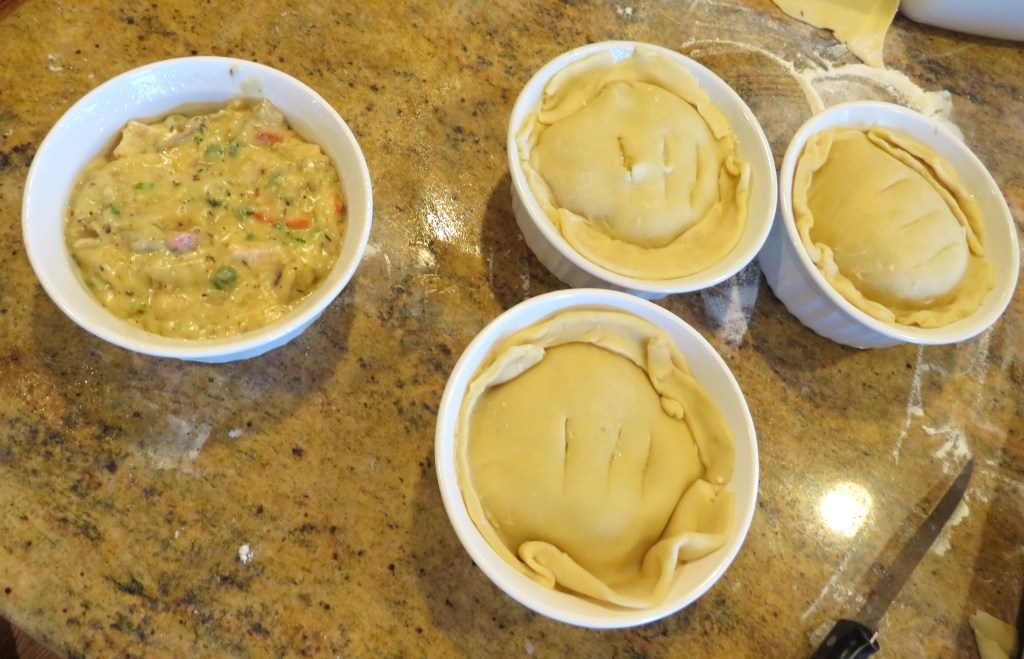
On a lightly floured surface, roll the dough out nice and thin to cover the ramekins.
Fill the prepared ramekins with the seafood mixture. Top with the dough and pinch around the edges to make a tight seal. With a sharp serrated knife, make some slits in the top of the dough.
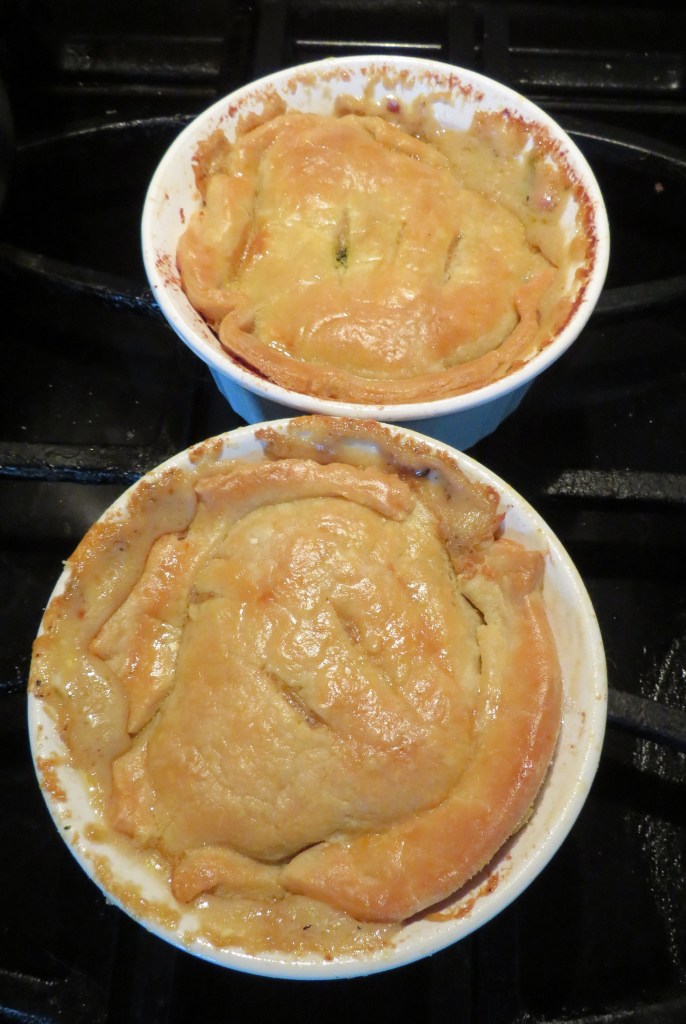
Brush the tops with an egg wash then place in the oven to bake. Bake for about an hour or until the crusts are golden brown and crisp and flaky.
This is a hearty meal in and of itself. No need for anything extra except a glass or two of a cool, crisp white wine. Enjoy.
Have a great day and make everyday great. Stay safe and stay well. ‘Til next time.