I have created this site to help people have fun in the kitchen. I write about enjoying life both in and out of my kitchen. Life is short! Make the most of it and enjoy!
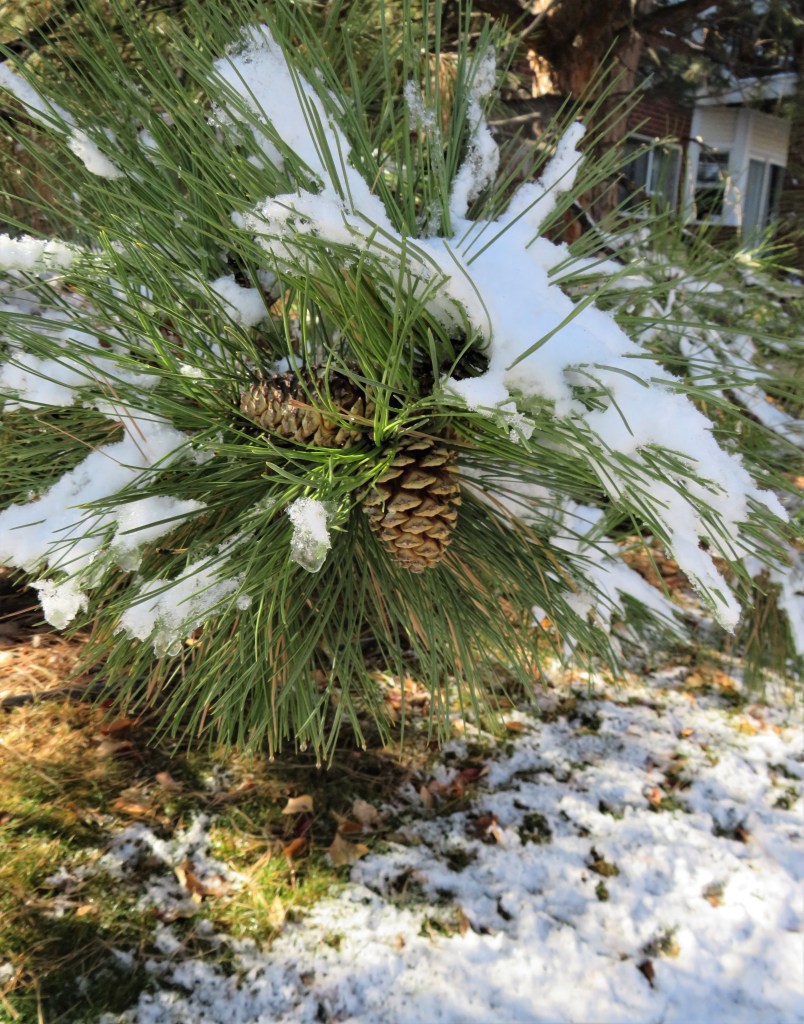
Colorado weather is so fickle. Last night we got about 3 inches of snow. This morning we still had a beautiful white blanket covering everything. By noon, all of the snow on the south facing parts was already gone. We still have snow on the north facing parts, but it is going quickly too. At least Juneau and Vinnie had a little chance to play in the white stuff they they both love so much.
Yesterday, I took you to Spain for dinner with my paella. Paella Con Camarones, Jamon y Chorizo. Today, I am taking you a bit further north, venturing into France with some chicken crepes.
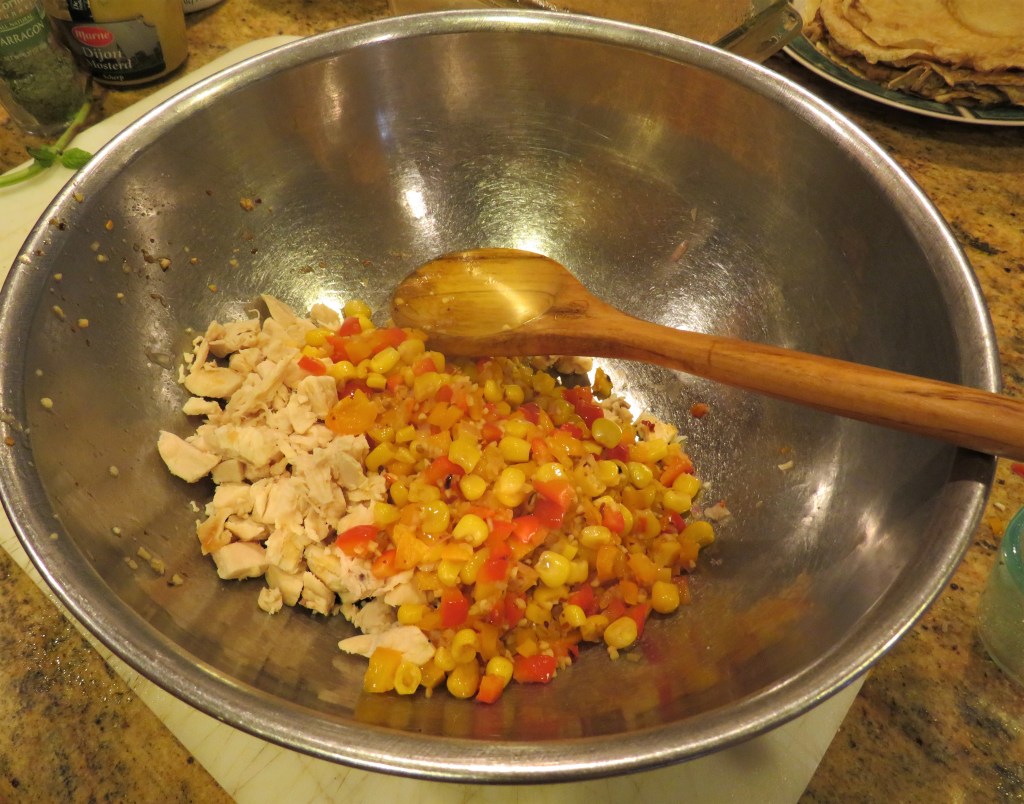
I had some leftover Costco rotisserie chicken, but not enough to do a lot with. But I had enough to make some crepes. I added some red and orange bell peppers, garlic, corn, and shallots to the chicken, along with some mystery vinaigrette I had leftover for the filling.
I diced everything small and sauteed them up in some of my mystery vinaigrette to get the vegetables tender and flavorful.
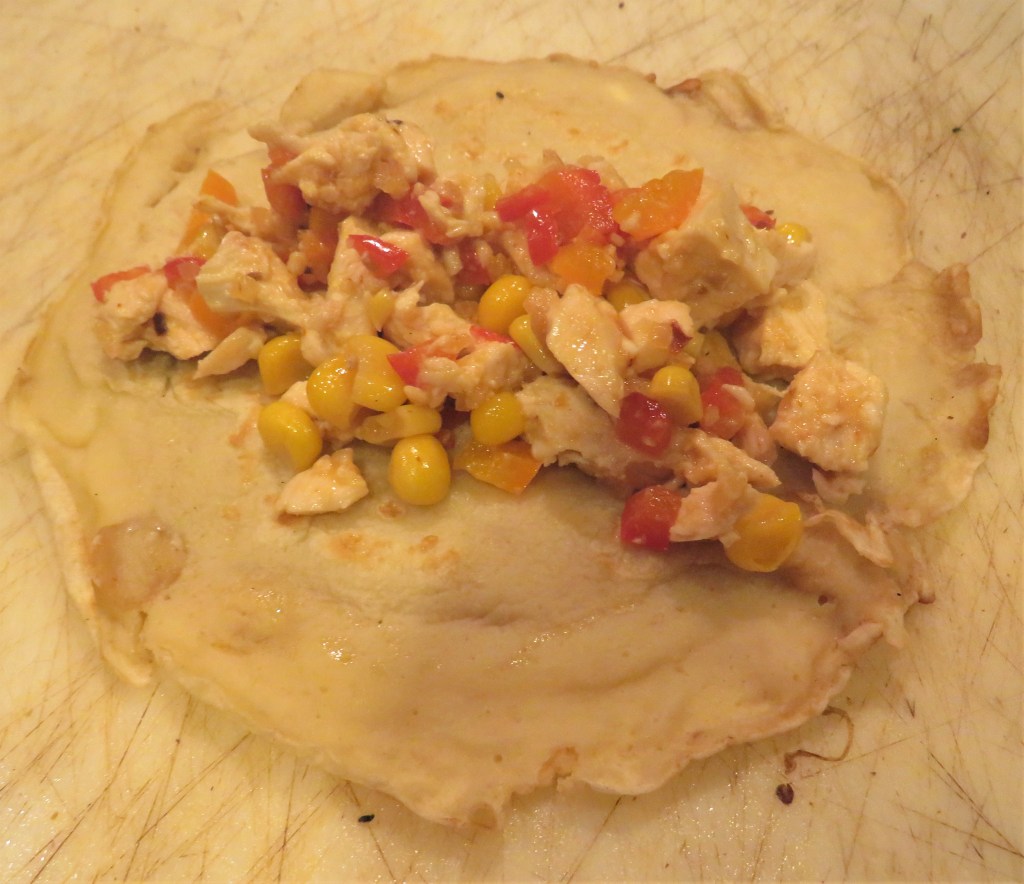
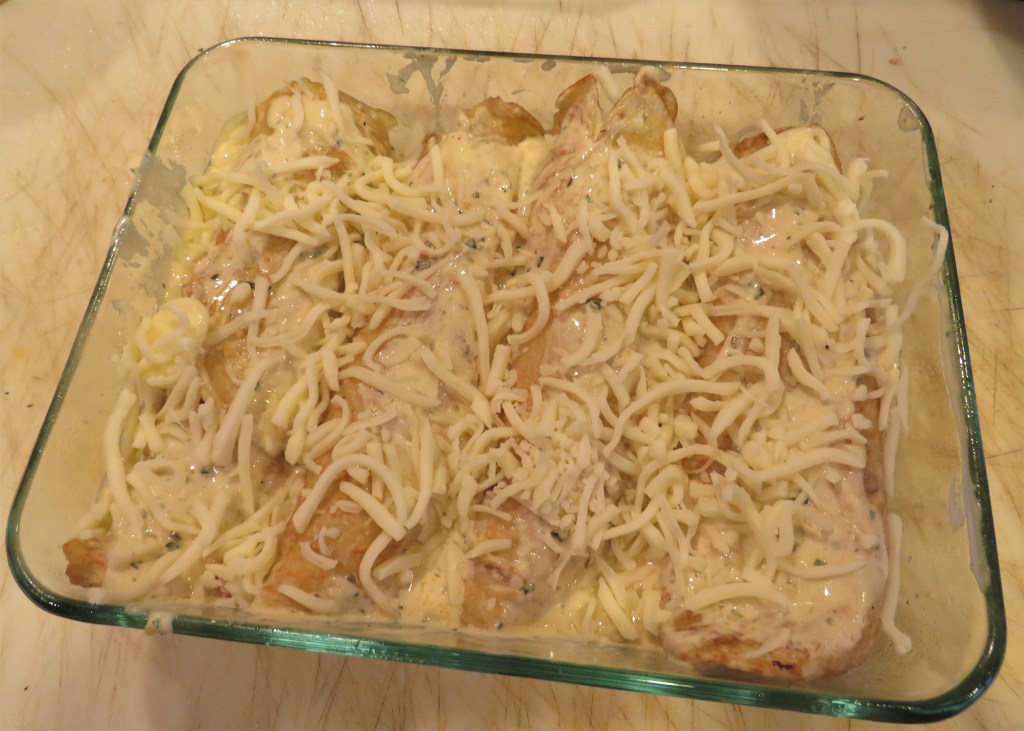
Then I wrapped them into the crepes.
Basic Crepe Batter
2 eggs
1 cup milk
1/3 cup water
1 cup flour
1/4 tsp slat
2 TBSP melted butter + more for cooking.
Combine all the ingredients and whisk together well. Let it set and chill in the refrigerator for at least an hour before making the crepes.
When ready to make the crepes, get a small skillet very hot and add a dash of butter for each crepe. Swirl it around in the pan and add about 2/3 cup of batter. Swirl it around in the pan immediately, and fill the bottom of the pan. Cook for about 1-2 minutes per side, or until lightly golden. Then remove the crepe and repeat until all the batter is used.
Preheat oven to 350* F or 190* C.
Spray cooking spray into a baking dish.
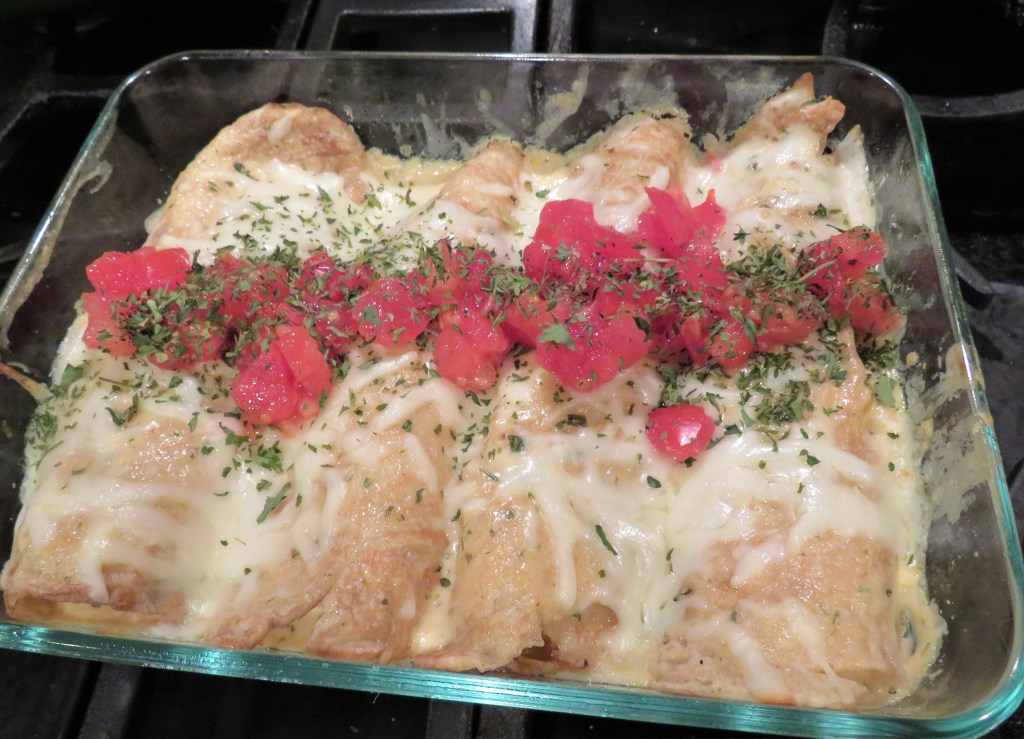
I made a mustard tarragon cream sauce to top the crepes and added that before putting them into the oven.
Tarragon Mustard Cream Sauce
1 cup heavy whipping cream
1-2 tsp dried tarragon or about 1 TBSP fresh tarragon
1 TBSP Dijon mustard
1-2 TBSP butter
Combine the cream, mustard and tarragon and cook for about about 5-7 minutes, or until everything is combined and the sauce is nice and creamy and beginning to thicken a bit. Stir constantly. Add the butter at the end and mix in thoroughly.
Spoon just enough of the sauce over the crepes to cover them without having them swimming in sauce, and top with a little Mozzarella or other light white cheese. Bake for about 20-30 minutes or until everything is completely heated through the center.
I made this simple meal in the traditional rustic French way by serving it with some roasted potatoes and asparagus. I topped the asparagus with the same sauce, but added a few mushrooms to it too. And of course there was wine. I served it with a chardonnay on the side. !C’est manifique! !C’est si bon!
Make the most out of today and all your days. Stay well and stay safe. ‘Til next time.
It was another paella night. I make different versions of paella quite often. This time I made it with shrimp, ham and chorizo, or en Espanol, camarones, jamon y chorizo. It sounds so much more exotic in Spanish than in English. But whether it is said in English or Spanish, it is always delicious o delicioso. Larry and I both thought my paella was just as good, if not better than our recent paella from El Five El Five, which I think is high praise, considering I thought their paella was muy bueno. This paella reminded me of our first dinner we had in Madrid a few years ago.
Paella is one of the most popular and famous of global dishes, but to define exactly what paella contains is almost impossible. There are as many variations of paella as there are cooks, with many claiming that their recipe is the best tasting or most authentic. The origins of the dish, however, are quite humble. Understanding a little of its history will help explain why so many varieties exist. Paella is a classic Spanish dish made with rice, saffron, vegetables, chicken, and seafood all cooked together and served in one pan. Paella was originally farmers’ and farm laborers’ food, cooked by the workers over a wood fire for the lunchtime meal. It was made with rice, plus whatever else was on hand around the rice fields and countryside. Paella was also traditionally eaten straight from the pan in which it was cooked with each person using his own wooden spoon.
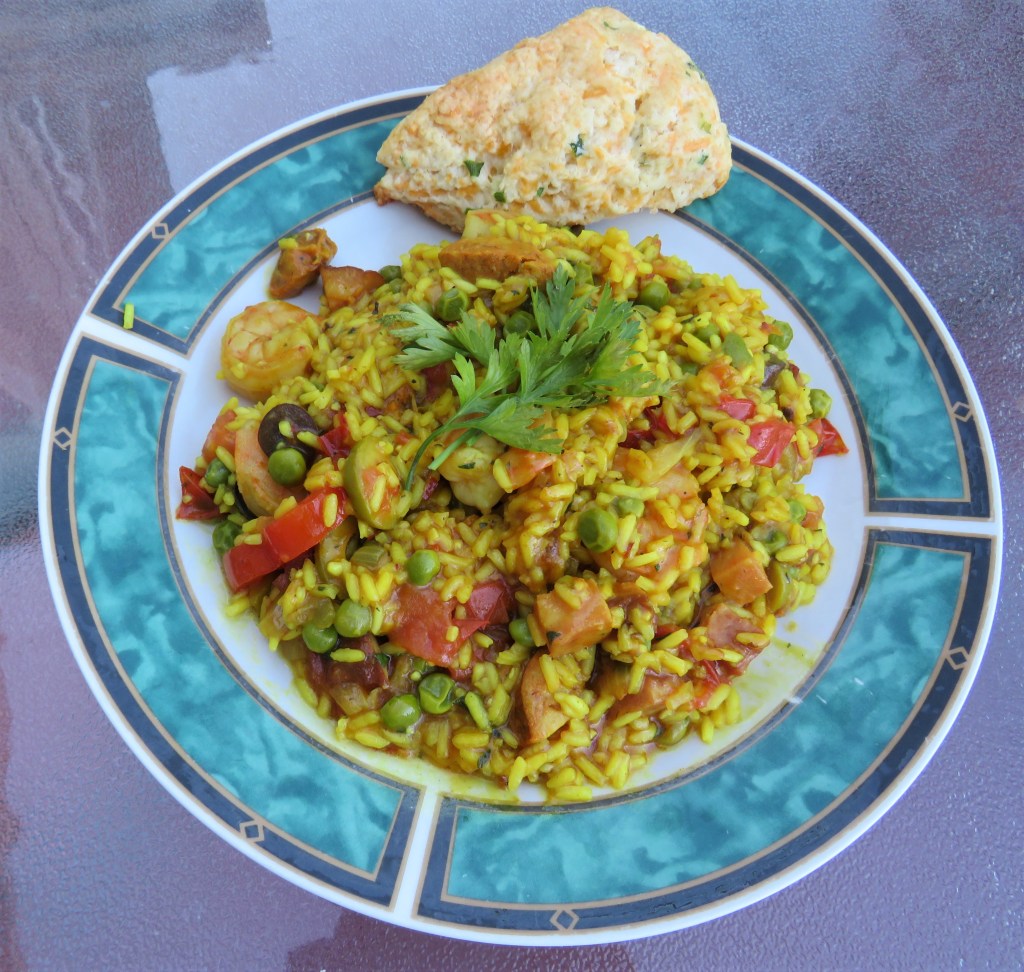
Paella Con Camarones, Jamon y Chorizo
Beside the obvious of shrimp, ham and chorizo, I also added onions, red pepper, peas, tomatoes, garlic and olives, making it even more traditional. I like using a combination of olives too.
Cooking the shrimp was first. I sauteed it in a combination of olive oil and lemon olive oil until it was done, then removed it and re-added it back into the mixture later.
Next came the ham and chorizo, with the onions, peppers and garlic. After about 5 minutes, I added the rice to the mix. I also added a little white white to deglaze the pan.
After sauteing the rice mixture for a bit, I added the the olives and tomatoes (fresh from Janet and Bob – the last of their prolific summer production Gift From The Garden), and about 2 1/2 cups of chicken broth, as well as the spices and seasonings.
Mix everything together well, cover and bring to a boil, then reduce the heat to a simmer and continue to cook for about 10-15 minutes, stirring frequently. Add the peas and re-add the shrimp into the mixture and continue to cook for about 15-20 minutes or until most of the liquid has evaporated and the rice is completely cooked.
Other than some kind of bread, this dish doesn’t need anything else. It is a one-pot dish that is perfect all on its own. I served it with my cheesy green onion scones, Cheesy Green Onion Scones with a cool, crispy, citrusy chardonnay on the side. It was a perfect meal out on the deck. We are still enjoying dinners out on the deck for the moment, but we know these days are quickly coming to an end for the season too. !Desfruitas!
Make the most of every day. Stay safe and stay well Everyone. ‘Til next time.
I was raised with both scones and biscuits. My mother was from Southeast Texas, and she grew up with biscuits. My dad was an Aussie, from Melbourne, Australia, and he grew up with scones. I enjoy both, but I have to say, I have a slight preference for scones over biscuits.
Scones and biscuits are close cousins of each other, but they are not the same. What is the difference you might ask. There are a few differences and they are subtle, but sometimes it is those subtleties that make all the difference. I challenge you to make them both and you be the judge. 🙂
1) Scones are made with cream and eggs. They’re sweeter, drier, and may contain fruit. You can make them either sweet or savory. Biscuits are typically made with buttermilk and no eggs. They’re flaky, soft, and traditionally not sweet. Well that explains a lot. My dad and I are (were) two peas in a pod, and both of us had/have a big sweet tooth, and we both prefer scones. But then, my mom had a big sweet tooth too, yet she preferred biscuits. HMMMM! Curious.
2) Scones are more dense and rich compared to the light and flaky consistency of American biscuits. Biscuits originate from the American South whereas scones originate from Scotland, gaining popularity in England during the 18th and 19th century. From there, they made their way to all the British colonies.
3) Southern biscuits have more butter and acidity (from the buttermilk), making them extra fluffy and flaky. While scones rely on richer, denser, ingredients like heavy cream and eggs to get a sturdy, yet crumbly, pastry.
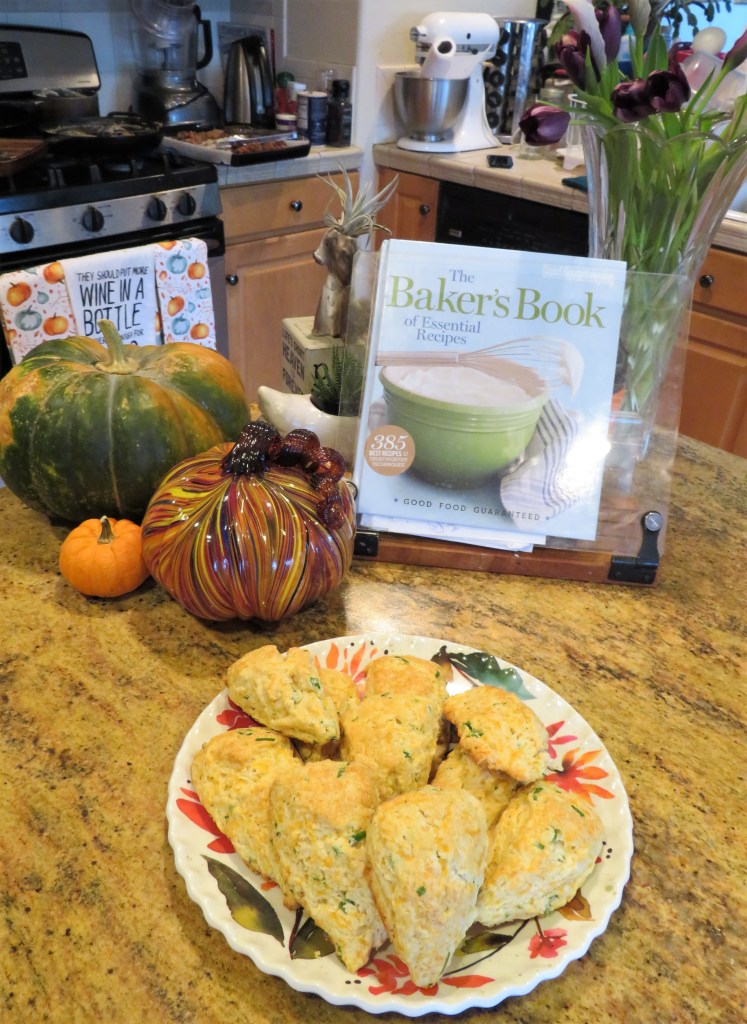
I made some scones with shredded cheddar cheese and green onions to go with dinner. YUMMMY!!!! I love them this way. I used my basic scone recipe and then added the cheese and the green onions. They were so light and tender. They just melted in our mouths. I could have easily eaten the whole batch.
Cheesy Green Onion Scones
Preheat oven to 375* F or about 200* C.
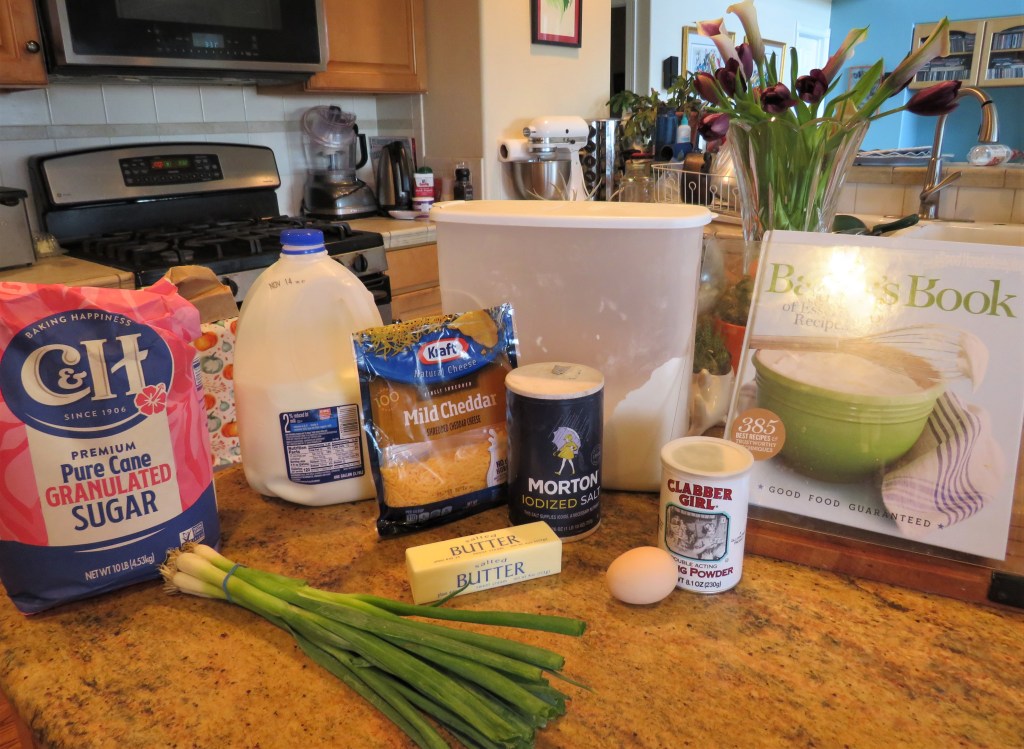
2 cups flour
2 TBSP sugar
2 1/2 tsp baking powder
1/4 tsp salt
1/2 cup or 1 stick cold butter, cubed
2/3 cup milk
1 egg + 1 more for the egg wash
1 cup shredded cheddar cheese
1/3 cup green onions, sliced very thin
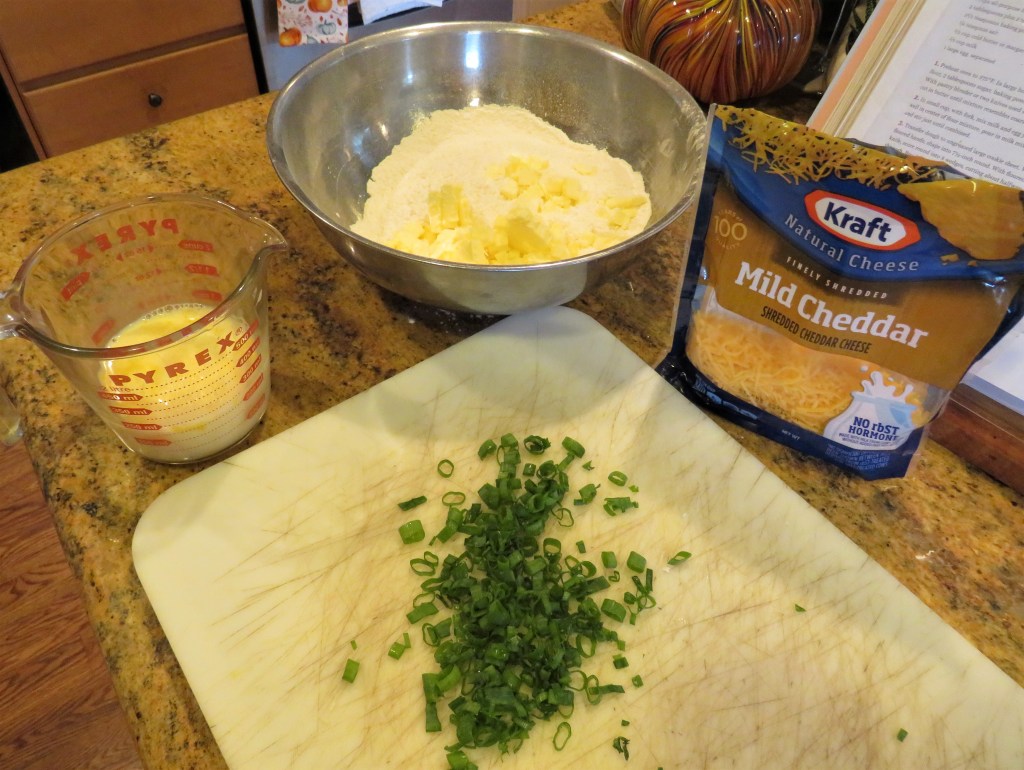
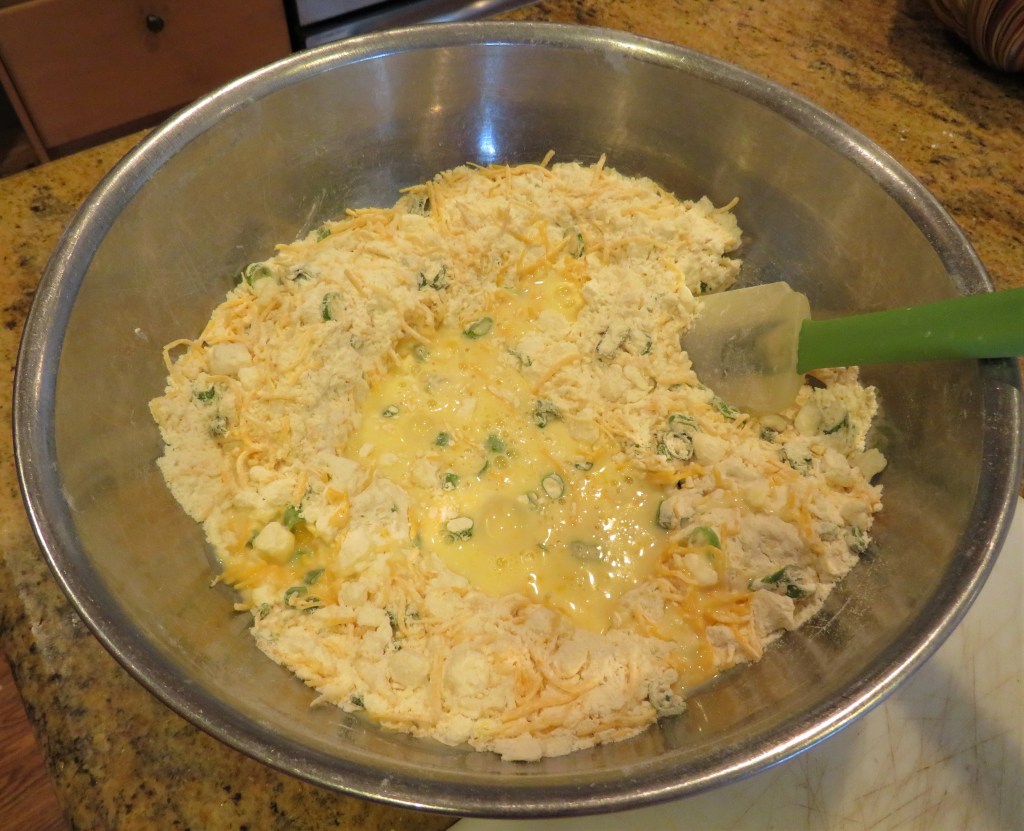
Mix all the dry ingredients together then add the butter and mash with either your hands, or a pastry cutter until it all resembles course sand. Add the cheese and the green onion, mix together well, and create a well in the center.
Whisk the egg and milk together then pour into the center of the well. Carefully blend all the ingredients together and mix until just combined. DO NOT overmix or the scones will be tough.
Slightly flour your hands and shape the dough into a round ball. Pat into shape, then cut into wedges with a slightly floured knife.
Make an egg wash and brush the tops and the sides of each wedge then place in the hot oven. Bake for about 20-25 minutes or until the scones are lightly golden brown and just cooked through. Serve warm with butter.
I made these delicious scones for dinner, but you can serve them any time you like. They are perfect at any time of day. I promise you, you are going to love these. Larry was surprised I made them with cheese, since I am not a cheese fan, but the flavor of the cheese is very mild and very subtle. It’s just enough to make these scones really pop.
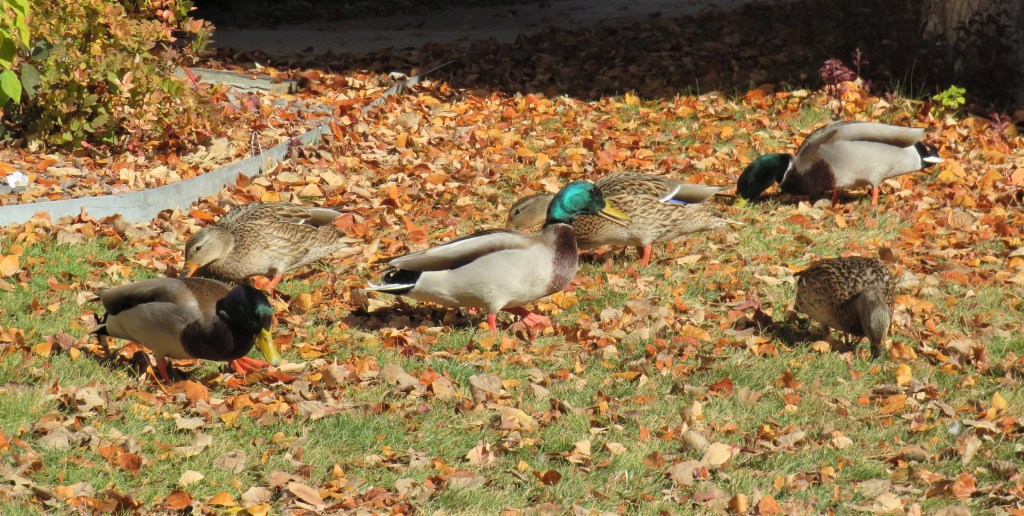
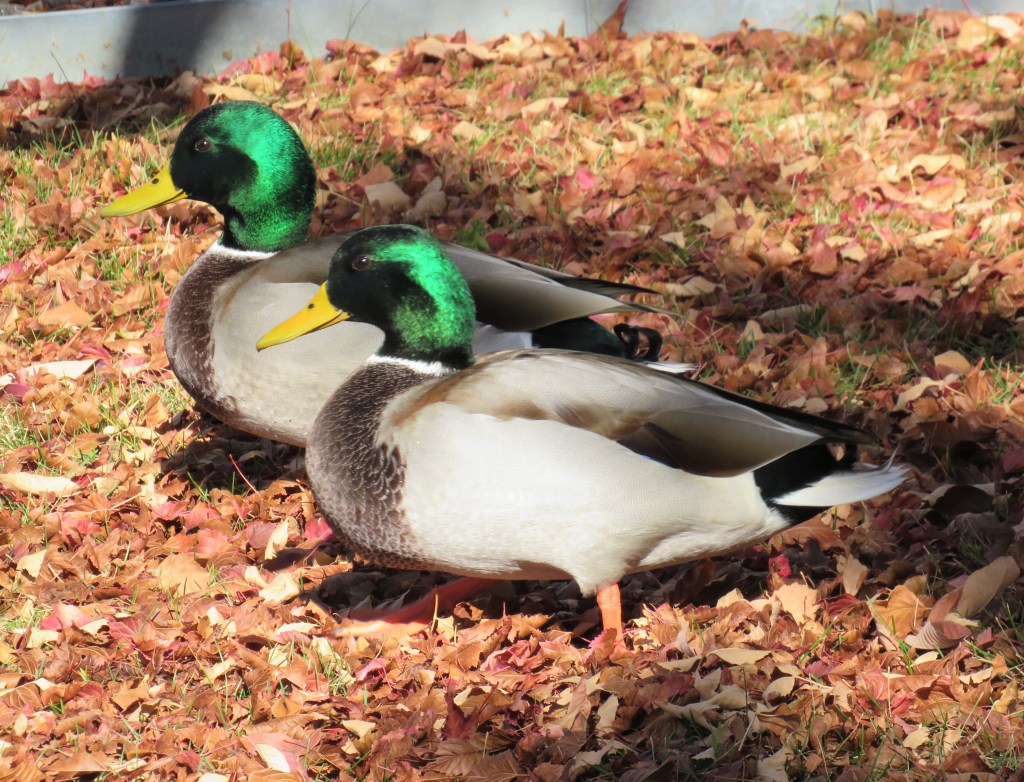
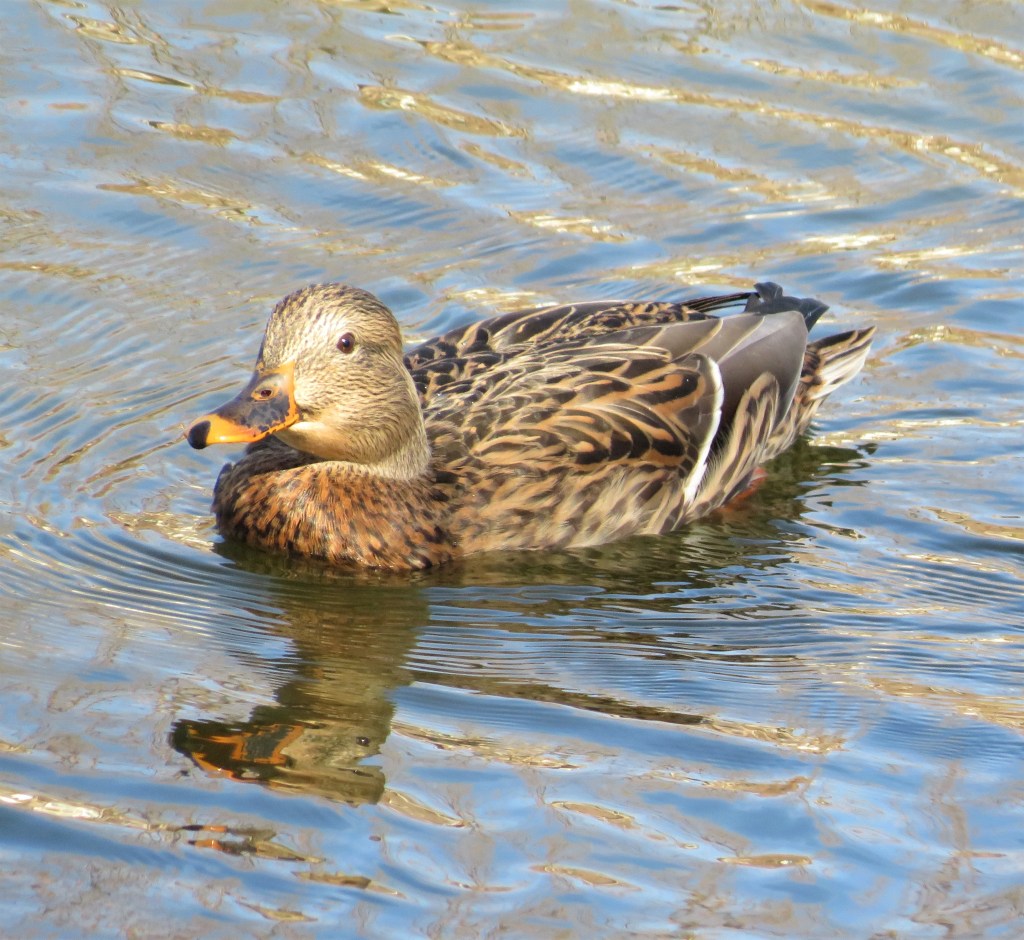
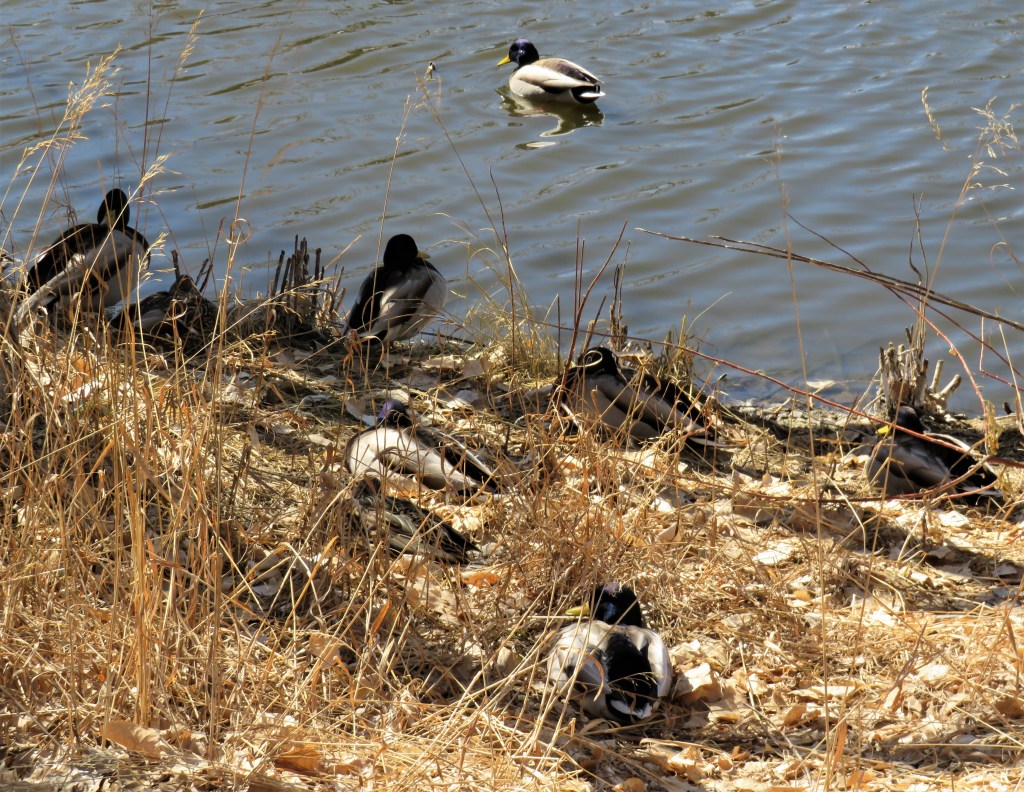
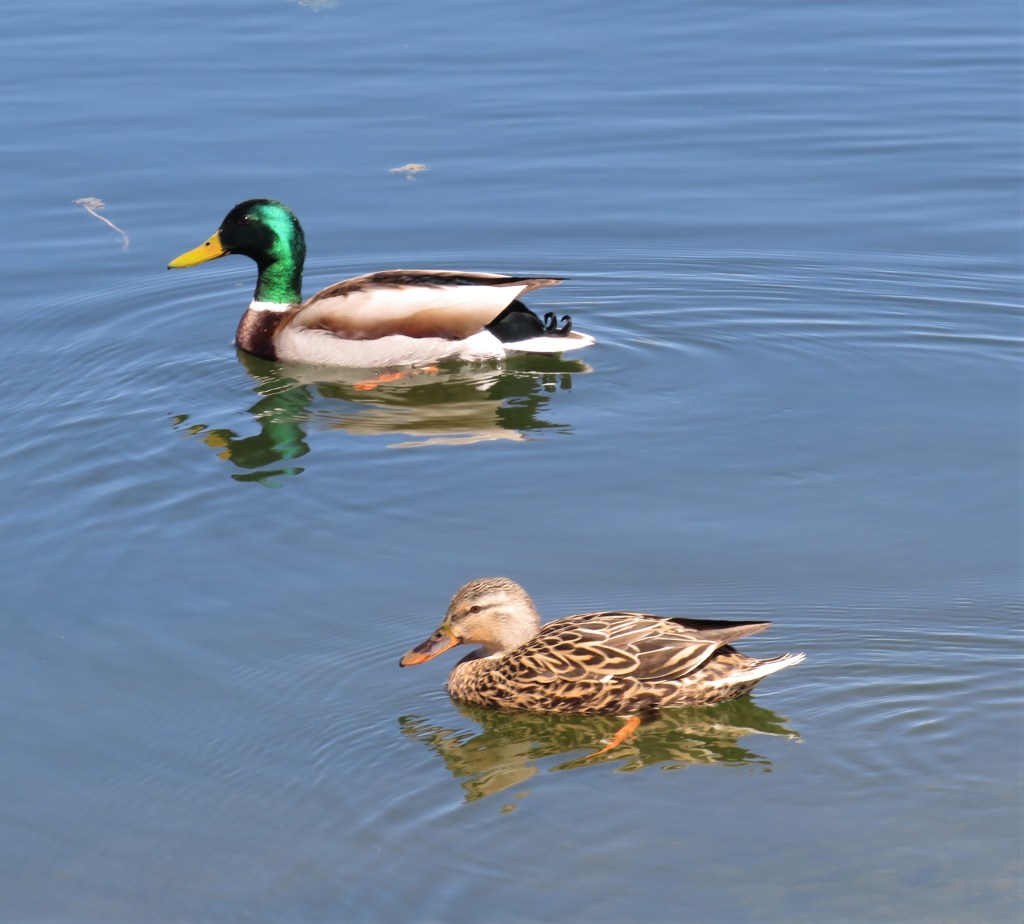
It is so good to see my geese and Mallards back. I haven’t seen many of my other ducks yet, but I know they will come back soon. Lately, I haven’t seen much of anything on my walks around the lakes, but that is changing once again. Soon my lakes will be filled with all kinds of ducks and geese again. My turtles are mostly gone for the season, but my ducks and geese are coming back. Everything has its season.
It was a ducky day today. Make all your days just ducky too.
I laugh every time I hear someone say they want to be a chef because they think it is a glamorous life. Or that they think they will become rich and famous. HA! HA! HA! Too funny! That only proves they know absolutely NOTHING about what it is really like. Do they really know about the personal costs? Do they really know about the LONG hours, NIGHTS, WEEKENDS and HOLIDAYS? I don’t think so. In order to graduate from culinary school, it was MANDATORY to actually work in a restaurant for at least 6 months to really understand a chef’s life. Most people can’t hack it. It is definitely NOT a lifestyle choice for the weak or faint-hearted. The food industry, and particularly restaurants, is a BRUTAL business. You have to be tough and made of the right stuff to survive.
When I was in restaurants, it was still an early time for a lot of women in the industry, which made it even tougher. It is very much a man’s world. I had to work twice as hard and be twice as good just to get half the respect. You have to quickly learn how to play with the big boys or you won’t make it. And don’t even think about crying or showing weakness. You will be eaten alive and thrown out with the trash in a heartbeat. If you are a woman in this man’s world, you have to be even tougher than the men, and believe me, that is saying a lot.
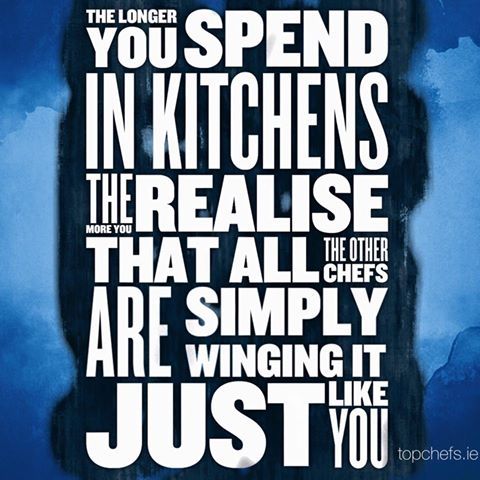
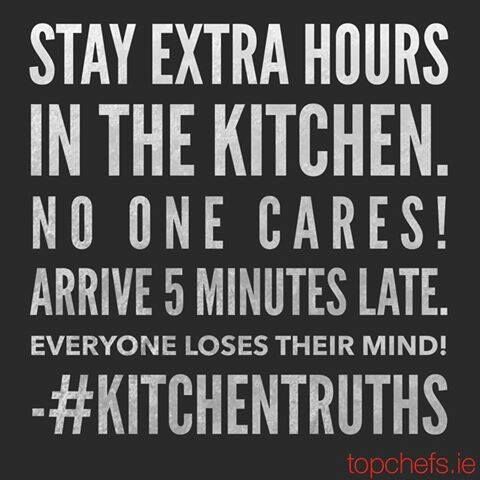
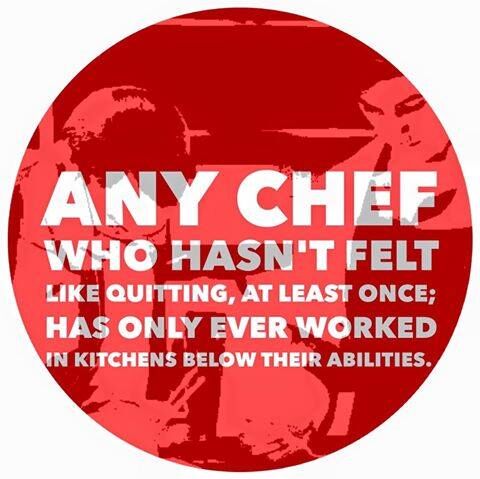
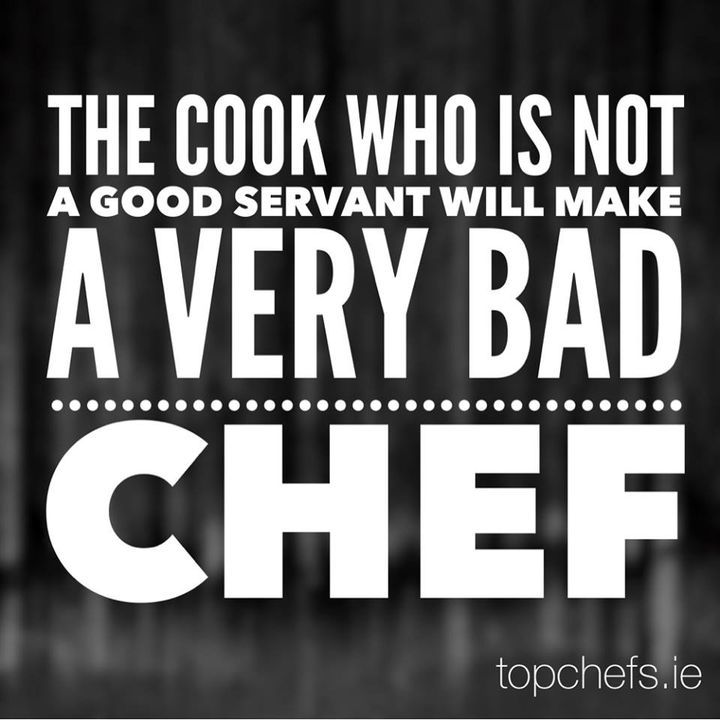
I found these kitchen quotes that really sum up the life of a chef perfectly.
These don’t even go into all the burns and cuts we get on a daily basis either. I have been to the doctor a few times for major burns and/or cuts, and then went right back to the kitchen.
Believe me, these are all very true. Recently Larry and I were watching the movie Burnt, with Bradley Cooper, and he asked me if that was a true representation of the kitchen life. Um, YEAH! Very much so. We also have a favorite word that is used A LOT in the back of the house. This word is NEVER used in the front of the house, but it is a standard part of our vocabulary in the back of the house. It starts with an “F” and ends with a “K”. I’ll let you fill in the blanks. 🙂
So if you still think being a chef is living a glamorous life, think again. Do your research and actually work in a professional kitchen for awhile first. It is NOT the same as cooking from home. This is definitely a labor of LOVE. If you are not passionate about this job, DON’T do it! It will take everything you’ve got and then some if you let it.
I hope this helps all you want-to-be chefs out there. Enter this business with caution if you dare. You either have it in you or you don’t. But if you do have what it takes, it gets in your blood and there is no turning back.
Gingersnap cookies are very popular all throughout Europe and America. They are cookies that have their roots in Dutch, German and English ginger cookies that were originally pressed with a “stamp”. They were first created in Lebkuchen, Germany around 1296. It is believed they were created by the Medieval monks in Frankovia, Germany as Christmas cookies, and their popularity spread from there. Gingersnaps were named from the German or Middle Dutch word snappen, meaning “to seize quickly.
Gingersnaps are the popular snack based American biscuit which is flavored with ginger. Gingersnaps are known by various names such as Ginger biscuits and Ginger nuts in other parts of the world. In reality gingersnaps are improvised version of gingerbread cookies. Gingersnaps are normally prepared as round shaped cookies. Gingersnaps are mostly prepared in varying thickness. In the US and UK this thickness varies between 3mm and 6mm. In Scandinavia gingersnaps or pepparkakor are also known as ginger thins. These ginger thins are rolled thin and are even crispier than their American counterparts. The pepparkakor are often prepared in decorative shapes and are more spiced than their American counterparts. In America the gingersnaps are prepared with prominent cracks on the top. Normally molasses, brown sugar, and ground spices (cloves, ginger and cinnamon) are used in the preparation of gingersnaps. The gingersnaps turn crispier when they are baked for longer time. What is the difference between molasses cookies and gingersnaps? They are the exact same base dough with molasses and ginger, but molasses cookies are soft and chewy and gingersnaps are historically crispy and crunchy, hence the “snap”.
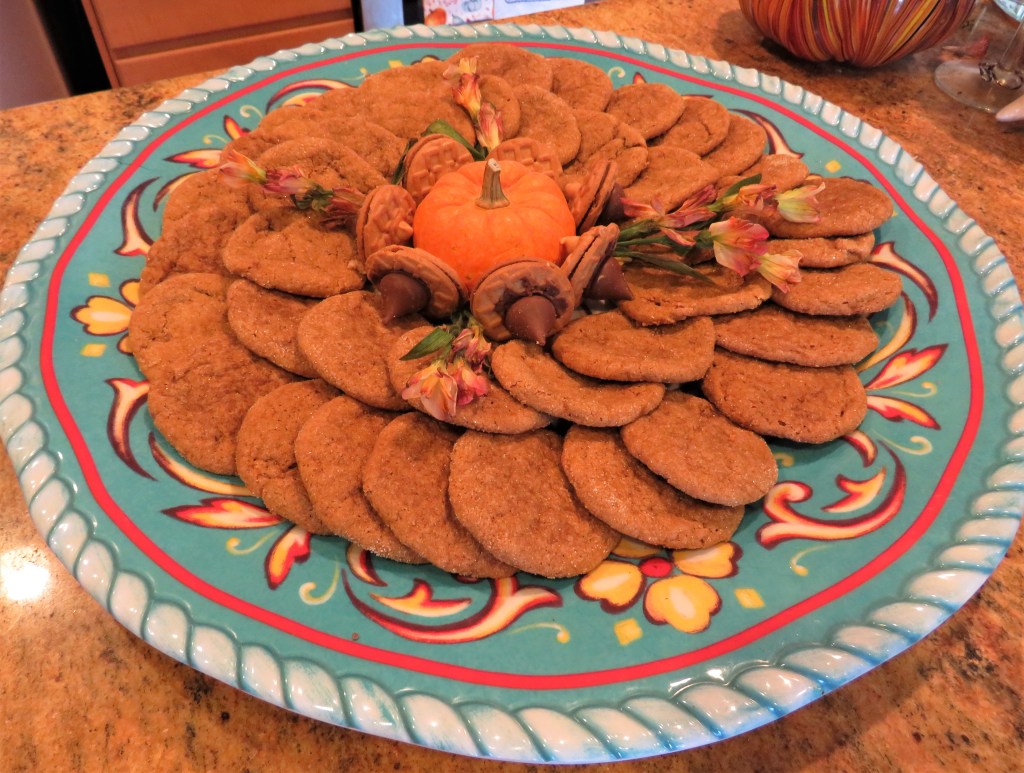
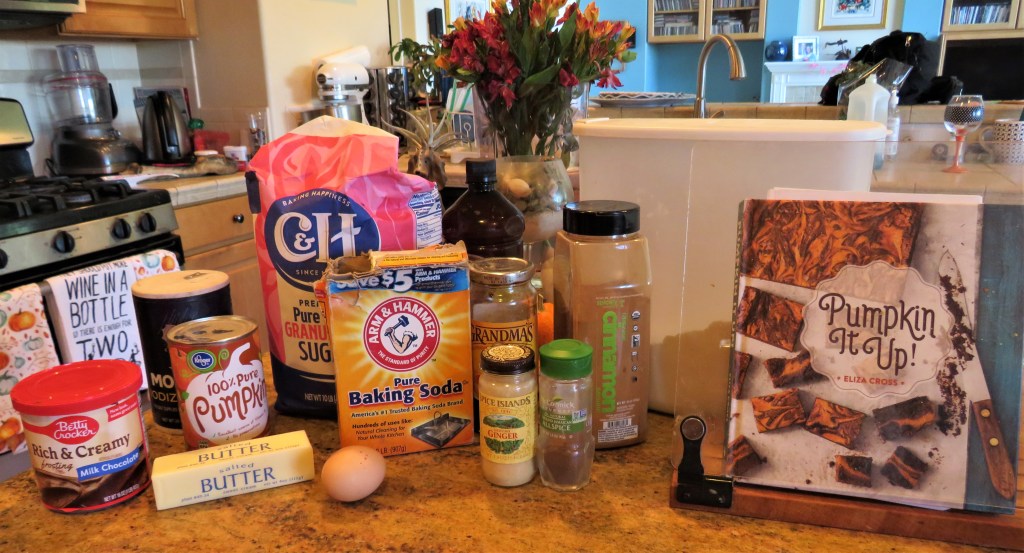
Today, there is some form of ginger cookie found all over the world, with many different varieties and recipes. As you know, right now, it is fall in the United States, and fall means pumpkins, lots and lots of pumpkins. I found a recipe for pumpkin gingersnaps that I just had to make. They were so good too.
Pumpkin Gingersnaps
1/2 cup softened butter
1 cup sugar + more for rolling the cookies in
1/2 cup canned pumpkin puree
1/4 cup molasses
1 egg
1 tsp vanilla
2 1/2 cups flour
2 tsp baking soda
2 tsp cinnamon
1 1/2 tsp ginger
1/2 tsp cloves
1/2 tsp salt
Preheat oven to 350* F or about 180* C.
Combine the dry ingredients well and set aside.
Mix the butter and sugar together until creamy, then add the egg and mix again. Next add the vanilla, molasses and pumpkin and mix together thoroughly, then add the flour mixture 1/2 at a time, mixing in between. Don’t over mix or you will have tough cookies.
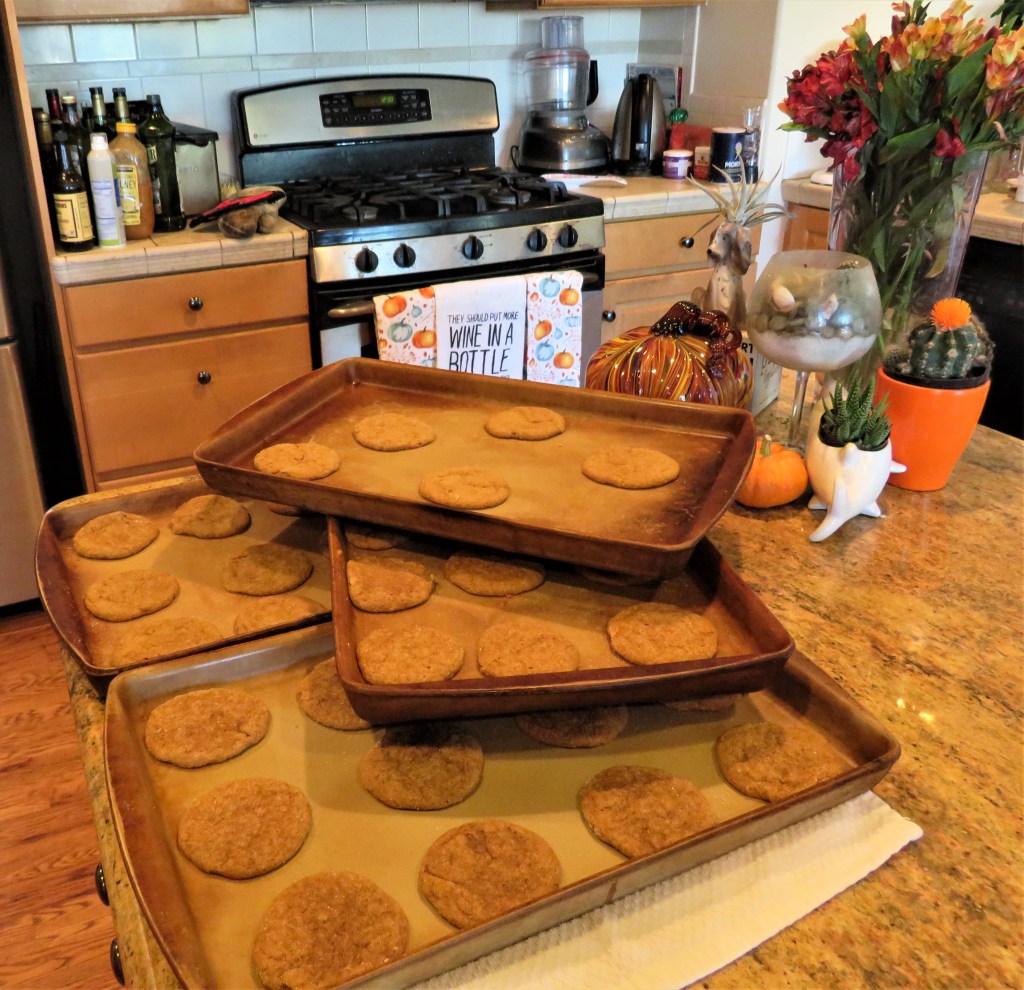
Once the dough is ready, form into round balls then roll into sugar. I like more flattened cookies than rounded cookies, so I usually press them lightly to flatten them out a bit. I also “double dipped” them in sugar. Once I pressed them, I dipped them in the sugar once again for another sugar coating. Place the cookies on a cookie sheet spacing them about 2 inches apart.
Bake for about 13-15 minutes or until done, and allow them to cool slightly before gobbling them all up. You actually are looking for a slight crack on the tops of the cookies, at least with the American version.
I loved the subtle flavors of the pumpkin and molasses combined with the ginger. Everything just comes together so well and taste oh so good. Good luck with eating just one. I bet you can’t. 🙂
Happy Halloween. Stay safe and stay well. ‘Til next time.
Happy Halloween Everyone! Very rarely do I reblog, or share the same information twice, but every now and then, I do. Sometimes we forget good stuff and it is fun to revisit it. Here is some interesting information about the origins of Halloween. I hope you all have a happy, safe Halloween.
I would love to see this furry crew at more door tonight, or every night really. Happy Halloween.
Happy Halloween everyone. Halloween is also known as All Hallows Eve, All Saints Day, and Samhain as well. However you decide to call this day of celebration, it has always been surrounded with magic, mystery and superstition, dating back from its beginnings with the Druids and the Ancient Celts up through today. The Ancient Celts and Druids celebrated this last day of October as the end of summer and harvest and the beginning of winter. They believed this last night before their new year began was when the boundaries between the world of the living and the world of the dead blurred, and the ghosts of the dead returned to earth. It was celebrated with bonfires and sacrifices made to the Celtic Gods. Costumes have always been a large part of the ceremonies. Because times were harsh and there was often not enough food, the poor would go out begging…
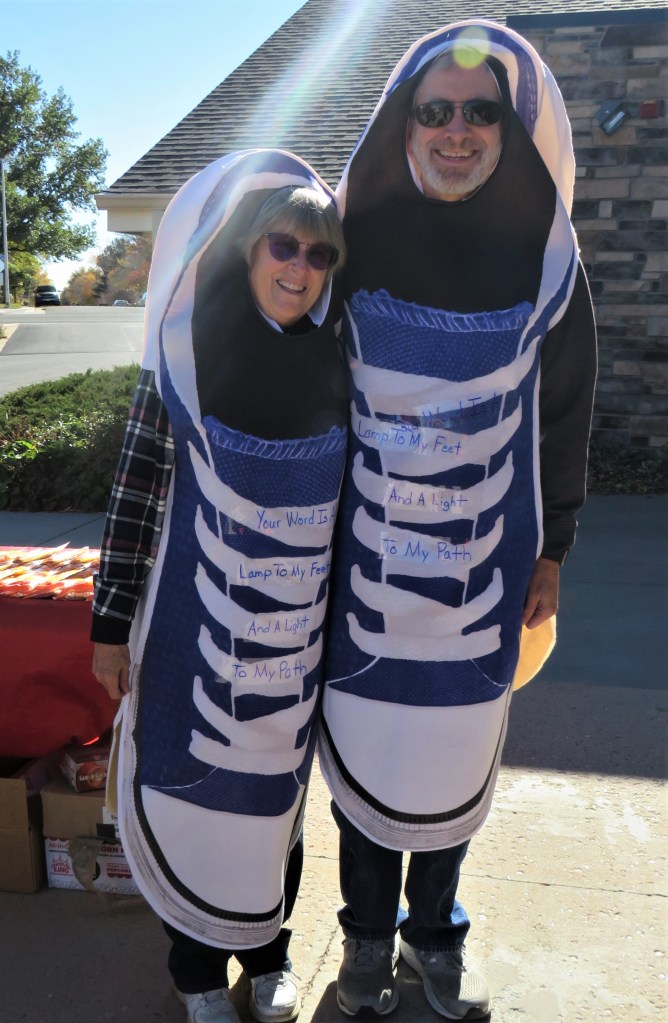
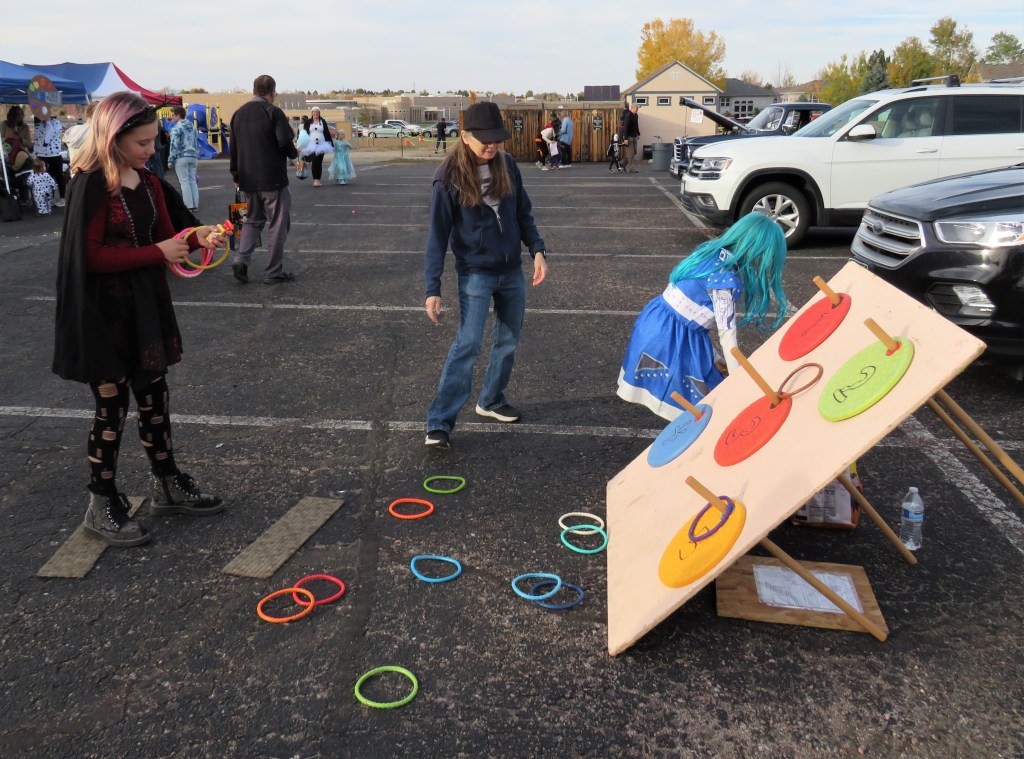
It is that time of year again when ghosts and goblins join forces with pirates and princesses, and all other kinds of fun creative types, to go around begging people for candy. This year I saw a lot of sharks and super heroes as well. It’s Halloween of course.
Instead of kids going from house to house, as we all did when we were growing up, more and more kids are going to organized trunk or treats all around town. It is a safer option, with lots of fun activities for the whole family to enjoy. Once again, our church hosted a very successful Trunk or Treat, with about 500 people in attendance. We had more than enough candy his year, as well as hot dogs, popcorn and cotton candy.
Once again, I was the church photographer and took a ton of pictures. I took well over 400 pictures for the event, but I will NOT share them all with you today. I will just give you a little snippet of all the costumes and fun that I saw. All the kids looked great. Some were cute and some were scary, but everyone had a great time, and that’s what it’s really all about. 🙂
It was a family affair, for kids of all ages to enjoy. I don’t know who had more fun, the adults or the kids.
Lacy is the creative genius who planned this fun event. Here she is with her best guys.
We had quite a few cars that participated and they were all so creative.
This one with the 101 Dalmatians theme was fantastic.
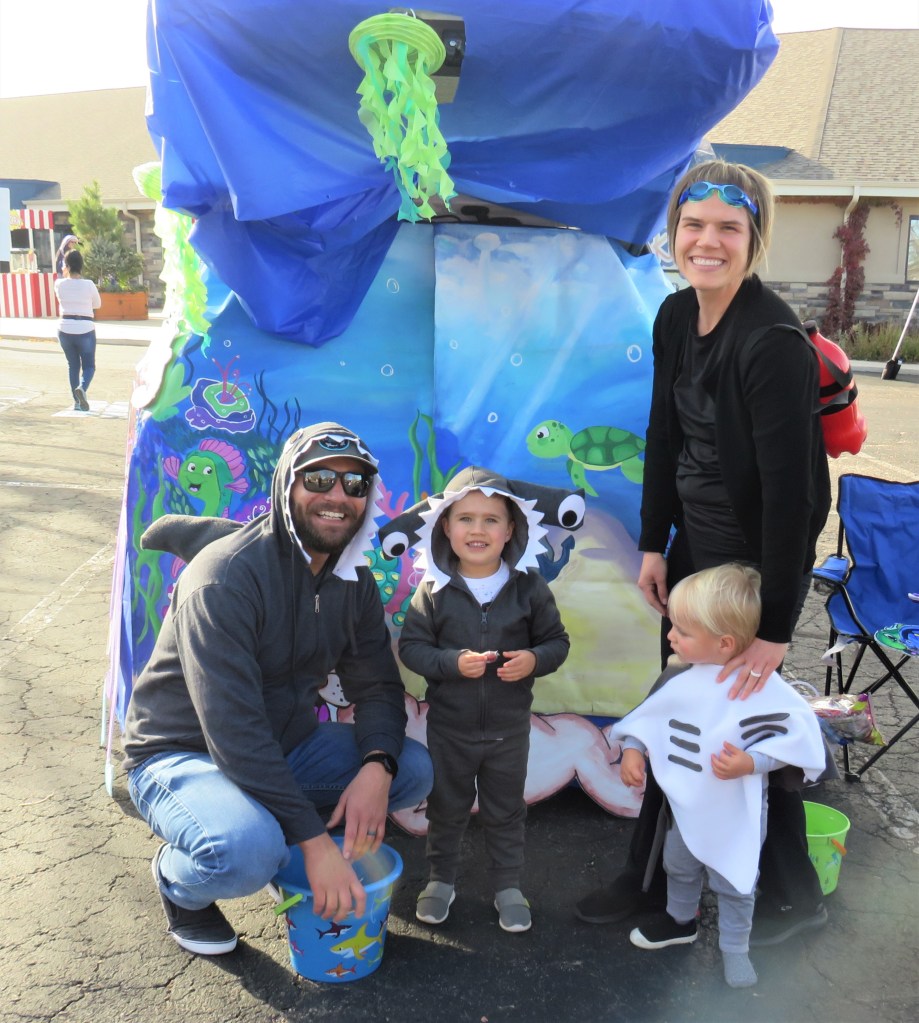
As well as this one with The Under the Sea theme.
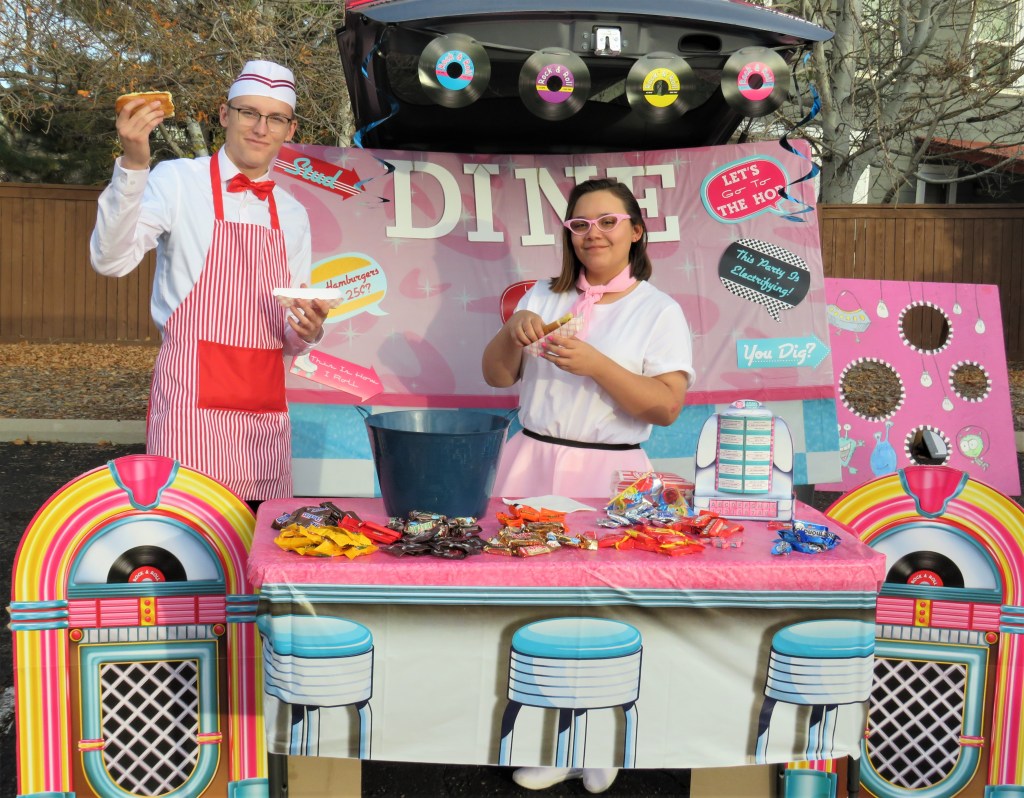
Wendy’s donuts were deliciously fun too, as well as her daughter Zoe’s 1950’s diner theme.
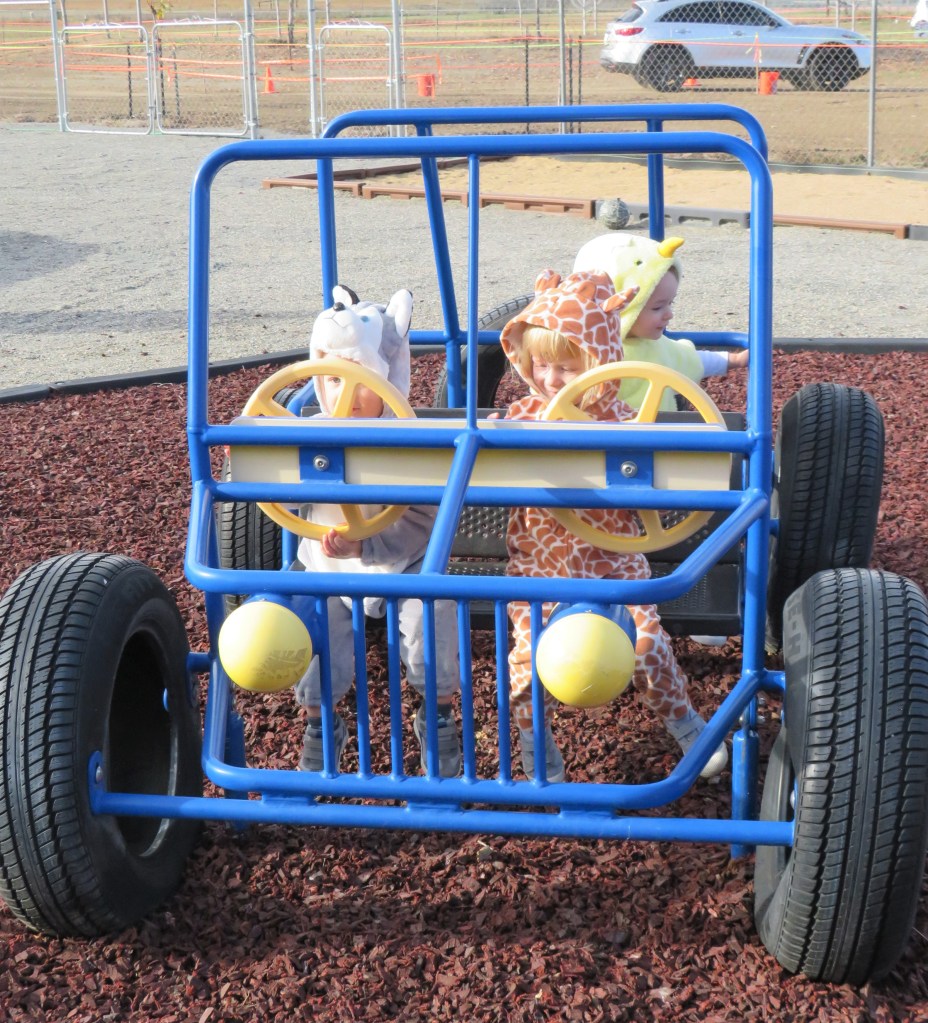
Everyone had loads of fun, but it is always the littlest ones who bring the most joy to me. I love seeing them all dressed up with the bags of candy and big smiles.
The Count.
A cute little duckling.
A rainbow kitty.
And a green stegosaurus.
These two are giving me their best super hero poses.
To infinity and beyond.
The dragon slayer.
Our beautiful little Bambi.
This is the cutest shark I have ever seen, and I have seen a lot of sharks too.
This beautiful monarch is more than ready to spread her wings.
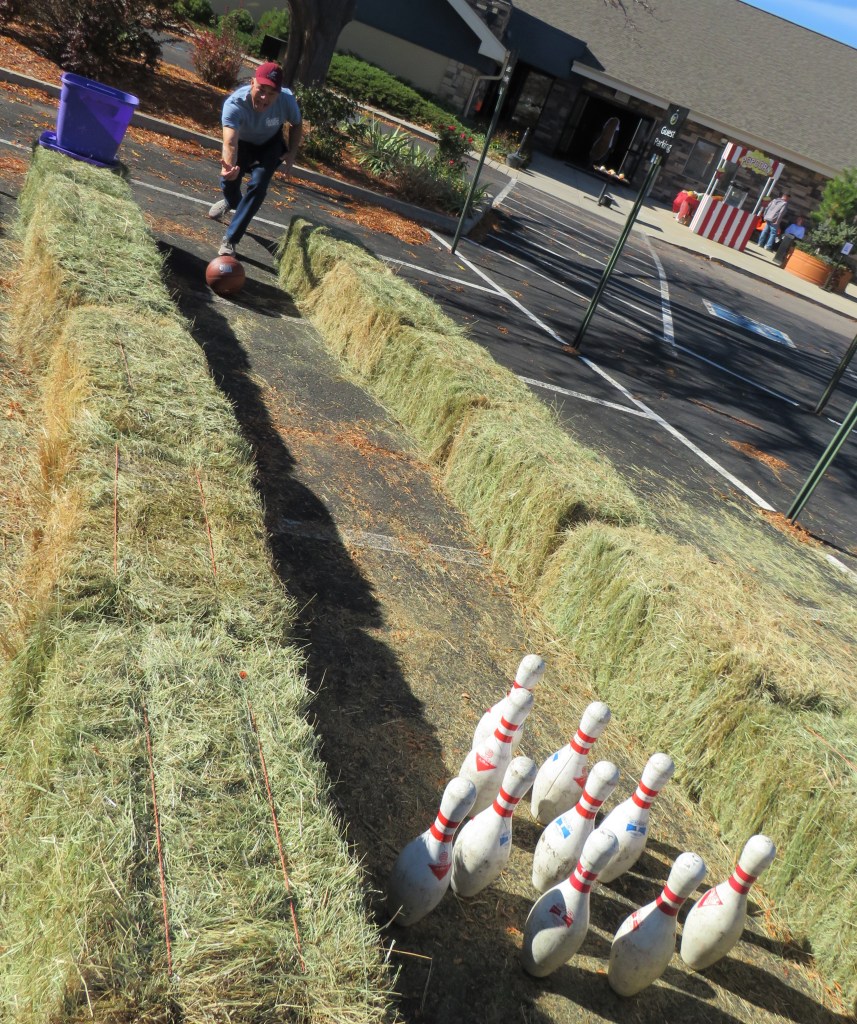
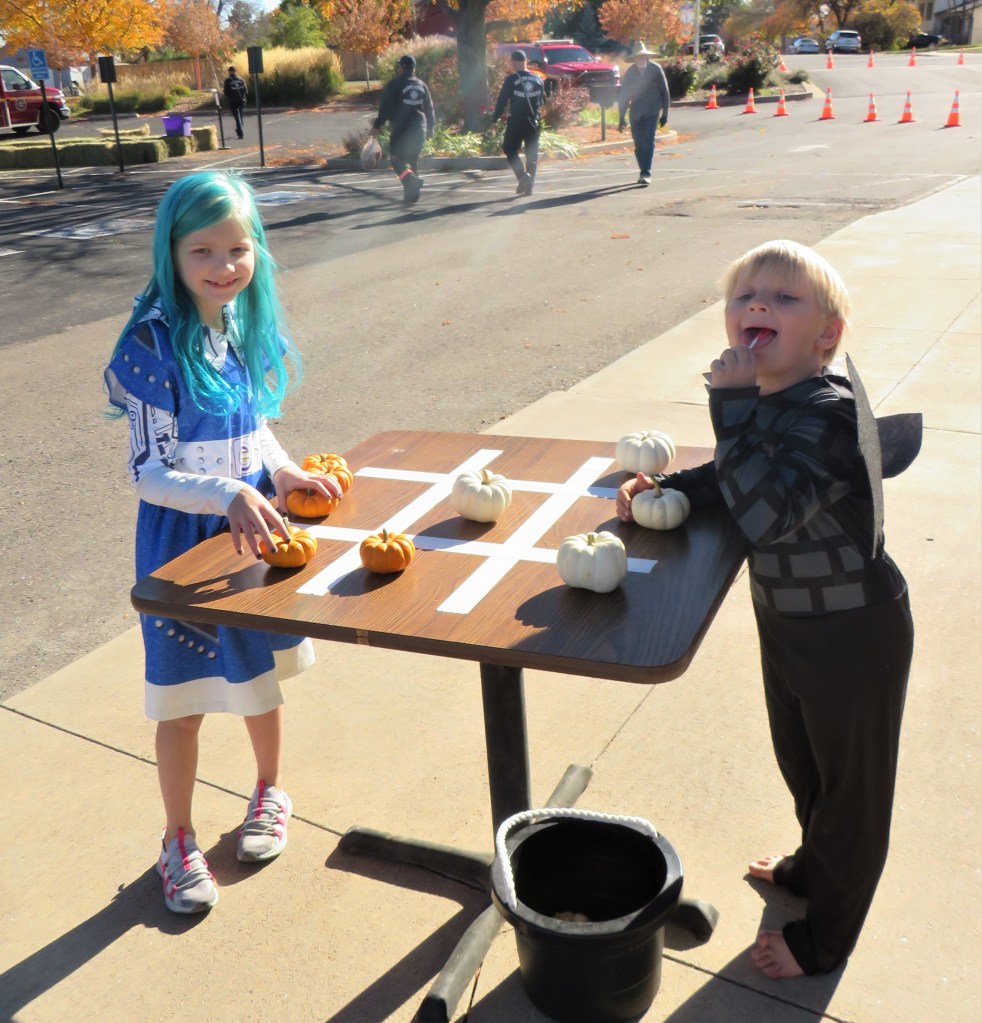
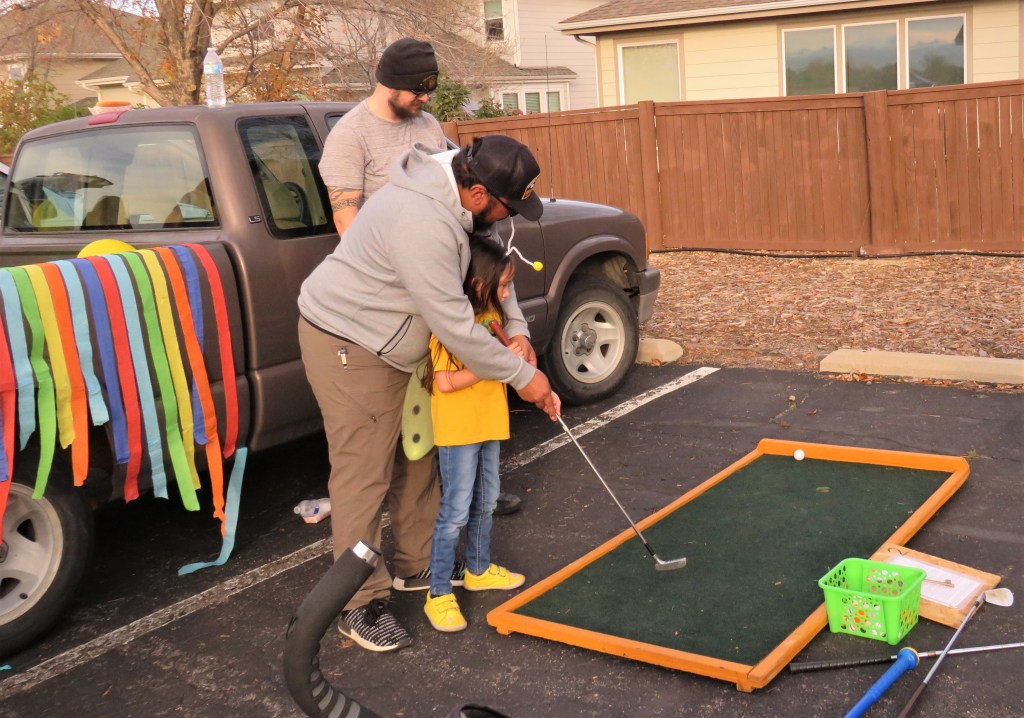
We had all kinds of games for everyone to enjoy too.
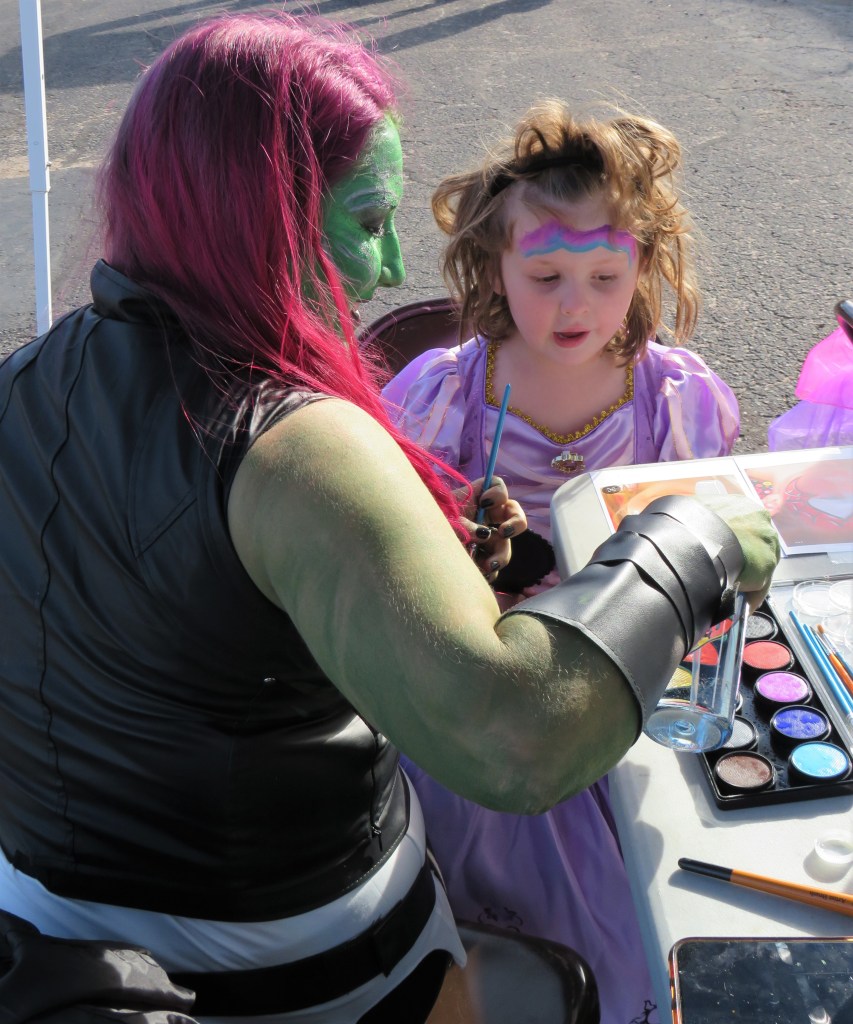
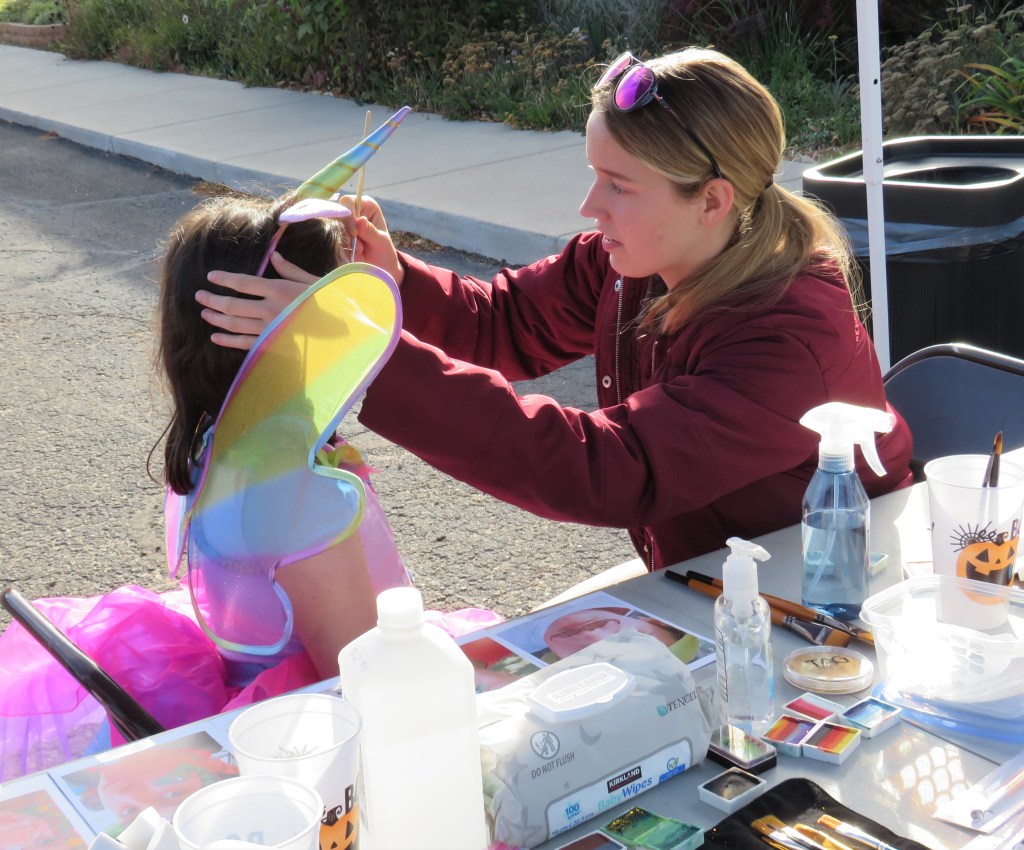
We had face paintings.
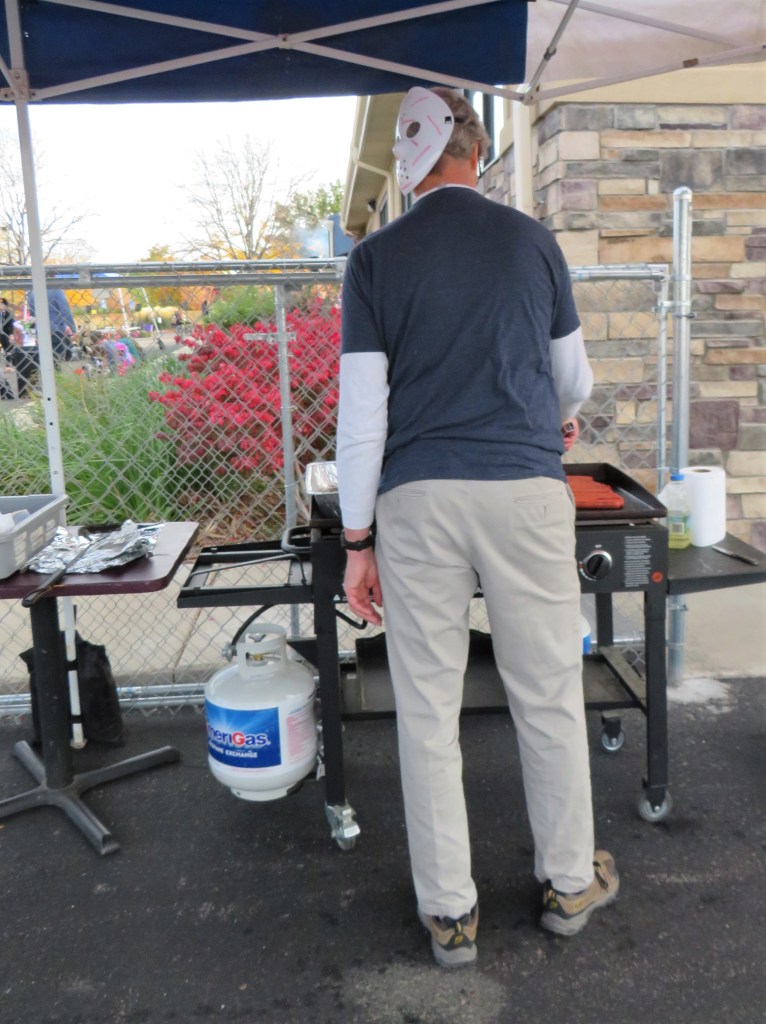
And we had hot dogs. Larry was the dog master.
James is serving up the dogs.
Don’t eat this dog though. Elijah might bite back.
We even had a taco.
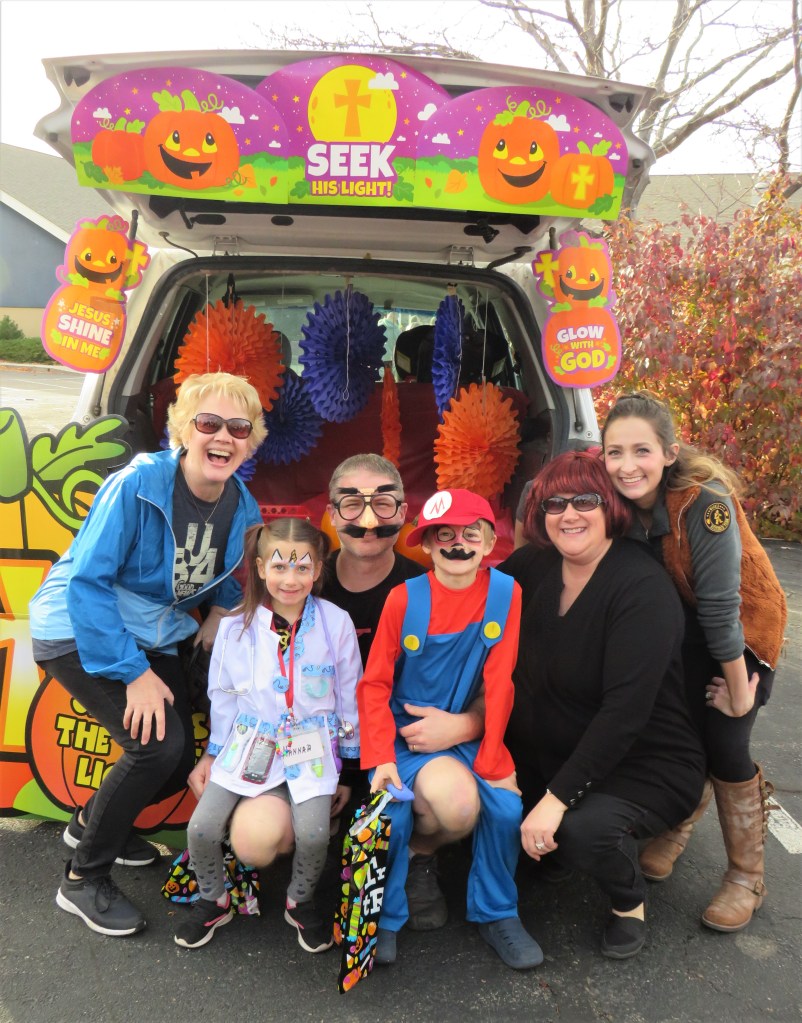
Our pastors like to get in on all the fun too. Pastor Michael, our Musical Director, and his family.
Pastor John with his family, his mom Peggy and Lacy. Lacy is our Young Kids Director.
And our Lead Pastor, Matthew giving some sage advice to these trick or treaters.
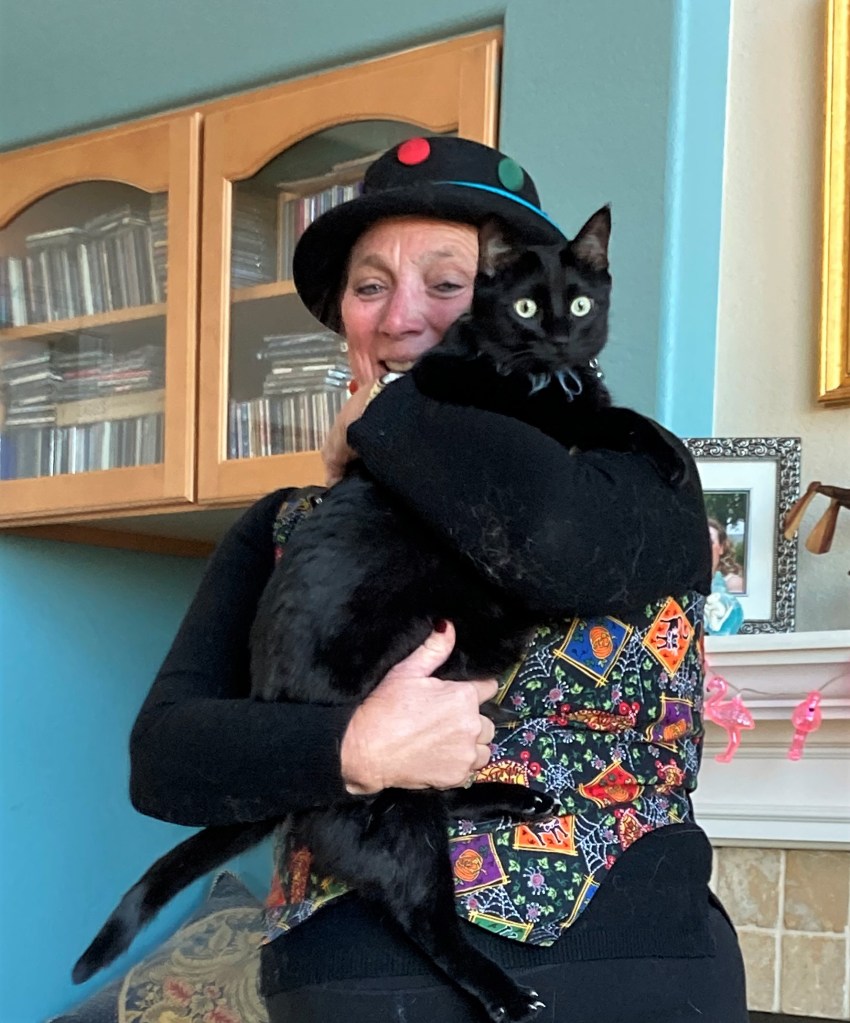
I was busy taking pictures, but my black panther, Nicky (Nicodemus) wanted to get in on the Halloween fun too. We took a picture right before meeting all the trick or treaters. She says BOO!
As you can see it was a great day and we got so many people to participate in all our games, activities and fun. Everyone left with lots of candy, lots of fun memories and lots of smiles. Happy Halloween Everyone. Stay safe and stay well. ‘Til next time.
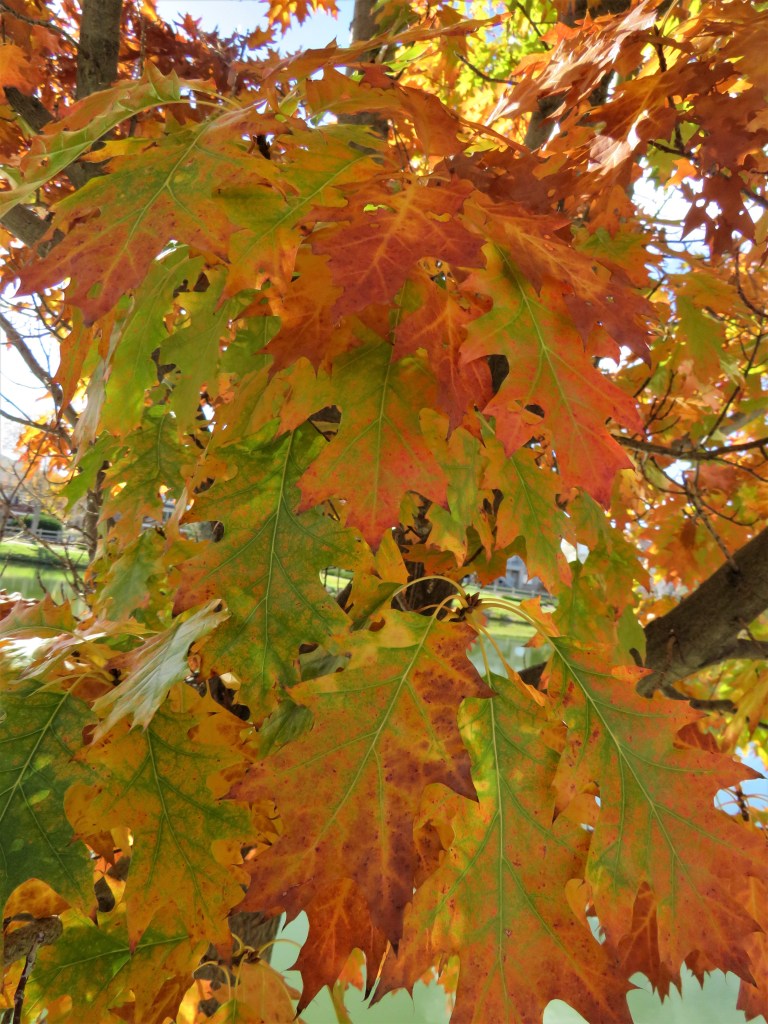
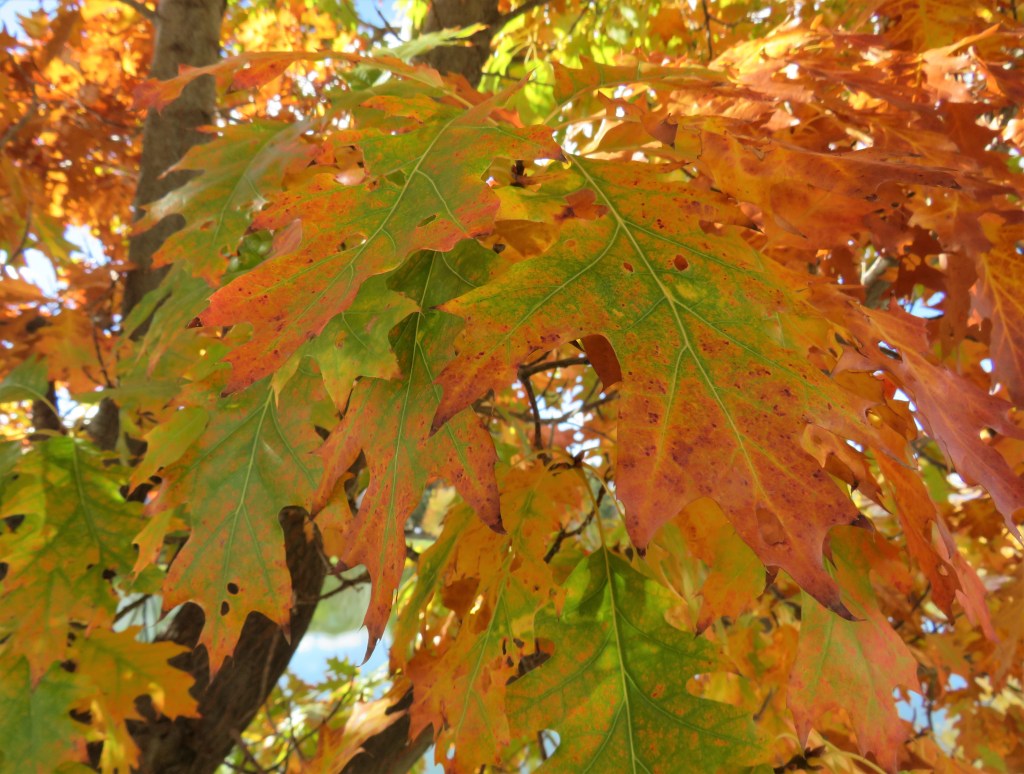
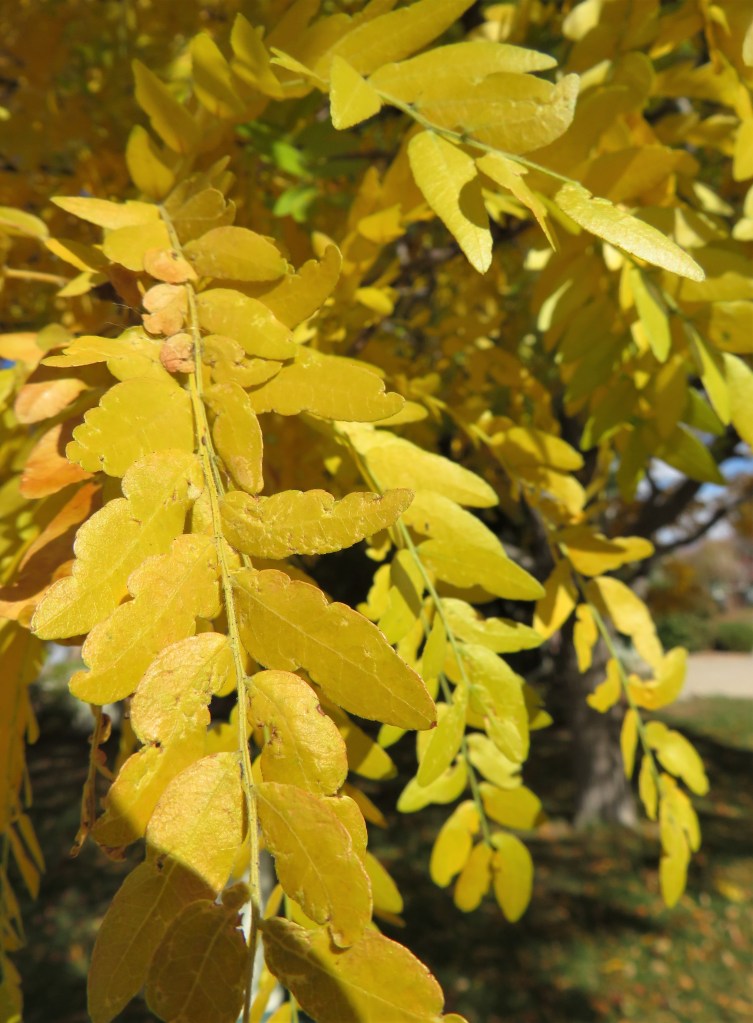
Most of our beautifully colored trees have now lost their leaves. There are still a few trees that are holding onto their leaves, but for the most part, most of them have gone for the season. It sure was beautiful while they were here though. Now we are preparing for winter. These are some of the last of this season’s beautiful colors. Enjoy them whole you can, because soon they will all be gone.
These are all that is left on my tree, and soon, they will be gone too.
Have a great day and make the most out of today and all your days.