I have created this site to help people have fun in the kitchen. I write about enjoying life both in and out of my kitchen. Life is short! Make the most of it and enjoy!
It’s VBS (Vacation Bible School) time once again, and that means I am busy making VBS snacks. I will be making snacks all week, but like my coffee cart, I spread it out through the week, so no one day is totally overwhelming. Lacy, our Early Childhood Director, comes up with all these ideas from her work plans and then she passes them along to me to make. This year’s theme is “Wild Life”.
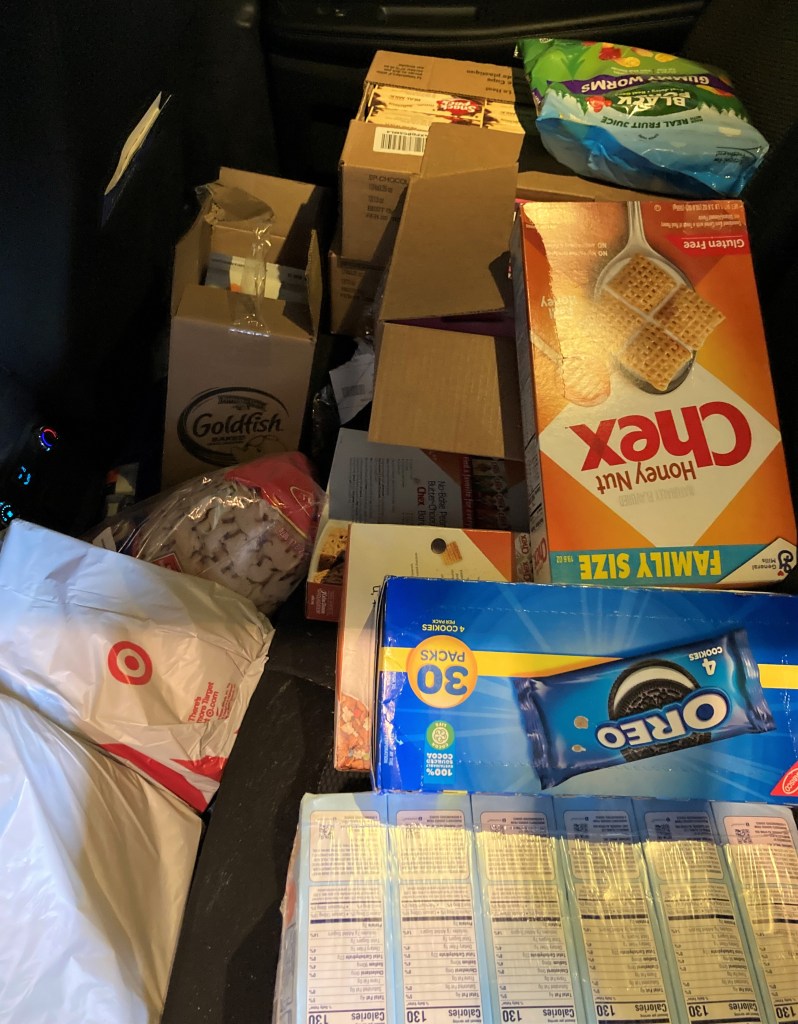
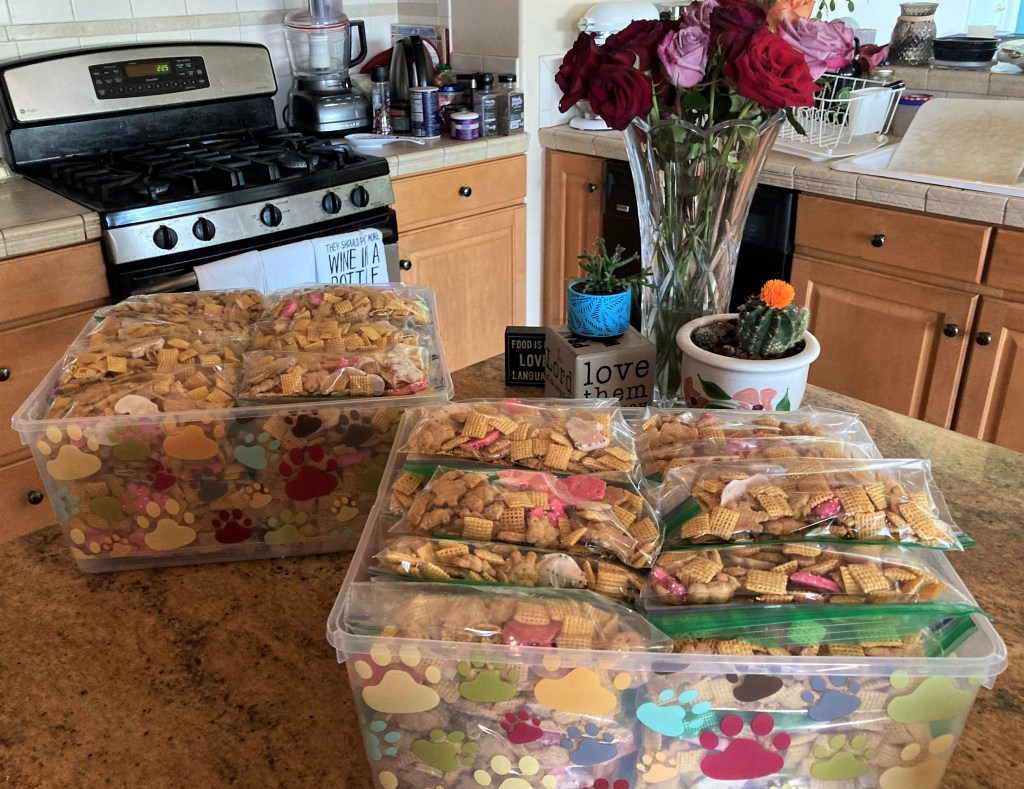
The backseat of my car is filled with goodies for VBS snacks.
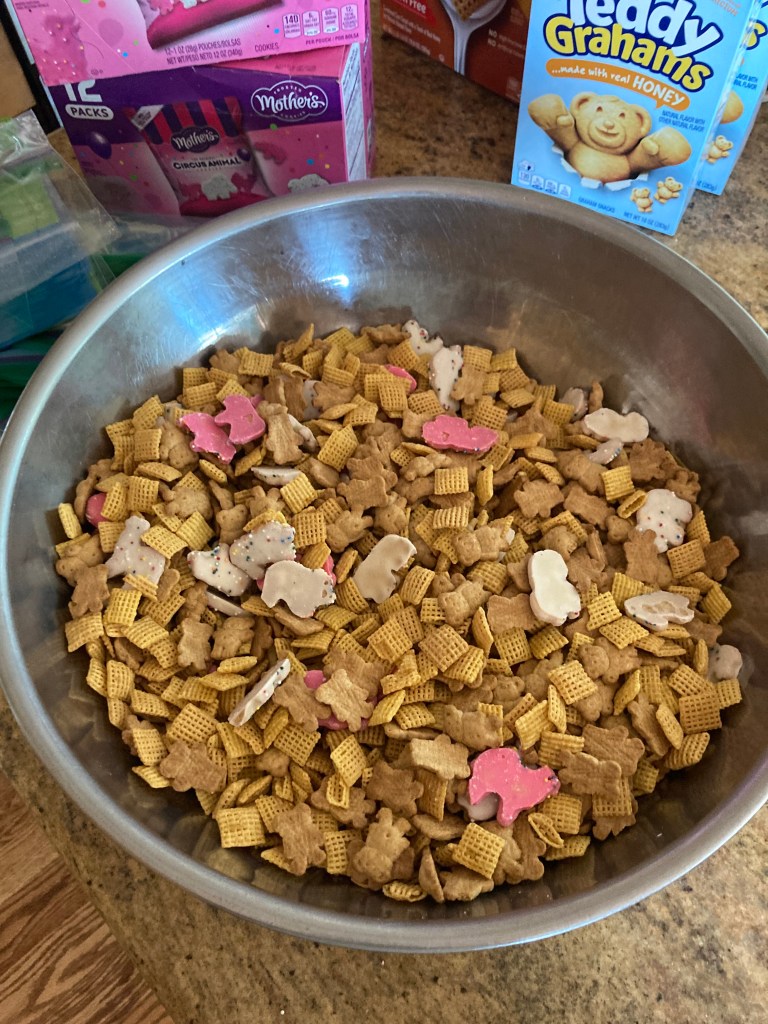
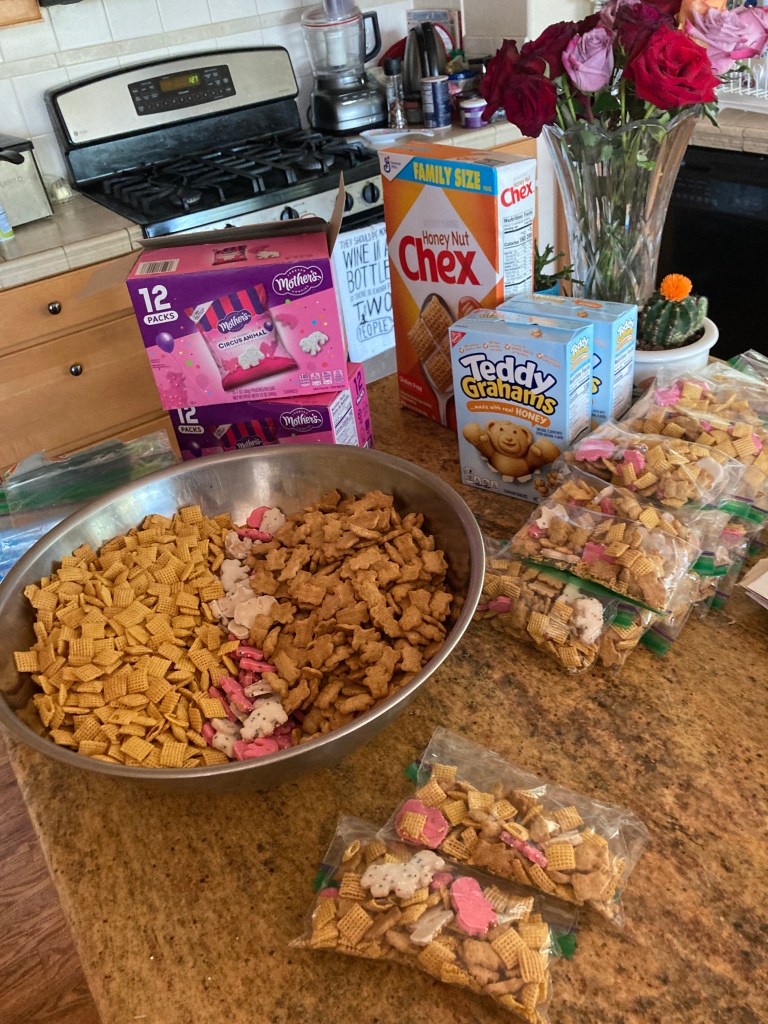
The first batch of goodies were bags of circus treats. They were easy to make, there was just a lot of them. They are a mixture of Honey Chex, Teddy Grahams and Circus Cookies all tossed together.
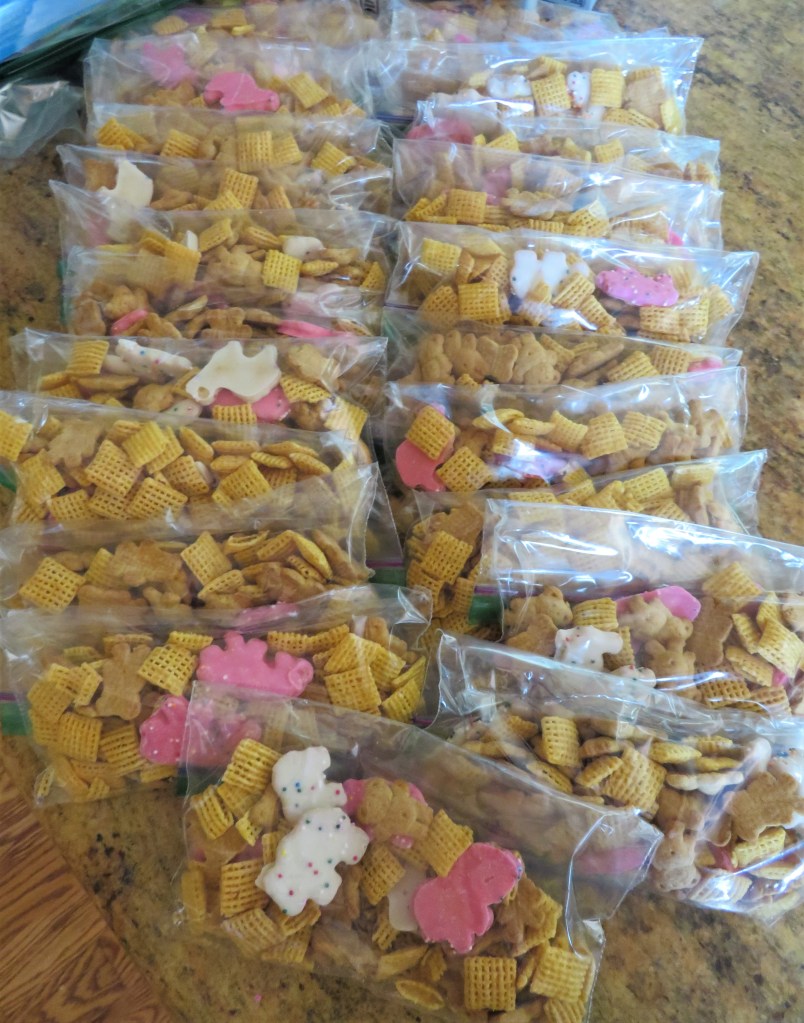
We are expecting 80+ kids this year, so I made 106 bags in total. You always want to make a few more, just in case.
This is the first batch of goodies. There are more coming your way all week. If you have kids or grandkids these are fun snacks to make together, that you know the kids will enjoy munching on.
Put some fun into everything you do. Have a great day and make everyday great. Have fun, stay safe and stay well. ‘Til next time.
Yesterday, I told you about my Peruvian chicken or pollo la brasaPeruvian Chicken Con Salsa Aji Verde . Today I am going to share the rice dish I served it with, called arroz con alcachofas or rice with artichokes. I actually combined two different recipes, and then added my own personal touches as well to create this delicious Peruvian side dish.
Artichokes are native to the Mediterranean and have been growing wild since ancient times. They were mainly localized to the Mediterranean until the 19th century when European immigrants introduced the plant to South America where it became highly naturalized in Peru, Chile and the other southern countries of South America. When in season, they grow abundantly and are very popular, used in all kinds of dishes.
Artichokes do not like cold weather, and are grown in regions where the temperature is pretty moderate year round. Italy is the number one producer of artichokes in the world, followed by Egypt, Spain and Peru. In the United States, they are almost exclusively grown in California.
Arroz Con Alcachofas
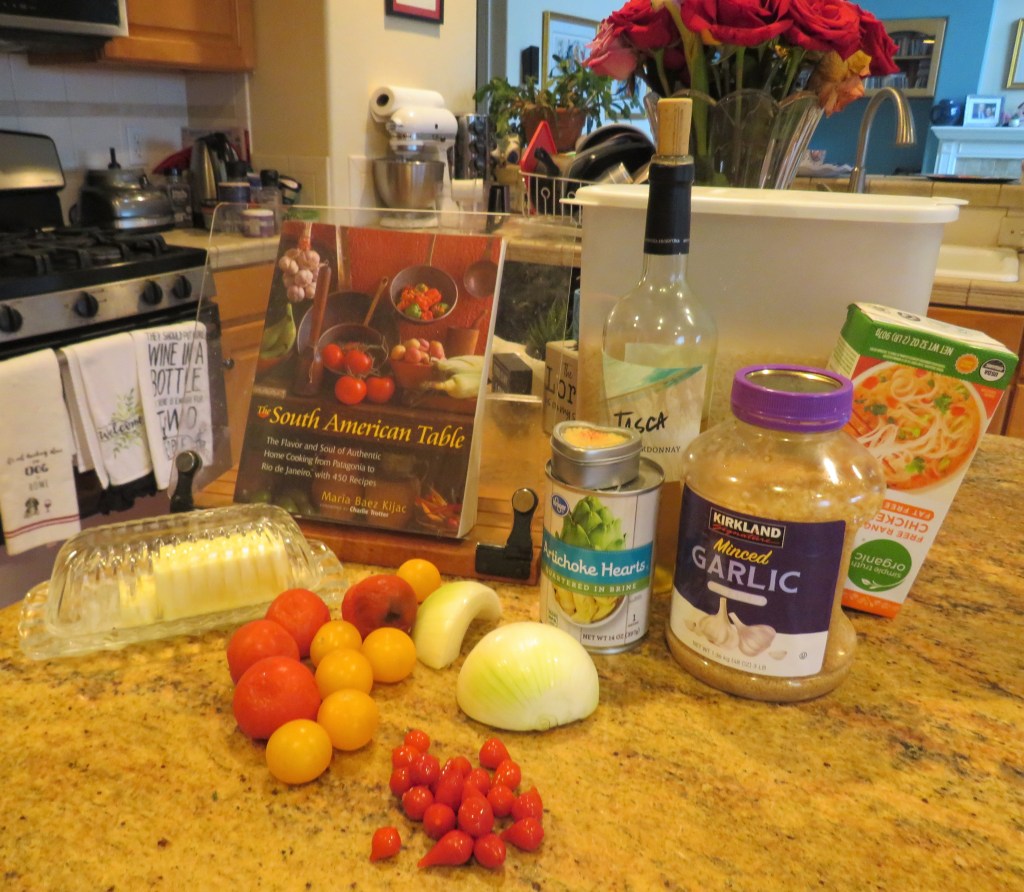
1 1/2 cups rice
1/2 onion, diced
1/2 tsp saffron threads
1/2 cup dry white wine
3 cups chicken broth
1 can artichoke hearts, drained, rinsed and quartered
1 TBSP garlic
salt & pepper to taste
1 – 1 1/2 cup chopped tomates
1/4 cup Peruvian peppers
butter and olive oil for cooking
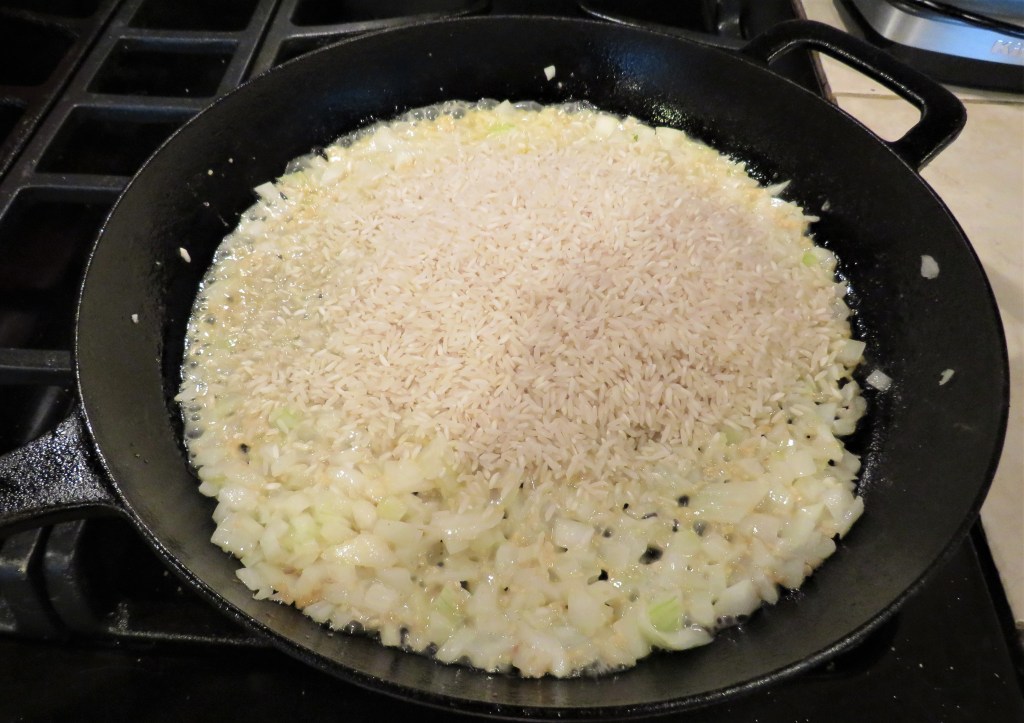
Get a large skillet very hot and add the butter and olive oil. Add the onions and cook for about 2 minutes, then add the garlic and cook for an additional minute.
Add the rice and saute in the butter and oil until it is all coated, for about 1 minute.
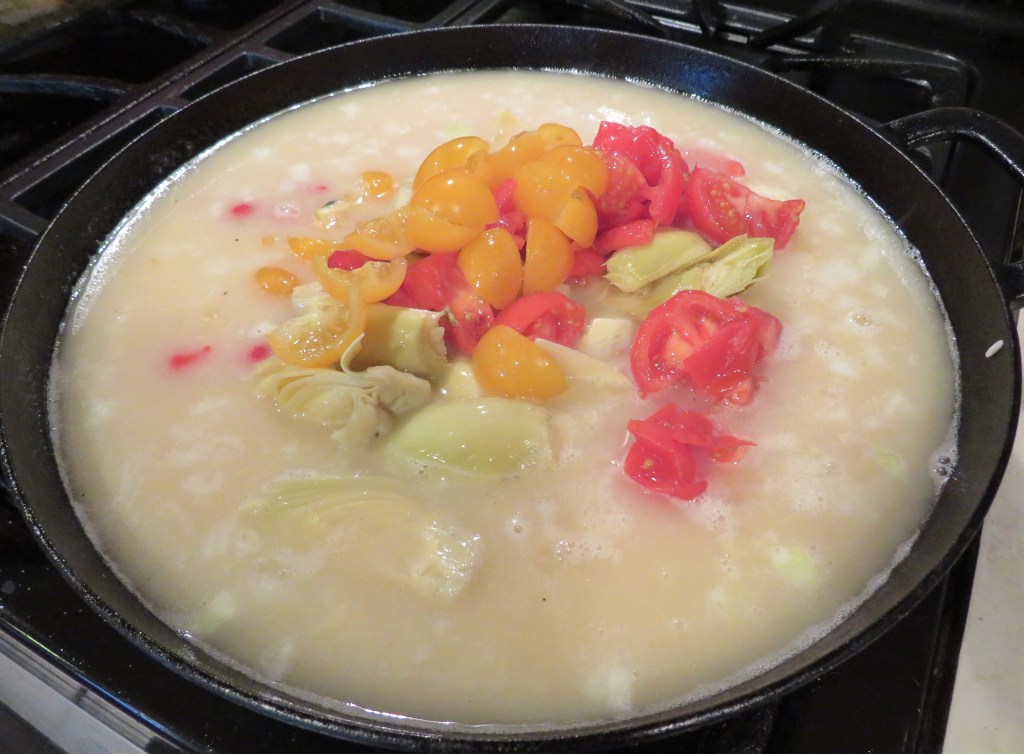
Add the rest of the ingredients, bring to a boil, then cover and reduce the heat to a simmer and continue to cook for about 20-25 minutes, or until the liquid is mostly evaporated, stirring occasionally to make sure the rice doesn’t stick.
When the rice is ready, serve it with your favorite main course, such as pollo la brasa, and desfruitas! Enjoy!
Have a great day and make everyday great. Stay safe and stay well. ‘Til next time.
Once again, our very own, Ohiocook from My Meals Are On Wheels at https://beatcancer2010.wordpress.com/ and NonNom’s Recipes at https://nomnomsrecipes.com/ were my inspiration for this delicious dish. Thank you, as always, for all your delicious ideas. Please keep them coming. 🙂
Peruvian chicken, also known as pollo a la brasa, is chicken that is cooked slow, and is traditionally cooked on a rotisserie, though roasting it or grilling it works fine too. Pollo la brasa is Spanish for rotisserie chicken—the Latin way. It is made with garlic, spices, chilies, lime juice and sometimes with mint as well. The recipe is relatively new, created back in 1950, by a Swiss immigrant to Peru, named Roger Schuler. When he moved to Chalalacayo, near the capital of Peru. Mr. Schuler was originally a chicken farmer and he was playing with different recipes and cooking techniques when he stumbled upon this delicious concoction. The spicy rub is what makes this dish so special and tasty. It also helps provide the crust, which seals in the juicy, moist flavors. Today, Pollo la brasa is one of the most popular and widely eaten dishes in Peru.
Over time, Peru’s cuisine evolved through the fusion of indigenous Peruvian cultures, Spanish colonization, Arab/Moorish influences, the arrival of slaves from Africa, and Japanese and Chinese immigrants. This historical integration led to a unique food cultures and cuisines including “Creole”, “Nikkei” and “Chifa”. And anything that is cooked in my kitchen, is also “Jeannified” and is lovingly made with the influences of Jeanne as well. 🙂
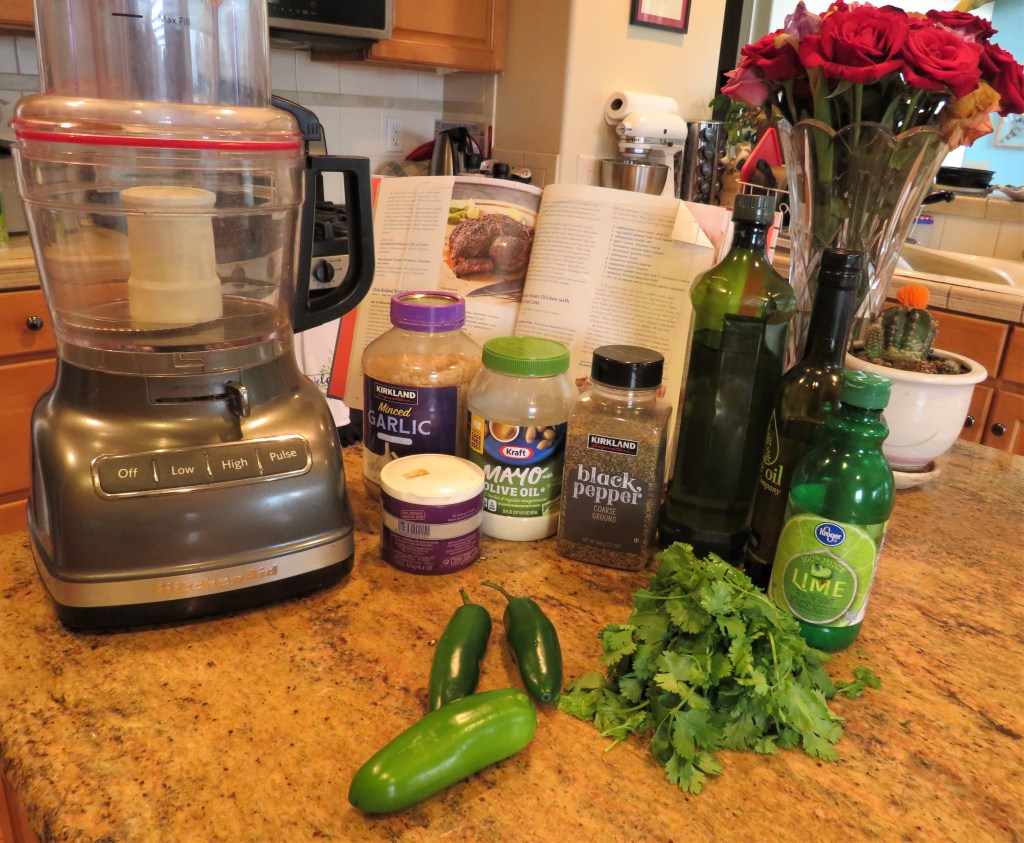
I made the spicy lime, garlic and spice rub first. Everything went into the food processor and was blended until it was a thick paste.
3 TBSP olive oil
1-2 TBSP lime olive oil, optional
1-2 TBSP garlic
1 TBSP black pepper
1 TBSP cumin
1 TBSP sugar
2 tsp paprika
2 tsp oregano
2 tsp lime zest
1/4 cup lime juice
3 jalapenos, seeded
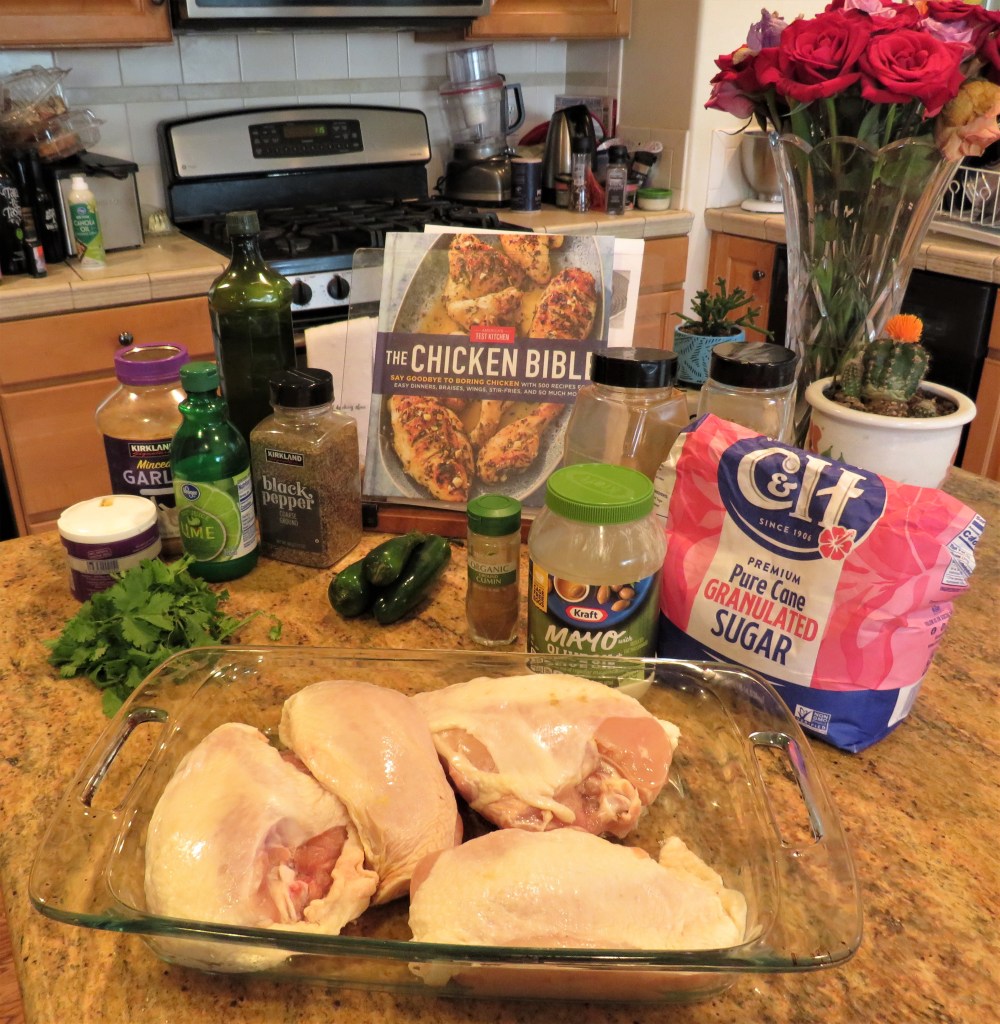
3-4 lbs chicken, either whole or pieces
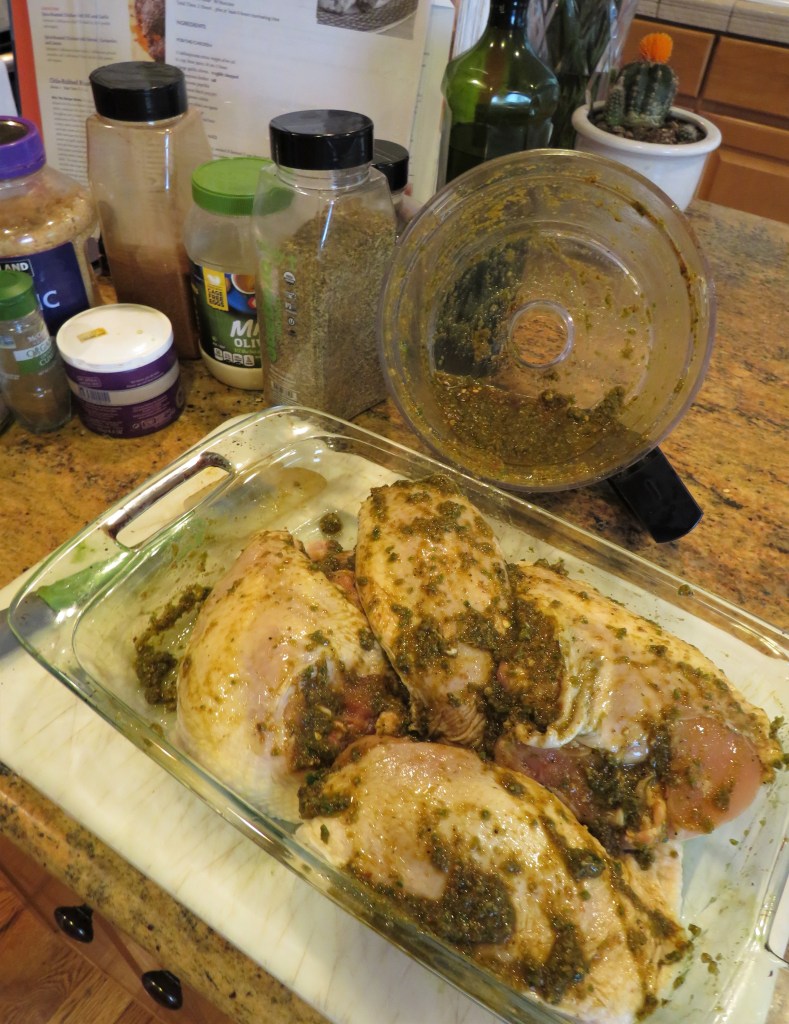
Once the paste is made, completely coat the chicken and let it marinate in the refrigerator for a minimum of 6 hours and up to 24 hours.
When the chicken is ready to cook, preheat the oven to 500* F or 260*C. Place a cup of water in the oven when it gets to temperature. This will act as a steamer and will help with the crusting of the skin. Place the chicken in the oven and cook for about 20 minutes, then reduce the temperature to 350* F or 190* C and continue to cook until all the juices run clear and the internal temperature of the chicken is about 165*F, or for about 40-55 minutes. Once I reduced the oven temperature, I took the water and poured it into the baking dish.
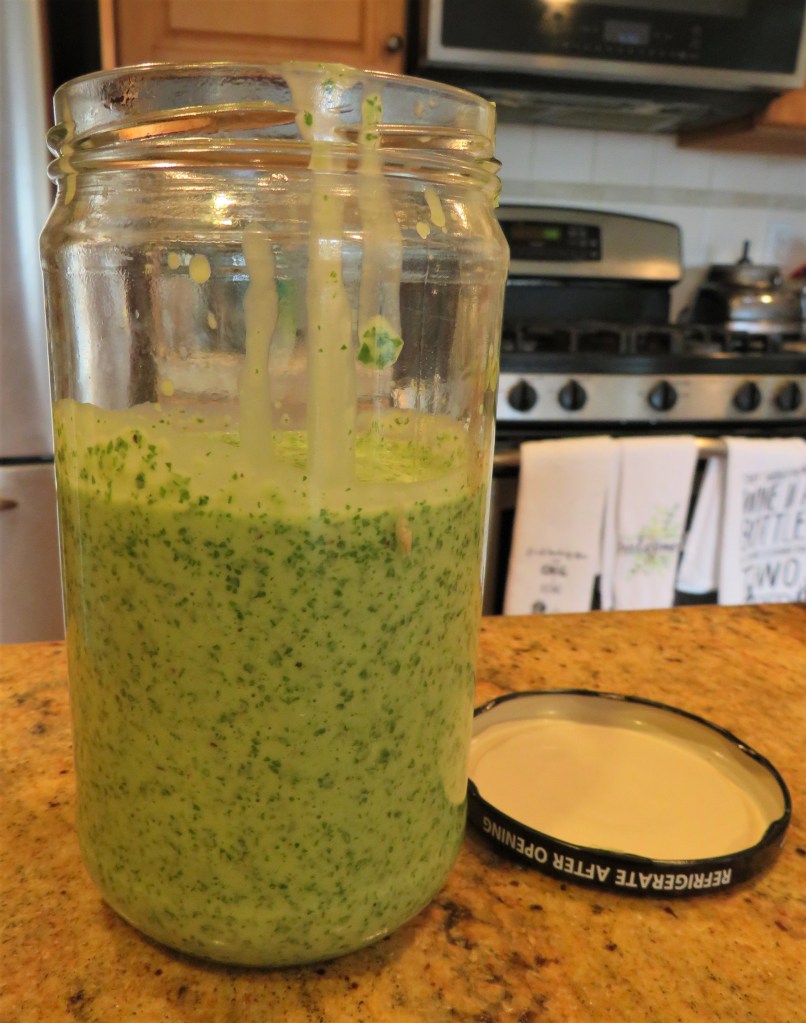
This chicken is almost always served with a green sauce or una salsa aji verde, which is a green sauce made with jalapenos, lime juice, garlic and cilantro. So, while the chicken was marinating, I made the salsa aji verde.
Aji Verde or Green Sauce
3 jalapeno, seeded
1 cup fresh cilantro
1 TBSP garlic
1 cup mayonnaise
1 TBSP lime juice
1/2 tsp salt
1/2 tsp black pepper
2 TBSP olive oil
1 TBSP lime olive oil, optional
Place everything in the food processor and blend until it is all creamy. Set aside until you are ready to use.
When the chicken is completely cooked, top it with the salsa aji verde before serving.
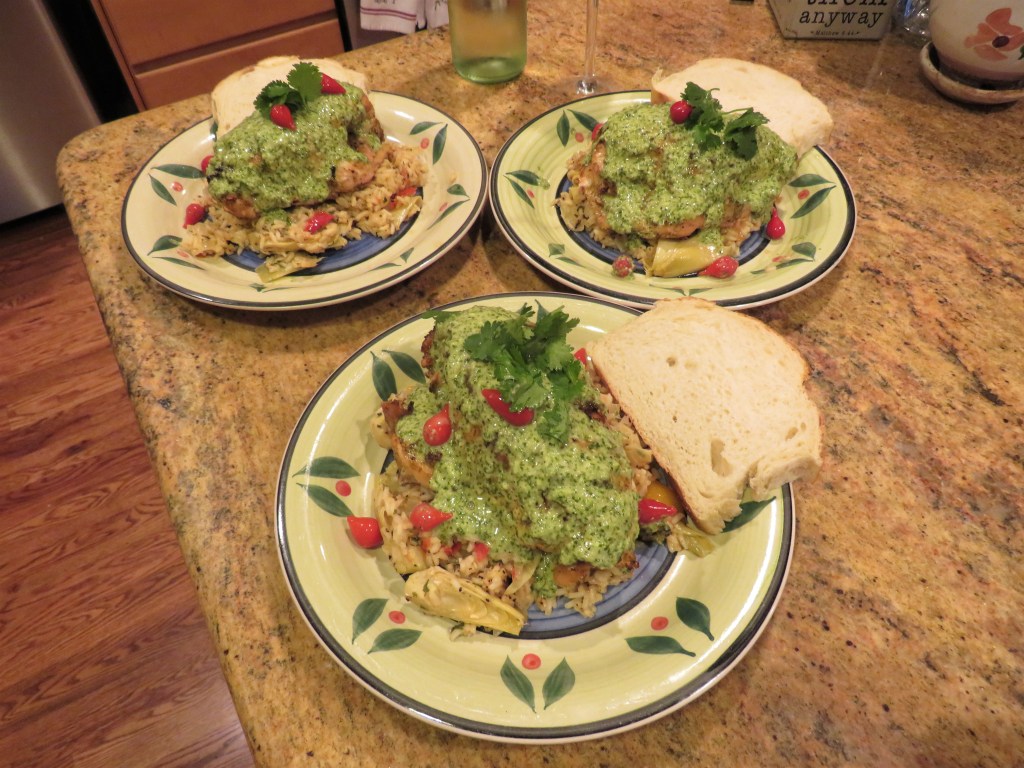
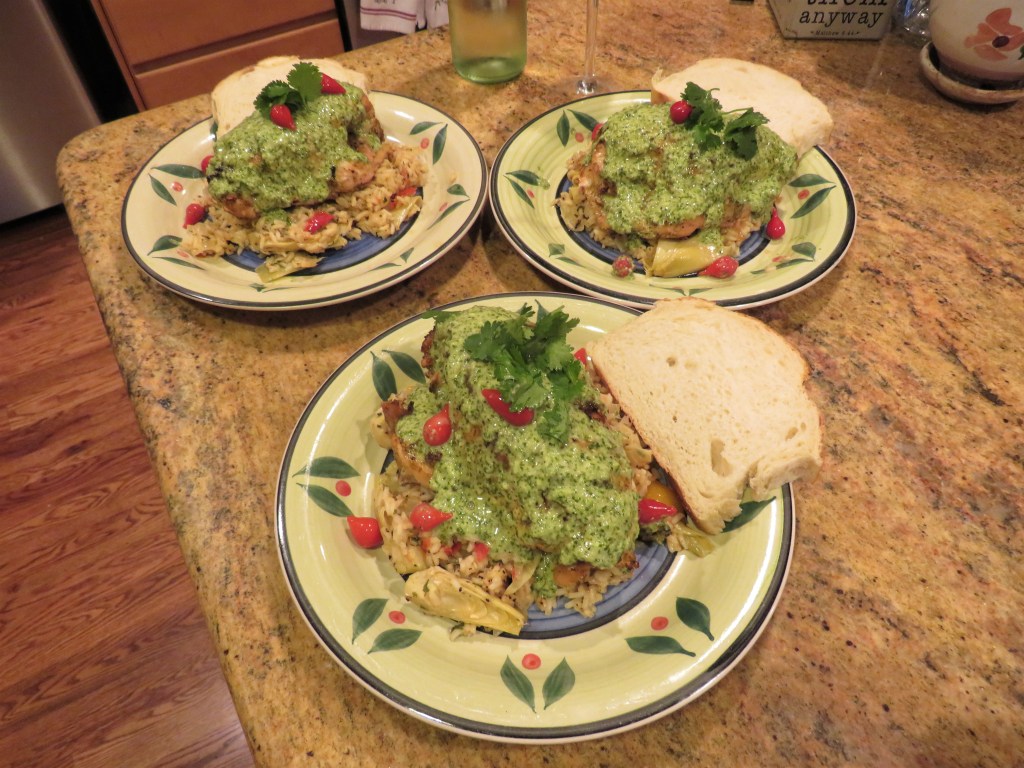
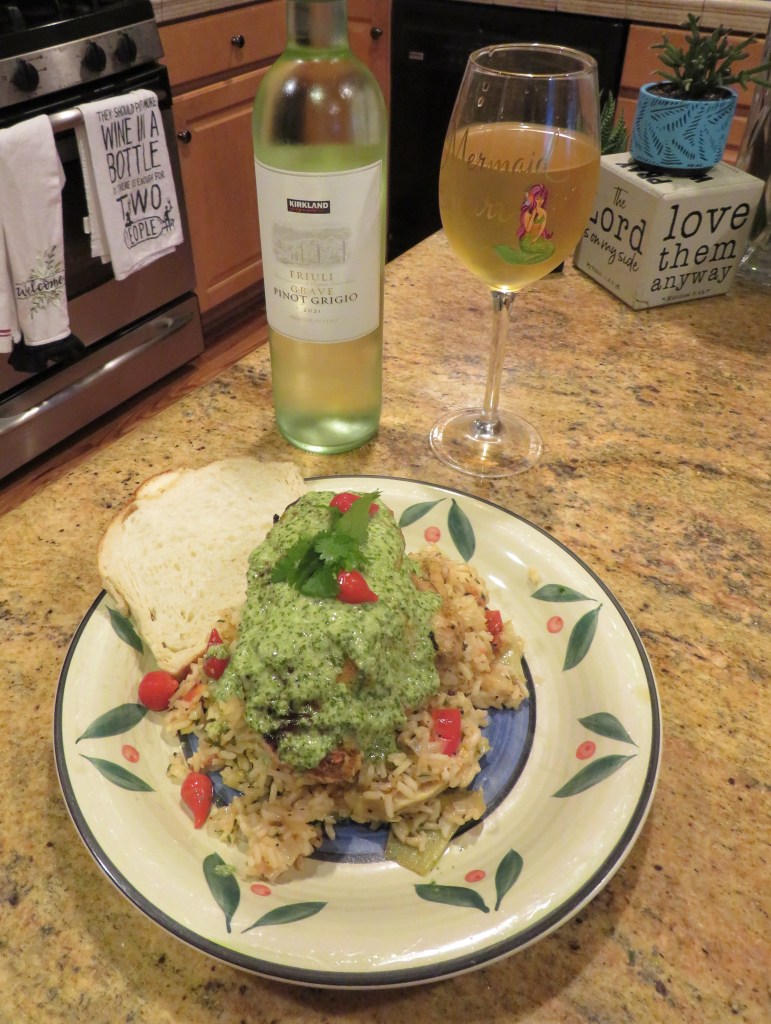
I served my chicken over some Peruvian rice or arroz alcachofas, made with artichoke hearts, onions, garlic and Peruvian peppers. I combined two different Peruvian rice recipes, and then, of course, added my own touches as well (like the Peruvian peppers). I had some fresh Asiago cheese bread that I warmed and served with the dish, plus a glass or two of some chilled pinot grigio on the side. !Delicioso! Our friend Bryan was over for dinner, and raved about the dish. I think he really liked it – a lot! I think this is his “new” favorite dish.
Have a great day and make everyday great. Stay safe and stay well. ‘Til next time.
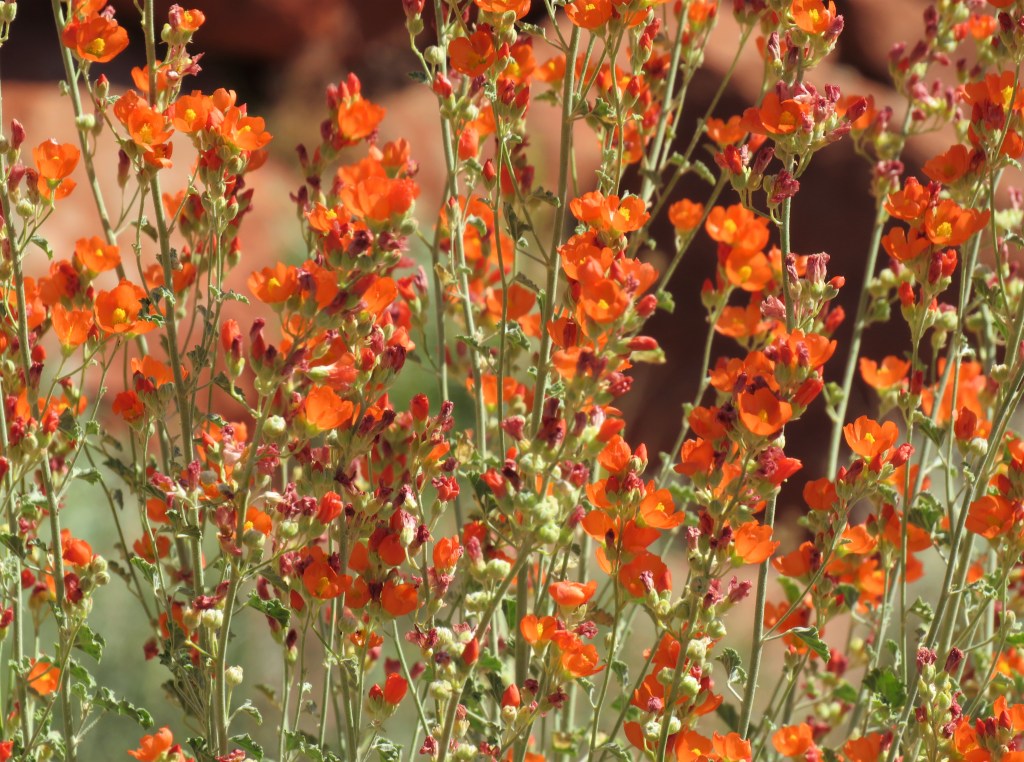
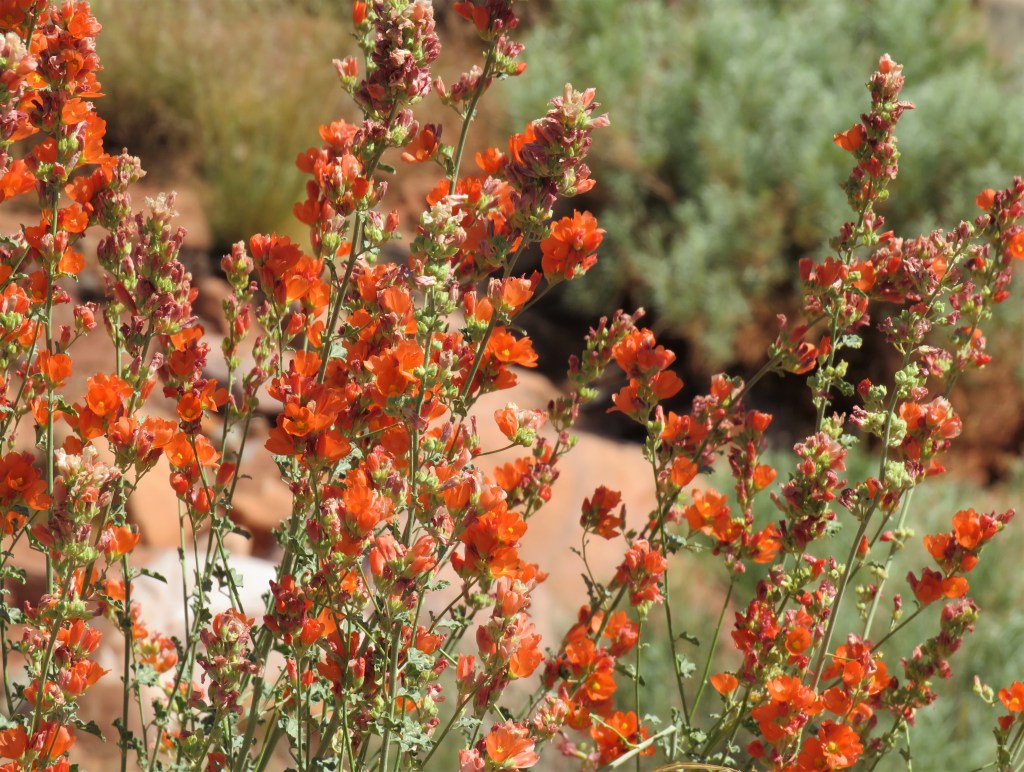
We saw these bright orange flowers and just fell in love with them. We first noticed them in Utah, but they were also in Colorado as well. I just learned they are called Globemallow, and are often found growing along the roadsides. Aren’t they pretty?
Moroccan cooking is a blend of many different cultures. It is a mix of the indigenous Berbers, the nomadic Bedouins, the Moors who were expelled from Spain, the Sephardic Jews, the Arabs, the Ottoman Empire, and the French. With all of these delicious cultures contributing, you know the food is going to be amazing. Each culture contributed something and each of these cooking traditions were thrown into the pot and stirred and simmered until the recipes were perfected.
The Berbers brought their traditions of tagines and couscous. The Bedouins added dates, milk and grains from all their travels. The Moors contributed flavors from Spain and Andalusia, such as olives, olive oil, paprika and herbs. The Sephardic Jews taught the ways of preserving with salt. The Arabs introduced the Middle Eastern cuisines. Making pastries and kebabs were gifted from the Ottoman Empire. And finally, it was the French who put everything together with finesse. Mix it all together, and the result is some fabulously delicious foods from Morocco.
A tagine is both a type of cooking vessel that is a shallow, round earthenware pot with a unique conical lid that is used to lock in the moisture and flavors of the foods while they are cooking, as well as type of dish. A tagine dish is a dish of tender meats or fish cooked with vegetables and simmered over a low heat to perfection in a buttery herb sauce, often with honey, chilies and/or fruits as well.
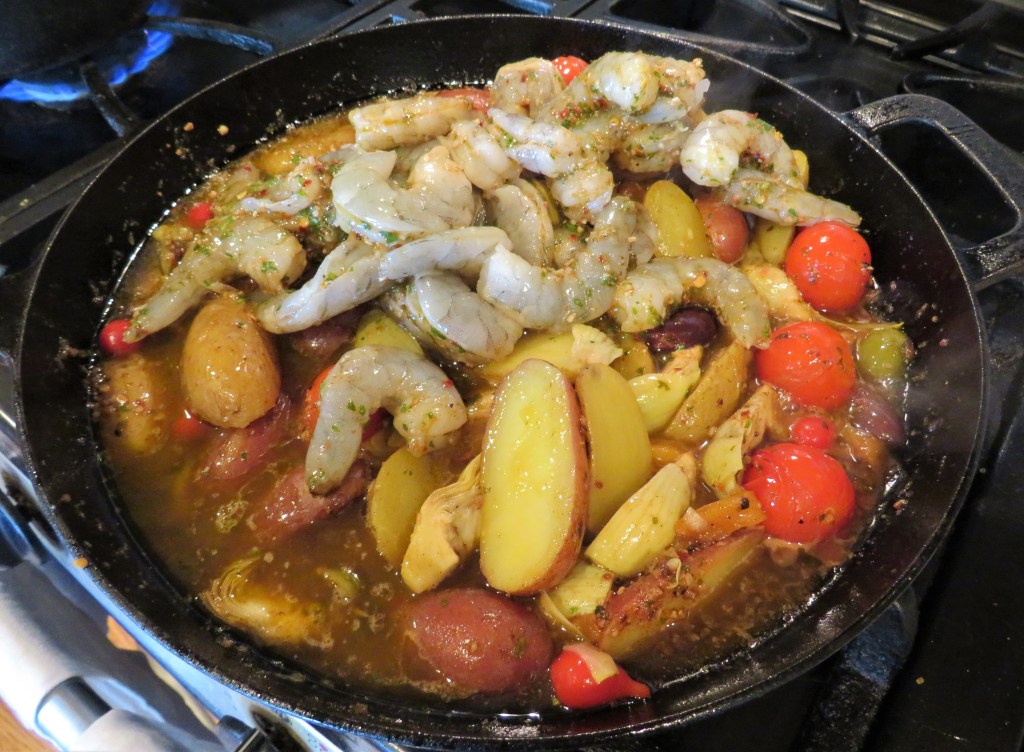
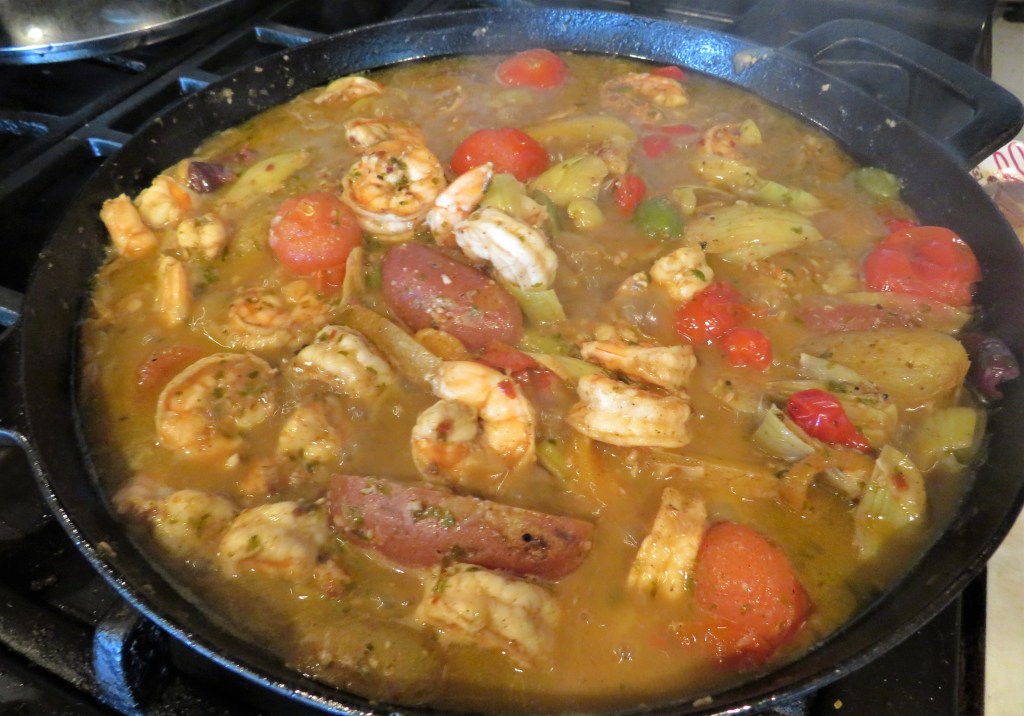
Recently, I took us on a Moroccan culinary tour with a tagine made with shrimp, tomatoes, potatoes and olives. Not only did I incorporate all the above influences, but I also added my own influences as well. I know. Surprise, surprise! It was most definitely a big hit, and I will definitely be making it again soon. 🙂
I served my shrimp tagine over pearled couscous with my rosemary focaccia Rosemary Focaccia and a glass or two of cool, crisp chardonnay on the side.
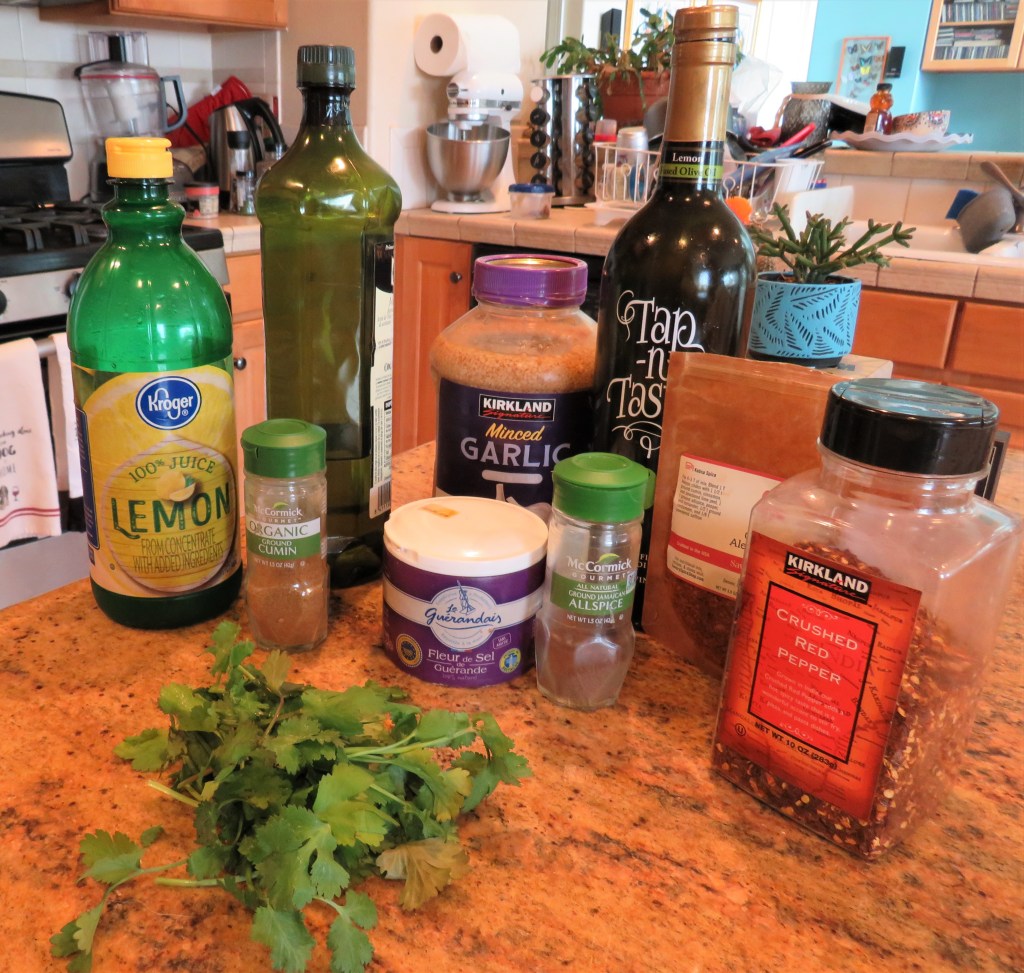
Before making my shrimp tagine, I made a chermoula sauce. Chermoula is a traditional Moroccan sauce used in fish dishes. It’s made from chilies, cumin and cilantro.
Chermoula Sauce
1 TBSP garlic
1 tsp salt
2 tsp cumin
1 tsp allspice
1 tsp Aleppo chilies, optional
1 tsp red pepper flakes, or to taste
2 TBSP lemon juice
2 TBSP olive oil
1 TBSP lemon olive oil, optional
1/4 cup fresh cilantro or parsley, or both
You can make it in the traditional way with a mortar and pestle or the modern way by putting it all in the food processor. I chose the food processing method.
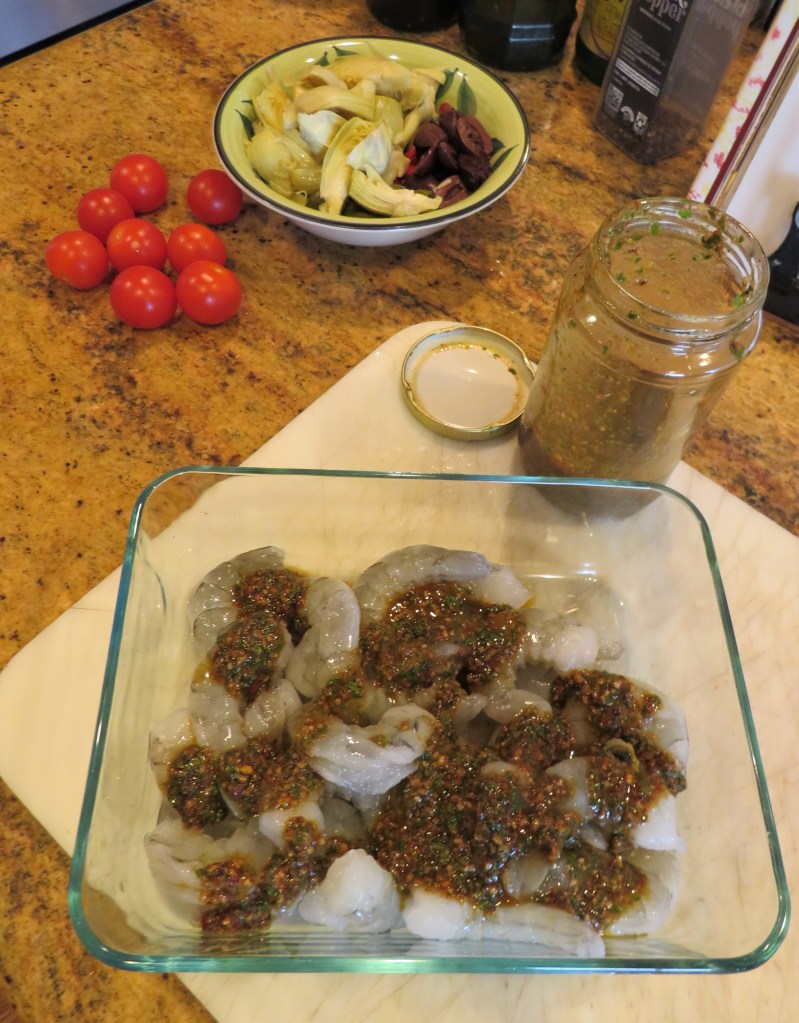
Marinate the shrimp in some of the Chermoula sauce for about 30 minutes, and save the rest for later.
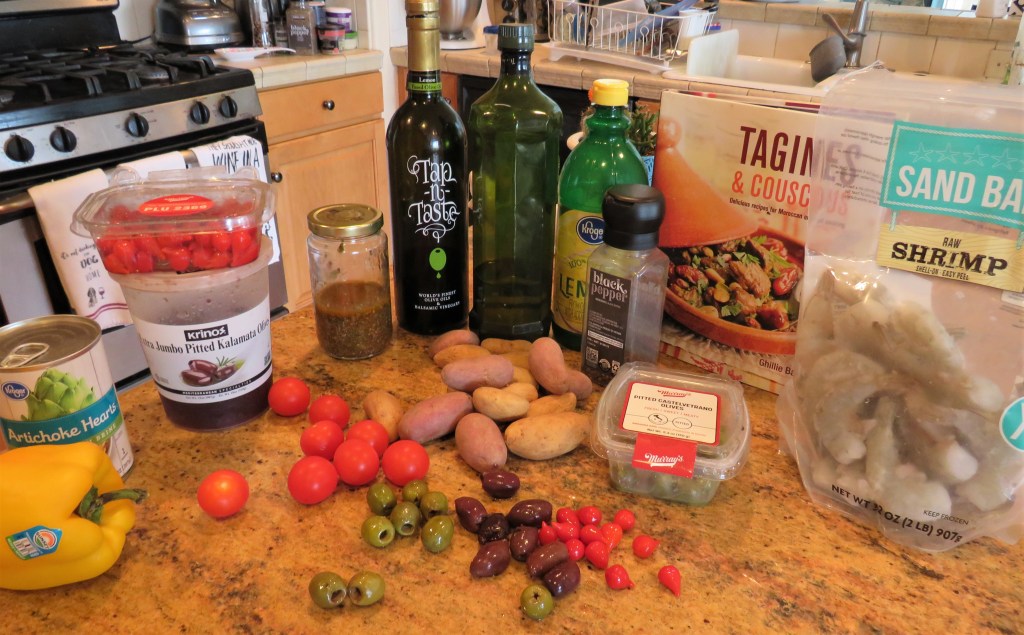
Shrimp Tagine
You can use this same recipe for any kind of white fish you like. But, it went very well with shrimp as well.
2 lbs large shrimp, peeled and deveined
1-1 1/2 lbs small new potaotes, cut in half
olive oil and butter for cooking
lemon olive oil, optional
1 TBSP garlic
12-16 cherry tomatoes
1 yellow or orange bell pepper, cut into matchsticks
salt & pepper to taste
1/3 cup mixed olives
1-2 TBSP lemon juice
1 can artichoke hearts, drained and rinsed
1/4 cup Peruvian peppers, optional
Place the potatoes in water and bring to a rapid boil and boil for about 8 minutes, then drain and rinse.
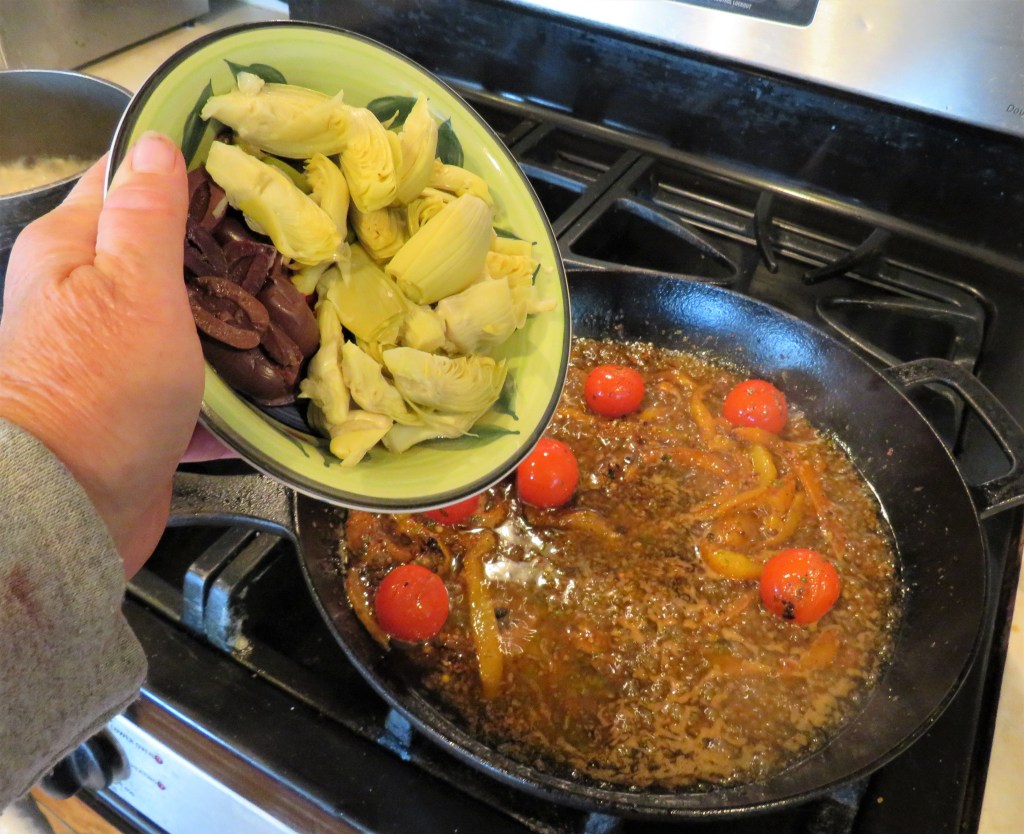
Heat the olive oil(s) and butter and stir in the garlic. Cook for about 1 minute, then add the tomatoes and cook for an additional minute or so.
Add the bell peppers, and cook for about 2-3 minutes, or until they start to soften, then add the artichoke hearts, olives, potatoes and Peruvian peppers, as well as the rest of the Chermoula sauce and the shrimp.
Mix everything together well, and continue to cook for about 5 or so minutes , or until the shrimp is completely cooked and everything is heated. Cook at a medium-low heat.
Spoon it all over some cooked couscous, serve with some warmed bread and enjoy. Bon Appetit! This is a delicious shrimp stew that is full of flavor and traditions. The flavors are all layered to really enhance the flavors of all the ingredients. They come together perfectly.
Have a great day and make everyday great. Stay well and stay safe. ‘Til next time.
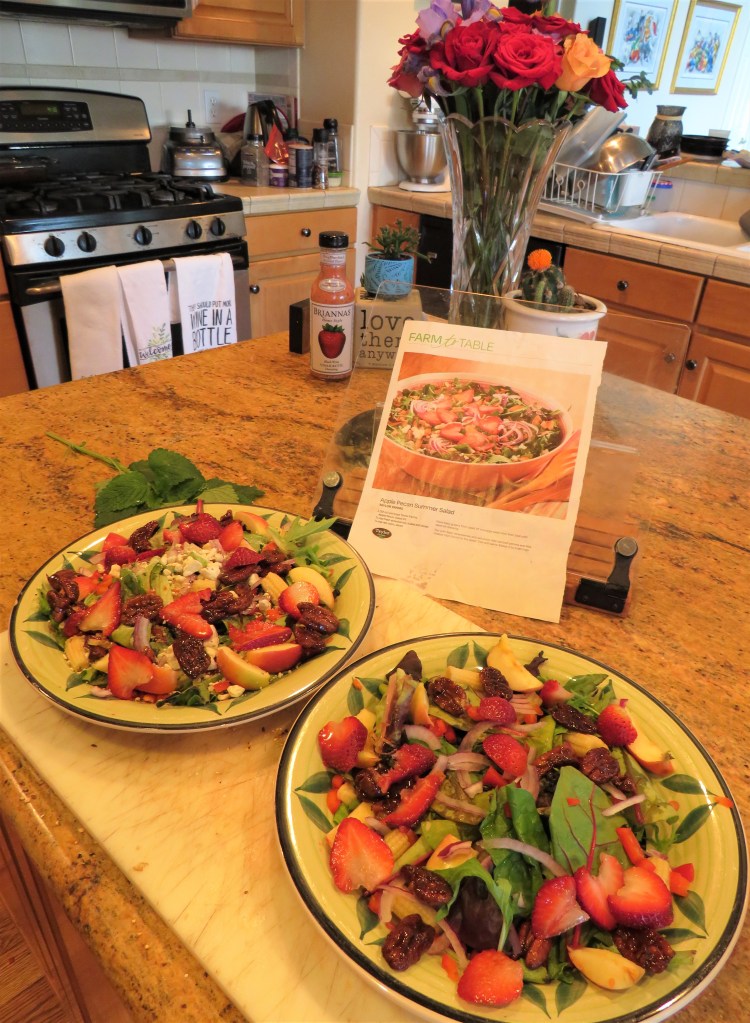
We eat a lot of salads during the warmer summer months, so I am always looking for new, refreshing recipes. I came across one that I had just to try. When I noticed the recipe was telling me to get a “salad kit”, I looked at the picture and said, “easy-peasy. I can make that”. Who needs a recipe when a picture is worth 1000 words, right?! Besides my salad was much better than some silly salad kit salad. I made everything from scratch, as I almost always do.
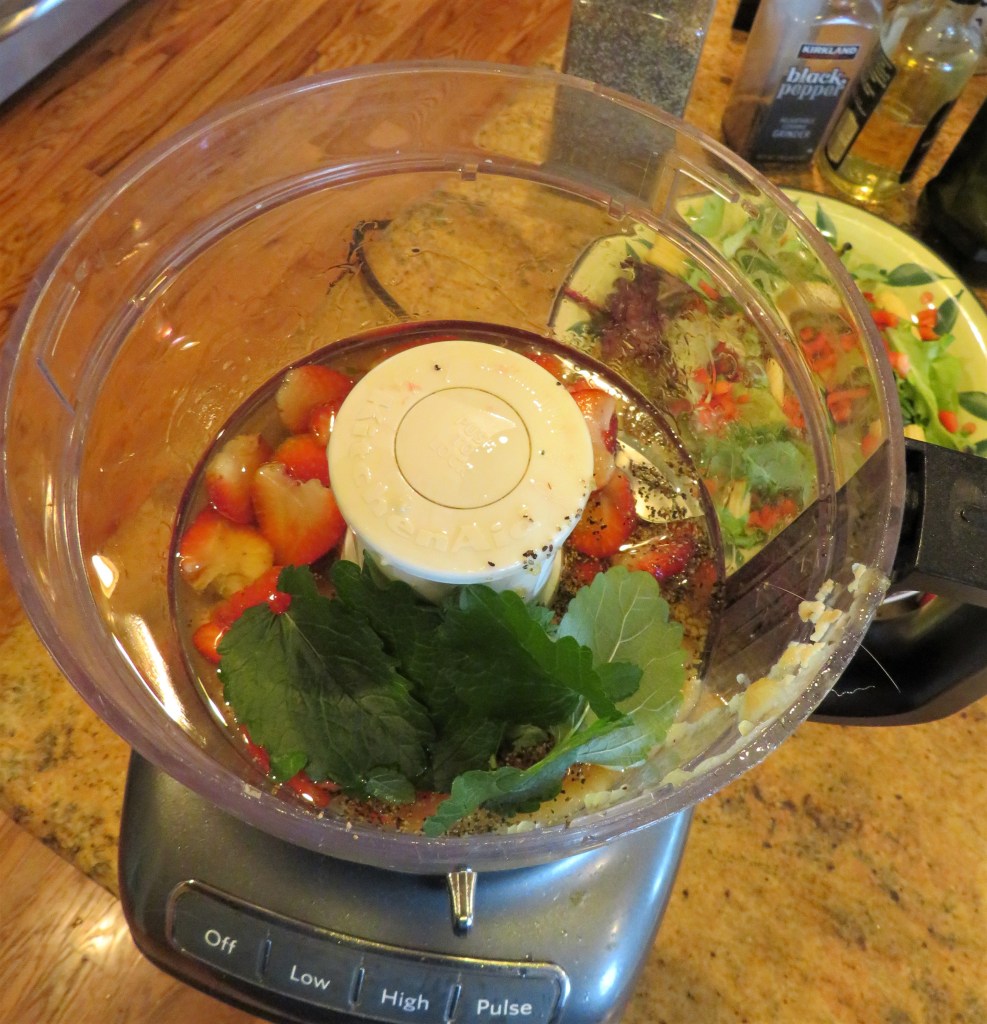
I made the strawberry vinaigrette first. Ironically, I had a little bit left in the fridge from the store that someone had brought over on one of their visits. I added that to my own dressing. What I made fit into the bottle just perfectly too.
Strawberry Vinaigrette Dressing
1-1/2 cup fresh strawberries, stems removed and sliced
1/4 cup white balsamic vinegar
1/3 cup olive oil
1-2 TBSP honey
1-2 tsp fresh ground black pepper
1/4 cup fresh lemon verbena, optional
Mix everything together in the food processor or blender and blend until it is all creamy. Set aside until ready to use. Lemon verbena is once again taking over my whole backyard, so you will see a lot of recipes with it for now. It is after all, that time of year. 🙂
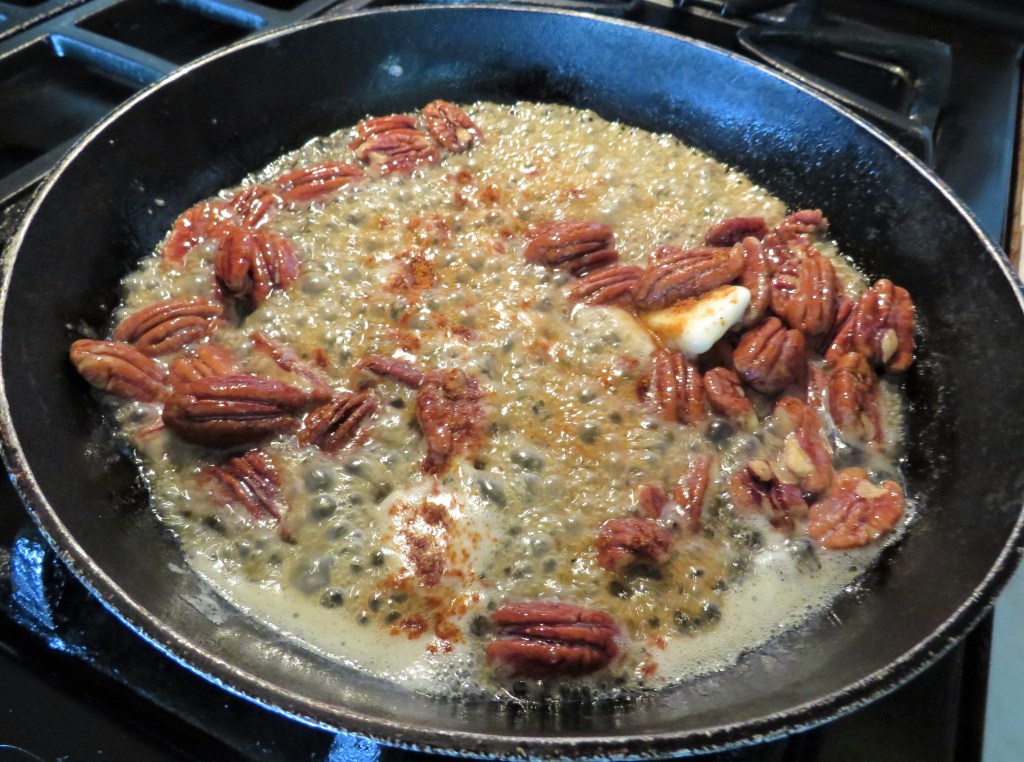
After the dressing was made, it was time to candy the pecan halves. I used about 1/2 cup of pecan halves, 1/2 stick of butter and about 2-3 TBSP of honey and a dash of cayenne pepper. Put everything together in a skillet and cook for about 5-7 minutes, stirring constantly. Once the butter is melted, and everything is smooth, pour the mixture onto a baking sheet lined with parchment paper to cool and harden. Then break apart when completely cooled.
The Salad
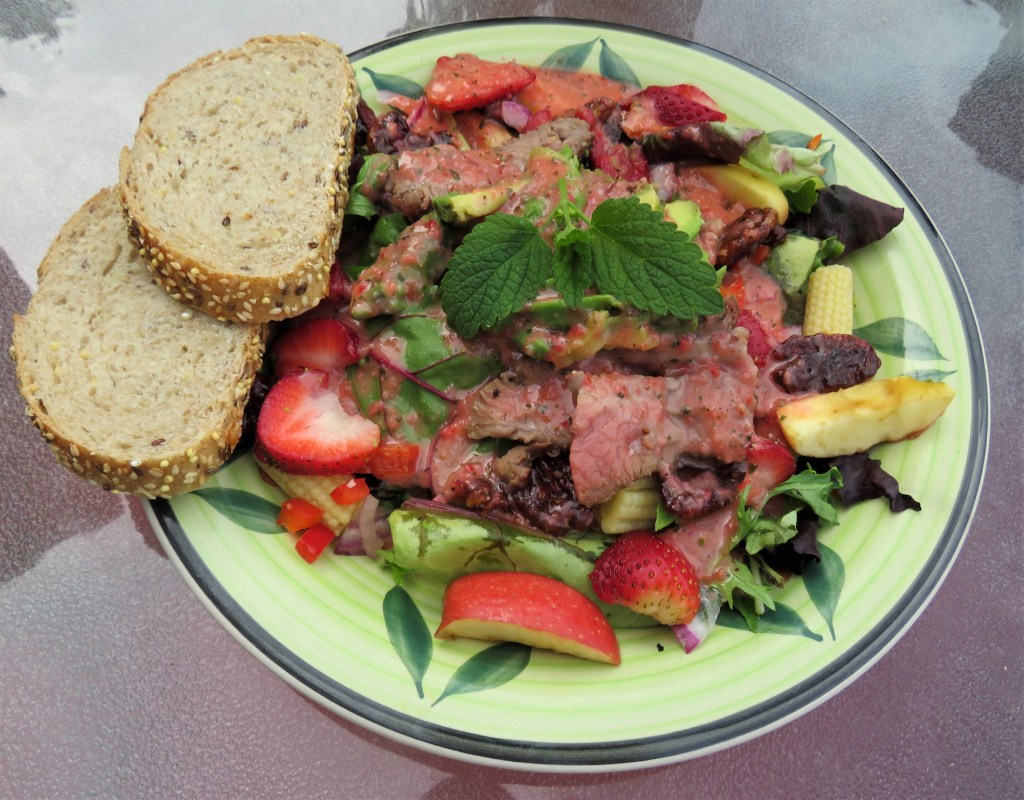
When I make salads, I just add what I want to add on the individual plates. So you can easily make this salad for one for for 20. Just add more ore less depending on how many you want to make. 🙂 You can eat it as is, with no additional protein, or you can add steak, shrimp, chicken or pork. We enjoyed it with steak this time, since Larry was in the mood for steak.
mixed baby greens,
baby corn, cut into pieces about 1 inch in size
red bell pepper cut into thin matchsticks
strawberries, stems removed and sliced
apples, sliced thin
red onion, sliced very thin
candied pecan halves
avocado, diced
feta cheese, optioal
strawberry vinaigrette
As usual, Larry’s salad was topped with feta cheese and mine was not, and mine had avocado where his did not. I served it with some warmed multi-grain bread and a chilled chardonnay, though a light to medium bodied red would go very nicely too.
Let salad season begin. This salad is a perfect salad for the summer or for a picnic or to share with friends. It’s light, refreshing and full of fresh goodness.
Have a great day and make everyday great. Stay safe and stay well. ‘Til next time.
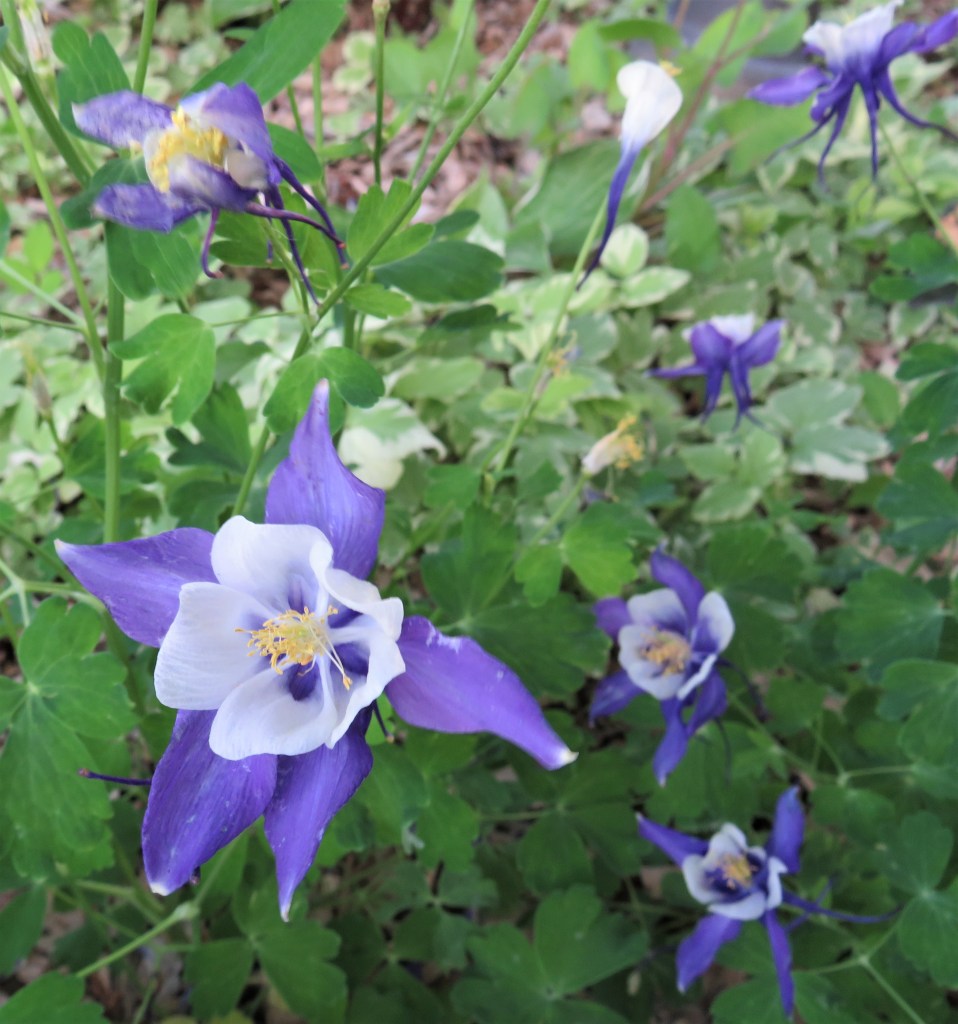
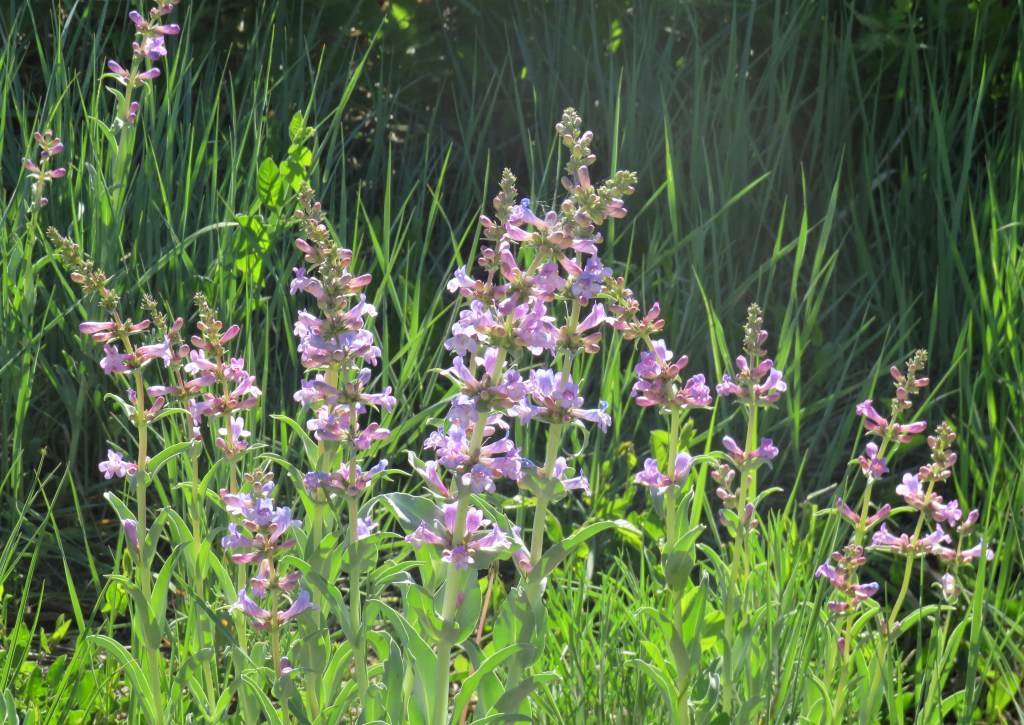
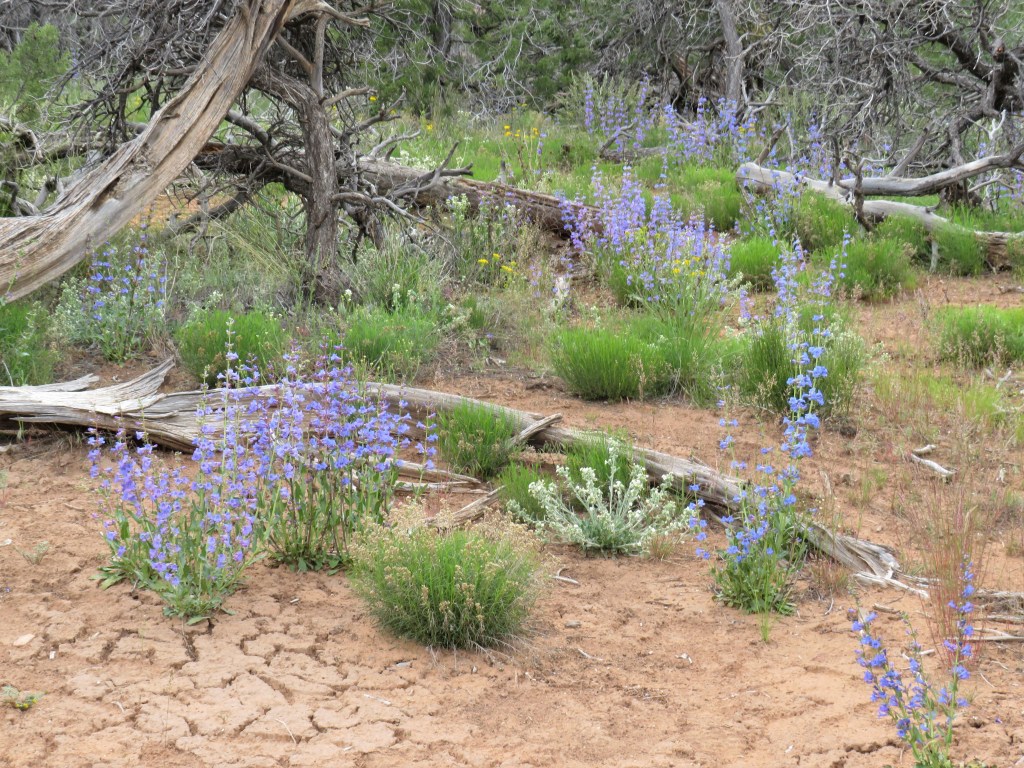
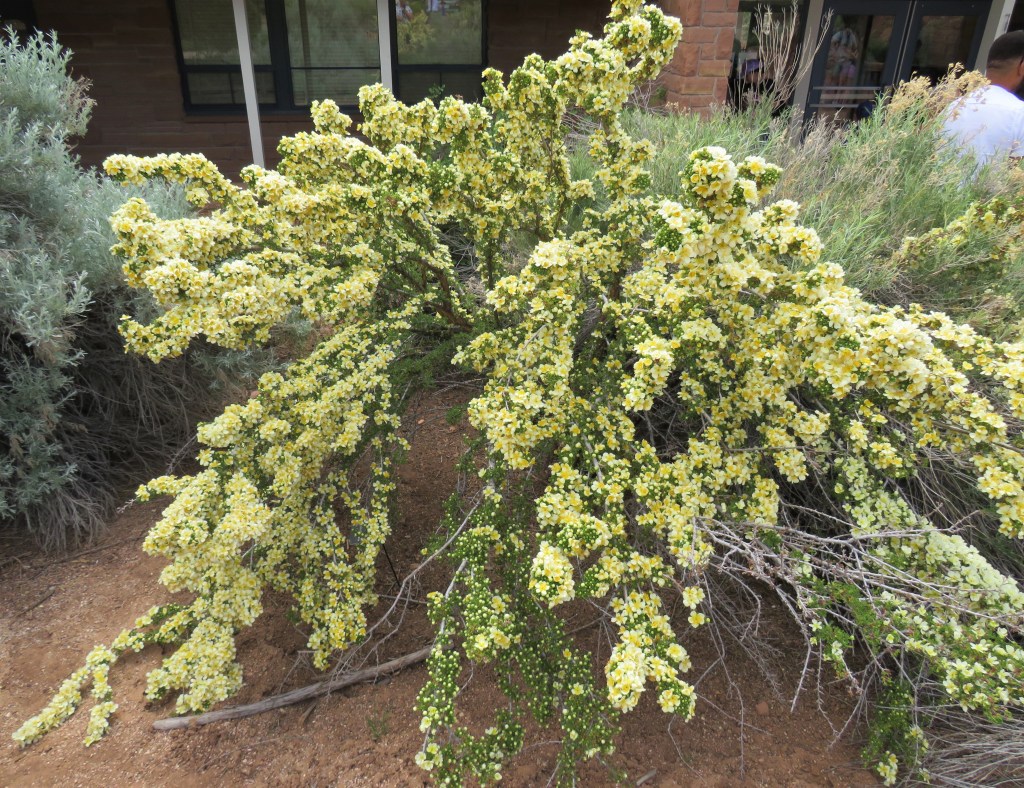
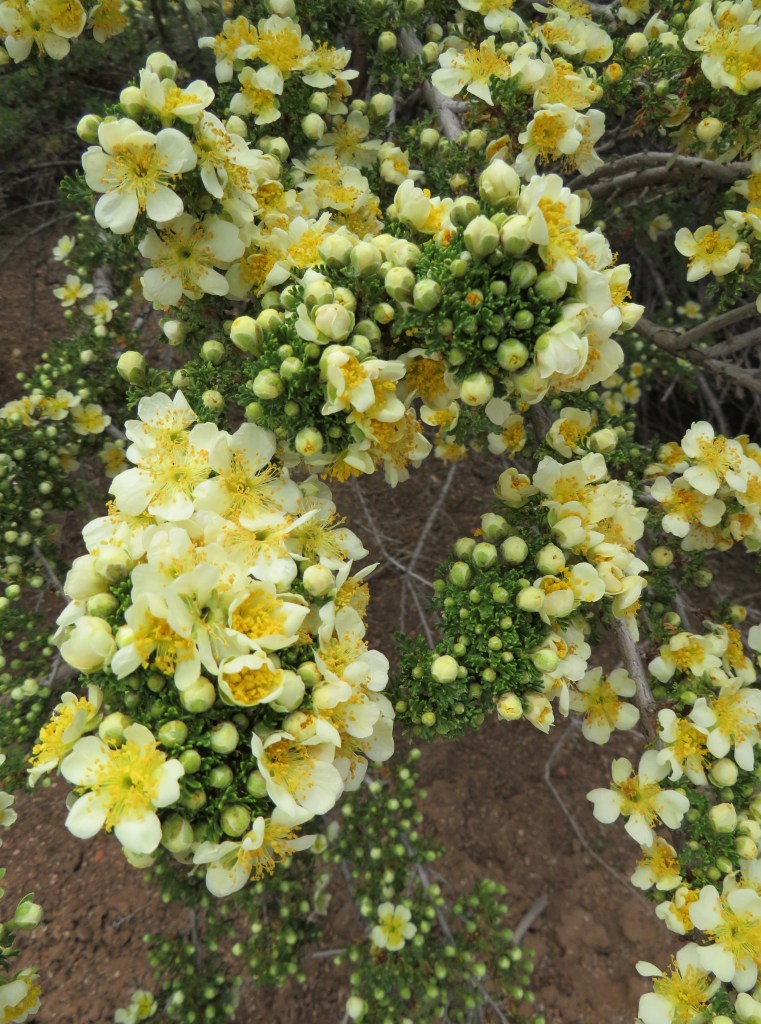
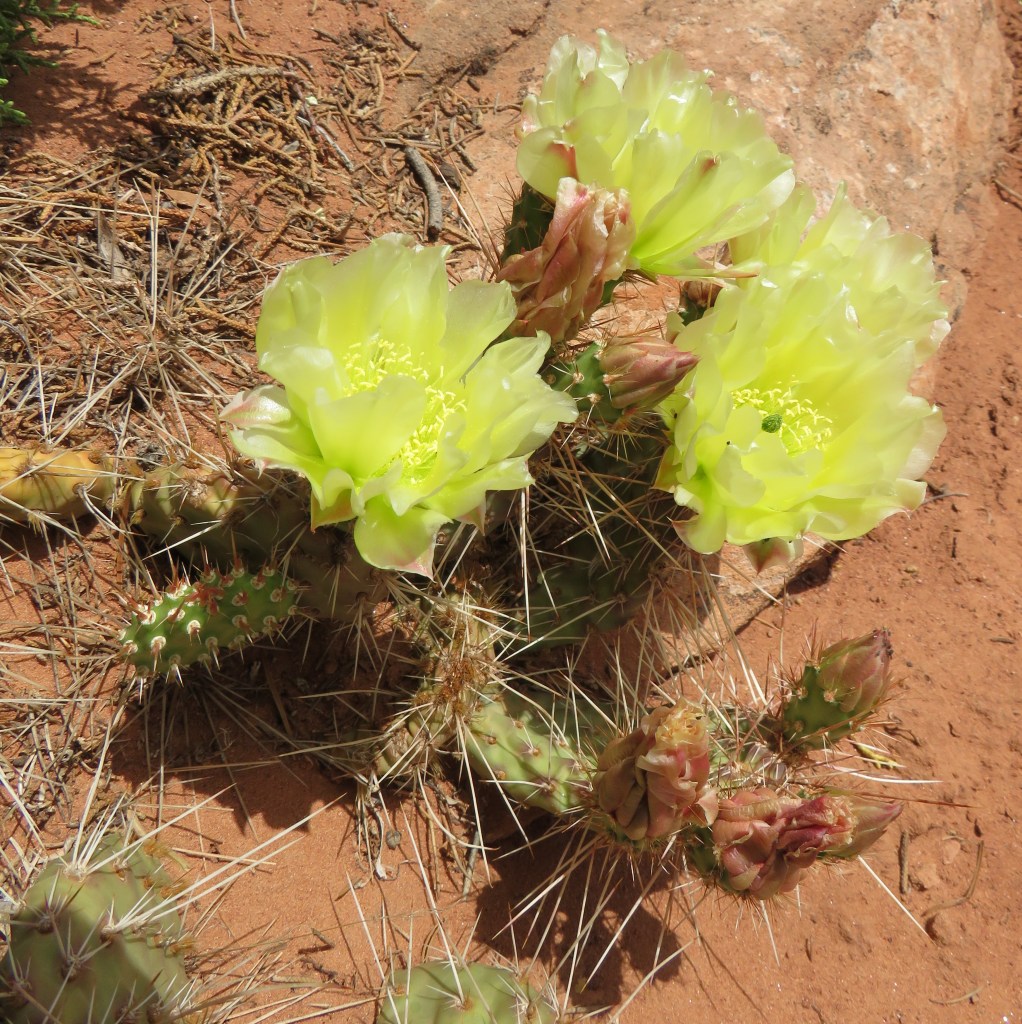
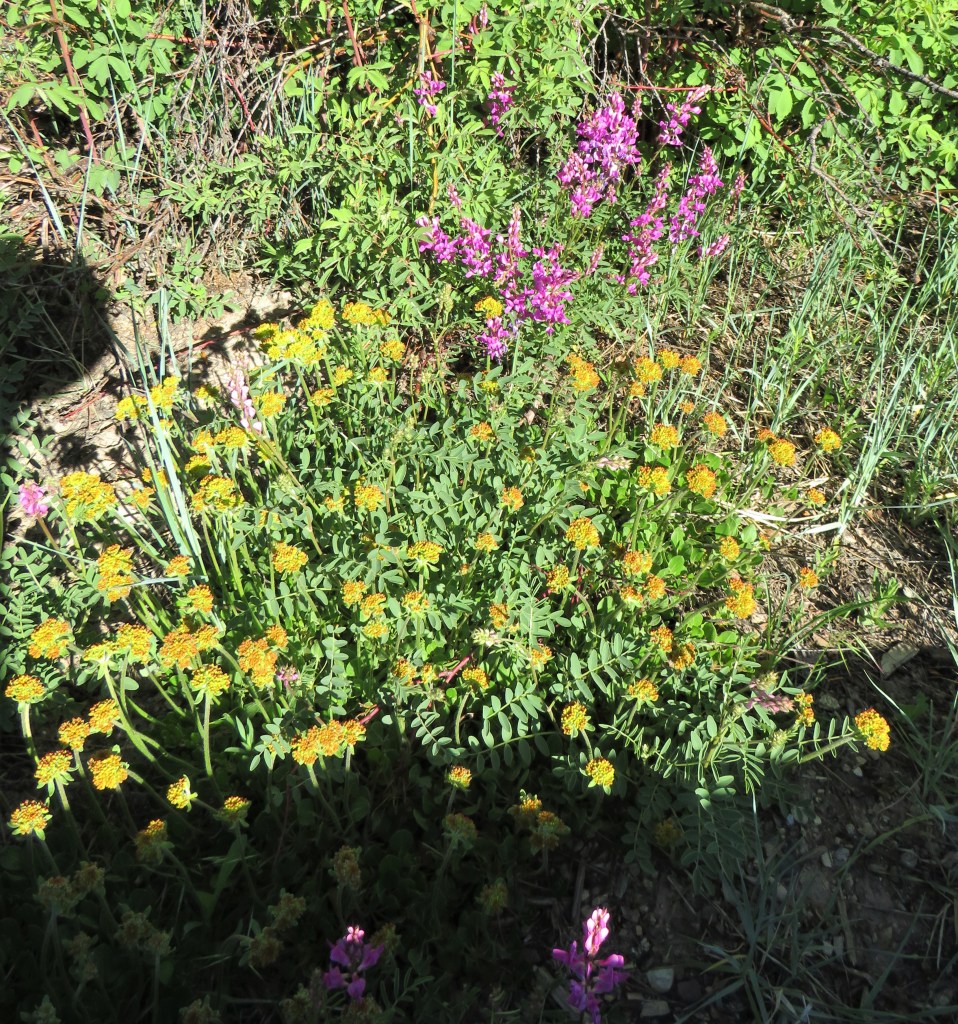
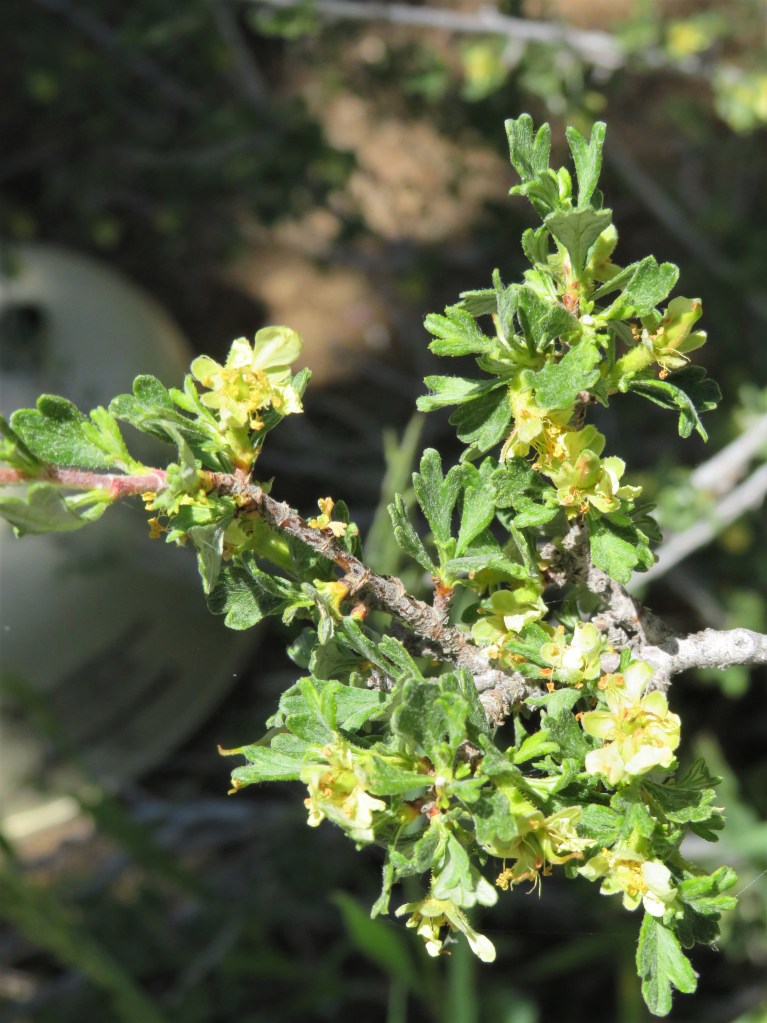
As you know, I love flowers. They may seem delicate, and many are, but the ones growing in the harsh mountainous areas are anything but. Not only are they beautiful, adding splashes of color where you would least expect them, but in order to not only survive, but flourish, they have to be hardy as well. Here are some more beautifully colored flowers from out recent trip to the southern mountains of both Colorado and Utah. Today, I give you the yellow mountain flowers.
No matter where you are, you can always find something beautiful in everything, in every situation. Color your world beautiful.
As you all know, I am home and have been busy cooking in the kitchen again, as usual. I have been baking and cooking and I have lots of fun things to share.
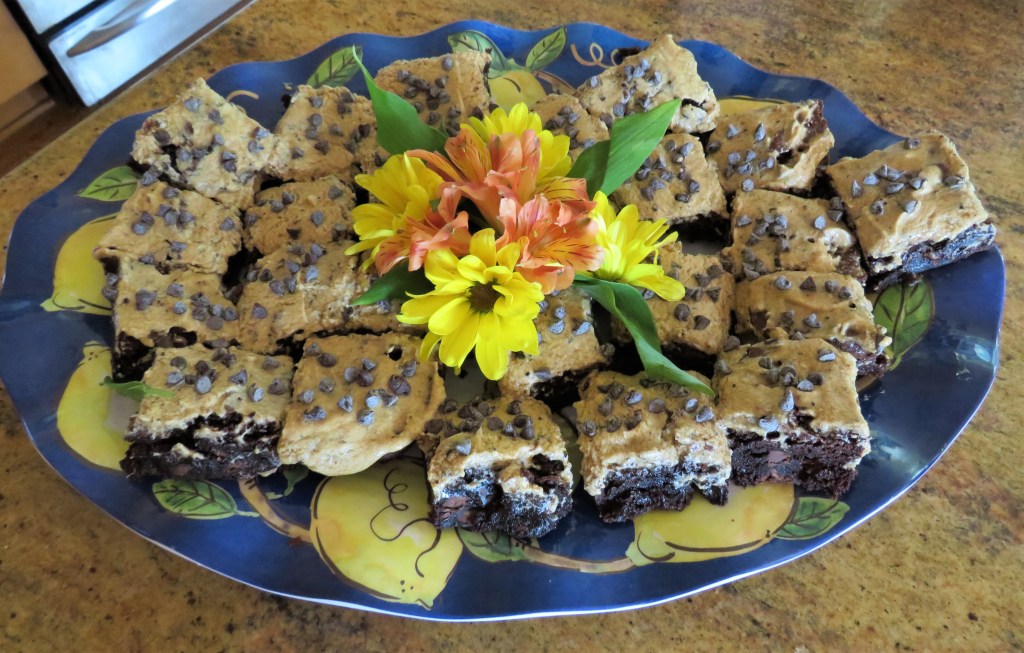
It is that time of the week once again, where I start doing all my weekly baking for my coffee cart. One of the menu items on the cart this week will be some cappuccino brownies. Everyone loves brownies, right?! I love coffee flavored desserts, but I tend not to make a lot of coffee flavored items ONLY because Larry does not like coffee flavored anything, and I certainly DON’T need to eat anything that is leftover, though usually I do not have many leftovers, if any, at all. 🙂
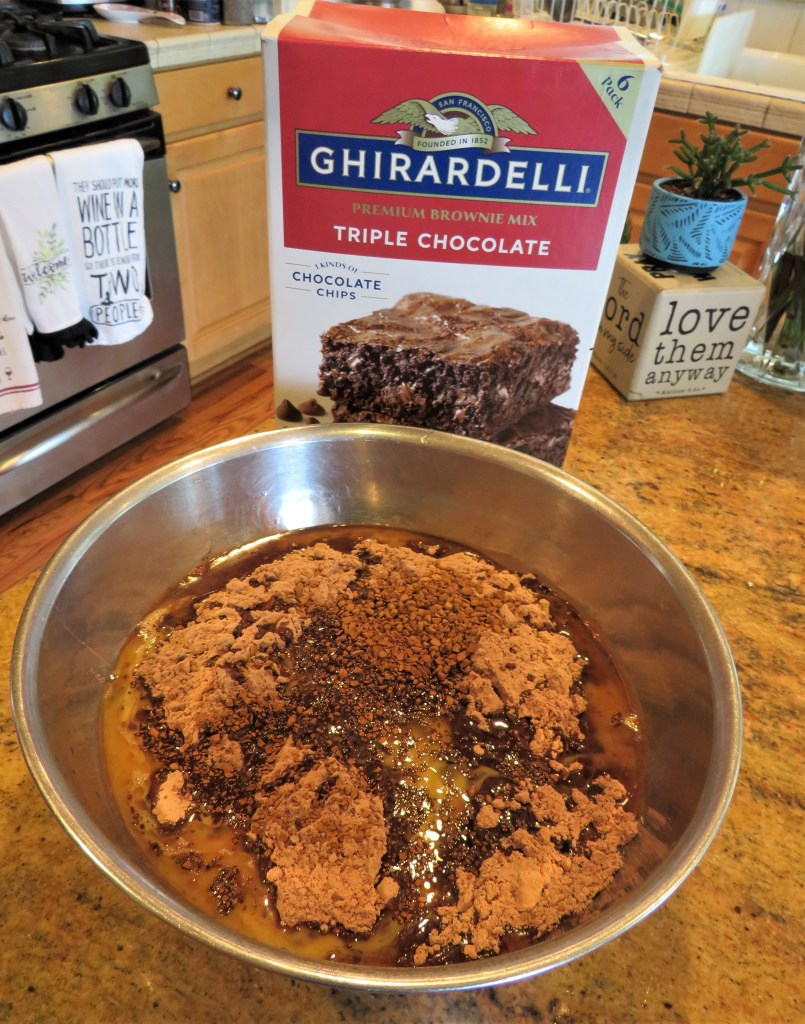
I can, and definitely do, make brownies from scratch, however, I really like the Ghirardelli Brownie mix, and tend to use that more so than not when making brownies. Why reinvent the wheel when you don’t have to? I used my Ghirardelli mix again this time as a starter, then tweaked them a bit.
For the actual brownies themselves, the only changes I made was to add 1 tsp of vanilla and 3 TBSP instant coffee granules to the mix to give them a hint of mocha or coffee flavor, then baked them per the instructions on the box.
Once my brownies were baked and cooled, I topped them with a cappuccino buttercream frosting. I prefer dressed up brownies rather than to serve them naked. 🙂
Cappuccino Buttercream Frosting
3 cups powdered sugar
1 tsp vanilla
3 TBSP instant coffee granules
1/2 cup milk
2 sticks softened butter
Combine the milk and coffee granules together and mix until the granules have dissolved. Then mix everything together with a mixer until everything is well blended and creamy.
Spread over the brownies before cutting.
Once the brownies are covered with a layer of frosting, slice them up. I also added some mini chocolate chips on top to dress them up even more, making more them like cappuccino chip brownies. YUMMY!
I do my best to live and cook by the K.I.S.S. (keep it simple, stupid) rule as much as possible. There is nothing wrong with starting from a store bought brand, as long as it is a good, reputable and reliable brand, and doctoring it up. If you doctor it up right, no one will ever know you didn’t slave away over a hot stove or oven. It will be out little secret. 🙂
Have a great day and make everyday great. Stay safe and stay well. ‘Tl next time.
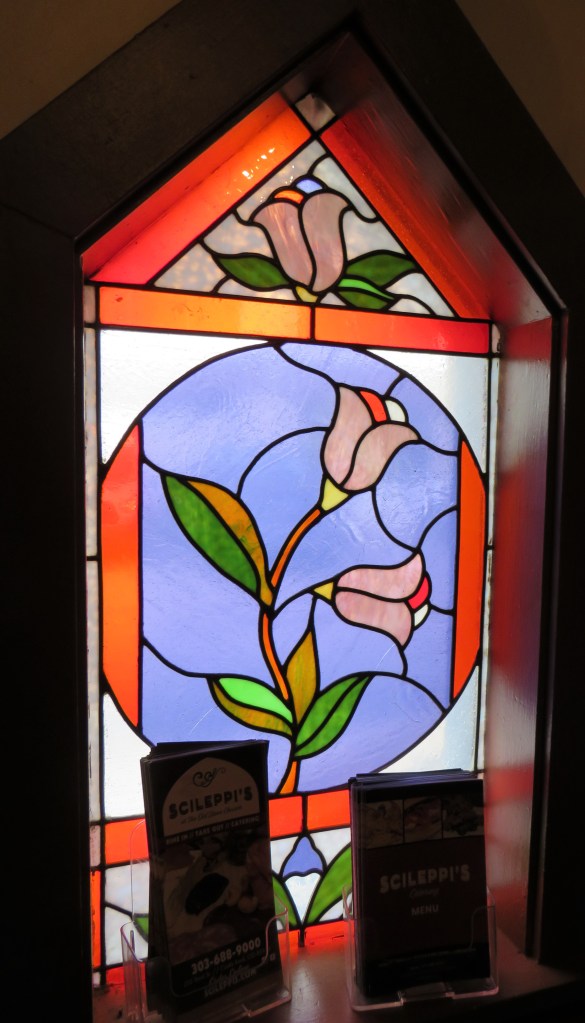
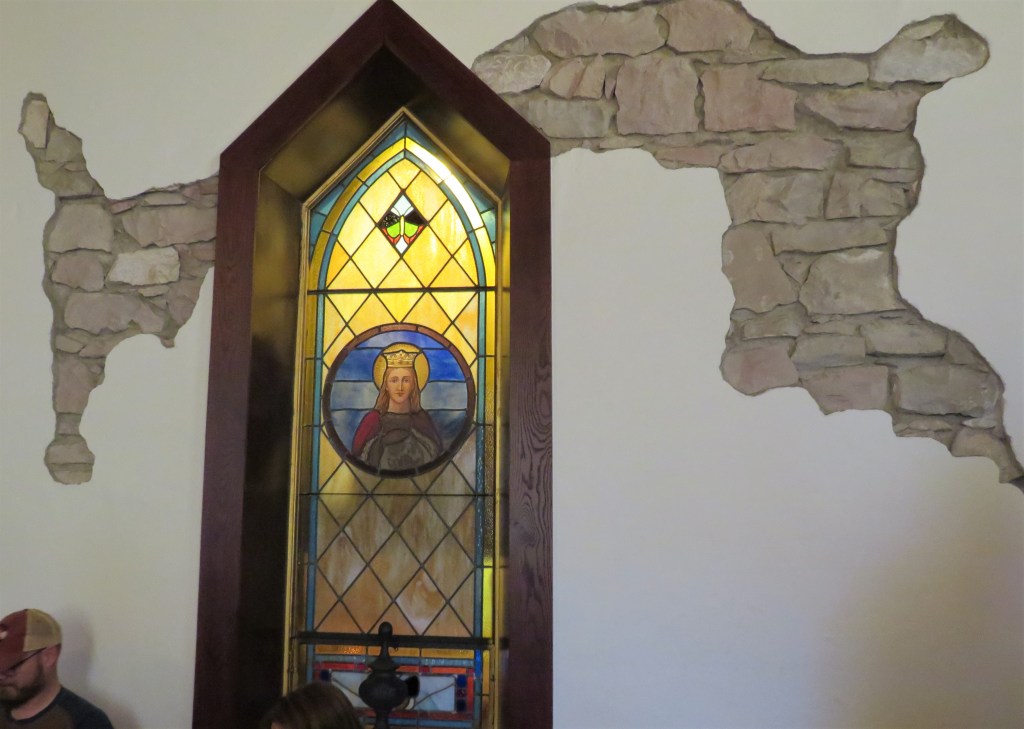
We had one last stop to make before closing the book on our recent adventures. We stopped at Scileppi’s, The Old Stone Church Restaurant in Castel Rock, CO. Larry and I had been to Scileppi’s before and have raved about it ever since. Dinner at the Church. We had been wanting to take Mike and Lauren there ever since we went, and this just seemed like the perfect opportunity to go.
Once again we feasted on scrumptious food. We ordered too much and ate too much, but it was the last hoorah of our trip. And, we were celebrating Karen’s birthday as well. Just so you know, we DON’T always eat this way. In fact, the opposite is true. We tend to do more rustic and simple stuff, though I have gotten so fat, you might think otherwise. 🙂
Once again, there were appetizes, main entrees and desserts to share. Everything was “divine”, as to be expected. There was also quite a bit of food we brought home too, to be enjoyed again later.
We started off with calamari, bread and garlic cheese bread for the table.
Next came a variety of delicious entrees. We all sampled a bit of everything. It all gained our stamps of approval.
Since we were celebrating Karen’s birthday, none of us finished our meals because we all knew there was dessert coming too. You can’t celebrate a birthday without special desserts, right?!
Happy Birthday Karen. 🙂
Scileppi’s is located at 210 3rd Street, Castle Rock, CO. You can walk in and hope for a seat, or if you want to be in one of the special places, like the Confessional or the Choir Loft, you need to call and make reservations, at (303) 688-9000 or contact them online at http://www.scileppis.com
Finishing off our trip by dining at Scileppi’s was the perfect ending for a fantastic trip. We dined very well on the trip, eating all kinds of delicious foods. But Scileppi’s was most definitely our best meal for the trip.
This concludes my series on our Southwestern adventures. I hope you have enjoyed it all. Next time you come out to Colorado, I would definitely add some of these adventures to your itinerary. Have a great day and make everyday great. Stay safe and stay well. ‘Til next time.





























 A Jeanne in the Kitchen